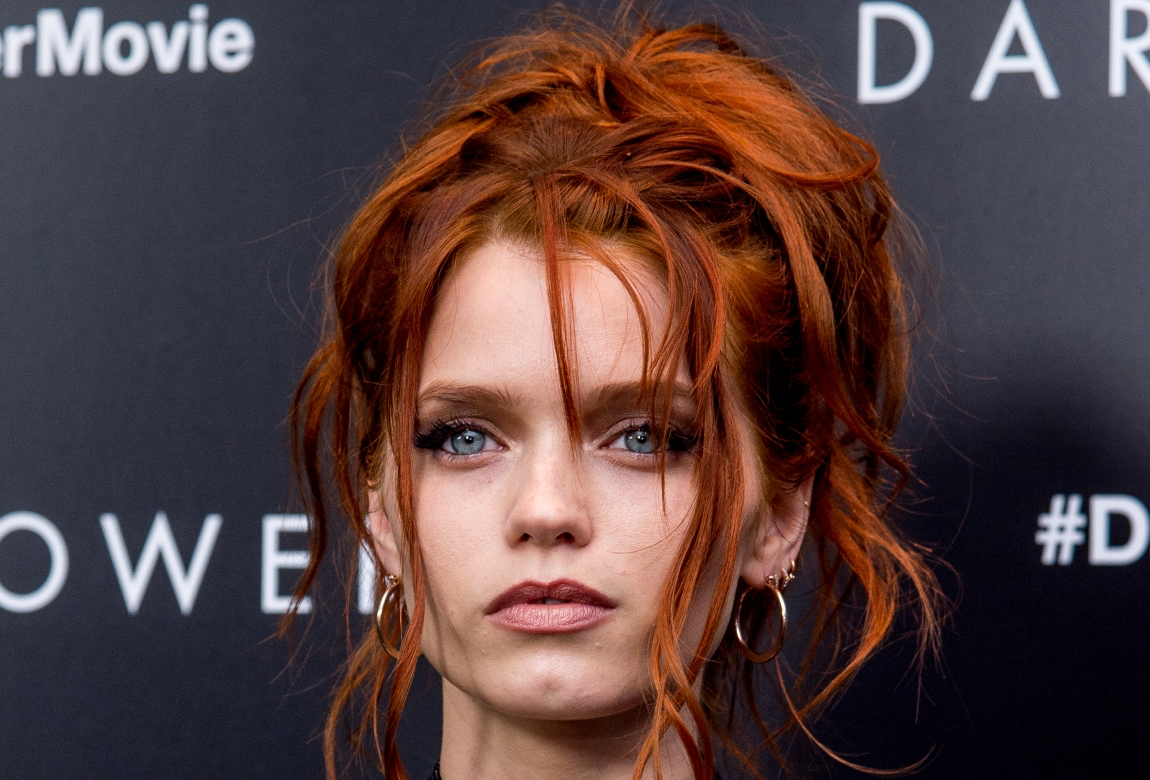
Thinking of Going Ginger? A Pro Colorist’s Real Talk on Getting It Right
I’ve spent a huge part of my life behind the salon chair, mixing up thousands of bowls of hair color. And let me tell you, nothing gets me more excited than when a client declares they’re ready to go red. Ginger isn’t just a hair color; it’s a whole vibe. But pulling it off beautifully takes a bit of skill, and keeping it looking fresh definitely takes commitment. It’s easily one of the most satisfying transformations I get to do.
In this article
A lot of what you read online treats red hair like a simple trend, talking about which shade matches your face shape based on a celebrity photo. But from my experience, that’s barely scratching the surface. Creating a stunning, believable red is a true craft. It’s a mix of science, a little chemistry, and a lot of hands-on technique. The most breathtaking reds don’t come out of a box—they’re custom-mixed by a professional who really gets your hair.

So, this is going to be different. I’m pulling back the curtain and sharing the stuff I tell my own clients and the new stylists I train. We’ll get into the real science of red, the pro techniques we use, and how to choose a shade that actually works for you. And, most importantly, we’ll talk about how to keep it from fading into a sad, brassy memory.
First, Let’s Talk Science (The Fun Part, I Swear)
To get amazing color, you have to know what you’re working with. Hair color isn’t some kind of magic trick; it’s a pretty predictable chemical reaction. Understanding the basics helps explain why your hair does what it does, and why some attempts at red hair are a home run while others… well, aren’t.
Meet Melanin: Your Hair’s Natural Color
All of your natural hair color comes from a pigment called melanin, which hangs out in the middle layer of each hair strand. There are two kinds you need to know about:
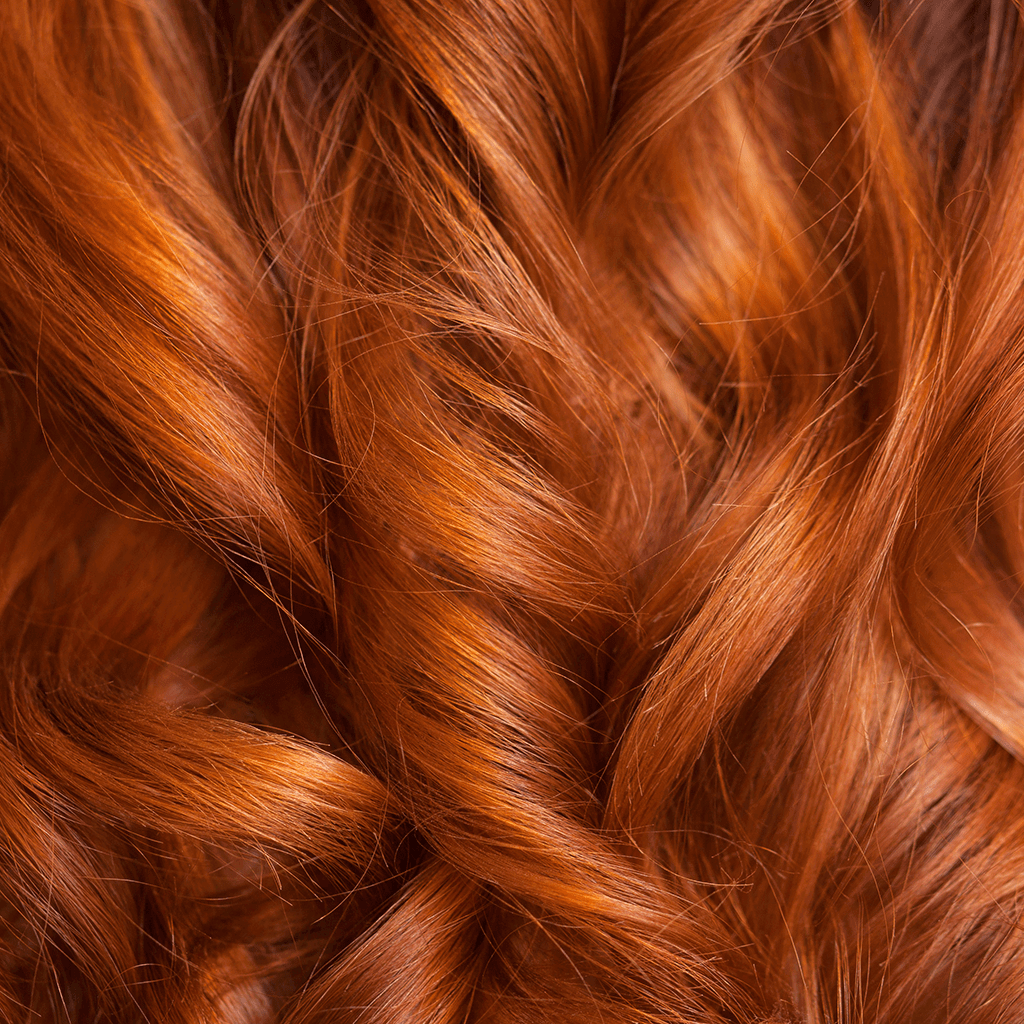
- Eumelanin: This one is responsible for brown and black shades. If you have dark hair, you’ve got a lot of it.
- Pheomelanin: This little guy creates red and yellow tones. Natural-born redheads have hair that’s packed with pheomelanin.
When a colorist goes to work, we’re either adding new, artificial pigment or messing with the natural melanin that’s already there. To take dark hair to a vibrant red, we first have to gently lift out some of that dark eumelanin to reveal the warm tones hiding underneath. Then, we deposit the new red color. That’s why going from nearly black to a bright copper is always a multi-step process.
The Level System and What It Means For You
In the salon world, we use a standard scale from 1 (Black) to 10 (Lightest Blonde) to figure out how light or dark hair is. When we lift your hair with color or lightener, we expose the natural pigment that lives at each level. For dark hair, that underlying pigment is always warm.

Here’s the part that really matters for your appointment:
- A Level 4 (Medium Brown) will lift to show a red-brown undertone.
- A Level 6 (Dark Blonde) is going to reveal a straight-up orange undertone.
- A Level 8 (Medium Blonde) lifts to a yellow-orange undertone.
So, what does that actually mean for the copper hair you saw on Pinterest? It means if your hair is a dark brown, we can’t just paint on a light copper and call it a day. We have to work with that red-brown base. Honestly, it might mean that your first session results in a deep, rich auburn or cherry-cola shade. Then, in a second visit, we can push it to that brighter, zesty copper you’re dreaming of. It’s all about playing the long game to protect your hair.
I once had a client come in with a photo of a fiery, bright copper. Her hair? Jet black from years of box dye. I had to be upfront and explain that getting there would be a journey, probably taking the better part of a year to maintain her hair’s health. We started with a gorgeous deep cherry red, and she ended up loving the process!

Why You Should Skip the Box Dye for Red
I know, I know. A $15 box of dye is tempting. But for red, it’s one of the riskiest things you can do to your hair. Box dyes are a one-size-fits-all formula designed to work on everyone, which means they often fail spectacularly on individuals. The most common disaster is “hot roots”—where the heat from your scalp makes the dye on your roots develop way faster and brighter than the rest of your hair. You end up with neon orange roots and muddy, dark ends. It’s not a look.
Correcting patchy, uneven red box dye is a colorist’s nightmare and, to be frank, it’s going to cost you. A color correction service to fix a DIY job can easily run you $500 or more, and it’s way more damaging to your hair than just doing it right the first time. A professional mix is customized for your hair’s specific starting point, texture, and history. We can use different formulas on your roots and your ends to ensure a beautiful, even result.
Your Game Plan for Going Ginger
Ready to take the plunge? Amazing. A little prep work will make the whole experience smoother and help you and your stylist get on the same page.
How to Talk to Your Colorist
Finding a stylist who is confident with reds is key. When you go in for a consultation, don’t be shy! Ask these questions:
- “Can I see some photos of red hair transformations you’ve done before?” (Their Instagram is a great place to start!)
- “Based on my hair now, what’s a realistic goal for our first session?”
- “What will the upkeep be like for this color, both in terms of time and cost?”
- “What products do you recommend I use at home to keep the color fresh?”
Your Pre-Appointment Checklist
To get the most out of your appointment, a little homework goes a long way.
1. Gather Your Inspiration: Find 2-3 photos of red hair you absolutely LOVE, and just as important, find one photo of a red you HATE. This helps your stylist understand your taste better than words can.
2. Show Up with Dirty-ish Hair: Arrive with hair that’s one or two days unwashed. Your natural scalp oils provide a nice little barrier to protect your skin from the chemicals.
3. Be Ready to Confess: Be prepared to share your hair’s entire color history for the last few years. Yes, even that temporary black you used for Halloween three years ago. It all matters!
The Big Questions: Cost & Time Commitment
Alright, let’s talk about the practical stuff. A major color transformation is an investment in both time and money.
First off, time. This isn’t a lunch-break appointment. A big change, like going from brunette to a vibrant ginger, can take anywhere from 3 to 5 hours in the chair. If your hair is extra long, thick, or has a lot of old color on it, plan for even longer.
Now for the budget. A dramatic, first-time red transformation can range anywhere from $300 to $700+, depending on your city, the salon’s reputation, and your hair’s condition. And then there’s the upkeep. To keep your roots looking perfect and to refresh your ends with a gloss, you should plan for maintenance appointments every 6-8 weeks. These typically run between $150 and $250.
Heads up! Did you know the red color molecule is the largest of all the artificial dye molecules? Because of its size, it has a hard time staying locked inside the hair shaft, which is why red is notorious for fading quickly. This makes using color-safe shampoos and at-home color-depositing conditioners totally non-negotiable if you want to protect your investment.
Galerie d’inspiration

The first 48 hours are crucial for locking in your new ginger hue. Resist the urge to wash your hair immediately after leaving the salon. This waiting period allows the hair cuticle to fully close and trap the large red color molecules inside. When you do finally shampoo, make sure it’s with a gentle, sulfate-free formula to protect your investment.
- Turn down the heat: Wash and rinse your hair with cool or lukewarm water, as hot water opens the cuticle and lets color escape.
- Shield from the sun: Just like skin, hair needs UV protection. Use products with built-in UV filters to prevent your vibrant red from fading to a pale orange.
- Embrace dry shampoo: Extending the time between washes is your best defense against premature fading. A quality dry shampoo is a redhead’s best friend.

A word of warning: Steer clear of clarifying and anti-dandruff shampoos. While great for tackling buildup or flakes, their powerful detergents are notorious for stripping hair color, and they are particularly aggressive on delicate red pigments. They can undo your colorist’s beautiful work in just one or two washes.

Did you know? The artificial red hair molecule is significantly larger than other color molecules. Because of its size, it doesn’t penetrate the hair cortex as deeply, causing it to wash out more easily and fade faster than browns or blondes.
To keep your ginger from looking dull, your at-home care routine is just as important as the initial salon visit. A color-depositing system is non-negotiable for maintaining vibrancy.
- Color-Depositing Conditioner: A weekly must-have. Products like the Kérastase Chroma Absolu Masque or Wella Professionals’ Color Fresh Mask in a copper shade will refresh your tone.
- Color Gloss/Glaze: An at-home gloss can restore shine and add a sheer layer of color.
- Sulfate-Free Shampoo: For daily use, a shampoo designed for color-treated hair, like Pureology’s Hydrate line, is essential.
My copper is looking a little dull. Can I just use an at-home gloss?
Yes, but with a caveat. At-home glosses, like the popular dpHUE Gloss+, are fantastic for a temporary vibrancy boost and shine between salon appointments. They deposit a sheer coat of color on the outside of the hair. However, they can’t replace a professional gloss service, which uses a demi-permanent formula to penetrate the hair shaft, correct underlying tones, and provide a much longer-lasting, richer result. Think of at-home glosses as a top-up, not a replacement.
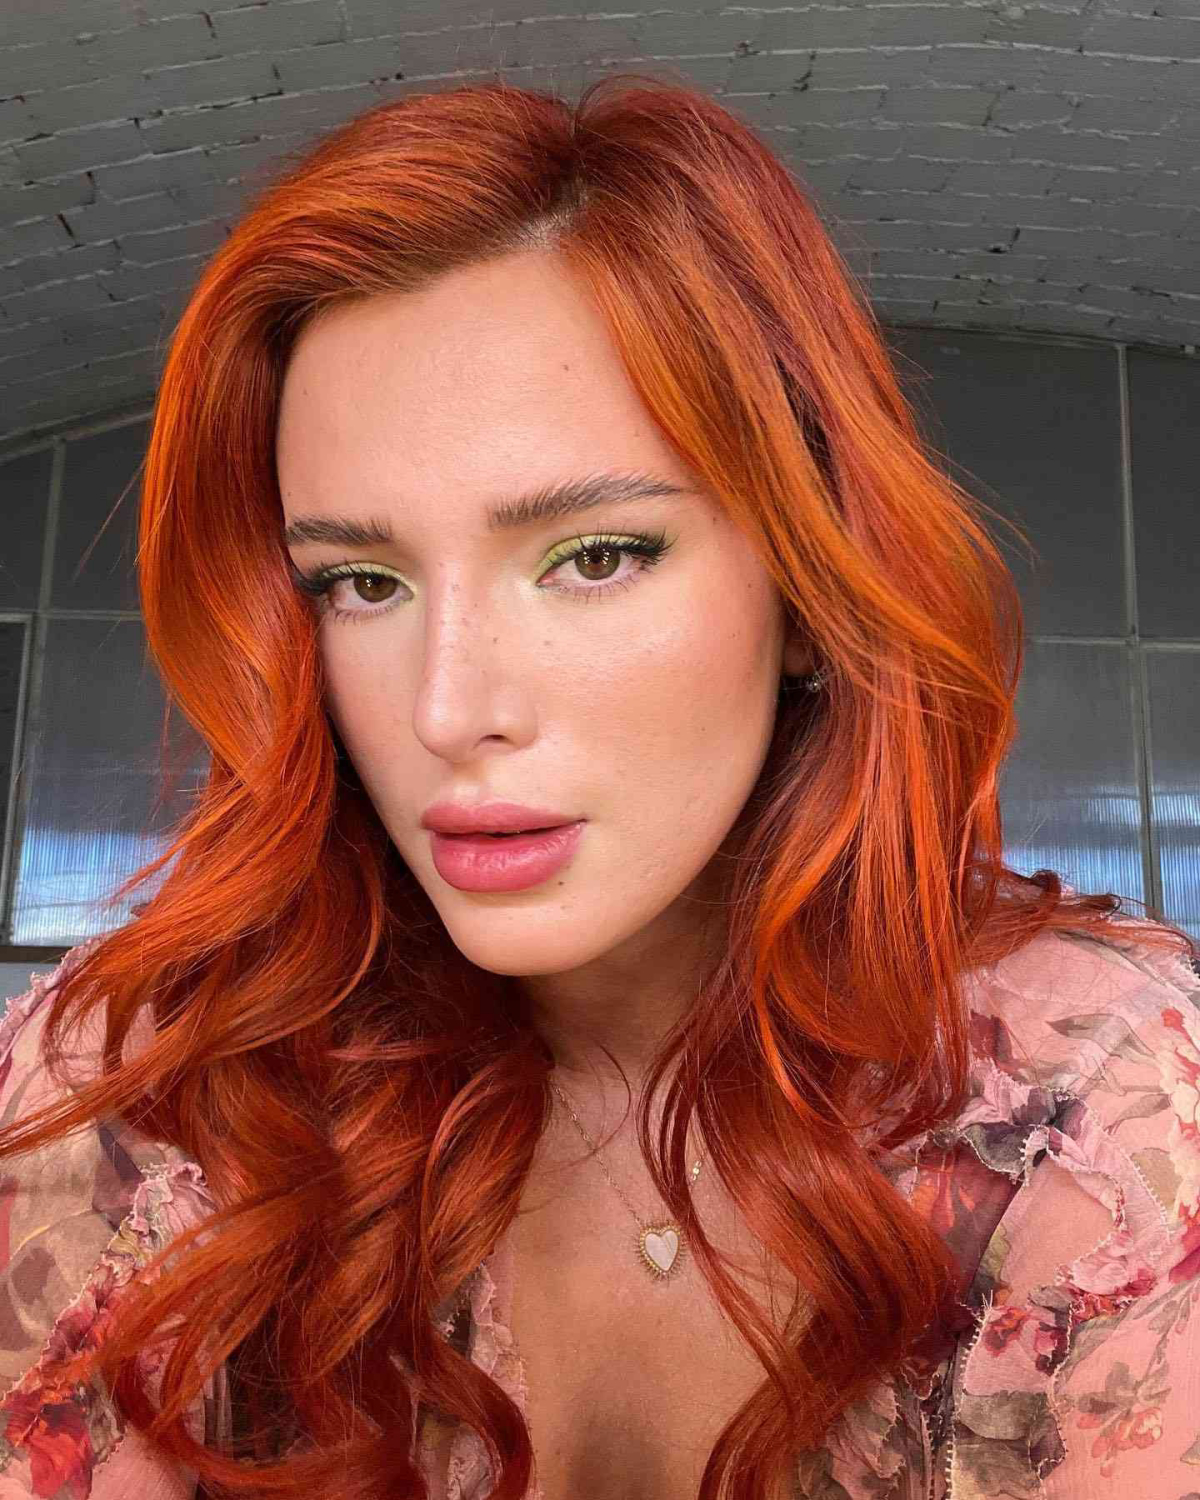
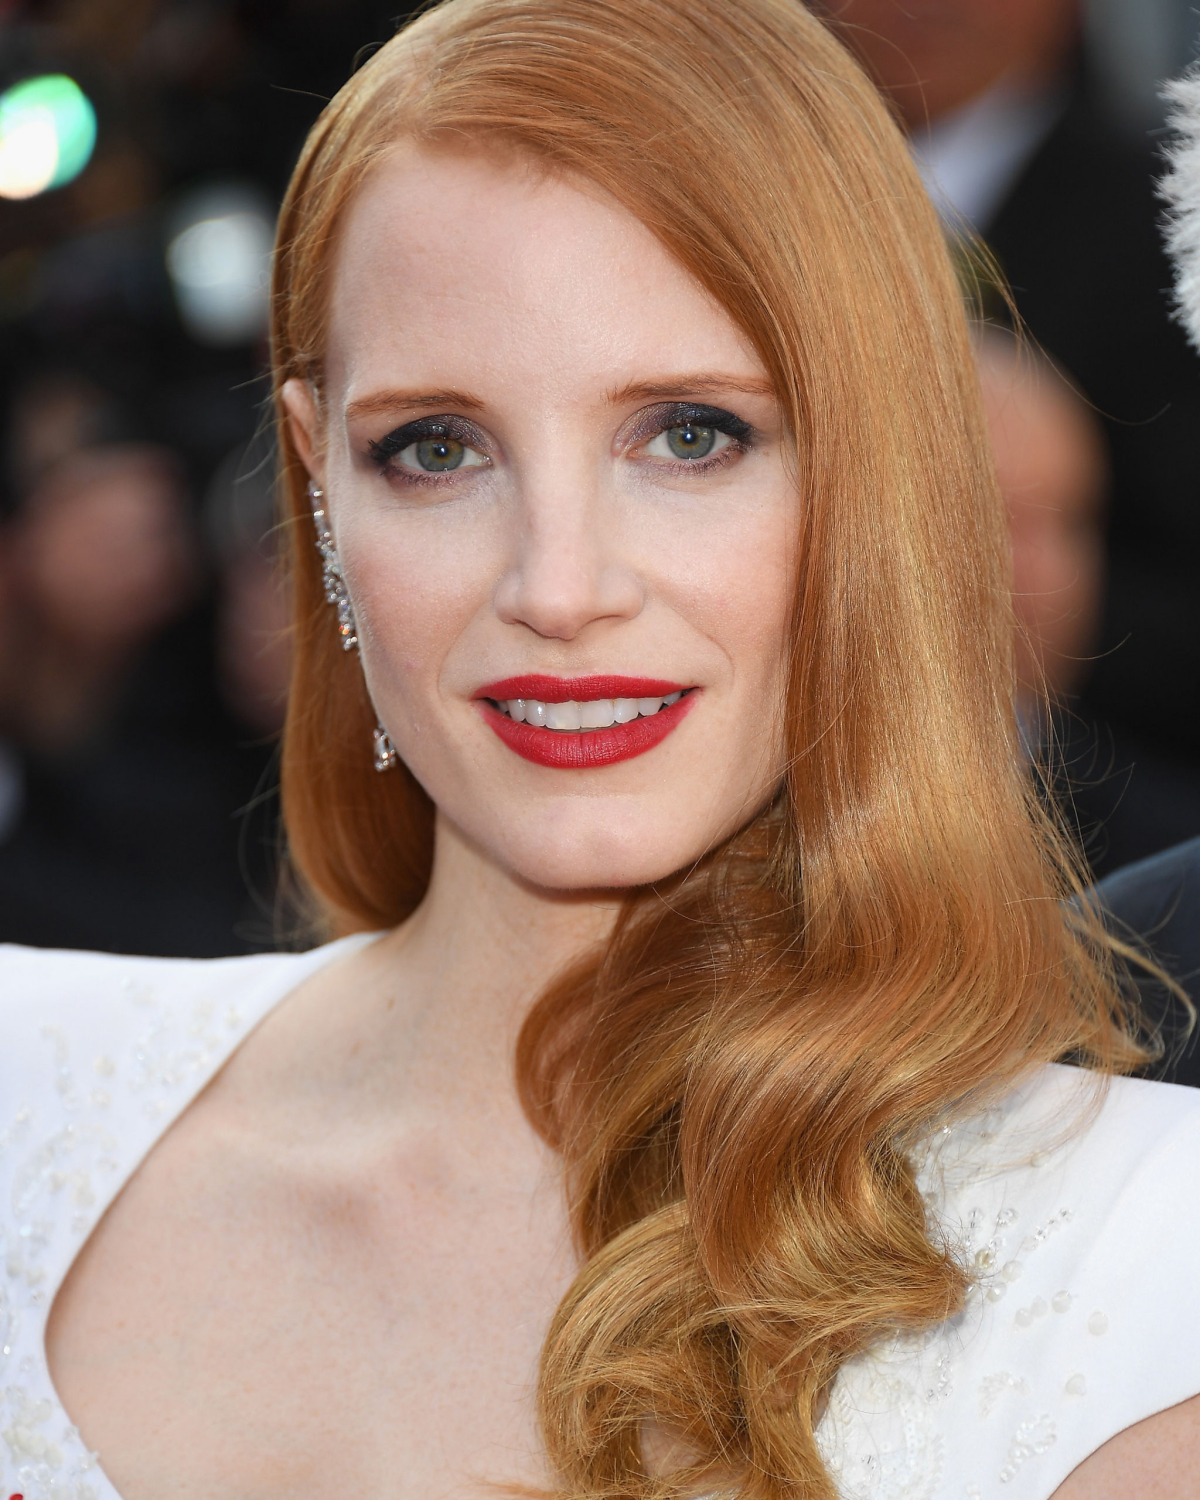
Copper Tones: Think bright, warm, and vibrant, with distinct orange and gold undertones. This shade family beautifully complements fair skin with pink or neutral undertones, often making blue or green eyes pop.
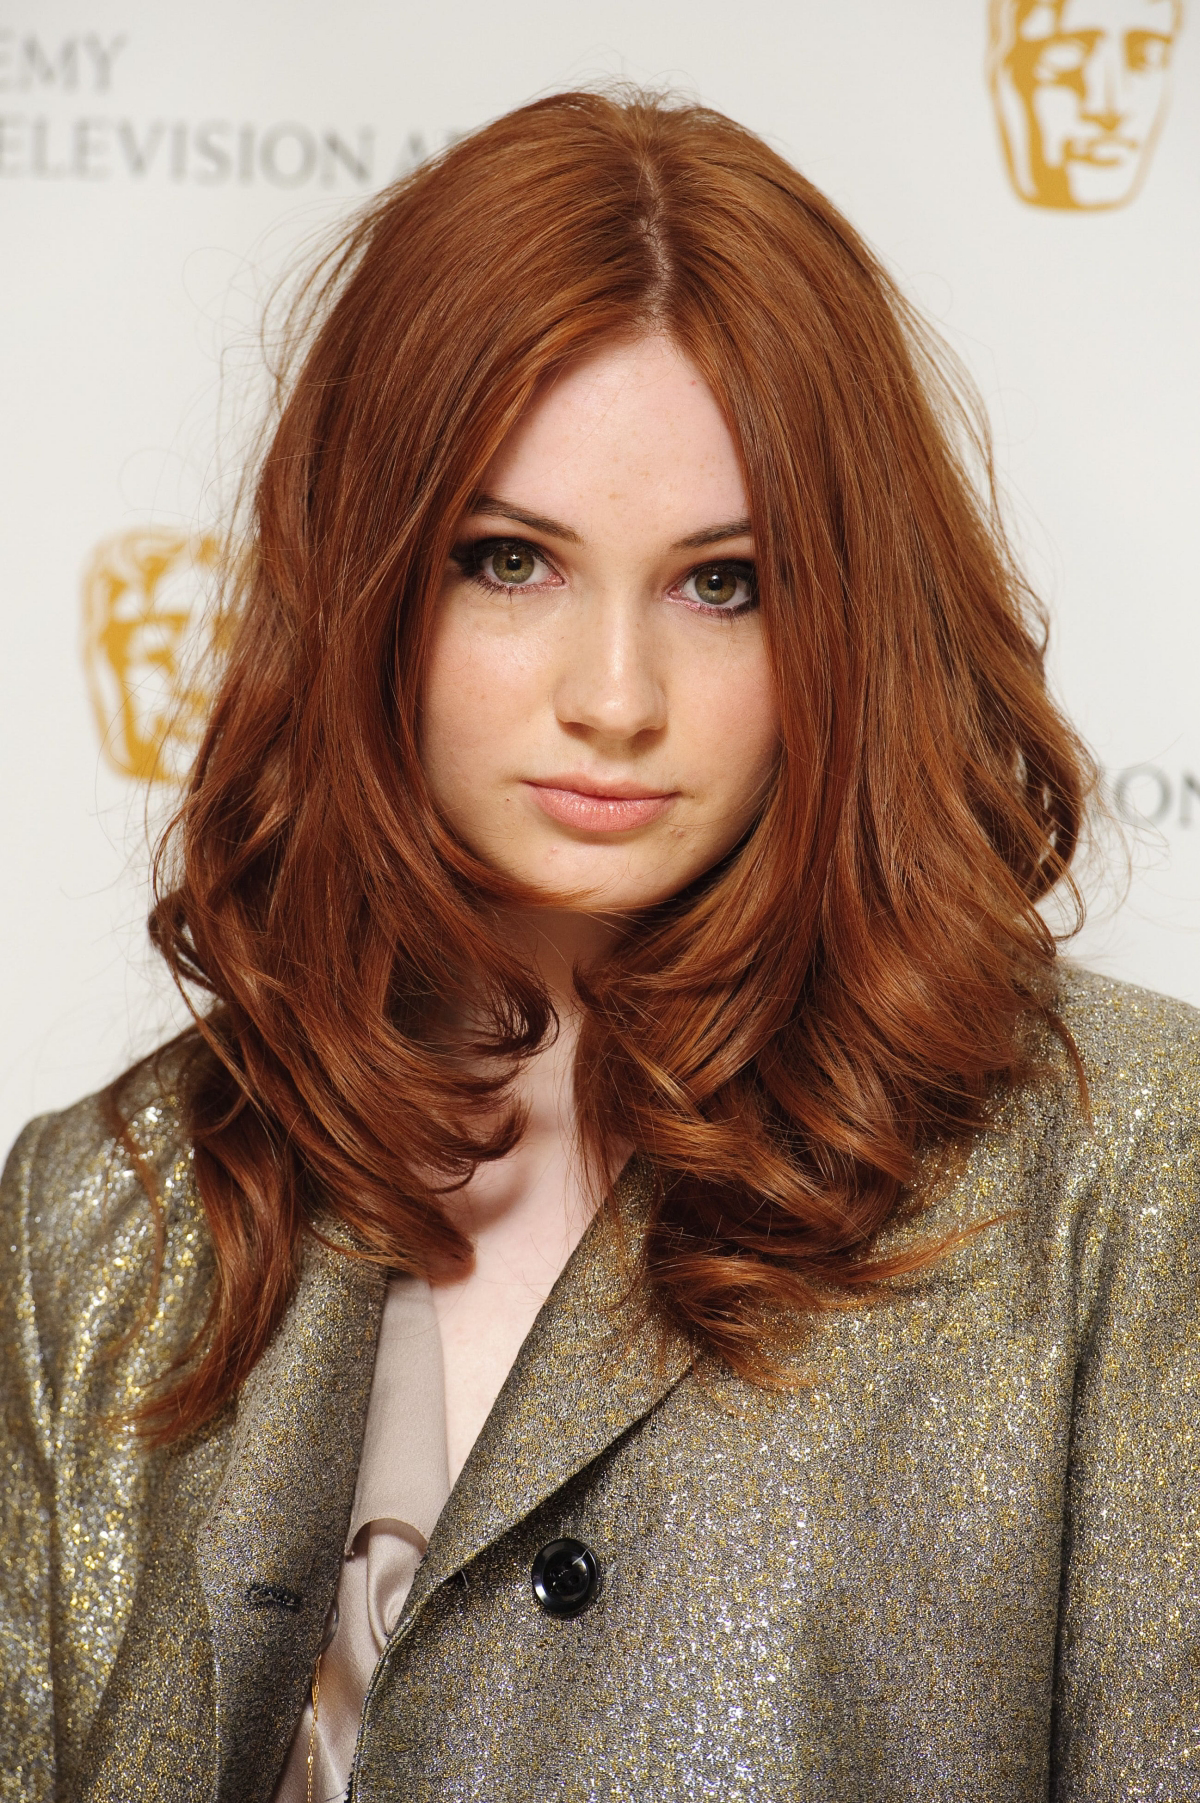
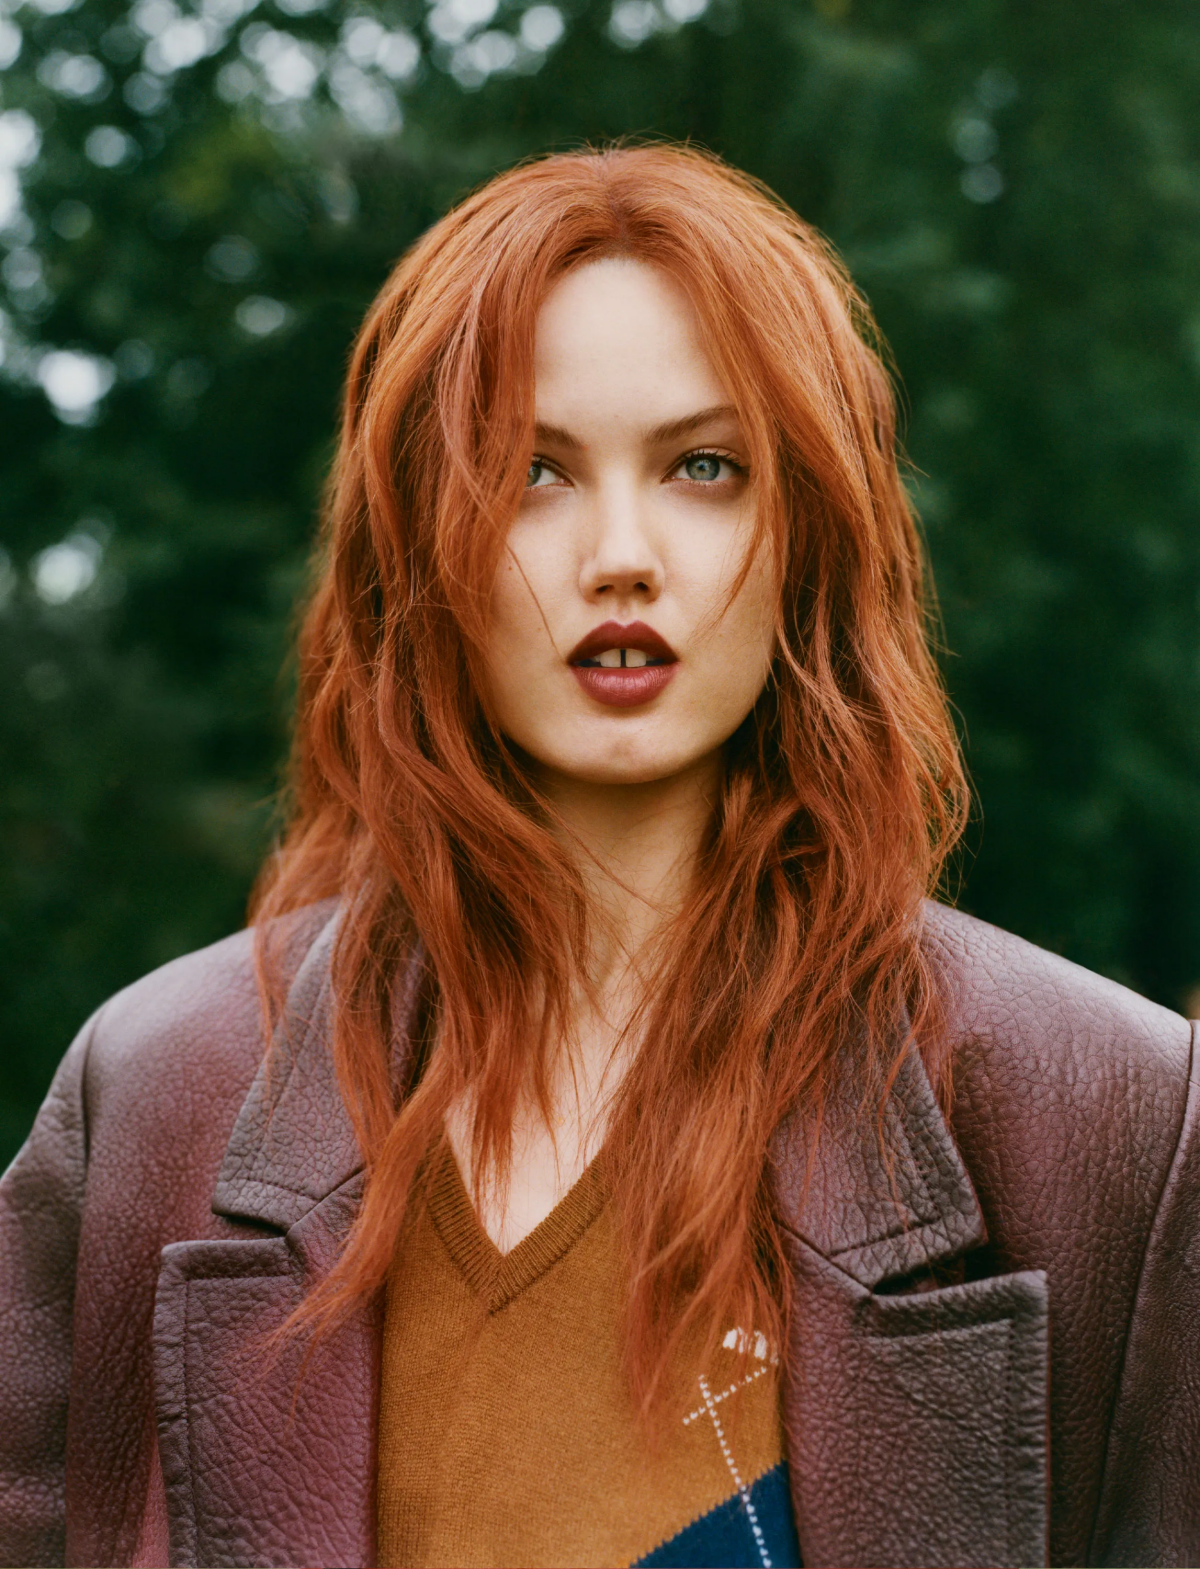
Auburn Tones: Deeper and richer, auburn leans more towards red and brown undertones. It offers a more natural, sophisticated red that works wonderfully with olive, golden, or deeper skin tones.
The key is matching the undertone to your complexion for the most flattering result.

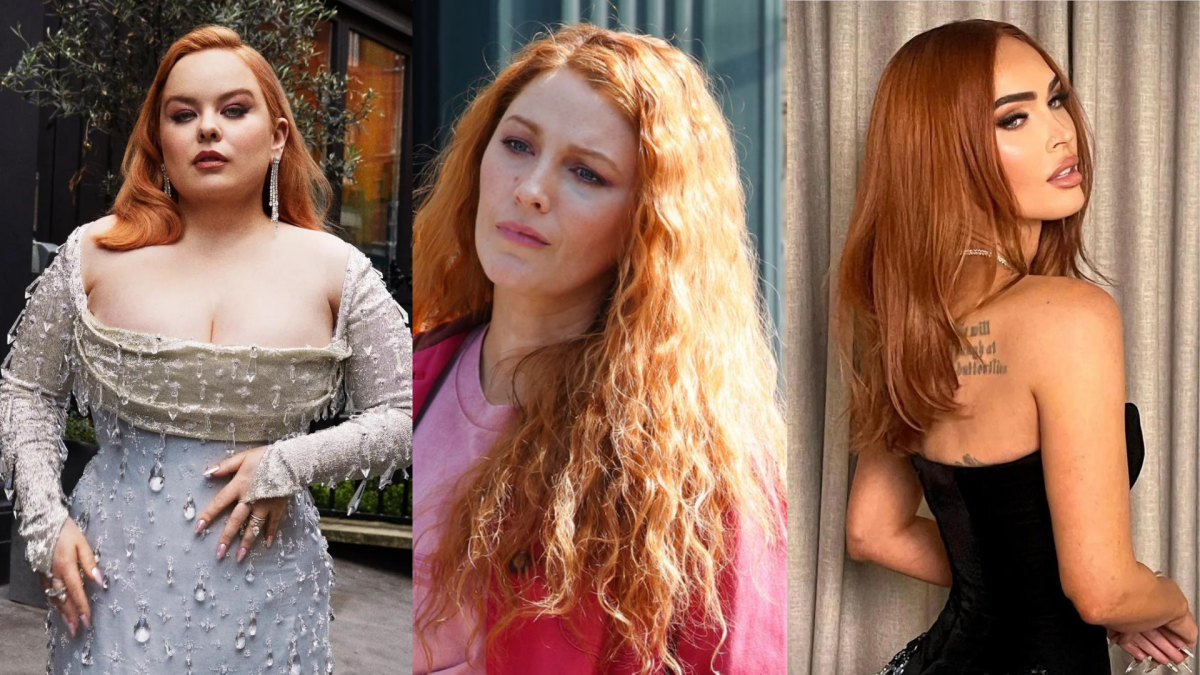
According to Google Trends, searches for ‘Cowboy Copper Hair’ spiked by over 5,000% in late 2023.
This trend highlights a move towards warmer, leather-inspired reds that blend copper and brown tones for a rich, dimensional look. It proves that ‘ginger’ isn’t a single color, but a spectrum. Ask your colorist about incorporating both warm copper and subtle brunette lowlights to achieve this lived-in, sophisticated version of red.
- It instantly revives faded copper and strawberry tones.
- It adds a dose of moisture, leaving hair silky.
- It costs a fraction of a salon gloss appointment.
The secret? Create a custom color-depositing mask at home. Simply mix a small amount (start with a pea-sized drop) of a direct semi-permanent dye, like Adore’s Cajun Spice, into a generous scoop of your favorite hydrating hair mask. Apply, leave on for 5-10 minutes, and rinse!


