Finally, a Messy Bun That Actually Stays Put (A Stylist’s Real-Talk Guide)
For years in the salon, the one look everyone wanted wasn’t some impossibly complex updo. It was the messy bun. You know the one—it looks like it was tossed up without a mirror, yet somehow looks incredibly chic. “I want that,” my clients would say, pointing to a photo. “The one that looks like I didn’t try.”
In this article
But let’s be honest, the ‘I didn’t try’ look often takes the most trying, right? It usually ends in one of two ways: a sad, lopsided knot that collapses in five minutes, or a bun so tight it gives you a raging headache.
So here’s the secret: a great messy bun isn’t about messiness at all. It’s about building a foundation of balanced, secure volume. It’s a bit of controlled chaos. Once you get the mechanics down, you can whip one up that lasts from your morning coffee run to evening plans. And good news: it’s not a 2-minute miracle. If you’re just starting out, give yourself a solid 10 minutes to practice. The speed comes later.

First, Let’s Talk Hair Science (The ‘Why’ Behind the Bun)
Before you even think about grabbing a hair tie, we need to talk about your hair’s texture. The number one reason messy buns fail is because the hair is too clean and silky. I see it all the time. When your hair is freshly washed and conditioned, the cuticles on each strand are smooth and flat. This makes everything super slippery—there’s just no friction for the hair to grip onto itself. It’s like trying to build something with wet bars of soap.
This is why stylists rave about second-day hair. A little natural oil gives the hair some “grit,” which is exactly what we need for an updo to hold. But what if your hair is squeaky clean? No problem. We just fake it.
How to Create Fake ‘Grit’ for a Bun That Won’t Budge
You can create the perfect canvas for your bun with a few key products. Think of this as priming your hair before you paint.
- Dry Shampoo: This is your absolute best friend. A good dry shampoo, like the classic Batiste or Not Your Mother’s (usually around $7-$15 at Target or any drugstore), uses fine starches to soak up oil and create a matte, grippy texture right at the roots. Lift sections of your hair and spray it about six inches from your scalp, then—and this is key—use your fingertips to really massage it in and wake up that volume.
- Texture or Sea Salt Spray: While dry shampoo works the roots, this is for the rest of your hair. A light mist of a sea salt spray roughs things up just enough to help the strands cling together. It gives your hair that piecey, lived-in feel that’s essential for the look.
- Light-Hold Hairspray: We’re not talking about the helmet-head stuff. A light, flexible hairspray can be misted all over before you start to create a subtle web of support that’s still totally workable.
Heads up! If you’re using texturizing products often, make sure to use a clarifying shampoo every week or two. It’ll get rid of any buildup and keep your scalp healthy and happy.

Your Messy Bun Toolkit: The Pro-Approved Essentials
Using the right tools makes all the difference. You wouldn’t use a sledgehammer to build a birdhouse, right? Here’s what you actually need.
Hair Ties That Do the Work
The tie is your anchor, so choose wisely.
- Fabric-Covered Elastics: The everyday standard. Just make sure you grab ones without the metal clamp, as that little piece is a notorious hair-snapper.
- Spiral Plastic Ties: These look like old phone cords and they’re fantastic. They grip really well without creating that harsh ponytail dent, which means fewer headaches. They’re especially great for thick hair.
- Bungee Cords: This is a pro-level tool, but a game-changer for very thick or textured hair. It’s an elastic with a hook on each end. You just hook one end in, wrap the cord, and hook the other end. No pulling your hair through the elastic over and over.
The Real Secret: Two Kinds of Pins

This is probably the most important lesson for any updo: you need both bobby pins and U-pins. They do completely different jobs.
- Bobby Pins (The Locks): These are the tight, closed pins. Their job is to lock things down. You use them to anchor the bun to your head and pin down stubborn ends. The pro trick? Insert the pin with the ridged side against your scalp for way better grip. To really secure a section, think of it like a sewing stitch: push the pin’s open end through the hair you want to secure, then angle the pin flat against your scalp and push it back in the opposite direction, catching the base hair underneath. It’s a game-changer.
- U-Pins (The Shapers): These are open, U-shaped pins, and they are your artistic tool. Their job is to support and shape without clamping down. Think of them as scaffolding for your bun. You use them to prop up sections, create volume, and gently tuck pieces into place. You can find a pack of 50 for just $3-$5 at a beauty supply store like Sally Beauty or online. They are non-negotiable for that soft, airy look.
The Core Method: Building Your Bun, Step-by-Step
Alright, your hair is prepped and your tools are ready. Let’s build this thing.
Step 1: The Ponytail Foundation
Where you place your pony sets the whole mood. Use your fingers, not a brush, to gather your hair. This keeps that texture we just created.
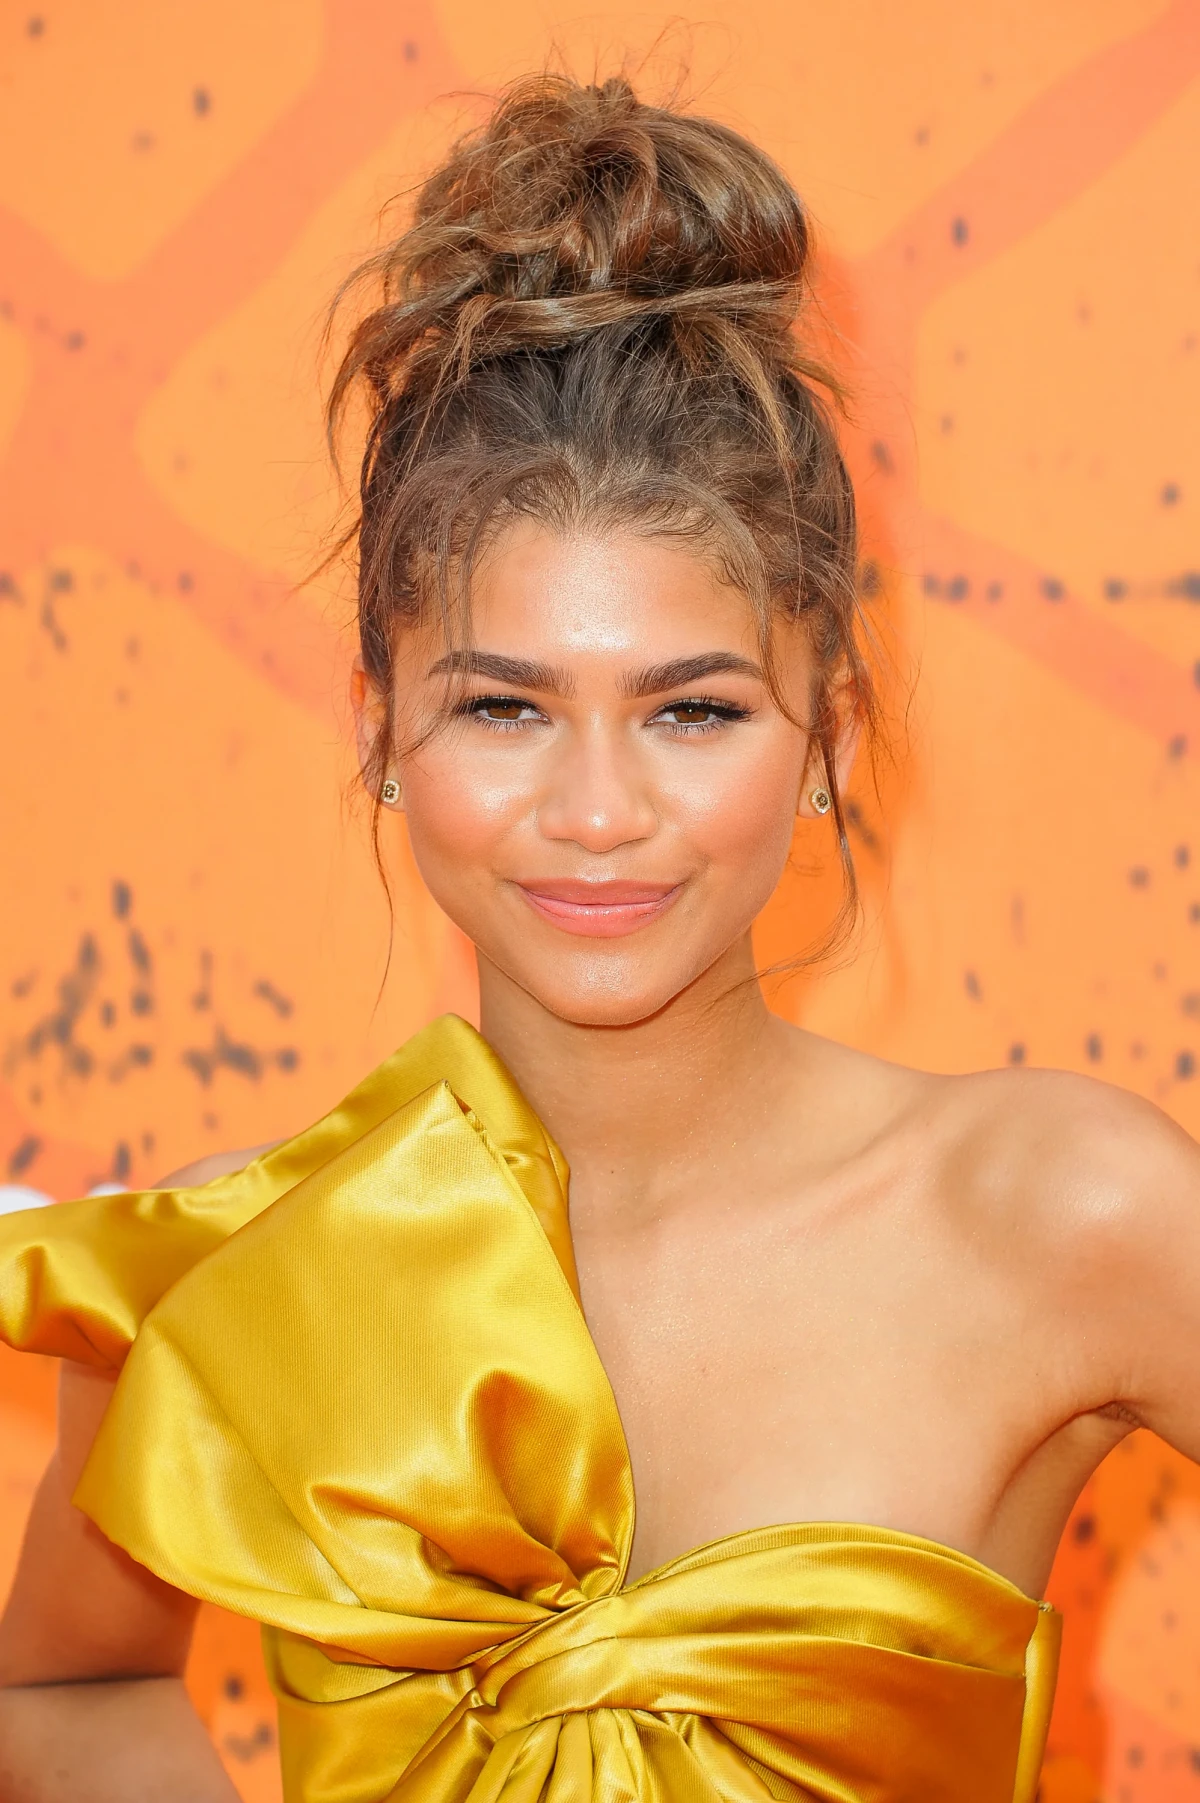
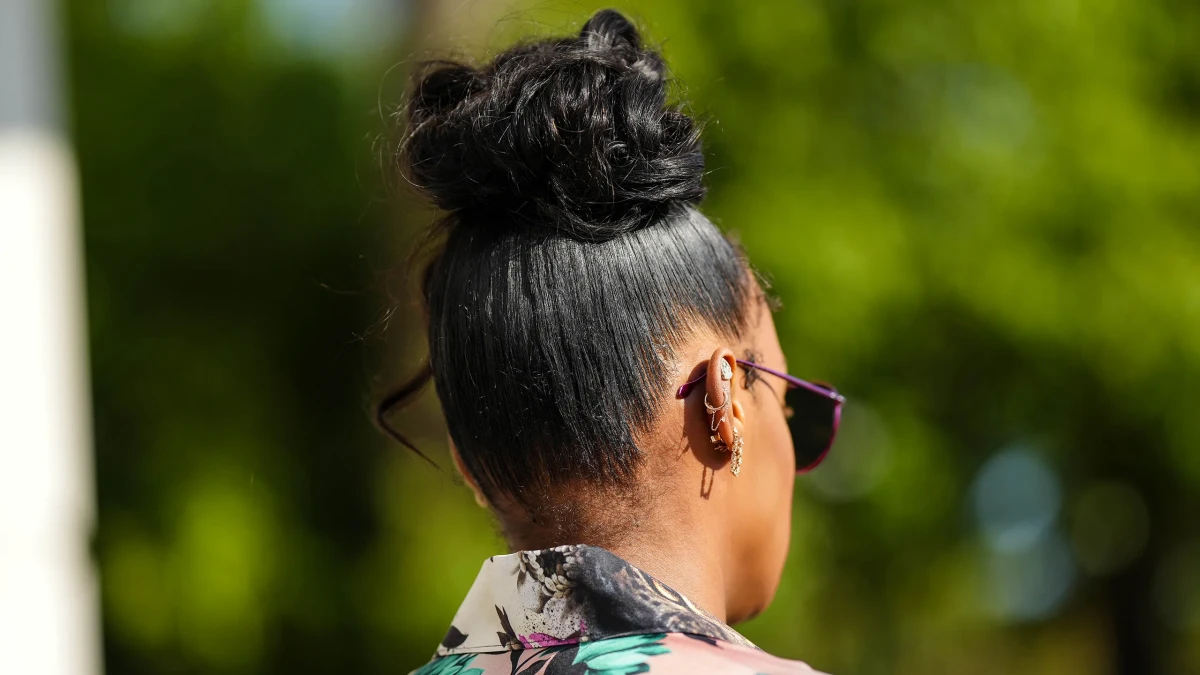
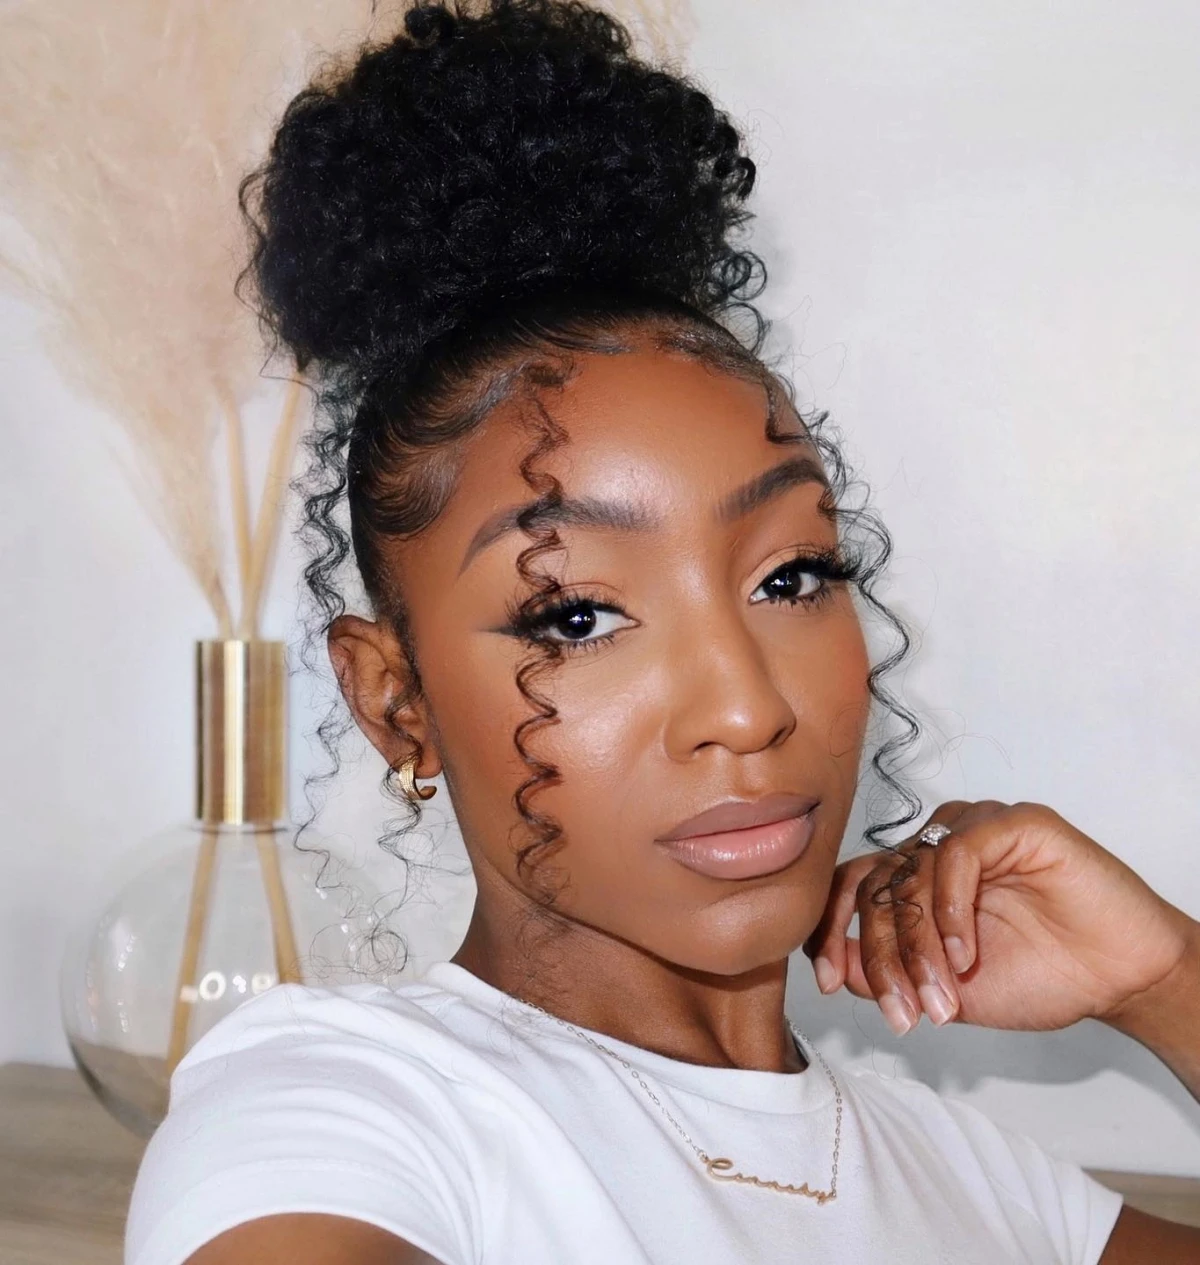
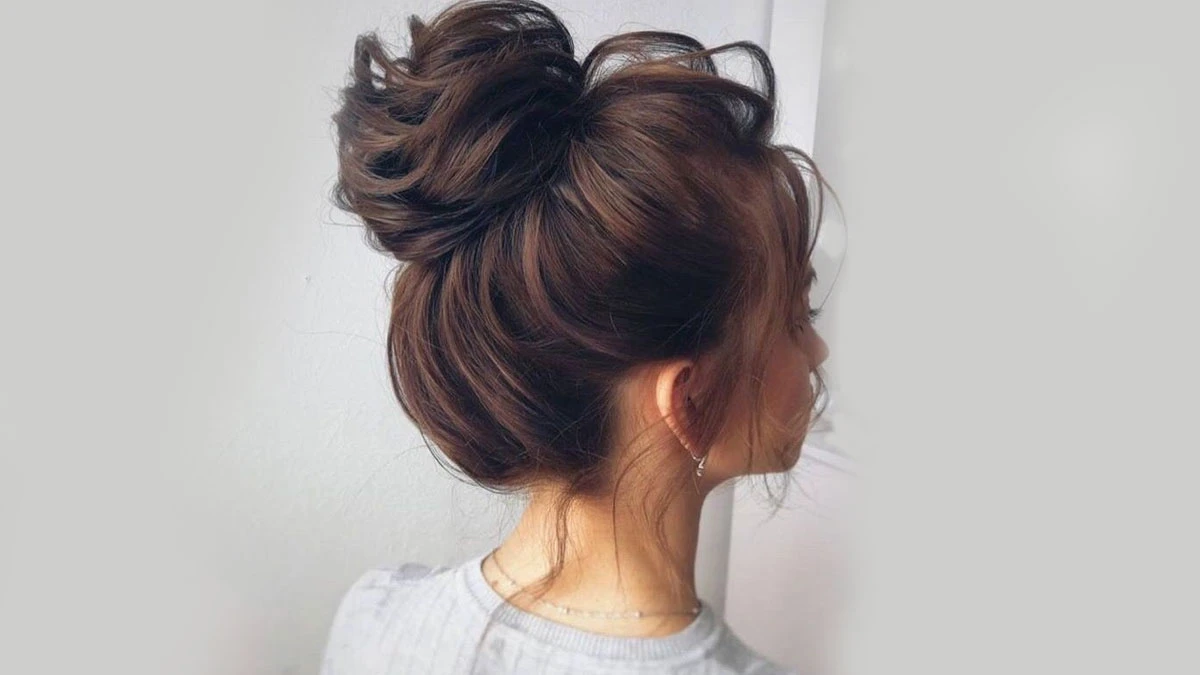
- High Pony (at the crown): Fun, energetic, and keeps hair off your neck.
- Mid-Level Pony (level with your ears): The timeless, versatile classic.
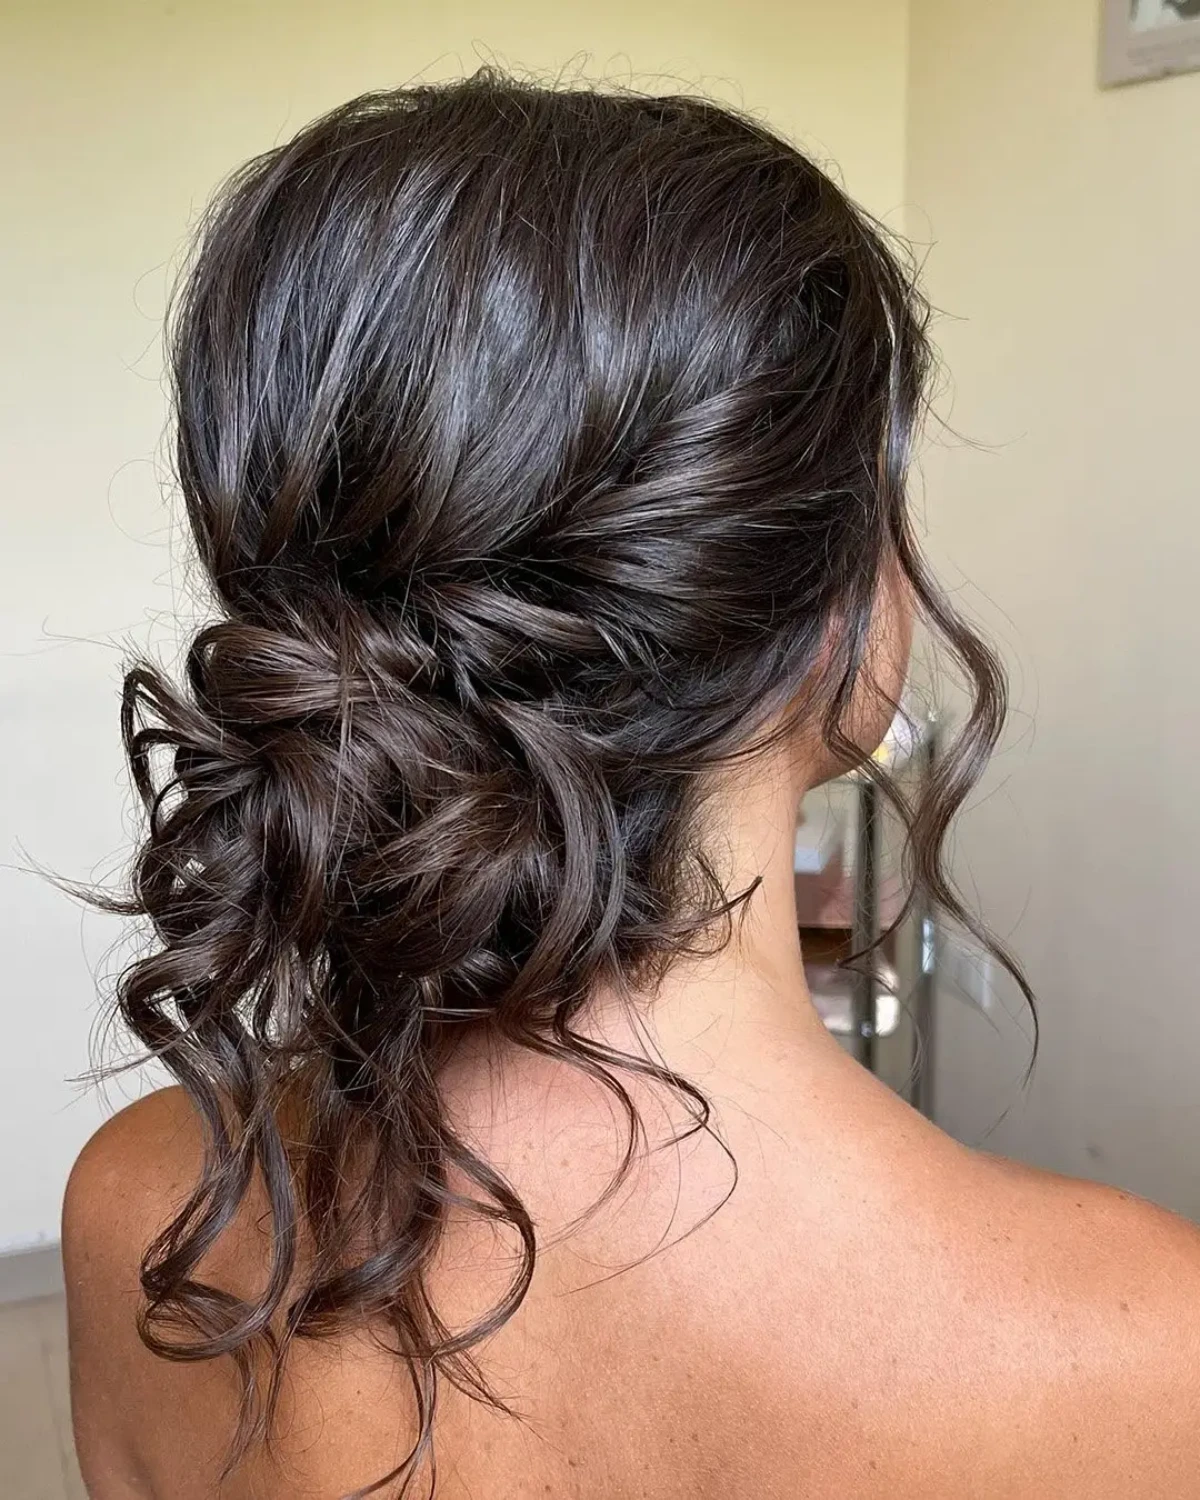
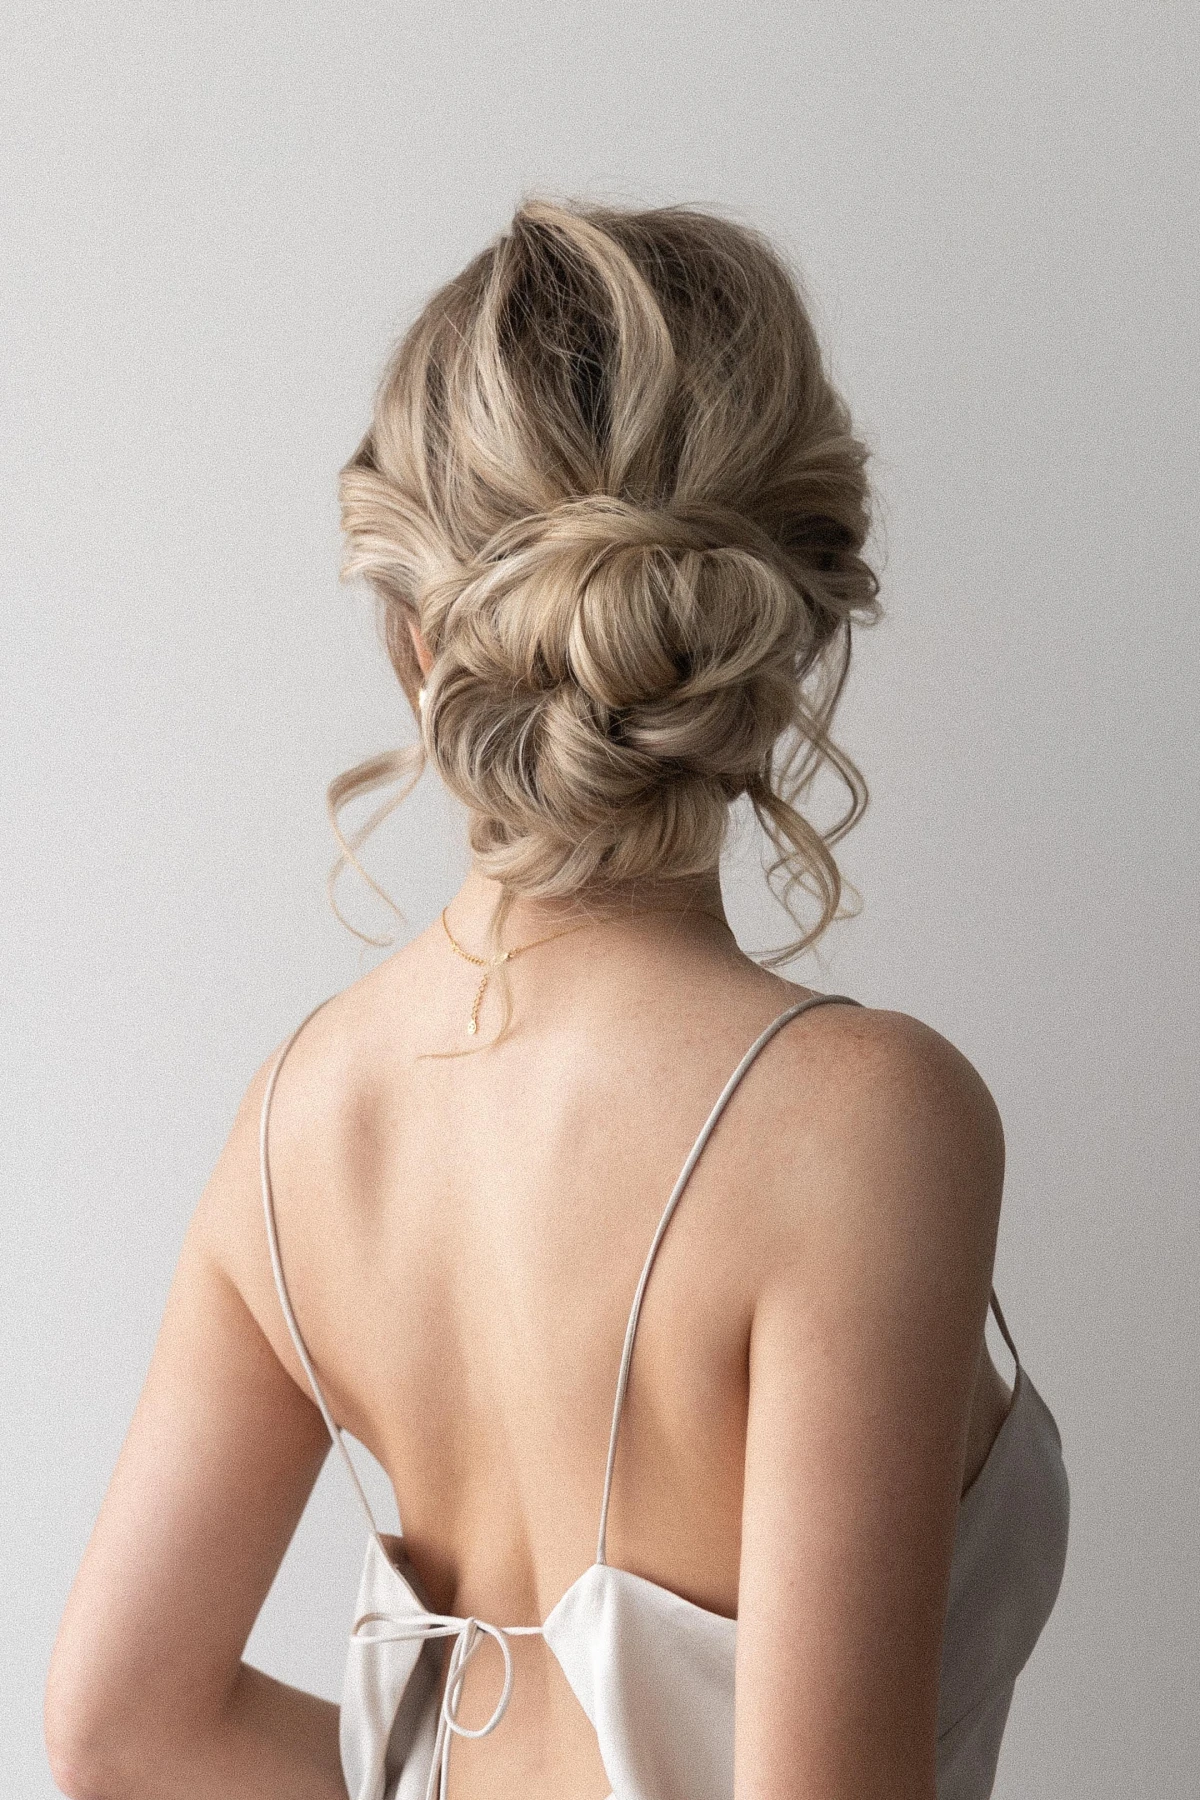
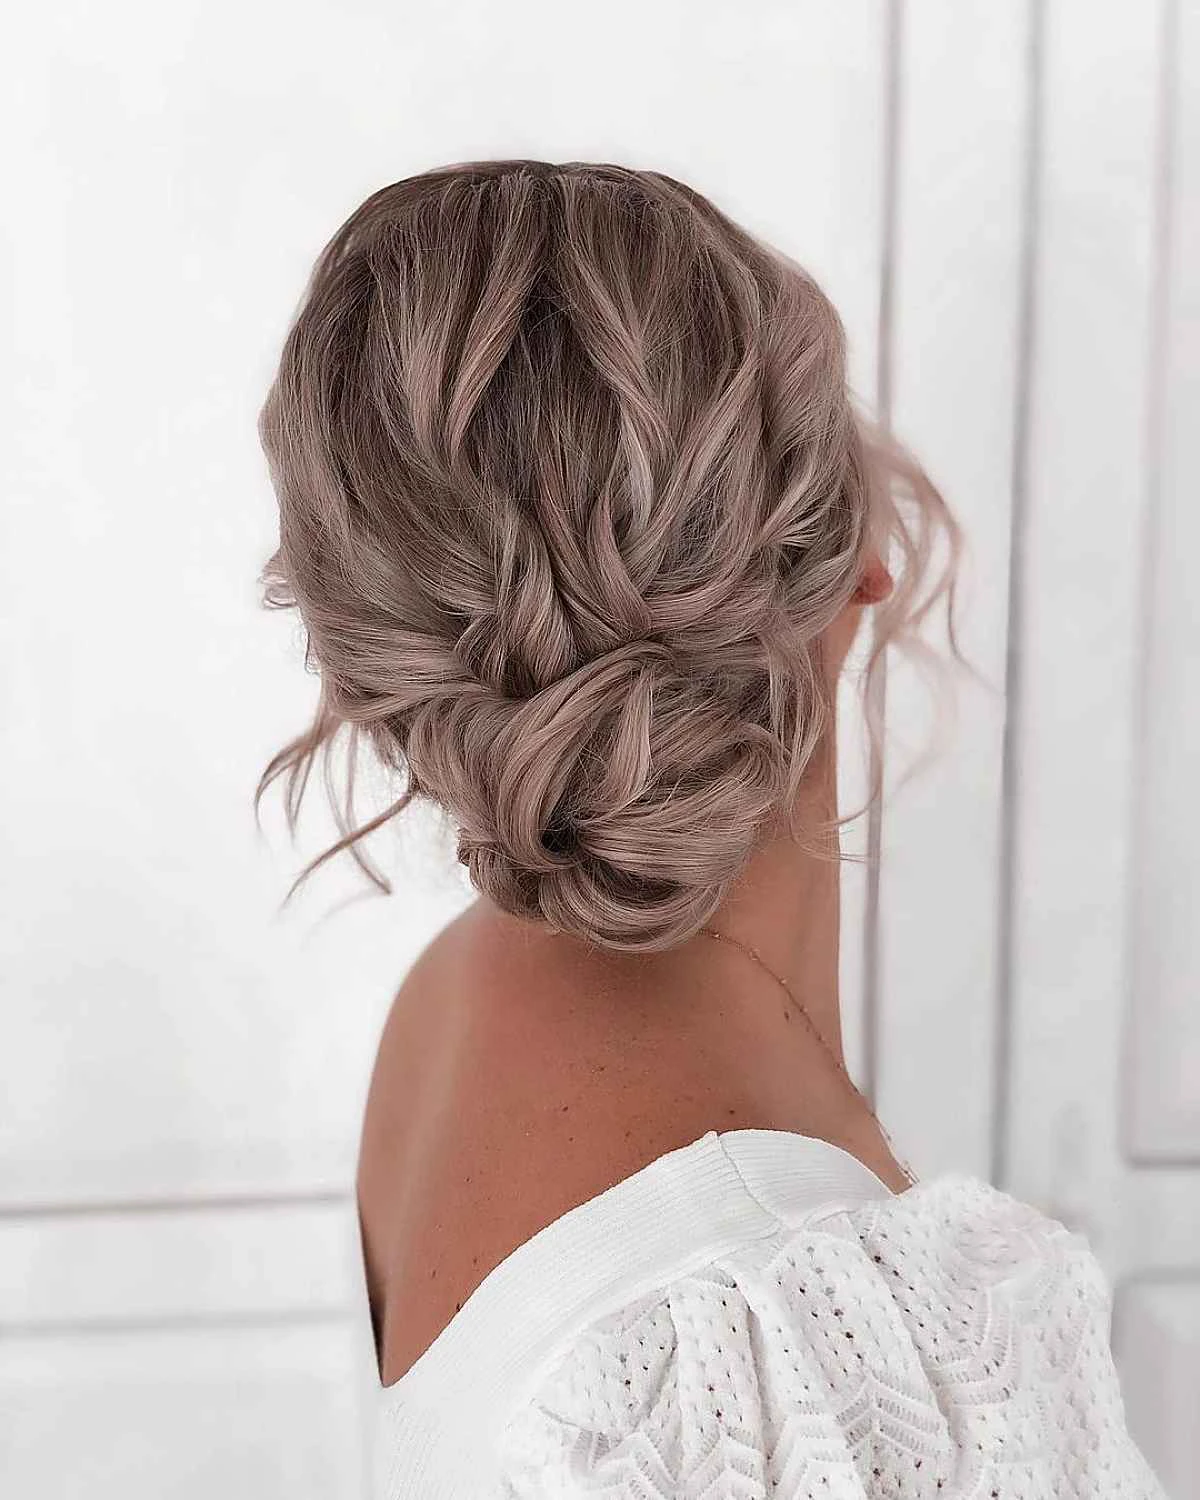
- Low Pony (nape of the neck): Softer, more romantic, and elegant.
Secure it with your hair tie. It should feel snug and secure, but not tight. If it’s pulling, it’s too tight.
Step 2: Choosing Your Bun-Shaping Method
This is where the magic happens. The best method for you depends on your hair.
- The Loop-Through Method (Best for medium length/thickness): On the last wrap of your hair tie, don’t pull the ponytail all the way through. Create a loop, leaving the ends sticking out. This is your fastest option. You can then wrap the leftover ‘tail’ around the base and pin it.
- The Twist-and-Wrap Method (Best for control and long hair): Hold your pony straight out and twist it loosely—a loose twist means a bigger, fluffier bun. Then, wrap that twisted rope of hair around the base. Don’t force a perfect donut shape; let it be a little lumpy and organic.
- The Braid Method (Best for very long or heavy hair): If your hair is so heavy it just falls out, this is for you. Braid your ponytail and secure the end with a tiny elastic. Then, gently pull on the sides of the braid to fatten it up (we call this ‘pancaking’). Wrap the fat braid around the base and pin it. It provides incredible internal structure and will not move.
Step 3: The ‘Messy’ Part (aka Strategic Deconstruction)
Right now, your bun is probably looking a little too perfect. Let’s fix that. With one hand holding the bun’s base, use the fingers of your other hand to gently tug on small sections of the bun itself. Pull them just slightly outward—maybe about a half-inch looser. The goal is to create soft texture and bumps, not to pull whole loops out.
Next, pull out a few face-framing pieces around your hairline and maybe near your ears. The key is to pull out the fine, wispy hairs that would naturally fall out anyway. It looks so much more authentic than pulling out a big chunk.
Step 4: Pinning with Purpose
Now we make sure it lasts. Use your bobby pins first to lock the main structure to your head. Use that locking trick we talked about! Then, switch to your U-pins. Feel for any wobbly spots and slide a U-pin in to connect that loose bit to the secure base. They’ll prop up the shape without killing the volume. Give your head a gentle shake. If anything feels loose, add another U-pin.

Common Messy Bun Fails & Quick Fixes
Getting frustrated? Don’t worry, these are the most common problems and they’re easy to solve.
- “It’s too tight and gives me a headache!” This is a big one. It means your ponytail base is too tight. The bun itself should feel light. If you feel pulling at your scalp, take it down and restart the ponytail. Your scalp will thank you. In fact, wearing styles that are too tight every day can lead to hair loss from the constant tension. It’s a real thing!
- “It keeps falling out!” This almost always comes down to two things: not enough ‘grit’ or a weak foundation. Your hair is likely too slippery. Go back and add more dry shampoo or texture spray. Also, make sure your ponytail is secured with a quality hair tie that isn’t all stretched out. One good, snug tie is better than three loose ones.
The 2-Minute “I’m Late!” Messy Bun
In a real pinch? Here’s the express version. Pull your hair into a quick ponytail. Liberally spray the ponytail itself with texture spray. Do the ‘Loop-Through Method,’ pull out two face-framing pieces, and you’re out the door. It might not last 12 hours, but it’ll look great for a few.
Taking It Down (Don’t Damage Your Hair!)
After a long day, it’s tempting to just rip everything out. Please don’t! That’s how you get breakage. Take a minute to gently remove every single pin first. Then, carefully unwrap the hair tie. Your hair will be a bit tangled from the products, so use your fingers or a wide-tooth comb to gently detangle before brushing.
And that’s it! Creating the perfect messy bun is a skill, and it takes a little practice. The more you do it, the more you’ll get a feel for what your hair needs. Soon enough, you’ll be nailing that ‘I didn’t even try’ look in minutes—and it’ll actually last all day.
Galerie d’inspiration
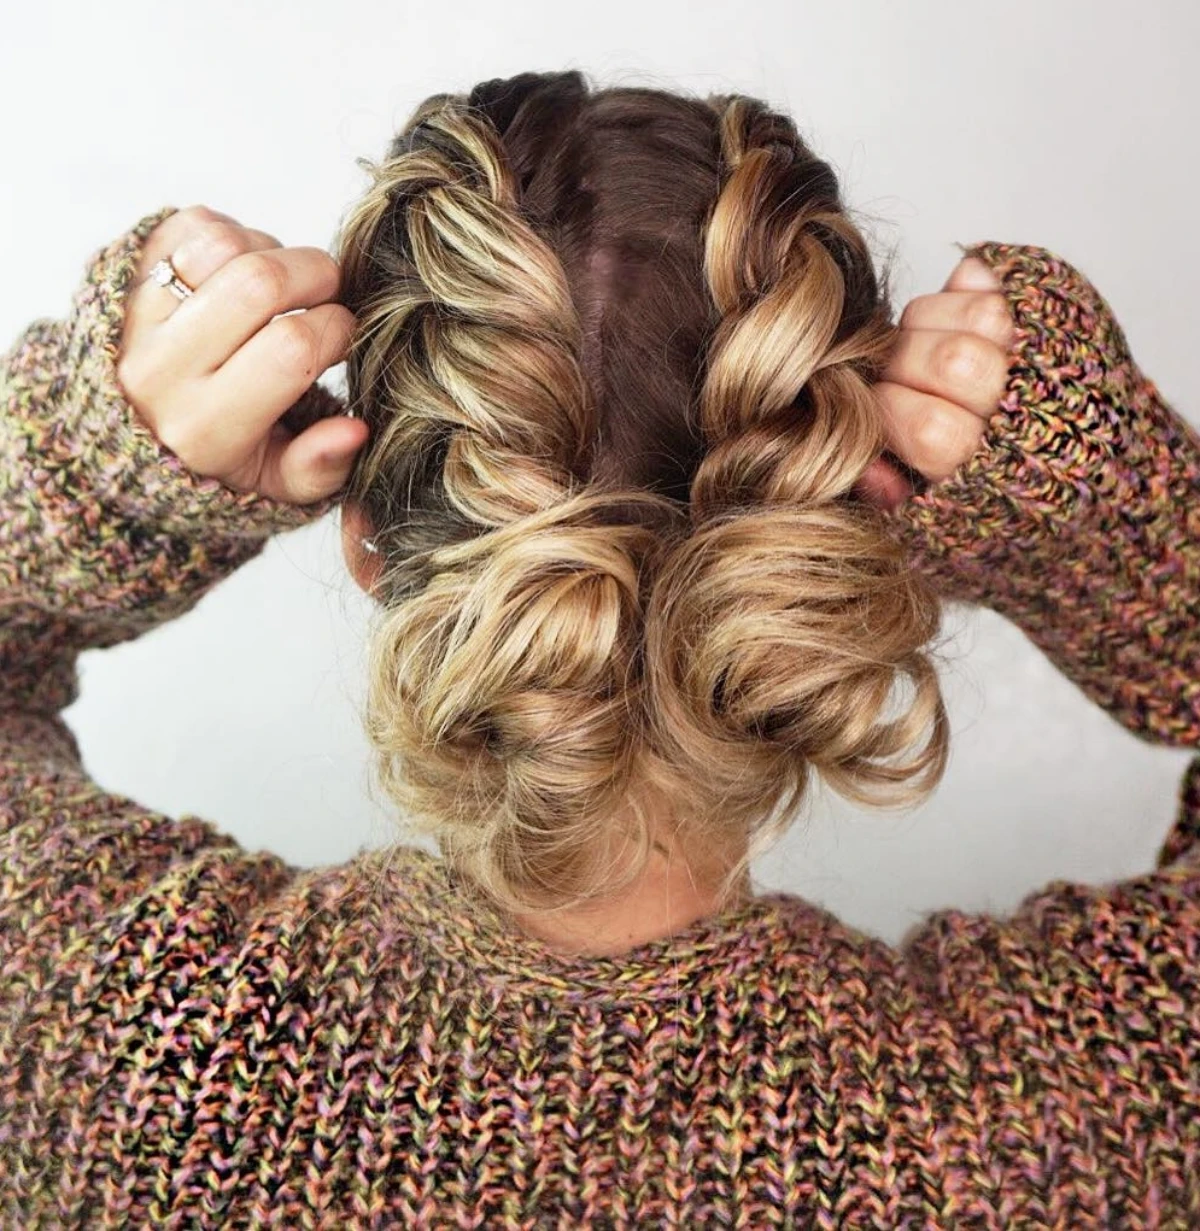
The secret to a voluminous bun that doesn’t feel like a brick on your head?
It’s all about the base. Instead of one tight ponytail, try the two-ponytail trick. Create a small half-up ponytail at your crown, then a second one with the remaining hair just below it. When you form the bun, you’ll be working with two anchor points, creating incredible dimension and a fuller look without having to overtighten or endlessly tease your hair.
More than 60% of hair breakage is caused by improper tension from accessories like hair ties.
This is why your choice of tie matters. While a tight elastic is tempting, it creates a single, harsh point of tension. Consider spiral hair ties, like the popular Invisibobble, which distribute pressure more evenly. For the final hold, U-shaped pins are a stylist’s secret weapon—they secure the bun’s shape without strangling the hair, offering a hold that is both firm and flexible.
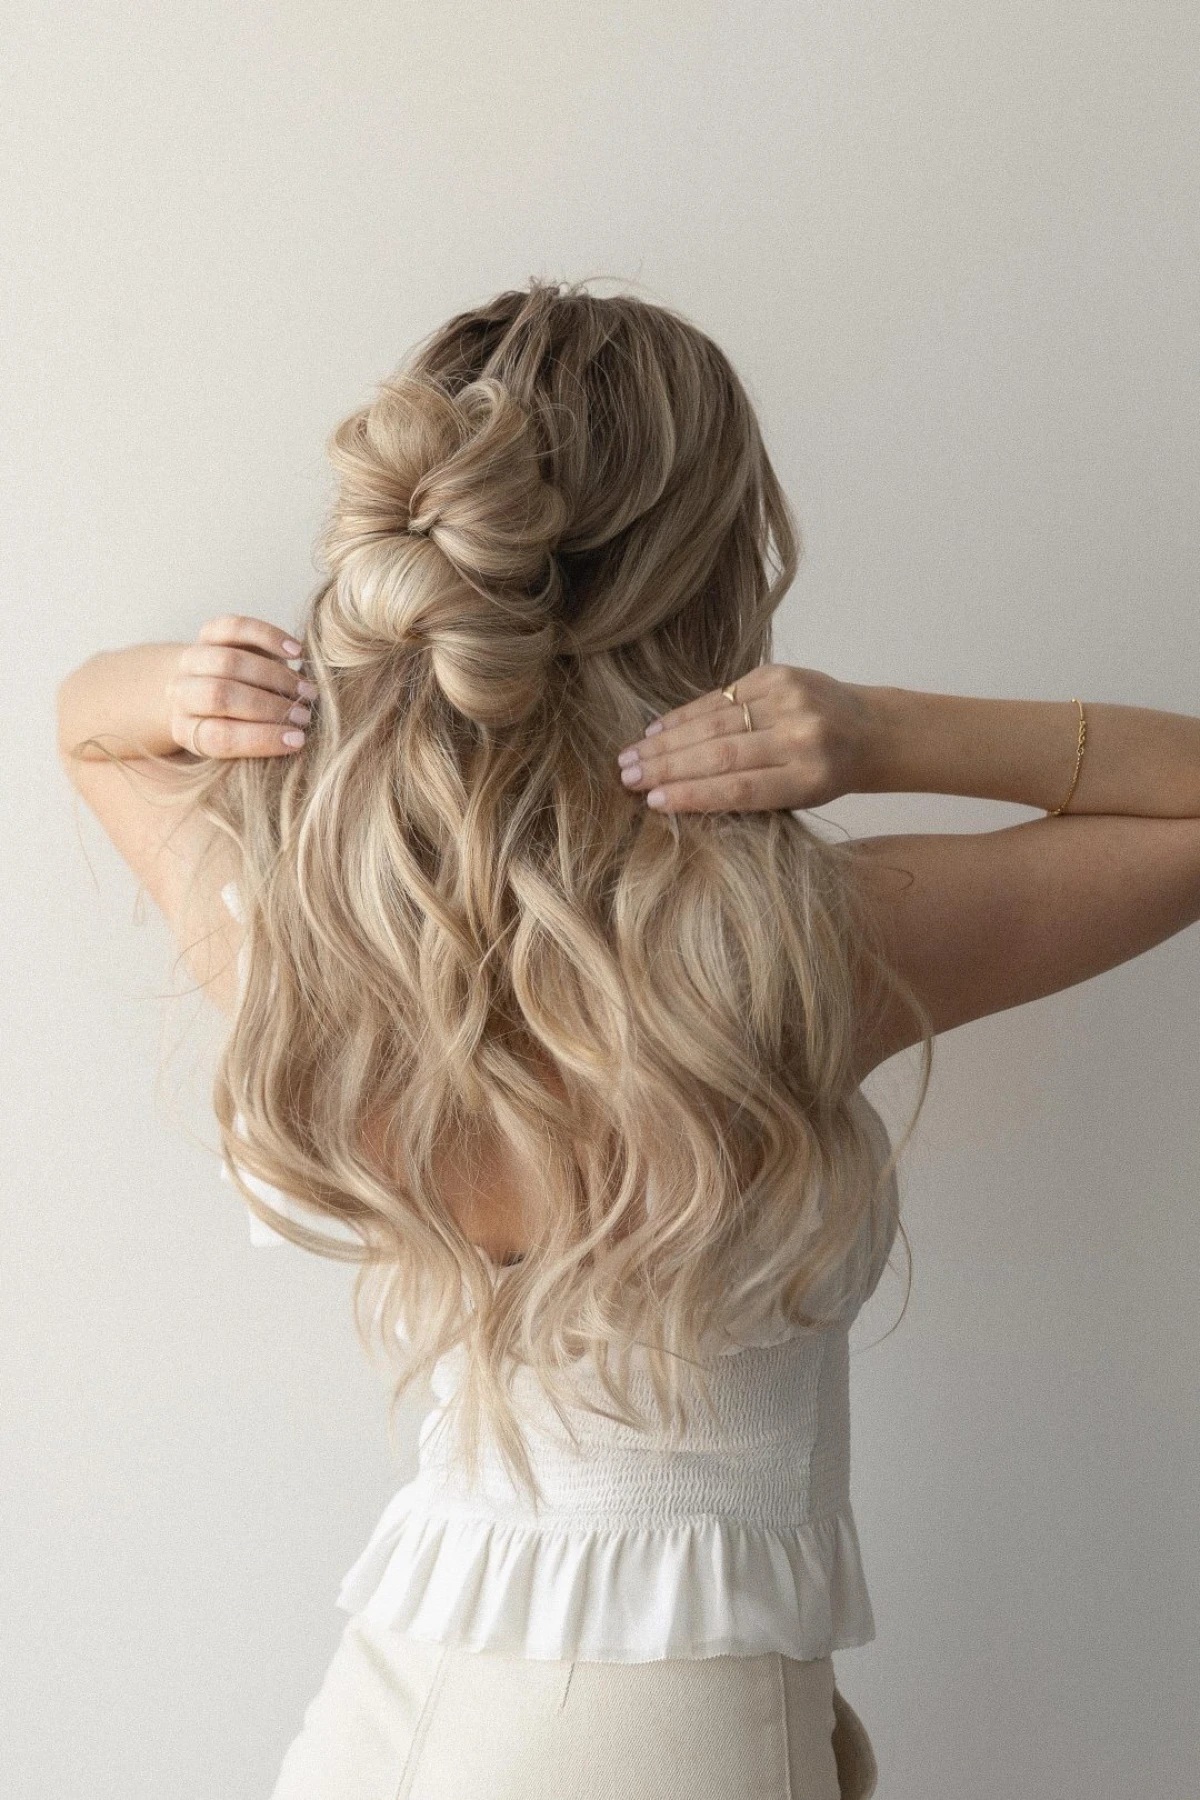
The right finish: A messy bun should look soft, not crunchy. After you’ve pinned your bun in place, avoid dousing it in a helmet-like strong-hold hairspray. Instead, opt for a texturizing spray or a flexible-hold formula. Spray it onto your fingertips first, then gently scrunch and pat the bun and any loose tendrils. This tames major flyaways while preserving that coveted, touchable softness.
Not all pins are created equal. Getting your bun to stay put often comes down to using the right tool for the job.
- Bobby Pins: Best used for pinning down the ends of your hair or securing small, unruly sections flat against your head. Use the wavy side down for maximum grip.
- U-Shaped Hair Pins: These are the key to securing the actual shape of the bun. Use them to anchor the bun to the base hair on your scalp by ‘stitching’ it in place.
Pro tip: For extra hold, give your pins a light misting of dry shampoo or texturizing spray before inserting them.


