The Honest Guide to Nailing Your Perfect Fall Hair Color
There’s just something about the air getting crisp that makes people crave a change. And for a hair colorist, this is the best time of year. For years, I’ve seen clients get inspired by the rich, warm tones of autumn, and it’s my favorite transformation to create. But getting that perfect, glowing fall color is about more than just pointing to a picture on Pinterest.
In this article
It’s about understanding the hair in front of you and respecting the chemistry we work with every day. This isn’t just a list of trendy names for brown or red. Think of this as the real conversation we’d be having if you were sitting in my salon chair, ready for something new. We’ll get into the ‘why’ behind the techniques, what you should actually be asking for, and how to keep it looking amazing long after you leave.
First, a Little Hair Color 101
Before we dream about coppers and chocolates, we have to get on the same page with some basics. Knowing this stuff is the difference between fighting your hair and working with it. Honestly, it’s the foundation of every single great color job.
The Two Things That Define Every Color: Level & Tone
In the salon world, every single hair color is described by two things: its level and its tone. Getting this lingo down helps you and your stylist communicate perfectly.
- Level: This is simply how light or dark the color is. We use a scale from 1 (the deepest, inkiest black) to 10 (the lightest, palest blonde, think the inside of a banana peel). When a stylist says you’re a “Level 6,” they’re just describing the darkness of your hair. That’s our starting line.
- Tone: This is the fun part—it’s the character of the color. Is it warm (like gold, copper, red) or is it cool (like ash, violet)? A “Level 6 Gold” and a “Level 6 Ash” are the exact same level of darkness, but they look worlds apart.
For fall, we naturally lean into warmer tones. Golds, coppers, and reds just seem to absorb the season’s softer light and give off a beautiful warmth. Cool tones can be stunning, of course, but they often require a bit more work to maintain.
The Big Secret: Your Hair’s Underlying Pigment
Ever wonder why your hair turns that dreaded “brassy” orange color when you try to lighten it? Here’s the secret: all hair has natural warmth hiding inside. When we lighten hair, we’re stripping away the natural color molecules, and as they disappear, they reveal the warm tones underneath. It’s totally predictable:
- Dark brown hair lifts to reveal red pigment first.
- Medium brown hair lifts to show red-orange, then bright orange.
- Light brown and dark blonde hair lift to show orange-yellow, then plain old yellow.
A good colorist doesn’t fight this—we use it. We know that to get a beautiful, deep brunette, we have to control that underlying orange. To get a clean, cool blonde, we have to lift past the yellow stage and then use a toner (which is just another color) to neutralize it. For example, violet-based toners cancel out yellow, and blue-based toners cancel out orange. It’s all just a grown-up version of the color wheel we learned in school!
The Real MVP: Hair Porosity
If one single thing dictates how your color will turn out, it’s porosity. Porosity is just your hair’s ability to absorb and hold moisture. Think of low-porosity hair like a rain jacket—the cuticle is sealed tight, and it resists color. High-porosity hair (usually from old color services or heat damage) is like a sponge—the cuticle is open, and it soaks up color in a flash.
That sounds great, but it’s a trap. Porous hair often grabs onto cool and dark tones way too intensely, which can lead to muddy, uneven results. I’ll never forget a client who came in with very light, porous blonde hair wanting a rich chocolate brown. If I had just slapped one color on from roots to ends, her healthy roots would’ve been a gorgeous warm brown, but her porous ends would have turned a swampy, murky grey-green. Yikes. To avoid that disaster, we had to do an extra step called a “filler,” applying a warm reddish-gold color just to her ends first. This fills in the missing pigment, giving the final brown color an even base to live on. Understanding porosity is non-negotiable.

Talking to Your Stylist (And Getting What You Actually Want)
A great color service always starts with a great conversation. Inspiration photos are fantastic, but a skilled stylist uses them as a starting point, not a strict blueprint. We need to find the balance between your dream hair and the reality of your hair type, lifestyle, and budget.
How to Describe What You Like
Instead of just saying “I want this,” try explaining what you like about the photo. It gives us so much more to work with.
- Instead of just brown, say: “I love how rich this brown is, but I’m worried about it looking flat or one-dimensional.” That tells me you want depth. I’d probably suggest some subtle lowlights (a shade darker than your base) or a final gloss treatment to really amp up the shine.
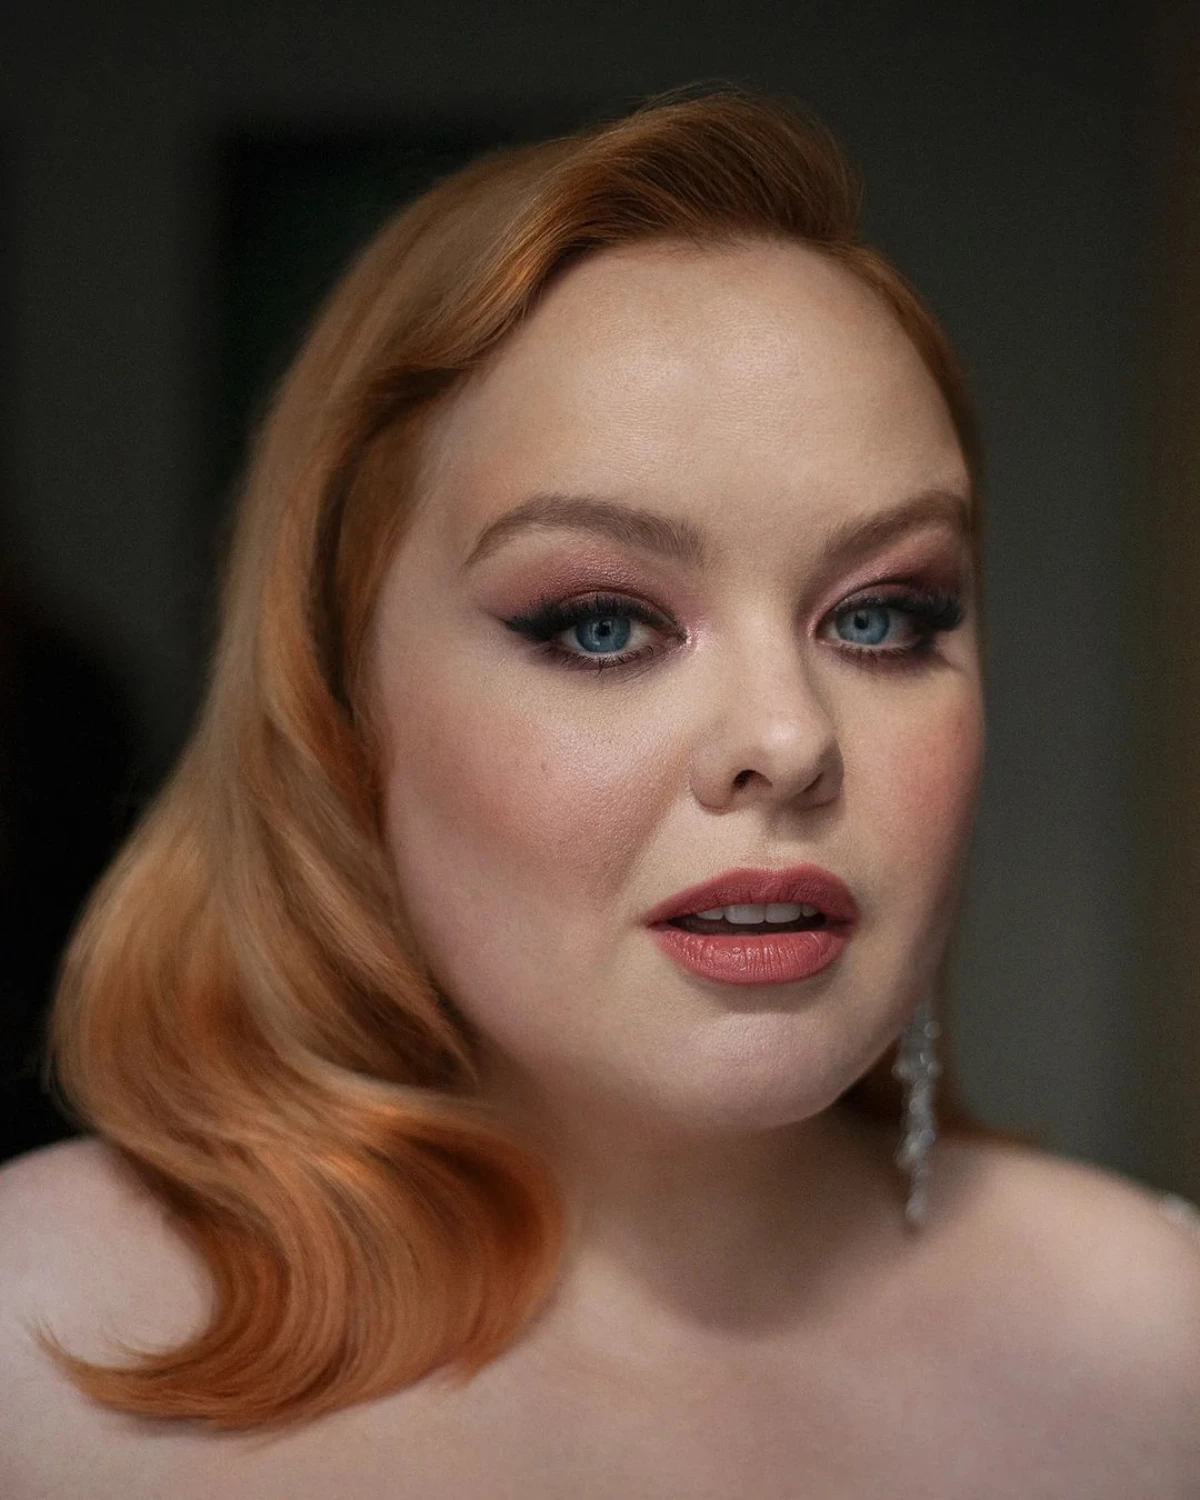
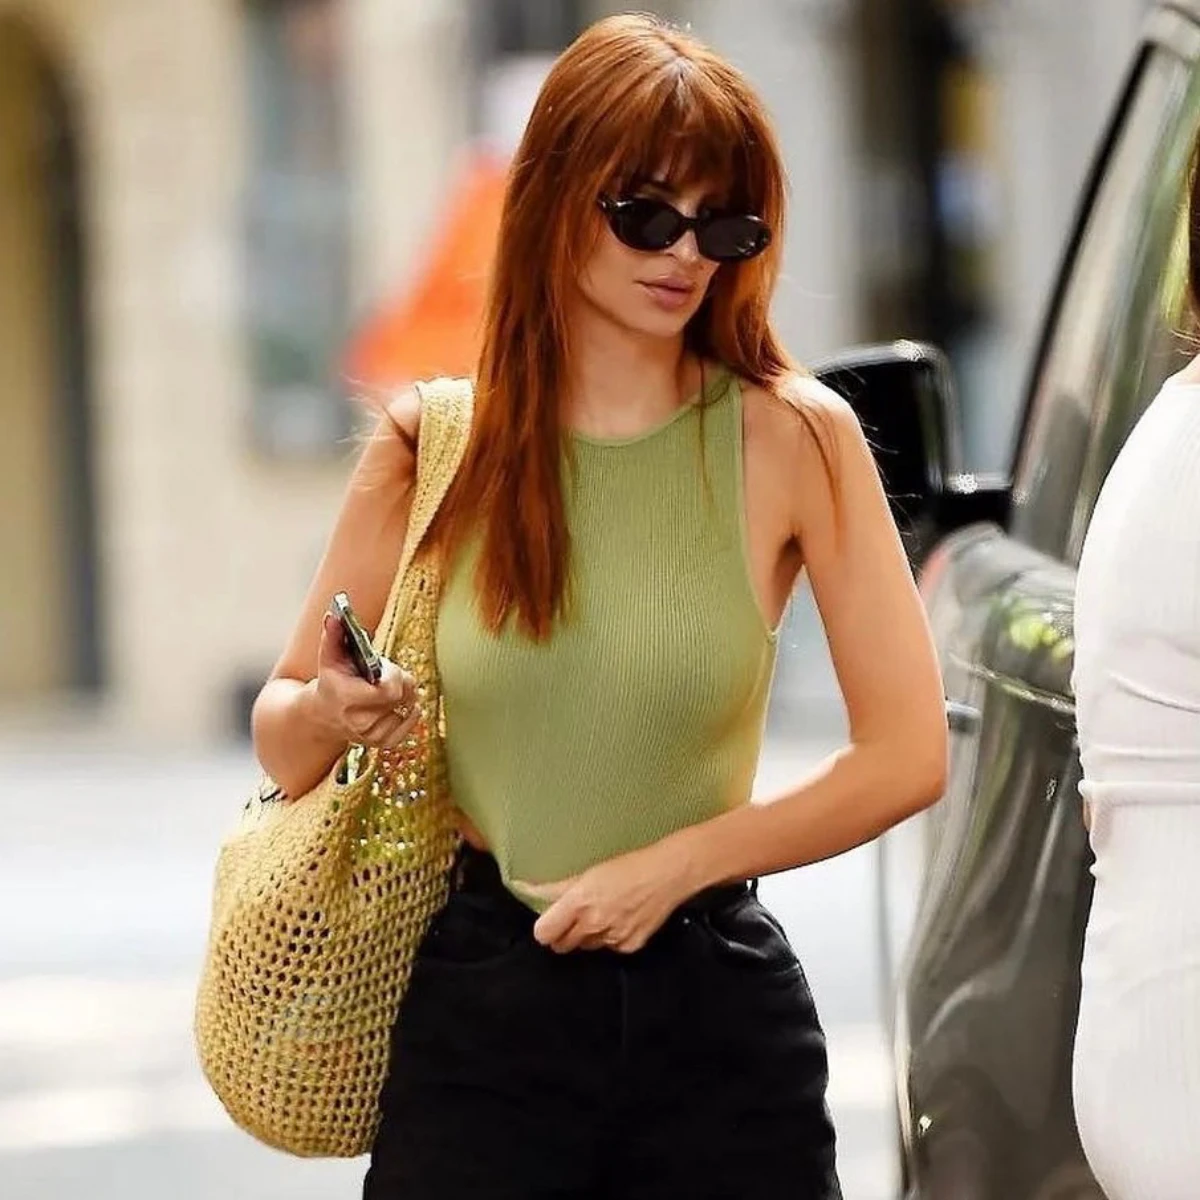
- Instead of just red, say: “I want to be a redhead, but I’m terrified of it being traffic-cone bright.” Perfect! That tells me you’d be happier with a sophisticated copper-brown or a deep auburn, instead of a pure, fire-engine red.
- Instead of a total change, say: “I want to warm up my blonde for fall, but without a huge commitment.” This is a dream request. I’d suggest a “root smudge” to soften your regrowth and a golden-beige gloss to tone down the summery brightness.
Let’s Talk Money and Time, Honestly
A good stylist should always be upfront about the cost, time, and upkeep. If you have black box dye on your hair and you show me a picture of a soft, coppery red… that is not a two-hour appointment. That’s a color correction, and it’s a journey.
Heads up! A major change will likely take multiple sessions, several hours each, and will be priced accordingly. We have to gently remove all that old, artificial pigment before we can even think about applying your new color.
To give you a rough idea of what to expect (prices vary a lot by salon and location, of course), here are some ballpark figures:
- All-over gloss or toner refresh: $75 – $150
- Root smudge with an all-over gloss: $150 – $250
- Full single-process color (going darker): $150 – $300+
- Multi-session color correction: Often starts around $100-$125 per hour. Be prepared for the first session to be $400 or more.
So, before you commit, think about how these shades fit into your life. A rich brunette fades gracefully and might only need a root touch-up every 6-8 weeks. A warm, golden blonde is somewhere in the middle. But a vibrant red? That color is famously high-maintenance. It fades fast, so you’ll want to budget for a glossing appointment every 4-6 weeks to keep it looking fresh. Be honest with your stylist about your budget and schedule!
Behind the Scenes: How We Actually Create Those Fall Shades
Let’s get into the fun stuff. Here’s a peek at how the pros approach some of the most popular fall color families.
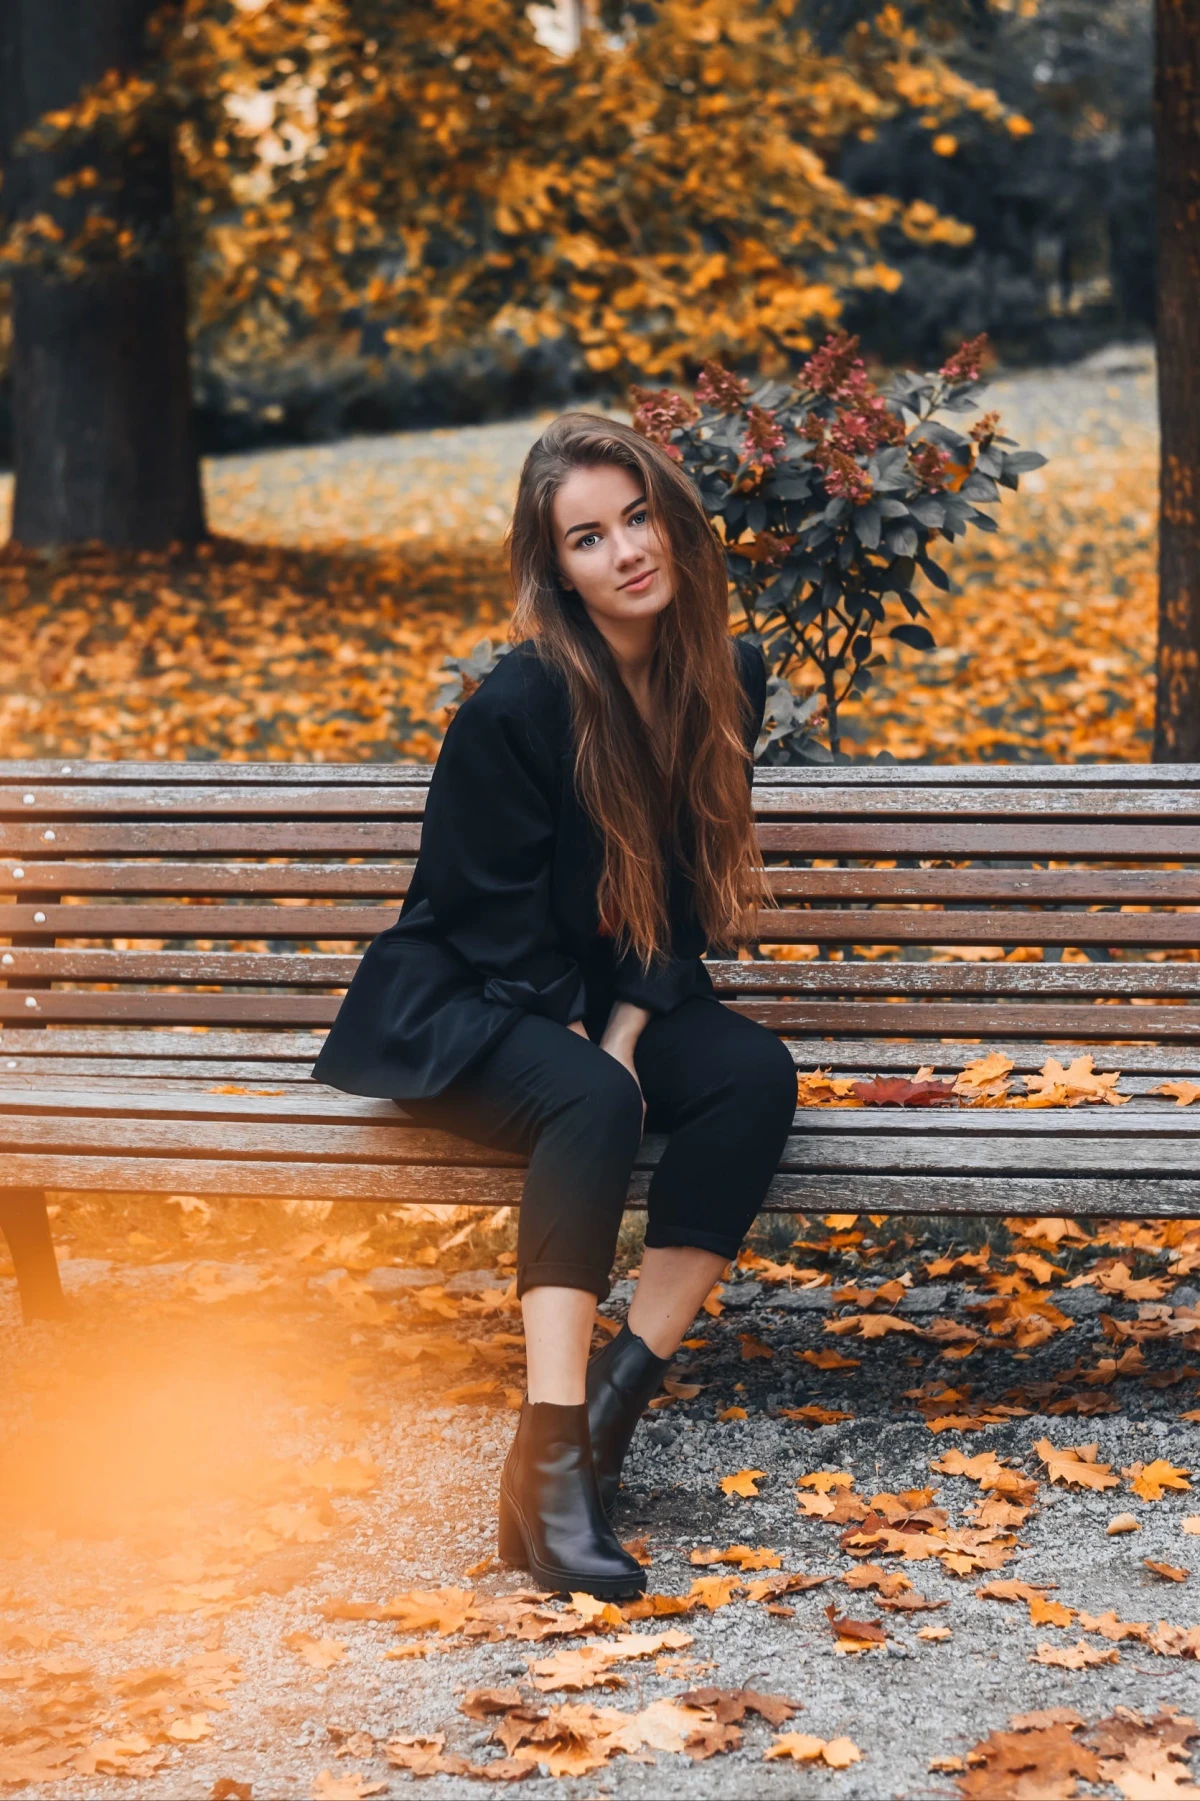
Creating Rich, Dimensional Brunettes
A truly beautiful brunette is never just one color from a tube. It’s layered, reflective, and full of life. The secret to that expensive-looking brown is avoiding flatness. Even when a client asks for a “cool” brown, I almost always add a tiny ribbon of gold or red to my formula. You won’t see it, but it adds an inner glow and prevents the color from looking dull or muddy, mimicking the complexity of natural hair.
The biggest mistake with going darker at home is getting those “hollow ends,” where previously lightened hair grabs the color unevenly and looks murky. As we talked about, that’s a porosity issue. The only real fix is using a filler first. It’s an extra step, but it’s the only way to guarantee a gorgeous, even result.
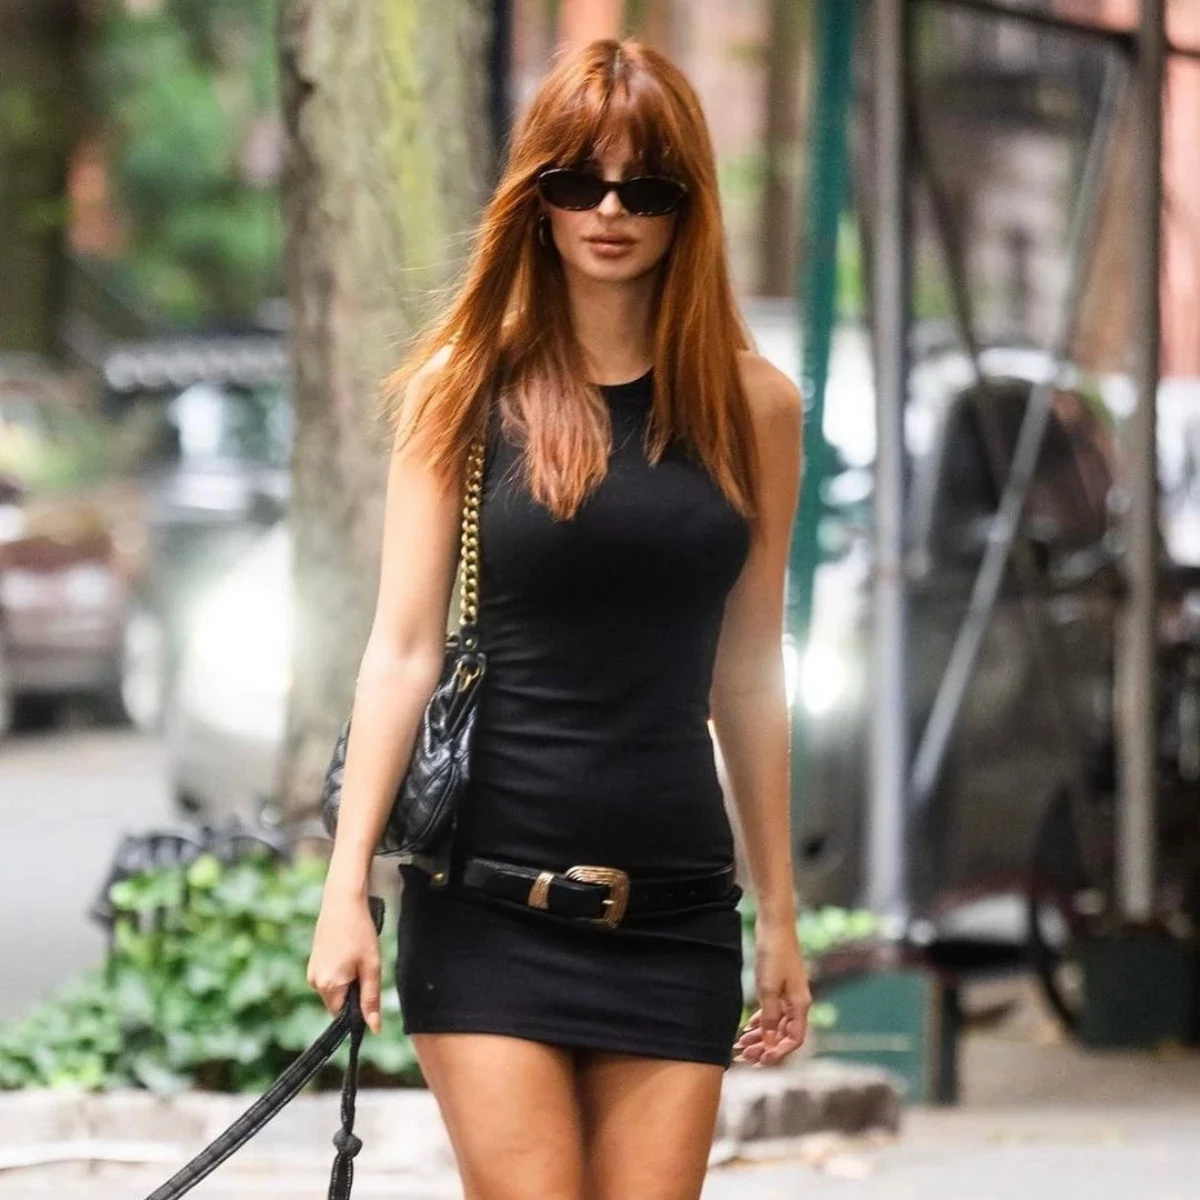
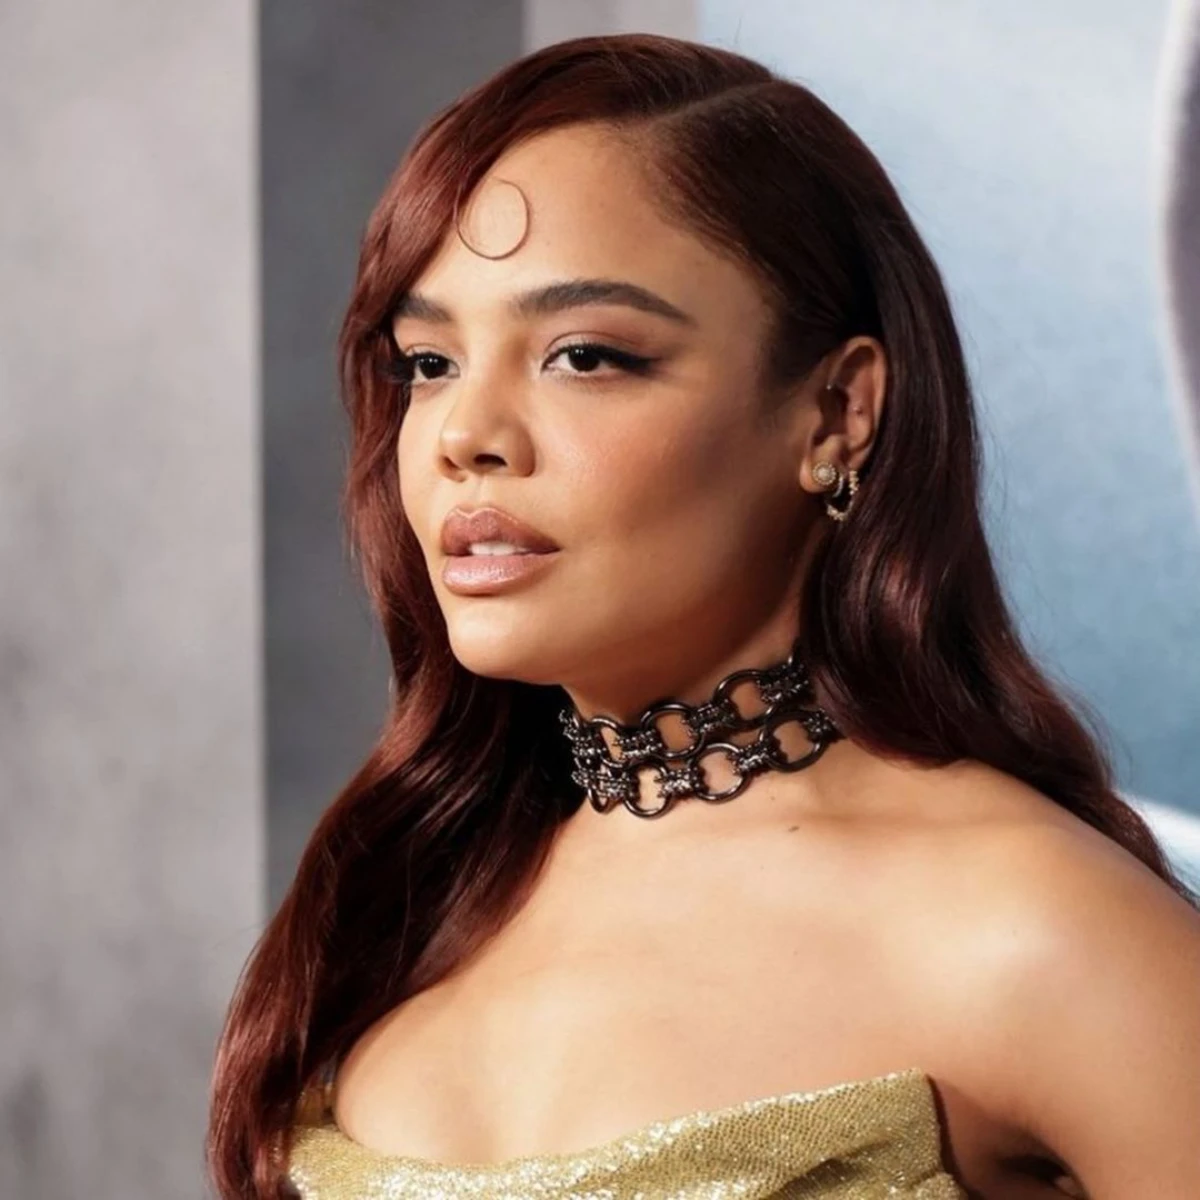
Building Vibrant Coppers and Warm Auburns
Reds and coppers are the undisputed stars of autumn, but they are also the trickiest. Creating a believable red is all about layering tones. I might use three different formulas on one head to create a multi-tonal result that catches the light from every angle. It’s also critical to know that the base color matters immensely. A copper formula applied over yellow-blonde hair will look totally different than one applied over hair that’s been lifted to an orange stage. A pro knows exactly what foundation is needed to support the final color.
Quick Safety Note: While rare, color allergies are serious. The pigments used in some red dyes are a more common trigger for reactions. A good salon will insist on a patch test 48 hours before your service. We just dab a tiny bit of the color formula on your skin. If there’s any irritation, we can’t proceed. It’s a non-negotiable safety step.
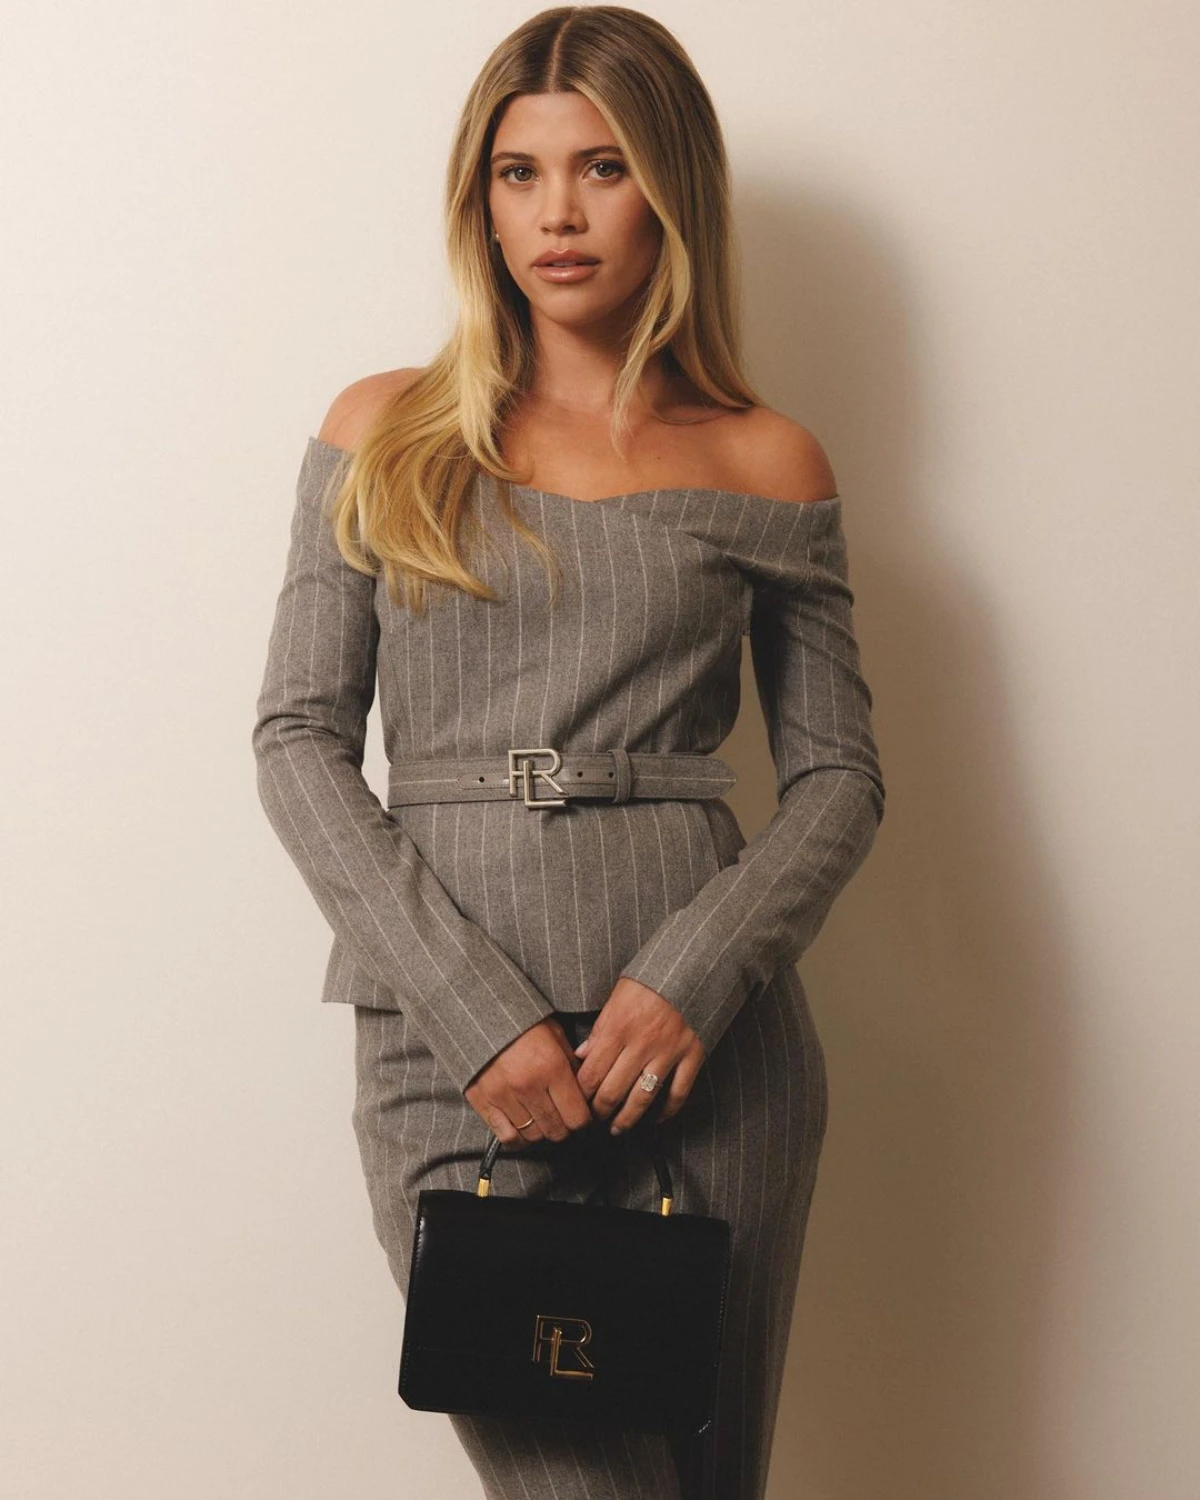
Transitioning to Softer, Warmer Blondes
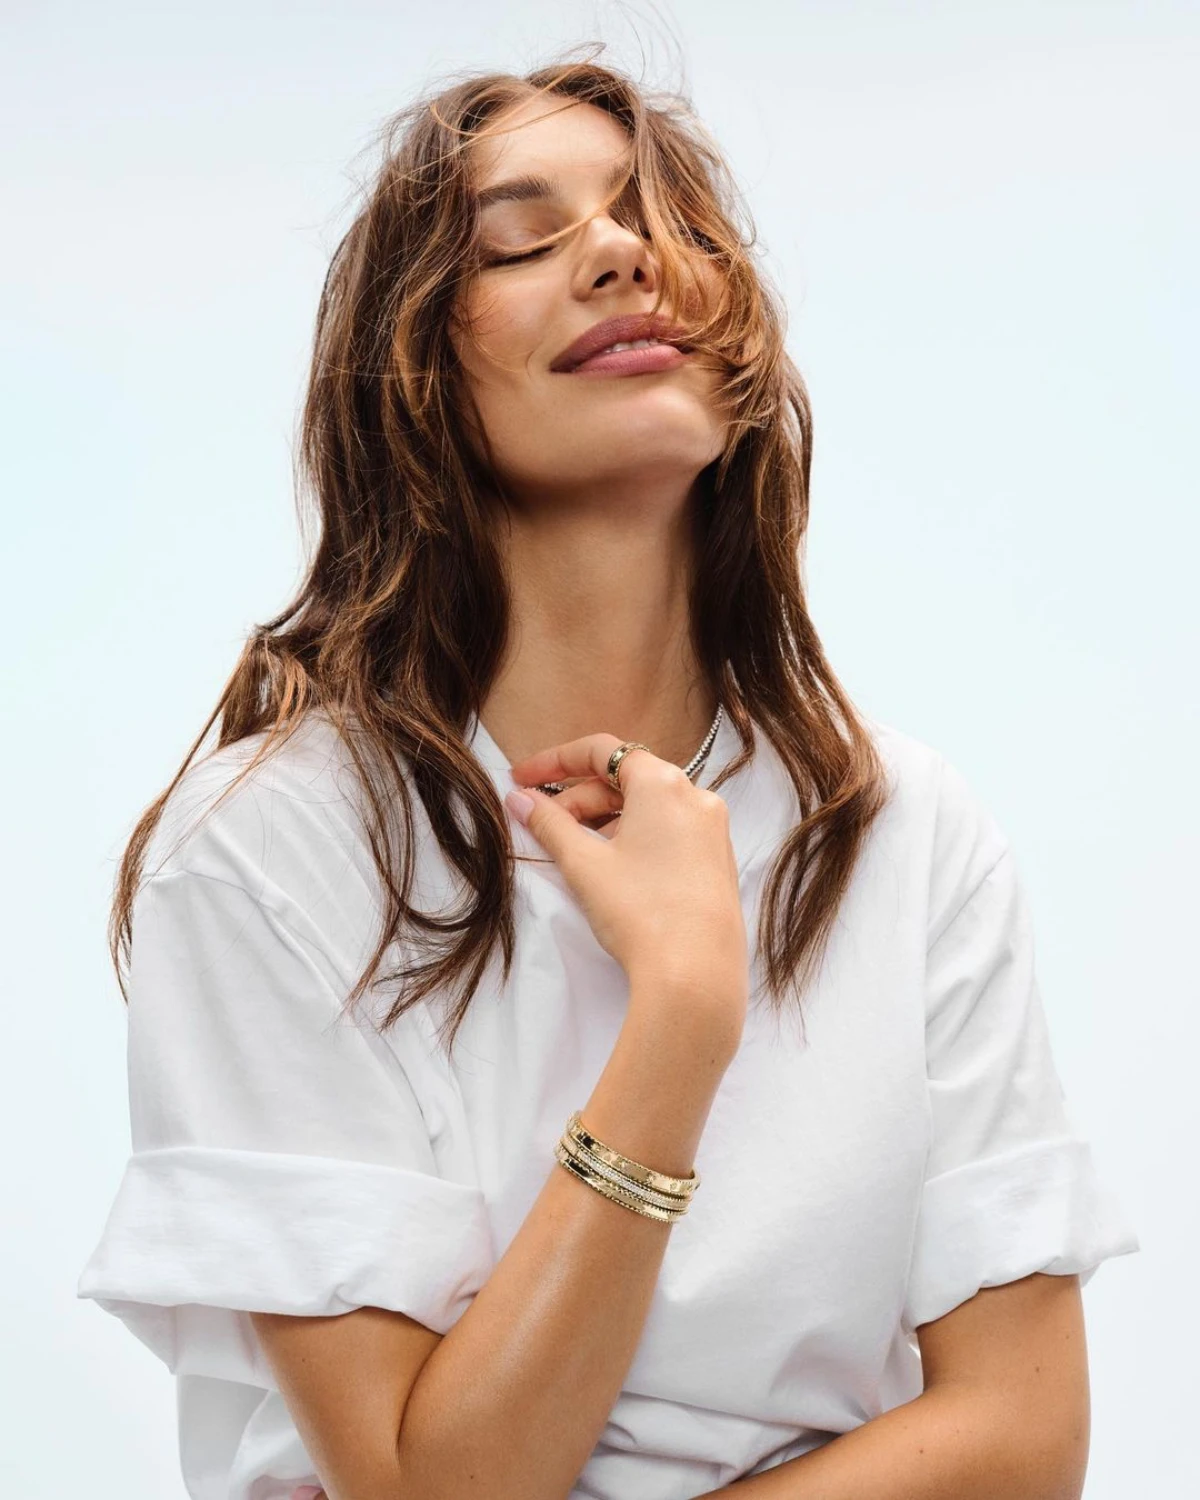
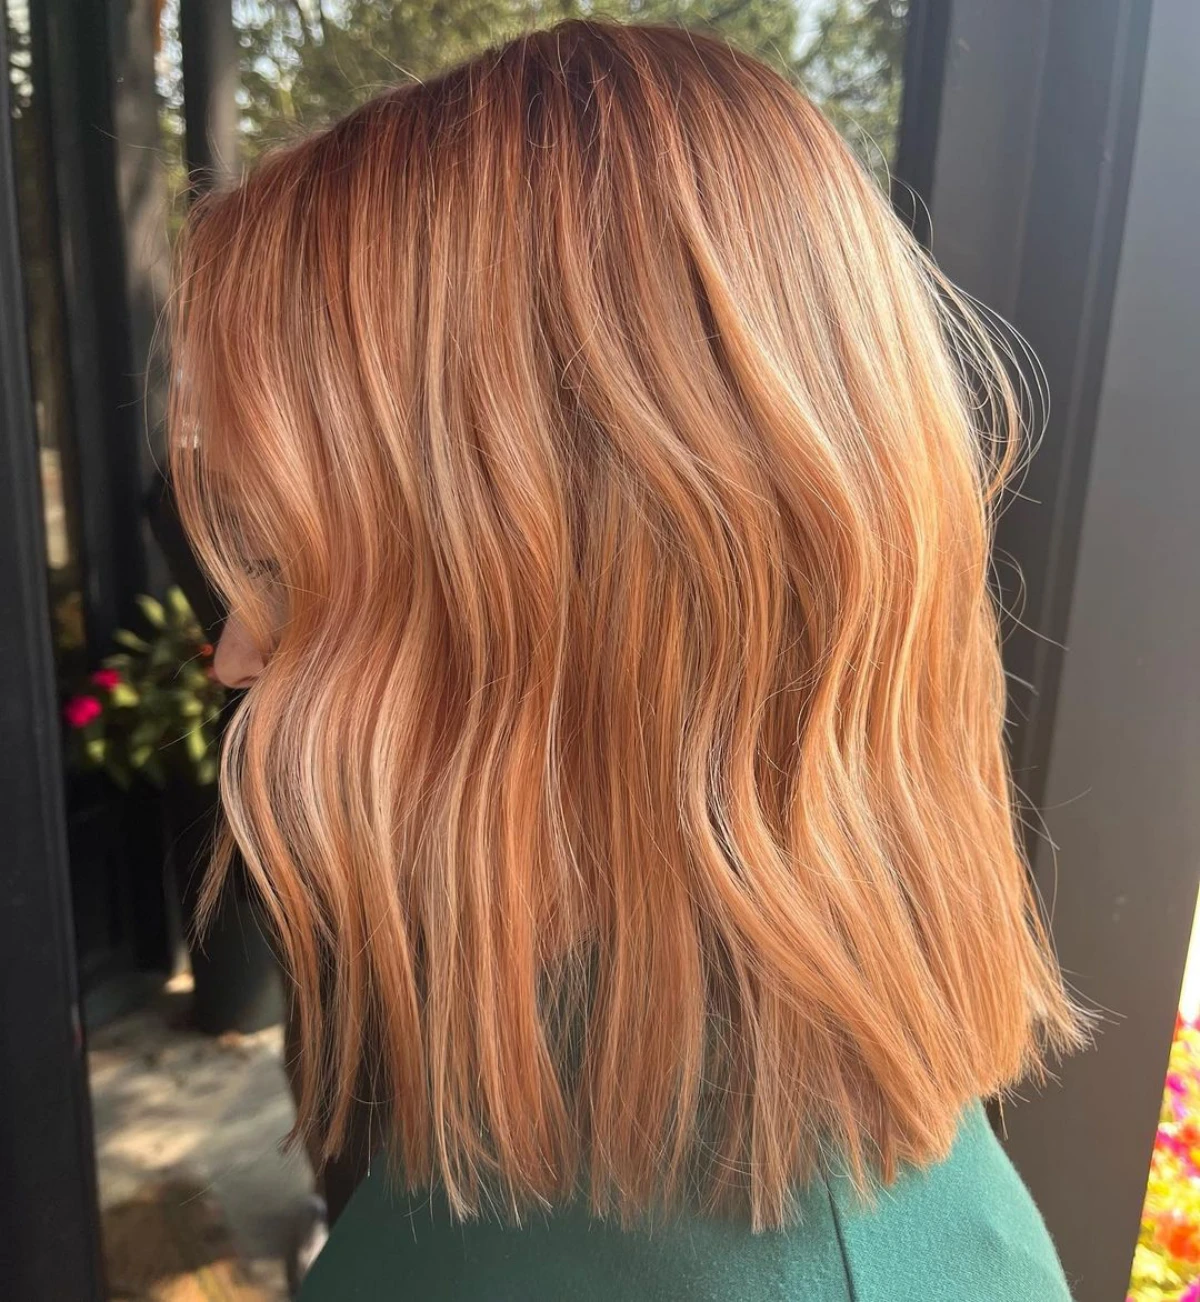
Fall doesn’t mean you have to give up being blonde! It’s usually just about shifting the tone from a bright, icy summer shade to something richer, like honey or strawberry blonde. This is often done by adding subtle, warm-toned lowlights and finishing with a golden-based gloss all over.
By the way, strawberry blonde is one of the hardest colors to get right. It’s a delicate dance between blonde and red. The hair has to be lightened to a perfect pale yellow, and then a super-diluted toner with just a drop of red-copper is applied. I have to watch it like a hawk because one minute too long, and it goes from soft and rosy to bright pink. It definitely takes an experienced eye!
Protecting Your Investment: How Not to Wash Your Color Down the Drain
The salon service is only half the story. What you do at home for the next 6-8 weeks is what really determines how well your color lasts. Think of your home care as an insurance policy on my work.
The Rules: Water, Washing, and Heat
First off, wait at least 48 hours after your appointment before you shampoo. This gives the hair’s cuticle time to close down and lock in the color molecules. And when you do wash, use lukewarm water—not hot!—to prevent the color from bleeding.
Your shampoo is your most important product. Look for formulas that are “sulfate-free.” You can find great options at both the drugstore and the salon, usually ranging from $15 to $30. Sulfates are harsh detergents that strip color, period. Also, if your home has hard water, the mineral buildup can make your color look dull and brassy. Using a clarifying shampoo once every couple of weeks can help, and a showerhead filter can be a total game-changer.
Finally, heat is the enemy of hair color. Flat irons and curling wands will literally pull the pigment out of your hair. You absolutely must use a heat protectant spray every single time (you can find good ones for $10-$25). And here’s a quick win for you: Go check your iron. If it’s set over 375°F, turn it down to 350°F. For most hair, that’s plenty hot to get the job done without scorching your color.
Your Shade’s Survival Kit
- For Brunettes: To keep your brown rich and not brassy, try a blue-based shampoo once a week to neutralize any unwanted orange tones.
- For Reds/Coppers: Your best friend is a color-depositing conditioner. These have a little pigment to refresh your color with every wash. I always tell my redheads to get one. Great brands like Keracolor Clenditioner or oVertone are available online and at beauty supply stores for about $20 to $40.
- For Blondes: Go easy on the purple shampoo. It’s great for icy tones, but if you paid for a warm honey blonde, overusing it will dull the beautiful golden hues you wanted. Focus on moisturizing masks instead.
A Few Last Words of Warning (Please Read This!)
Some situations are more complex, and it’s important to be realistic. Here are a couple of things you should definitely know.
The Hard Truth About Box Dye
I get the temptation of a $10 box of color, I really do. But I have to be blunt about the risks. Box dye is made with a one-size-fits-all-destroy-all mentality, meaning it’s often way stronger than necessary. Worse, some contain metallic salts that can have a dangerous chemical reaction with professional lightener. I have personally seen hair get frighteningly hot and even smoke inside a foil because of a reaction with old box dye. It’s just not worth the risk. Fixing a box dye job almost always costs three to five times more than the initial professional service would have.
Your Health Always Comes First
I’ll say it again: a patch test is mandatory for new clients or new formulas. And you should never, ever get a color service if your scalp is irritated, sunburned, or has any cuts or scrapes. The chemicals can cause serious pain and irritation. Be safe!
Choosing a new hair color should be fun and exciting. Hopefully, by understanding a little more about the craft, you can feel more empowered in your choices. The goal is to find a stylist you trust and have a real, honest conversation. When you build that partnership, you’ll end up with a look you absolutely love, long after the last leaf has fallen.
Inspirational Gallery
Full Color Service: This is a permanent change that alters your hair’s base color. It’s ideal for a dramatic transformation, like going from blonde to a rich auburn, and offers complete gray coverage.
Hair Glaze or Gloss: This is a demi-permanent treatment that deposits tone and immense shine onto your existing hair color without lifting it. It enhances warmth and richness for 4-6 weeks.
For a low-commitment, high-impact fall refresh, a glaze is a fantastic and often more affordable starting point.
The red dye molecule is larger than other color molecules, so it doesn’t penetrate the hair’s cortex as deeply. This is why reds, coppers, and auburns tend to fade faster than any other shade.
This means aftercare is non-negotiable. To protect your investment, switch to a sulfate-free shampoo system designed for color-treated hair. The Pureology Hydrate or Redken Color Extend Magnetics lines are salon staples specifically formulated to seal the cuticle and prevent that beautiful copper from washing down the drain.
Thinking of going from light blonde to a deep chocolate brown for fall?
Be prepared for a process. Your colorist won’t just apply a dark brown dye over your blonde. To avoid a muddy, greenish result, they must first ‘fill’ the hair—re-introducing the underlying red and gold pigments that were stripped out during lightening. This crucial step creates a rich foundation for your final brunette shade to lay on top of beautifully and evenly.
- Show up to your appointment with clean, dry hair. Day-old is fine, but excessive oil or product buildup can interfere with color application.
- Bring multiple inspiration photos that show the color in different lighting.
- Wear a top you don’t mind getting stained, and avoid turtlenecks or hoodies.
There’s a unique magic to how a new ‘cinnamon spice’ or ‘deep espresso’ shade suddenly makes your favorite cream turtleneck or camel coat pop. Your hair becomes the ultimate fall accessory, tying your entire seasonal look together with effortless warmth and a touch of luxury.
Did you know? Hard water minerals, particularly copper and iron, can build up on your hair, distorting even the most perfectly applied salon color and causing it to look dull or brassy over time.
Important: Your flat iron is fading your color. High heat opens the hair’s cuticle, allowing those expensive, beautiful fall color molecules to escape. A non-negotiable rule for warm shades like copper, red, and gold is to ALWAYS use a heat protectant spray, like the Kérastase Genesis Defense Thermique, before styling.
- Restores the vibrancy of your copper or brunette tones.
- Deeply conditions and adds a glass-like shine.
- Extends the life of your color between salon visits.
The secret? A weekly at-home color-depositing mask. A quick five-minute treatment with a product like the Moroccanoil Color Depositing Mask in ‘Copper’ or Wella Professionals Color Fresh Mask in ‘Caramel Glaze’ can make a world of difference.
Don’t let your eyebrows get left behind! If you’re making a significant change, like going from ash blonde to a warm brunette, your brows can give the game away. Ask your stylist for a quick brow tint to match, or simply switch to a slightly warmer brow pencil to create a more cohesive and natural look.


