Summer Hair Color: The Real-Deal Guide Your Stylist Wishes You’d Read
You know that feeling, right? Around the time the days get longer and the air gets warmer, something just clicks. Suddenly, the deep, cozy hair color you loved all winter starts to feel a little… heavy. You start craving that sun-kissed, windows-down, freedom-in-your-hair kind of look. After years in the salon, I can practically set my watch by this shift. Summer isn’t just a season; it’s a whole mood.
In this article
- First Things First: Your Pre-Color Game Plan
- A Little Science: How We Get Your Hair Lighter
- The Sun-Kissed Looks: Choosing Your Lightening Technique
- The Secret Weapon: Toner Is Everything
- Beyond Blonde: Sun-Kissed Brunettes
- The Fiery Reds & Coppers: A Warning
- When Things Go Wrong: Color Correction
- Okay, But What If I Don’t Love It?
- Keeping Your Color Gorgeous: Your At-Home Toolkit
But getting that perfect summer color isn’t as simple as pointing to a picture on your phone. To be frank, it’s a partnership between you and your stylist. It’s about being real about your hair’s history, your daily routine, and what’s actually achievable. My goal here is to pull back the curtain and show you how the pros think about summer color, getting past the trendy names and into the nitty-gritty of what it takes to get a look you’ll love all season long.

First Things First: Your Pre-Color Game Plan
Honestly, the most critical part of any color appointment happens before we even uncap a bottle of dye. It’s the consultation. This is where we lay the foundation for amazing hair, and it’s where listening is our most important tool.
A client might come in with a photo of a super bright, icy blonde, but their hair history tells a story of years of dark box dye. That dream photo isn’t a single appointment; it’s a long-term journey. And that’s okay! But we have to talk about it first.
How to Prep for Your Consultation (and Not Waste Your Money)
To make the most of this chat, you need to come prepared. Think of it like a little homework that will pay off big time.
- Bring Your Inspo: Find 3-4 pictures of hair you absolutely LOVE. But just as important, find 2 pictures of hair you HATE. Knowing what you don’t want is sometimes even more helpful for us!
- The Hair Confessional: Be ready to spill the beans on everything you’ve done to your hair for the past couple of years. Box dye? A gloss you did at home? A Brazilian blowout? We need to know it all. The chemicals in those products can have unexpected reactions, so honesty is key.
- Talk Money: It can feel awkward, but please, have a budget in mind and share it. A good stylist can create a plan to help you reach your hair goals within your budget, maybe by breaking it up into a few sessions or suggesting a lower-maintenance technique. There’s nothing worse than getting a look you can’t afford to maintain.
A Little Science: How We Get Your Hair Lighter
So, what actually happens when we lighten your hair? Let’s get a little nerdy for a second. Your hair strand has a protective shell called the cuticle. Inside that is the cortex, where your natural color (melanin) lives. To lighten your hair, we use a product that gently opens up that cuticle so a lightener can get inside and dissolve some of that natural color.
This is a gradual process. Dark hair doesn’t just magically turn blonde. It lifts through predictable stages: from black to red, then orange, then yellow, and finally to a pale yellow. Seeing that brassy orange or yellow stage isn’t a mistake—it’s a necessary step on the ladder to blonde. The real magic comes next.
Heads up! Before any of this happens, a professional will insist on a patch test. We’ll dab a tiny bit of the color behind your ear or on your inner arm to make sure you don’t have an allergy. People can develop allergies at any time, so even if you’ve colored your hair a hundred times, never skip this step. It’s a simple check that prevents a world of hurt.

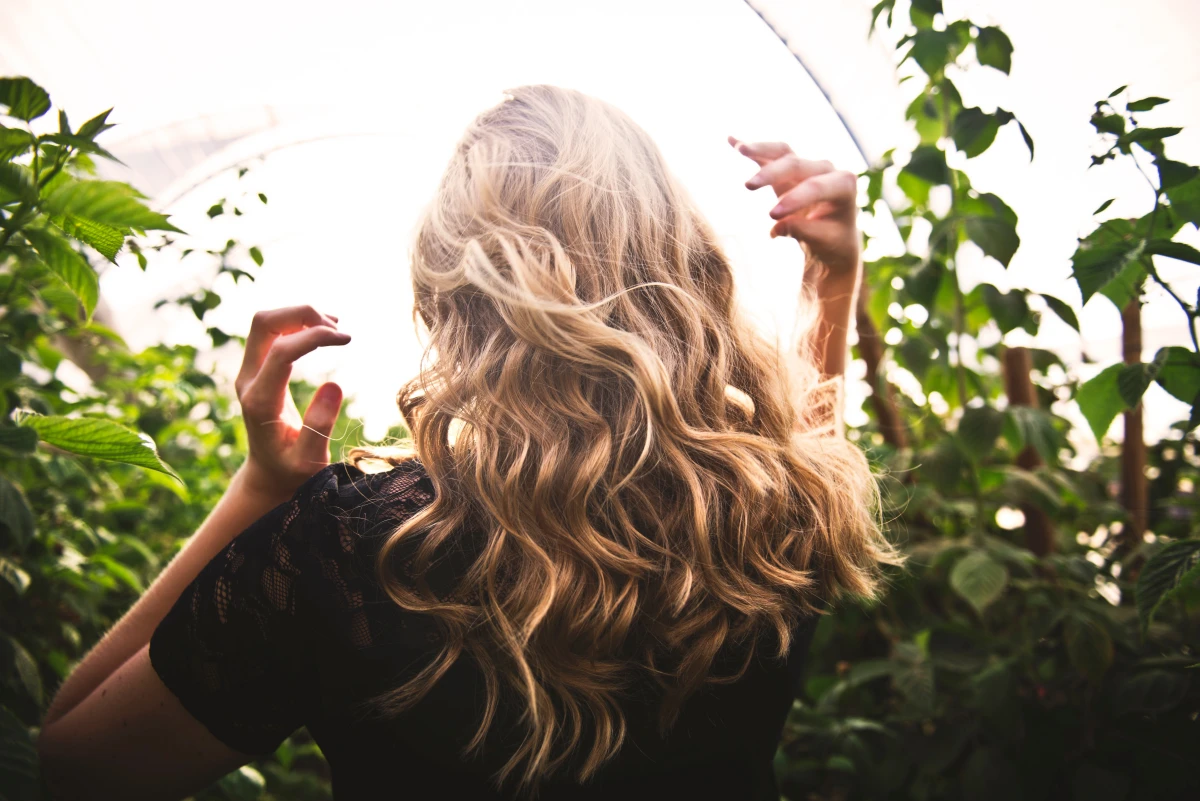
The Sun-Kissed Looks: Choosing Your Lightening Technique
When you say you want to go lighter for summer, you’re usually choosing between two main paths: the classic control of foils or the modern artistry of balayage. They create very different vibes and come with totally different commitments.
Classic Highlights with Foils
You’ve seen it a thousand times—the neat little packets of foil. This technique gives a colorist total control to create defined, consistent brightness from your roots all the way to the ends. It’s perfect if you want a significant, all-over blonde effect.
- The Vibe: Bright, defined, and uniform. Think classic, polished blonde with lots of pop.
- The Upkeep & Cost: Because the color goes right to the root, you’ll see regrowth more quickly. Plan on a touch-up every 6 to 8 weeks to stay fresh. A full head of foils can run anywhere from $150 to over $300 and take 3-4 hours in the salon.
- Best For: Anyone wanting a major blonde transformation or needing to break through dark, previously colored hair.

Modern Balayage & Hand-Painting
Balayage is a French word that means “to sweep,” and that’s exactly what we do. We hand-paint lightener onto the surface of your hair, focusing on where the sun would naturally hit it. The color is feathered near the root, so it grows out beautifully without a harsh line.
- The Vibe: Effortless, natural, and sun-drenched. It’s the “I just got back from a month at the beach” look.
- The Upkeep & Cost: This is the holy grail of low-maintenance color. You can easily go 3 to 6 months between major appointments. A full balayage is more of an upfront investment, often starting between $250 and $500+, and can be a longer service, taking 4-6 hours. But you save money and time on touch-ups.
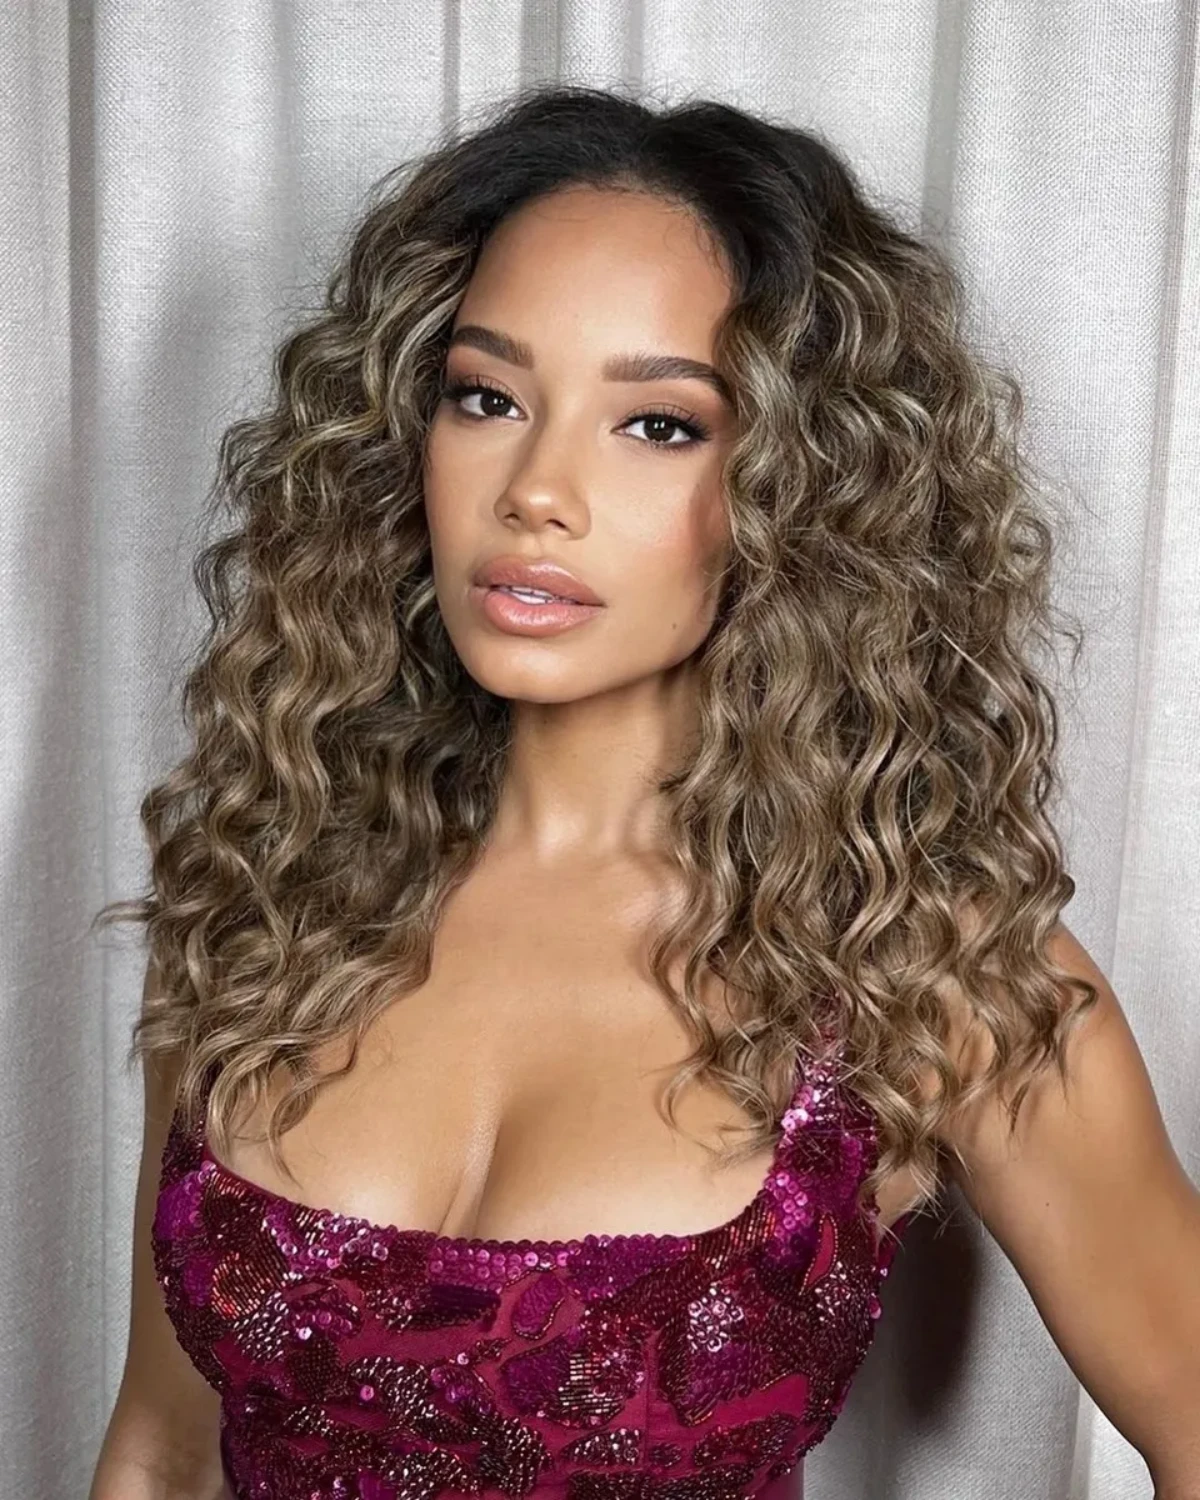
- Best For: Anyone wanting a softer, lived-in look. It’s fantastic for first-timers and looks incredible on both straight and curly hair (though for curls, we often use a specific technique, painting individual curl families so the color pops).

The Secret Weapon: Toner Is Everything
Okay, so bleach does the heavy lifting, but toner is the artist. Remember those yellow or orange tones we talked about? Toner is a gentle gloss we apply after lightening to neutralize that warmth and create the exact shade of blonde you want. This is the difference between brassy and beautiful.
- To get that icy platinum, we lift your hair to pale yellow (like the inside of a banana) and use a violet-based toner to cancel it out.
- For a creamy, buttery blonde, we’ll use a toner with a mix of violet and gold.
- For a sandy, beige blonde, we might use a blue-violet toner to combat any lingering yellow-orange.
It’s a crucial step that customizes the color just for you.
Beyond Blonde: Sun-Kissed Brunettes
Summer isn’t just for blondes! So many of my brunette clients want that sunny vibe without the commitment of being a full blonde. We focus on adding dimension that makes the hair look alive in the sunlight.
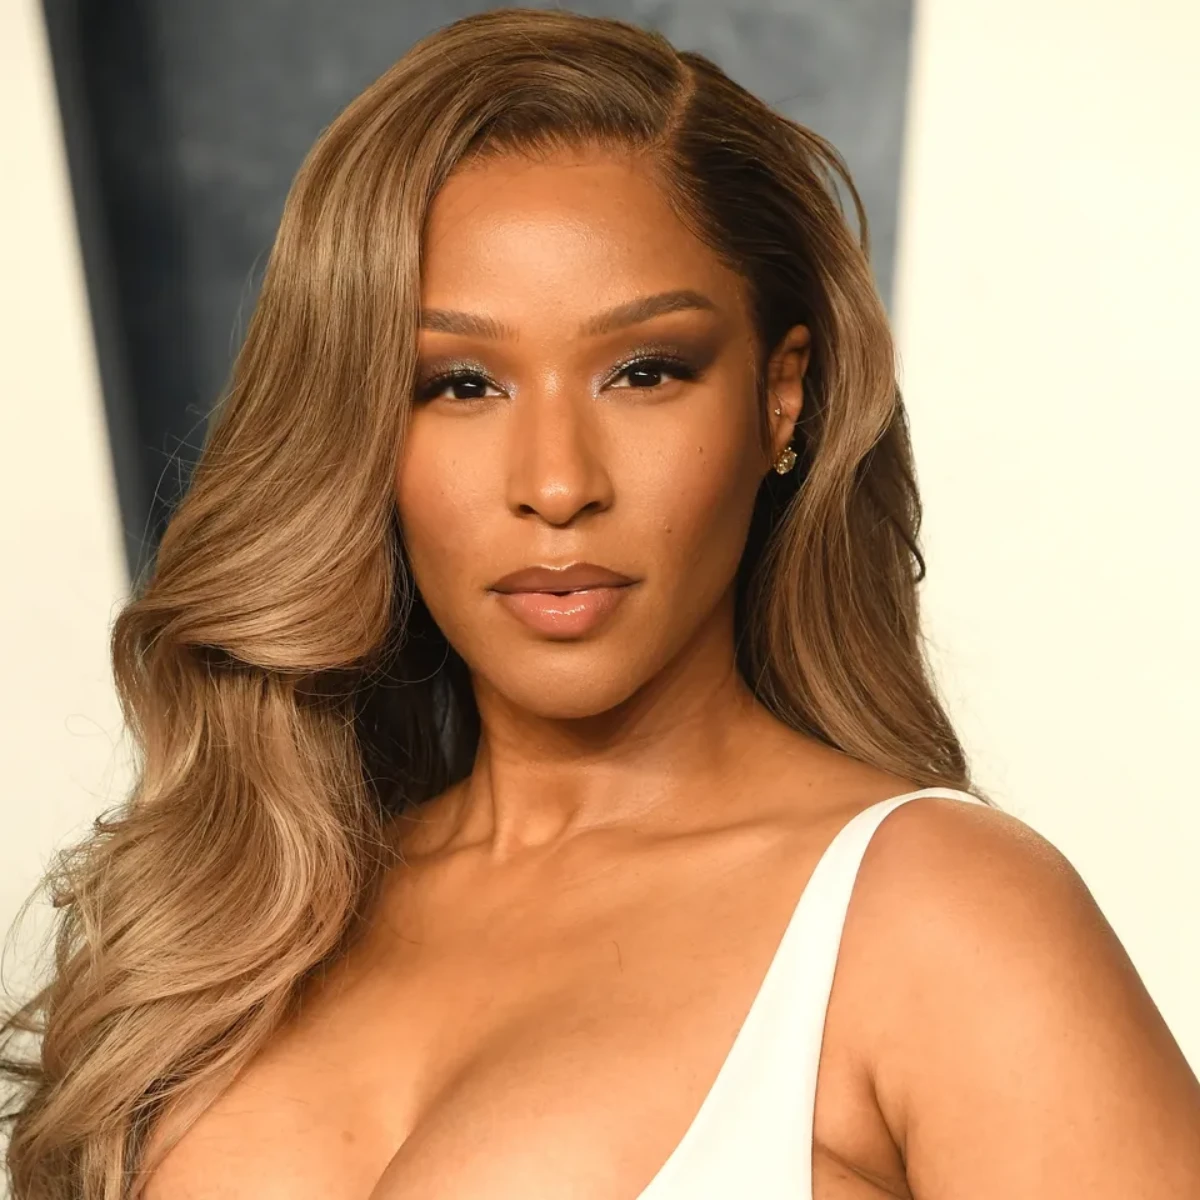
The most popular look is often called “bronde”—a perfect middle ground. Using balayage, we’ll add subtle pops of a lighter color, mostly around the face and through the ends, leaving plenty of your rich brown base. It’s gorgeous and incredibly low-maintenance.
A lesser-known trick? Sometimes the best summer update for a brunette is just a gloss treatment. For about $50-$90, a 20-minute gloss can add incredible shine, neutralize any unwanted brassy tones from past sun exposure, and even help fight frizz. It’s a small investment for a massive payoff.
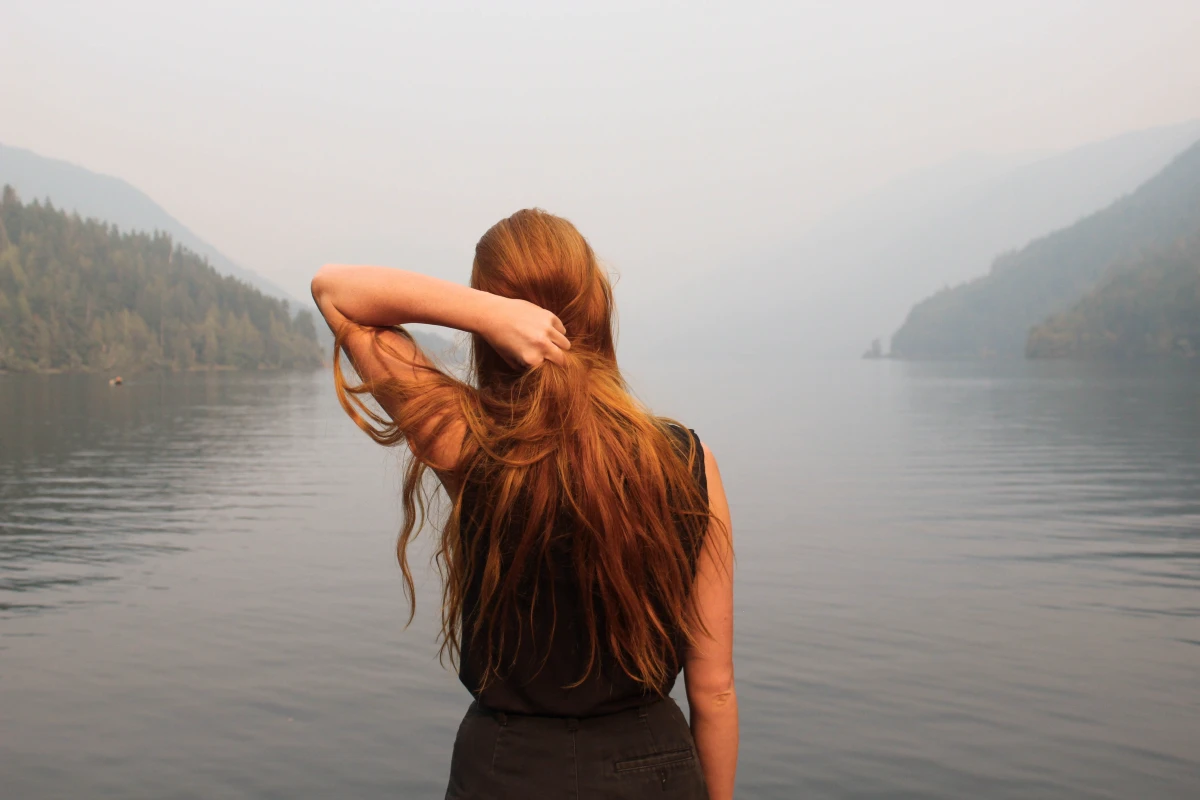
The Fiery Reds & Coppers: A Warning
Red hair is a total showstopper, but I have to be brutally honest with anyone who wants it: it is a high-maintenance relationship. The red color molecule is very large, so it doesn’t wedge itself deep into the hair strand. It just kind of sits on top, which means it washes out faster than any other color. It’s not your stylist’s fault; it’s just physics.
Quick tip: To keep your red looking amazing, ask your stylist to mix a custom color-depositing conditioner for you to take home. It’s an absolute game-changer for adding back a little pigment with each wash.
When Things Go Wrong: Color Correction
Summer often inspires bold moves, and sometimes those moves happen at home with a box of dye. Color correction is like a complex puzzle, and it requires time, money, and patience.
I once had a new client who had been using black box dye for years and wanted to be a sandy blonde for her summer vacation. I had to sit her down for a very real talk. Getting that black dye out safely isn’t a one-and-done deal. Our first session was just a gentle color remover and some test strands. Over the next six months, we had three more long appointments, slowly and carefully lifting her hair. That entire journey to a healthy, beautiful blonde? It represented a total investment of over $1,200. It’s a powerful reminder of why it’s so important to get it right the first time.

Okay, But What If I Don’t Love It?
Let’s address the elephant in the room. What if you go through all this and the final color isn’t quite right? First, don’t panic. A good stylist wants you to be happy! Sometimes, the fix is incredibly simple. If a blonde is a little too ashy or too golden for your taste, a quick 15-minute toner adjustment can often fix it perfectly. The key is to speak up (politely, of course!) within the first week. We’d much rather do a small tweak than have you be unhappy with your hair.
Keeping Your Color Gorgeous: Your At-Home Toolkit
You can walk out of the salon with the most beautiful hair in the world, but it’s the 2% of the time you spend in the salon versus the 98% you spend at home that really determines how long your color lasts. The summer trio of sun, salt, and chlorine are the biggest enemies of fresh color.

- Sulfate-Free Shampoo: This is non-negotiable. Sulfates are harsh detergents that strip color.
- UV/Heat Protectant: The sun will fade your color. Think about it—you wouldn’t leave a colored shirt in the sun for a month and expect it to look the same. For a budget-friendly option, you can grab Sun Bum’s Hair and Scalp Mist for about $15 at most drugstores. If you want a salon-grade splurge, something like Kérastase’s Soleil line runs closer to $40.
- A Pro-Tip for Swimmers: Before you jump in the pool or ocean, wet your hair with clean tap water and apply a little leave-in conditioner. Your hair is like a sponge; if it’s already full of clean water, it can’t absorb as much damaging chlorine or salt.
- Purple Shampoo (For Blondes): Use this once a week, max! It’s great for fighting brassiness, but overuse can leave your hair with a dull, purplish tint. Less is more.
Ultimately, choosing your summer hair is a fun, exciting process. It’s a way to refresh your look and feel amazing. The very best results always come from a place of partnership and knowledge. So talk to your stylist, be honest, be realistic, and get ready to love your hair.