How Pros *Really* Deep Clean a House (It’s Not About Scrubbing Harder)
After years of running professional cleaning crews, I can tell you the biggest myth about a “deep clean” is that it’s all about elbow grease. It’s not. It’s about having a smart system and understanding what you’re actually cleaning.
In this article
Honestly, a true deep clean is less about scrubbing and more about restoring. It’s a process of methodically removing the grime, dust, and general life that’s settled into your space over the months. When you do it right, your home feels genuinely new again.
The first thing I teach any new team member is the core principle: work smart, not hard. This simple idea will save you hours and a ton of frustration. It means working from top to bottom (so dust falls on uncleaned surfaces), from dry to wet (so you remove loose debris before smearing it), and from the inside of a room out. It also means knowing which cleaner to use where—a lesson I learned the hard way once on a client’s expensive marble countertop. This guide is built on that exact professional system.
First, Let’s Talk About the Two Kinds of Dirt
To clean effectively, you have to know what you’re up against. It’s not just “dirt”; it’s usually one of two things, and using the wrong cleaner is like trying to use a hammer to turn a screw.
For Greasy, Oily, or Food-Based Messes: You Need an Alkaline Cleaner.
These cleaners, often called degreasers, are champs at breaking down organic stuff like kitchen grease, fats, and oils. Your basic dish soap is a perfect example of a mild alkaline cleaner. On the stronger end, you have things like oven cleaners, which are highly alkaline and demand respect (and gloves!).
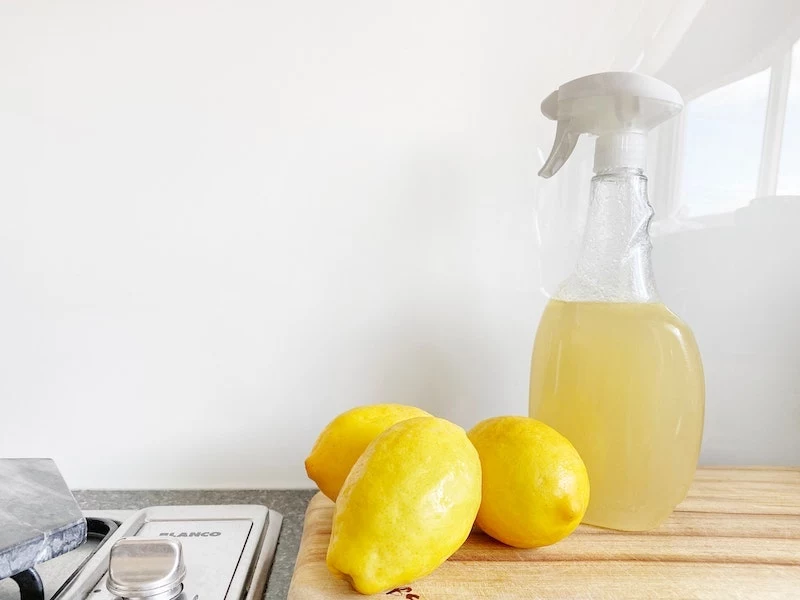
For Mineral Stains, Hard Water, or Rust: You Need an Acidic Cleaner.
These are your descalers. They work by dissolving minerals, which is exactly what hard water stains and soap scum are. The go-to for this is simple white vinegar. It’s a mild acid that works wonders. Stronger toilet bowl cleaners are often powerful acids, which is why they work so fast.
And here’s a safety rule that is absolutely non-negotiable: NEVER, EVER mix bleach with an ammonia-based cleaner (like some window cleaners) or an acidic cleaner. Doing so creates toxic gases that can cause serious respiratory damage. Seriously, just don’t. Use one chemical for a job, rinse the surface completely, and then you can move on to another if you have to.
Your New Best Friend: The Microfiber Cloth
Okay, can we talk about feather dusters? They’re a nightmare. All they do is fling dust into the air, only for it to land somewhere else five minutes later. The professional’s choice is, and always will be, microfiber cloths.
These things are magic. The tiny fibers create a natural electrostatic charge that attracts and traps dust particles instead of just pushing them around. You’re actually removing the dust from the room. For dusting, always use them dry or just slightly damp. A cloth that’s too wet will just leave muddy streaks.
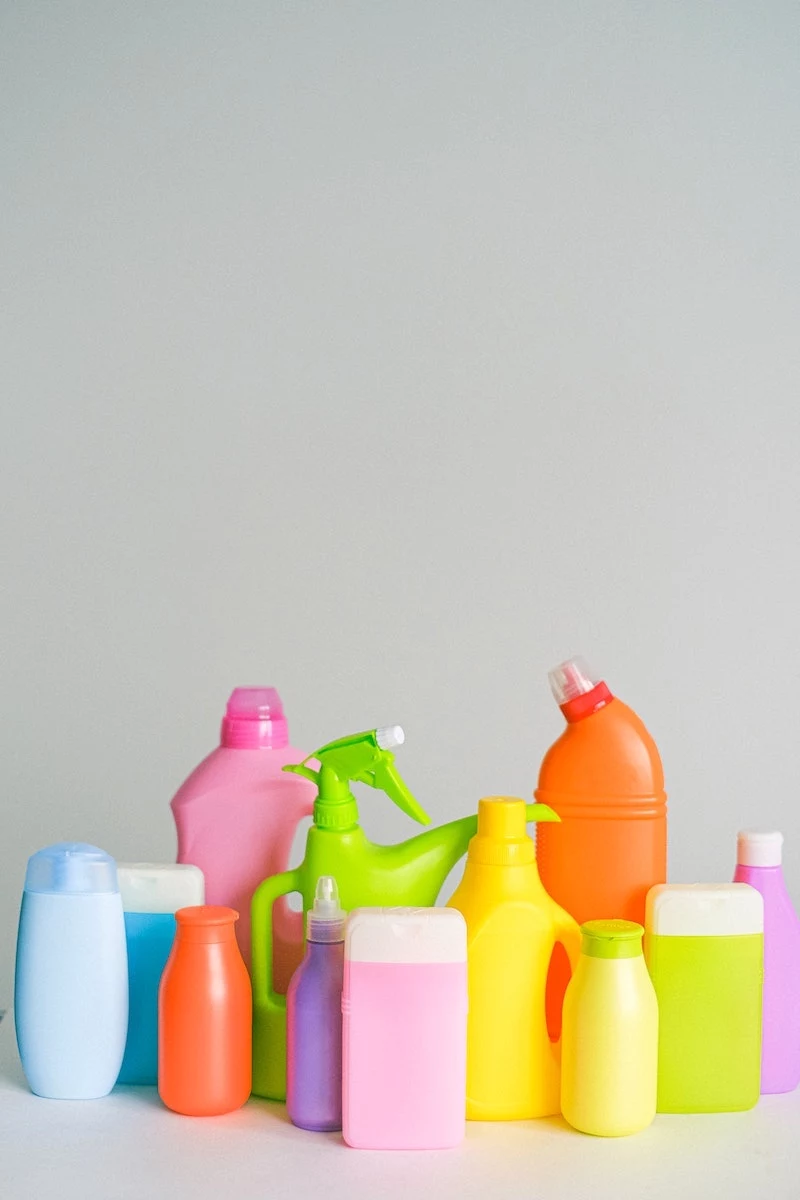
The Pro’s Simple Toolkit: What You Actually Need
Forget that aisle with a million different cleaning products. A real pro’s caddy is surprisingly minimal. We focus on versatile tools and a few core solutions. It saves a ton of money and time.
Your Shopping List:
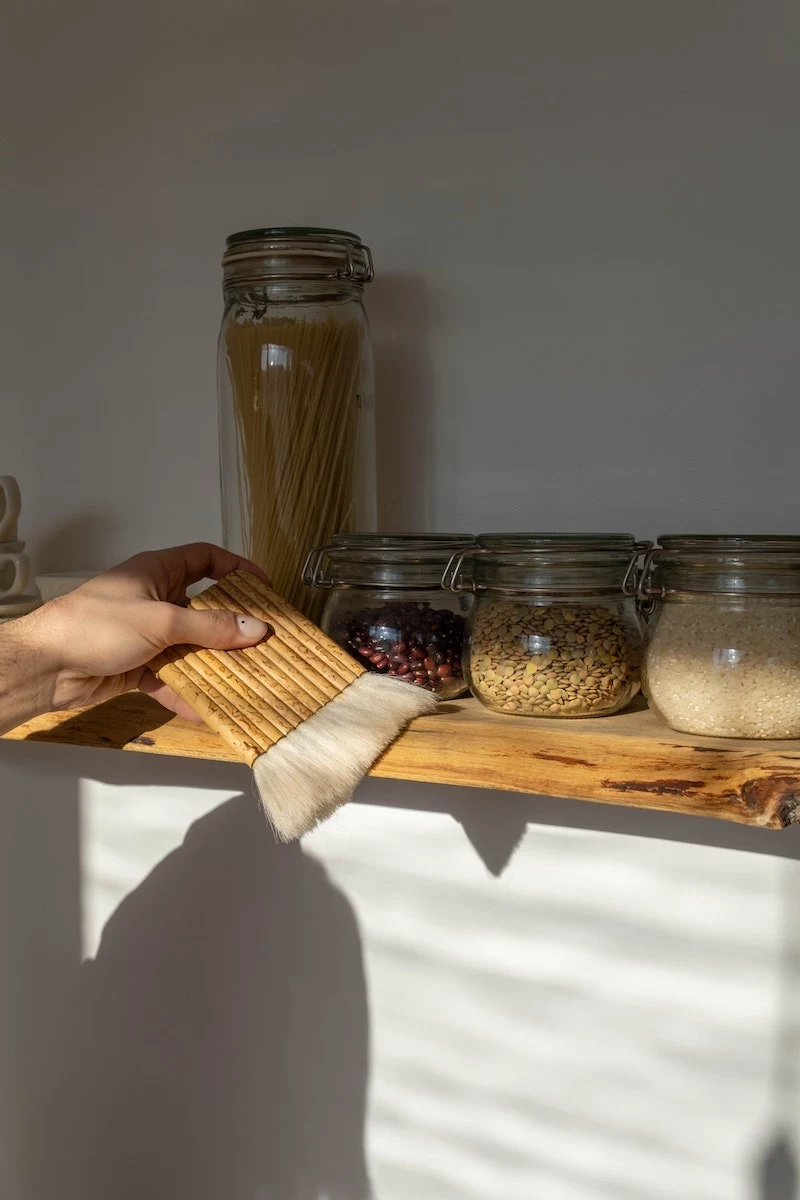
- Microfiber Cloths: Get a big pack. A set of 24 will probably run you $15 to $25 on Amazon or at Costco. I recommend a color-coded system to prevent cross-contamination: blue for glass, green for general surfaces, yellow for the kitchen, and red/pink for the bathroom.
- A Good Vacuum with Attachments: You don’t need to break the bank, but look for something with a sealed HEPA filter, like a Shark Navigator or a Miele. This traps allergens instead of blowing them back out. The attachments are what really matter: the long crevice tool, a brush for upholstery, and a soft-bristled brush for dusting.
- Nylon Scrub Brushes: You’ll want a large one for floors and a small, toothbrush-sized one for grout. Always nylon, never metal, as metal bristles will scratch almost everything.
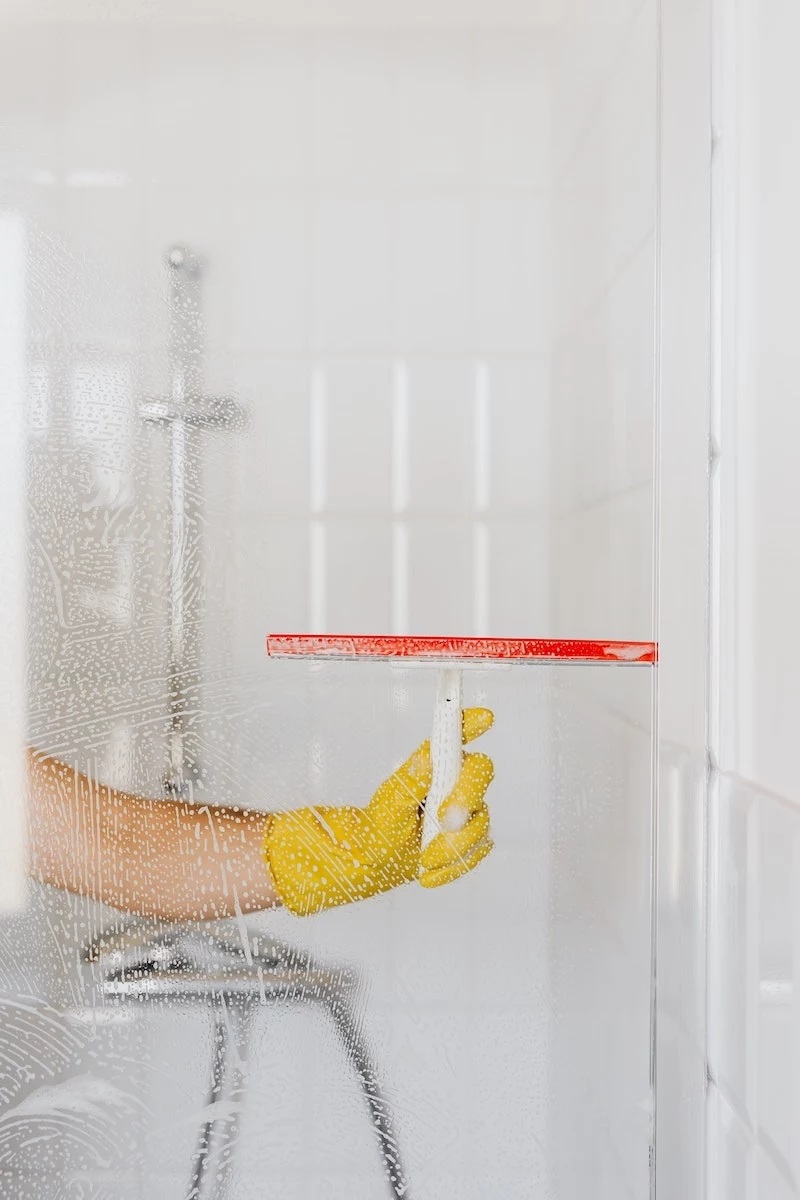
- A Quality Squeegee: A 10 or 12-inch squeegee is the secret to streak-free glass on windows and shower doors. A good one from a place like Home Depot costs about $15 and is worth every penny.
- Two Buckets: This is non-negotiable for mopping. One bucket holds your cleaning solution, and the other holds clean rinse water. This simple trick is the difference between cleaning your floor and just painting it with dirty water.
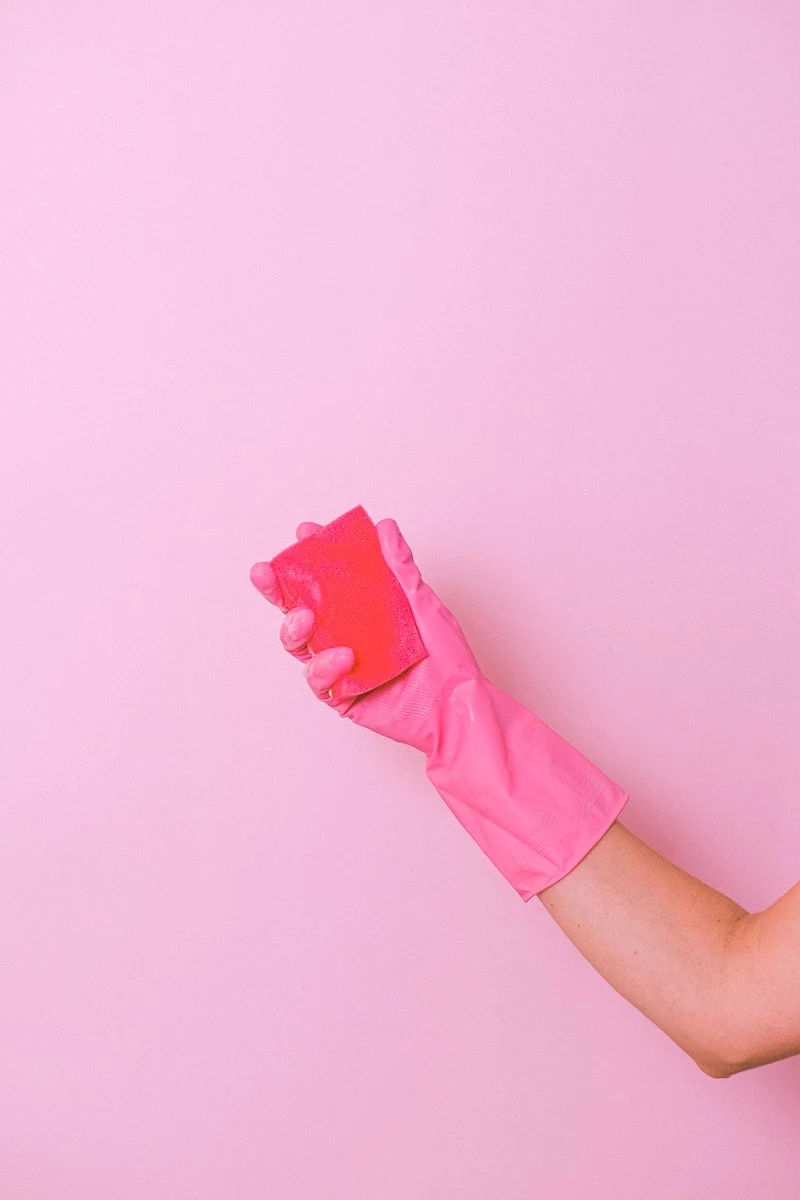
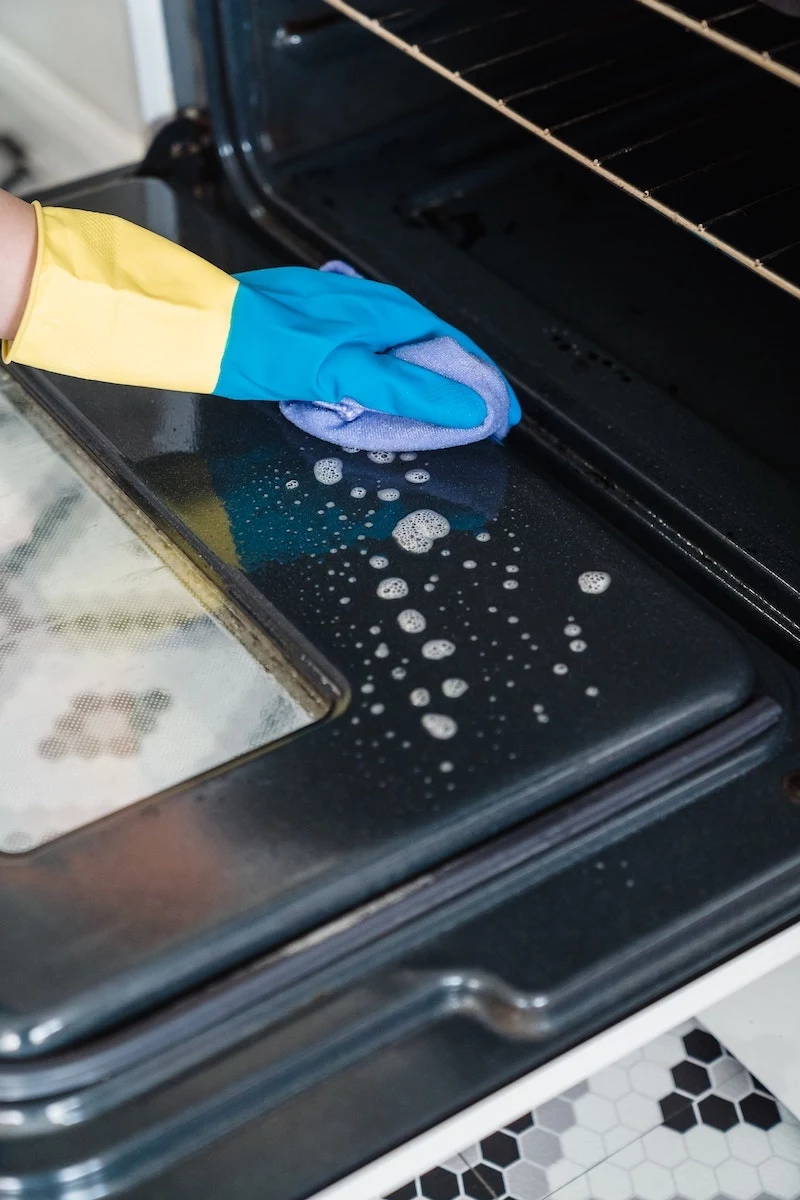
- Safety Gear: Don’t skip this. A pair of good, reusable rubber gloves ($5-$10) is a must. I also keep safety glasses in my caddy, especially for bathroom cleaning where chemicals can splash.
Your Core Cleaning Solutions:
- pH-Neutral Cleaner: For general surfaces like sealed hardwood, stone counters, and electronics. A concentrate like Dr. Bronner’s Sal Suds or Zep’s Neutral Floor Cleaner is great because one bottle lasts forever.
- Alkaline Degreaser (Kitchen): For most jobs, a simple mix of 1 teaspoon of a quality dish soap (like Dawn) in a 32oz spray bottle of hot water works wonders on greasy cabinets and backsplashes. For the oven, a dedicated fume-free oven cleaner is the way to go.
- Acidic Cleaner (Bathroom): Just mix 2 cups of white vinegar and 2 cups of water in a spray bottle. This will handle most soap scum and hard water spots. Let it sit for 10-15 minutes before scrubbing—this “dwell time” lets the acid do the work for you.
- Disinfectant: Look for a product with an EPA registration number on the label, which proves it’s certified to kill germs. And remember, you have to clean a surface first, then disinfect.
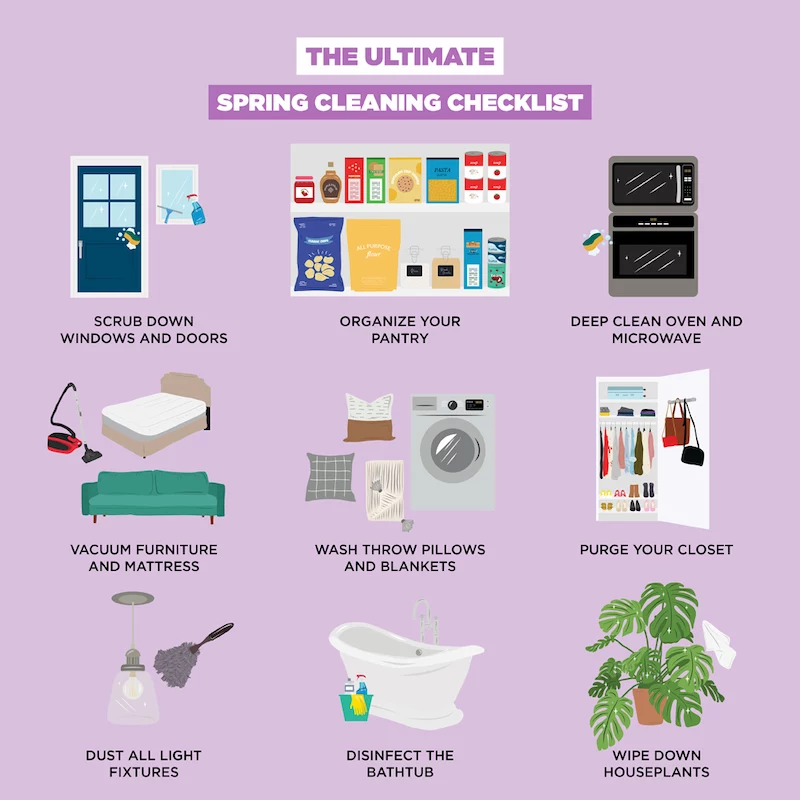
The Room-by-Room Game Plan
We work systematically. For every room, we follow four steps in order: 1) Declutter & Prep, 2) Dry Clean, 3) Wet Clean, 4) Final Details. This order prevents you from, say, dusting onto a freshly mopped floor.
The Kitchen: The Grease Zone (Est. Time: 3-5 hours)
The kitchen often takes the longest because grease is sticky and acts like a magnet for dust. This is an alkaline job.
- Prep: Clear countertops completely. Empty cabinets and give them a quick wipe to get rid of crumbs.
- Dry Clean (Top to Bottom): Start high. Use your vacuum’s brush to get dust off the tops of cabinets and the fridge. Then, sweep or vacuum the floor thoroughly, using the crevice tool along the baseboards.
- Wet Clean: Now we tackle the grime. For cabinet fronts, spray your dish soap solution onto a microfiber cloth (not the cabinet itself) and wipe. For stubborn, sticky spots on durable cabinets (like laminate or solid paint), a paste of baking soda and water on your cloth can act as a gentle abrasive. But please, test this in a hidden spot first!
- The most forgotten step? The range hood filter. Pop that metal mesh filter out and soak it in hot water with a strong dose of your degreaser, or just run it through the dishwasher. A clean filter makes a huge difference.
- Wipe down all appliances. For stainless steel, wipe with the grain using a microfiber cloth to prevent streaks. Scrub the sink, and use your vinegar solution to make the faucet shine.
- Finally, mop the floor. Here’s how the two-bucket system works: Dip your mop in the solution bucket (A), mop a small area, then rinse the dirty mop head in the plain water bucket (B). Wring it out well before putting it back in bucket A. Now you’re always using a clean mop!
- Quick Tip: To make future oven cleanups easier, lay a sheet of heavy-duty aluminum foil on the bottom rack (not the oven floor itself) to catch drips.
The Bathroom: The Mineral & Mildew Zone (Est. Time: 2-3 hours)
Bathrooms are a fight against soap scum, hard water minerals, and mildew. This is mainly an acidic job, followed by disinfecting.
Heads Up: What NOT to Clean with Vinegar! Before you start, know that acid is destructive to some surfaces. Never use vinegar or other acidic cleaners on natural stone like marble, granite, or travertine—it will permanently etch and dull the finish. Use only a pH-neutral stone cleaner. Also, avoid using it on cast iron and unsealed wood floors.
- Prep: Take everything out—towels, rugs, toiletries. Take down the shower curtain; most can be machine washed.
- Dry Clean: Dust light fixtures and shelves. A crucial step: clean your bathroom exhaust fan. A clogged fan is a primary cause of mildew. Turn off the power at the breaker, remove the cover to wash it, and carefully vacuum the gunk off the fan blades.
- Wet Clean: Spray the shower walls and doors with your vinegar-water solution and let it sit for a full 15 minutes. This dwell time is critical for dissolving mineral buildup. Then scrub with a non-scratch pad and rinse. Use your squeegee on the glass for a perfect, spot-free finish.
- Clean the toilet last. Use your disinfectant on the outside, working from the tank down to the base. Use a dedicated toilet bowl cleaner for the inside.
- If you have moldy grout, you might need a bleach-based solution. Use it in a well-ventilated area with gloves and test it in a small spot first, as it can sometimes lighten colored grout.
- Mop the floor with your disinfectant solution, working your way out of the room.
Living Areas & Bedrooms: The Dust Zone (Est. Time: 2-4 hours)
These rooms are all about getting rid of fine dust and freshening up fabrics. Your vacuum is the star of the show here.
- Prep: Clear off all surfaces, strip the beds, and gather any washable curtains or throws.
- Dry Clean: Dust everything from top to bottom—ceiling fans, shelves, picture frames. A slightly damp microfiber cloth is your best tool.
- Pro Tip: Use your vacuum’s upholstery attachment on sofas and chairs. Take the cushions off and use the crevice tool to get deep into the frame. You’d be shocked at how much dust and allergens hide in there. While you’re at it, vacuum your mattress to get rid of dust mites.
- Lesser-known trick: For slatted blinds, put an old sock on your hand, lightly mist it with water, and just run your fingers along each slat. It’s way faster than wiping them one by one.
- Wet Clean: Clean windows on a cloudy day to prevent streaking. The pro method is to mist the window, scrub gently with one microfiber cloth, and then wipe it all off with your squeegee. Wipe the blade after each pass.
- Wipe down light switches, remotes, and doorknobs with a disinfectant.
Feeling Overwhelmed? Just Start Here.
Look, I get it. This can feel like a mountain of a project. If you’re overwhelmed, don’t try to do it all at once. Just commit to two small tasks this week for a huge impact:
- Clean your microwave. Inside and out. It takes 10 minutes and you use it every day.
- Soak and scrub your range hood filter. It takes 15 minutes of active work and will make your kitchen air much cleaner.
By using a smart system, you make every minute of your effort count. You move through your home with purpose, and the satisfaction of a truly clean space—from the dust-free corners to the gleaming floors—is absolutely worth it.
Inspirational Gallery
What’s the one spot everyone forgets during a deep clean, but pros never miss?
Your baseboards and trim. They collect an astonishing amount of dust and scuffs that subtly make a room feel grimy. The pro method is a two-step process. First, vacuum them thoroughly using a soft brush attachment to remove all loose dust. Then, wipe them down with a damp microfiber cloth and a drop of dish soap. For stubborn scuff marks from shoes or furniture, a melamine foam sponge, like a Mr. Clean Magic Eraser, will lift them off painted surfaces without damaging the finish.

Over 90% of dust in homes is created indoors from sloughed-off skin cells and fabric fibers.
This is why the quality of your tools matters more than the strength of your chemicals. A high-quality, split-fiber microfiber cloth (from brands like E-Cloth or Norwex) has a static charge that physically traps and holds these tiny particles. Cheaper cloths just push dust around, letting it settle again moments later. For a true deep clean, invest in a good set of microfiber cloths—they are the real workhorses of any professional kit.

- Eliminates lingering odors from cleaning products.
- Creates a subtle, welcoming scent that lasts for days.
- Adds a final layer of polish that makes the clean feel complete.
The secret? A post-clean “scent reset.” After the cleaning is done, the air can smell sterile or chemical. Pros often add a signature scent. A simple trick is to put a few drops of lemon or eucalyptus essential oil on a cotton ball and tuck it discreetly behind the toilet or at the back of a shelf. Alternatively, simmering a small pot of water with citrus peels and a cinnamon stick on the stove fills the whole house with a natural, clean fragrance.

The Pro Duster: An extendable duster with a bendable, washable microfiber head (like those from OXO or DocaPole) is the gold standard for reaching ceiling fan blades, high corners, and the tops of cabinets. It grabs dust effectively and saves you from precariously balancing on a chair.
The DIY Alternative: For a no-cost option, wrap a clean, slightly damp microfiber cloth around the end of a broom handle and secure it with a rubber band. It works surprisingly well for getting into high corners and along crown molding.
A word on stainless steel: That frustrating streaking isn’t dirt—it’s leftover residue from the wrong cleaner. Skip the all-purpose sprays. The best technique is to use a microfiber cloth dampened with a bit of water and a tiny drop of dish soap, always wiping in the direction of the metal’s grain. To finish, use a separate dry, clean microfiber cloth to buff it to a perfect, streak-free shine. For extra gleam, a whisper of mineral oil or a specialized polish like Weiman Stainless Steel Cleaner can be used, but less is always more.


