Rockabilly Hair 101: Your Guide to Killer Styles (Without the Tears)
I’ve been obsessed with vintage hair for what feels like a lifetime. It’s not just a job; it’s my passion. And let me tell you, one of the boldest, most personality-packed styles out there is rockabilly. But my journey to mastering it wasn’t exactly glamorous. My first attempt at a victory roll was, to be frank, a lopsided, frizzy disaster that completely fell apart in about five minutes. It looked more like a sad croissant than a hairstyle.
In this article
That failure taught me everything. Rockabilly hair isn’t about perfectly copying a picture. It’s about building a solid structure that can actually last all night. So, this isn’t just another photo gallery. Think of this as me opening up my stylist’s notebook and sharing the real-deal techniques, tools, and secrets I’ve learned over the years. We’re going to get you beyond the frustration and into creating some truly authentic, lasting looks.
First Things First: Prep is Everything
You can’t build a cool house on a shaky foundation, right? Same goes for your hair. The success of any rockabilly style—and I mean ANY of them—hinges on what you do before a single pin or roller comes out. So many people make the classic mistake of starting with super clean, soft hair. It’s just too slippery! It has zero grip and won’t hold a tease or a curl to save its life.
Ideally, you want to work with second-day hair. It’s got a bit of natural texture and oil that gives it the grit you need. If you absolutely have to wash it, skip the heavy, silicone-based conditioners that make hair slick. Go for a simple volumizing shampoo and a tiny bit of light conditioner on the very ends. And here’s a pro tip that makes a world of difference: before you dry, work in a texturizing product. A good mousse or salt spray (I like Not Your Mother’s Beach Babe spray, which is cheap and awesome) applied at the roots will give your hair some memory and hold. It’s a game-changer.
Let’s Get a Little Nerdy: Why This Stuff Works
Understanding what’s actually happening to your hair makes the whole process so much easier. It’s not magic, it’s just a little bit of science.
The Art of the Tease: Backcombing is the absolute bedrock of rockabilly volume. When you use a fine-tooth comb to push hair down toward your scalp, you’re roughing up the hair’s outer layer. These little scales on the hair shaft interlock, creating a dense, tangled cushion right at the base. This isn’t just random knotting; it’s controlled chaos that provides the lift to support the smooth, polished hair you see on top.
The Chemistry of a Good Curl: Heat from a curling iron or hot rollers temporarily breaks down some of the bonds in your hair, letting you reshape it. But the most crucial part? The cooling. As the hair cools, the bonds reform in that new curly shape. This is why you have to pin a warm curl and let it cool down completely. If you let it loose while it’s still warm, it’ll fall flat almost instantly. You’ve done all the work with none of the payoff!
Your Toolkit: Pro Gear vs. Budget-Friendly Finds
Using the right tools isn’t about dropping a ton of cash. It’s about using things designed for the job. You can get by with less, but having these essentials makes everything easier and gives you way better results.
- Rat-Tail Comb: Absolutely non-negotiable. The long, skinny tail is for creating clean, precise parts, which is the secret to a polished look. A metal-tailed one, which you can find at Sally Beauty for under $5, slides through hair like a dream.
- Teasing Comb or Brush: A specialized teasing comb is great, but honestly, a good teasing brush with boar bristles is fantastic. The natural bristles grip the hair without causing a ton of damage. Please, don’t use a regular plastic comb—you’ll just get knots, not a supportive cushion.
- Smoothing Brush: This is almost always a pure boar bristle brush. After you’ve built your shape, this gently smooths the visible layer of hair without messing up the teasing underneath. It also adds a nice shine.
- Curling Iron: Barrel size is key. For tight victory rolls, a 1-inch or 1.25-inch barrel is your friend. For softer waves or a big bumper bang, go for a 1.5-inch. An iron with adjustable heat is a must—fine hair needs lower heat!
- Clips and Pins: Get an assortment. You’ll want big duckbill clips to hold sections out of the way, and a ton of bobby pins. Quick tip: Match the pin color to your hair. For insane hold, spray your bobby pins with a little dry shampoo or hairspray before you stick them in. The gritty texture stops them from slipping.
A Quick Word on Products and Safety
Let’s talk about the goo that holds it all together. Pomade gives you hold, texture, and that classic shine. For a traditional feel, Suavecito is amazing (you can find it online or at specialty barbershops). For a budget option that will not move, grab some Got2B Glued from Target for about $6. Hairspray is for locking everything in. A setting lotion applied to damp hair before you use rollers creates a super strong, long-lasting curl that feels almost crunchy at first, but brushes out beautifully.
And please, be careful with hot tools! I can’t stress this enough. Always use a heat-resistant mat and never, ever use aerosol hairspray near a curling iron that’s still on. I’ve seen hair get singed. It happens in a split second, and the smell is something you will never forget.
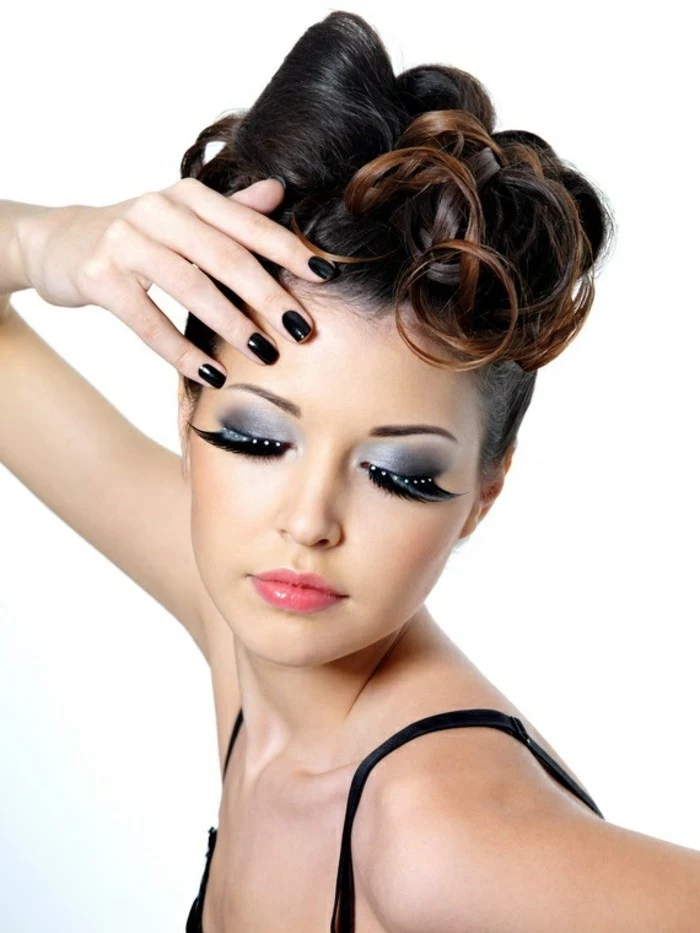
Mastering the Iconic Rockabilly Elements
Most rockabilly styles are just combinations of a few core elements. Once you get these down, you can mix and match them to create endless looks.
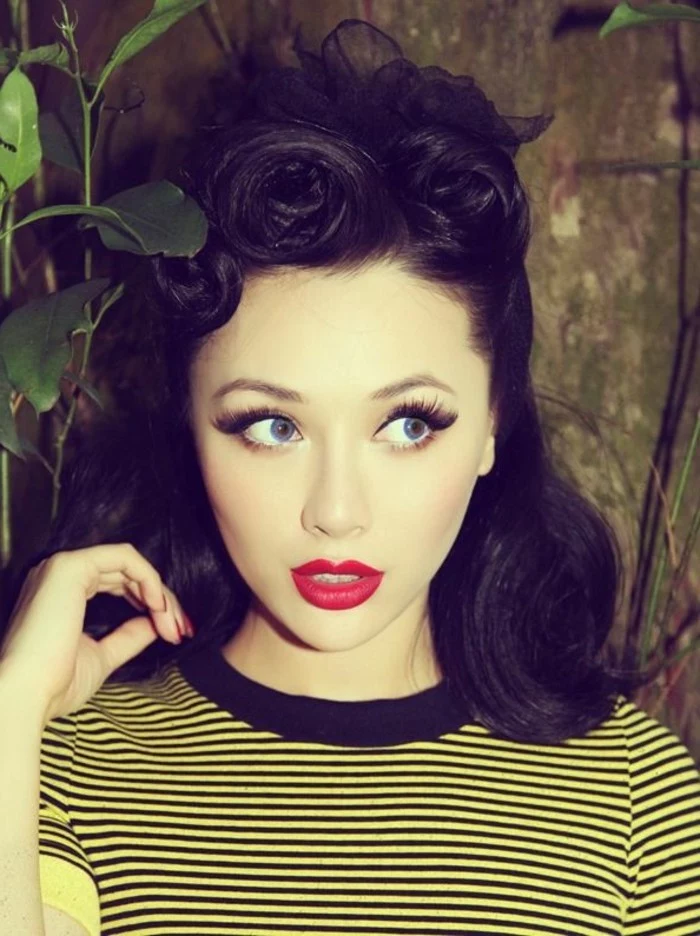
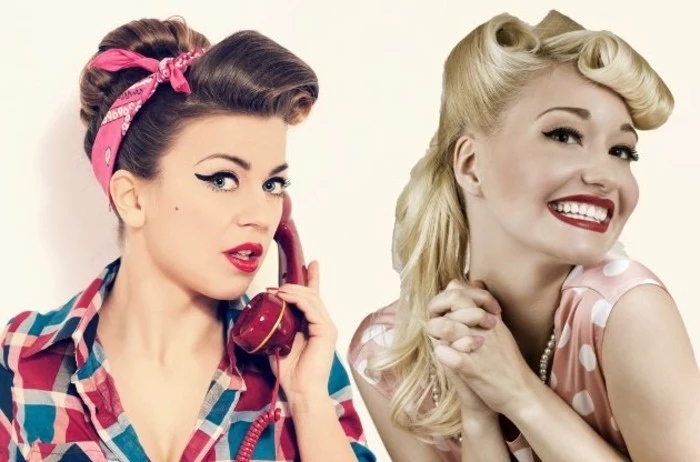
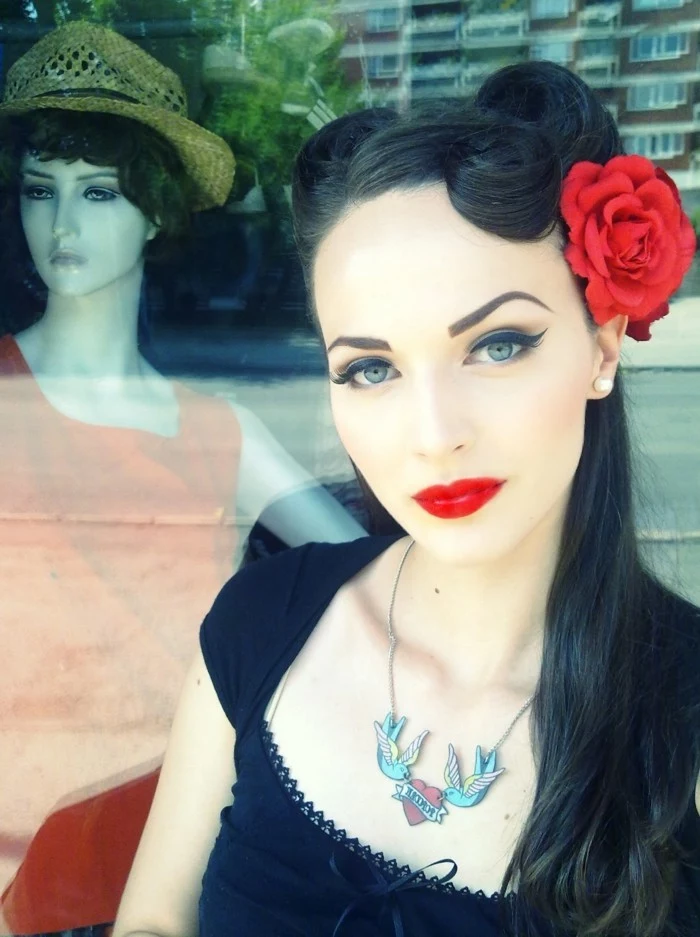
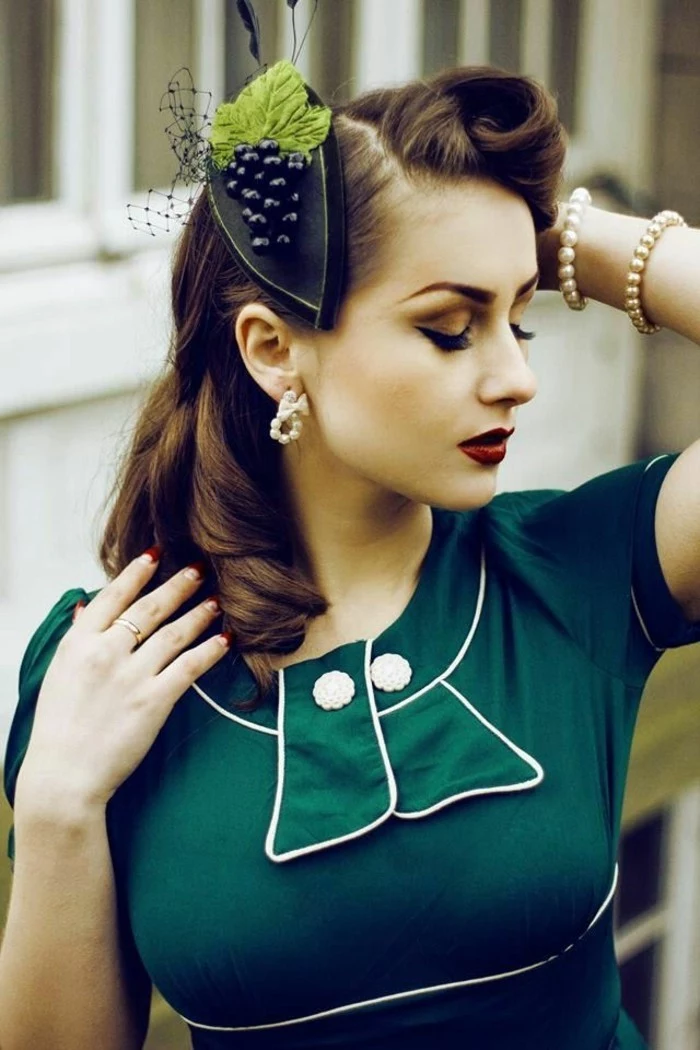
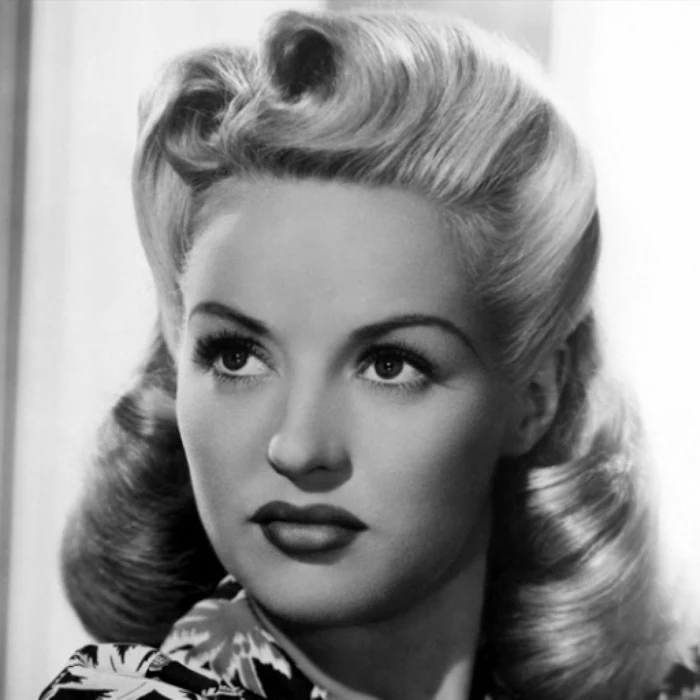
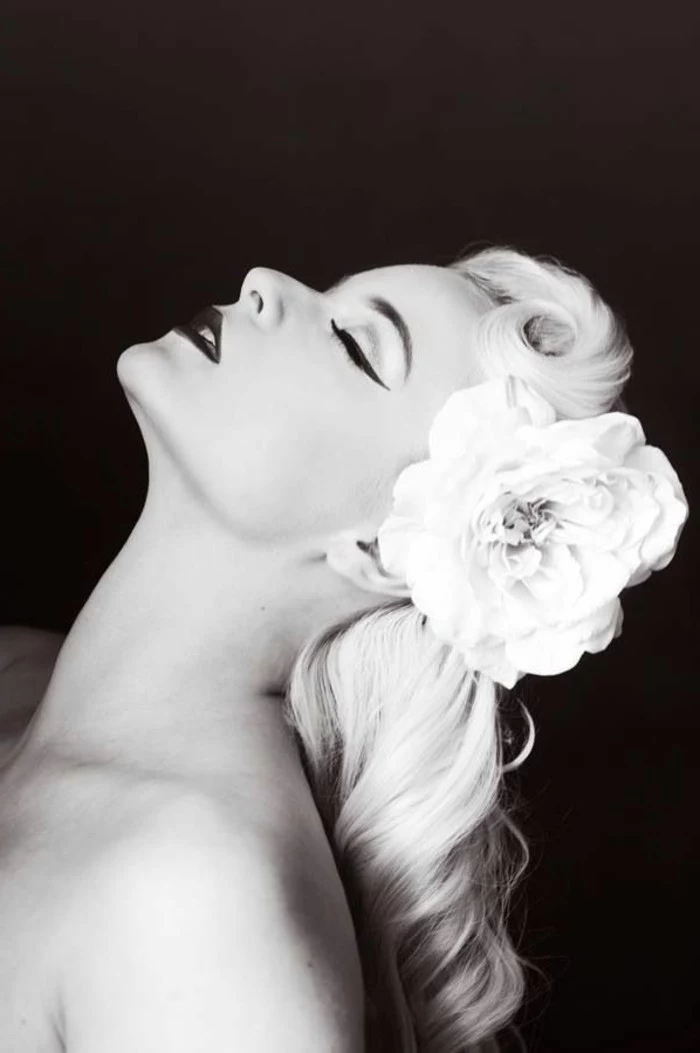
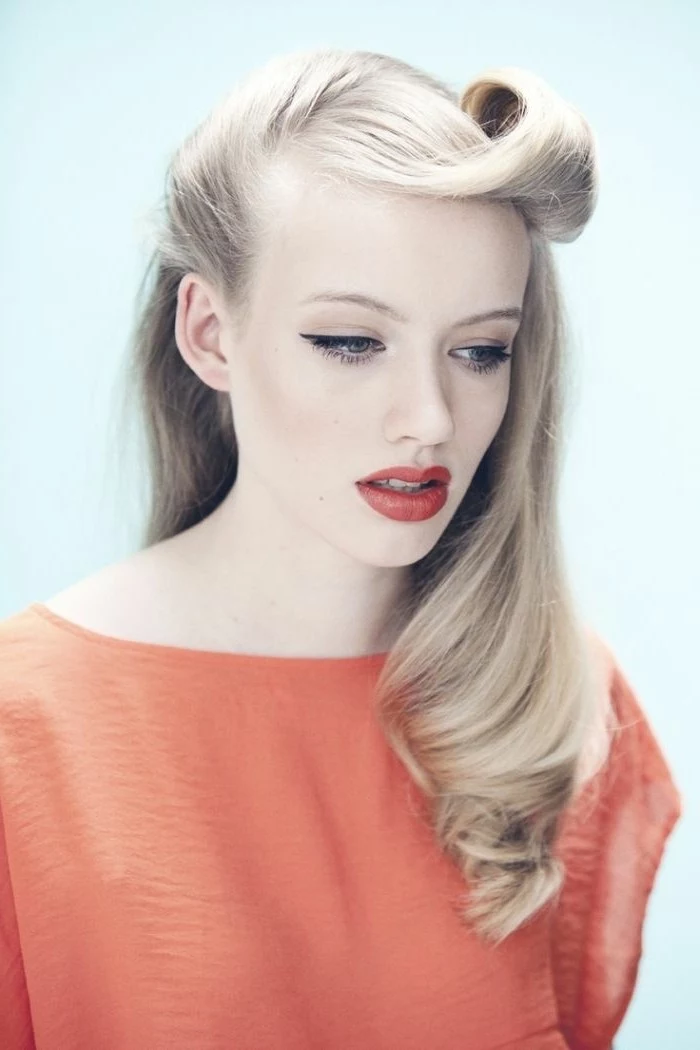
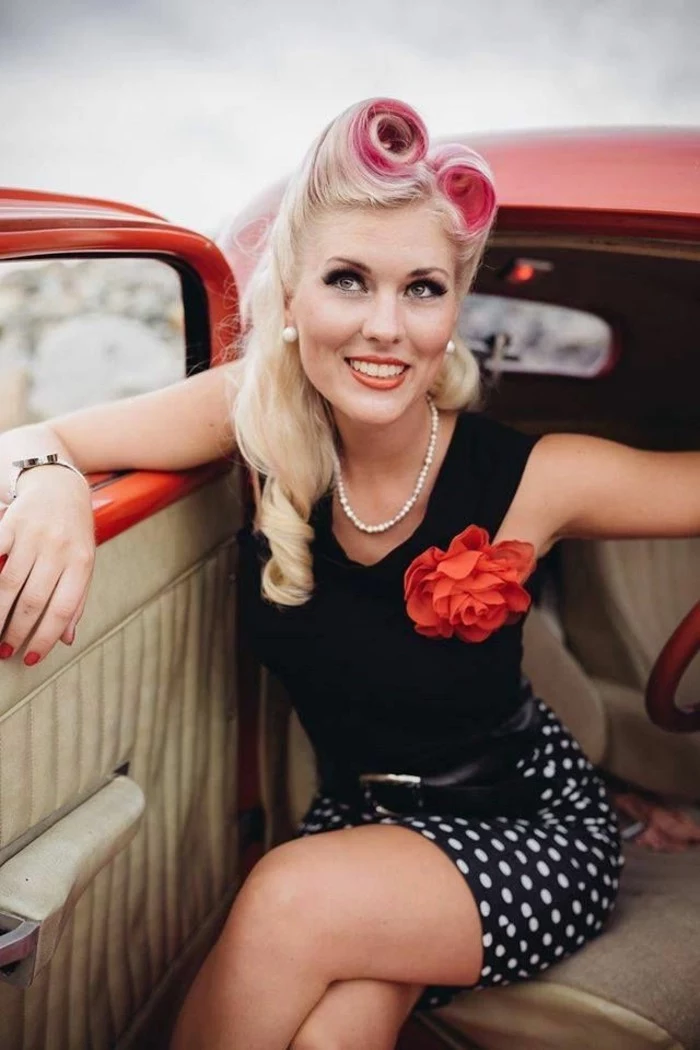
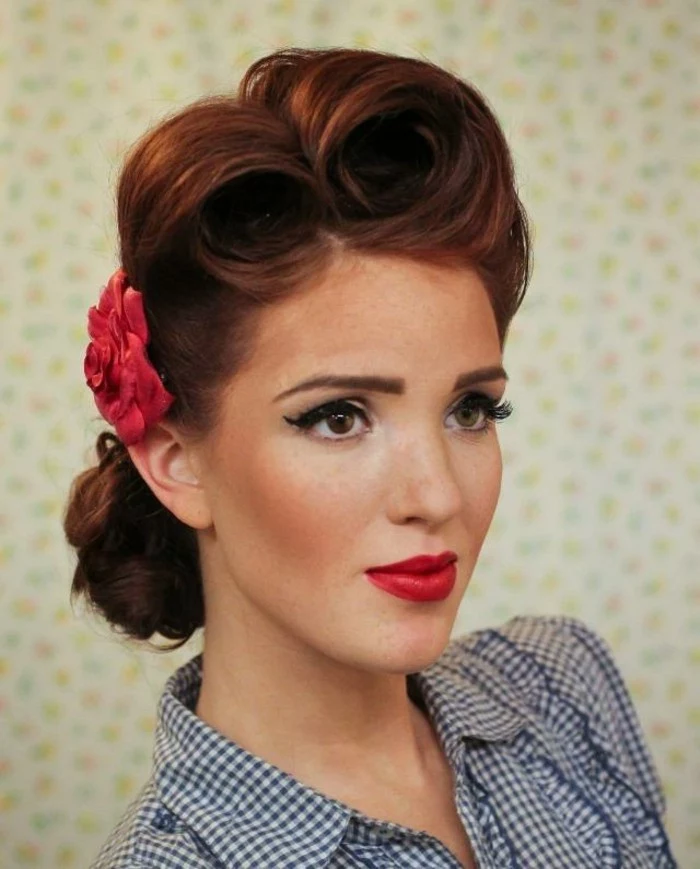
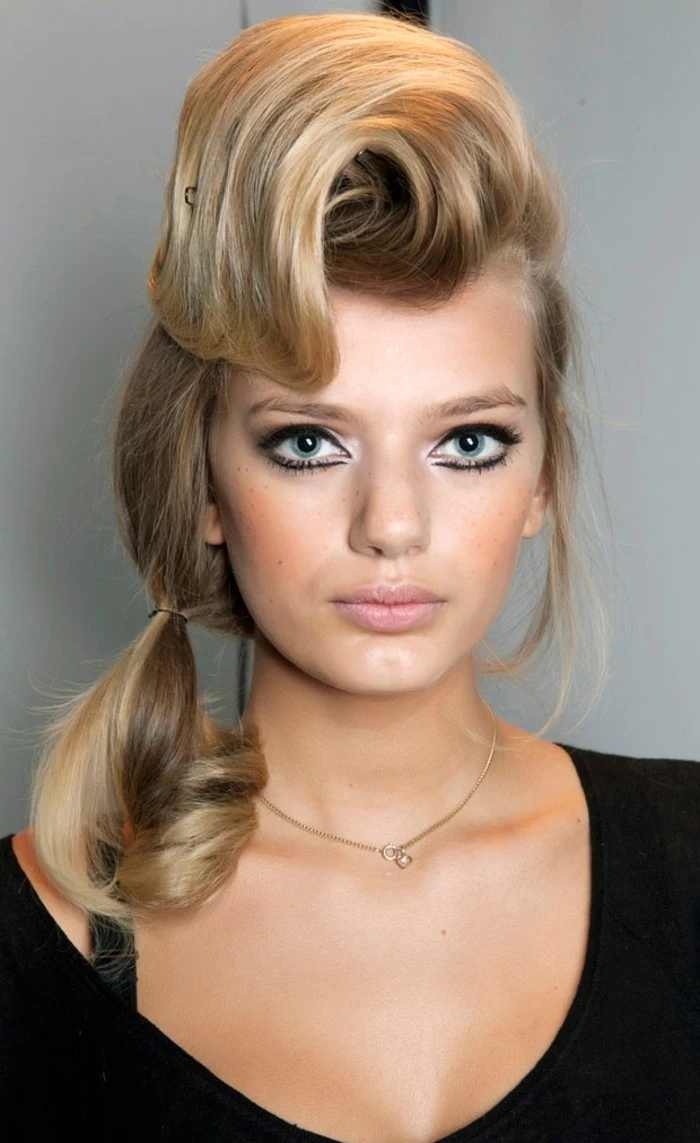
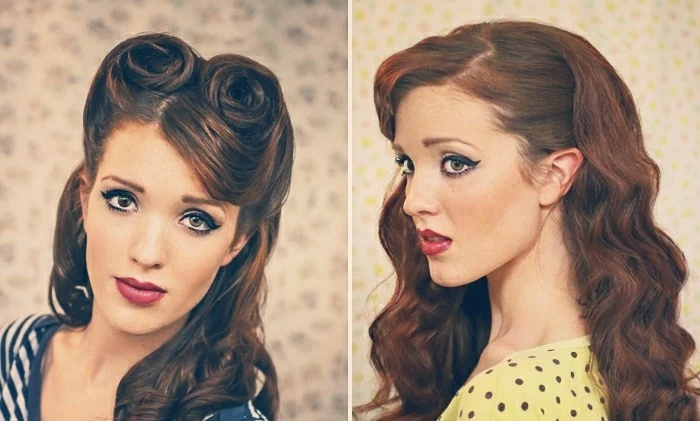
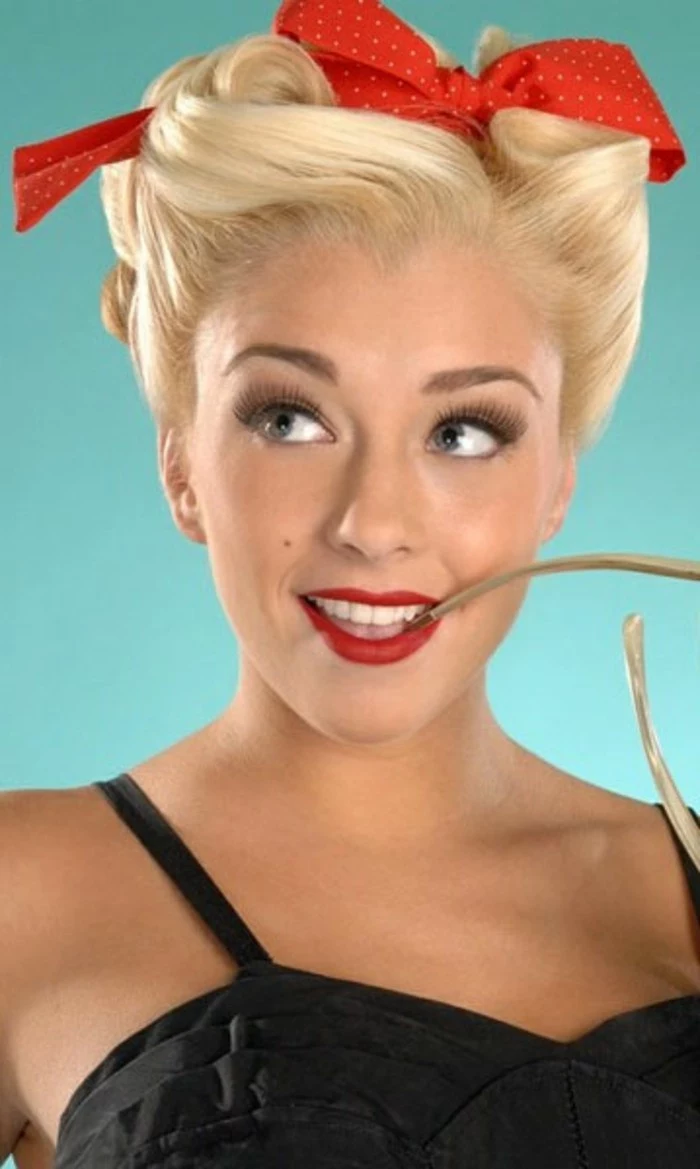
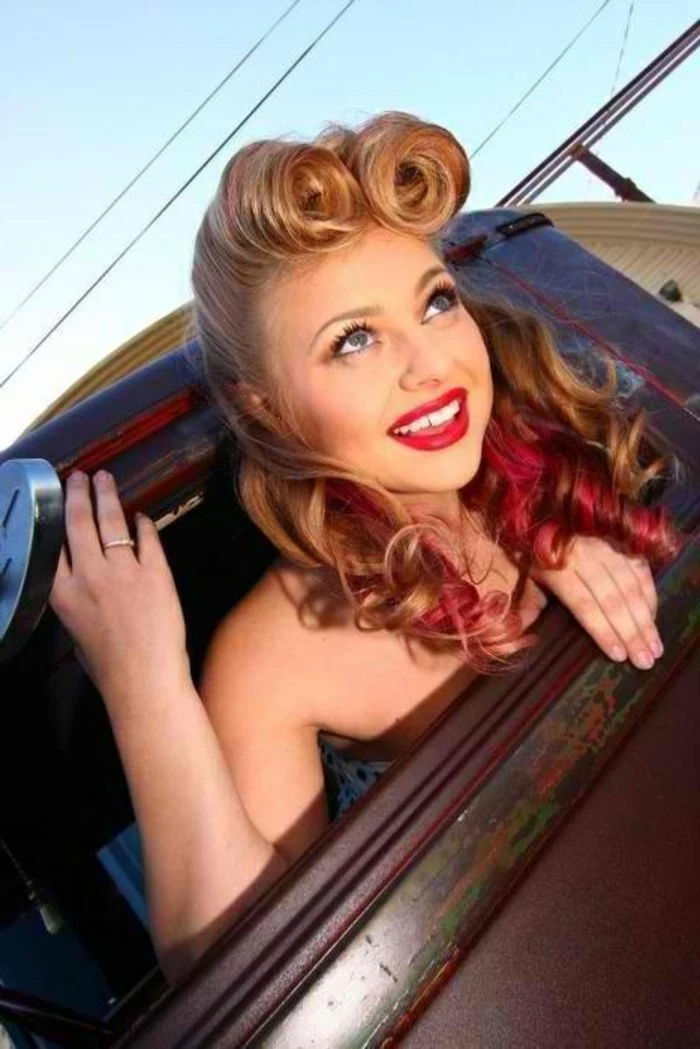
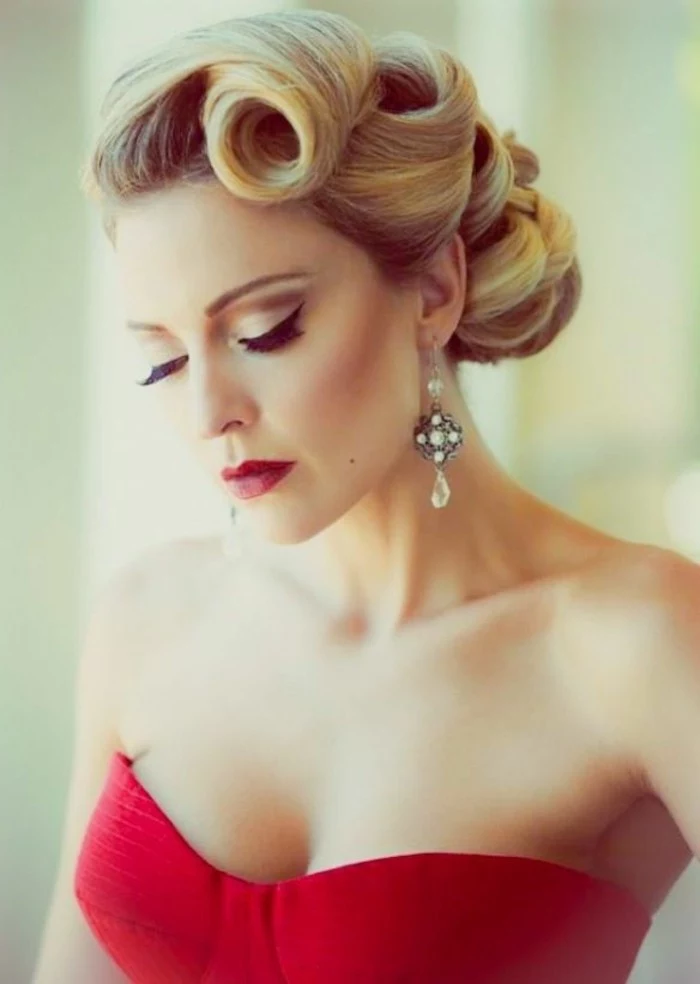
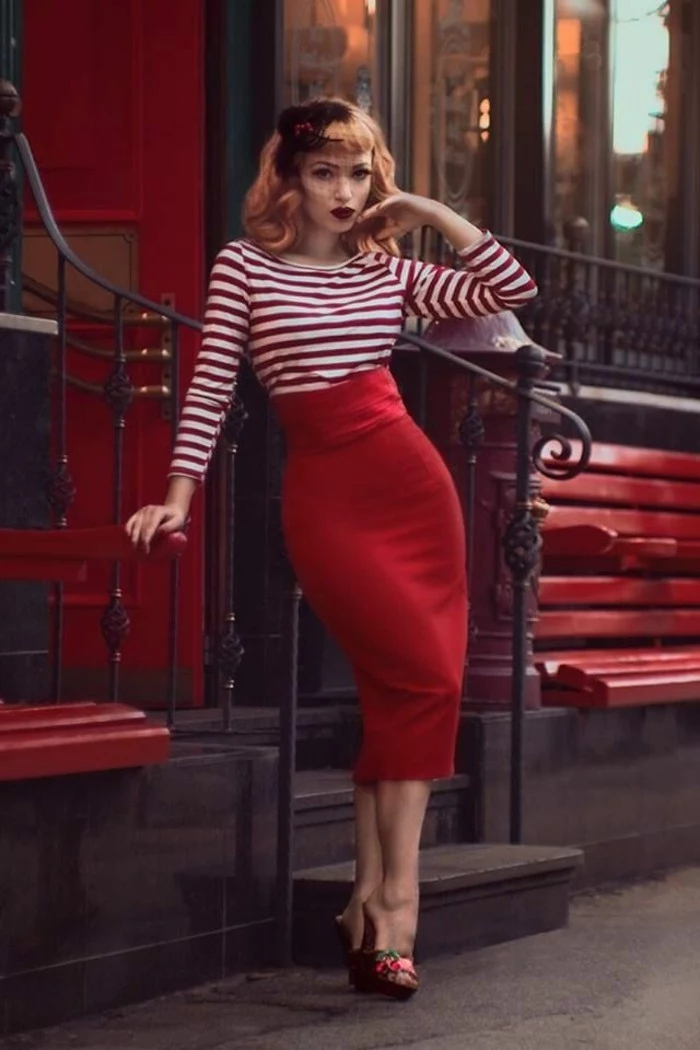
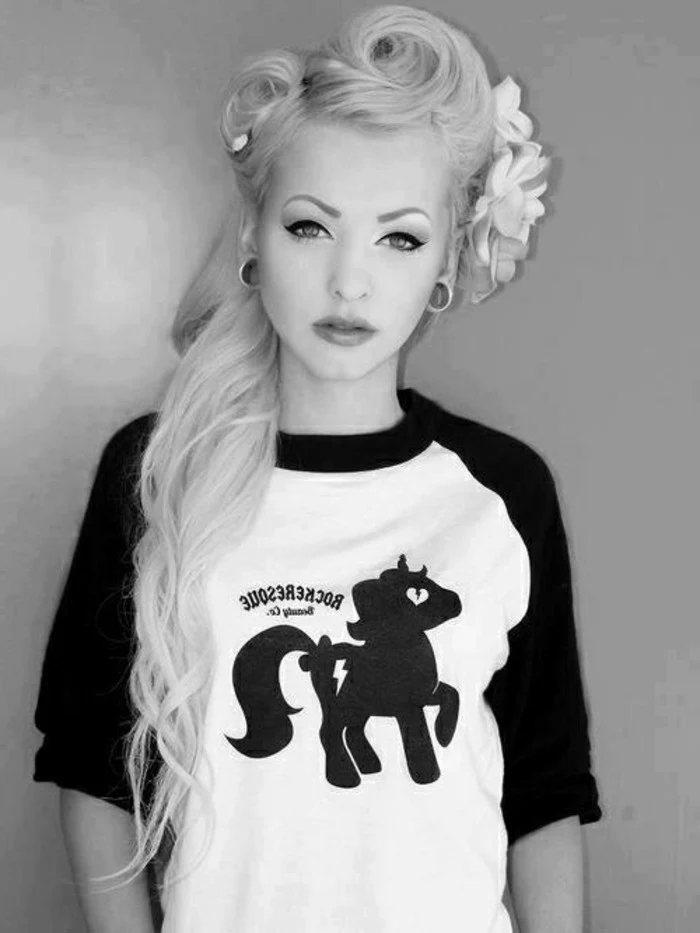
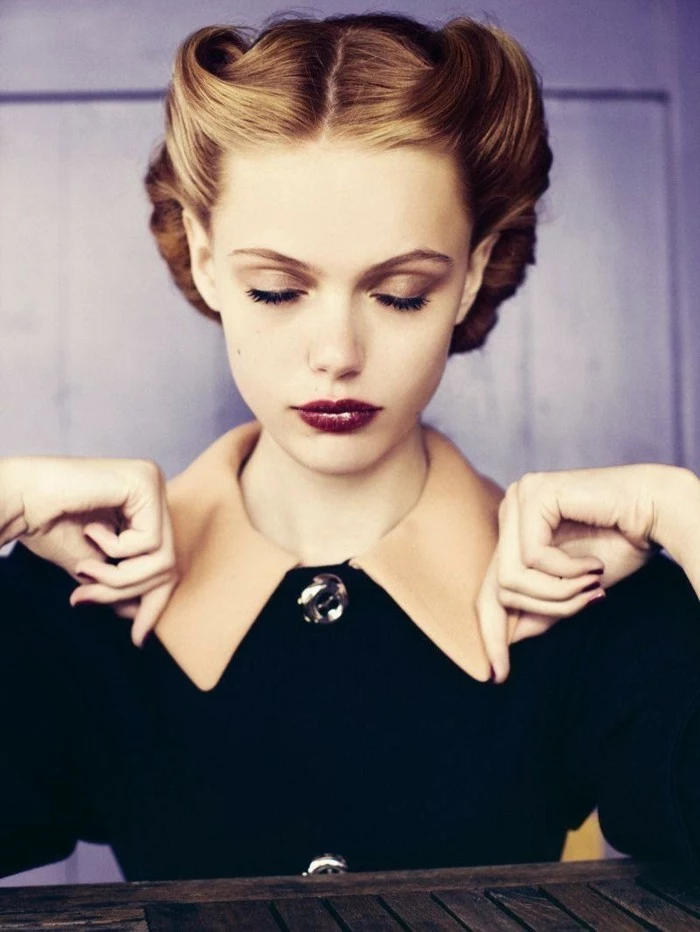
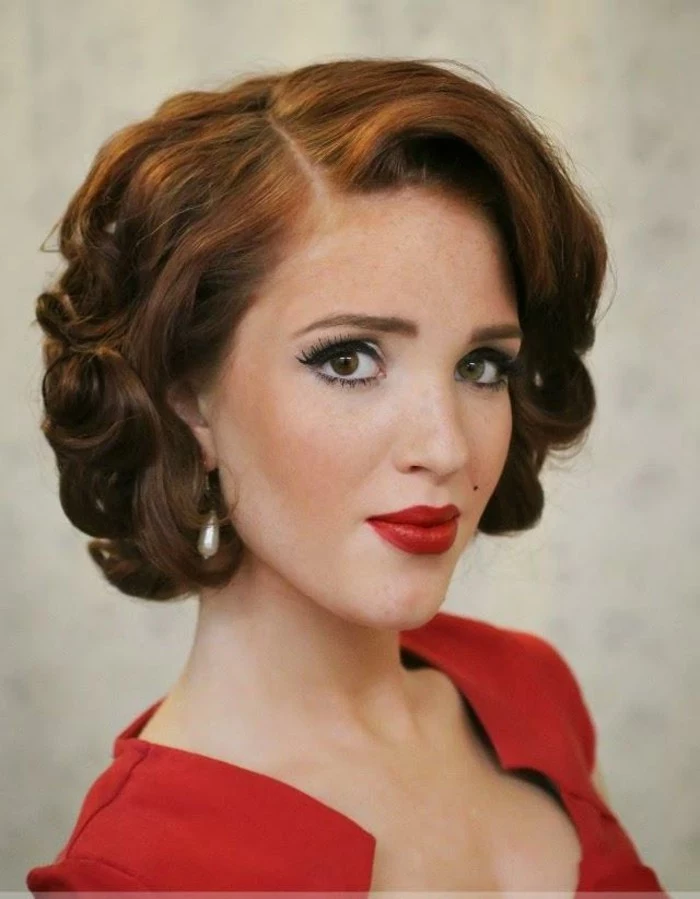
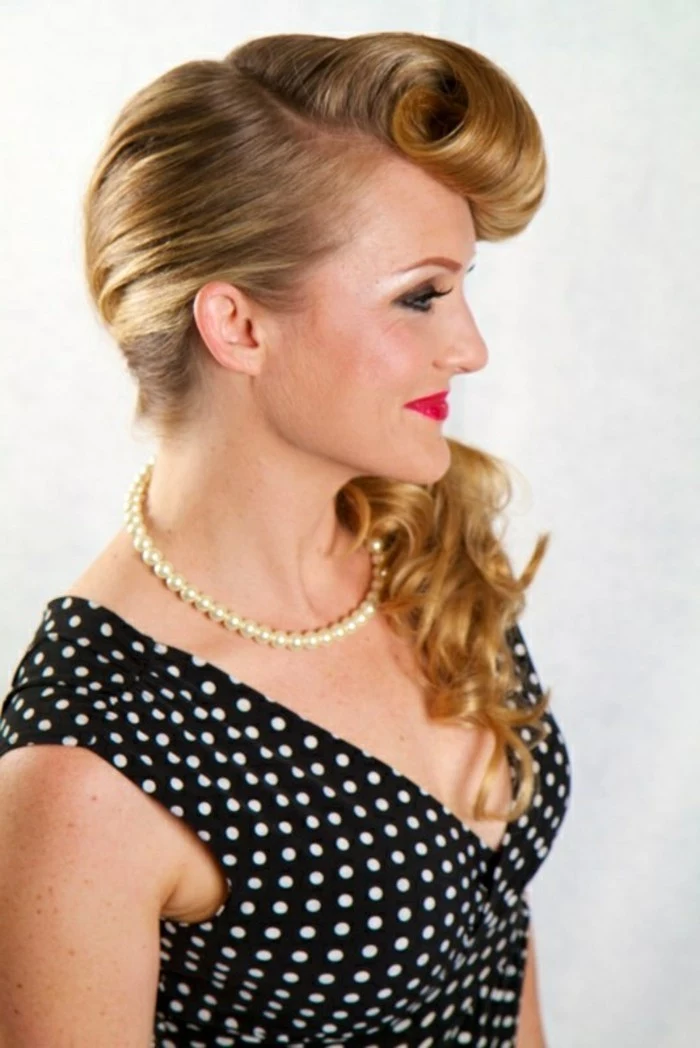
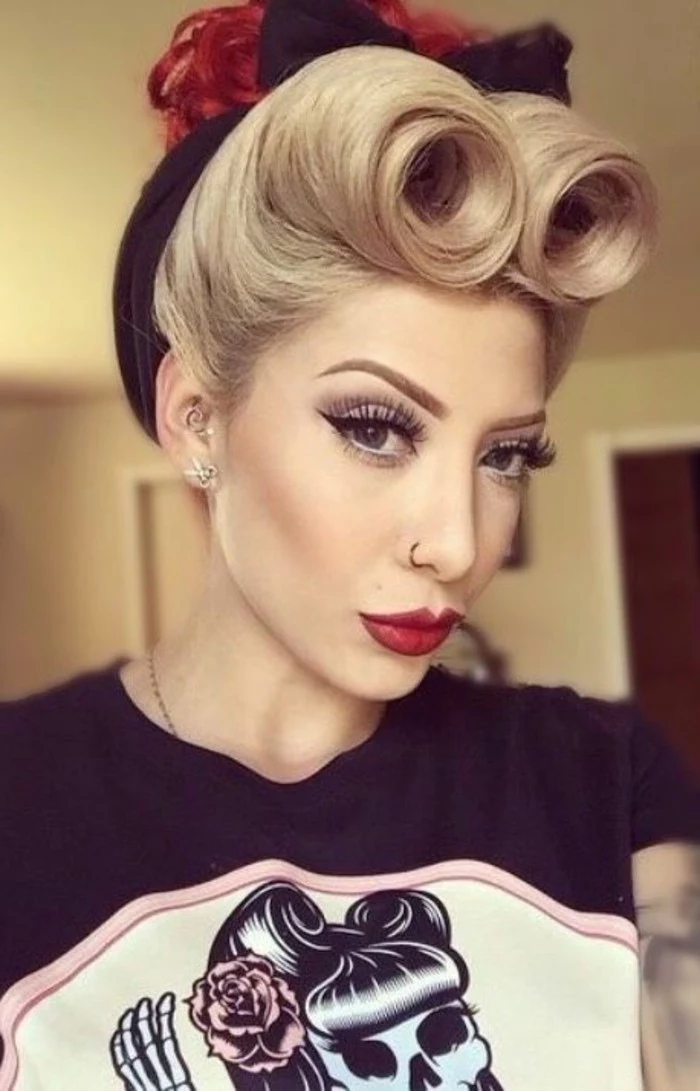
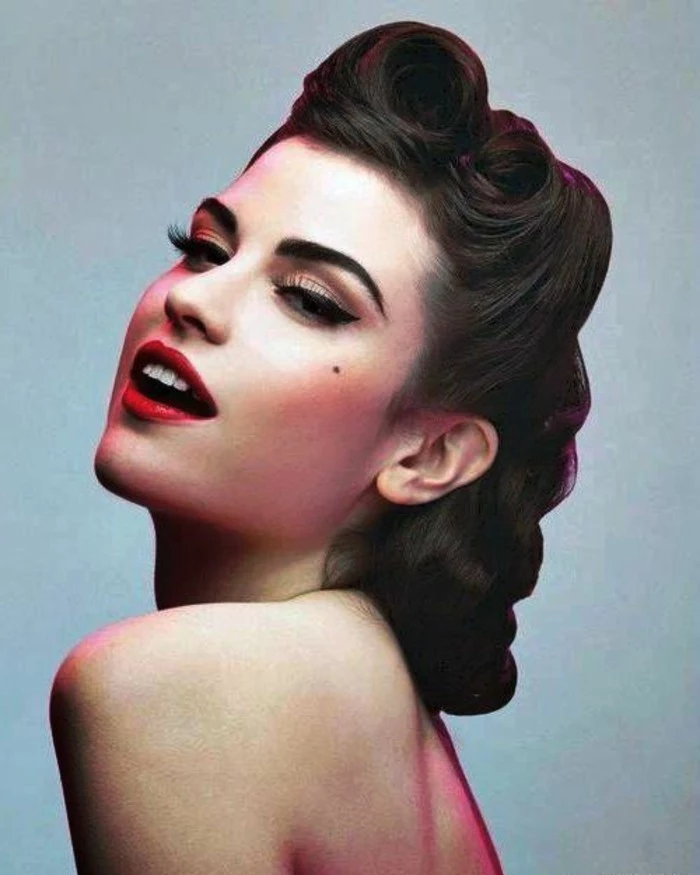
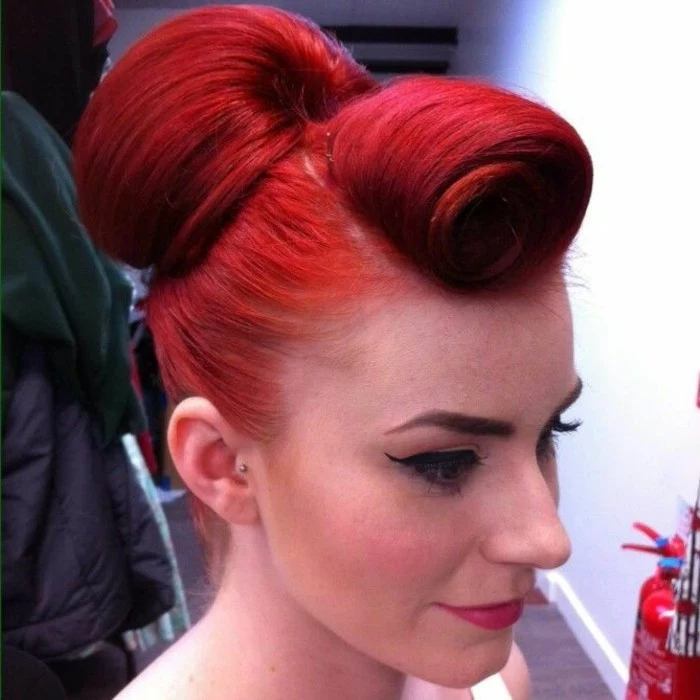
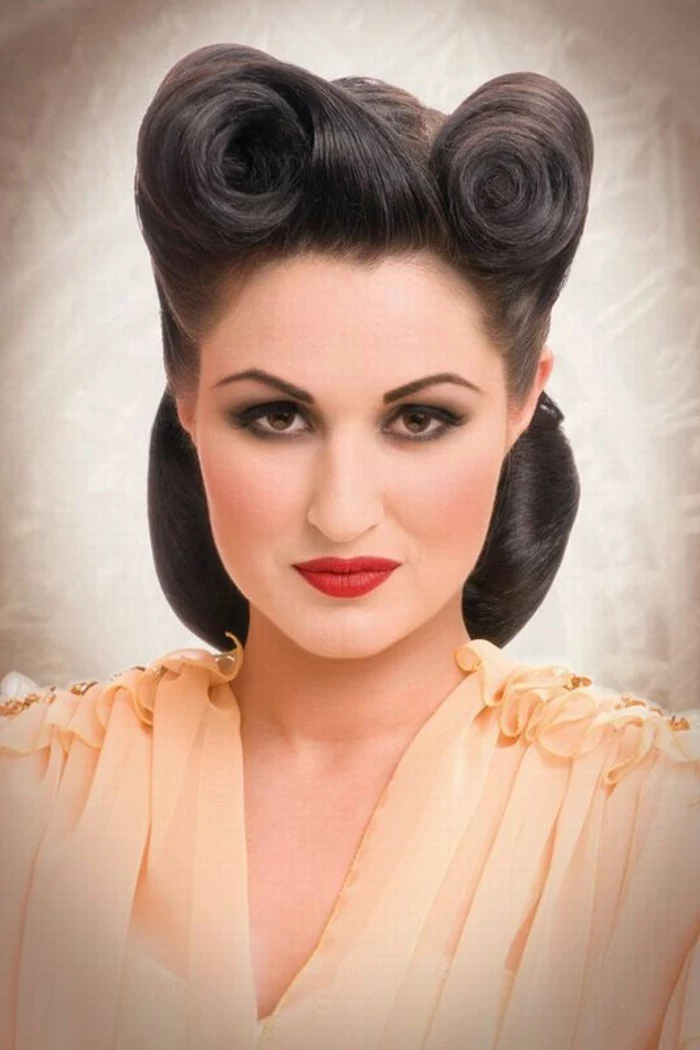
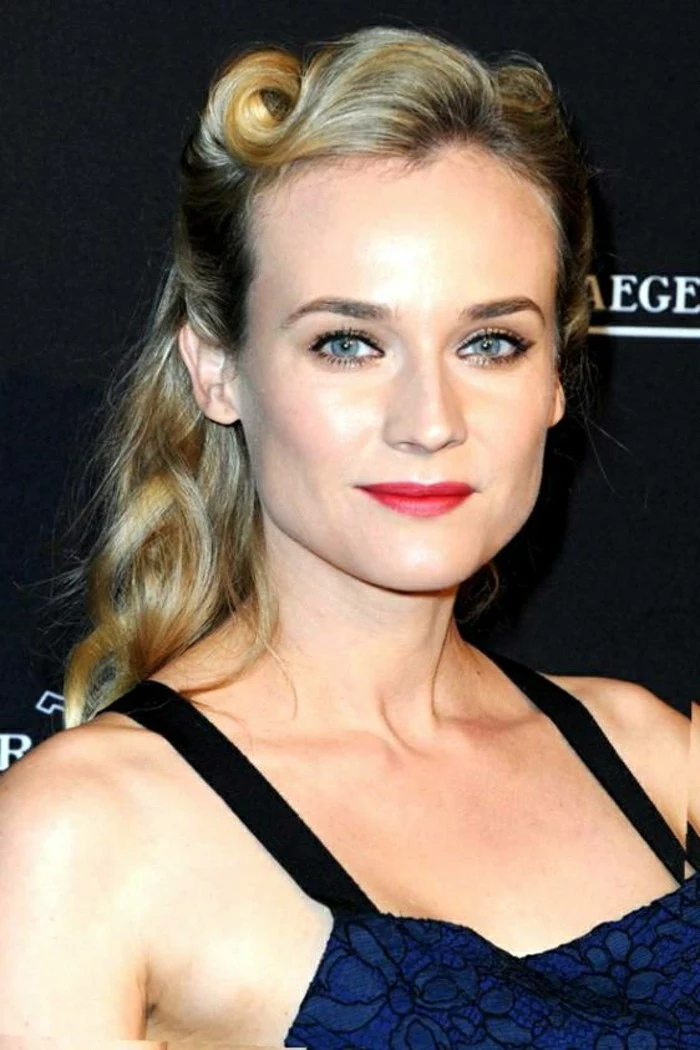
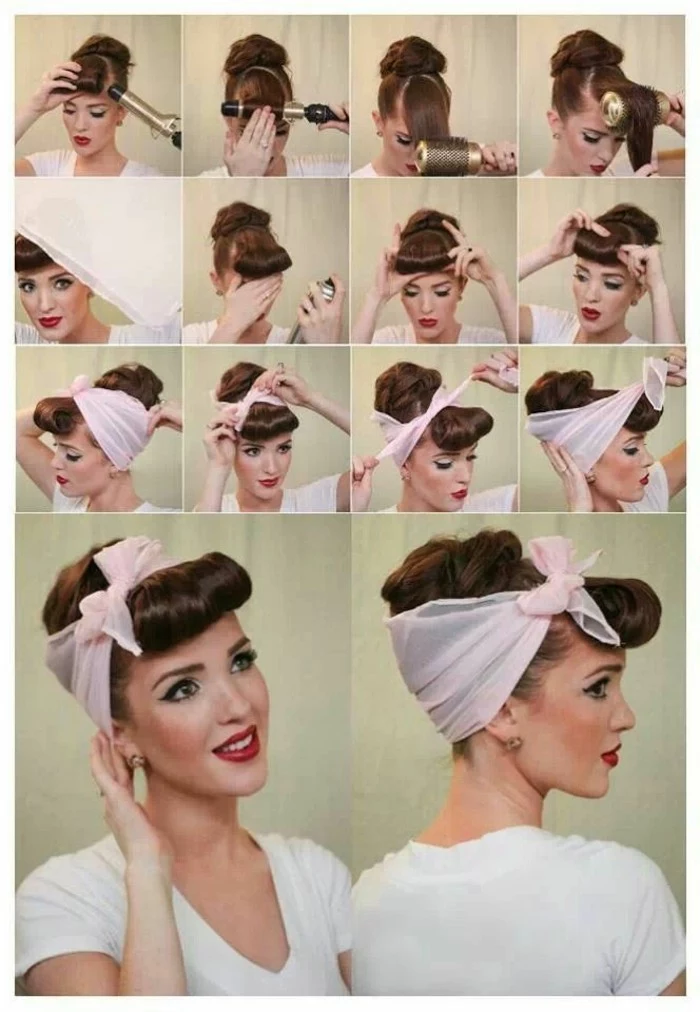
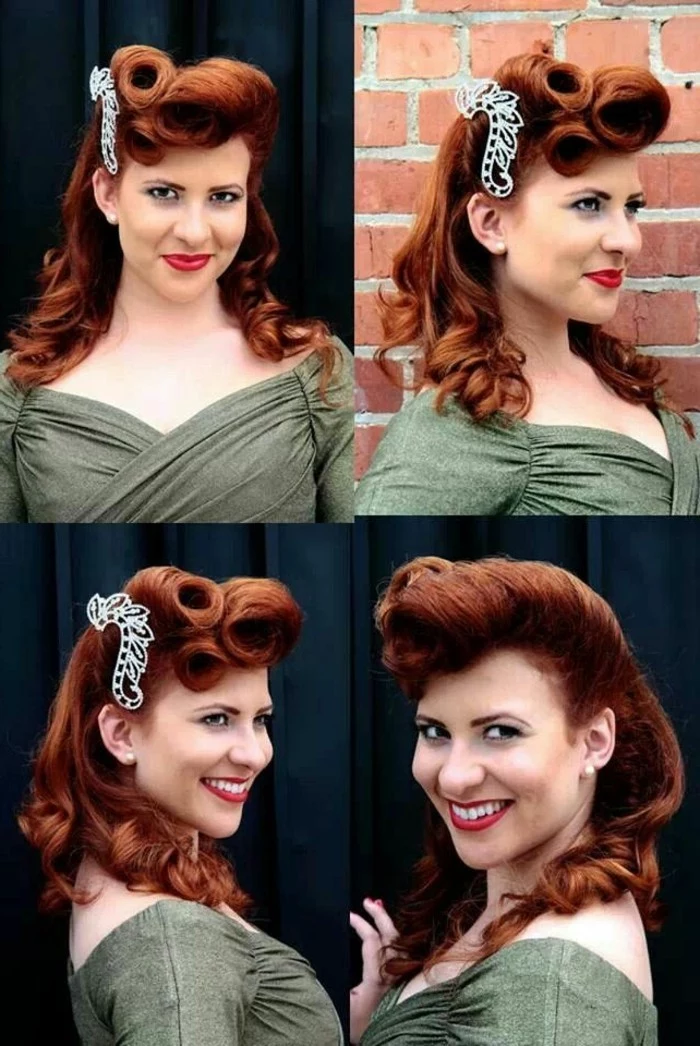
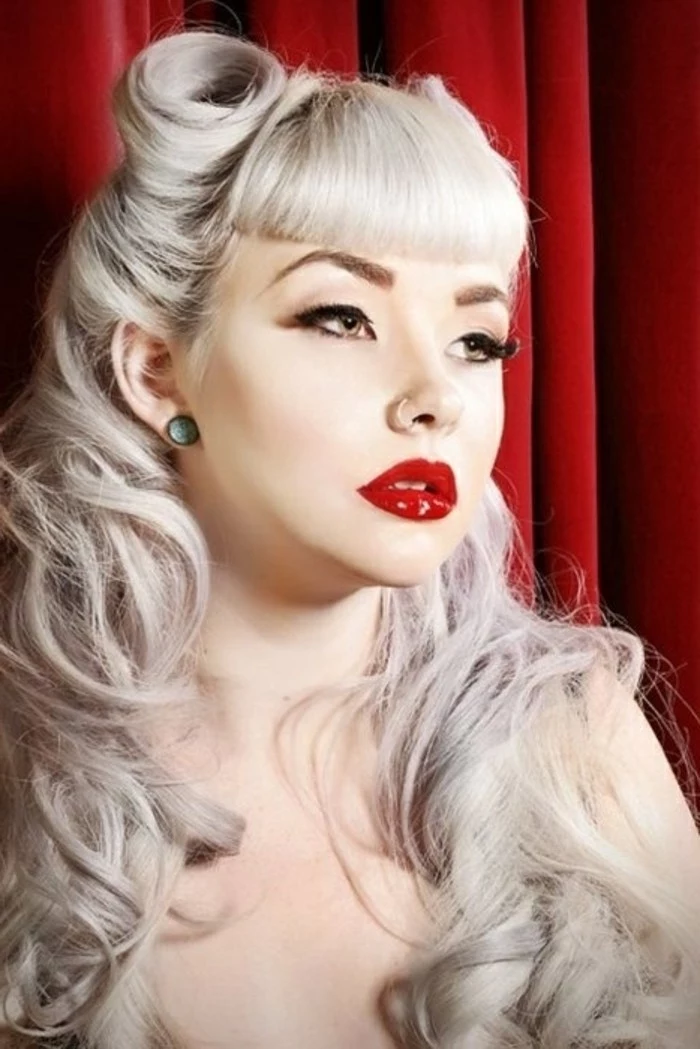
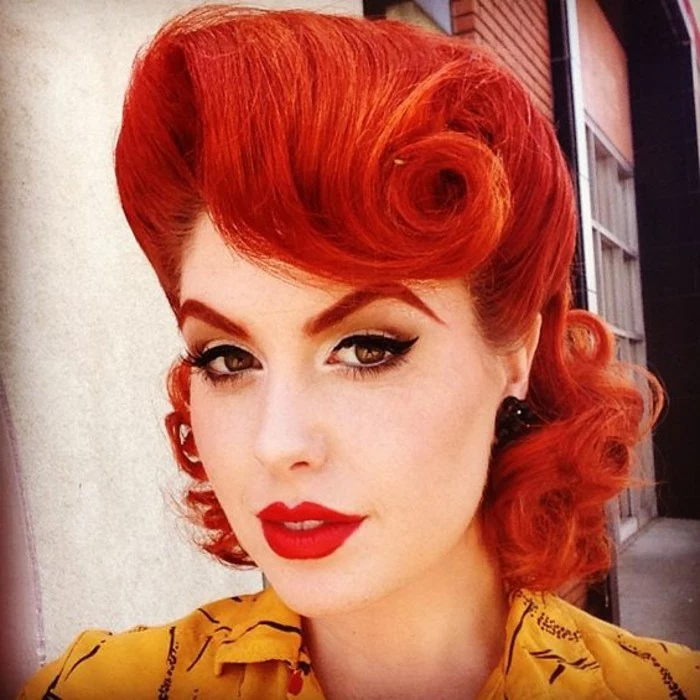
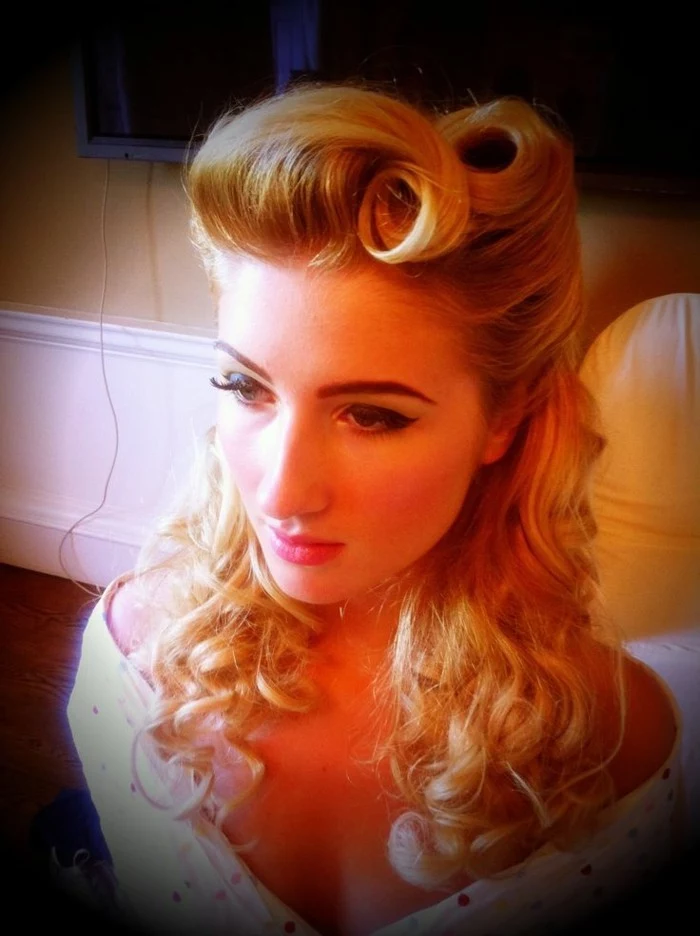
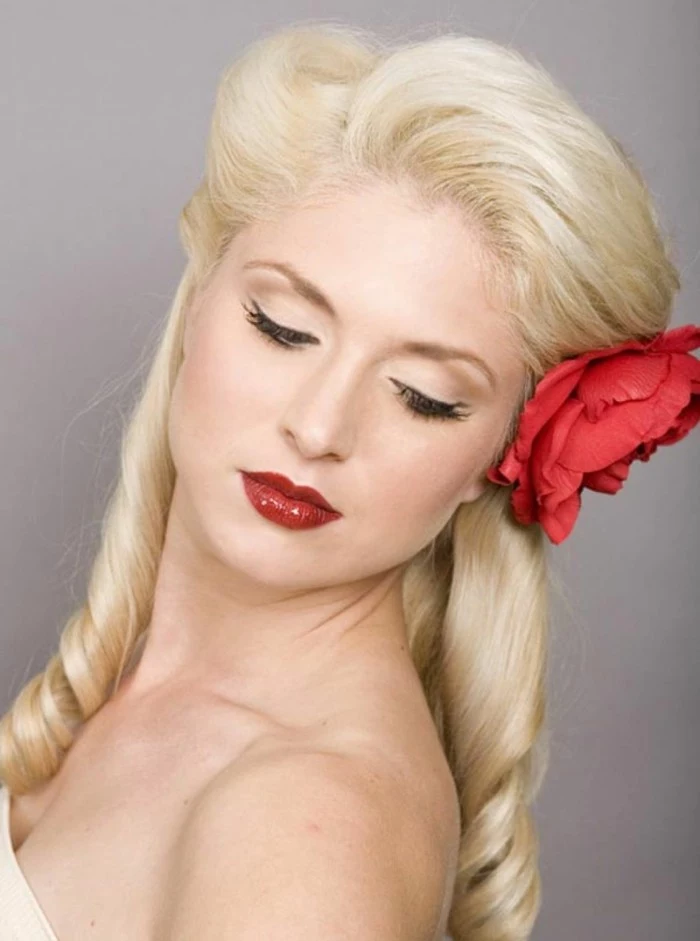
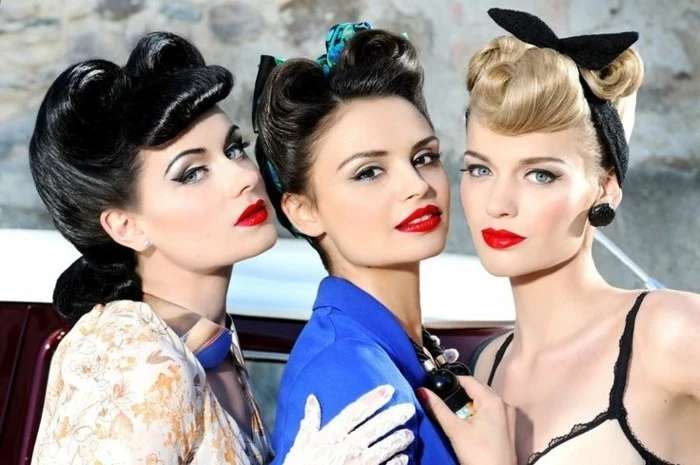
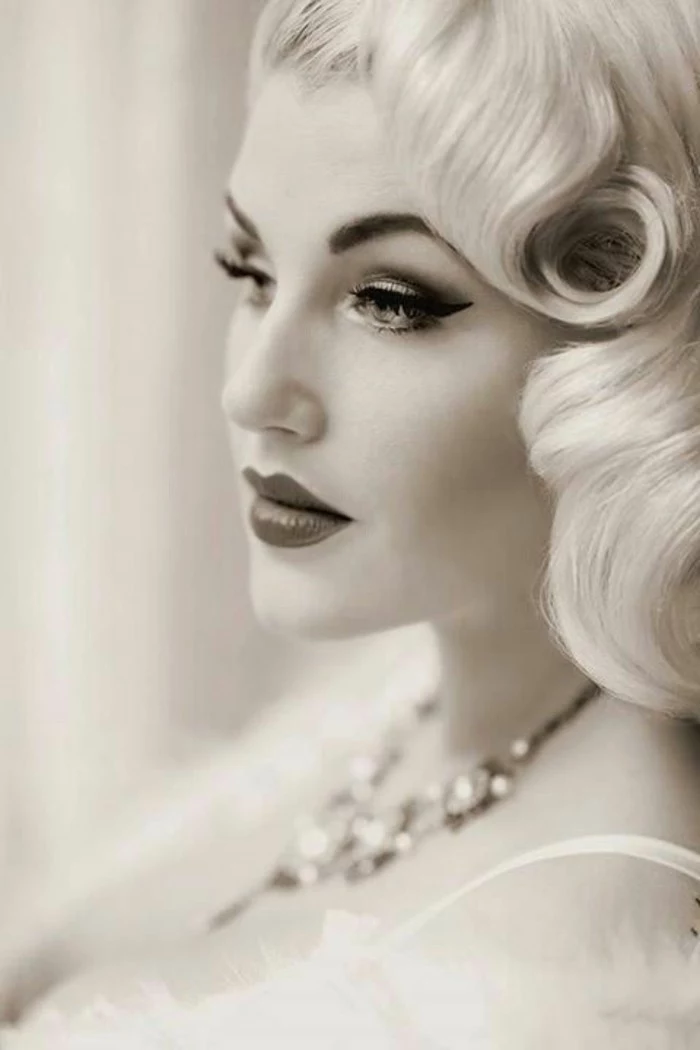
The Victory Roll
This is the big one. It looks intimidating, but it’s all about the prep and the roll. Give yourself a good 30 minutes for your first try—you’ll get it down to 10 with practice.
- Section It Off: Use your rat-tail comb to take a clean section of hair, maybe two inches wide, from your side part back toward your crown.
- Give it a Bend: Lightly spray the section with hairspray. Using a 1-inch curling iron, curl the whole section away from your face. We’re not aiming for a perfect ringlet, just a nice bend to make it easier to roll.
- Build Your Base: Hold the section straight up. Start about two inches from your scalp and push your teasing comb down in a few short, firm strokes. You want a solid cushion at the base. If you have fine hair that laughs at teasing, sprinkle a little texturizing powder (like Big Sexy Hair Powder Play) on the roots first. It’s like magic grit in a bottle.
- Smooth the Surface: Gently brush only the top surface of the hair that will be visible. Hide that teasing! A tiny bit of pomade on your fingertips helps tame flyaways.
- Roll It Up: Hold the ends and start rolling the hair down towards the teased base. Here’s the trick: keep two fingers inside the roll as you go to maintain a hollow tube shape. If you roll it flat, you get that cinnamon bun look.
- Pin It Down: Once the roll is sitting on your scalp, anchor it by crisscrossing bobby pins inside the roll, grabbing the base hair underneath. They should be totally hidden. Blast it with a firm-hold hairspray.
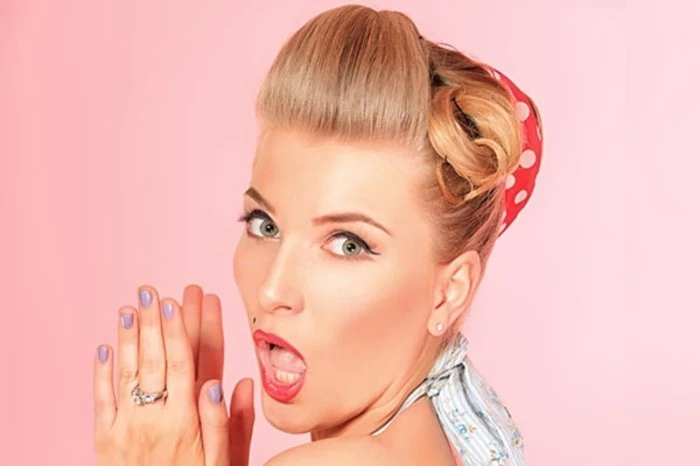
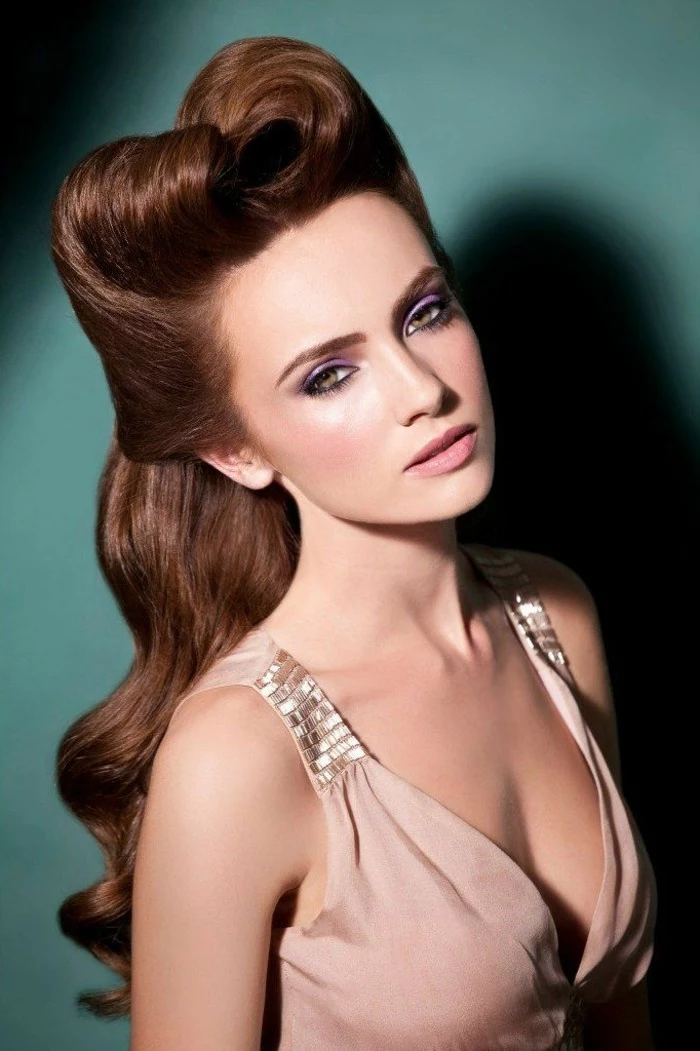
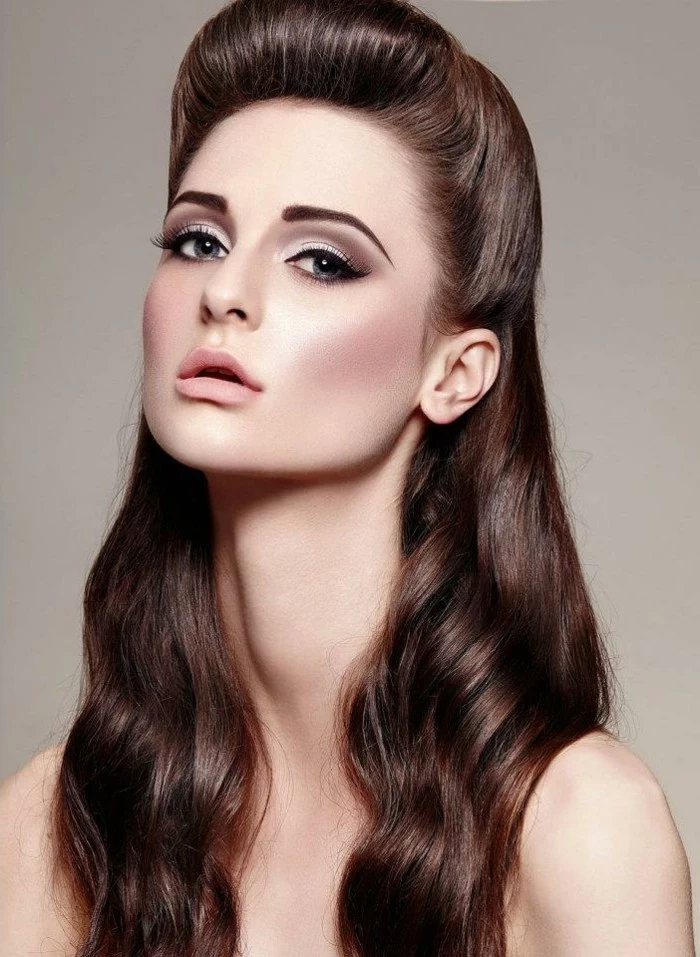
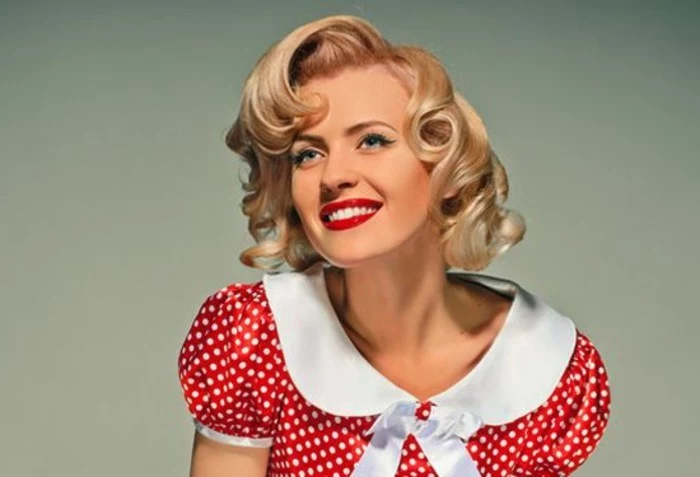
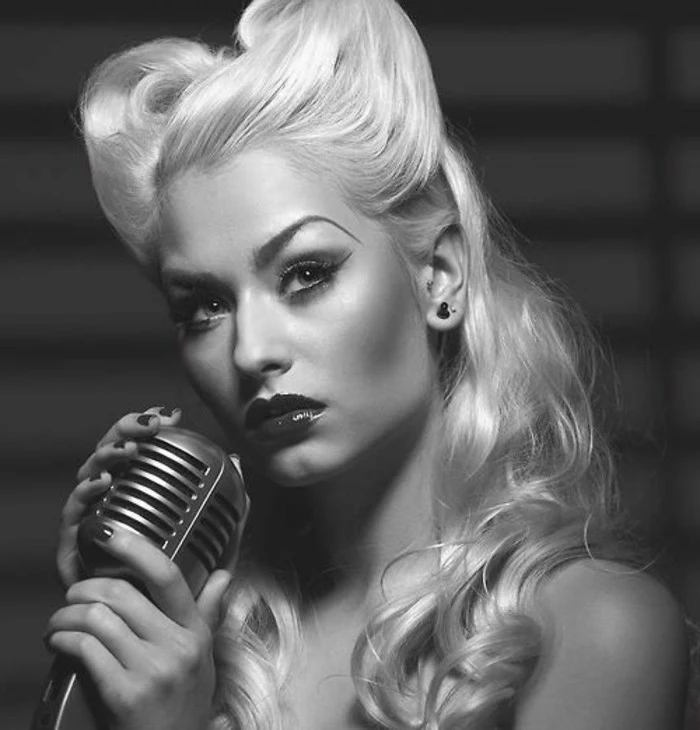
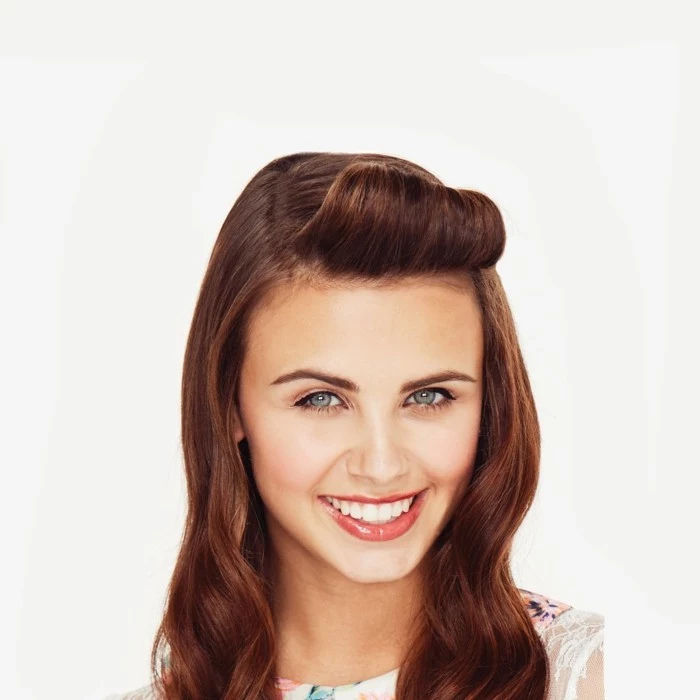
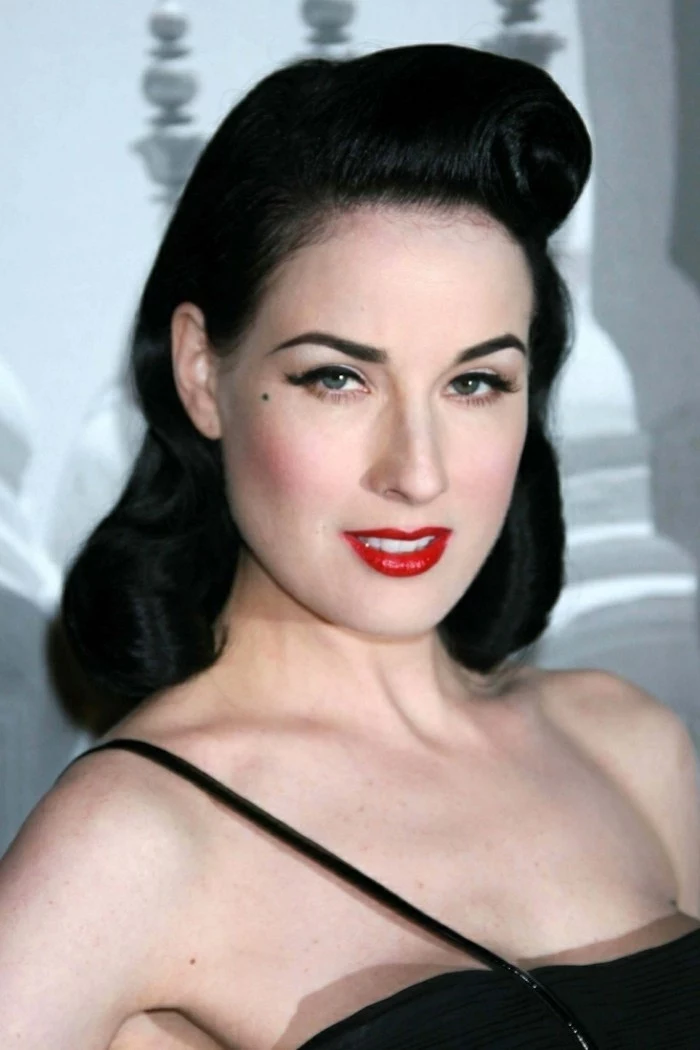
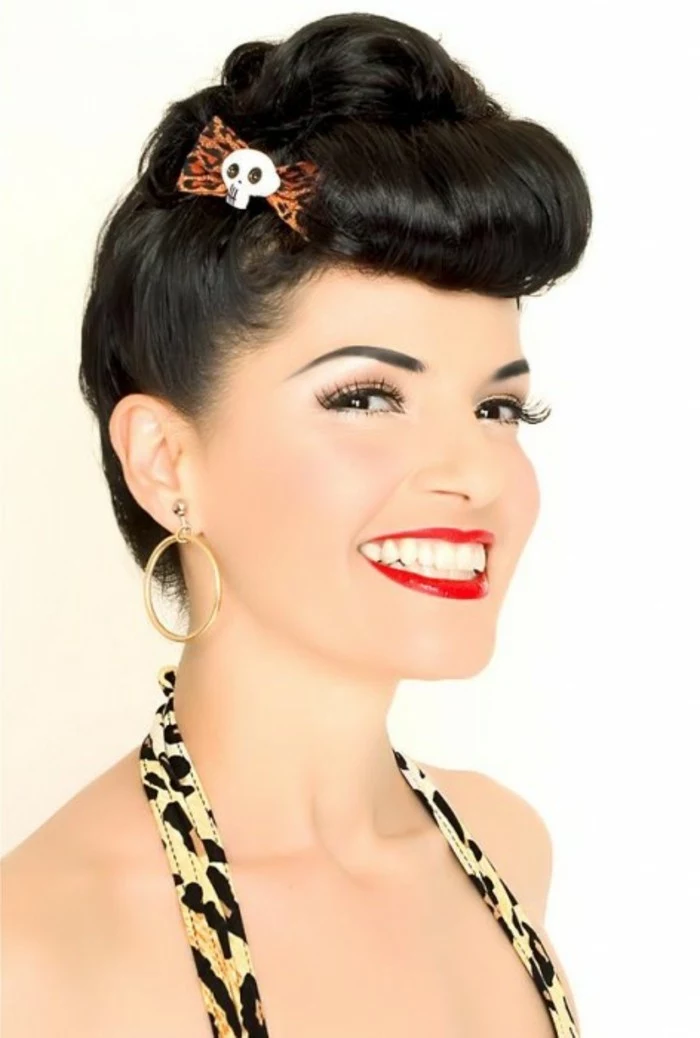
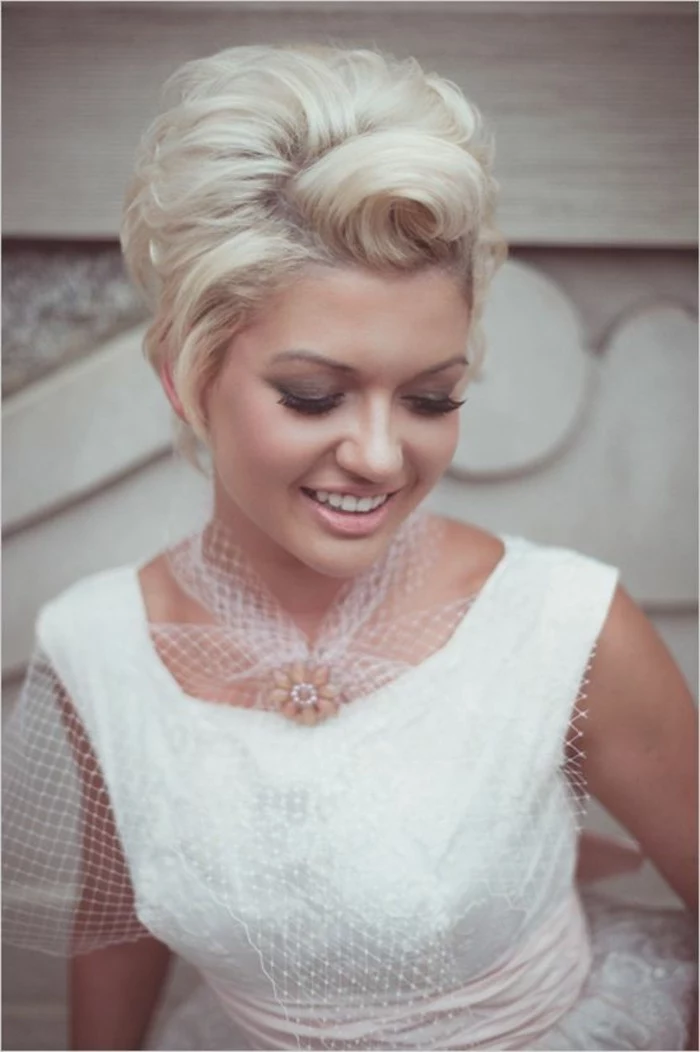
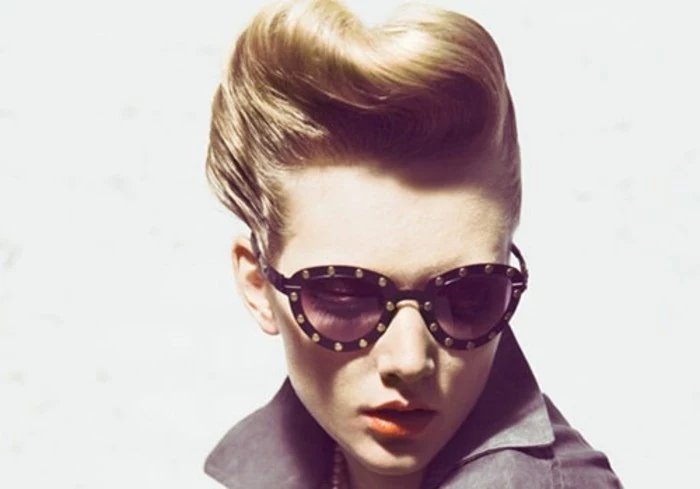
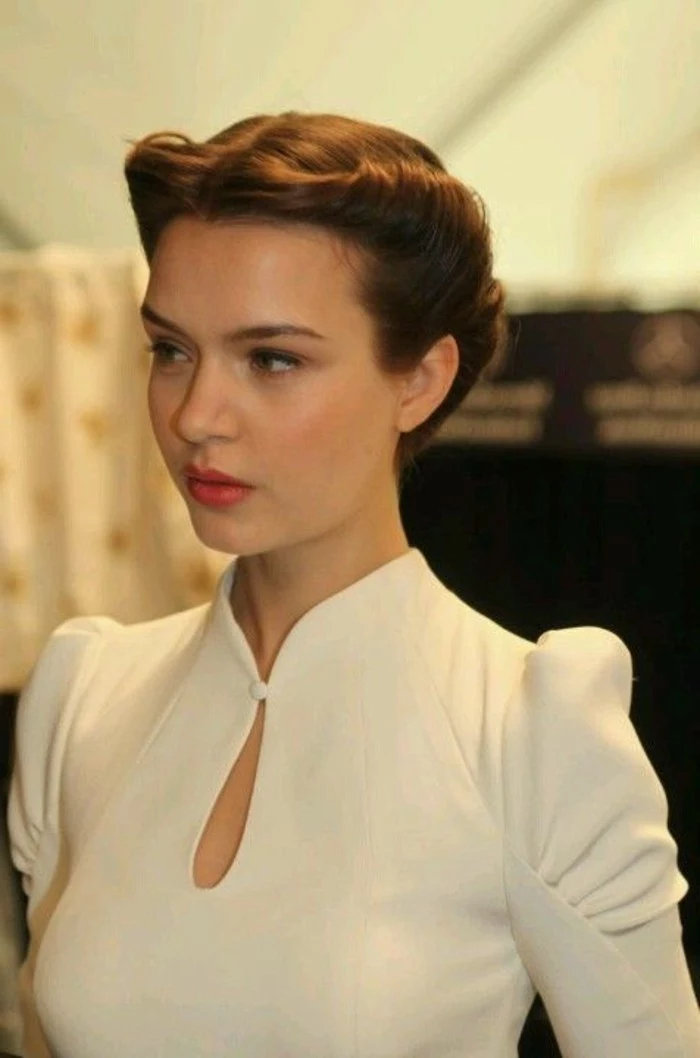
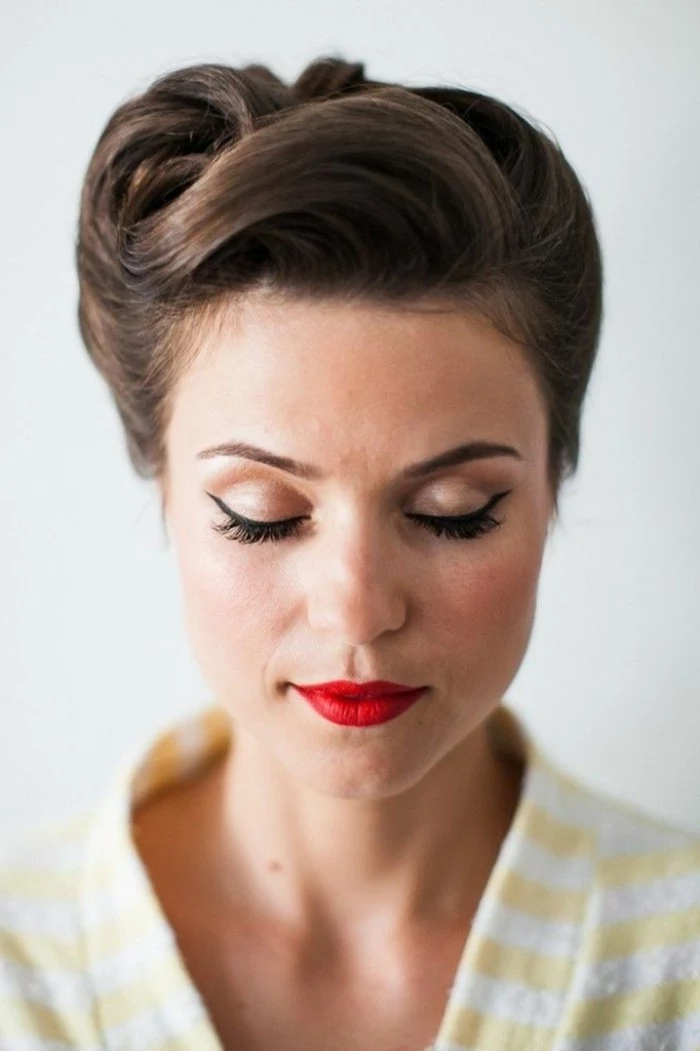
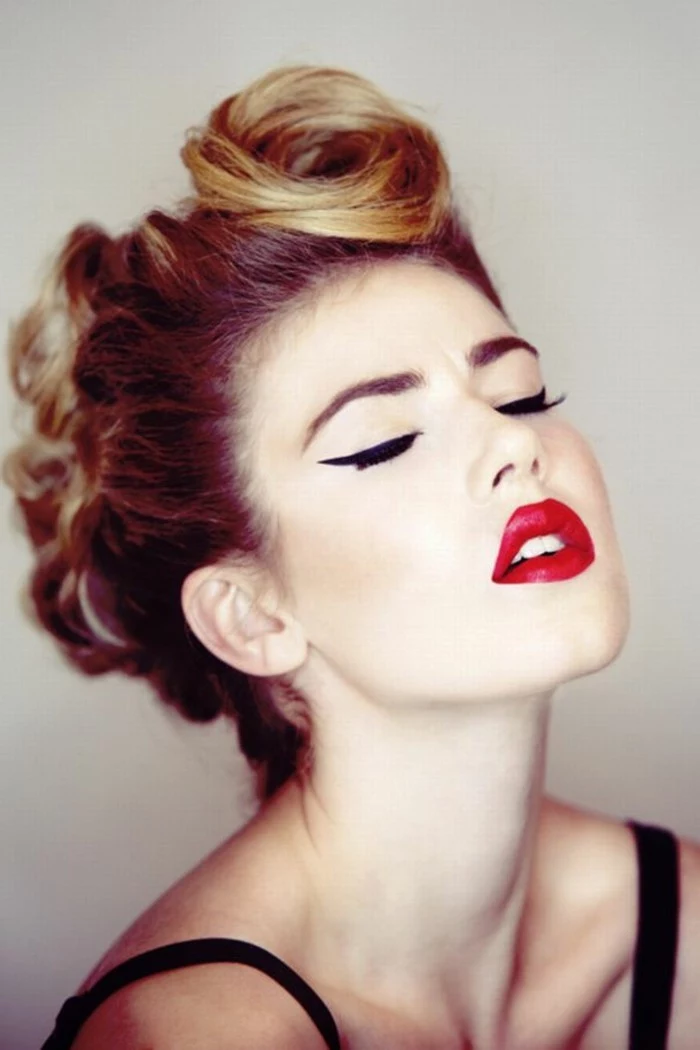
The Bumper Bang
This is that perfect, rounded bang that looks so polished. The secret? You’re going to build it around a form.
- Section Your Bangs: Separate out the front section of your hair that you want to use for the bang.
- Get a ‘Rat’: You can buy a mesh hair donut (the kind for making buns) from any drugstore for a few bucks. Cut it open and re-roll it into a log shape that’s the length you want your bangs to be. This is your ‘hair rat’.
- Tease and Smooth: Lightly tease the underside of your bang section for grip. Then, smooth the top surface over neatly.
- Roll and Pin: Place the hair rat at the ends of your hair section and roll the hair down and under, tucking the ends in as you go. The rat should be completely covered. Pin the roll securely against your forehead with bobby pins.
The Morning After: How to Safely Detangle Your ‘Do
Okay, the party’s over. How do you get this out without wanting to cry? That teased cushion can feel like a solid knot.
Do NOT just jump in the shower and start scrubbing. First, saturate the teased sections with a cheap, slippery conditioner before you even get your hair wet. Let it sit for a few minutes to soften things up. Then, using a wide-tooth comb, start gently combing from the very ends of your hair and slowly work your way up to the roots. Be patient! Once you’ve gotten the major tangles out, you can hop in the shower and shampoo as usual.
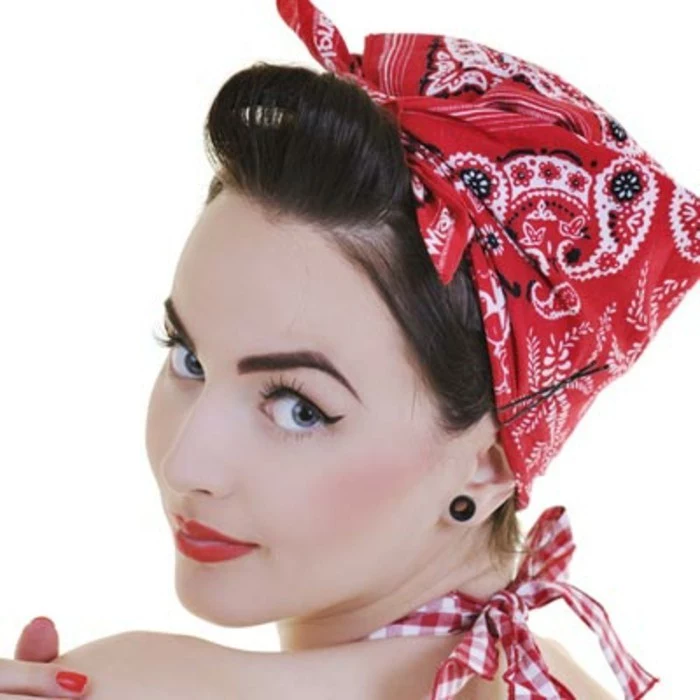
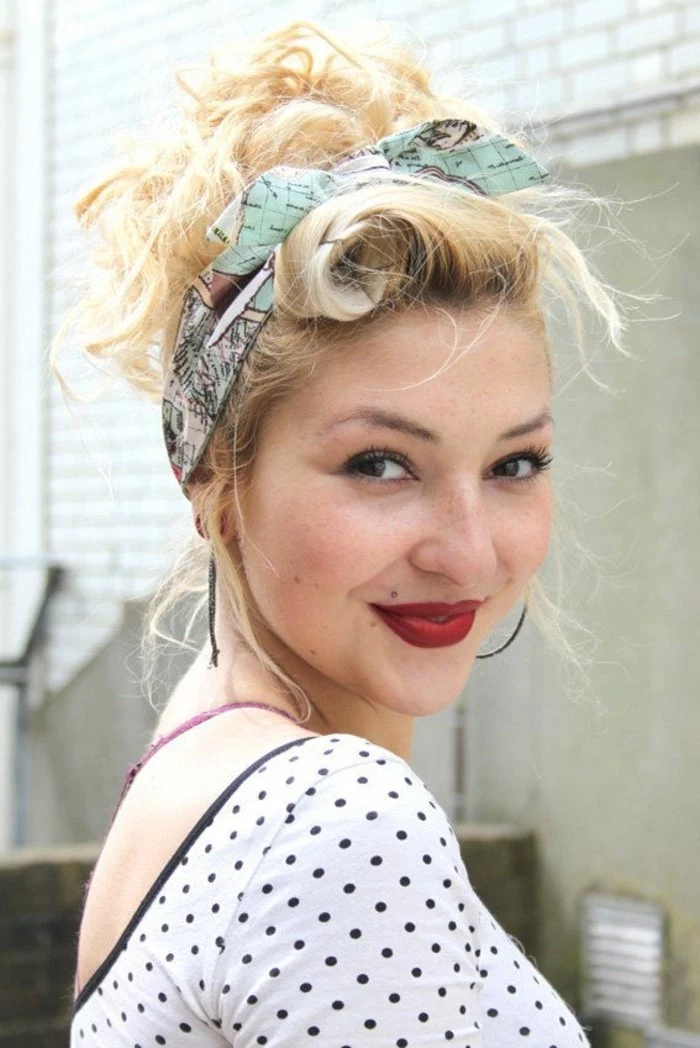
In a Rush? The 5-Minute Rockabilly Fix
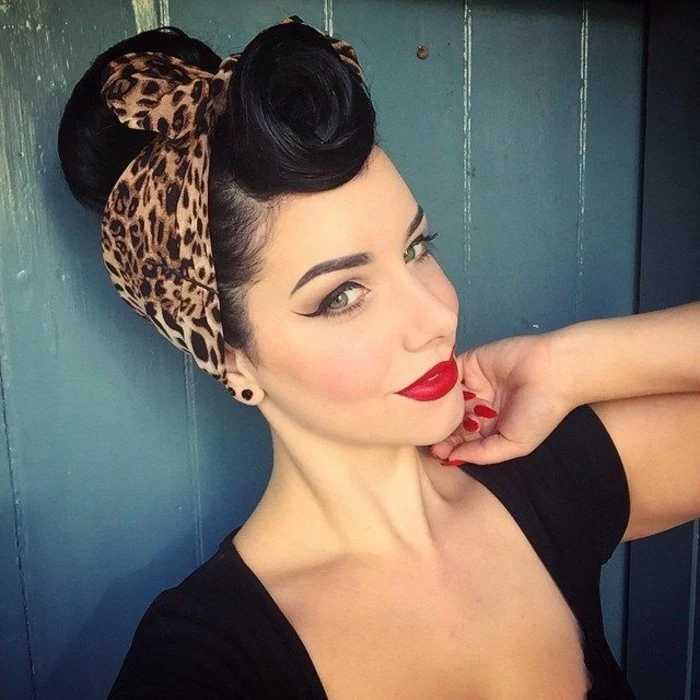
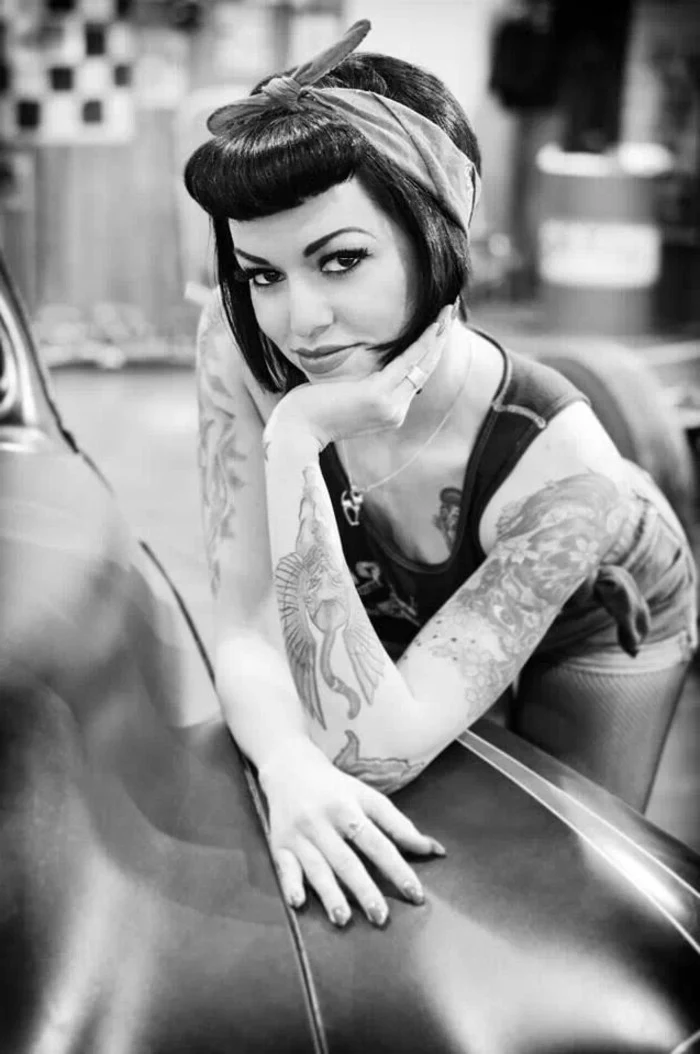
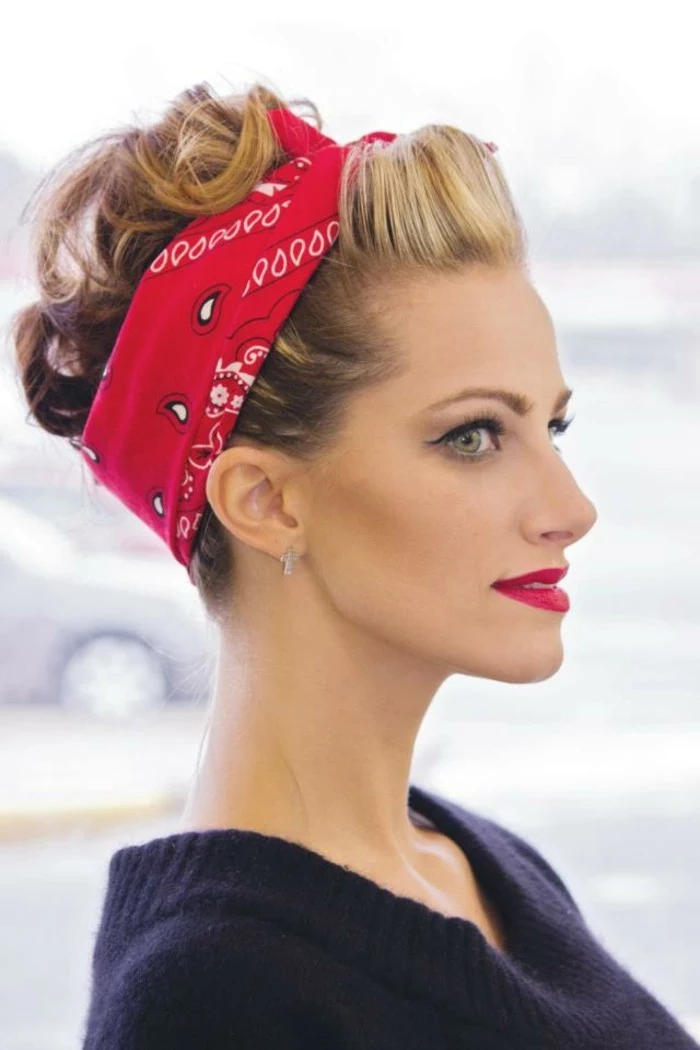
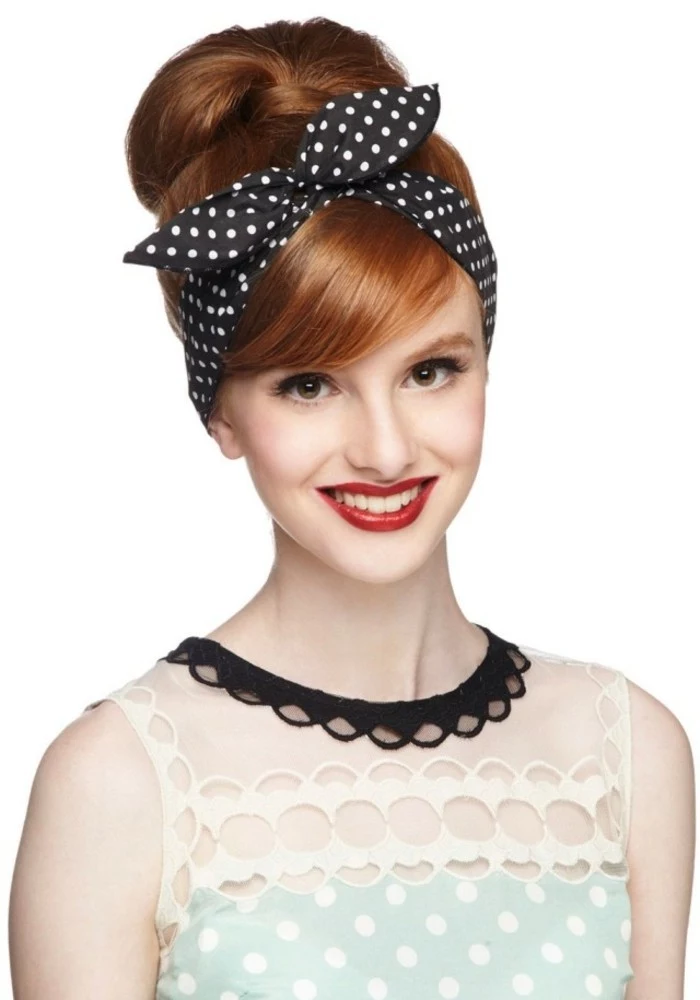
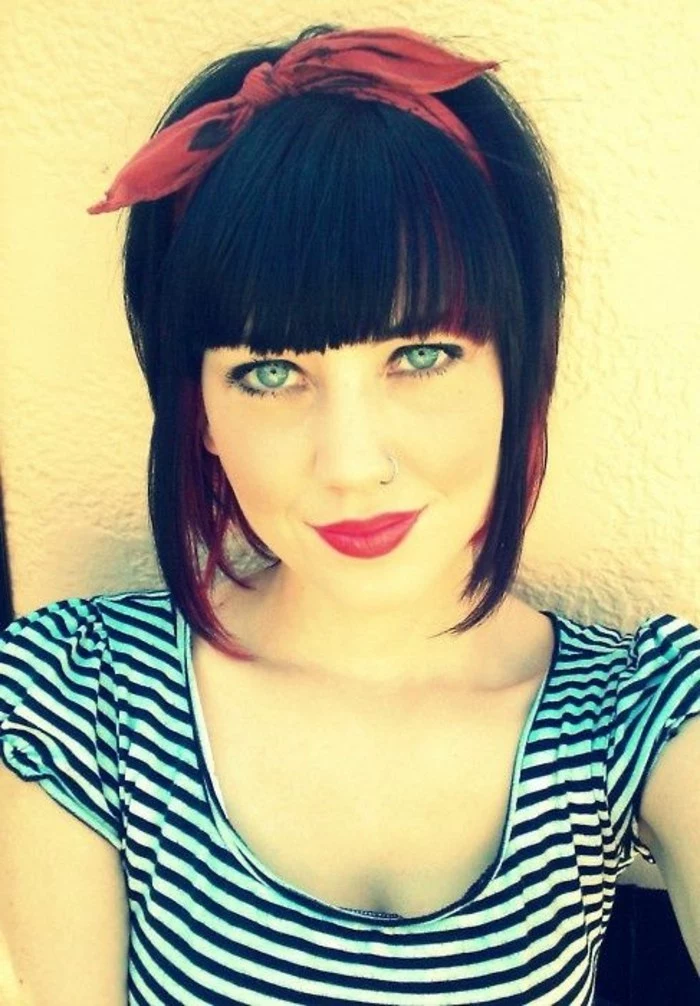
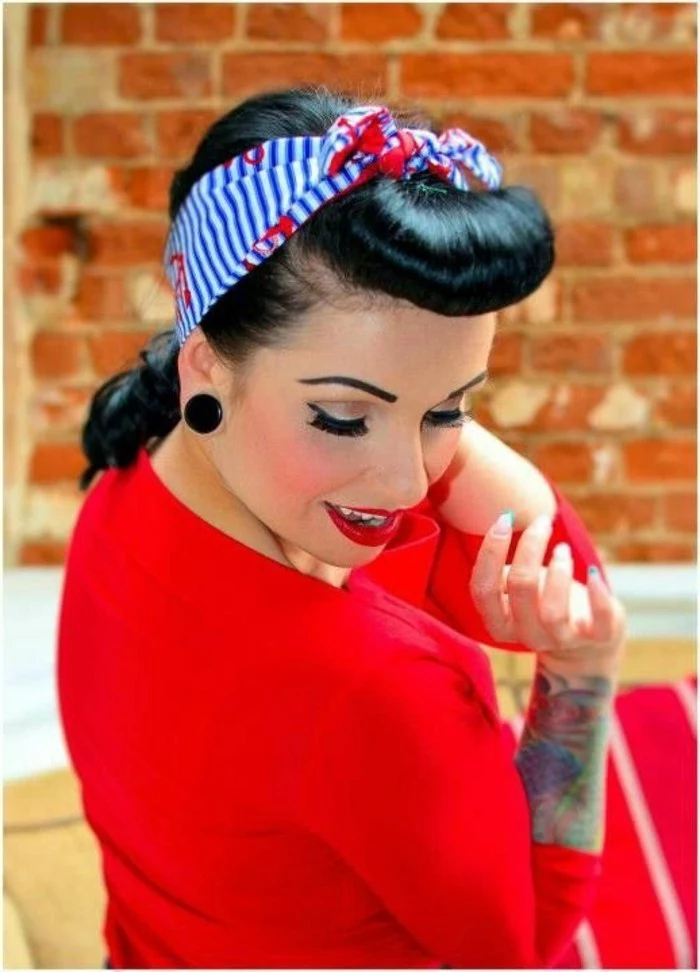
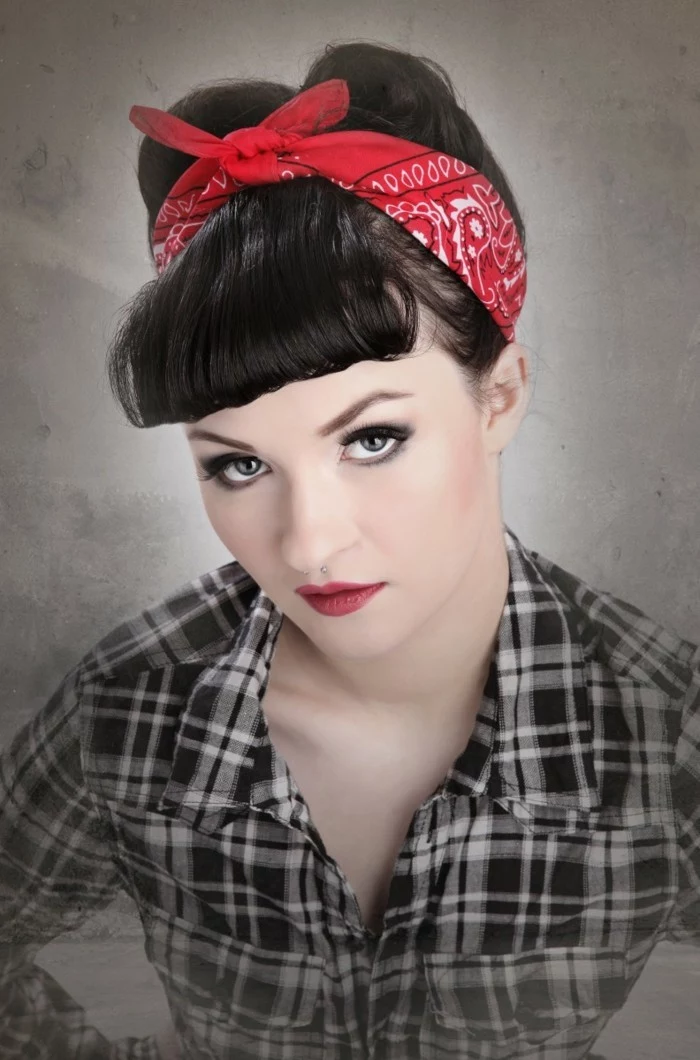
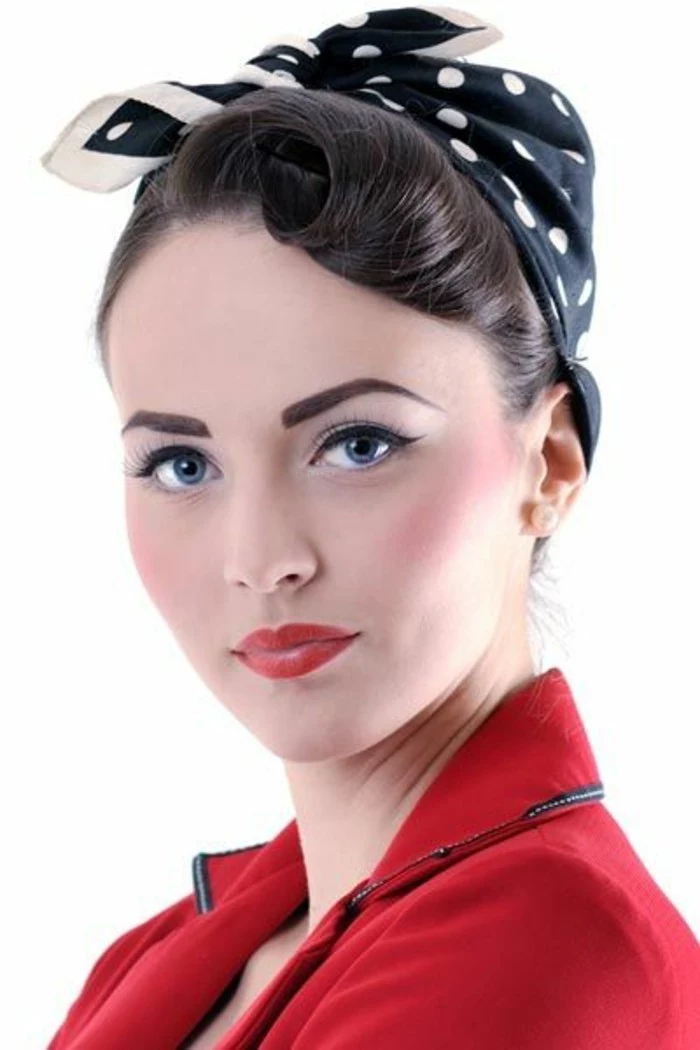
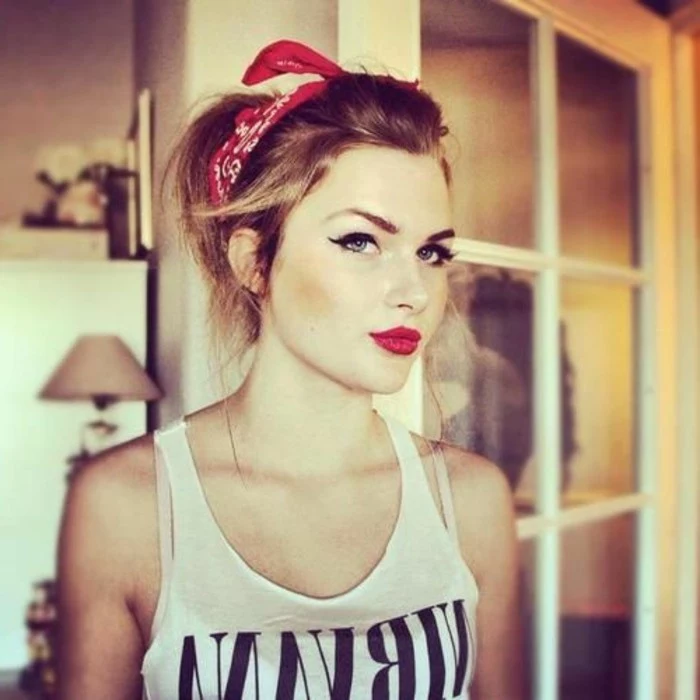
Don’t have 45 minutes? No problem. For instant vintage vibes, just focus on the front. Create a simple, messy quiff by teasing your bangs, smoothing them back, and pinning them in a little poof. Or, even easier: tie a bandana or a cute silk scarf around your head with the knot at the top. It’s a classic look that takes about 30 seconds and screams rockabilly. Perfect for a day when your hair just isn’t cooperating.

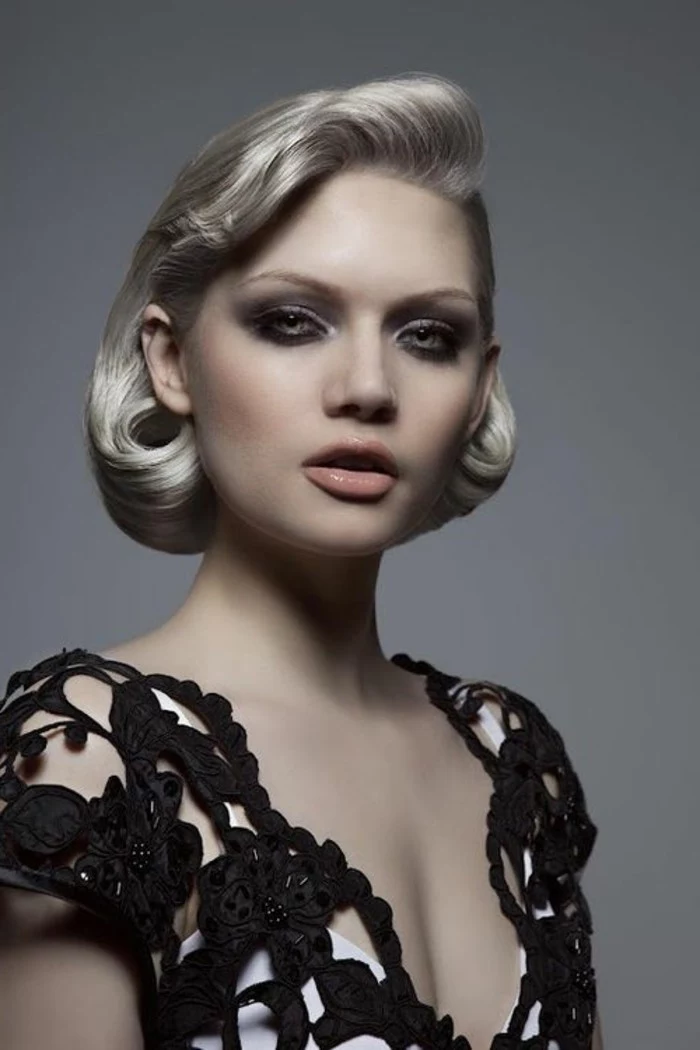
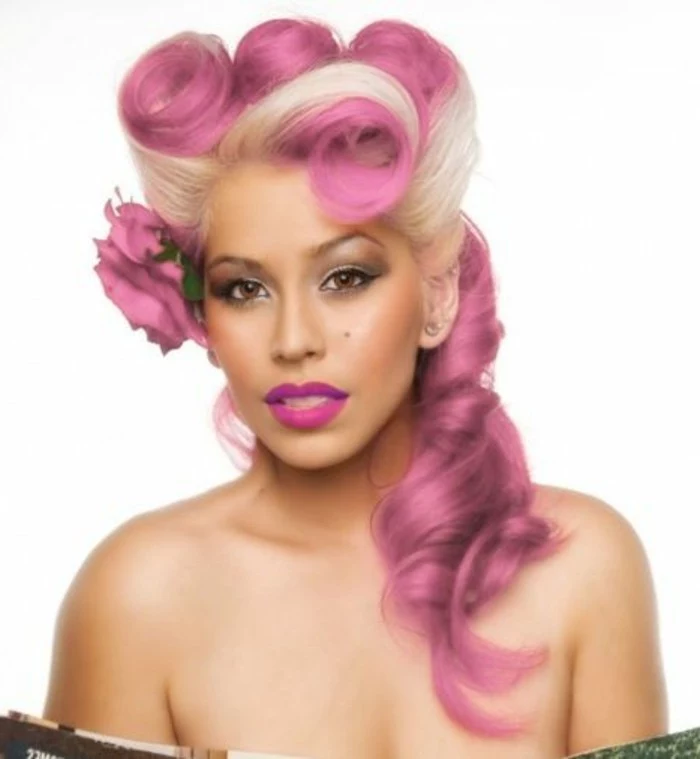
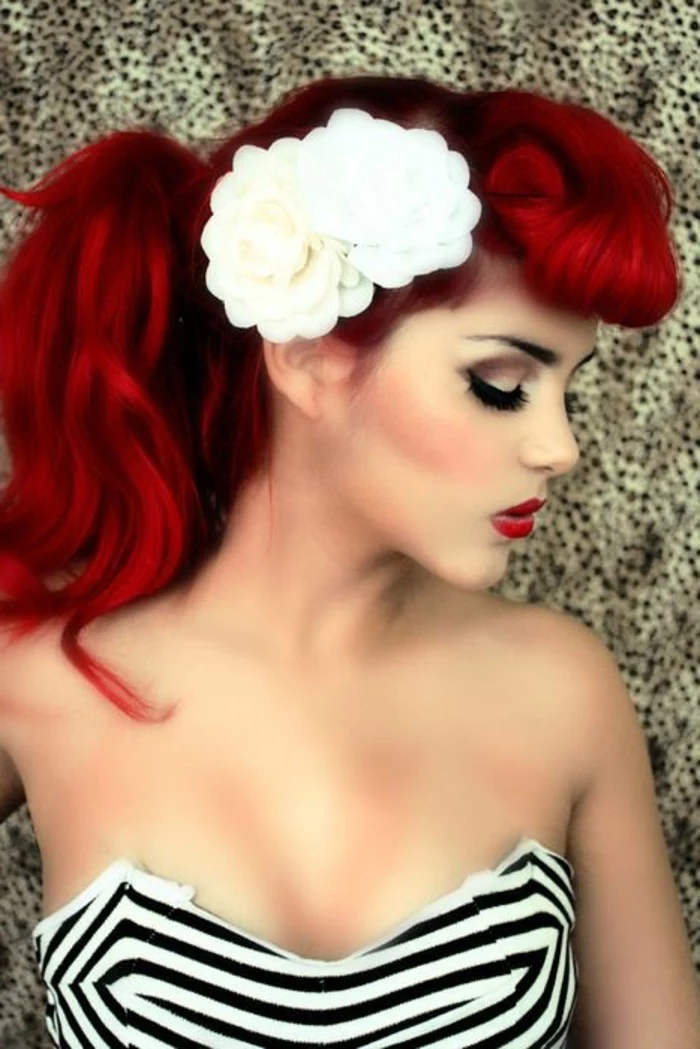
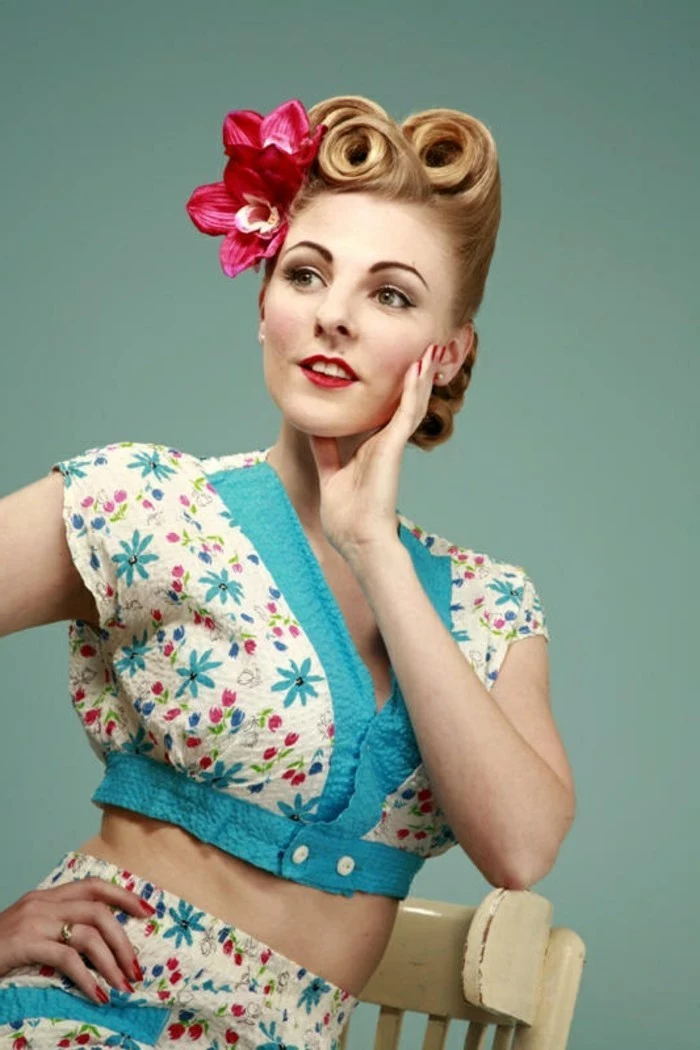
Inspiration Gallery


The Hairspray Showdown: For a style that laughs in the face of humidity and a long night of dancing, not all sprays are created equal. A light mist won’t cut it. You need a helmet-in-a-can. Look for firm or freeze-hold sprays. Schwarzkopf’s Got2b Glued Blasting Freeze Spray is legendary in the rockabilly community for a reason—it creates a shellac-like finish that literally does not move until you wash it out.
- A rat-tail comb for creating surgically precise parts.
- A boar bristle brush for smoothing rolls and taming flyaways without deflating your volume.
- U-shaped hair pins, which offer a softer hold for securing shapes without creating dents.
- Classic bobby pins for locking the base of your structures down tight.
The secret to a flawless finish? Your toolkit. Having these four essentials on hand makes the difference between a frustrating mess and a polished masterpiece.
My victory rolls are more like… tragic sausages. What am I doing wrong?
It’s almost always one of two things: the base or the pinning. First, make sure you have a solid, teased foundation that’s about the width of the roll you want. Second, when you roll the hair, don’t just roll it flat against your head. Roll it, then push it slightly forward to create that classic lifted silhouette *before* you pin. Finally, crisscross your bobby pins in an ‘X’ shape deep inside the base of the roll for a hold that’s truly locked and loaded.
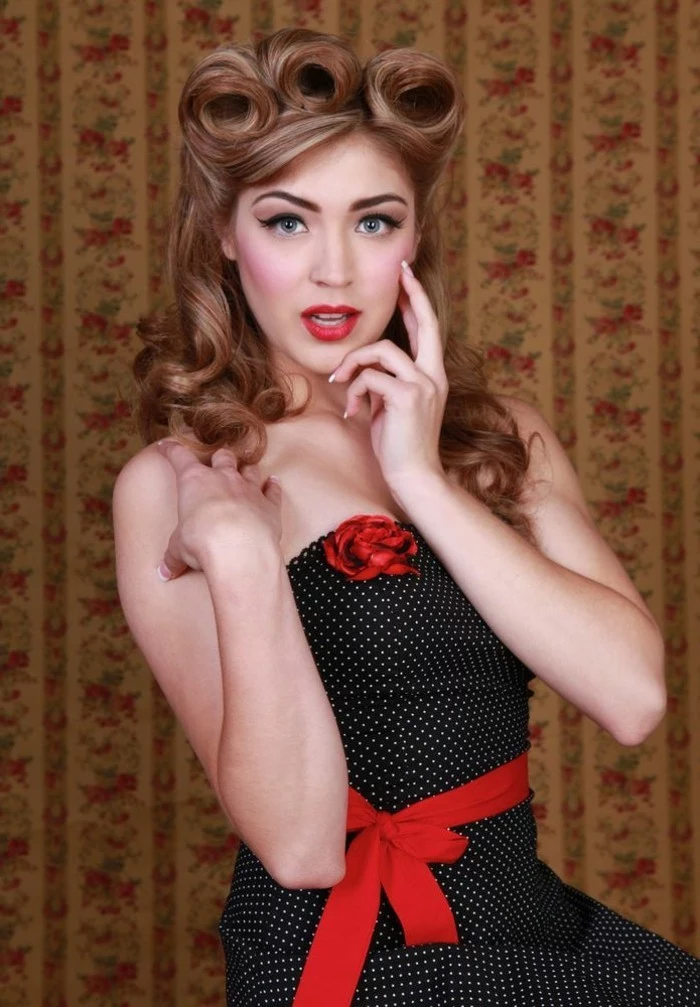

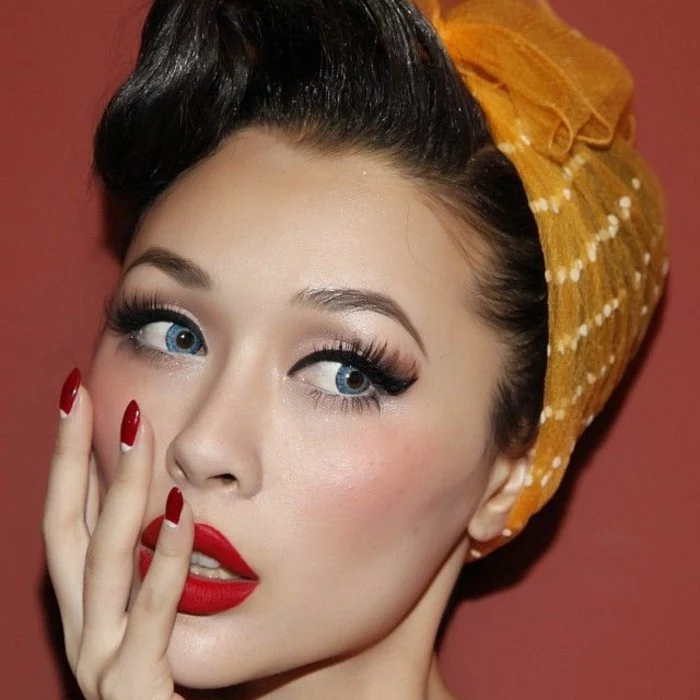
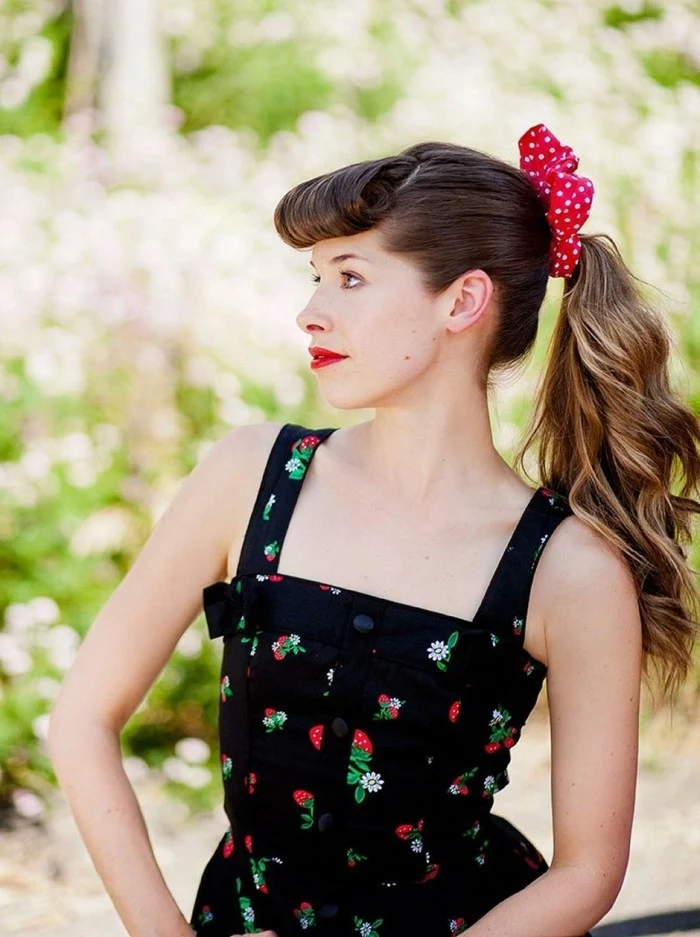
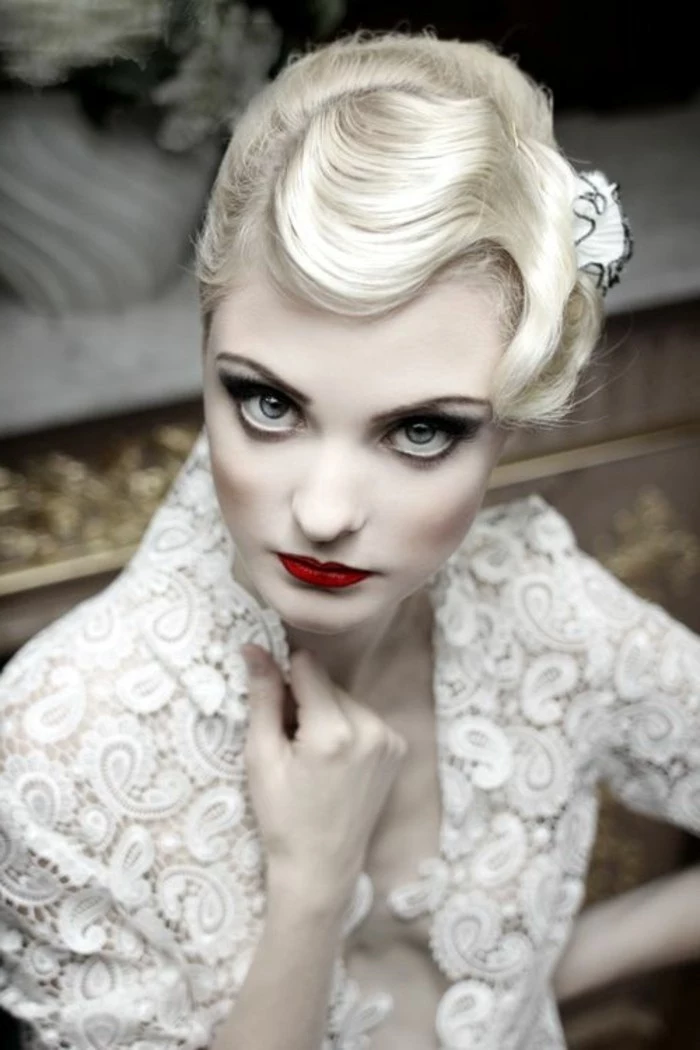
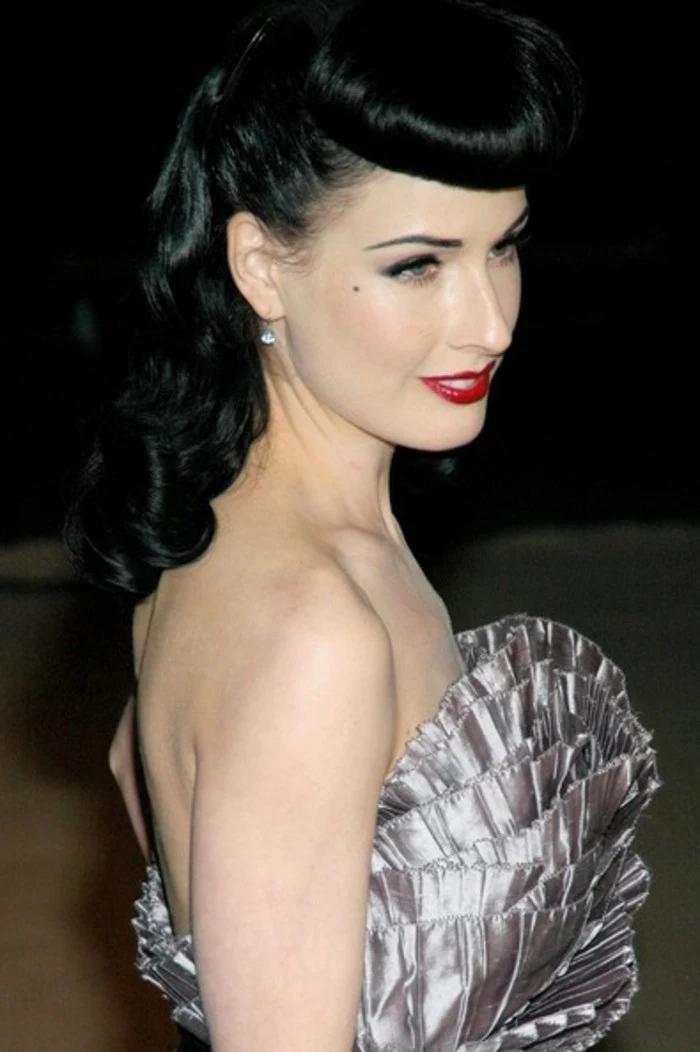
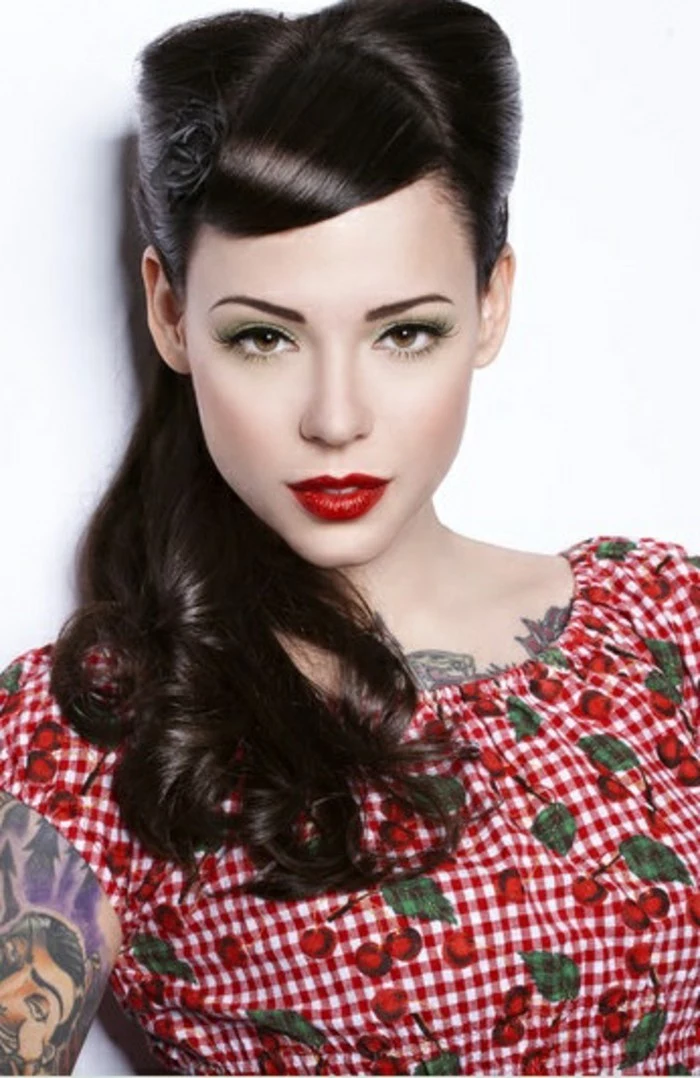
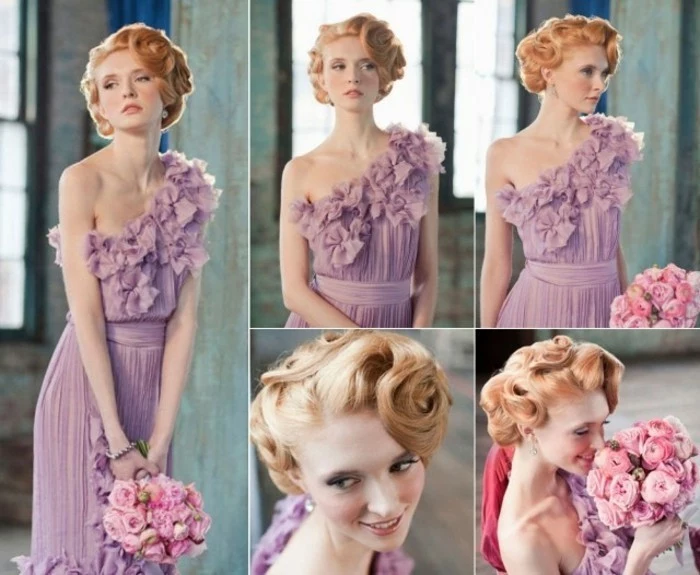
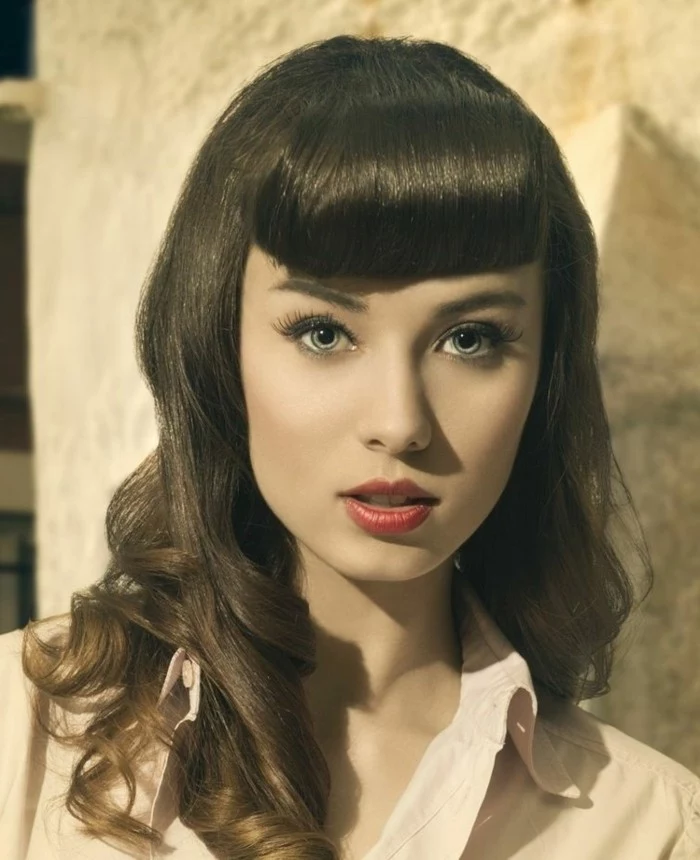
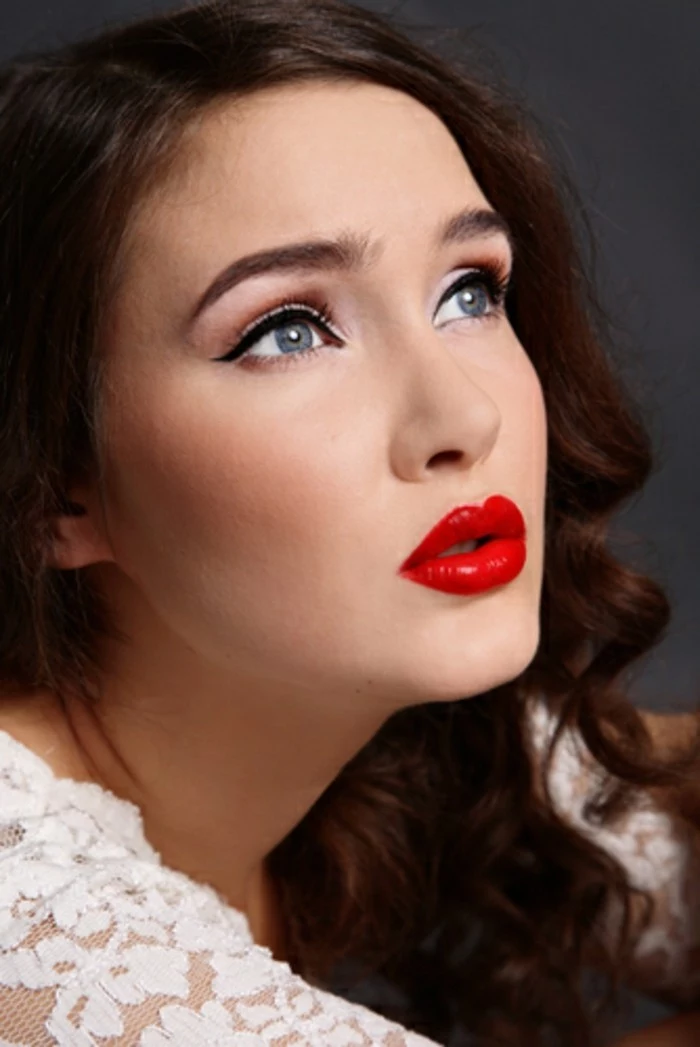
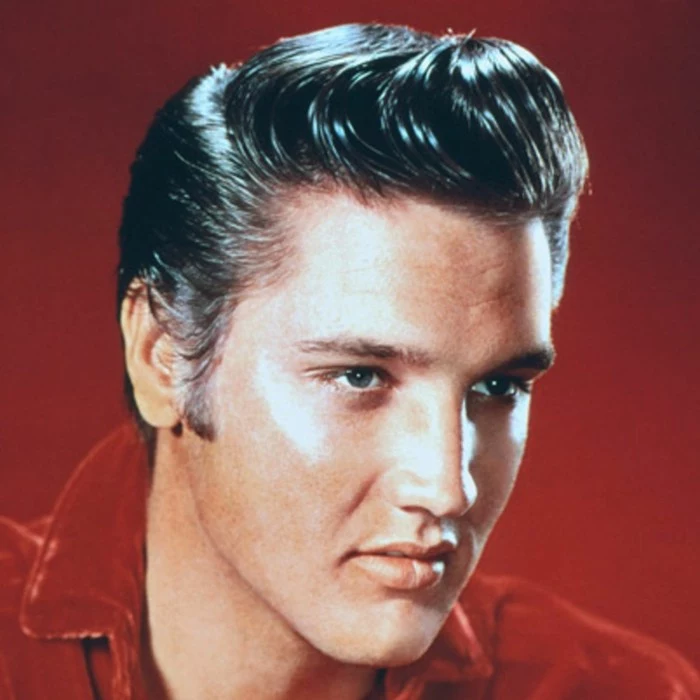
The ‘Bettie Bangs’—short, rounded, and hovering well above the eyebrows—were popularized by the iconic 1950s pin-up model Bettie Page and remain a definitive statement of the rockabilly subculture.

When your style needs that glossy, high-shine finish, you’re entering the world of pomades. But not all are the same. Suavecita Pomade is a water-based cult classic that provides firm hold and shine without being greasy, and it washes out easily. It’s perfect for sculpting rolls and keeping edges sharp. Using just a tiny, pea-sized amount on your fingertips to smooth surfaces is the final professional touch.

Hot Rollers: Quick, efficient, and great for creating big, bouncy curls in under 20 minutes. The heat provides a strong, but less permanent, set. Perfect for a last-minute look.
Foam Rollers (Wet Set): The old-school method. It requires sleeping with damp, rolled hair, but the resulting curls are incredibly durable, often lasting for days. This method creates a stronger, more authentic vintage curl pattern.
The choice depends on whether you value speed or longevity.
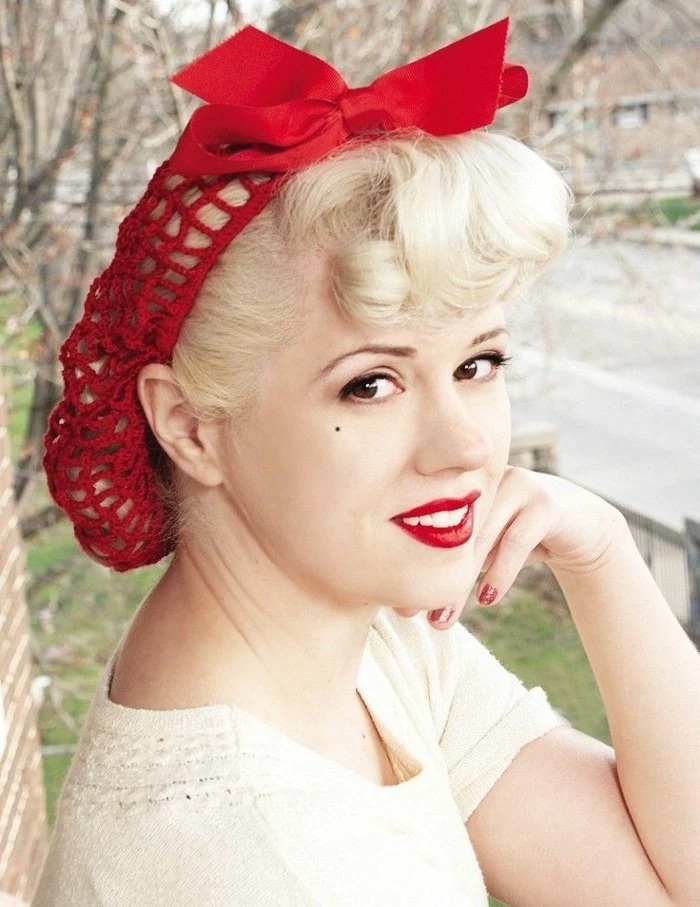
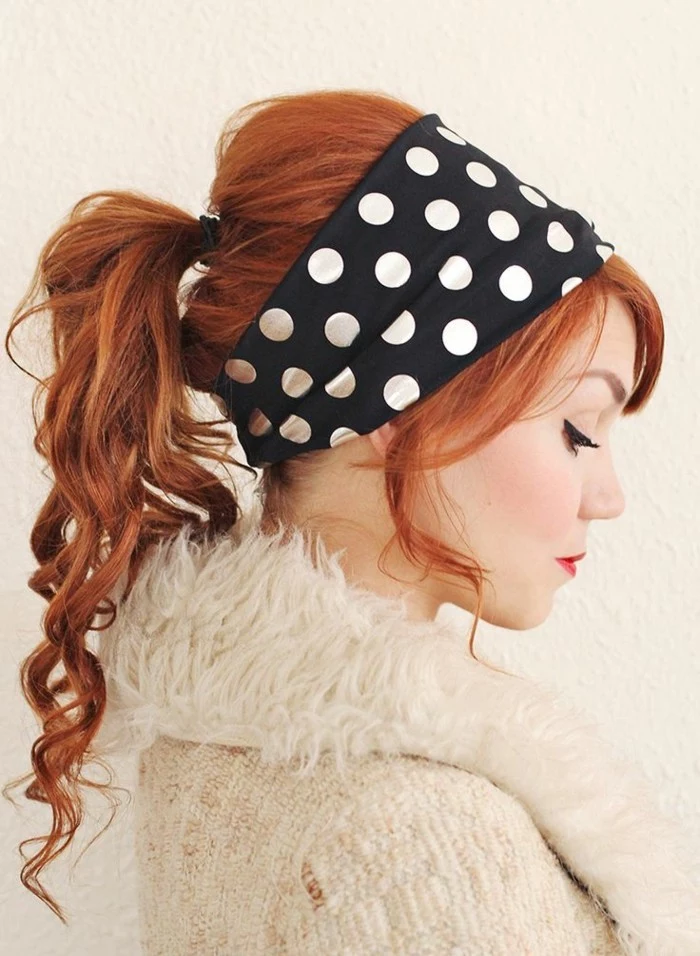
The bandana is more than an accessory; it’s a tool. A strategically tied bandana can not only add a pop of color but also hide a multitude of sins. It’s perfect for covering up imperfect partings, concealing pins at the back of an updo, or taming a hairstyle on its third day when the frizz starts to creep in. Fold it into a 2-inch band and tie it behind your bangs for that classic Rosie the Riveter vibe.
- A perfectly smooth, seamless surface.
- Zero flyaways or frizz halo.
- A defined shape that looks polished, not fuzzy.
The trick? After teasing and shaping, take your boar bristle brush, give it a light spritz of hairspray, and then gently sweep it over the surface of your roll or pompadour. This glues down strays without collapsing the volume you worked so hard to create.

A single human hair can support up to 100 grams in weight. When you backcomb, you’re creating a matted structure where thousands of hairs interlock, multiplying that strength exponentially. This is the architectural principle behind gravity-defying pompadours.
This isn’t just about creating fluff; it’s about building a stable, interwoven cushion of hair. Each downward stroke with your comb creates tiny knots that support each other, forming a foundation that’s surprisingly strong and capable of holding complex shapes all day long.

A common mistake: Starting with a square section of hair for a round victory roll. To create that beautiful, curved shape, your initial parting needs to be a soft triangle or a teardrop shape. The point of the triangle should aim towards the back of your head. This naturally encourages the hair to form a rounder, more authentic-looking roll as you build it.
Think rockabilly is just for long hair? Think again. Shorter hair is perfect for creating a killer pompadour. Concentrate your teasing right at the front hairline, creating a high cushion of volume. Then, smooth the top layer back and secure with pins. For the sides, use a strong-hold pomade like Layrite Cement Clay to slick them back tightly, creating a dramatic contrast in texture and shape.

Let’s talk about the ‘brush out.’ It’s the magical step that transforms a head full of tight, set curls into a soft, cohesive vintage wave. After removing your rollers, don’t just separate with your fingers. Use a paddle or boar bristle brush and *gently* brush through the curls. It feels wrong, but have faith! The curls will initially relax, then merge together into that iconic, sculpted S-wave pattern. Finish with a spritz of shine spray to define the result.


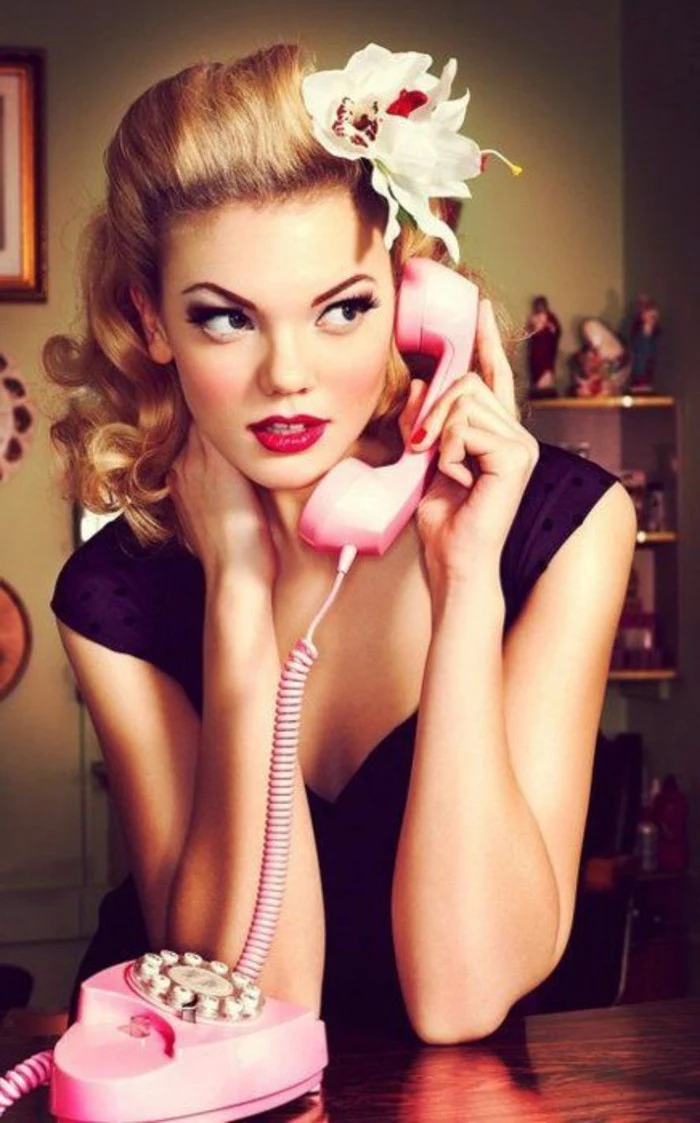
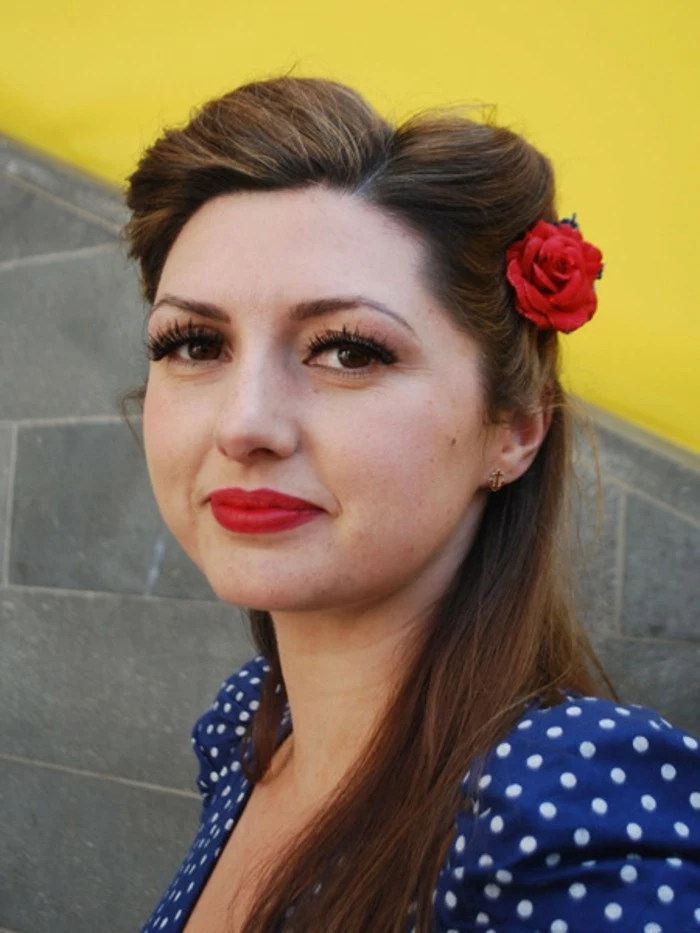
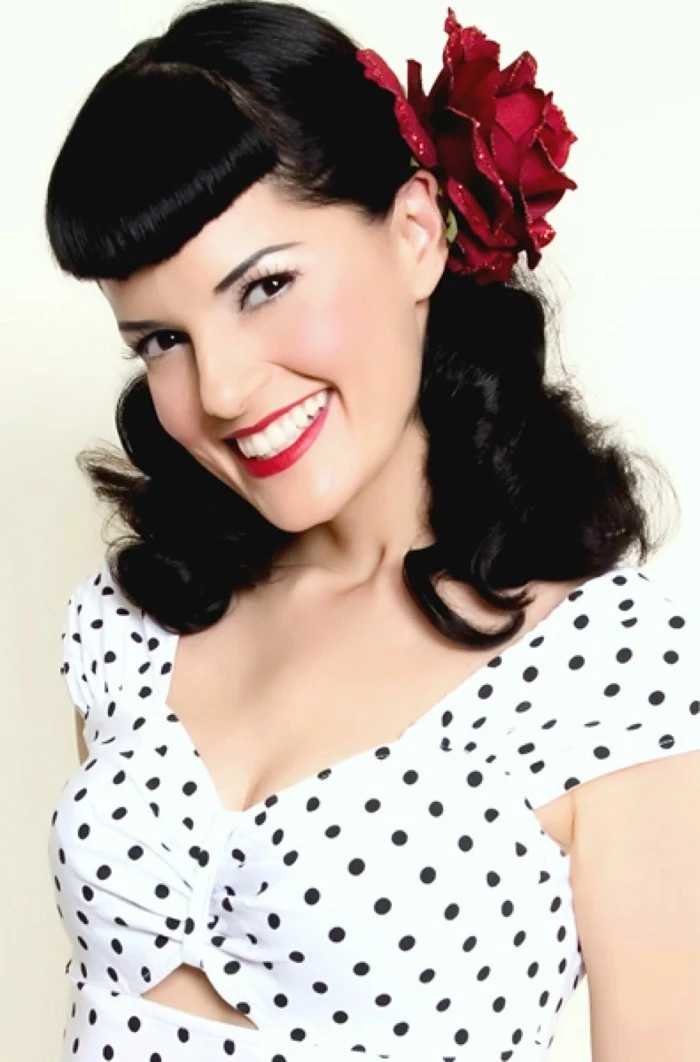
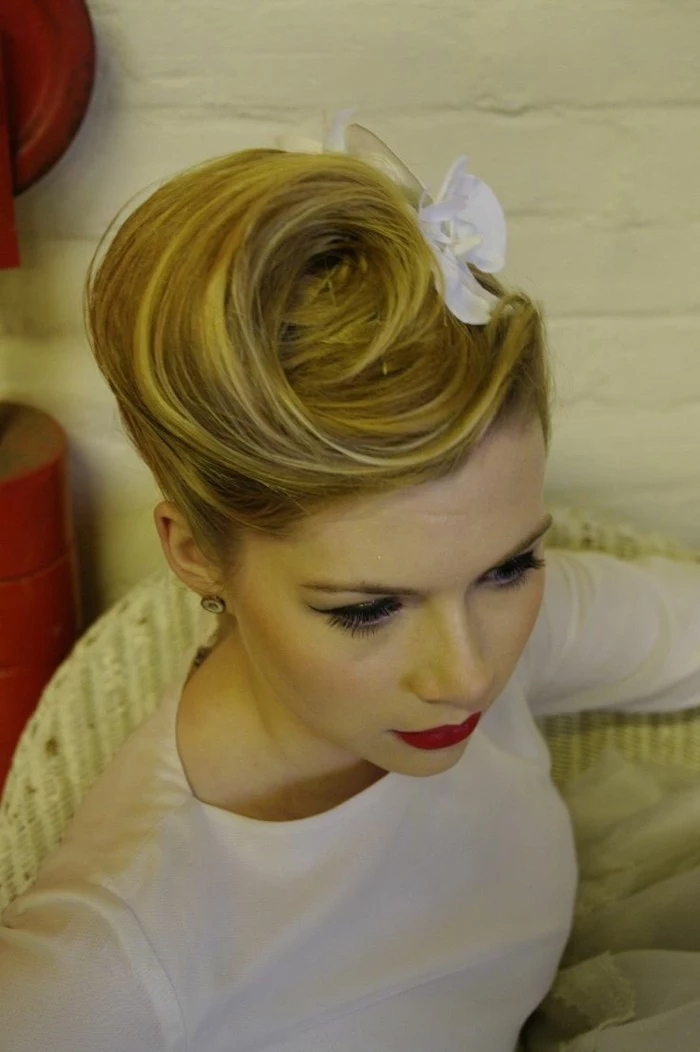
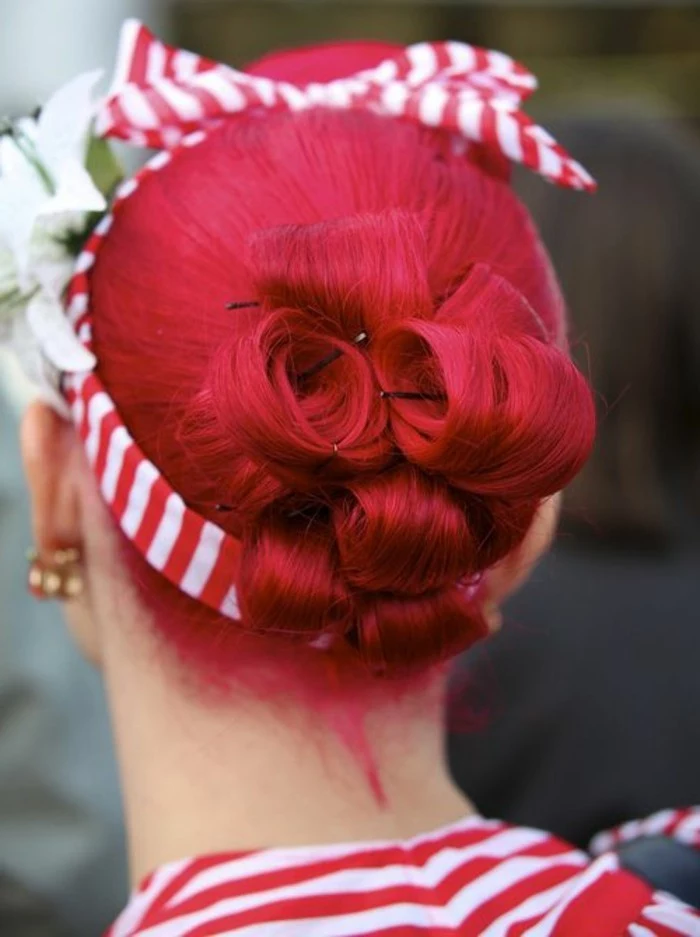
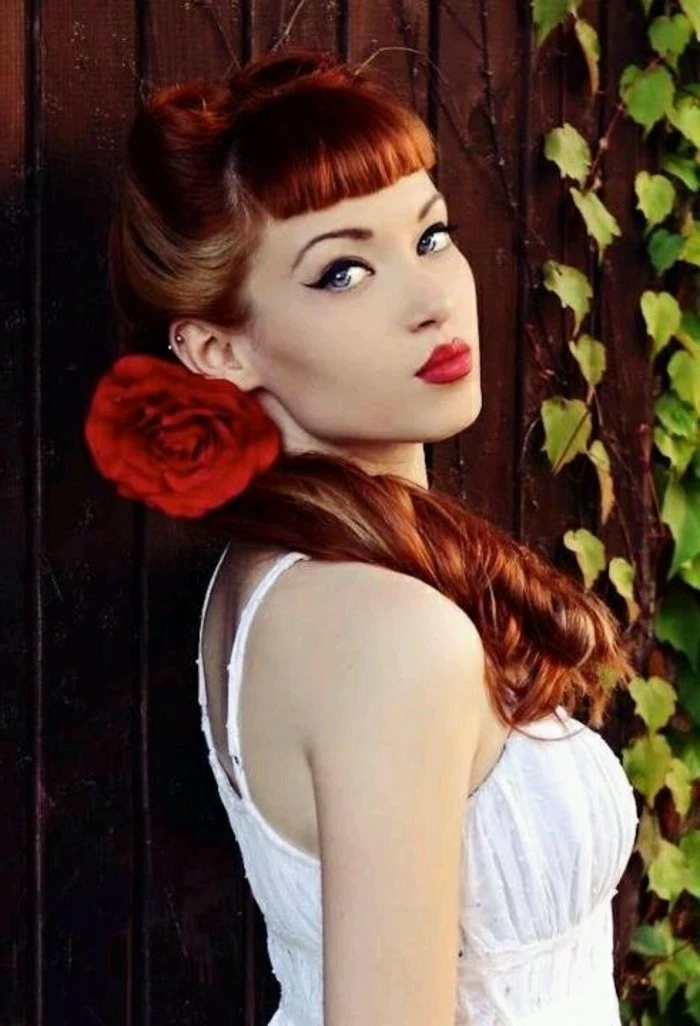
The right hair flower can elevate a simple style to a statement piece. For a daytime look, a smaller gardenia or rose tucked behind the ear is sweet and classic. For evening drama, go big! A large, vibrant hibiscus or dahlia placed to the side of a sleek updo adds instant glamour. Pro tip: secure the flower’s clip by weaving it into a base of two crisscrossed bobby pins for an anchor that won’t slip.


- Create an anchor by making a small, tight pin curl or braid where you want your roll to sit. Pinning into this solid base provides much more security.
- Use U-shaped hair pins to shape the roll first; they hold without compressing.
- Once the shape is perfect, lock it in place with bobby pins, driving them deep into the teased base.
Can I get a good rockabilly look with fine, thin hair?
Absolutely! The key is to create the illusion of volume. First, use a texturizing powder like Schwarzkopf’s got2b Powder’ful Volumizing Styling Powder at the roots *before* you start teasing. It adds incredible grit and lift. Second, consider a ‘hair rat’ or a foam donut. These hidden helpers can be used as a base for your victory rolls or pompadour, allowing you to wrap your own hair around them for a full, perfectly shaped style without needing tons of natural density.
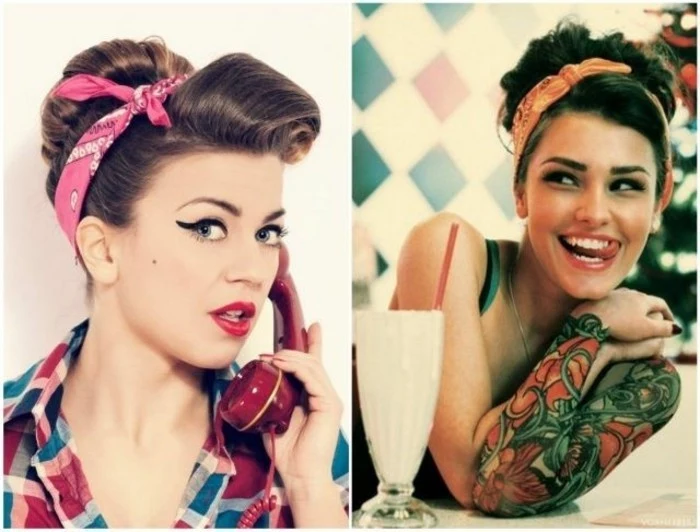
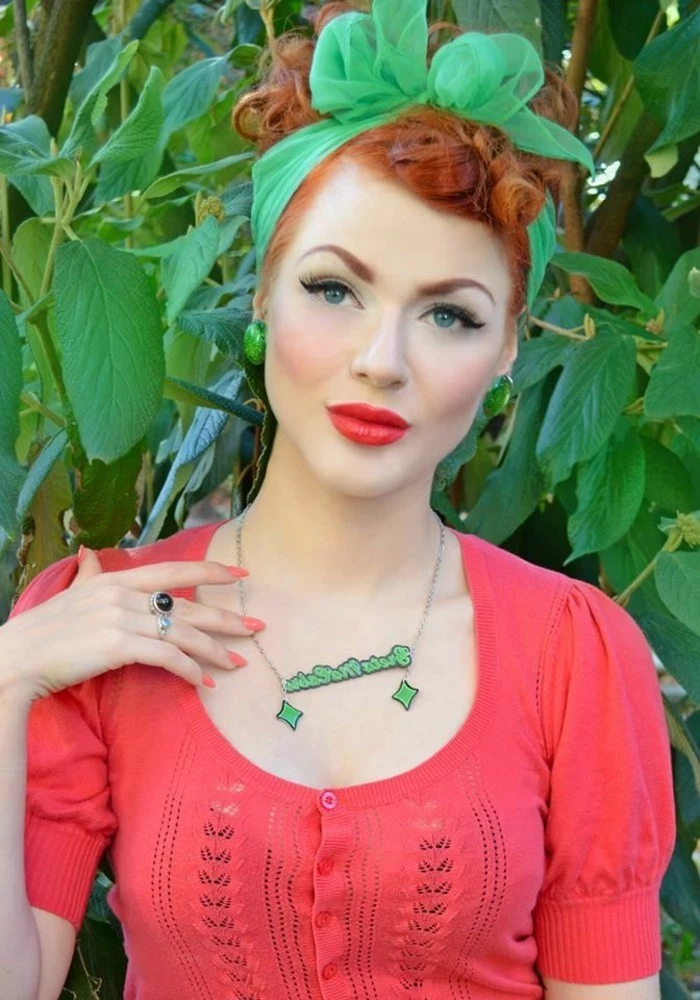

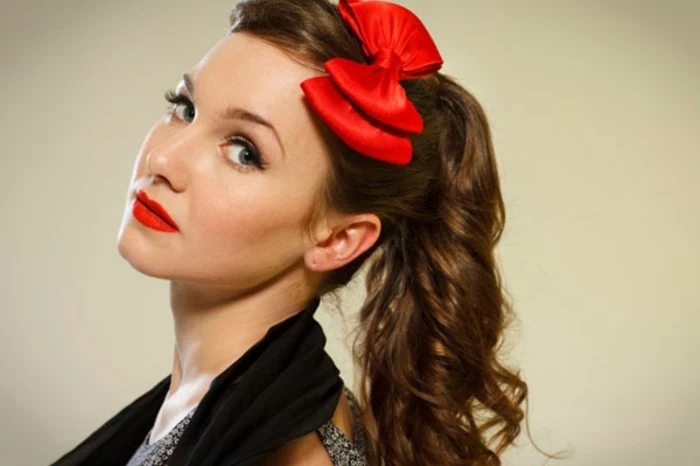
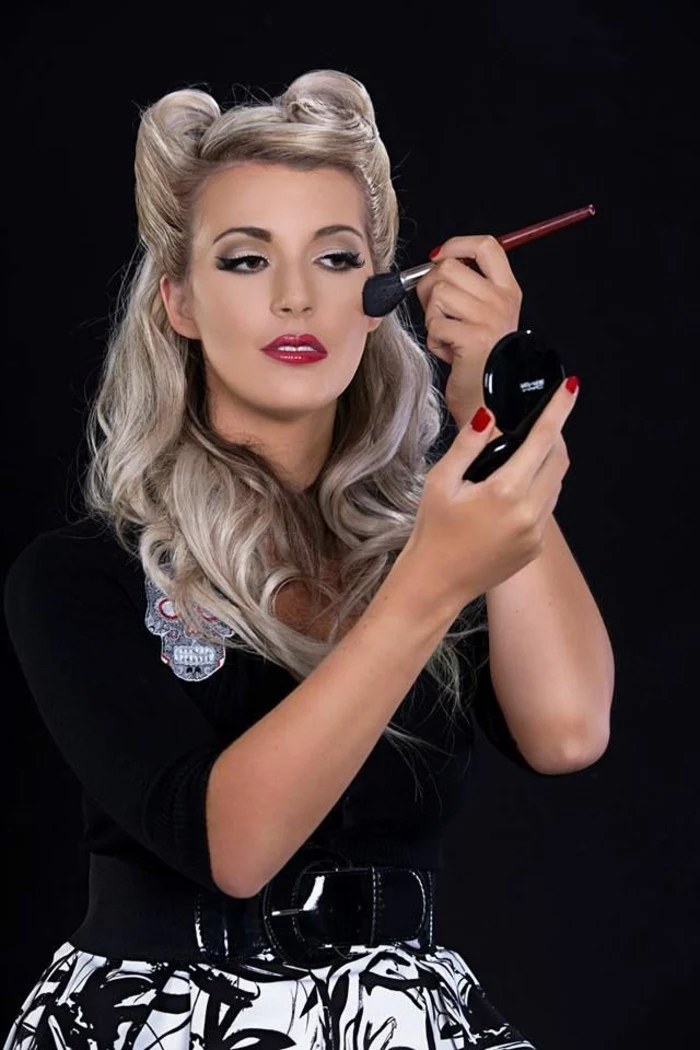
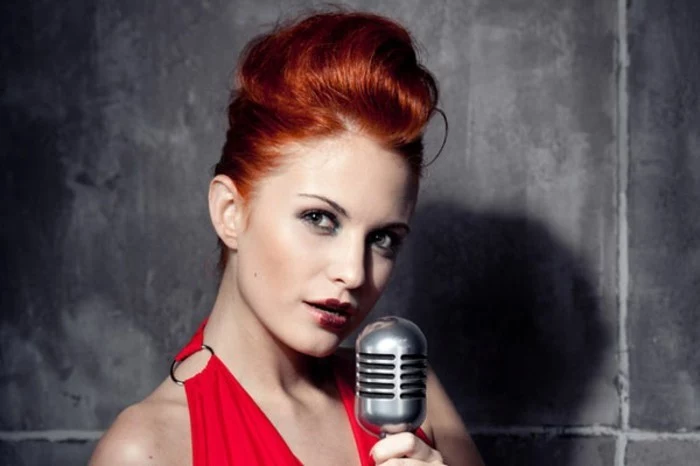
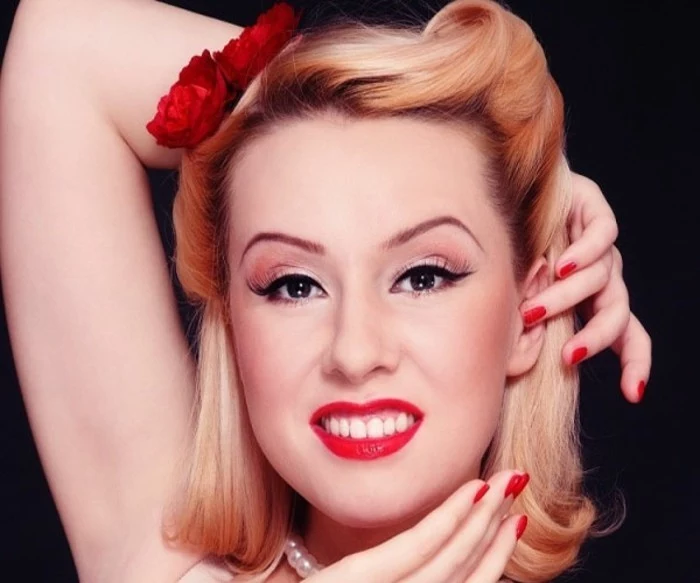
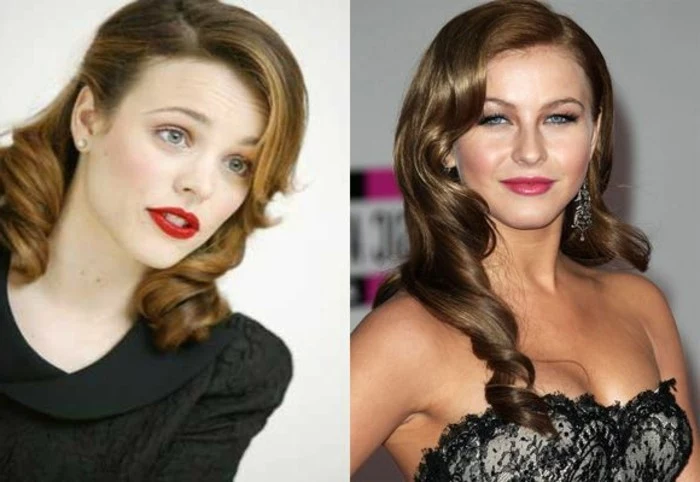
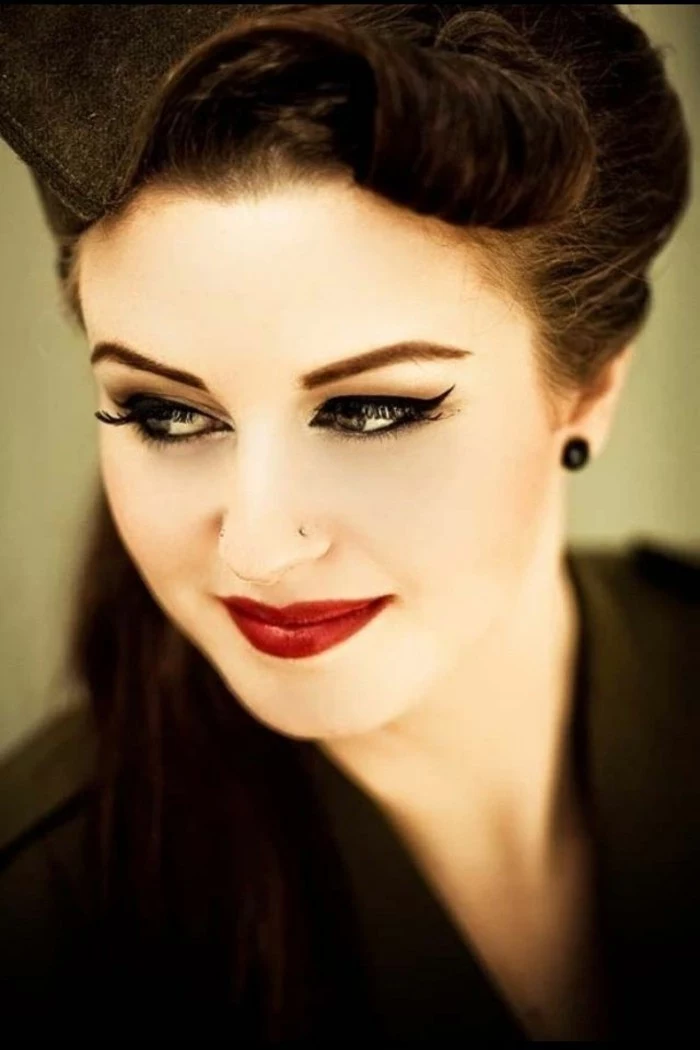
Red lipstick isn’t just makeup; it’s part of the uniform. In the 1950s, brands like Revlon launched iconic campaigns such as ‘Fire and Ice’ (1952), cementing bold red lips as a symbol of glamour and confidence that the rockabilly scene adopted wholeheartedly.

Pomade: Traditionally oil-based (though modern water-based versions like Suavecita are popular), pomade provides both hold and high shine. It’s best for sculpting, defining waves, and creating that sleek, wet look on pompadours.
Setting Lotion: A watery liquid, like Lottabody Setting Lotion, that’s applied to damp hair before rolling. It helps ‘set’ the hair into a firm, long-lasting curl as it dries, providing a strong but flexible foundation.
Use lotion for the set, and pomade for the finish.

Protect your hard work overnight! A silk or satin pillowcase is a good start, but for maximum preservation, a satin scarf or bonnet is your best friend. The slippery fabric prevents the friction that causes frizz and loosens your style. Loosely wrap your hair, ensuring you don’t crush any rolls, and you’ll wake up with a style that needs only minor touch-ups.

Your rat-tail comb is your most versatile weapon. The fine teeth are perfect for teasing, creating a dense, sturdy cushion of volume. Then, flip it over. The long, thin ‘tail’ is designed for creating immaculate, sharp partings and for gently lifting and adjusting sections of hair without disturbing the rest of your style. Master both ends of this tool, and you’ve mastered the foundation of rockabilly styling.


- Tame stubborn flyaways instantly.
- Add a last-minute boost of volume at the roots.
- Secure a loose pin or a drooping curl.
The solution? A ‘rockabilly emergency kit’ in your purse. All you need is a travel-sized can of high-hold hairspray, 3-4 bobby pins, and a small tube of pomade. You’ll be ready for anything.


A crucial point: Don’t try to roll your hair when it’s still warm from the curling iron. A curl sets as it cools. For a victory roll with staying power, curl the section of hair, then use a pin curl clip or your fingers to hold it in its coiled shape until it is completely cool to the touch. Once cooled, it will hold its form much more effectively as you tease and roll it into place.


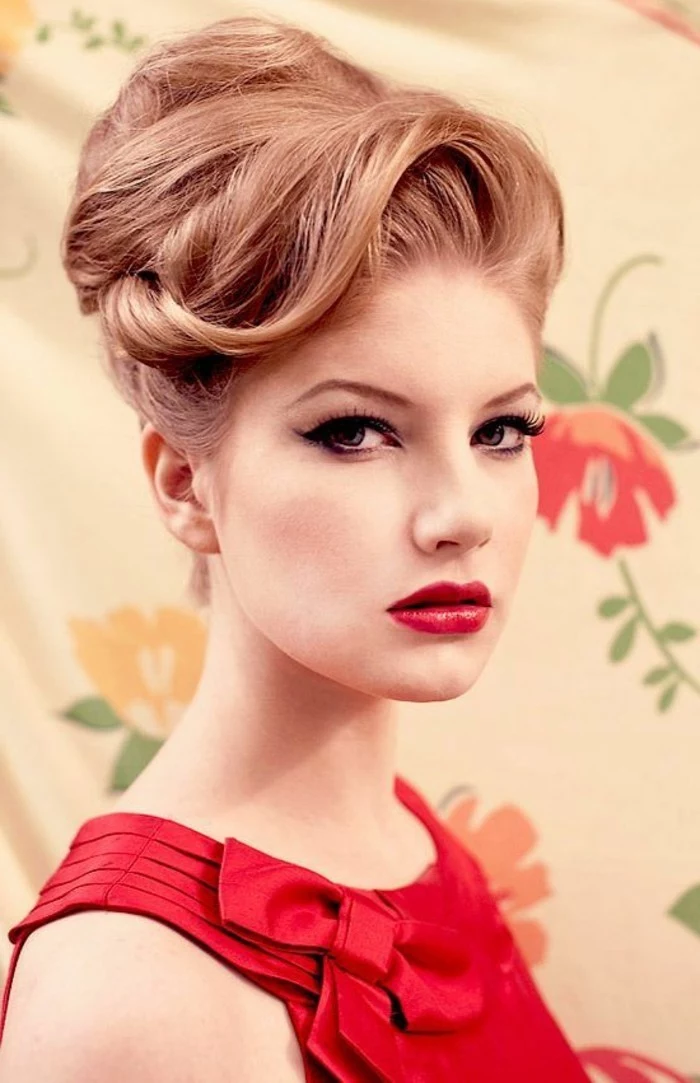
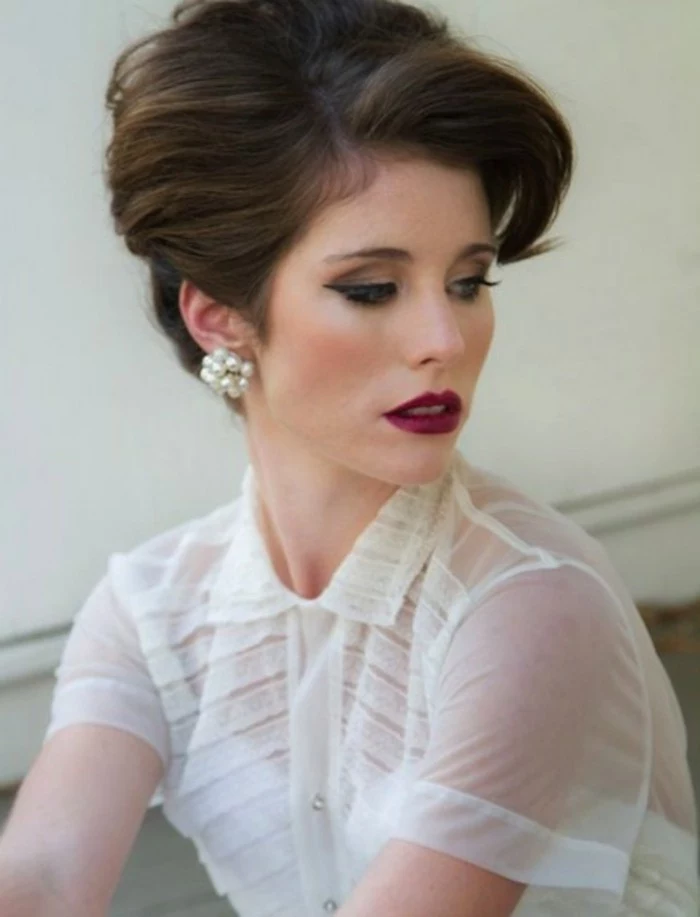
The ‘Poodle’ updo, a hairstyle characterized by a pile of tight curls on top of the head, was directly inspired by the groomed topknot of the Standard Poodle. Lucille Ball famously wore a version of this style, cementing its popularity in the 1950s.

The secret to those perfectly swooping, face-framing curls isn’t just about the set; it’s about direction. When setting your hair in rollers or pin curls, always roll the front sections *away* from your face. This ensures that when you do your brush out, the waves will naturally fall back and away, opening up your features rather than closing them in.

What about the takedown? I’m worried about breakage.
After a full-on freeze spray and teasing session, don’t just rip a brush through it! First, work a generous amount of a slippery, silicone-based conditioner or a hair oil through your dry, styled hair. Let it sit for a few minutes. This will soften the hairspray and help the teased knots relax. Then, get in the shower, and use a wide-tooth comb to *gently* work through the tangles from the bottom up while the conditioner is still in. It saves your hair and your sanity.

Mastering a rockabilly hairstyle is more than just learning a technique; it’s an act of self-expression. It’s about unapologetically taking up space and embracing an aesthetic that is bold, powerful, and timelessly cool. When you finally nail that first perfect victory roll, the confidence it inspires lasts much longer than the hairspray.


