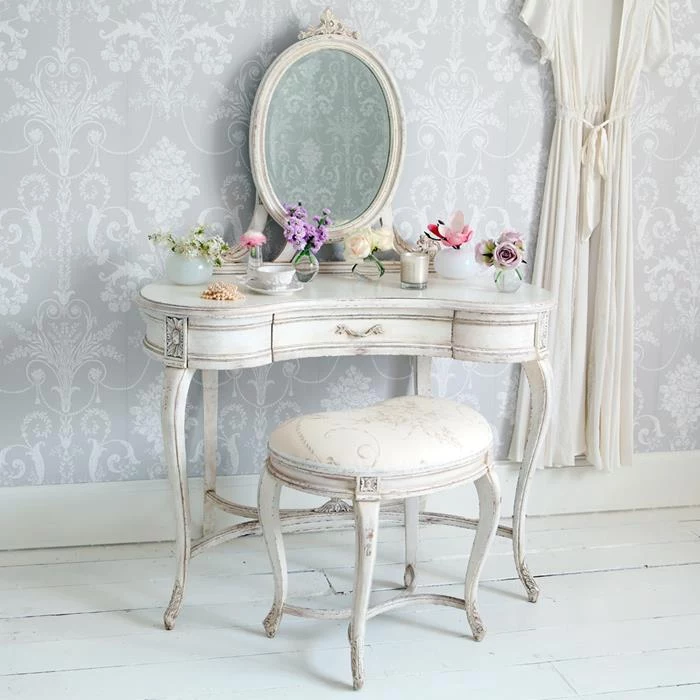
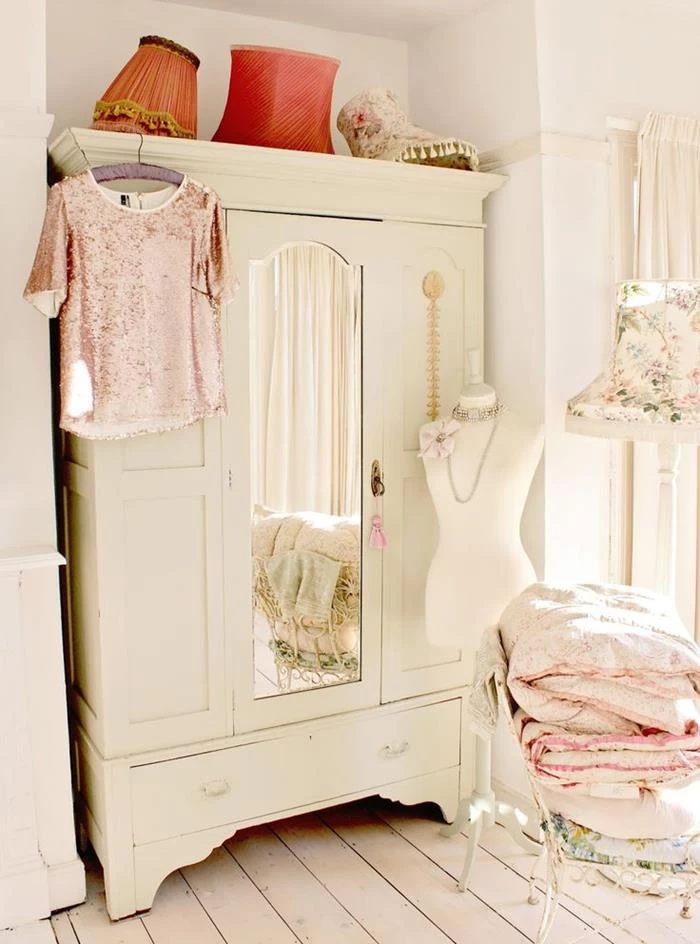
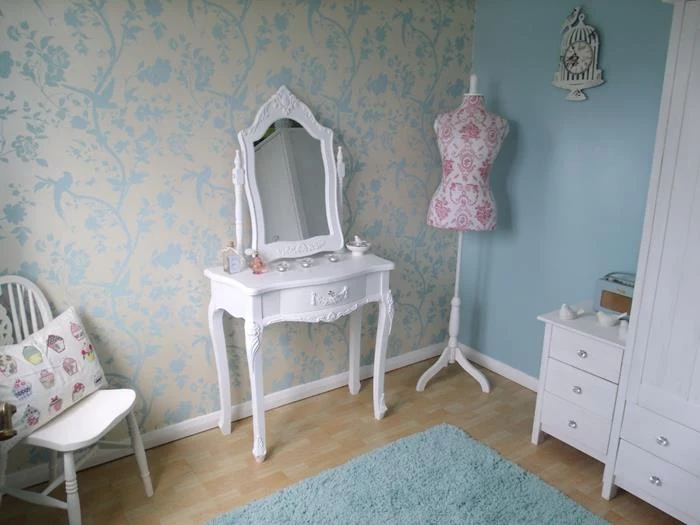
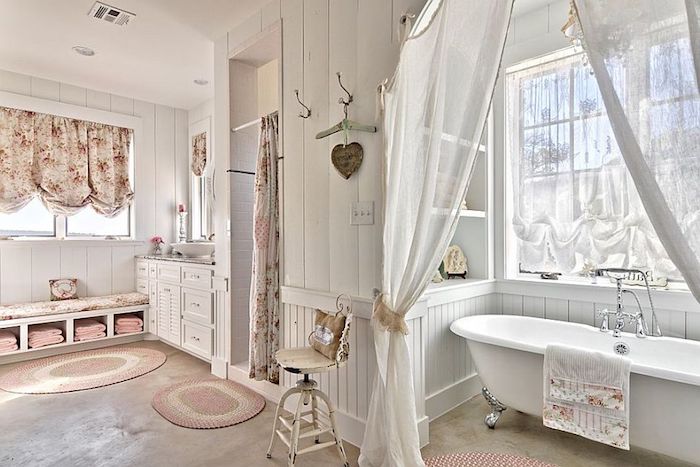
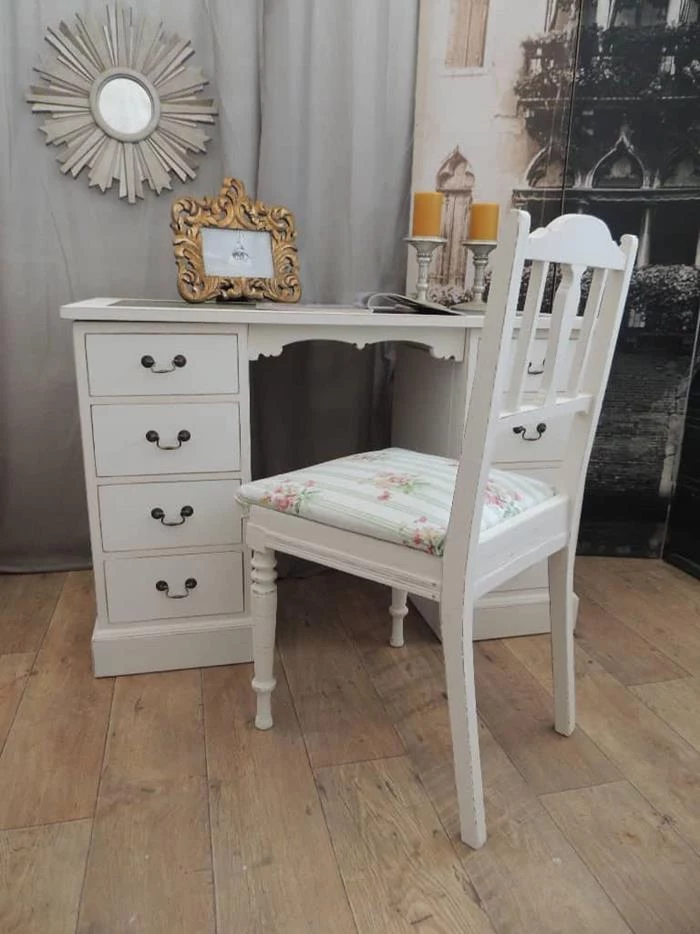
The Real Way to Get That Lived-In Painted Look (Secrets from a Furniture Pro)
My hands have been covered in some combination of paint, dust, and wax for more years than I can count. I’m not a fancy designer; I’m a furniture restorer. Day in and day out, I’m in my workshop, taking forgotten pieces and giving them a new story. So many people bring me furniture they’ve found at a flea market and say they want that “shabby chic” look. But honestly, that phrase means something different to everyone.
In this article
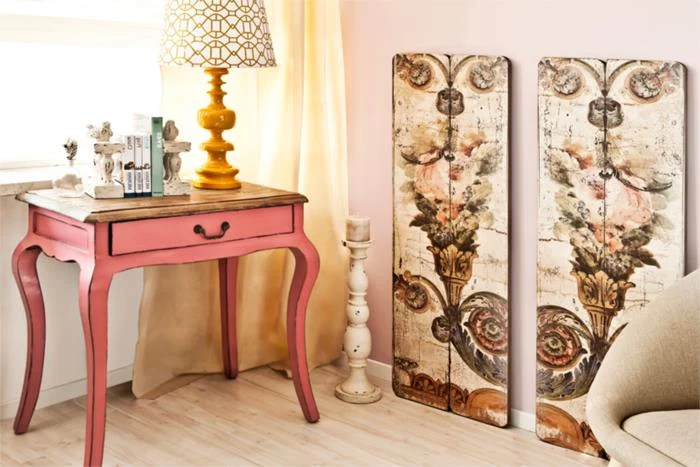
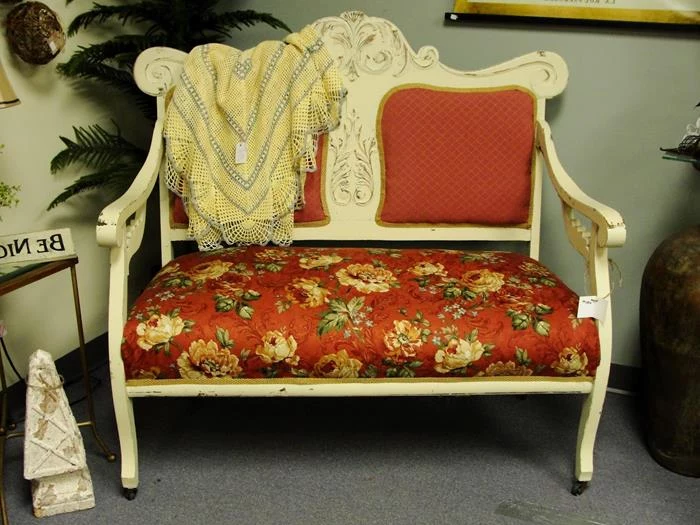
To some, it’s just slapping white paint on an old table. But for a craftsperson? Oh, it’s so much more. It’s a delicate balance between respecting the piece’s past and making it beautiful for today’s homes. It’s not about making something look broken. It’s about suggesting a gentle history—the corner of a dresser smoothed down by decades of passing hands, or the edges of a table where chairs have been tucked in after countless family dinners.
My goal here is to show you how to create that look the right way. We’re going to go way beyond a simple coat of paint to create a finish with depth, character, and a truly authentic feel.
First Things First: Know Your Materials
Before you even think about picking up a paintbrush, you have to understand what you’re working with. This is the stuff that separates a quick DIY job from a piece that looks professionally restored. Trust me, a little knowledge here prevents a lot of headaches later.
Your Canvas: The Furniture Itself
Not all wood is created equal, and the type you have will completely change your game plan.
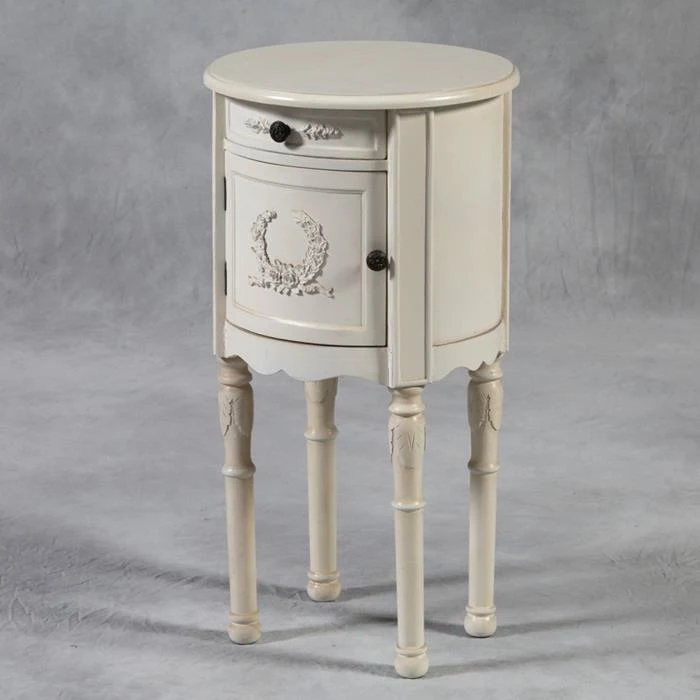
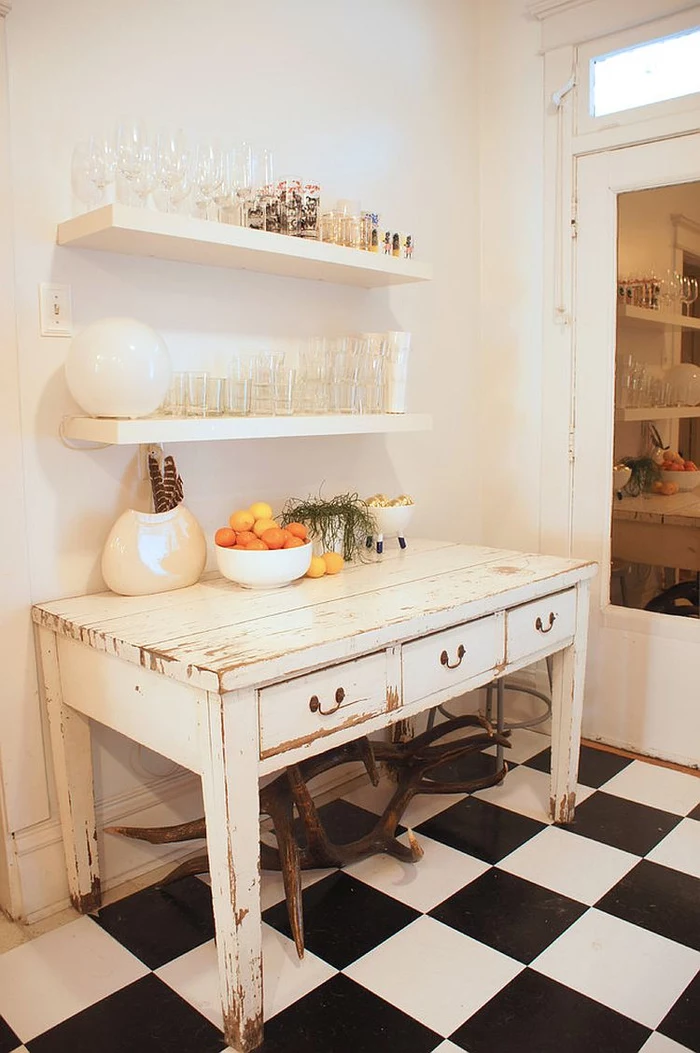
- Solid Wood: This is your best-case scenario. Softwoods like pine are a dream because they distress so easily, giving you that soft, rustic vibe. Hardwoods like oak or maple are tougher, but their beautiful, pronounced grain can be highlighted in incredible ways with waxes.
- Veneer: This is a super thin slice of real wood glued over a cheaper core like particleboard. You can still work with veneer, but you have to be gentle. I’ve seen people sand right through that thin layer, and… well, it’s game over for the piece. A light touch is absolutely essential.
- Laminate/MDF: Let’s be frank: this isn’t wood. It’s basically a plastic or paper photo of wood grain glued to a particleboard core. You can’t distress it in the same way, and getting paint to stick requires special bonding primers. I usually tell people to steer clear of these pieces for this kind of project.
The Heart of the Look: Choosing Your Paint
The paint you choose is probably the single most important decision you’ll make. Each type has a totally different personality.
Chalk-Style Paint: First off, this isn’t the stuff you use to make a chalkboard. It’s a special decorative paint that’s super thick and dries to a beautiful, matte, slightly chalky finish. Its main superpower is that it sticks to almost anything with very little prep. Because it’s porous, it’s a breeze to distress with sandpaper or even a wet rag. Good to know: It’s not very durable on its own, so you absolutely have to seal it. You can find popular brands in most craft stores or boutique paint shops.
Milk Paint: This is the old-school, traditional stuff. It actually comes as a powder that you mix with water yourself. It’s famous for its ability to naturally chip and crackle when applied over an existing finish, creating a genuinely aged look that’s almost impossible to fake. The downside? It’s a bit unpredictable. For a truly authentic, rustic finish, though, nothing else compares. Quick tip for mixing: I usually start with a 1:1 ratio of powder to water and stir until it has the consistency of thin pancake batter. Then, let it sit for about 10-15 minutes to let the pigments fully dissolve before you start painting.
Latex or Acrylic Paint: This is your standard wall paint from the hardware store. Yes, you can use it, but it’s more work. It has a more plastic-like feel, so you absolutely have to scuff sand the original finish and use a quality primer to make it stick. Sometimes when you try to distress it, it peels or gums up instead of sanding away cleanly. It’s doable, but not my first choice for this style.
The Beginner’s Shopping List
Walking into a big-box hardware store can be overwhelming. To make it simple, here’s a list of what you’ll actually need for your first project. Expect to spend between $75 and $100 for all the initial supplies, but they’ll last you for more than one piece.
- Cleaner: A TSP substitute (you can find this powder in the paint aisle).
- Sandpaper: Get a couple of grits, like 120-grit for prep and 220-grit for distressing.
- Primer: A shellac-based, stain-blocking primer is your best friend. It seals in old wood tannins that can bleed through and stain your light paint.
- Paint: A quart of your chosen paint (chalk-style is great for beginners).
- Brushes: A quality 2-inch angled synthetic brush is a great all-around choice.
- Sealer: Either a soft finishing wax or a water-based polycrylic in a matte finish.
- Supplies: Lint-free rags (old t-shirts work great), gloves, and painter’s tape.
My Step-by-Step Process for a Flawless Finish
A professional-looking finish is all about building layers. Skipping steps is the fastest way to a disappointing result. Don’t rush this part!
Step 1: Prep Work is 90% of the Job
I cannot stress this enough. Good prep is the foundation for a finish that will last for years, not months.
First, clean the entire piece thoroughly with a TSP substitute mixed with water. Wear gloves! You need to get rid of decades of furniture polish, oils, and grime. Then, make any repairs—tighten wobbly legs with wood glue and clamps, and fill any deep gouges with wood filler. A lesser-known trick: After the wood filler is dry and sanded, dab a little primer just over the patch before you prime the whole piece. This helps it blend in seamlessly and prevents a dull spot in your final finish.
Next, scuff sand the entire piece with 120-grit sandpaper. You’re not trying to strip it, just rough up the surface so the primer can grip. Wipe away all the dust, and then prime. Priming is NON-NEGOTIABLE, especially on old mahogany or cherry pieces. I once painted a beautiful dresser white without priming. Within a week, ugly pink blotches bled through everywhere. I had to sand it all off and start over. A lesson you only need to learn once!
Step 2: Building Up Layers of History
Now for the fun part. This is where the artistry comes in.
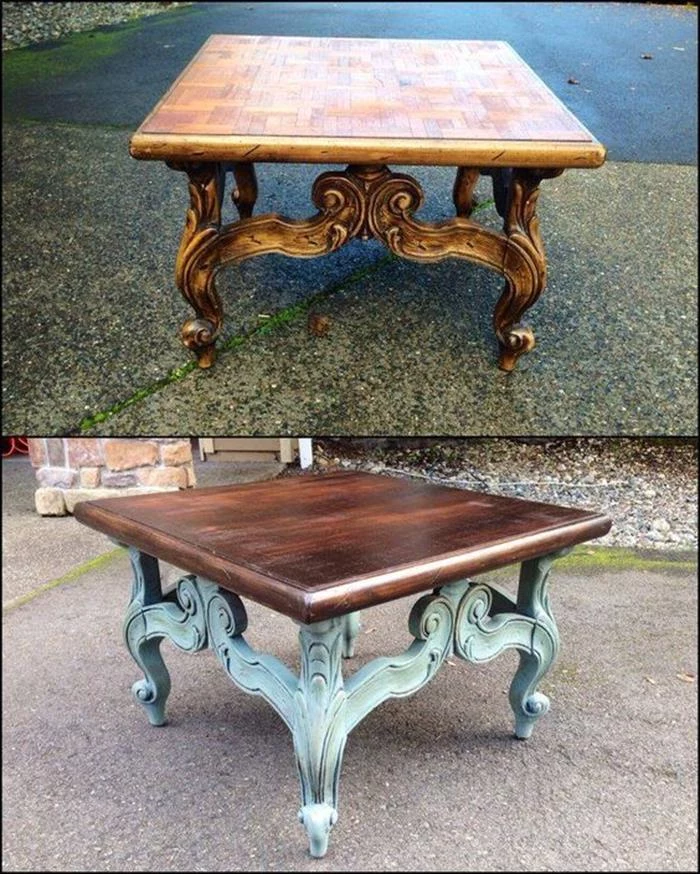
- The Base Coat (Optional but cool): For a more complex look, I sometimes start with a dark base coat, like a deep brown or gray, just on the edges and corners. When you distress later, this color peeks through, looking like old wood.
- The Resist Trick: After your primer is dry, grab a simple wax candle or a block of paraffin wax. Lightly rub it on the high-contact areas where you want the paint to chip away—corners, raised details, and edges.
- The Top Coat: Apply your main color. I always recommend two thin coats instead of one thick one. It looks so much more professional. By the way, a little secret from the workshop: to speed up drying time between coats, you can use a regular hairdryer on a low, cool setting. Just keep it moving so you don’t accidentally crackle the paint before you want to!
Step 3: The Art of Distressing (Less is More!)
This requires a gentle hand. It’s so easy to go too far and make the piece look like it fell off a truck.
Using a 220-grit sanding block, gently sand the areas where you applied the wax. The top coat will come right off, revealing the primer or dark base coat underneath. Focus on those logical wear spots. Step back frequently to look at the piece as a whole. Does it look balanced?
For an even softer look, especially with chalk-style paint, try wet distressing. Just take a damp (not soaking!) microfiber cloth and gently rub the edges. The paint will re-activate and wipe away, leaving a perfectly smooth, time-worn edge instead of a scratchy, sanded one.
Step 4: Sealing Your Work for Durability
Your beautiful paint job needs protection. An unsealed piece will stain and scuff in no time. You have two main options:
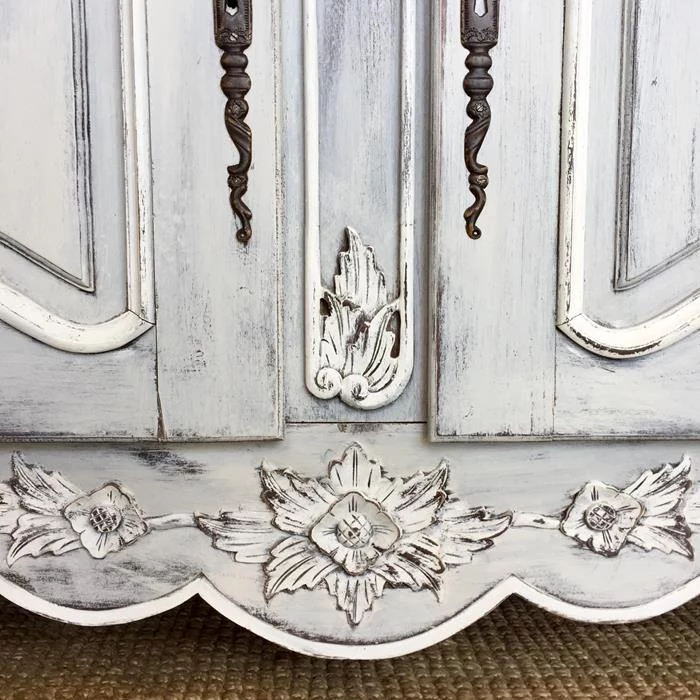
- Finishing Wax: This is the classic choice. It gives a soft, mellow sheen that feels amazing. The downside? It’s not waterproof and isn’t ideal for a kitchen table. It also needs to be reapplied every year or so. To really bring out the details, try a dark wax. The technique feels scary at first, but it’s magic. Use a brush or rag to push the dark wax into all the crevices, then immediately wipe the excess off the flat surfaces with a clean rag. This leaves the “grime” of age behind in all the low spots.
- Water-Based Polycrylic: For high-use surfaces, this is your best bet. It’s a clear top coat that’s much more durable. The key is to ALWAYS choose a matte or satin finish. A glossy top coat will look like plastic and completely ruin the soft, aged vibe.
Help! What Went Wrong? A Quick Troubleshooting Guide
Even pros run into problems. Here are a couple of common issues and how to fix them.
- The Problem: Yellow or pink stains are bleeding through my new white paint!
The Cause & Fix: You’ve got tannin bleed from the old wood. This is exactly why a shellac-based primer is so important. Unfortunately, the only real fix is to sand the piece back down, apply a proper stain-blocking primer, and then repaint. - The Problem: My paint is peeling or scraping off in big chunks, not sanding nicely.
The Cause & Fix: This usually happens for two reasons: either the surface wasn’t cleaned well enough, or you used a paint (like latex) that doesn’t feather out well when sanded. Proper cleaning and using chalk-style or milk paint will prevent this.
Beyond the Basics: Advanced Techniques
Once you’ve got the basics down, you can start playing with more advanced methods to create truly unique pieces.
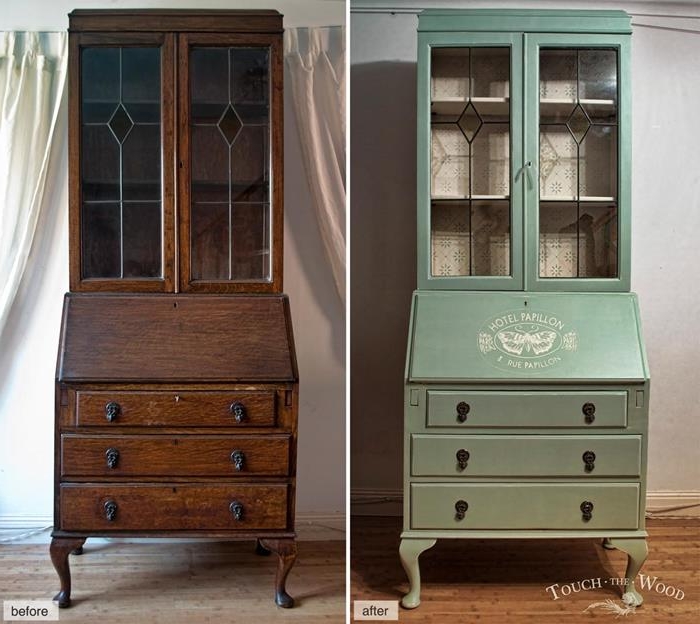
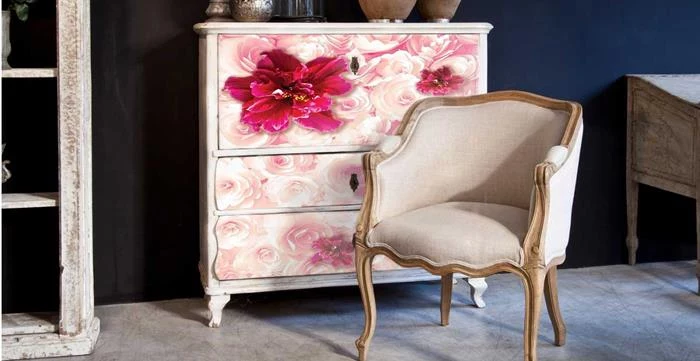
You can create an amazing cracked finish using a special crackle medium, or you can layer multiple colors—like yellow, then blue, then white—and distress through them at different depths to tell a story of a piece being repainted over generations. You can even add graphics using furniture transfers for a crisp, detailed look that’s tough to get any other way.
A Final Word on Safety: Please Read This
This is the most important part of this whole guide. A beautiful dresser isn’t worth your health.
Heads up! Any furniture made before the late 1970s could be covered in lead-based paint. It’s highly toxic, especially the dust from sanding. Before you start any project on an old piece, please test for it. You can buy lead-test swabs at the hardware store for a few bucks. If it tests positive, you cannot dry sand it. All sanding must be done wet to control the dust, and you must wear a respirator with P100 cartridges (not a simple dust mask). Seriously, if you’re not comfortable with these safety protocols, it’s always better to hire a professional.
And for any project, always work in a well-ventilated area, wear safety glasses, and use gloves. It’s just smart practice.
Disclaimer: This advice comes from my own professional experience. Every piece is unique, so always test your techniques on a hidden spot first! And please, always follow the safety warnings on the products you use.

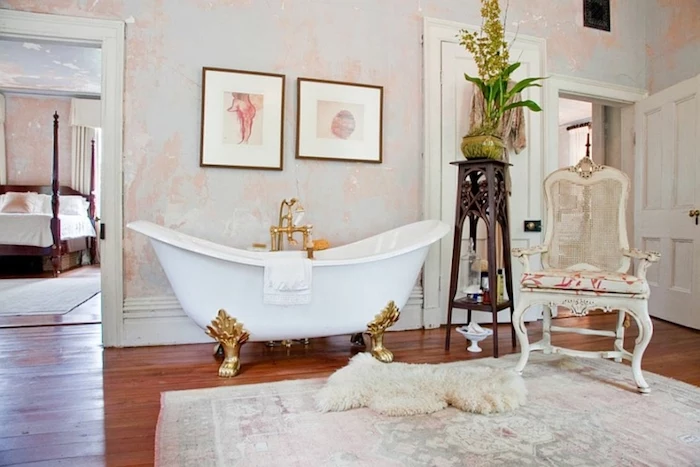
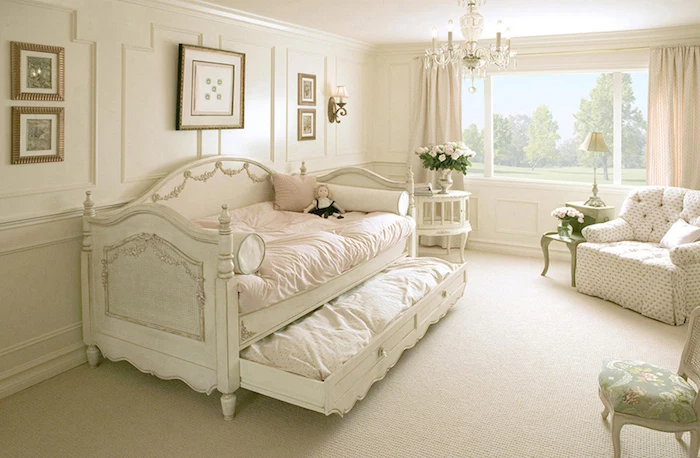
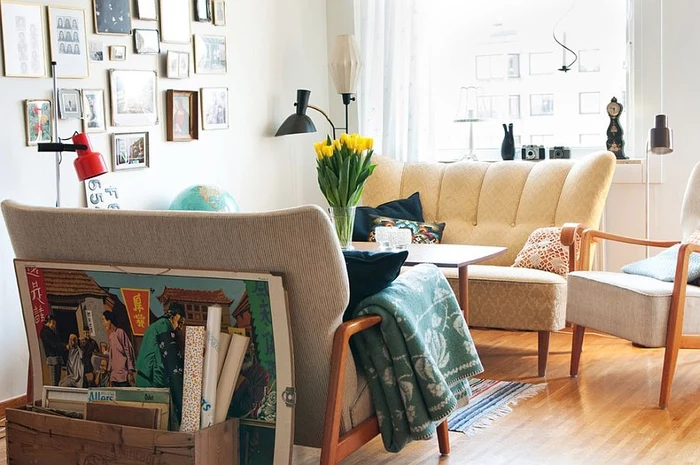
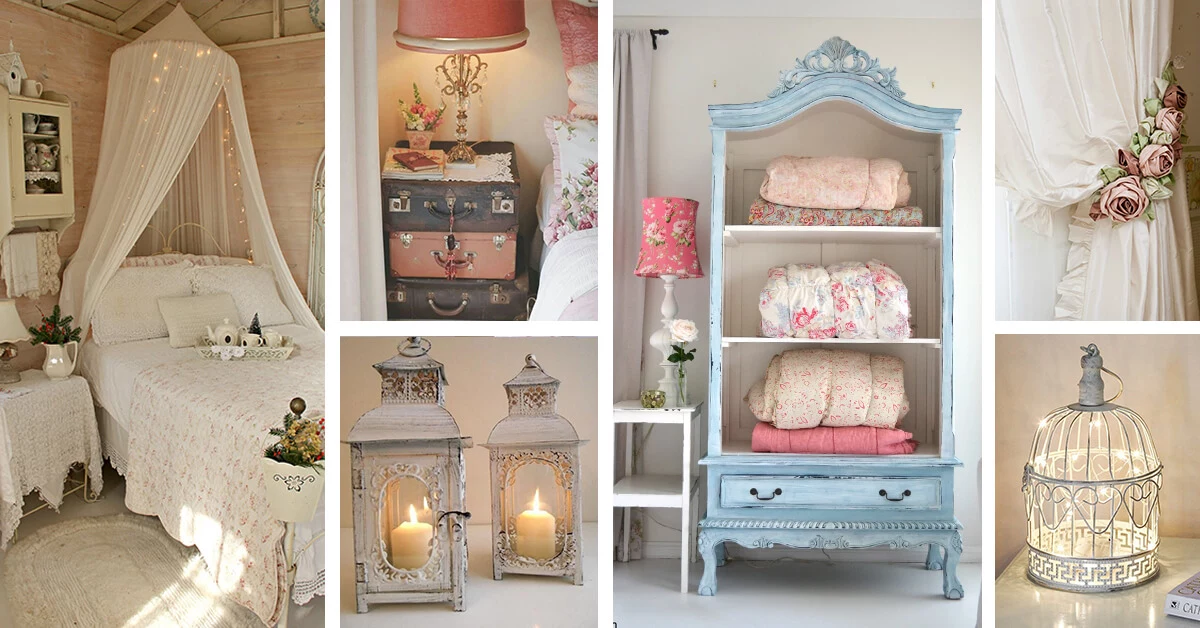
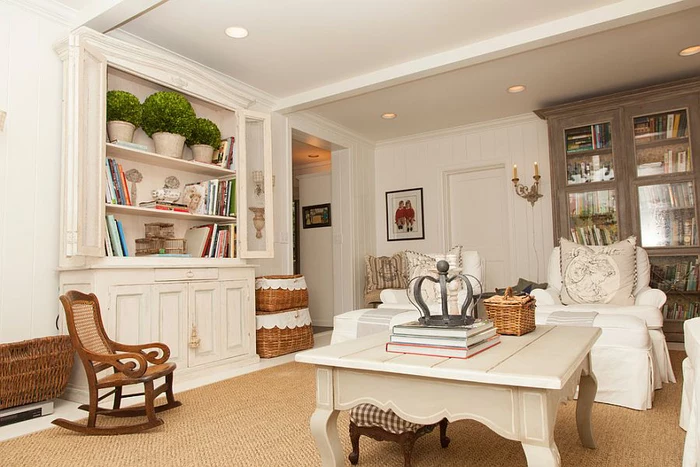
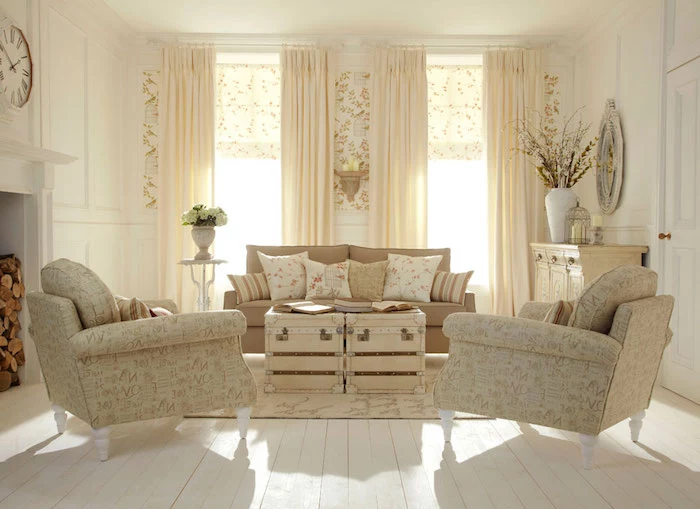
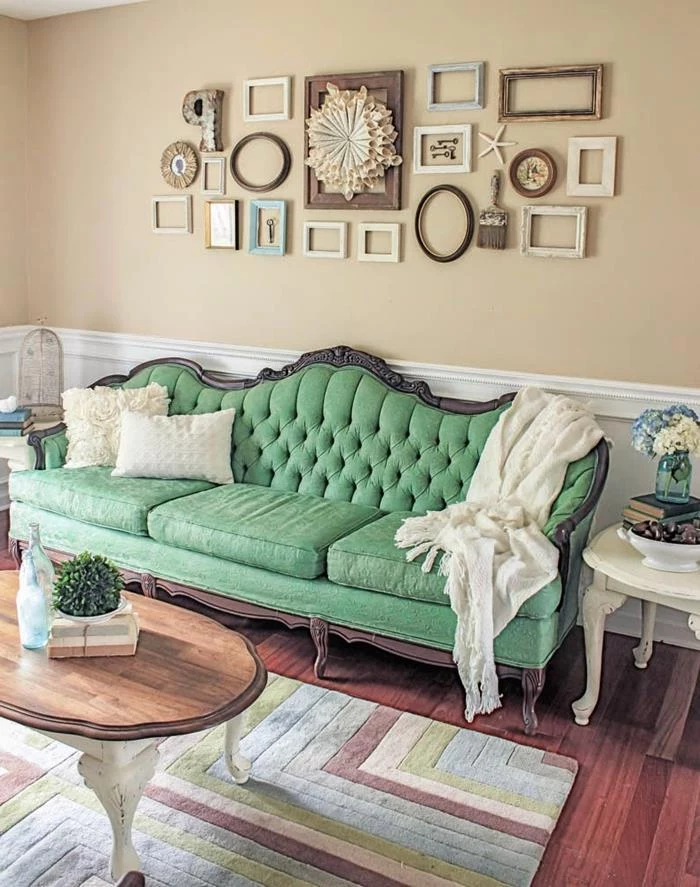
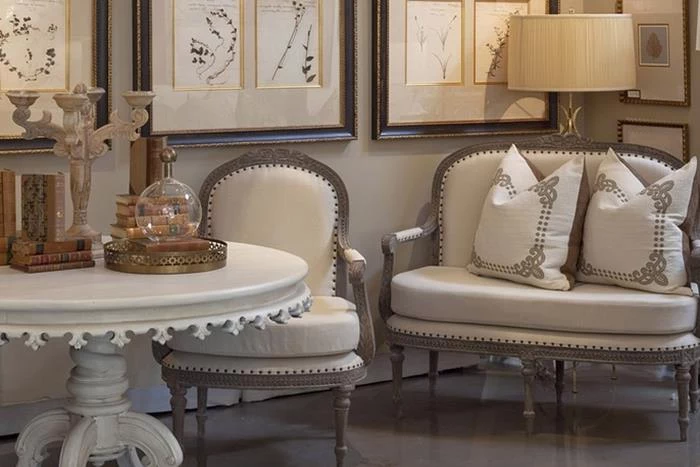
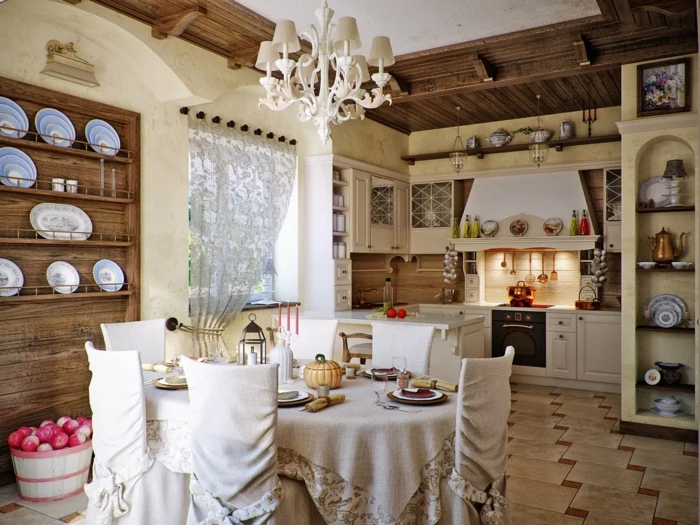
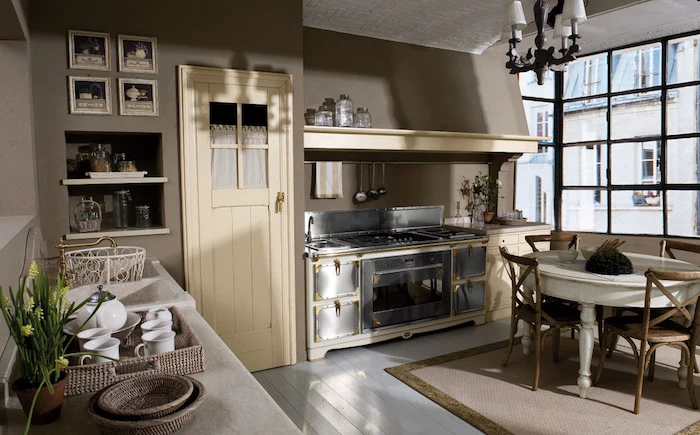
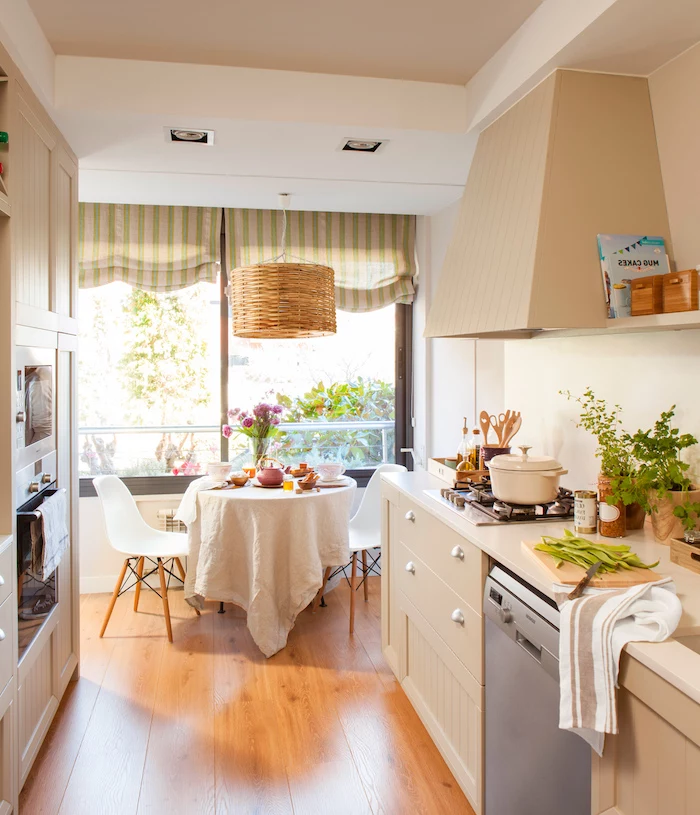
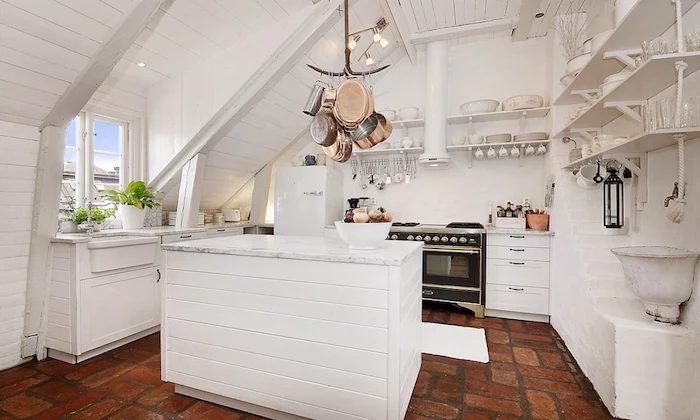
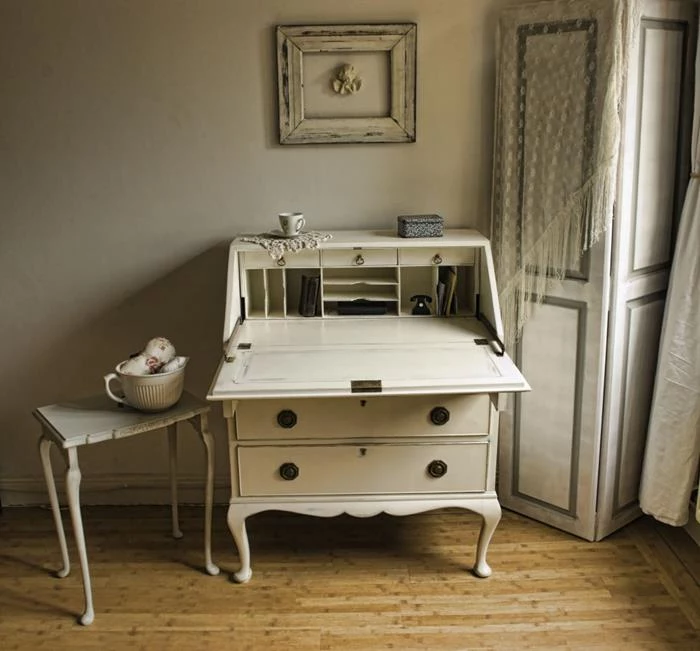
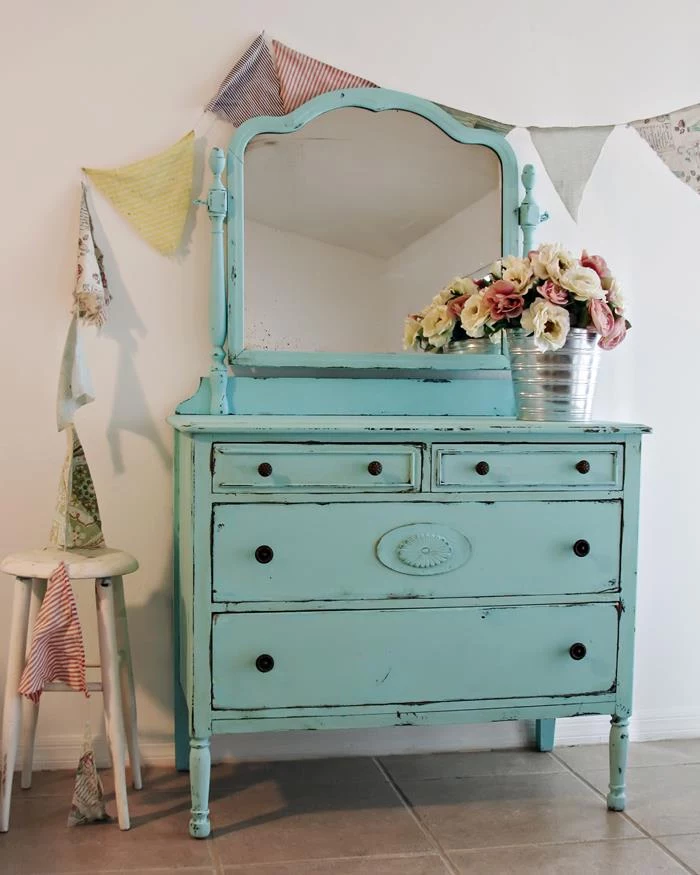
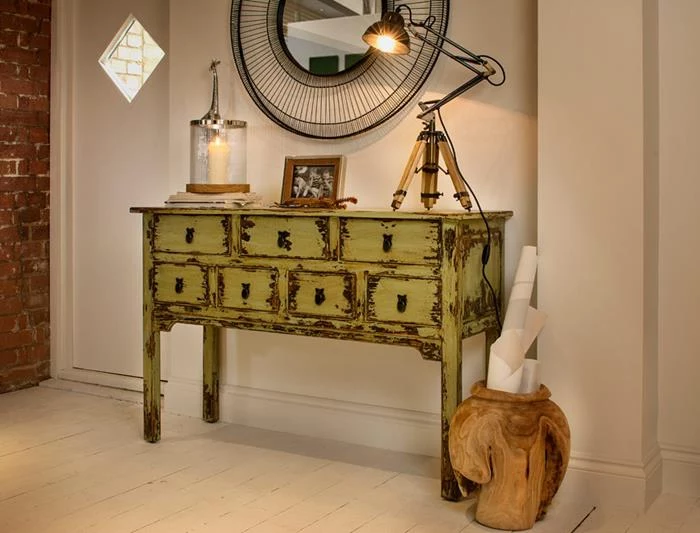
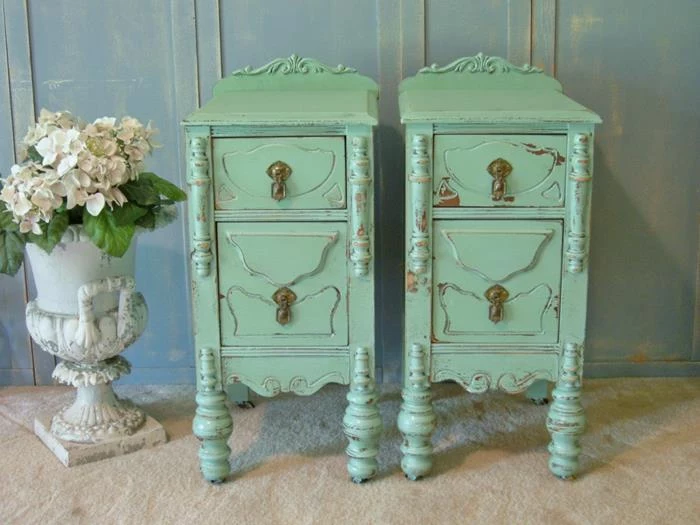
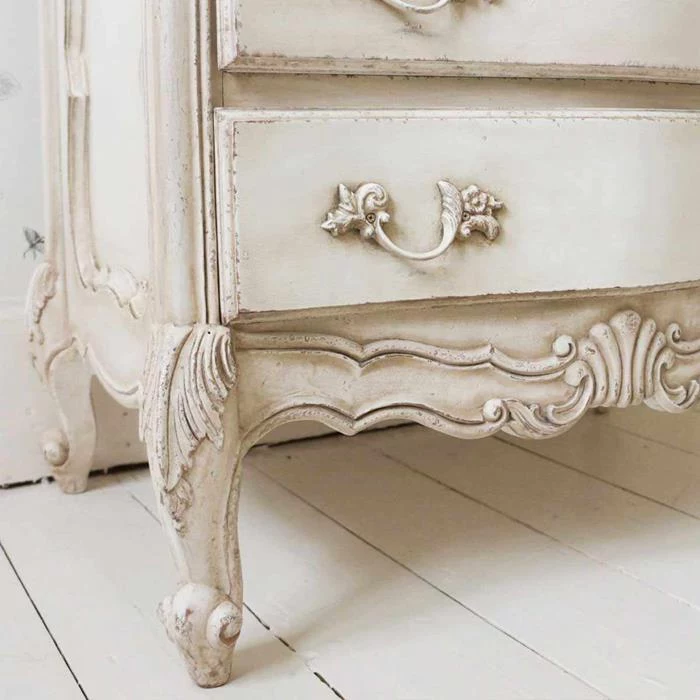
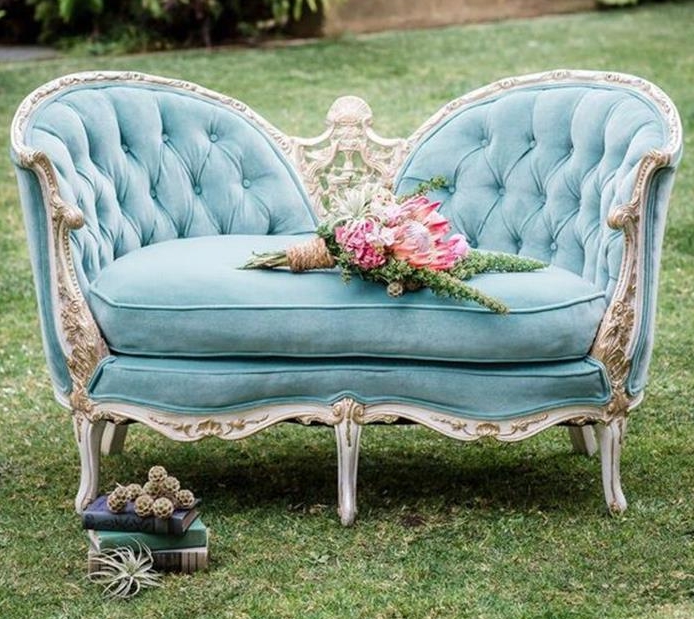
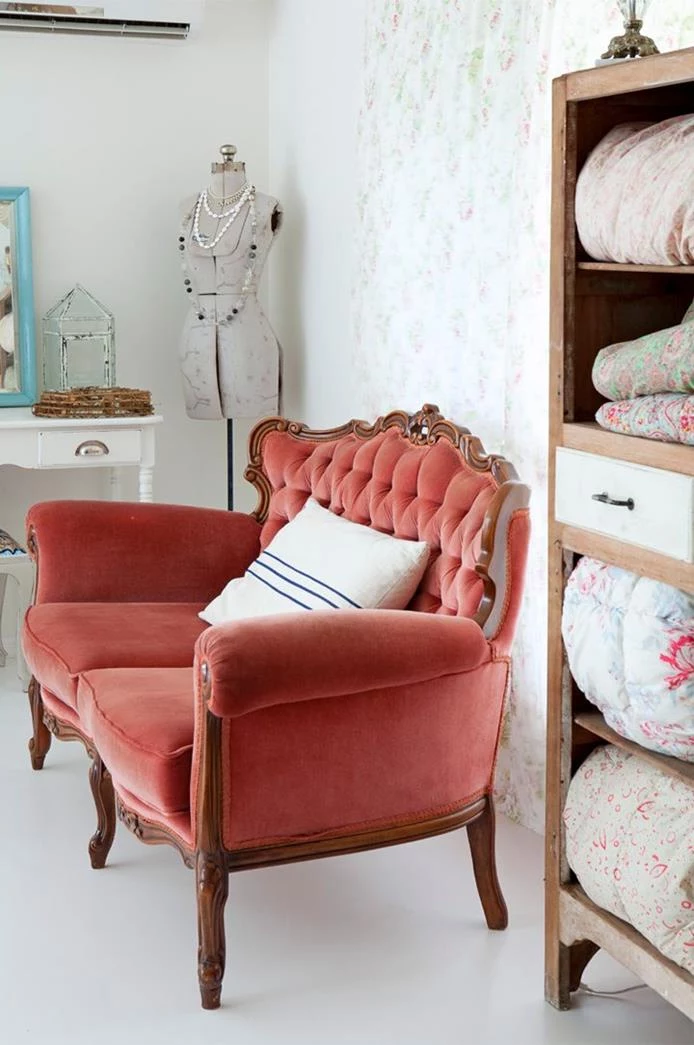
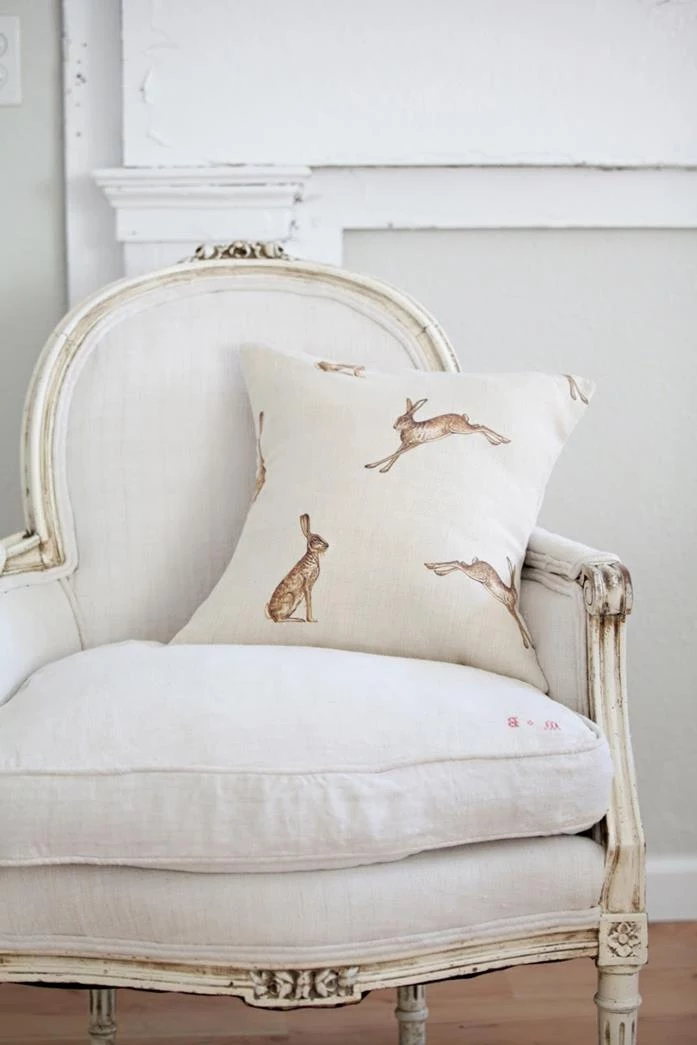
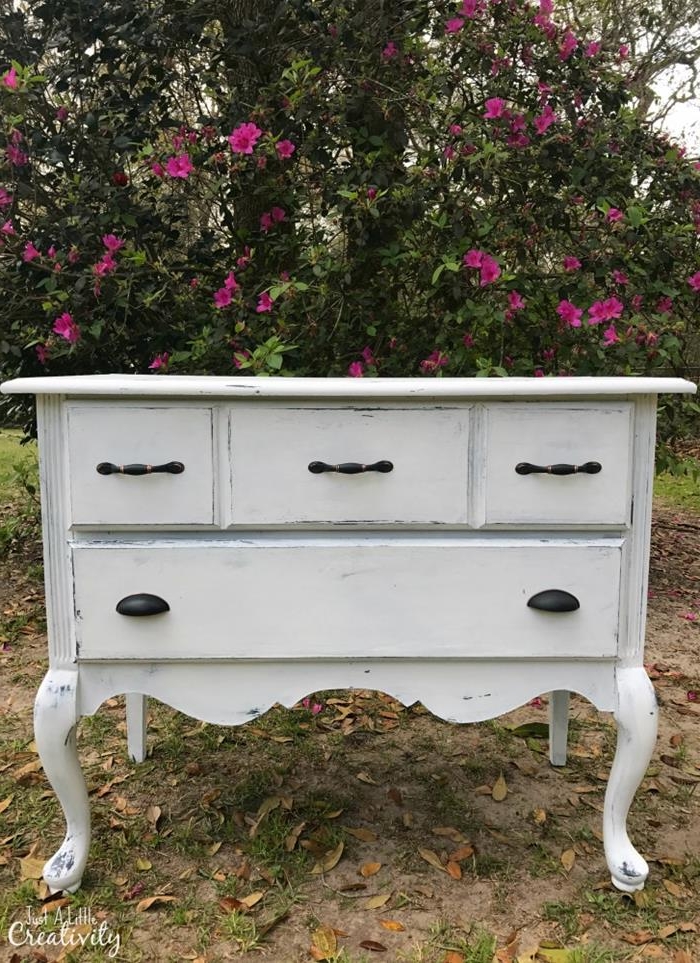
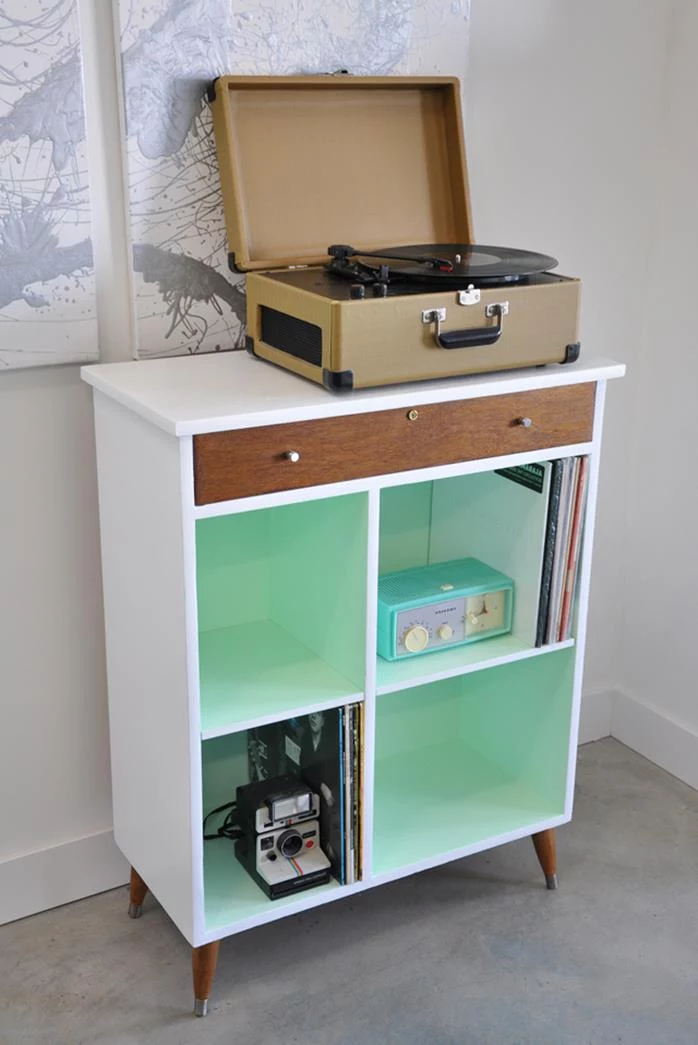
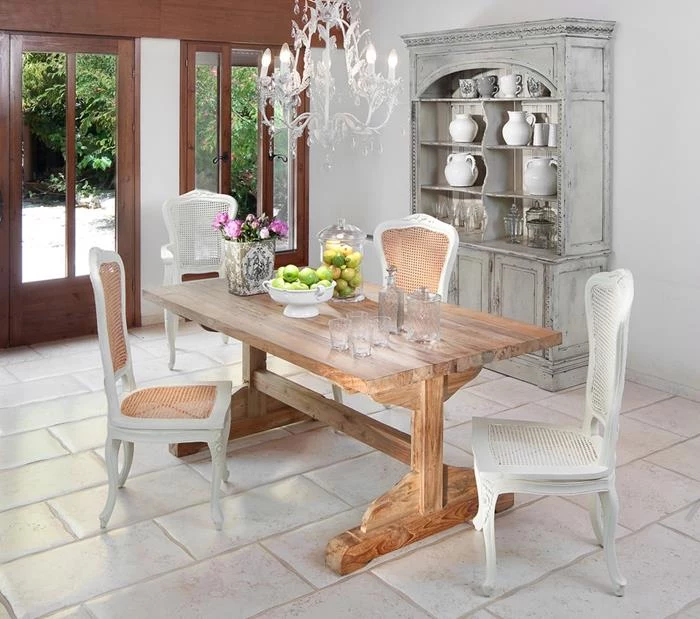
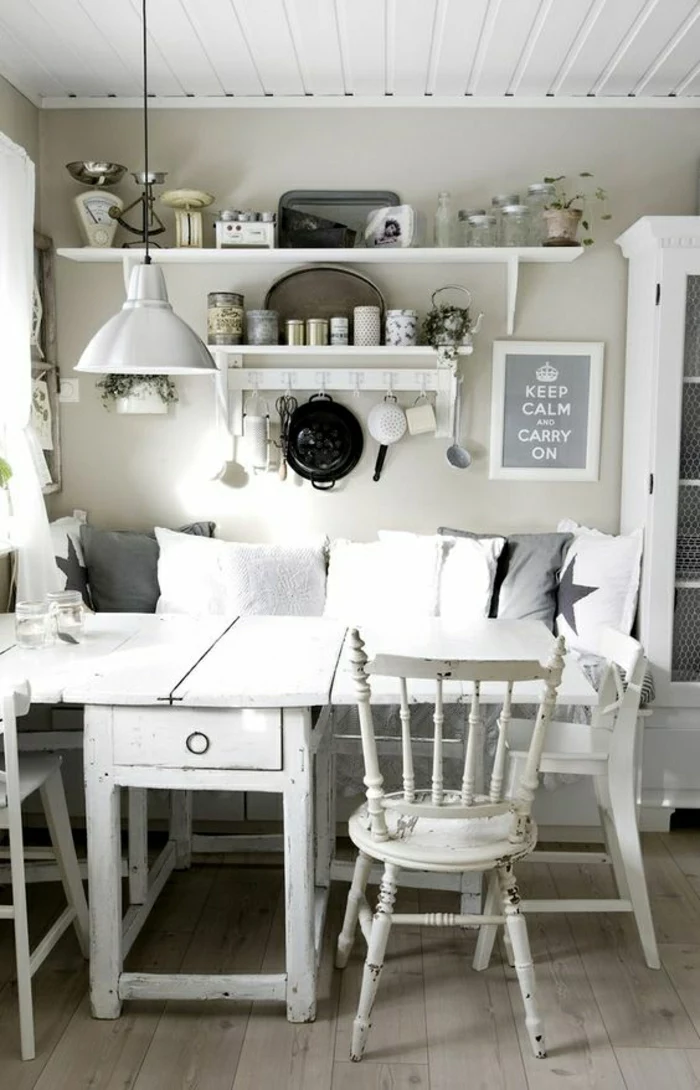
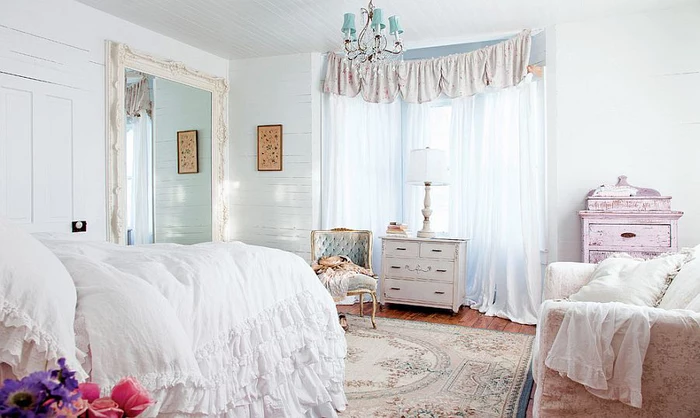
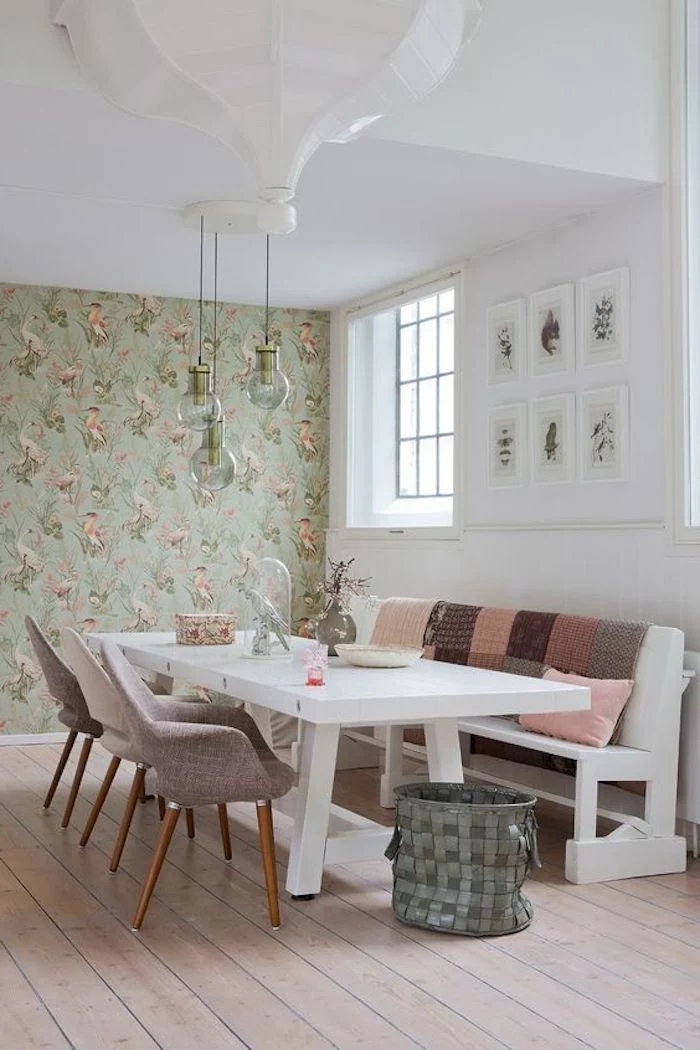
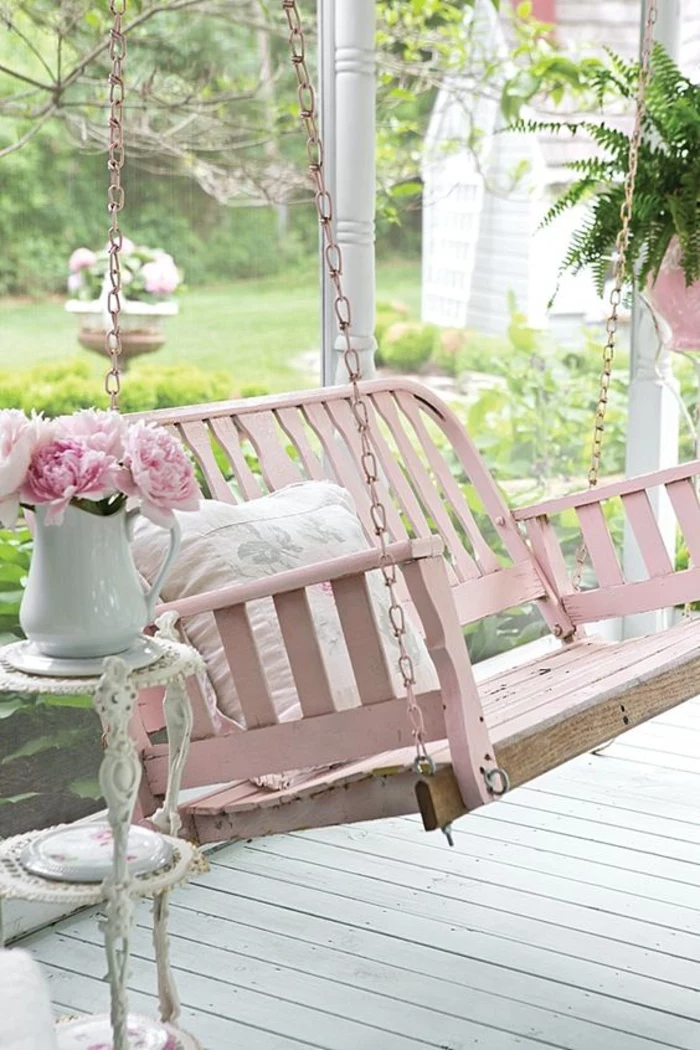
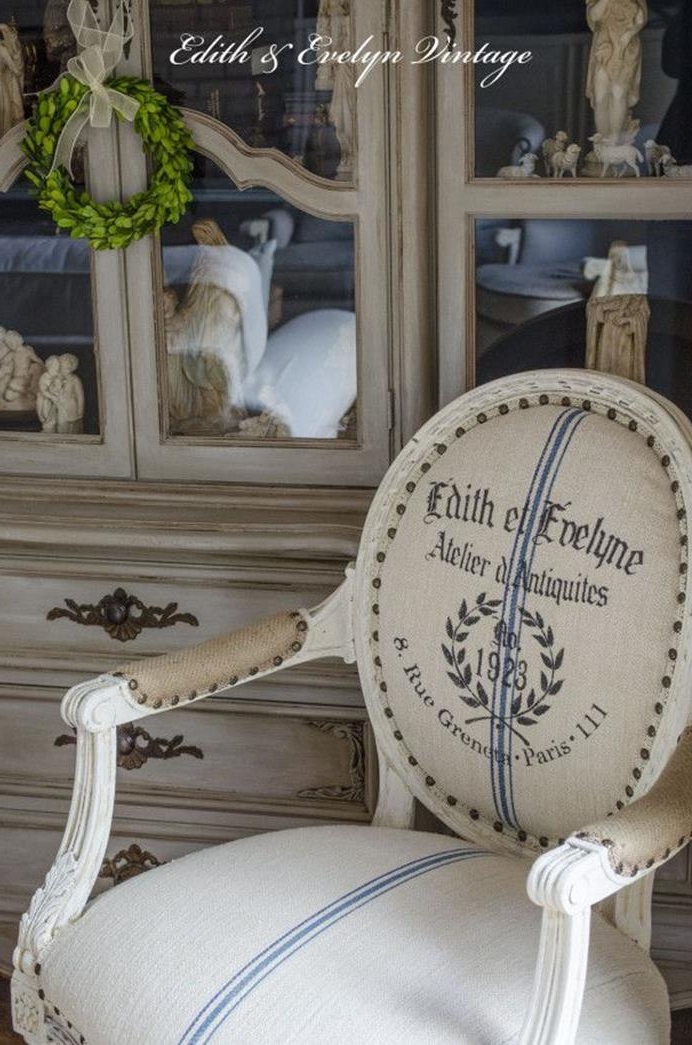
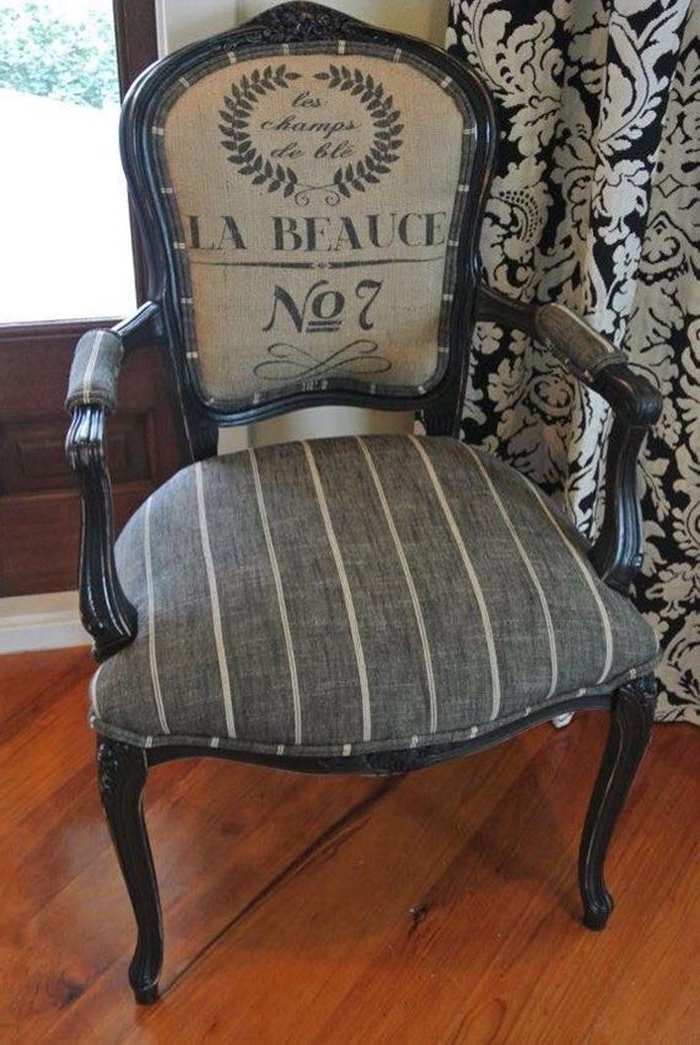
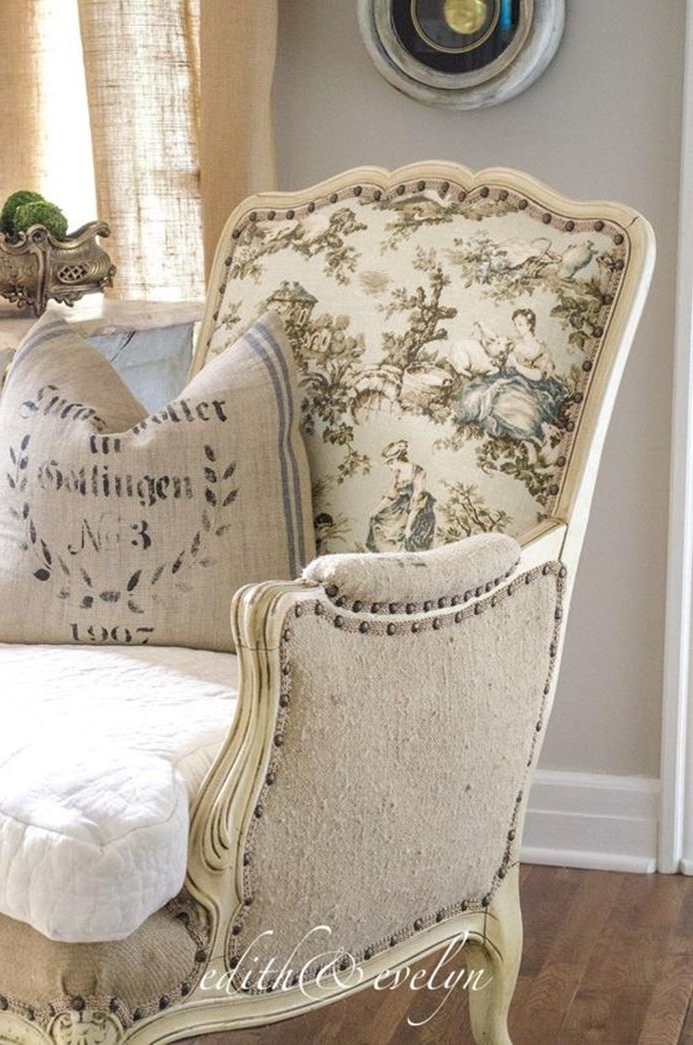
Inspirational Gallery
Chalk Paint vs. Milk Paint: Annie Sloan Chalk Paint® is beloved for its incredible adhesion—it sticks to almost any surface with minimal prep. It creates a velvety, matte finish. General Finishes Milk Paint, on the other hand, is known for its ability to naturally chip and flake when applied over a sealed surface, creating a genuinely old-world, chippy look. Your choice depends on the exact style of “lived-in” you’re aiming for.
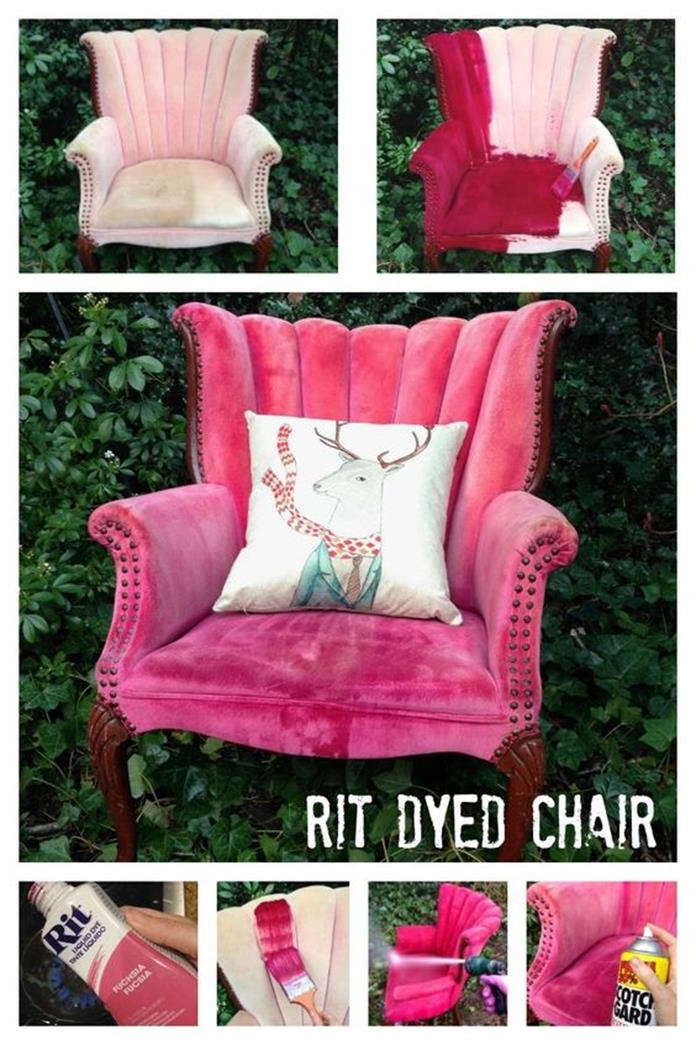
- Create an authentic-looking paint crackle by applying a coat of Elmer’s School Glue over your base color.
- While the glue is still tacky, paint your top coat over it, brushing in one direction only.
The magic? As the paint and glue dry, fine cracks will appear, mimicking decades of aging.
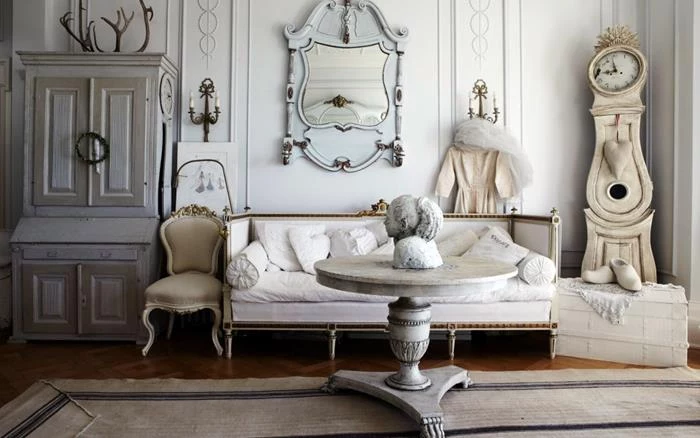
“I believe in the beauty of imperfection… It’s the history of a piece, the story of its life, that makes it truly beautiful.” – Rachel Ashwell
Before you even think of sanding, give your piece a thorough cleaning. Years of furniture polish, grease, and grime can ruin a paint finish. A degreasing cleaner like Krud Kutter or even a simple solution of dish soap and warm water works wonders. Pay special attention to detailed carvings where dust loves to hide.
How do I choose the right sandpaper for distressing?
Start with a medium grit (like 150) for initial distressing on edges and high-traffic areas. Then, move to a fine grit (220 or higher) to smooth out the transitions between the painted and exposed wood. This subtle step is the key to making the wear look natural rather than freshly sanded.
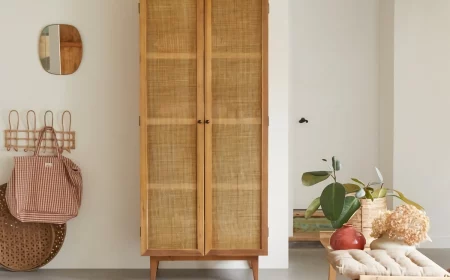
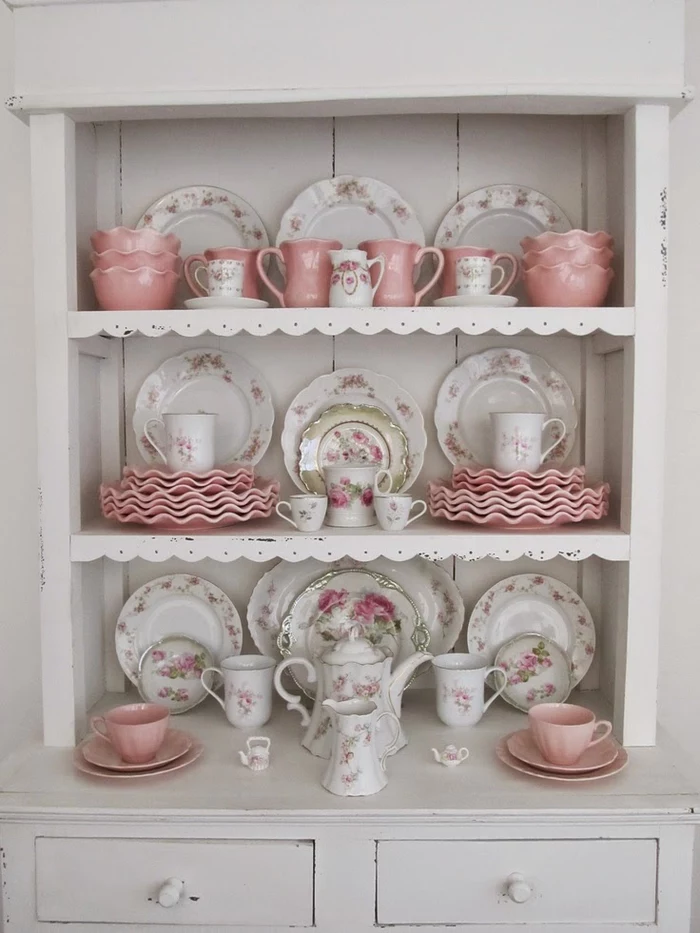
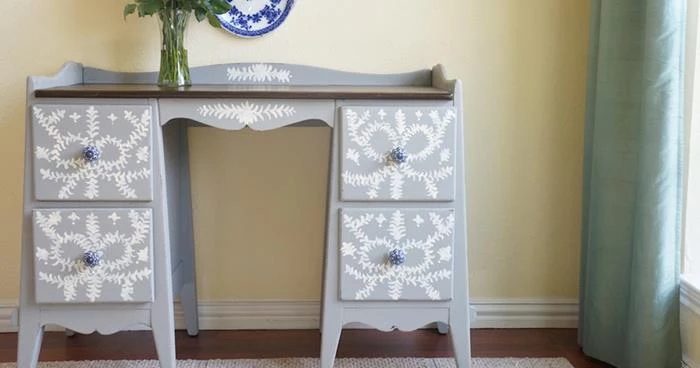
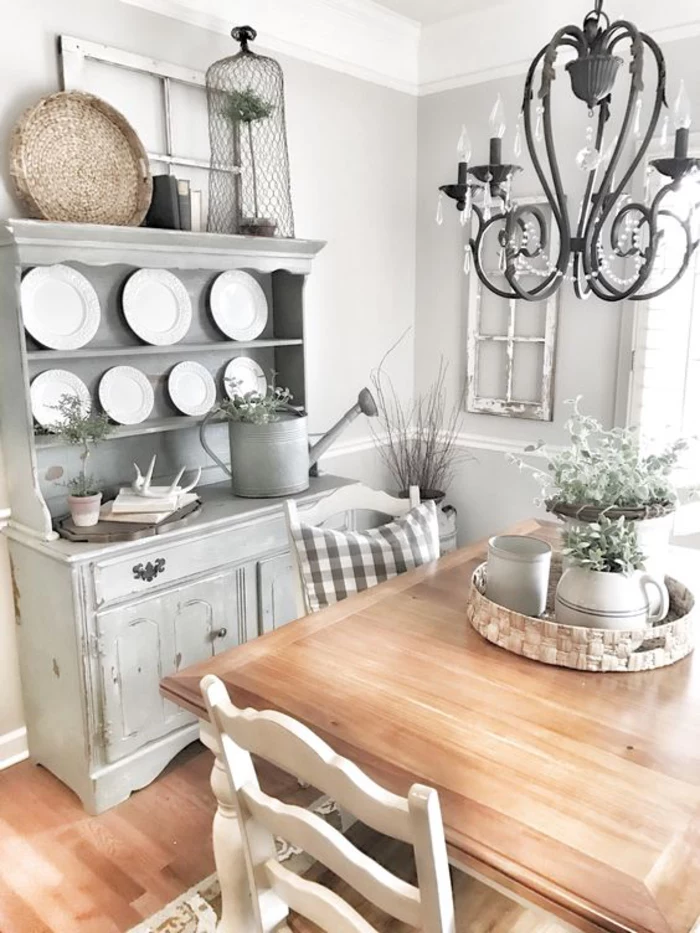
The final touch that truly elevates a painted piece is the hardware. Don’t just paint over the old metal pulls. Consider swapping them for something new that complements the style. Mercury glass knobs, simple ceramic pulls, or antique-style brass handles can completely transform the character of a dresser or cabinet.

According to the EPA, Americans generate over 12 million tons of furniture waste each year.
Every piece you rescue from a flea market or your own attic and repaint is more than just a decorating choice; it’s a small, beautiful act of sustainability. You’re not just creating a lovely item for your home, you’re keeping a piece of history out of a landfill.
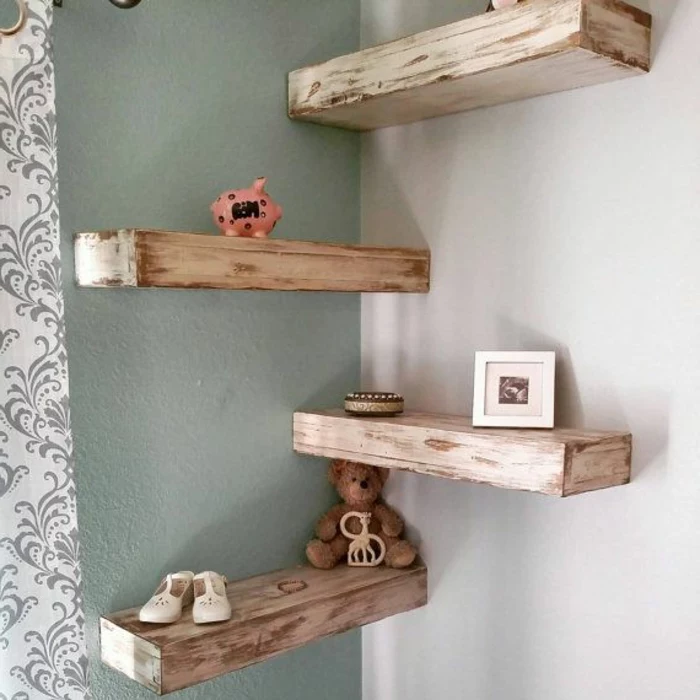
Want to test your distressing technique before committing to a large piece of furniture? Try it on smaller items first:
- Wooden picture frames
- A small jewelry box
- An old cutting board (for decoration)
- A single wooden shelf
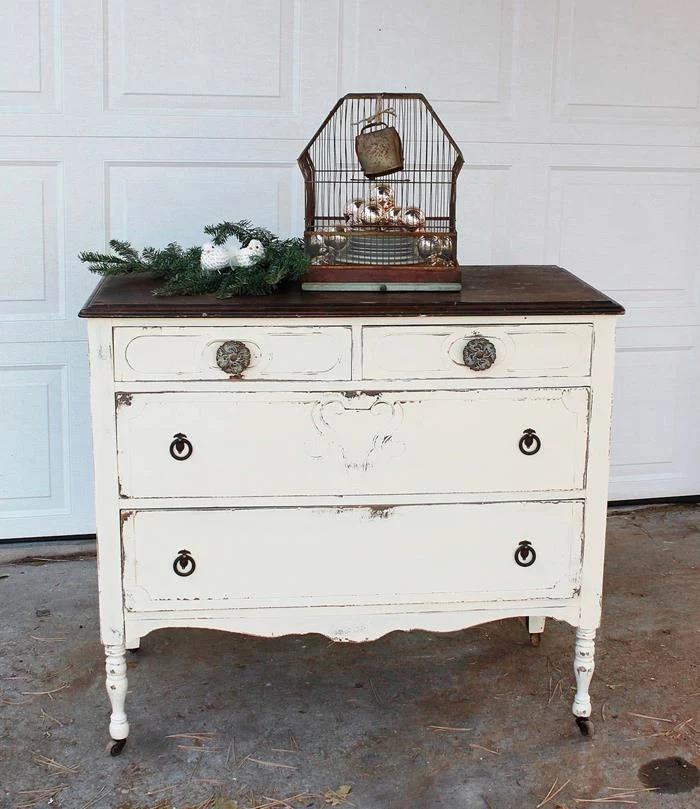
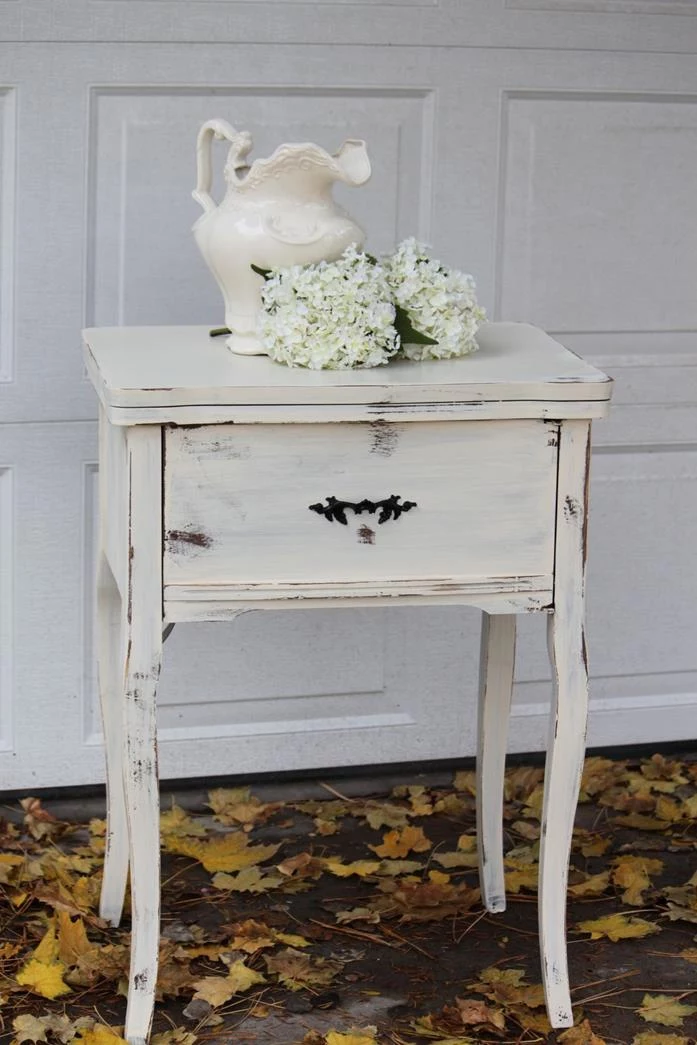
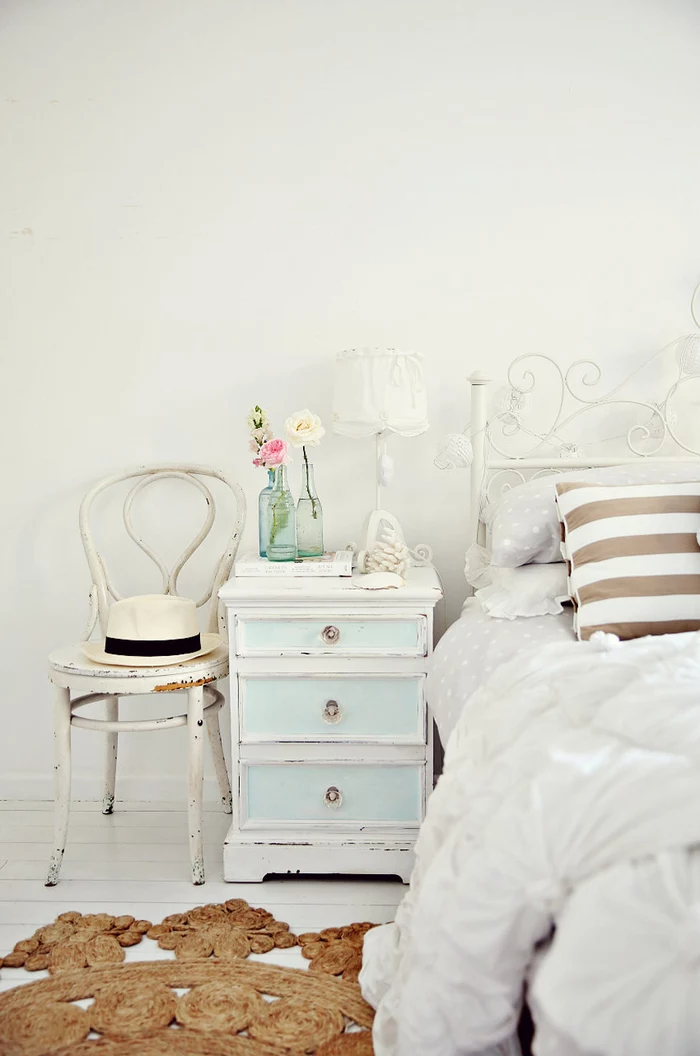
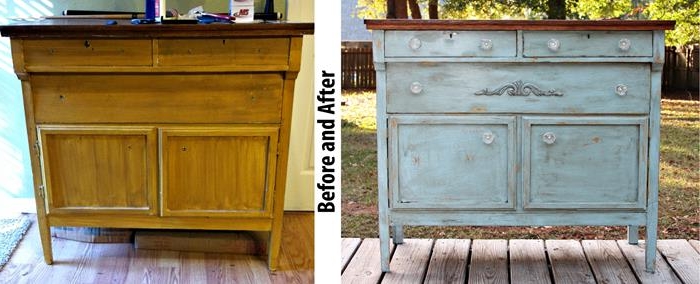
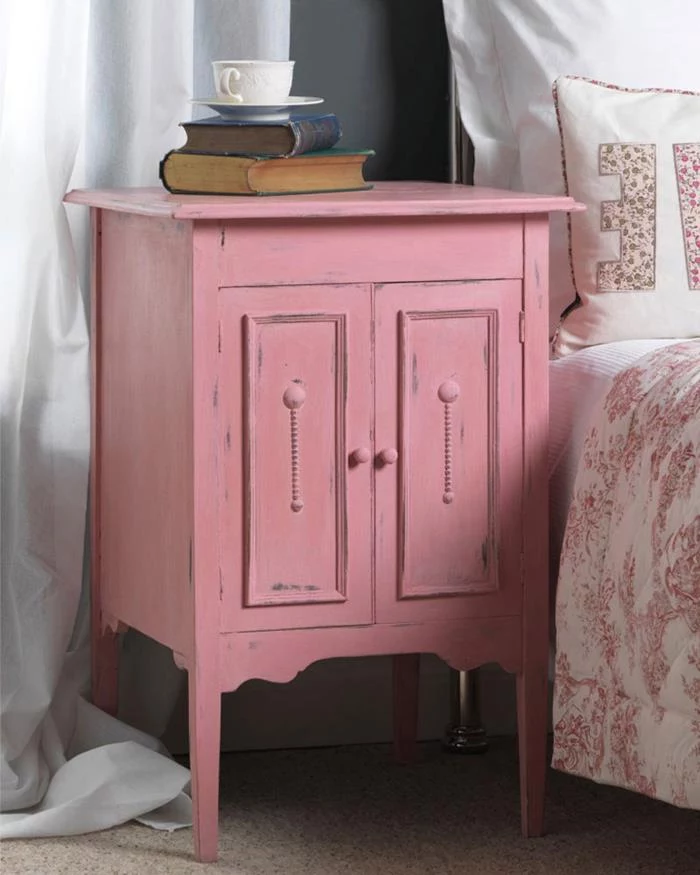
The Secret to Depth: For a truly rich finish, use two different colors. Apply a darker shade (like a charcoal grey or deep brown) as your base coat. Once dry, cover it with your main color (like a cream or pale blue). When you distress the piece, bits of the darker color will peek through along with the wood, adding incredible dimension and a sense of history.
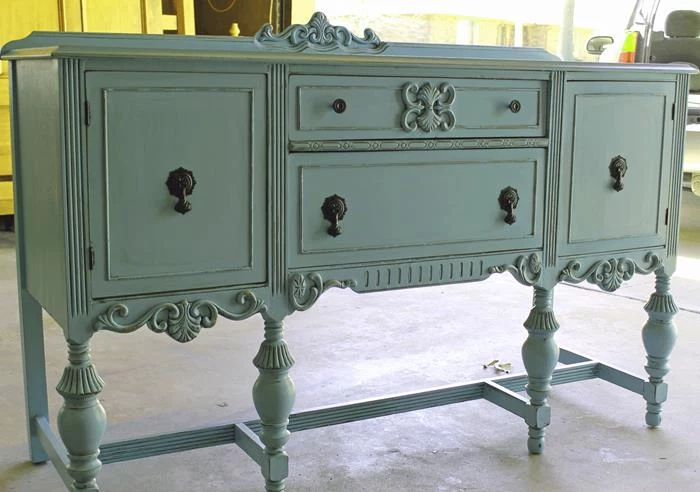
Clear Wax vs. Dark Wax: A clear finishing wax (like Fiddes & Sons) will seal your paint and give it a soft, mellow sheen. A dark wax (like Annie Sloan’s Dark Chalk Paint® Wax) is an aging tool. Use it sparingly over the clear wax in crevices and details to instantly create the look of aged grime and patina. Always apply clear wax first to control the dark wax’s intensity.

Did you know? Modern chalk-style paint was invented by Annie Sloan in 1990 to be a versatile paint that would adhere to most surfaces without priming.
Its unique formulation, which allows for easy distressing and waxing, is what kickstarted the painted furniture revival and made the shabby chic look accessible to DIY enthusiasts everywhere.

What about laminate or melamine furniture?
Yes, you can paint it! But skipping the prep here is a fatal error. These slick, non-porous surfaces need a special primer to give the paint something to grip. Clean the piece thoroughly, then apply a shellac-based bonding primer like Zinsser B-I-N. It’s smelly, but it creates a rock-solid foundation for your paint.


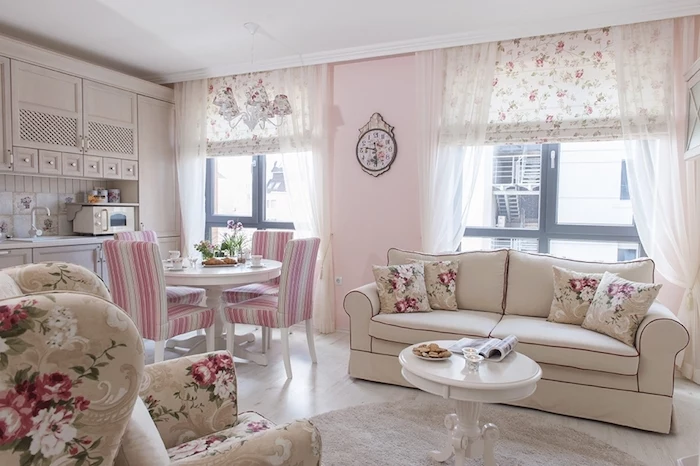
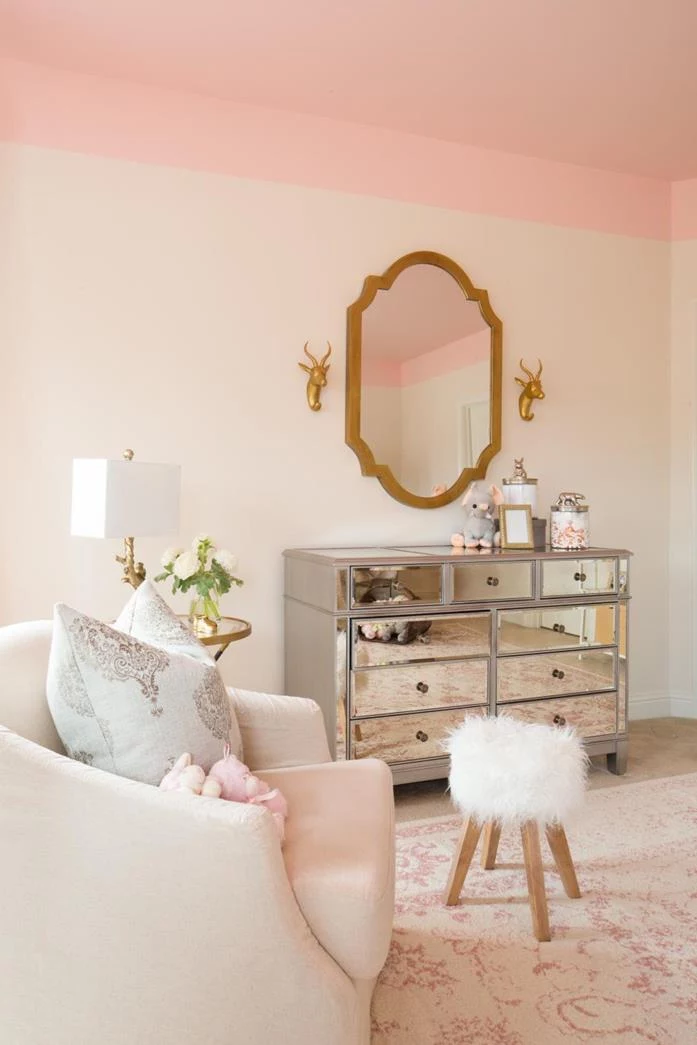
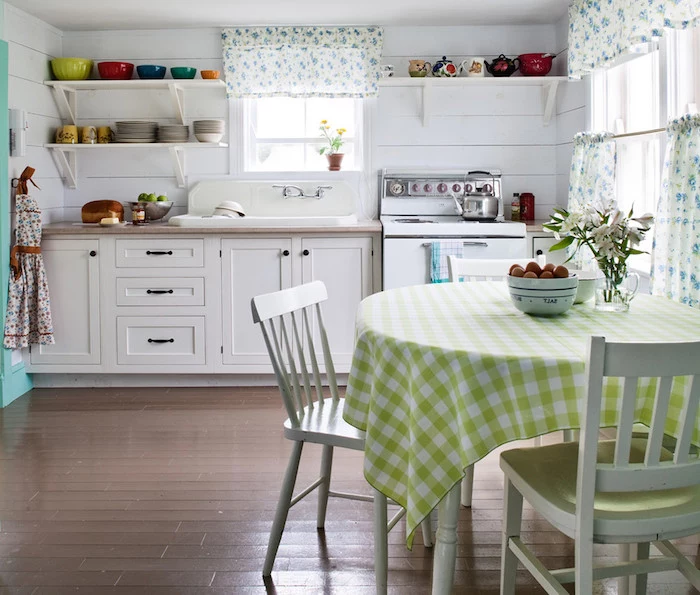
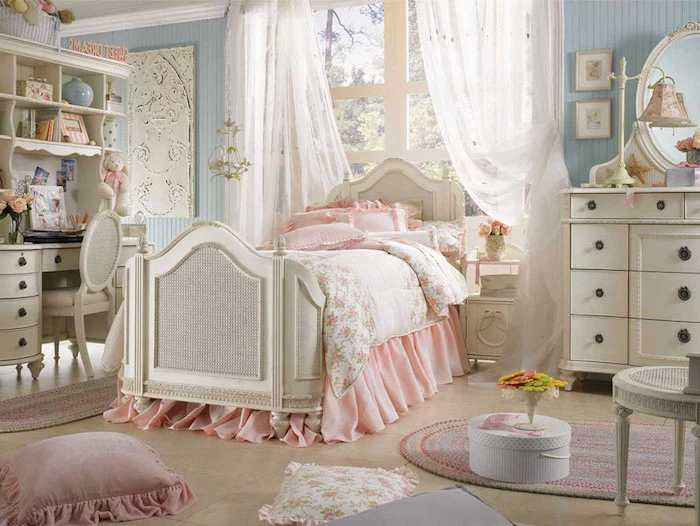
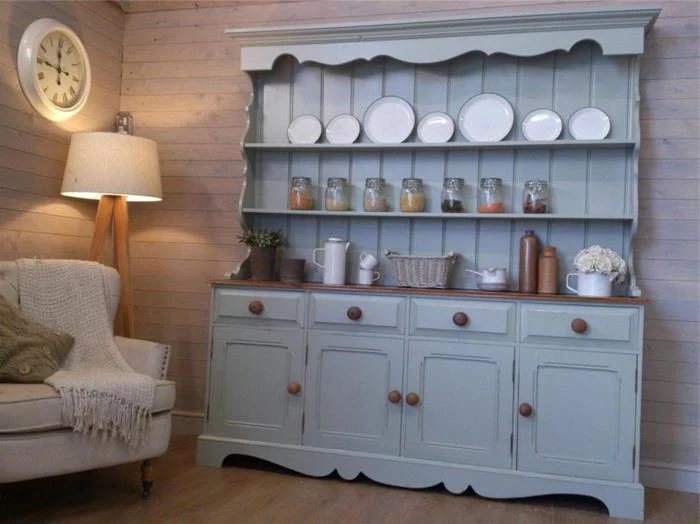
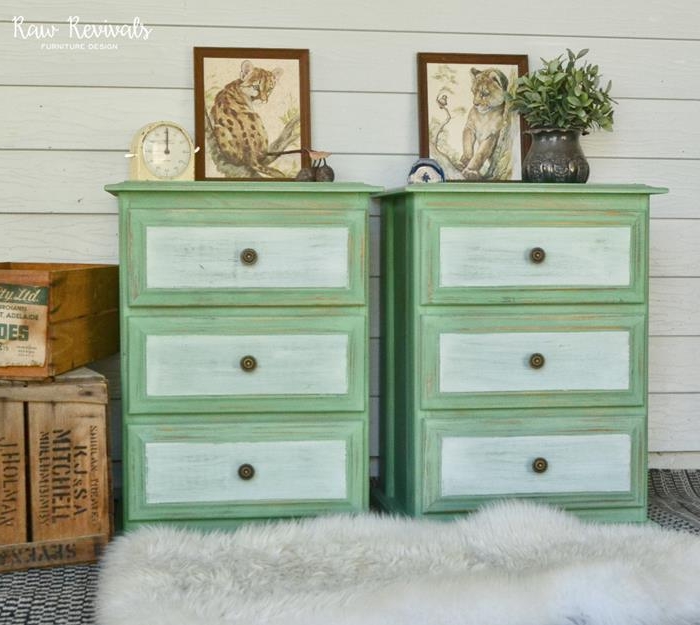
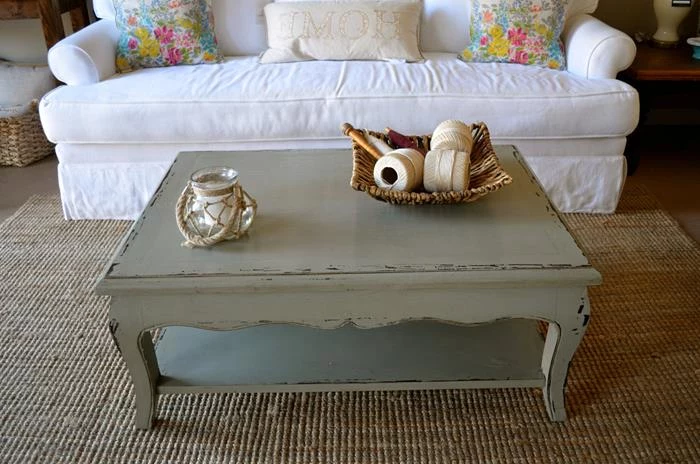
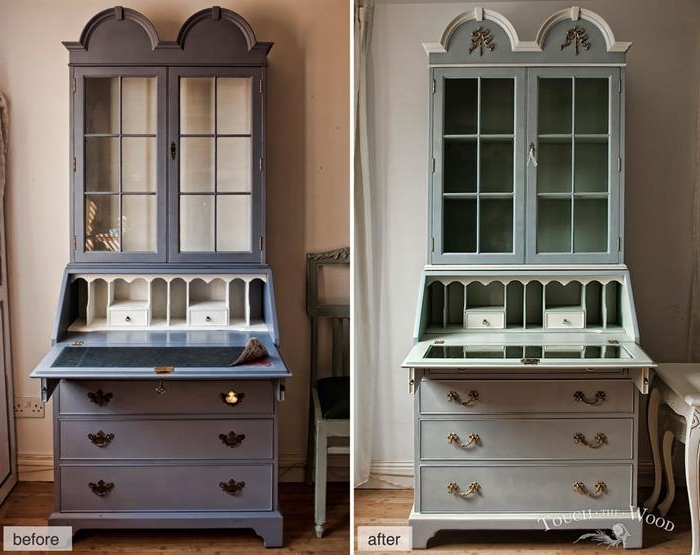
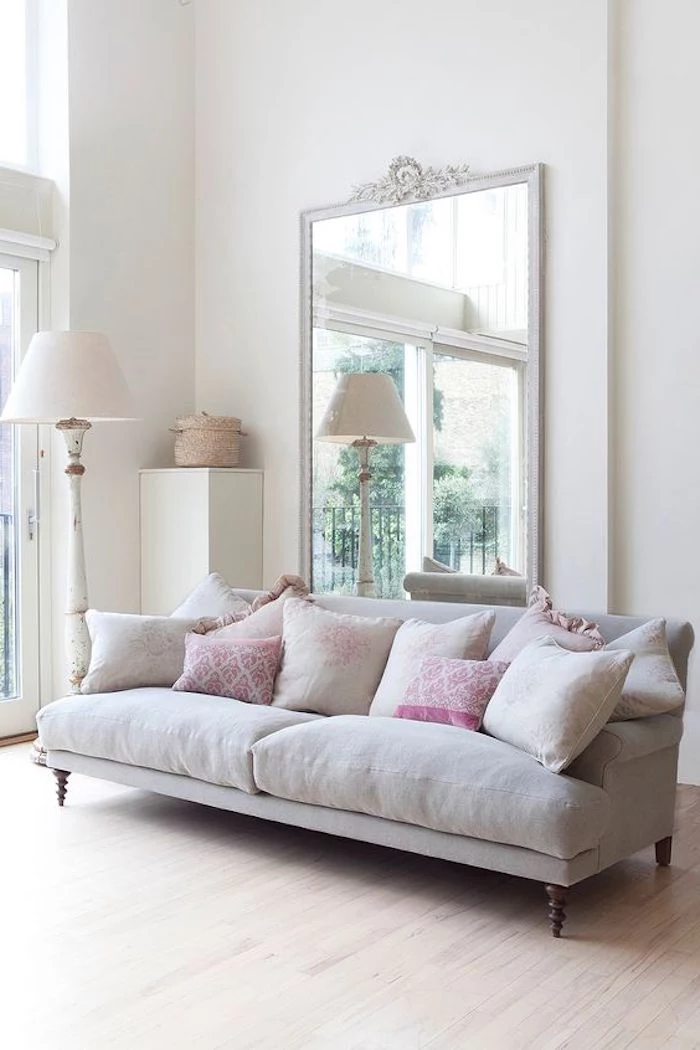
Don’t just think in white and cream. The lived-in look is beautiful with color. A soft Duck Egg Blue, a muted Sage Green, or even a cheerful Buttermilk Yellow can serve as the primary color. The key is to choose shades that have a slightly greyed or dusty undertone, which keeps them feeling soft and vintage rather than stark and modern.

- A finish that feels soft and buttery to the touch.
- A subtle, natural-looking sheen, not a plasticky gloss.
- Water-resistance for your finished piece.
The secret? Applying finishing wax with a dedicated wax brush and buffing it with a lint-free cloth once it’s dry to the touch.


Don’t overdo it: The biggest mistake beginners make is distressing the piece too uniformly. Real wear happens in specific places: around knobs, along edges, on legs where a vacuum might hit, and on high points of carvings. Step back frequently and ask yourself: “Where would this piece naturally show wear after 50 years?”
That earthy, slightly sweet scent of old wood mixed with beeswax is the true perfume of a furniture restorer’s workshop. It’s the smell of stories being preserved.

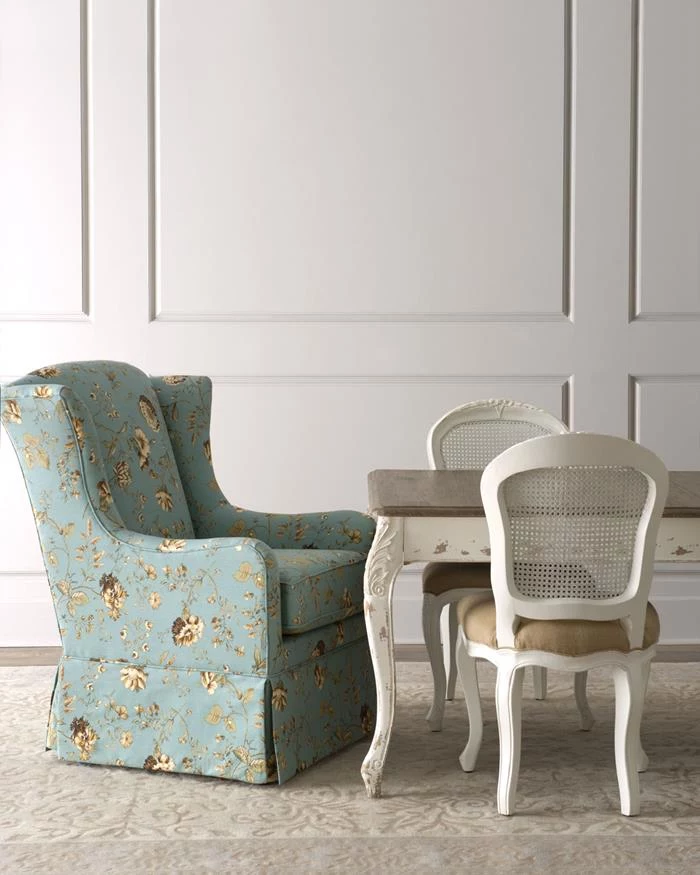
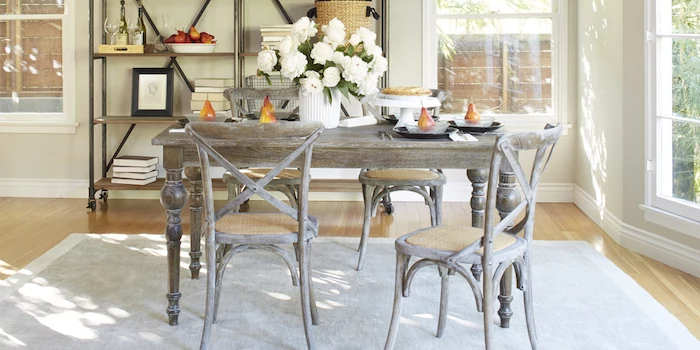
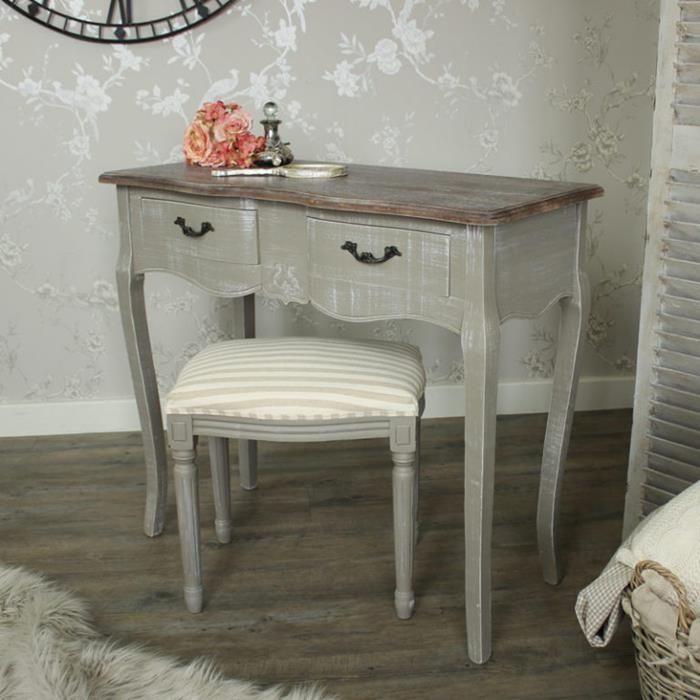
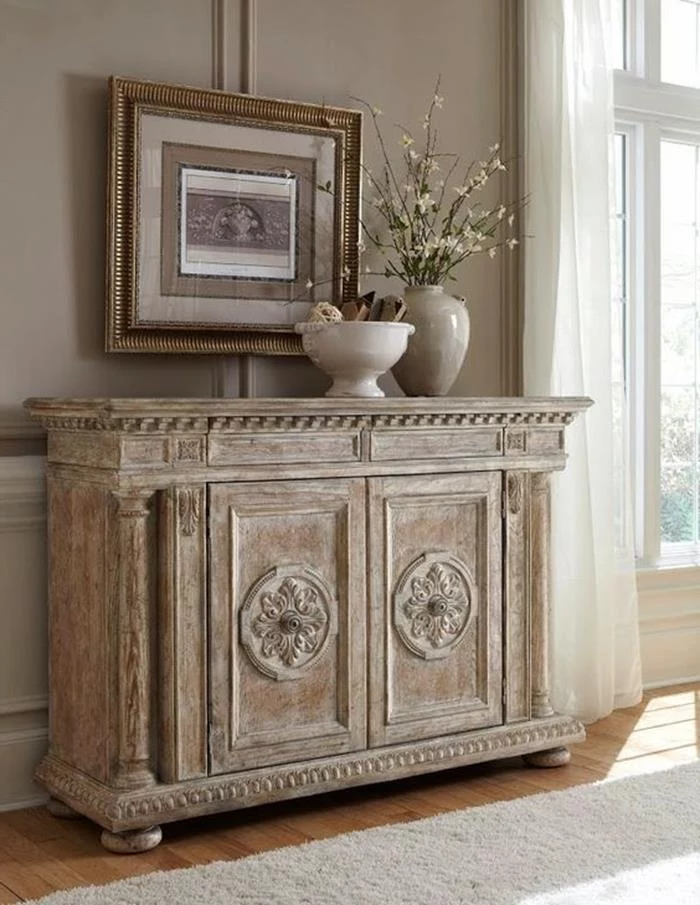
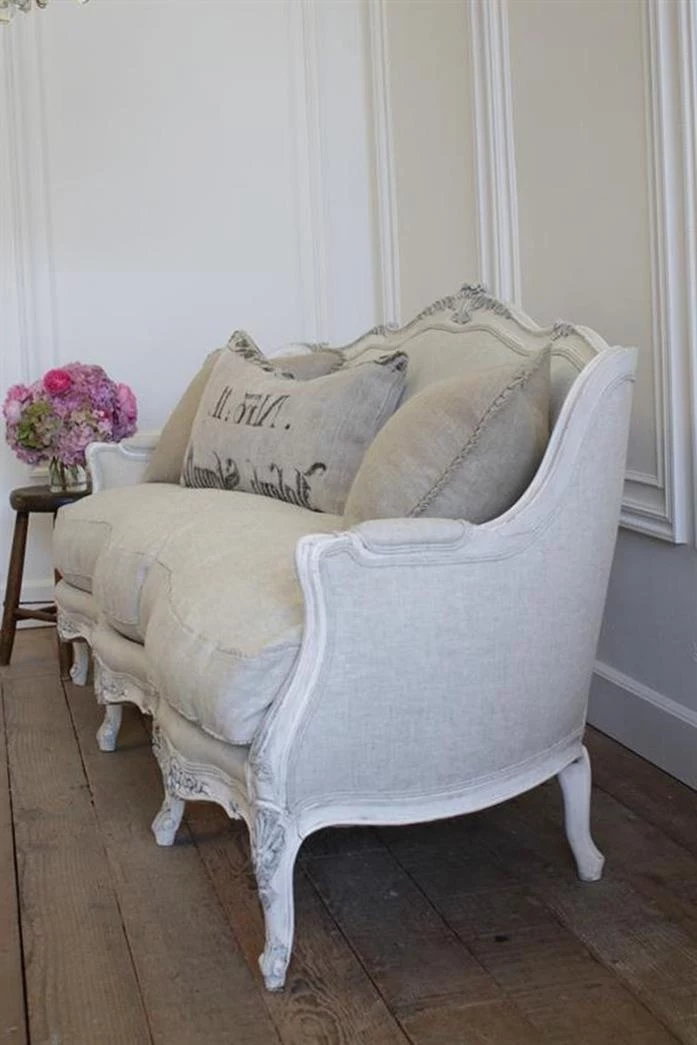
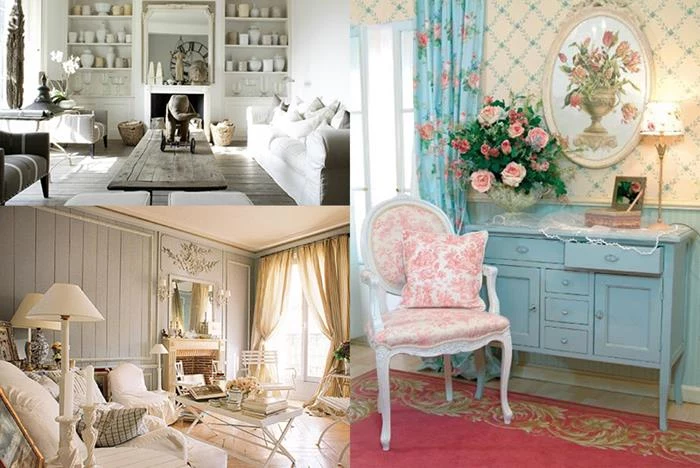
Swedish Gustavian Style: Characterized by clean lines, pale greys and blues, and a more restrained, elegant feel. Think of a beautifully carved but simple dining chair painted a soft grey.
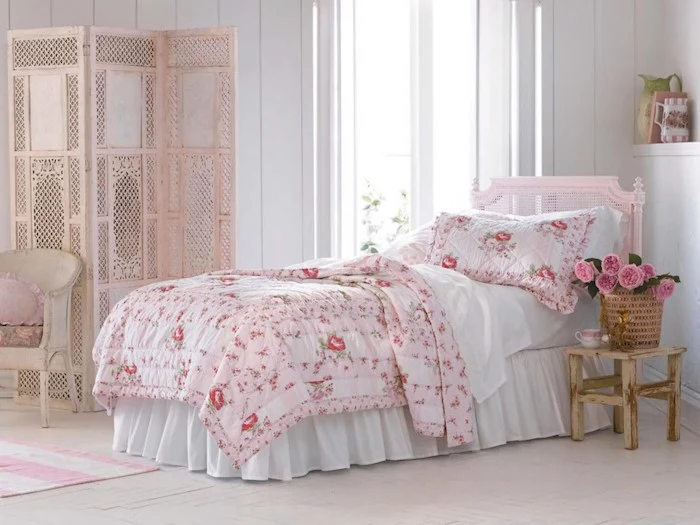
French Provincial Style: Tends to be more ornate and curvy, with details like carved floral motifs and scalloped edges. It often features creamy whites and soft yellows.
Both have heavily influenced the modern shabby chic aesthetic.
A high-quality brush is a painter’s best friend. For a smooth, brushstroke-free finish with chalk or latex paint, invest in a good synthetic brush like a Purdy or Wooster. The soft, fine bristles lay the paint down beautifully, saving you sanding time later.

Is a protective top coat really necessary?
Absolutely. Unsealed chalk or milk paint is porous and will absorb spills, oils from hands, and dirt, leading to permanent stains. For most pieces, a soft furniture wax is perfect. For high-traffic surfaces like a tabletop or kitchen chairs, consider a water-based polycrylic like Minwax for a more durable, wipeable finish.
Get the coveted “limewash” effect by simply thinning your paint. Mix one part latex or chalk paint with one part water to create a thin, semi-transparent wash. Brush it over raw or stripped wood, and immediately wipe most of it off with a clean rag. This technique stains the wood with a hint of color while letting the beautiful grain show through.
No fancy tools? No problem.
- Old cotton t-shirts make the best lint-free rags for wiping and buffing.
- An old toothbrush is perfect for working dark wax into detailed crevices.
- Wrap sandpaper around a sponge to easily sand curved legs.

“The key to a good restoration is to whisper the piece’s history, not shout it.” – Will Kirk, The Repair Shop

Wet Distressing: A dust-free method perfect for creating a subtle, blended look. After your paint has dried for an hour or two, simply use a damp (not soaking) lint-free rag or a fine-grit wet sanding sponge to gently rub away the paint on the edges and high points. It creates a softer, more naturally worn effect than dry sanding.

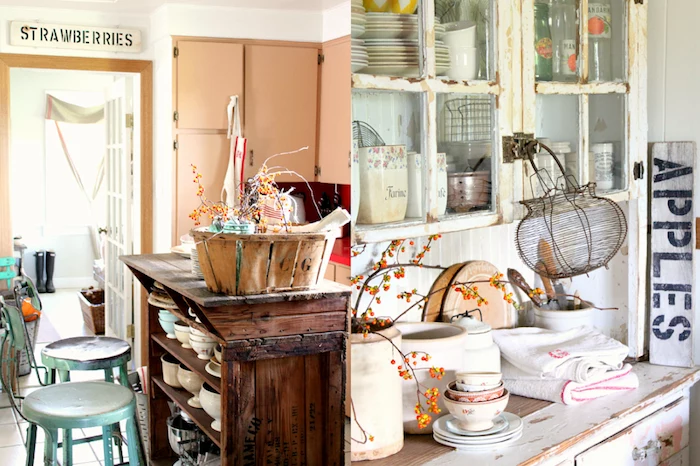
Your next project piece might be closer than you think. The best sources are often local and low-cost. Keep an eye on Facebook Marketplace, neighborhood garage sales, and thrift stores like Goodwill. The key is to look for good “bones”—solid wood construction and interesting shapes—and ignore the dated finish.

Warning for Veneer: Be incredibly careful when sanding furniture with a wood veneer top. This is a very thin layer of real wood over a base material. Aggressive sanding, especially with an electric sander, can burn right through the veneer, exposing the particleboard or MDF underneath. It’s a mistake that is nearly impossible to fix.