Thinking About a Thigh Tattoo? An Artist’s Honest Guide
I’ve probably spent more hours with a tattoo machine in my hand than I have sleeping. And over the years, I’ve worked on just about every part of the body you can imagine. But you know what? The thigh always stands out. It’s this amazing, broad canvas that can hold some truly breathtaking art. But it also comes with its own set of rules and challenges you really need to know before you take the plunge.
In this article
A thigh tattoo isn’t just some accessory you can take off. It’s a serious commitment and a piece of art that literally becomes a part of you. My job, and the job of any good artist, is to make sure you’re still obsessed with it decades from now.
So many people walk into the shop with a cool picture on their phone. That’s a great start! But an incredible thigh tattoo is so much more than just a cool image. It’s a team effort—a blend of your vision and my understanding of skin, anatomy, and how a design will flow with your body. Think of this as a peek behind the curtain. I’m going to share everything I’ve learned from my own work and from training new artists, from that first spark of an idea all the way to a perfectly healed tattoo.
First Things First: Understanding Your Canvas
Before we even dream about designs, we need to get a little nerdy and talk about the skin itself. Honestly, getting a tattoo is a minor medical procedure, and knowing the science helps you see why the artist’s skill is so crucial and what your role is in the healing process. Your skin has three basic layers. The top one, the epidermis, is constantly shedding. Below that is the dermis—that’s our target. It’s stable, and it’s where we need to place the ink for it to be permanent. Under that, you’ve got the fatty subcutaneous layer.
A pro artist has developed a feel for precise depth control. It’s all about touch. If the needle is too shallow, the ink just sits in that top layer and will literally flake away in a few weeks. Go too deep, and you hit that fat layer. Ink spreads in fat, creating a blurry, fuzzy mess we call a “blowout.” That’s why picking an experienced artist isn’t just about pretty pictures; it’s about technical skill that you can’t fake.
The Different Neighborhoods of the Thigh
Your thigh isn’t one flat surface. It’s more like a landscape with totally different zones, and each one behaves differently under the needle.
- The Front (Quadriceps): This is prime real estate. It’s usually well-muscled with tight skin, making it a fantastic and stable spot for detailed work. For most people, the pain here is pretty moderate, maybe a 4-6 out of 10. It’s annoying but totally doable.
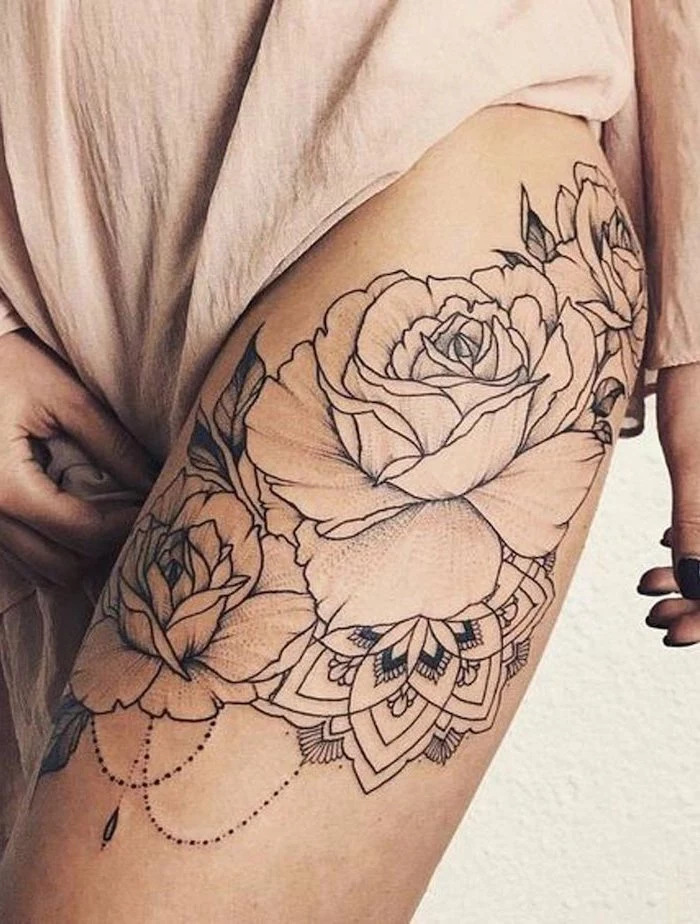
- The Side (Outer Thigh): Another A+ location. The side of the thigh gives you this long, smooth canvas that’s absolutely perfect for vertical designs, like a snake or trailing flowers. The skin is tough, and the pain is generally in that same manageable 5-6 range.
- The Back (Hamstring): Things get a little more serious back here. The skin is often softer and more sensitive. It’s also an area that stretches and moves a lot, so the design has to be smart enough to account for that. Pain-wise, we’re creeping up to a 6-7 for many folks.
- The Inner Thigh: Okay, let’s be real. This is the big boss. The skin here is thin, packed with nerve endings, and super sensitive. Tattoos here are famously painful, easily an 8 or 9 out of 10. Plus, it rubs against your other leg during healing, which makes aftercare a huge pain. I always have a very frank conversation with anyone who wants an inner thigh piece to make sure they’re ready for the commitment.
By the way, we also have to think about things like stretch marks and scars. People ask all the time if we can tattoo over them. The short answer is yes, but it takes an experienced hand. Scar tissue is a different beast—it can be thicker or thinner and might not hold ink as evenly. A skilled artist won’t just try to hide them; they’ll design the piece to flow with the body’s texture, sometimes even using the lines to add to the art. It’s about working with your body, not against it.
The Process: From Your Brain to a Stencil on Your Skin
Your tattoo journey begins way before you hear the buzz of a machine. It starts with finding the right artist and creating a design that actually fits you. This is, without a doubt, the most important step.
How to Spot a Great Artist
Don’t just scroll through Instagram looking for a style you like. You need to look for proof of quality. Here’s what I tell people to look for in a portfolio:
- HEALED PHOTOS! I can’t stress this enough. Fresh tattoos always look amazing—the skin is red and angry, which makes the ink pop. The real test is what that tattoo looks like six months or a year later. Look for artists who proudly post healed work. Are the lines still sharp and clean? Is the shading still smooth? That’s the proof.
- Clean, Confident Linework: Zoom in on those photos. The lines should be solid and smooth, not wobbly or scratchy.
- Smooth Shading: Good shading and color packing should look like a seamless gradient, not patchy or blotchy. This shows incredible machine control.
- Proper Certifications: Any legit shop will have their artists’ bloodborne pathogens (BBP) training certificates displayed proudly. It shows they take safety and cross-contamination seriously. If you don’t see one, ask. This is 100% non-negotiable for your health.
And listen, you need to vibe with your artist. If they make you feel rushed, dismiss your questions, or pressure you in any way… walk out. Seriously. It’s your body and your money.
The Stencil: Your Tattoo’s Blueprint
Once we’ve locked in the design, I’ll make a stencil. We’ll clean and shave the area, then apply it to your skin. This is your last chance to check everything—the size, the placement, the flow. Is it centered? Is it too big, too small? We can wipe it off and move it ten times if we need to. I will never, ever start tattooing until you are 100% happy with where that stencil is sitting.
The Big Day: What to Expect in the Chair
It’s normal to be a mix of excited and nervous on tattoo day. A little prep can make a world of difference in how you feel, especially for a long session.
Your Pre-Tattoo Checklist
The day before and the day of, your job is to be a healthy, stable canvas. Seriously! – Eat a real meal before you come in. Don’t skip breakfast! This keeps your blood sugar from crashing and helps your body handle the pain so much better. – Hydrate, hydrate, hydrate. But stay away from alcohol for at least 24 hours beforehand. It thins your blood, which means more bleeding. That makes my job harder and can mess with how the ink heals. – Wear the right clothes. Think comfy and loose. For a thigh piece, loose shorts, a skirt, or even a wrap dress are perfect. Easy access is key. – Pack a go-bag. For any session over a couple of hours, bring supplies! A water bottle, some sugary snacks (like gummy bears or a soda), headphones, and a phone charger are game-changers.
What to Expect from the Buzz
Once you’re settled and the stencil is perfect, I’ll set up my station. Everything that touches your skin will be single-use and sterile. You should see your artist open new needles and tubes right in front of you. That sound of the machine? For me, it’s the sound of pure focus.
I’ll usually start with the linework, using a tight grouping of needles to pull those crisp, clean lines. After that, I’ll switch to a different needle setup, usually a wider one called a ‘magnum,’ to do the shading and color. It’s a totally different motion, more like a sweeping or brushing movement to build up the tones gradually.
A big thigh piece can take anywhere from 4 to 12+ hours, often broken into multiple sessions. We’ll take breaks whenever you need them. You’re not a hostage! Get up, stretch, have a snack. Your comfort is a huge part of the process.
Healing 101: Your Tattoo is Your Responsibility Now
Okay, my part of the job is done. Now, the next two weeks are on you. Great aftercare is what separates a good tattoo from a fantastic one that lasts a lifetime. You’ve basically got a beautiful, artistic open wound, and you need to treat it that way.
The First 48 Hours are Crucial
When we’re done, I’ll clean you up and bandage the tattoo. I usually use a clear, adhesive medical bandage—sometimes called ‘second skin.’ This stuff is magic. It’s breathable but waterproof, and you can leave it on for 3-5 days. You’ll see some gross-looking ink and plasma building up underneath; don’t freak out, that’s totally normal. It’s just your body’s healing fluids doing their thing in a clean environment.
When you take the bandage off (usually in the shower, letting the warm water loosen the adhesive), it’s time to wash it. Use a mild, unscented liquid soap. A quick tip: Go to any drugstore and grab a bottle of Dial Gold antibacterial soap. It’s cheap and perfect. Use your fingertips to gently wash the area, then pat it dry with a clean paper towel. No rubbing!
The Itchy, Flaky Stage (And How Not to Mess It Up)
For the next two weeks, you’ll wash the tattoo 2-3 times a day. After the first day or two, you can start applying a very thin layer of moisturizer. Again, keep it simple. A basic, fragrance-free lotion like Lubriderm or Cetaphil is all you need. Do NOT slather it in Vaseline or any petroleum-based gunk; it can clog pores and mess up healing.
During this phase, there are some hard rules: – No Soaking. Showers are fine, but no baths, hot tubs, pools, or oceans. Soaking can pull ink out and invite infection. – No Sun. Keep your new tattoo completely out of direct sunlight. UV rays destroy healing tattoos. – No Friction. Avoid tight leggings or skinny jeans that will rub against the tattoo. This is the perfect excuse to live in loose sweatpants or flowy skirts.
Your tattoo will start to peel and flake like a sunburn. It’s going to be insanely itchy. Do. Not. Pick. Or. Scratch. Let the flakes fall off on their own. If you pick at the scabs, you can literally pull the ink right out of your skin, leaving a patchy, scarred mess. I once had a client who went swimming in a lake a week after getting a huge thigh piece… the infection was gnarly, and the tattoo required a massive, expensive touch-up. Please, just stay out of the water and let your body do its job!

Living With Your New Tattoo: The Awkward First Weeks
Okay, a few practical things nobody tells you. How do you sleep? If it’s on the side or back of your thigh, try sleeping on your other side with a pillow between your knees to keep your legs from sticking together. If it’s on the front, you’re in luck! Just sleep on your back.
And what about the gym? Heads up! You need to take it easy. Avoid any strenuous leg exercises—squats, lunges, running—for at least two weeks. The stretching and sweating can irritate the skin and affect healing. Stick to upper body workouts for a bit.
The Nitty-Gritty: Answering Your Burning Questions
I get asked the same things every single day. Let’s just get them out in the open.
So, how much is this actually going to cost?
Let’s be blunt: good tattoos aren’t cheap, and cheap tattoos aren’t good. Cost depends on the artist’s experience, the design’s complexity, and where you live. Most reputable shops charge by the hour, typically somewhere between $150 and $300 per hour. So, a detailed front-thigh piece that takes about 8 hours could be an investment of $1,200 to $2,400. We’ll always give you a time and cost estimate during the consultation so there are no surprises.
What about tipping? Is that a thing?
Yes, and it’s something everyone is too awkward to ask about! Tipping is never, ever expected, but it is incredibly appreciated. If you had a great experience and you love your new art, a tip of 15-20% is a pretty standard way to show your gratitude. It truly makes our day.
Can I use numbing cream?
This is a tricky one. Some numbing creams can change the skin’s texture, making it feel kind of rubbery and tough to work with, which can affect the final look. If you’re thinking about using it, you absolutely must talk to your artist about it beforehand. Some are okay with specific brands, while others have a strict no-numbing-cream policy. Just be upfront about it.
Long-Term Care is Simple
Once your tattoo is fully healed (in about a month), it’s part of you forever. The number one rule for keeping it looking sharp for decades? Sunscreen. The sun is the biggest enemy of ink. It breaks down the pigments, turning blacks to gray and making colors fade. Whenever your thigh is going to be in the sun, slather it with a high-SPF sunscreen. That’s it. That’s the secret to a tattoo that looks amazing for a lifetime.
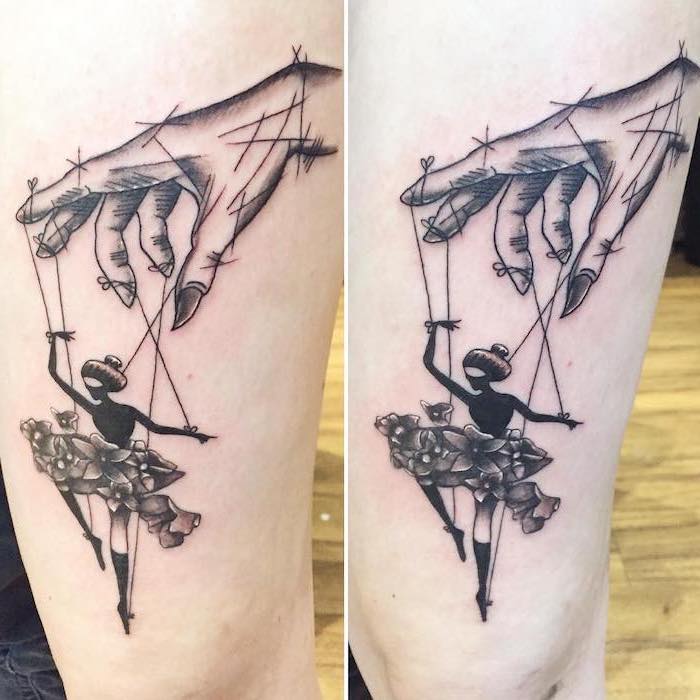
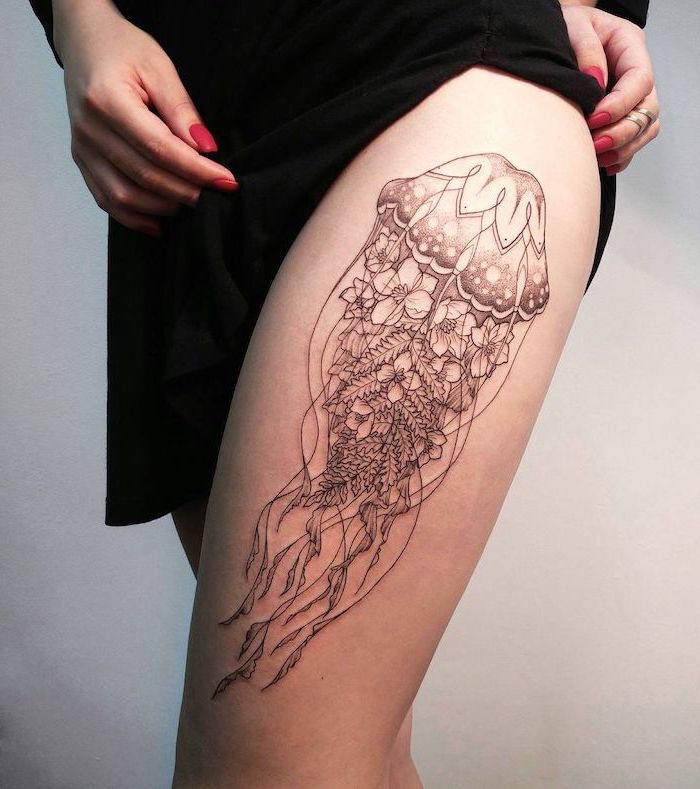
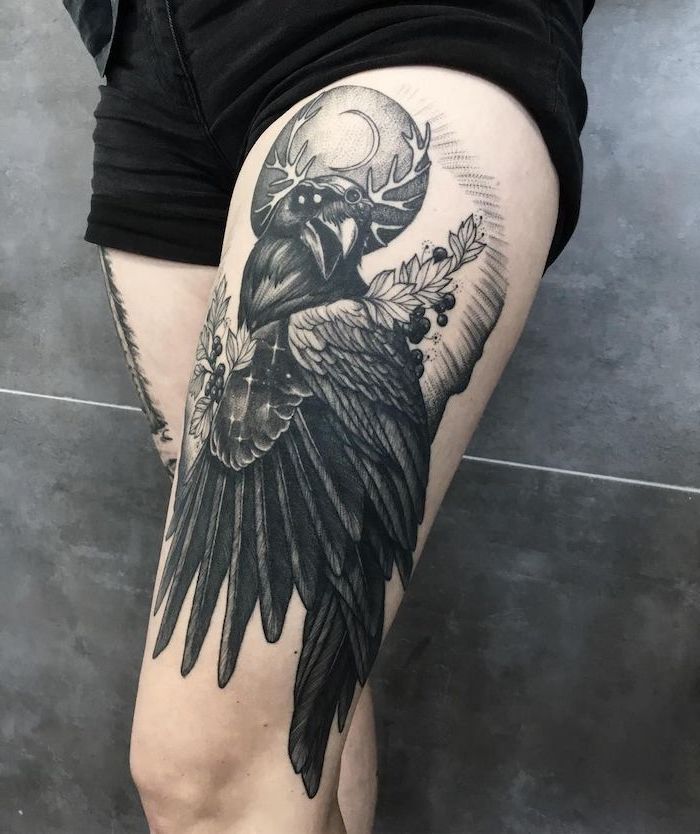
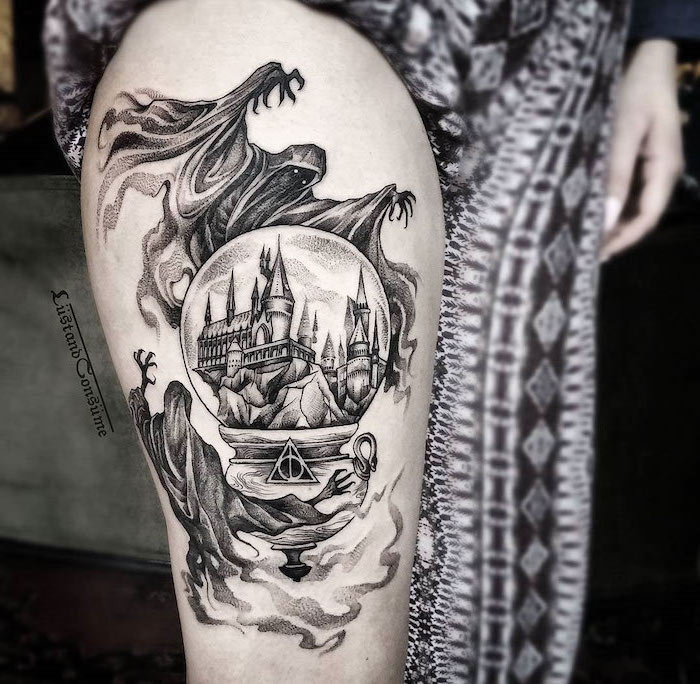
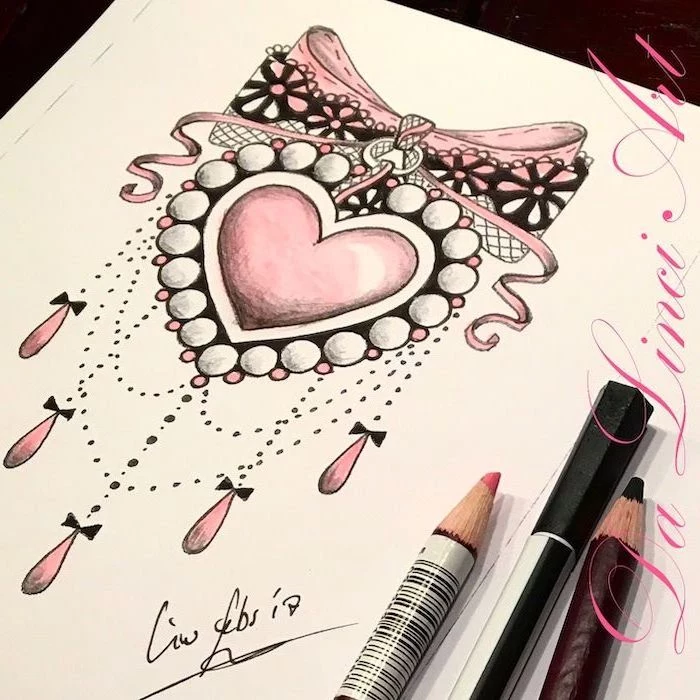
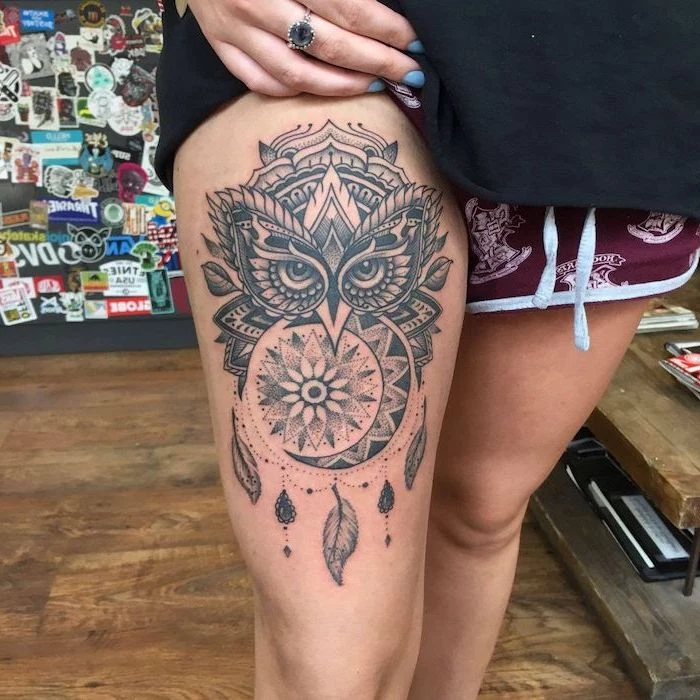
Inspiration Gallery

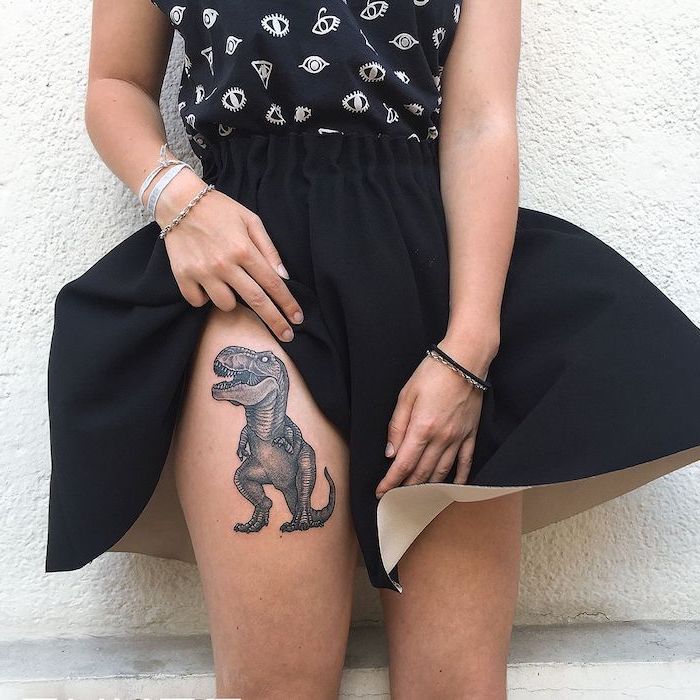
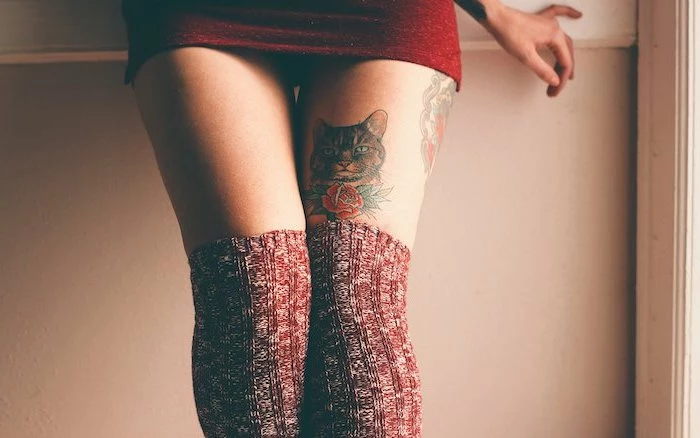
Once your new thigh tattoo is done, your choice of clothing becomes crucial for the first few weeks. Forget skinny jeans or tight leggings. Opt for loose-fitting cotton shorts, skirts, or flowy trousers that won’t rub against the sensitive skin. Friction is the enemy of a clean heal, as it can irritate the area and damage the delicate lines of your fresh ink.
Does the inner thigh hurt more than the outer thigh?
Generally, yes. The skin on the inner thigh is thinner and more sensitive, with more nerve endings close to the surface. The outer thigh has tougher skin and more muscle mass, often making it one of the less painful spots for a tattoo. Be prepared for a significant difference in sensation as the needle moves from one area to the other in a wrap-around piece.
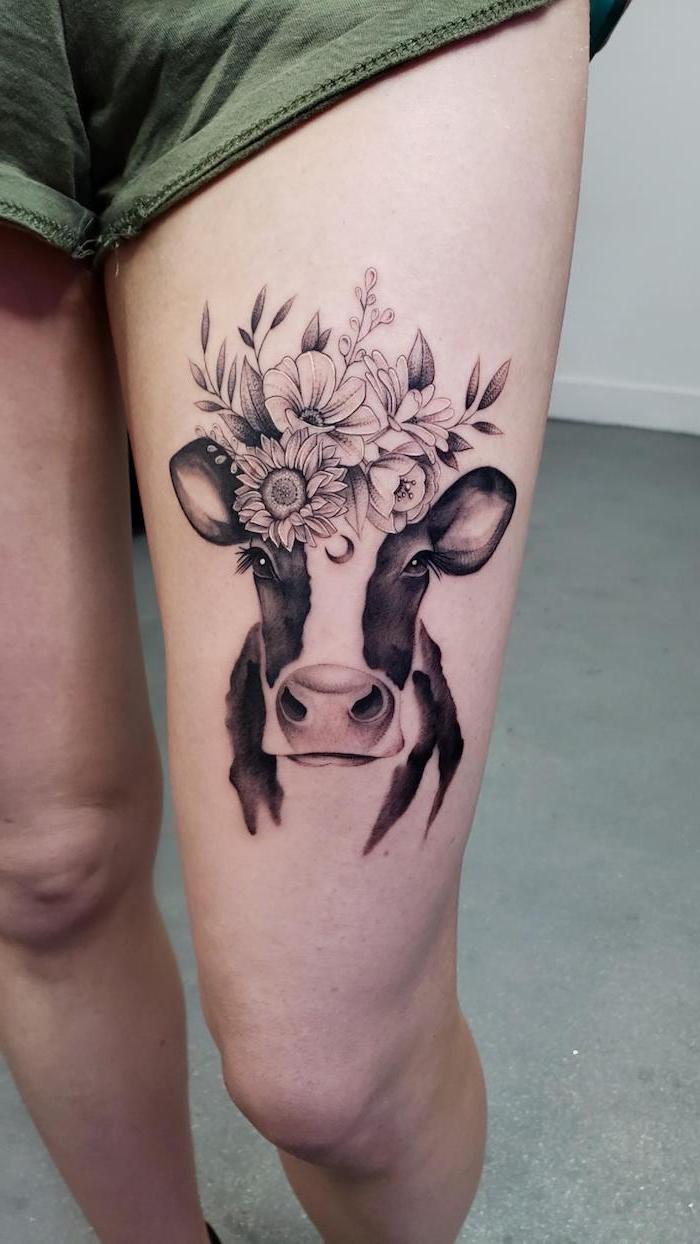
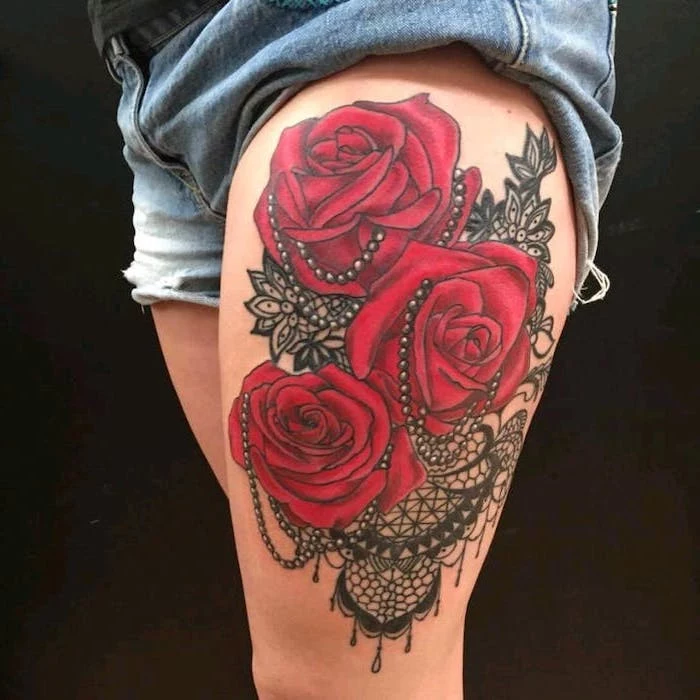
- A bold design that flows with your natural muscle curvature.
- Vibrant colors that remain rich for years.
- Crisp lines that don’t blur over time.
The secret? Diligent, lifelong sun protection. Your thigh might be covered most of the year, but summer exposure can destroy a tattoo. Make a high-quality, broad-spectrum SPF 50+ sunscreen, like La Roche-Posay Anthelios, your best friend.
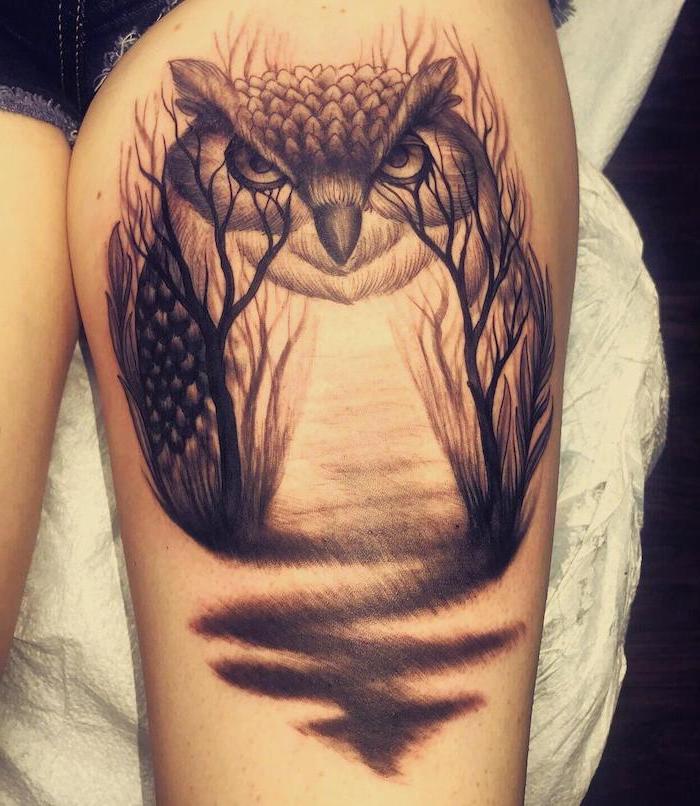
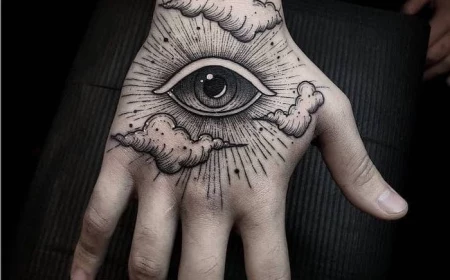
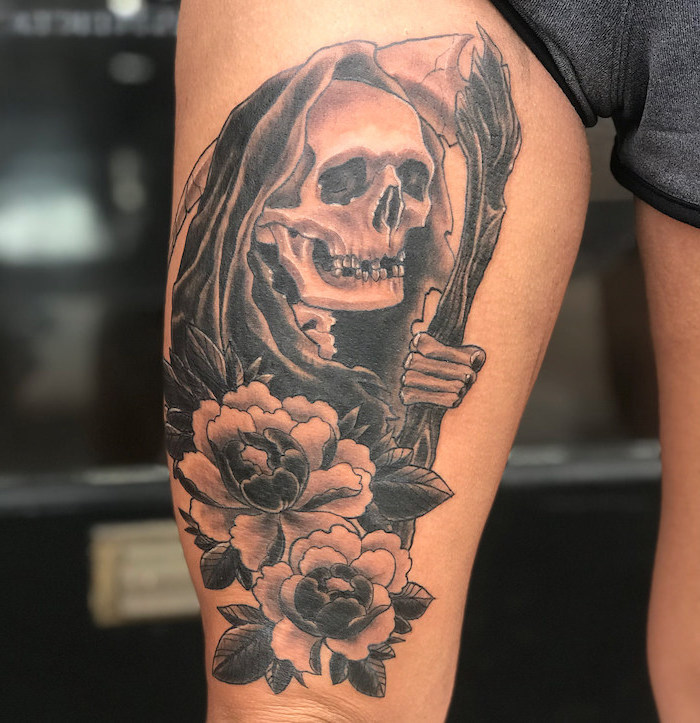
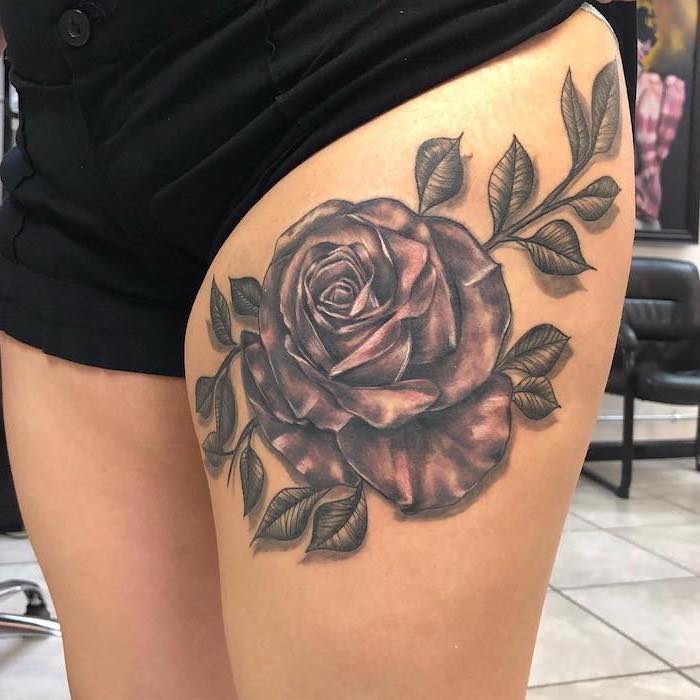
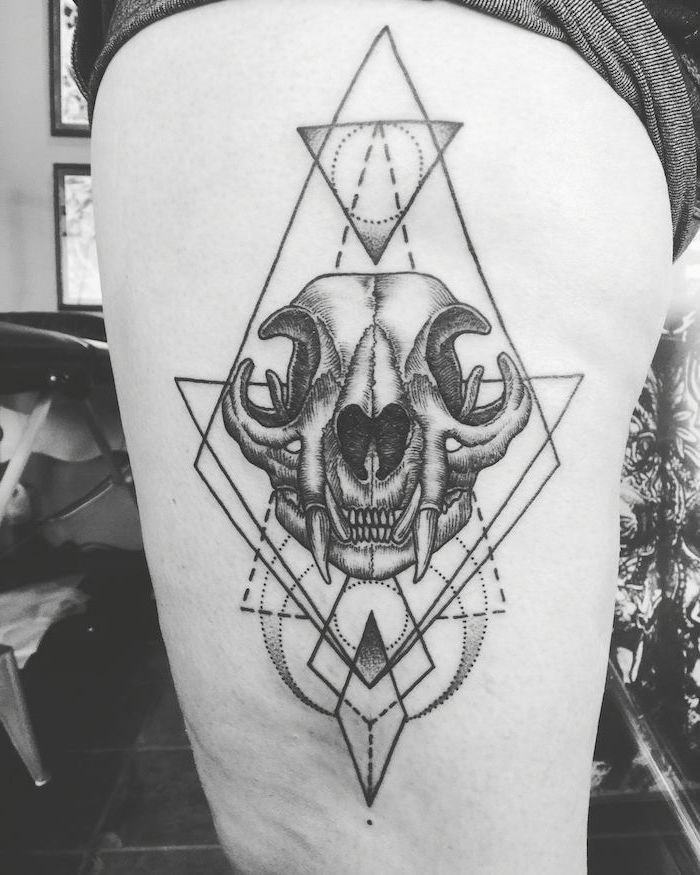
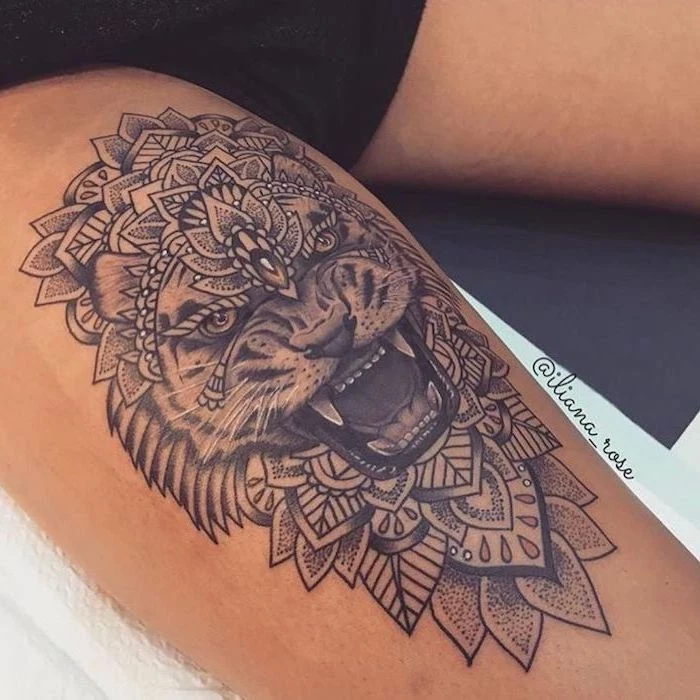
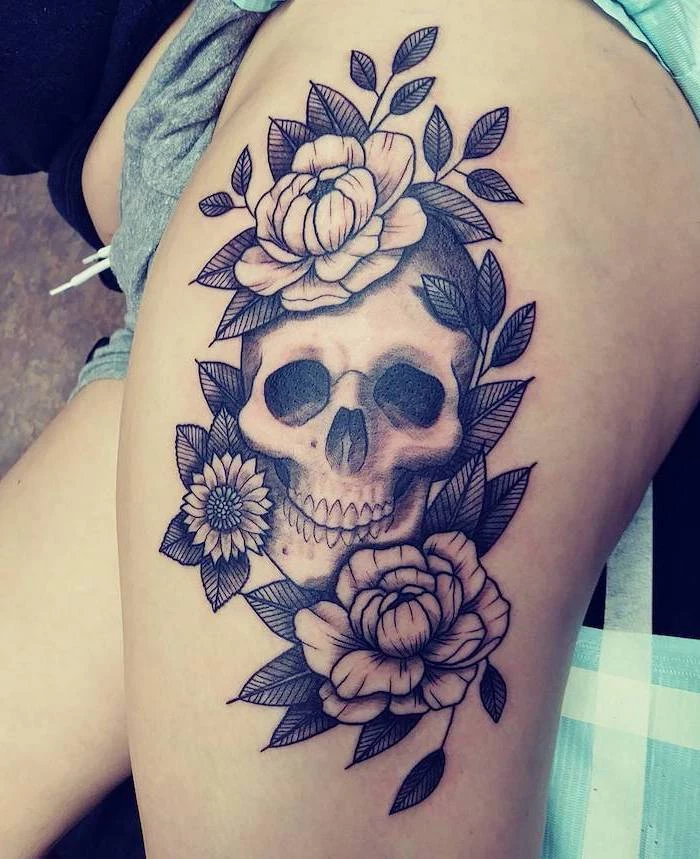
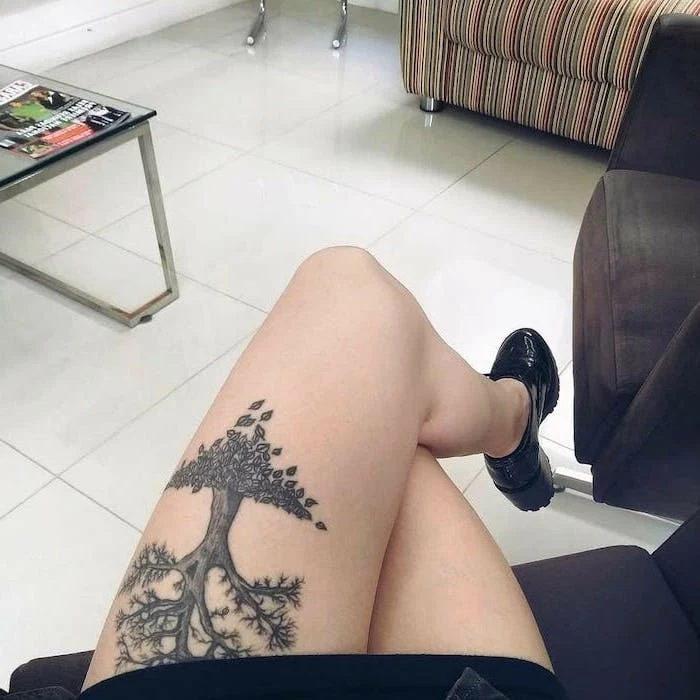
Front of Thigh: This is prime real estate for bold, symmetrical pieces that you want to show off. It’s a relatively flat plane, making it ideal for portraits or intricate geometric designs. It’s a statement placement.
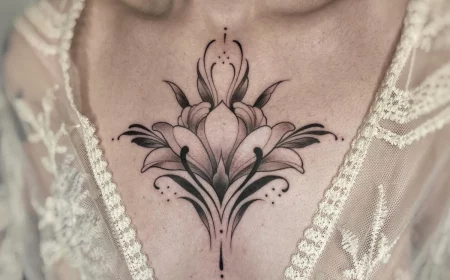
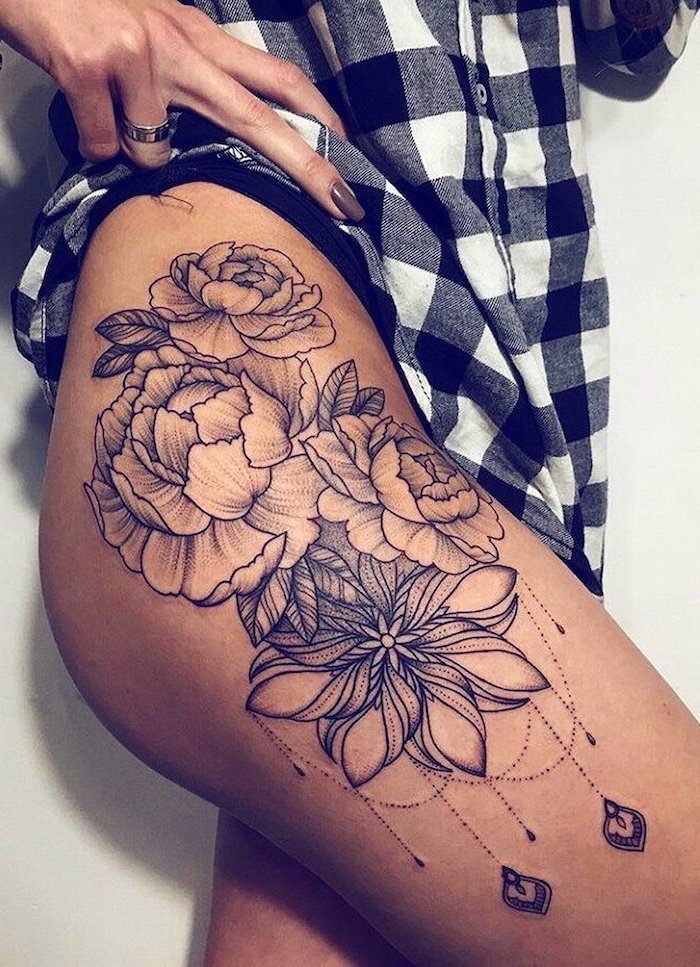
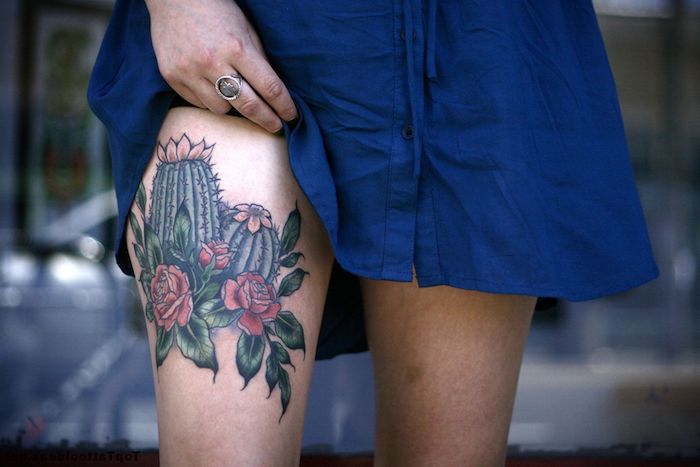
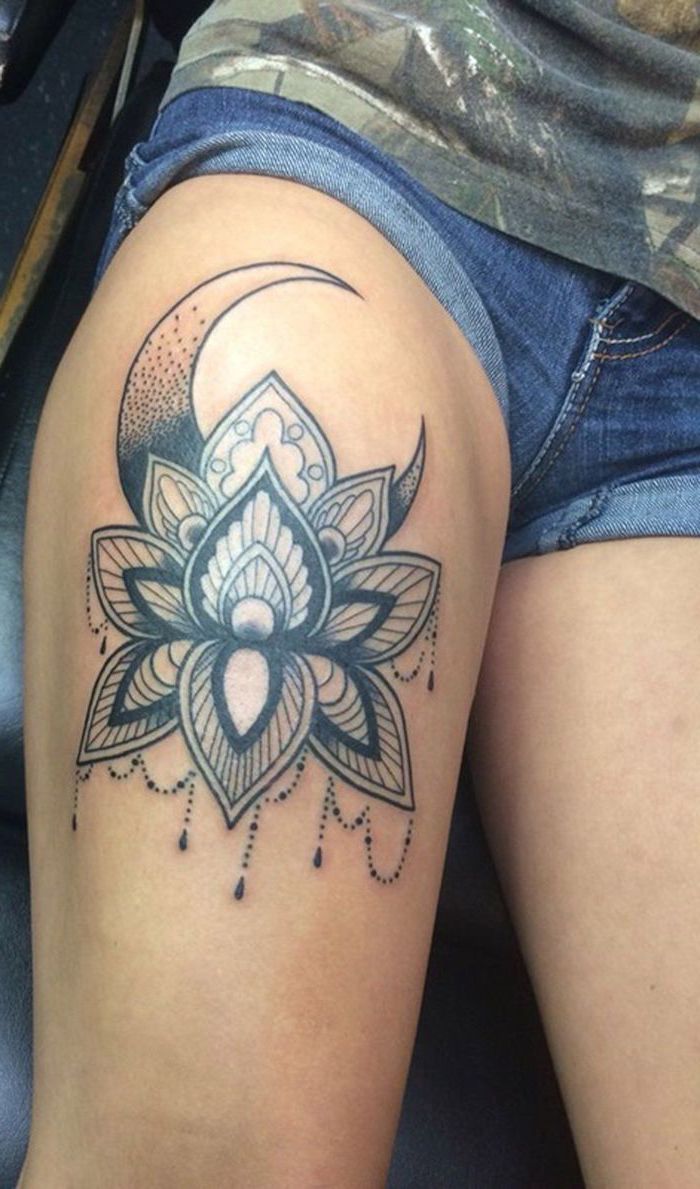
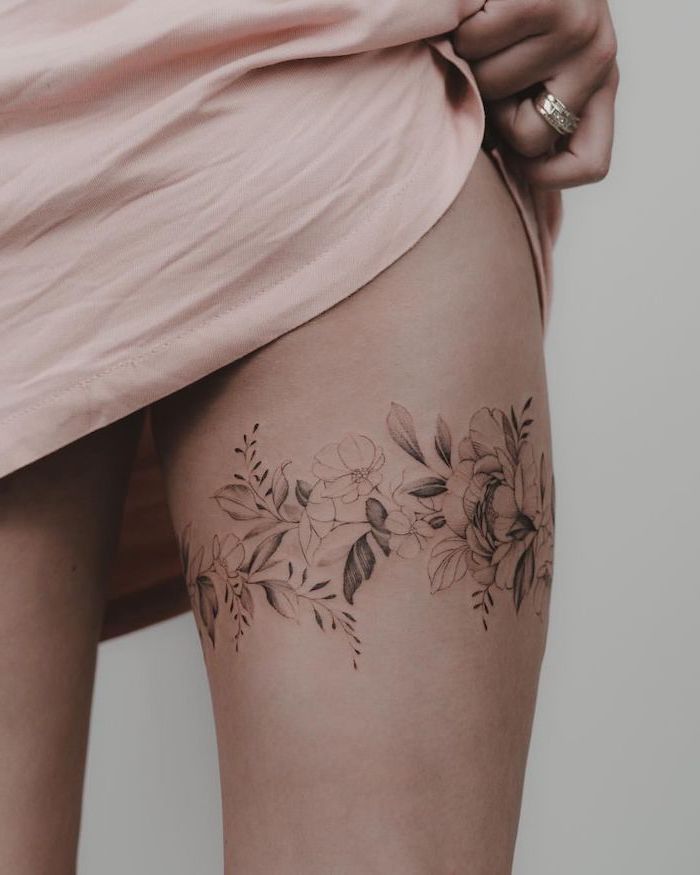
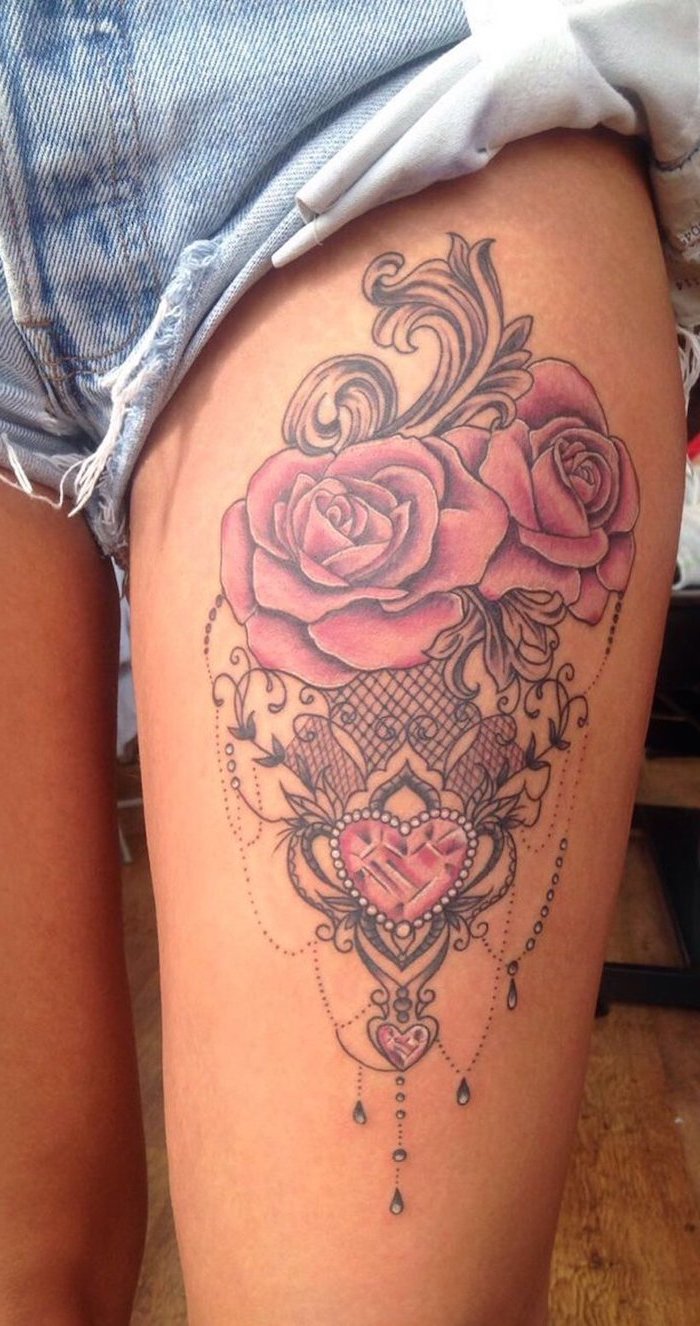
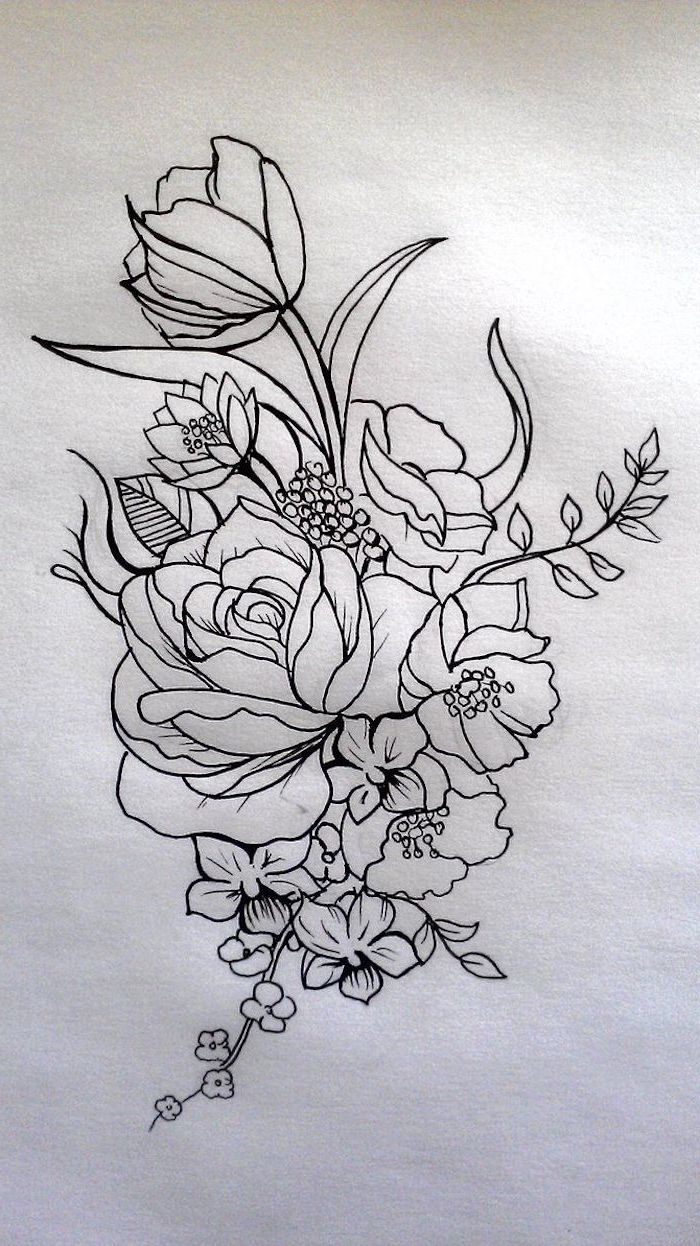
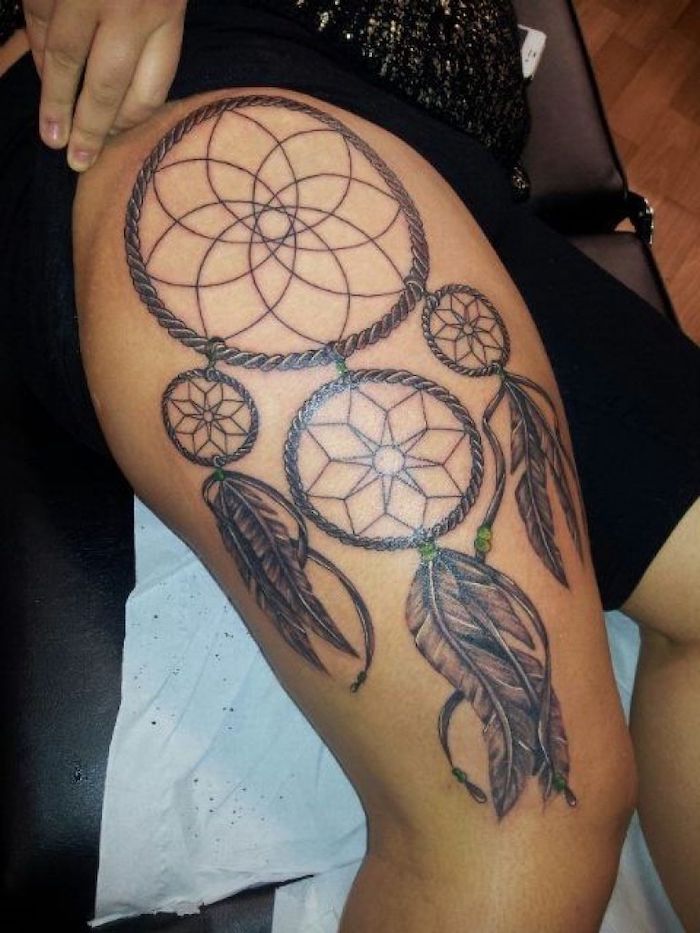
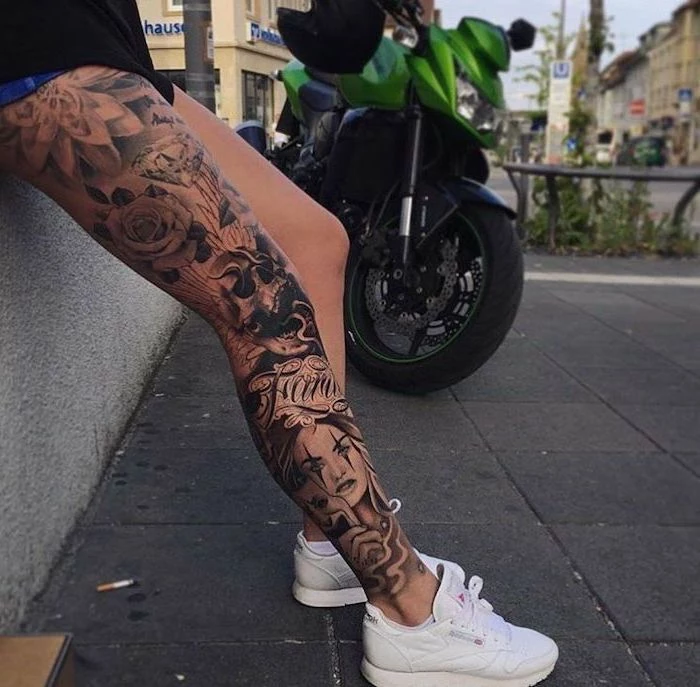
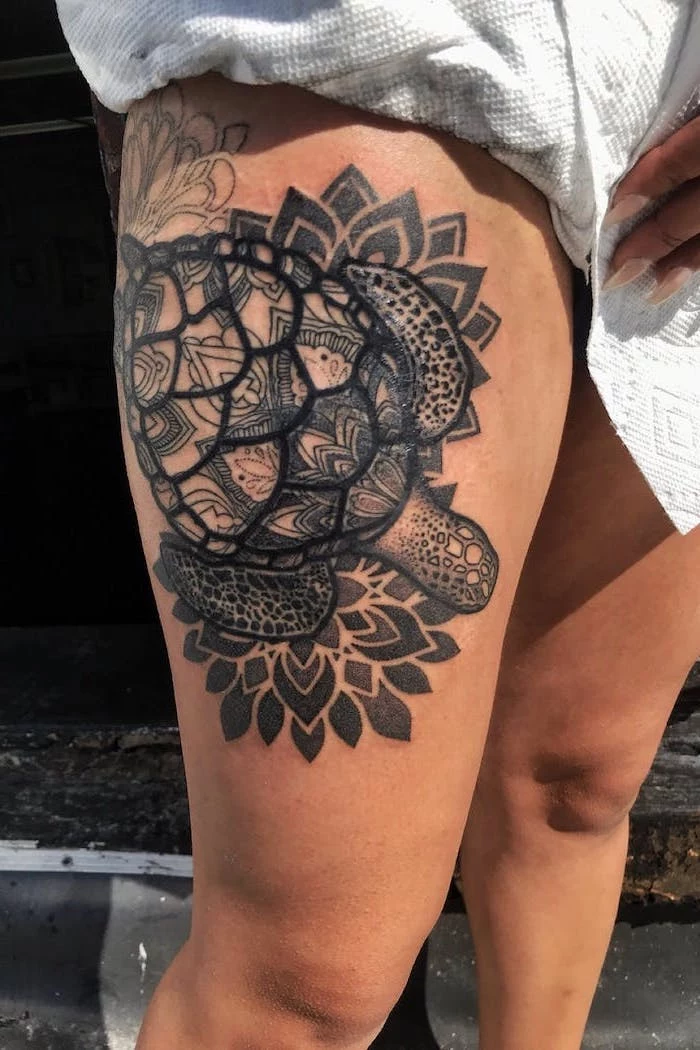
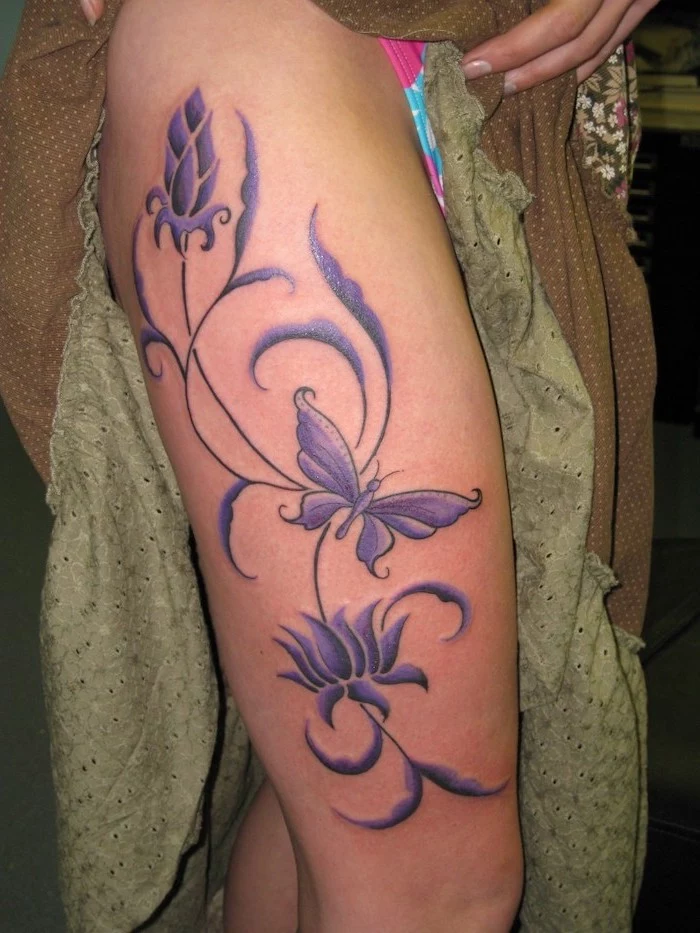
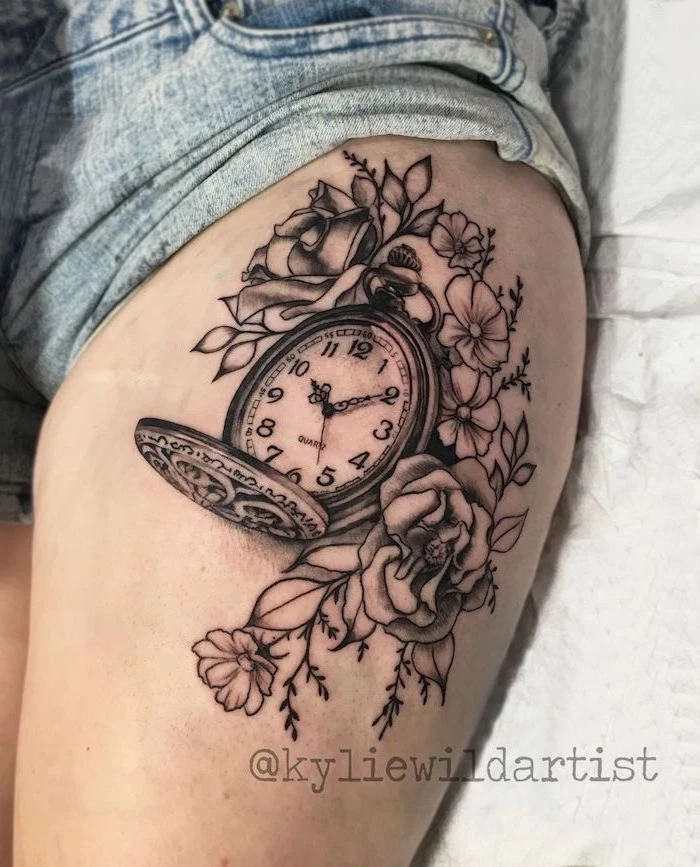
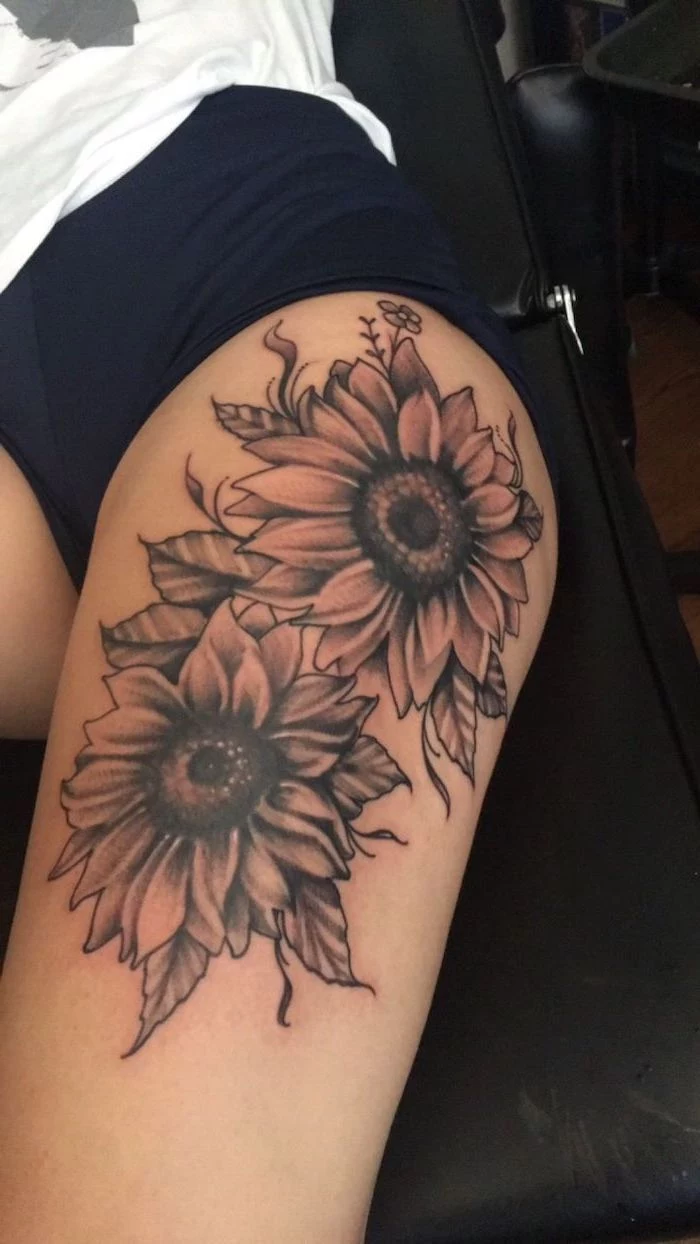
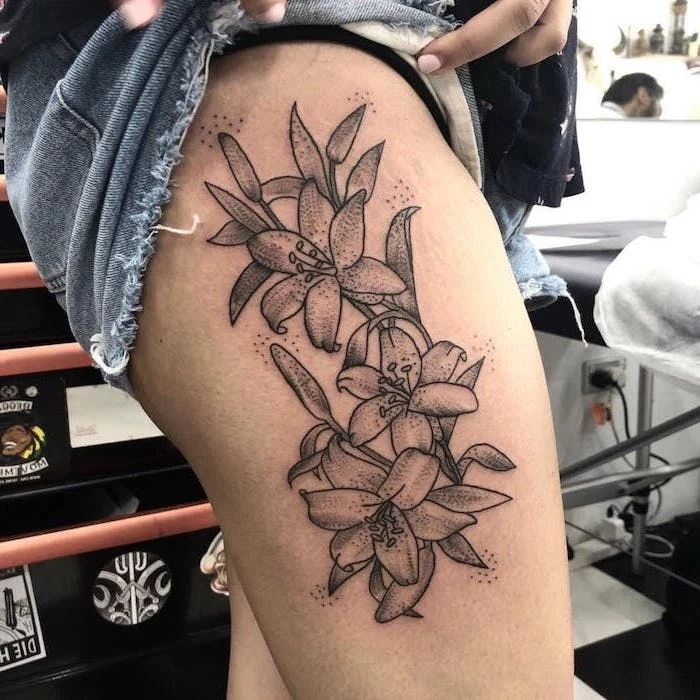
Side of Thigh: Perfect for longer, vertical designs like floral vines, daggers, or script. This placement beautifully accentuates the curve of your leg, creating an elongating effect when you’re standing.
Consider how often you want to see your tattoo and which angle of your body you want to highlight.
A 2023 Ipsos poll found that 32% of Americans have at least one tattoo, a significant increase from 21% in 2012.
This surge in popularity means tattoo art is more accepted and celebrated than ever. For a large canvas like the thigh, it opens up possibilities for ambitious, gallery-worthy pieces that were once reserved for full backs or sleeves. You’re part of a growing cultural movement.
The day of your appointment is just as important as the aftercare. To ensure the best possible session for both you and your artist:
- Get a full night’s sleep before your appointment.
- Eat a substantial, healthy meal about an hour beforehand to keep your blood sugar stable.
- Hydrate well for 24 hours leading up to the session, but avoid alcohol, as it thins the blood.
- Wear comfortable, dark-colored clothing that provides easy access to your thigh.
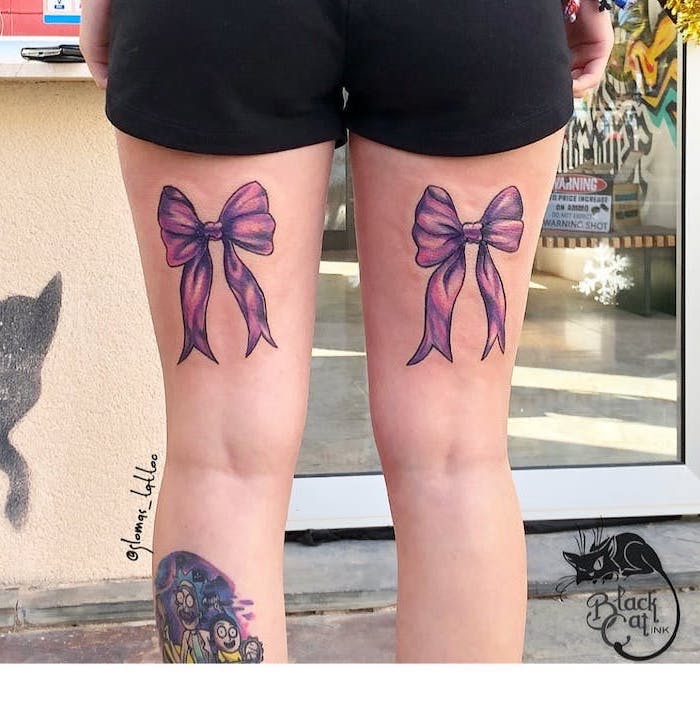
Important consideration: The ‘garter’ tattoo. A design that wraps around the upper thigh like a garter belt is a hugely popular and alluring option. However, it requires an artist with a strong understanding of perspective and anatomy to ensure the design looks symmetrical and doesn’t warp awkwardly as you move. Discuss this specific style early in your consultation.
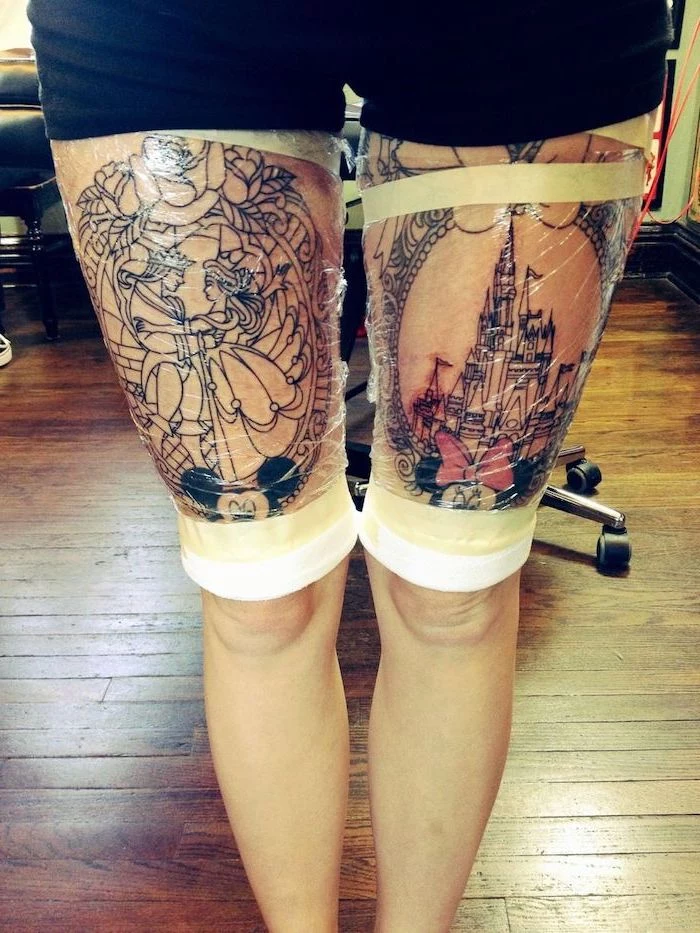
- Reduces scabbing and peeling dramatically.
- Provides a waterproof barrier, making showering easier.
- Protects the fresh tattoo from friction and bacteria.
The trick? Ask your artist about using a transparent, medical-grade adhesive film like Saniderm or Dermalize Pro. This ‘second skin’ is often left on for 3-5 days and can make the initial, most crucial stage of healing significantly smoother.

Should I worry about weight changes affecting my thigh tattoo?
The thigh is an area prone to changes from weight fluctuation or muscle development. Gradual changes are unlikely to cause dramatic distortion. However, very rapid weight gain or loss can stretch or shrink the skin, potentially affecting the tattoo’s appearance. Choosing a design with organic flow, rather than rigid geometric lines, can make it more forgiving to natural body changes over time.
Don’t just look at an artist’s portfolio; look for healed photos. A fresh tattoo will always look bold and bright right after the session. Healed work, usually photographed months or years later, shows you the artist’s true technical skill—how well their lines hold up and how vibrant their colors remain over time.
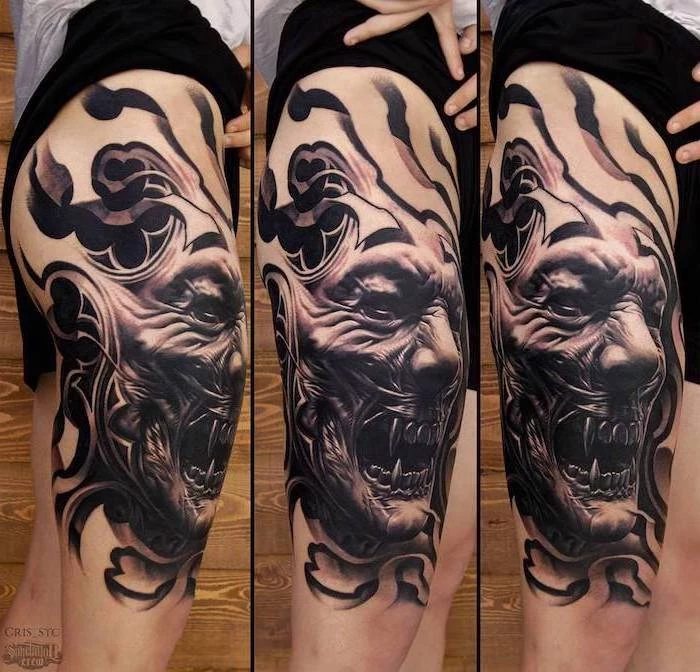
The human thigh contains the femur, the longest and strongest bone in the body, and the quadriceps, a powerful group of four muscles.
This underlying structure is what makes the thigh such a dynamic canvas. A skilled artist won’t just place an image on your leg; they will design it to interact with your anatomy, creating a piece that looks powerful when your muscles are flexed and graceful when they are relaxed.

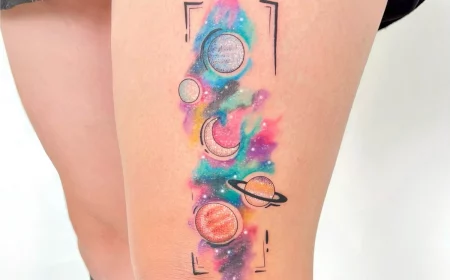
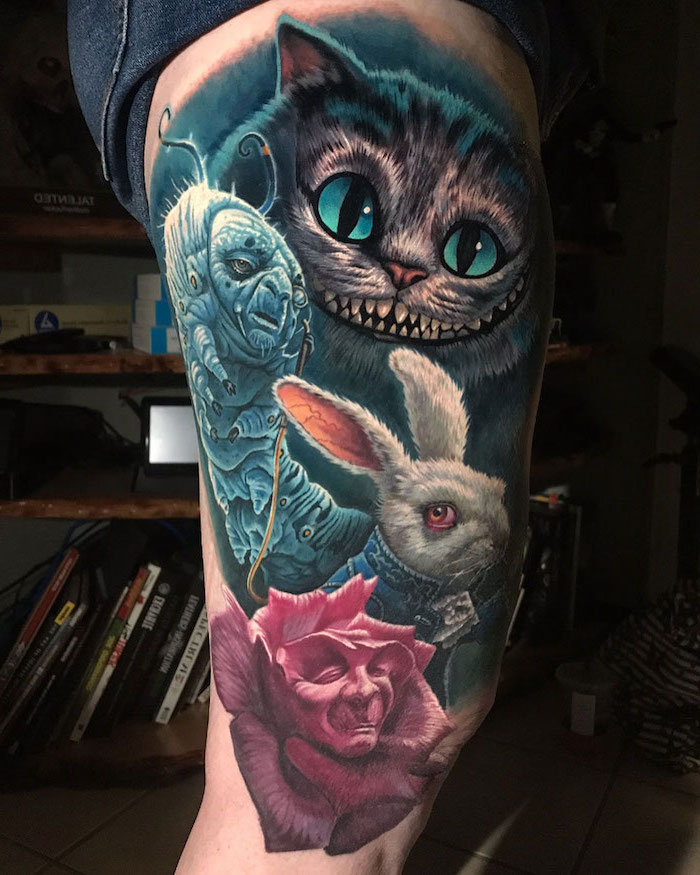
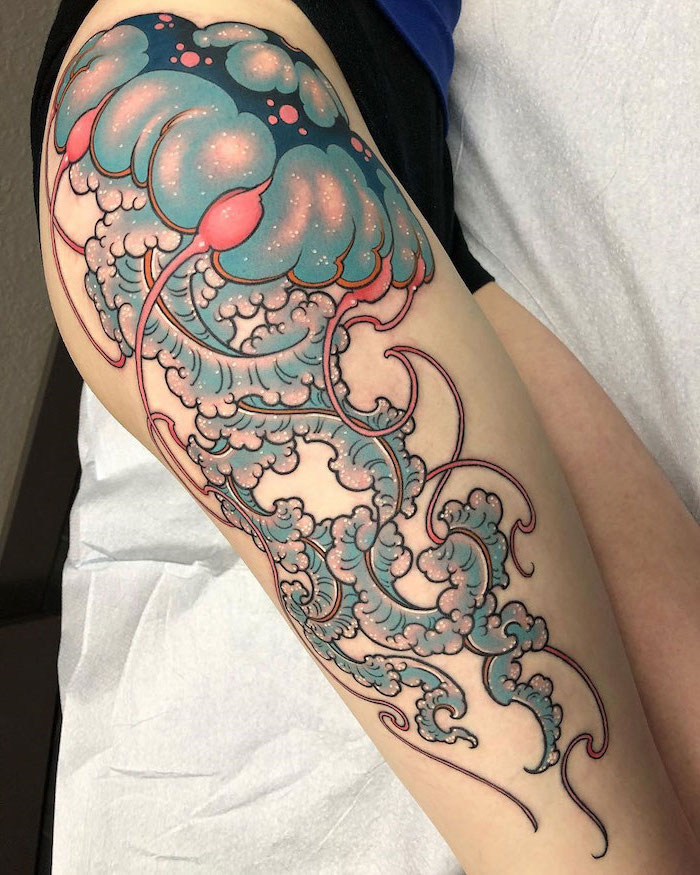
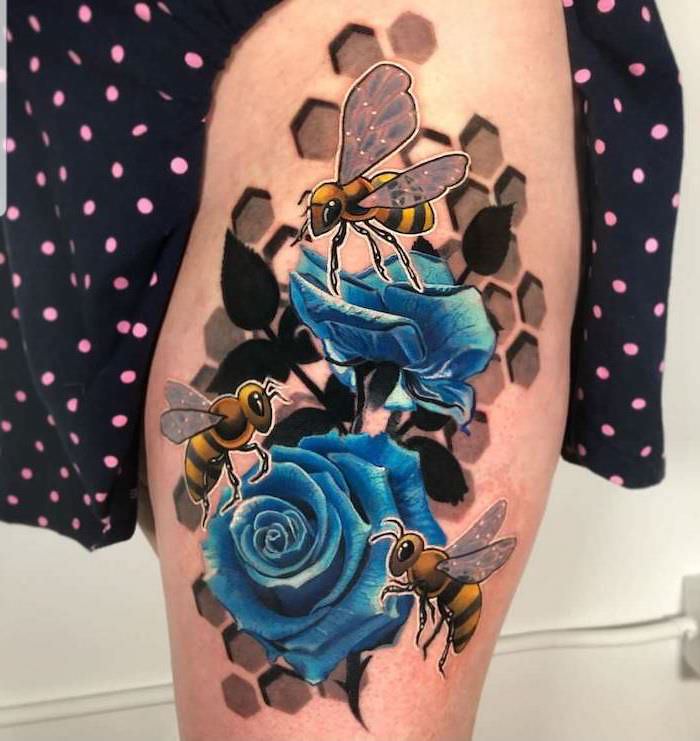
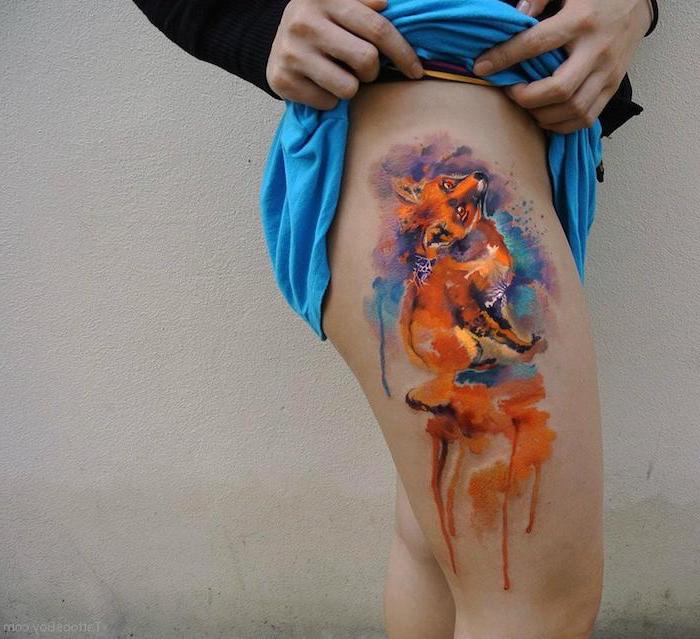
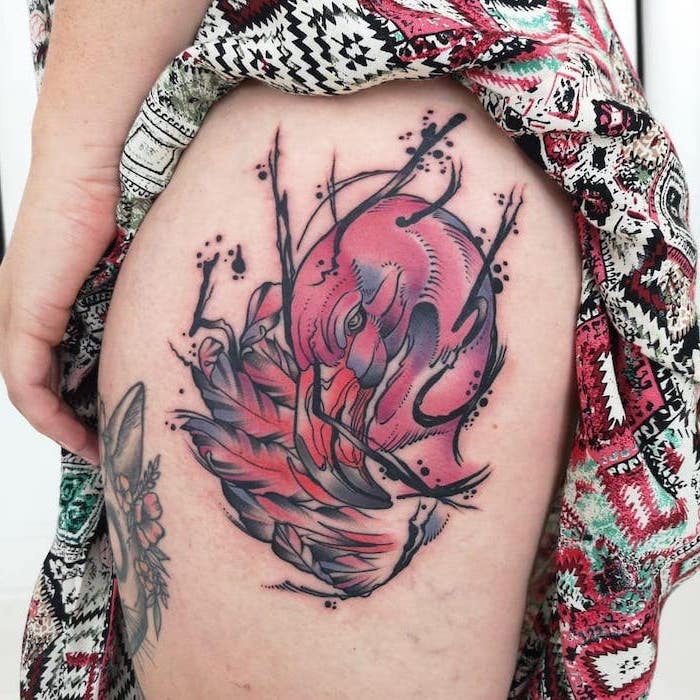
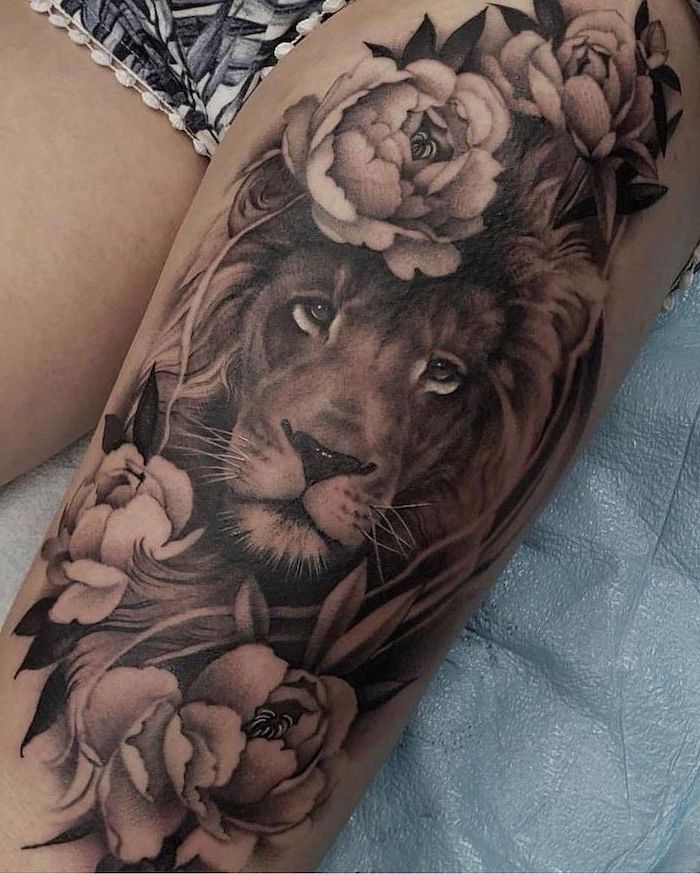
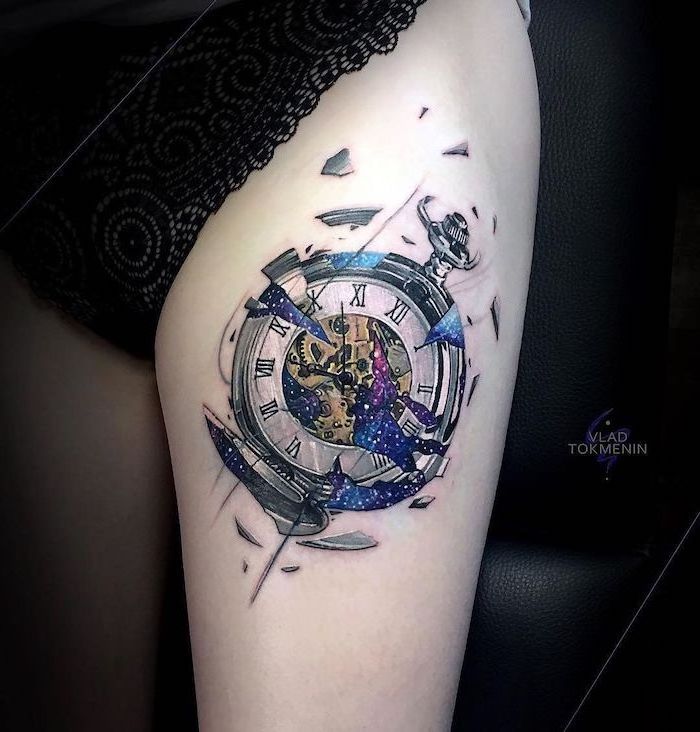
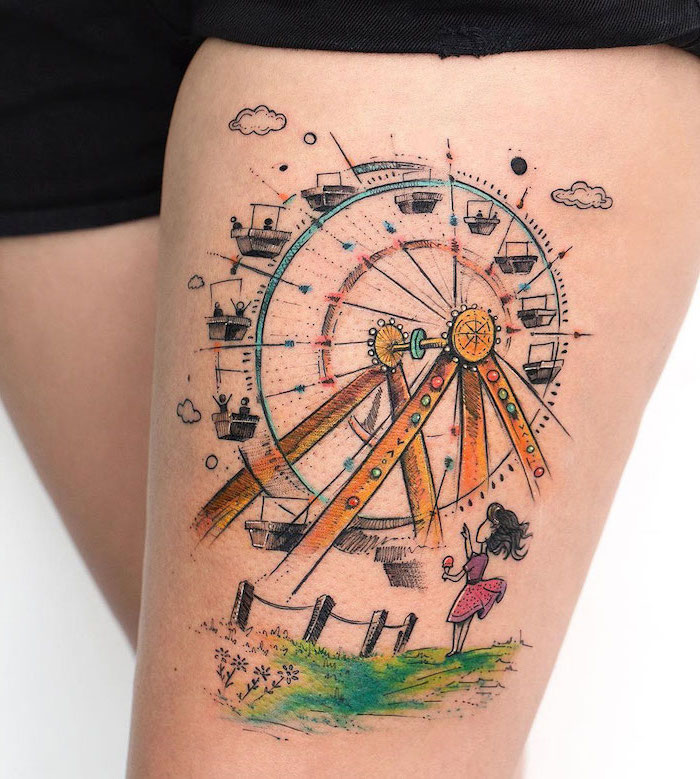
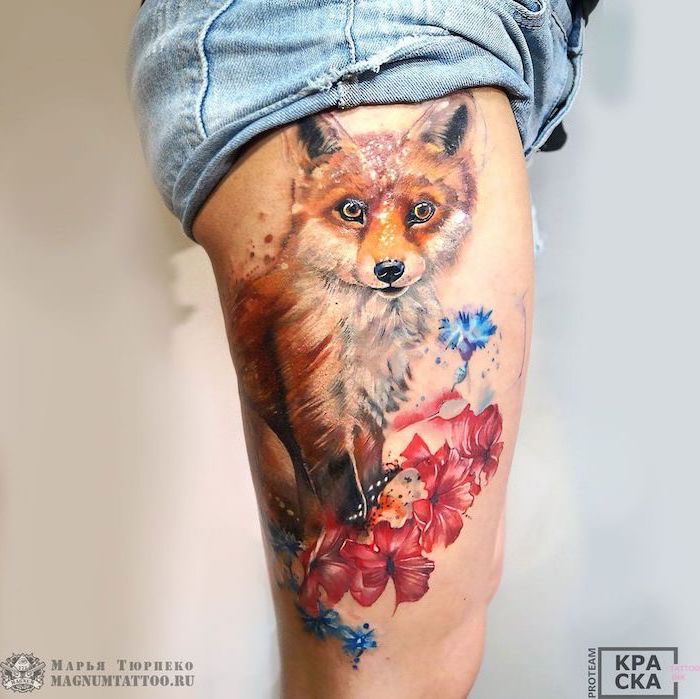
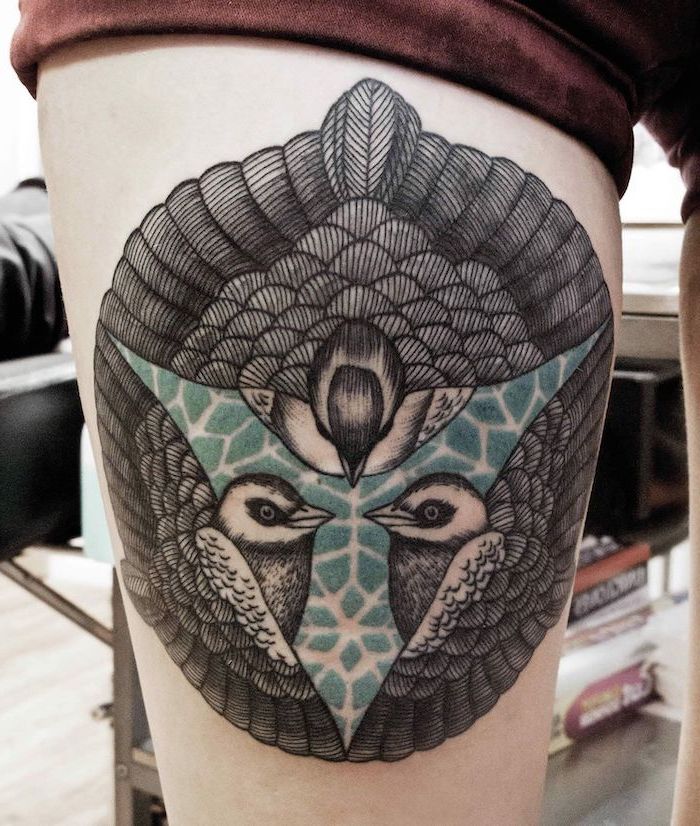
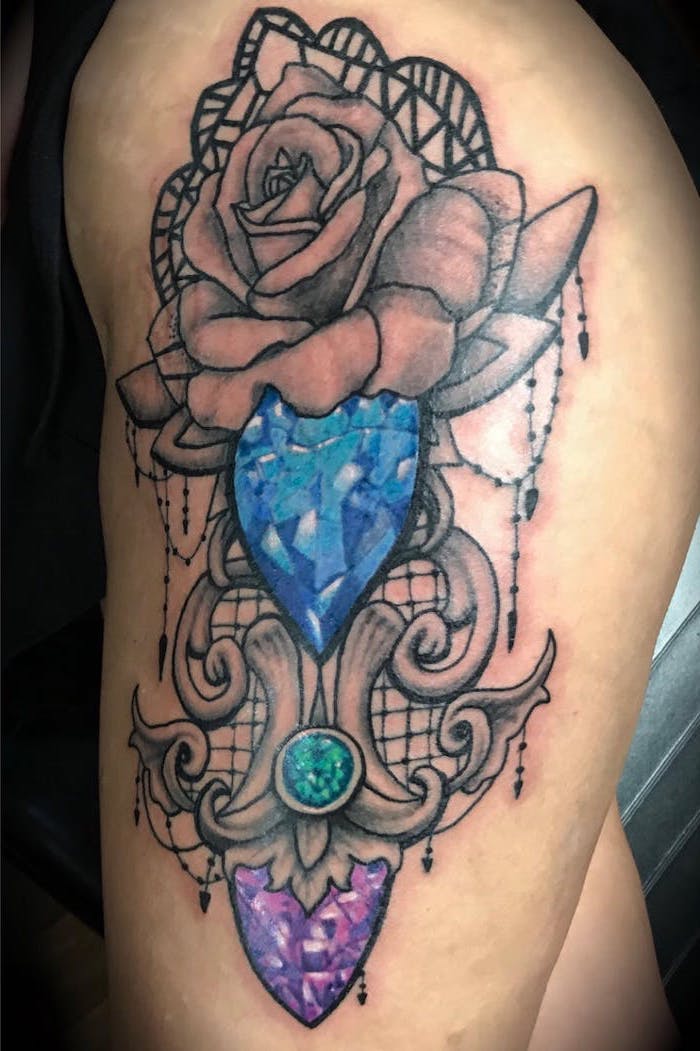
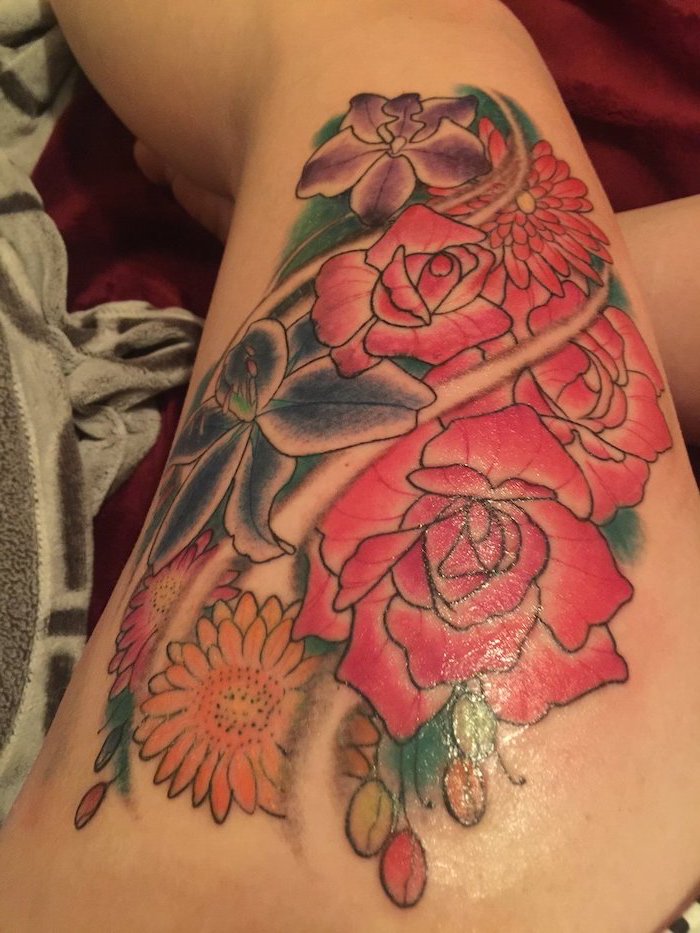
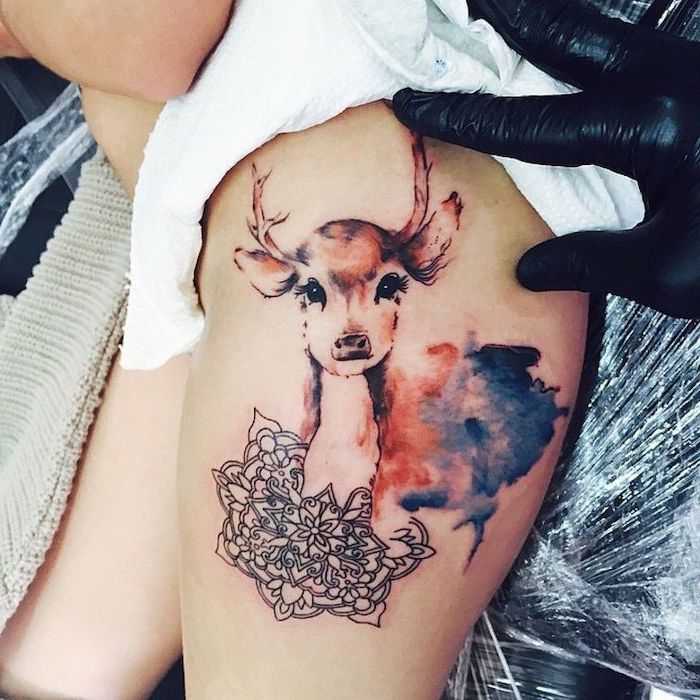
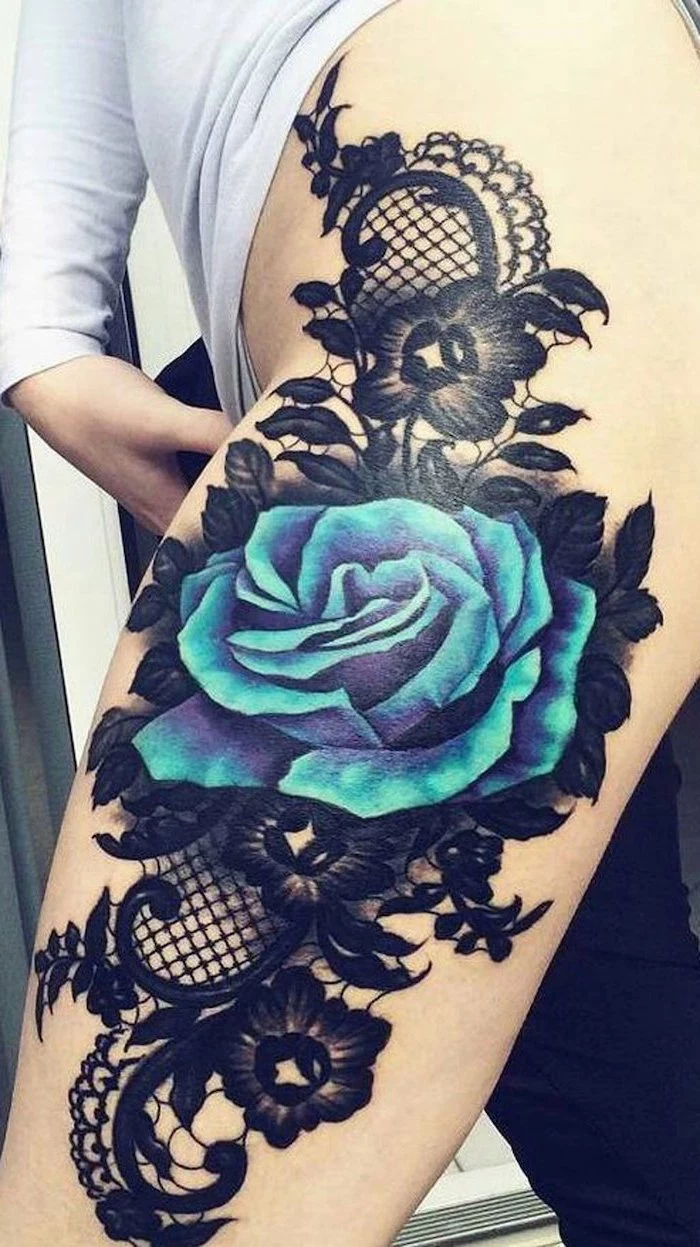
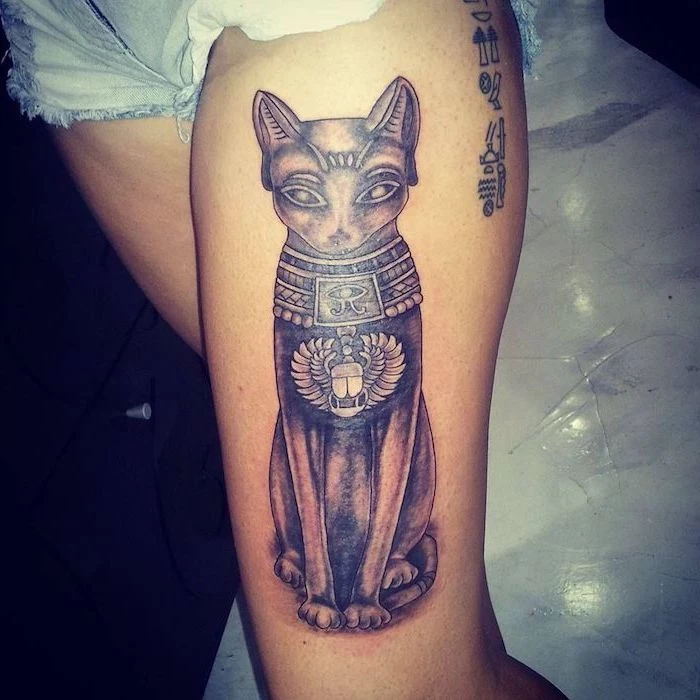
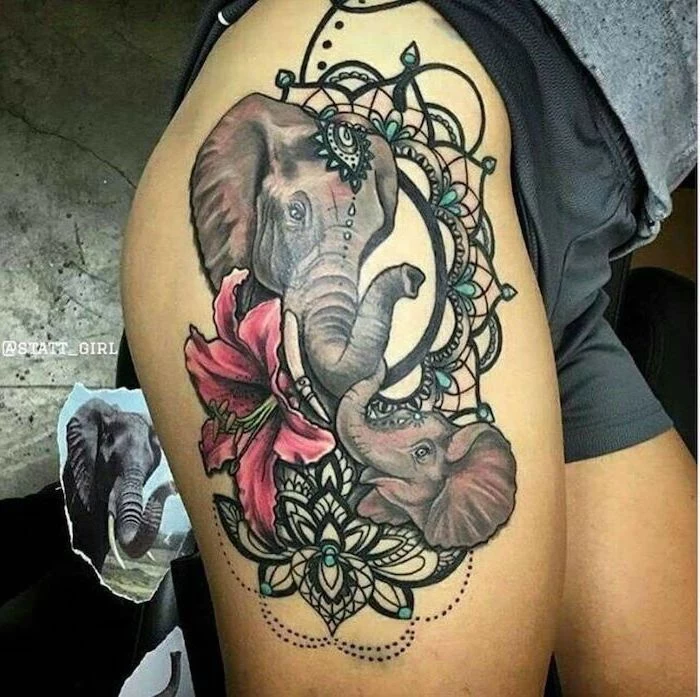
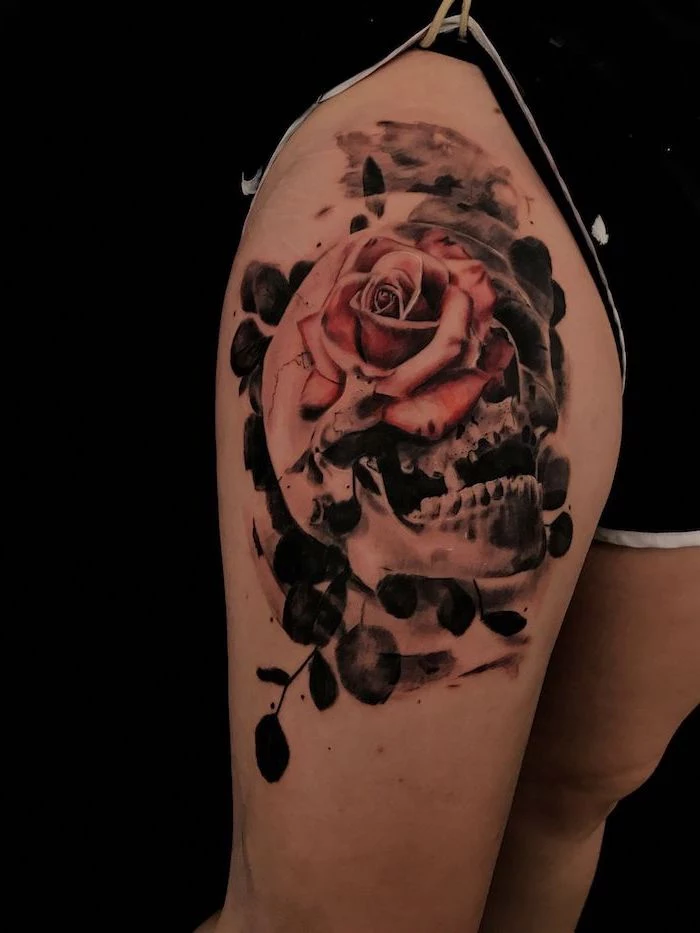
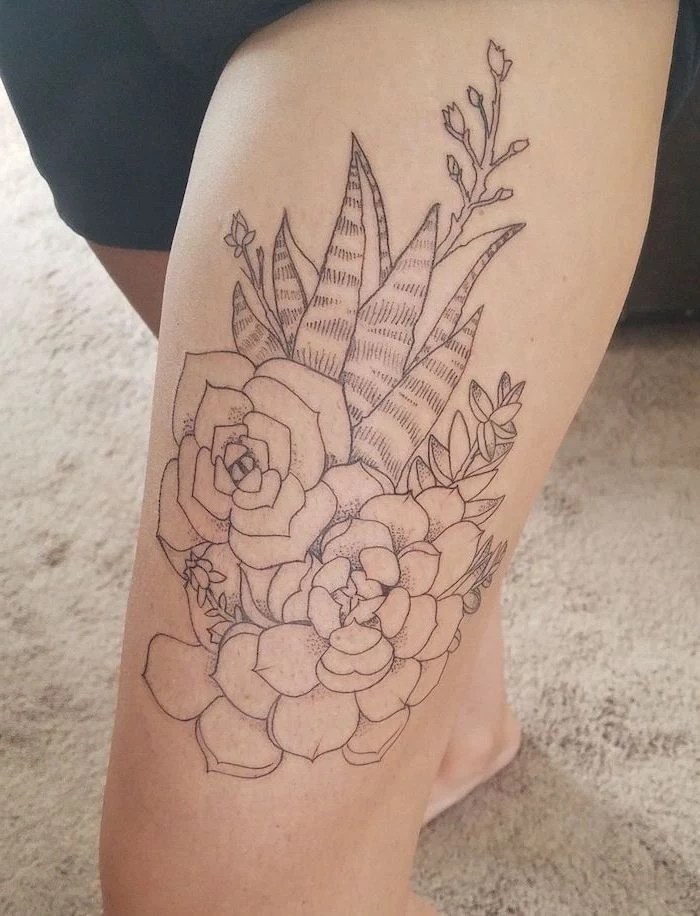
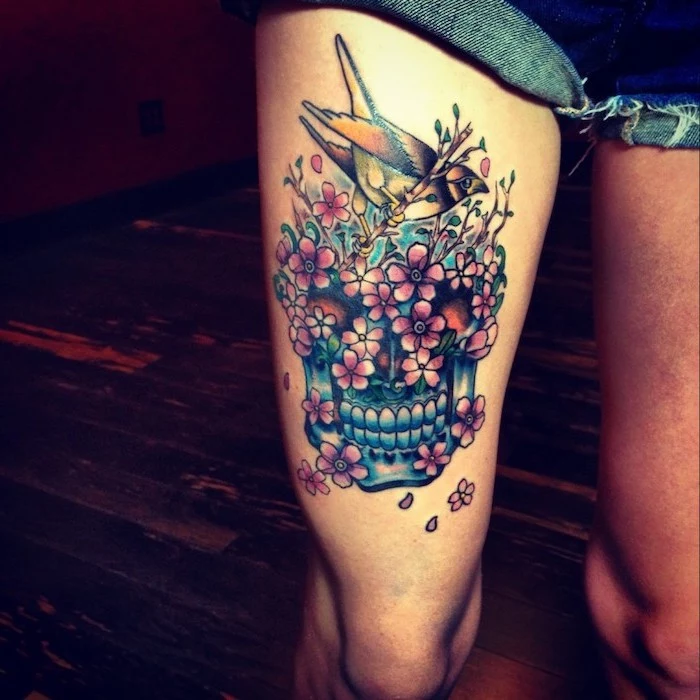
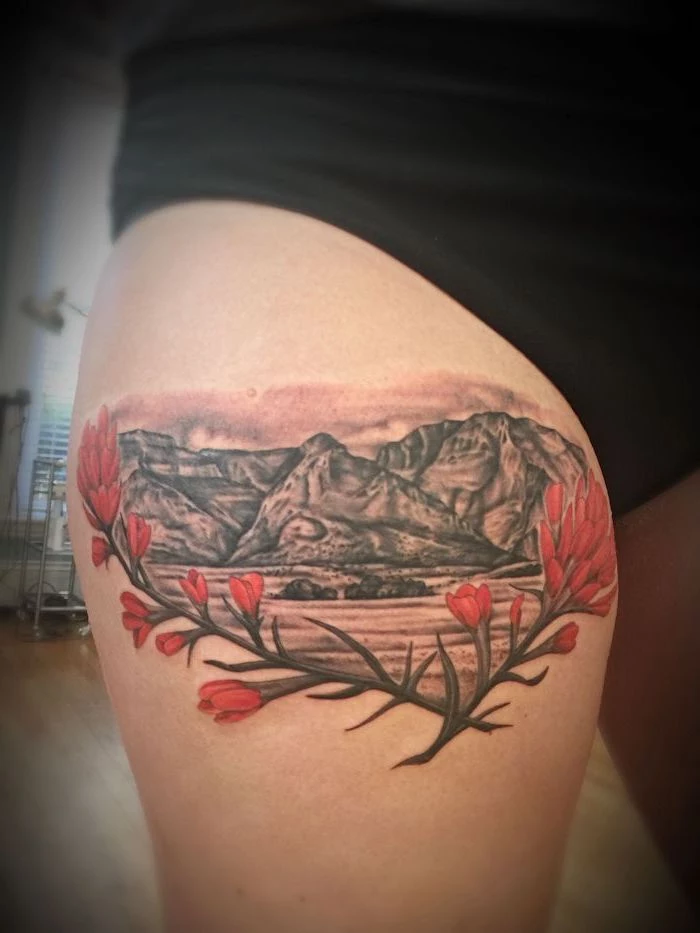
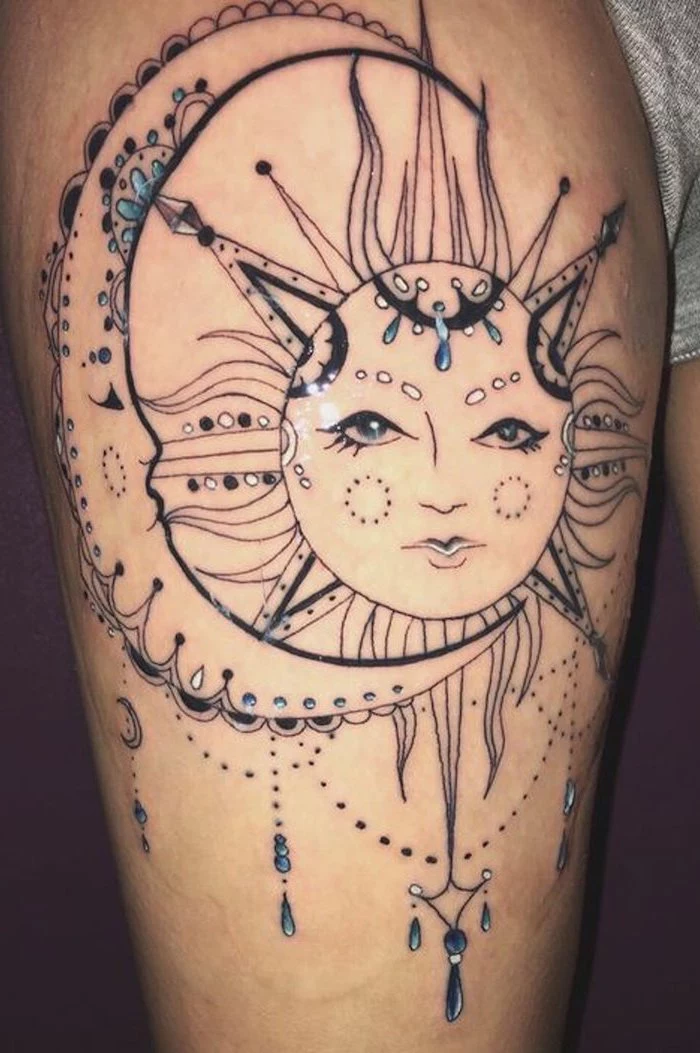
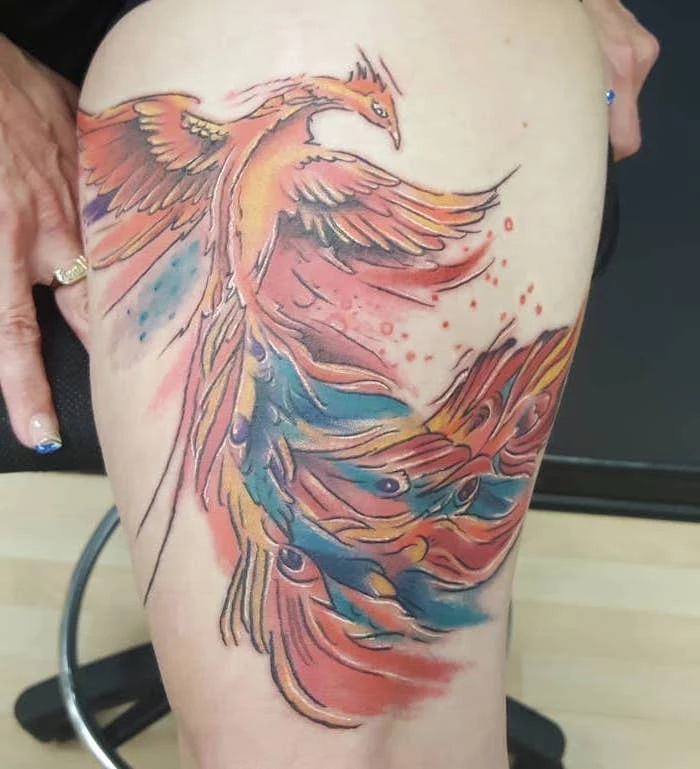
Color Realism: This style uses a rich palette and smooth blending to create photorealistic images. It’s stunning for flora and fauna on the thigh, but be prepared for longer sessions and know that vibrant colors require strict sun protection to stay bright.
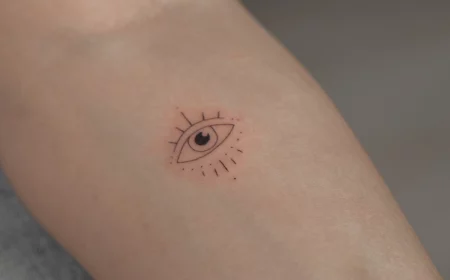
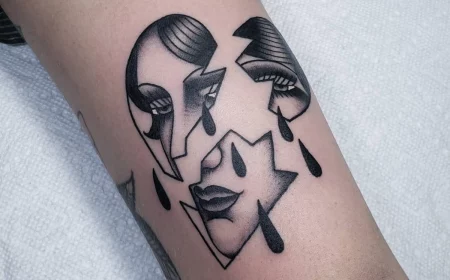
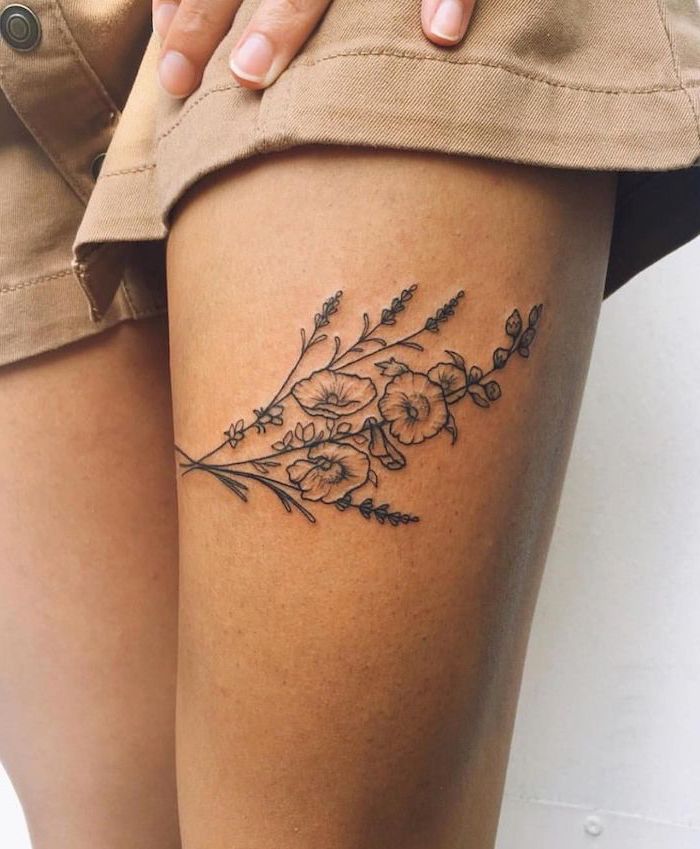
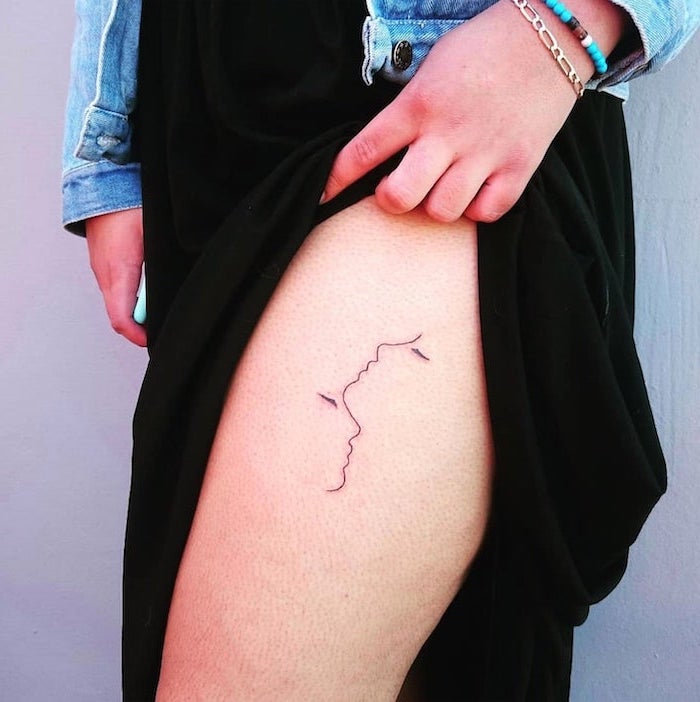
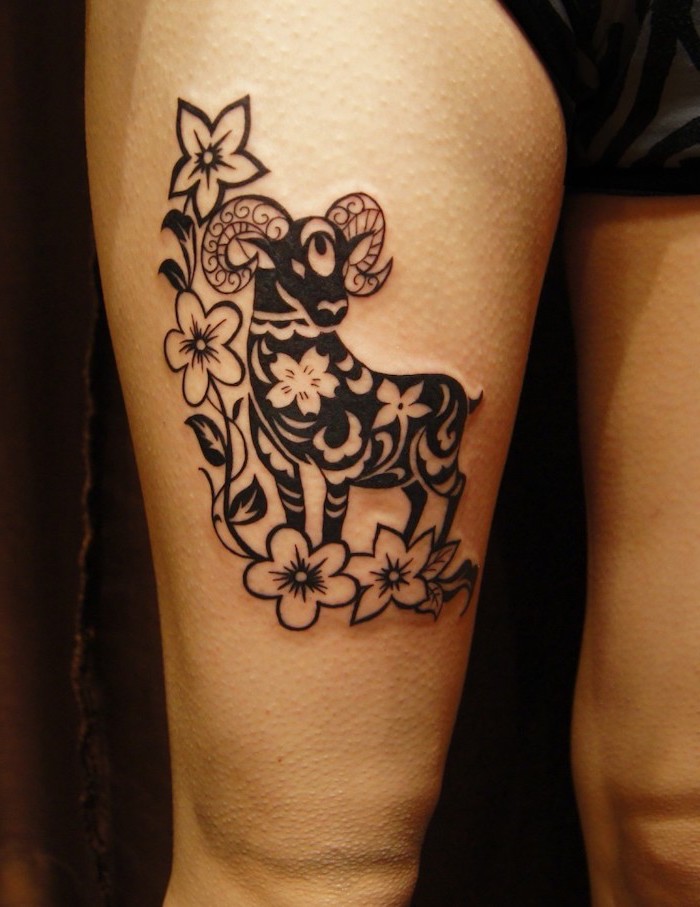
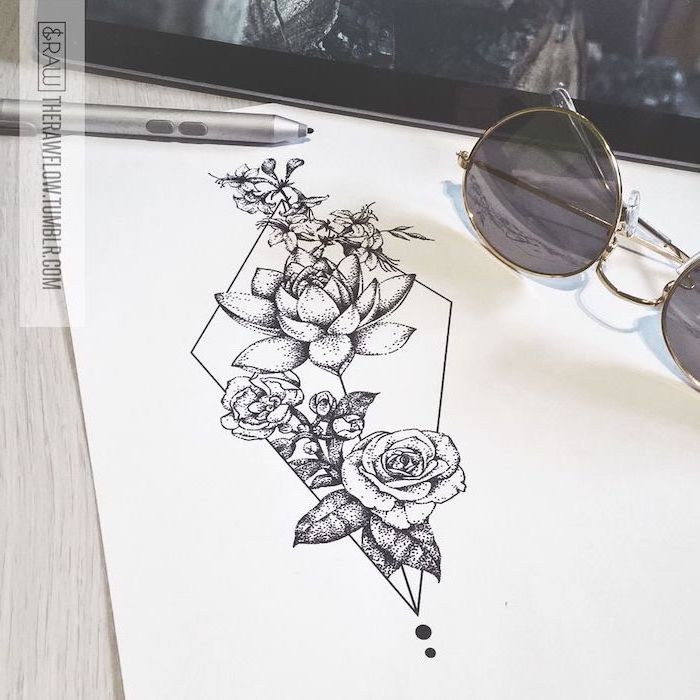
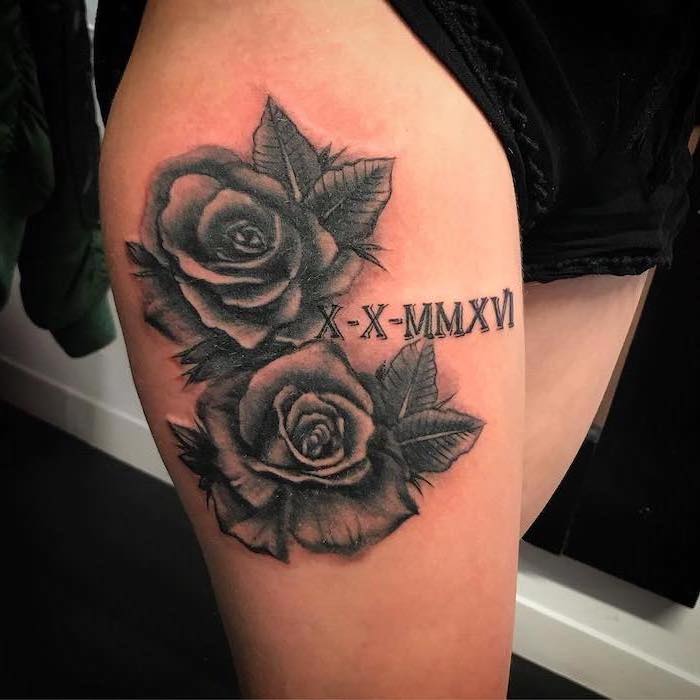
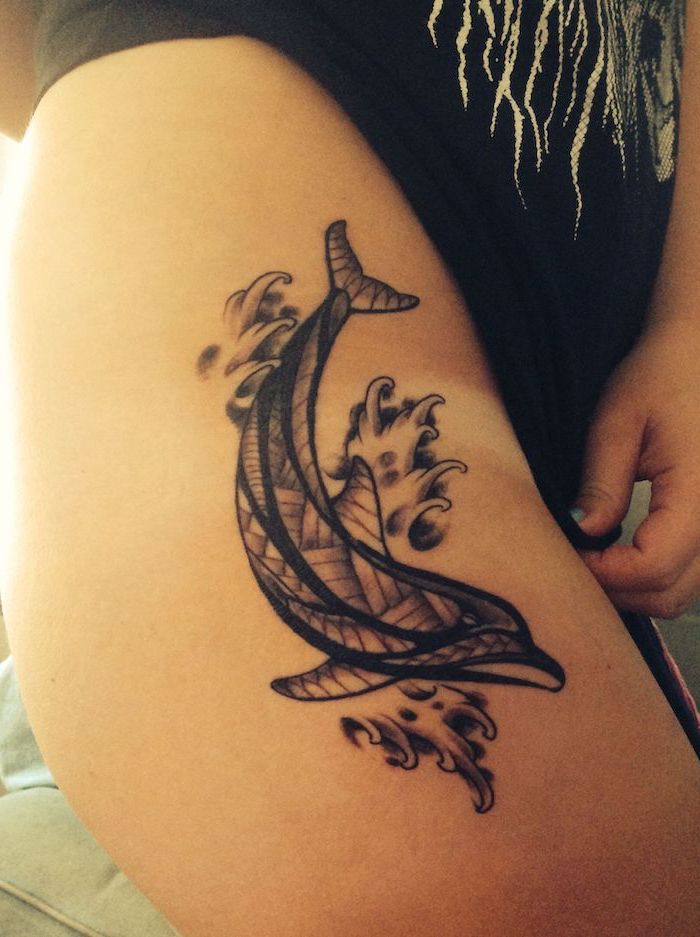
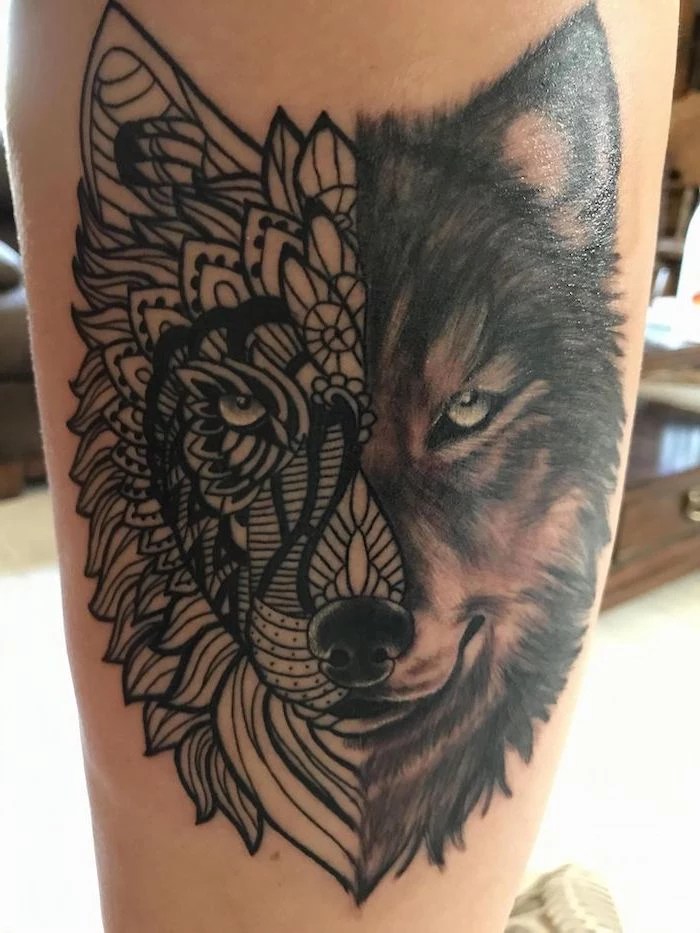
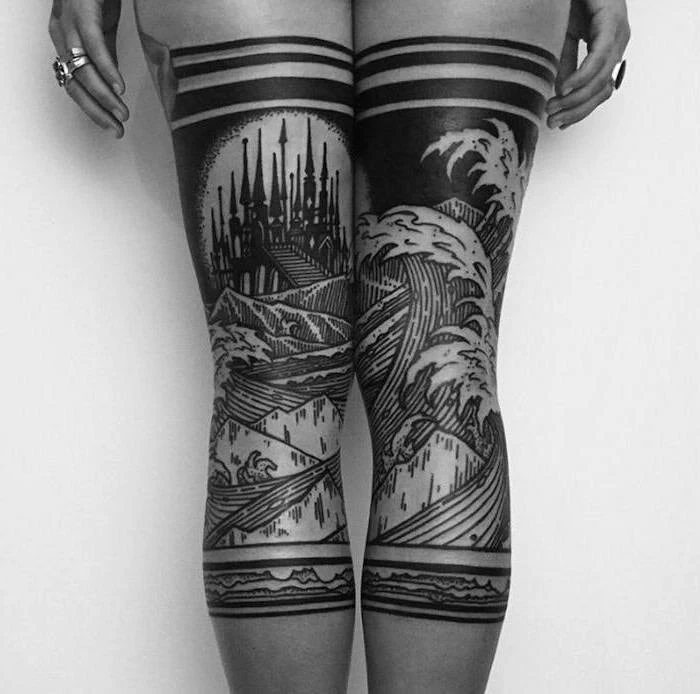
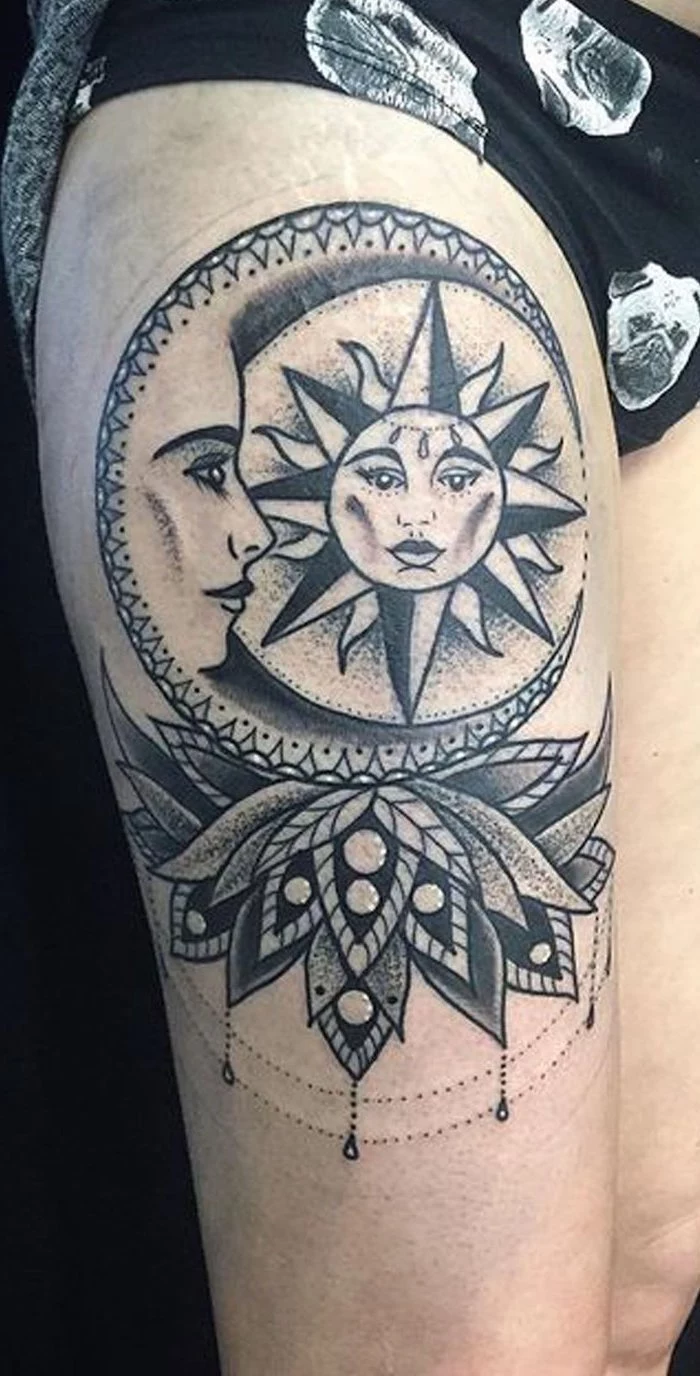
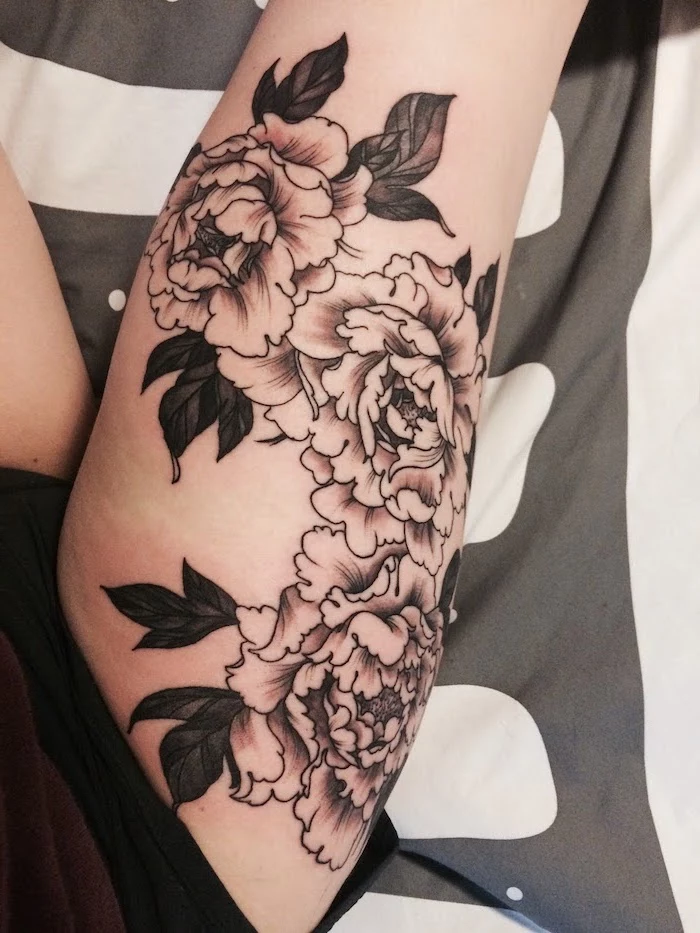
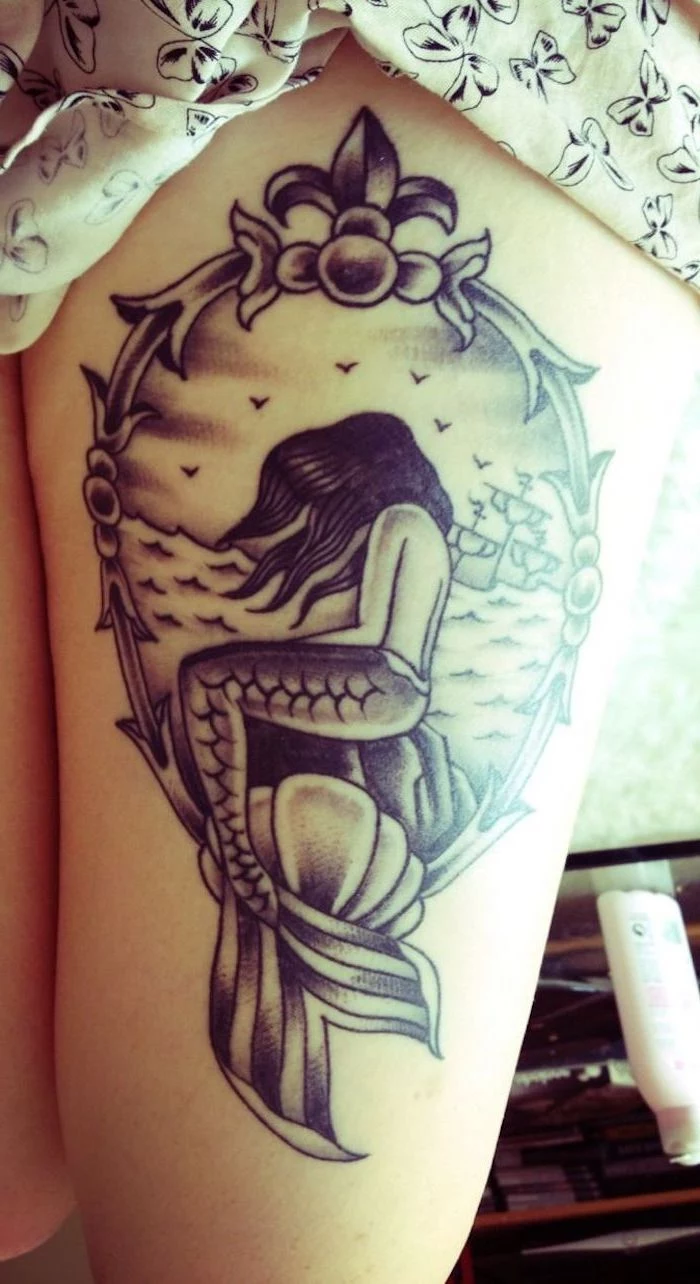
Black & Grey Fine-Line: This focuses on delicate lines and soft shading. It’s perfect for detailed illustrations, script, or architectural designs. It often ages gracefully and can be less time-intensive than full-color work.
Your choice depends on your aesthetic preference and your commitment to long-term care.
A large thigh piece is a significant financial investment in art. Don’t be afraid to discuss the budget with your artist. Costs are determined by:
- The artist’s hourly rate and experience level.
- The size and complexity of the design.
- Whether it’s in color or black and grey.
- The total number of hours or sessions required.
A multi-session thigh piece can range from $800 to $3000+, so it’s wise to save and plan accordingly. Tipping your artist 15-20% is also standard practice.
Important point: Moisturizing is key, but don’t overdo it. During healing, apply a very thin layer of a recommended ointment, like Hustle Butter Deluxe or a fragrance-free lotion like Lubriderm, 2-3 times a day. A thick layer can clog pores and trap bacteria, impeding the healing process. The goal is to keep the skin hydrated, not suffocated.
Can I test a design or placement before committing?
Absolutely. High-quality temporary tattoos are a great way to live with a design for a week or two. Brands like Inkbox use a semi-permanent ink that mimics the look of a real tattoo. This allows you to test the placement, see how it flows with your body as you move, and confirm you love the concept before making it permanent.
- Bring a water bottle and some sugary snacks (like gummy bears or a juice box) to keep your blood sugar up.
- Your phone and a pair of headphones to distract yourself.
- A pillow or small blanket for comfort during a long session.
- Your payment method and ID.
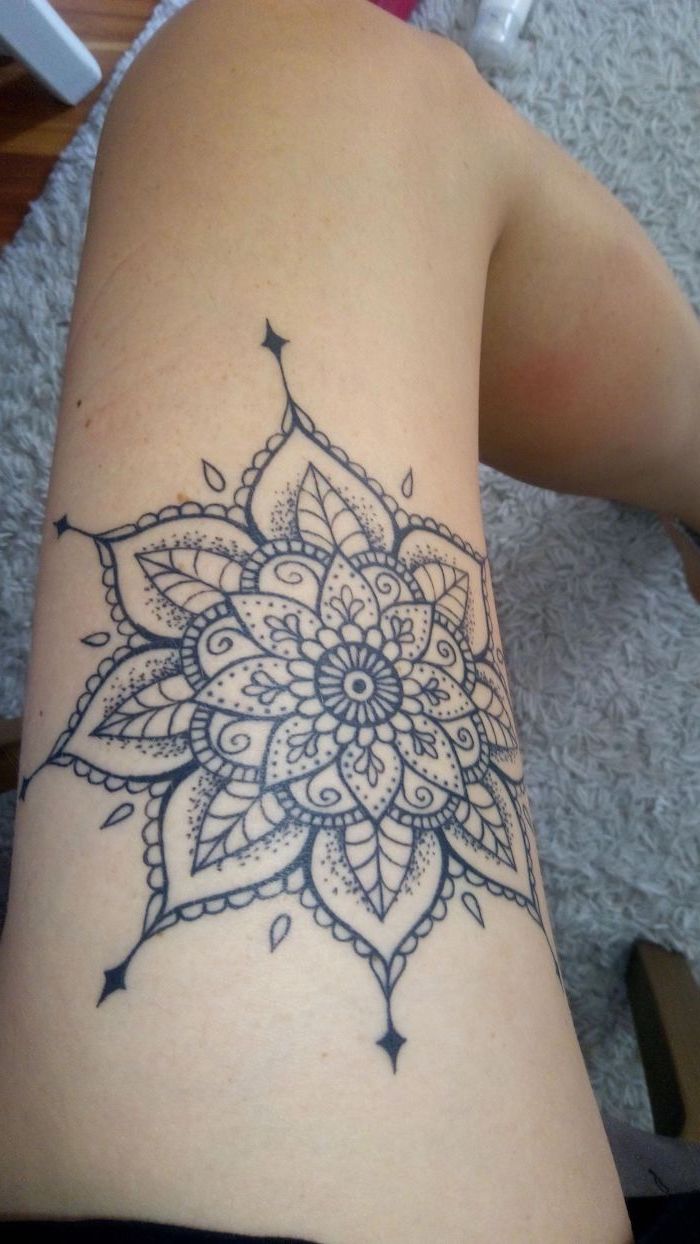
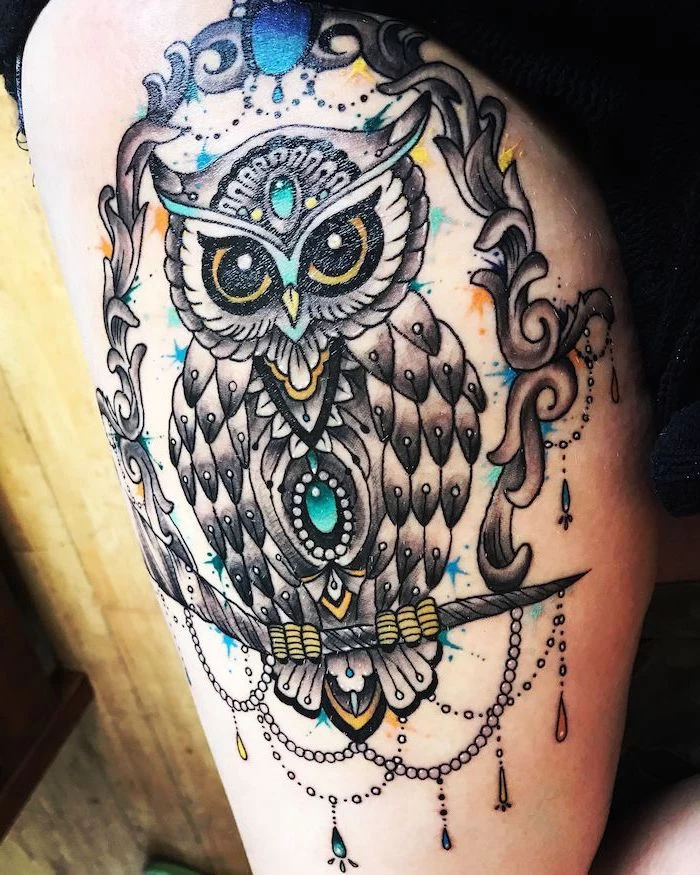
Think beyond Pinterest. For a truly unique thigh piece, draw inspiration from less common sources. Study the flowing lines in Art Nouveau prints, the bold shapes in traditional Japanese woodblocks (ukiyo-e), or the intricate patterns found in antique botanical illustrations. Bringing these kinds of references to your artist can spark a much more original and personal collaboration.
Many top-tier ink manufacturers now offer high-quality vegan lines, which contain no animal products like glycerin, bone char, or gelatin. Brands like Eternal Ink, World Famous Ink, and Kuro Sumi are renowned for their vibrant, long-lasting vegan pigments. If this is important to you, just mention it to your artist during the consultation.
- Looks perfectly aligned whether you’re sitting or standing.
- Wraps around the leg without awkward stretching or pinching.
- Maintains its intended shape from every angle.
The secret? Your artist will apply the stencil while you are standing in a relaxed, neutral pose. This ensures the design is mapped to your body’s natural state, preventing the distortion that can happen if it’s applied while you’re sitting or lying down.
How do I handle shaving over my new tattoo?
Wait until the tattoo is fully healed—no scabbing, peeling, or shininess. This usually takes at least 3 to 4 weeks. Once it’s healed, you can shave normally, but be gentle the first few times. Always use a clean, sharp razor and shaving cream to avoid irritating the skin or causing ingrown hairs that could affect the tattoo’s appearance.
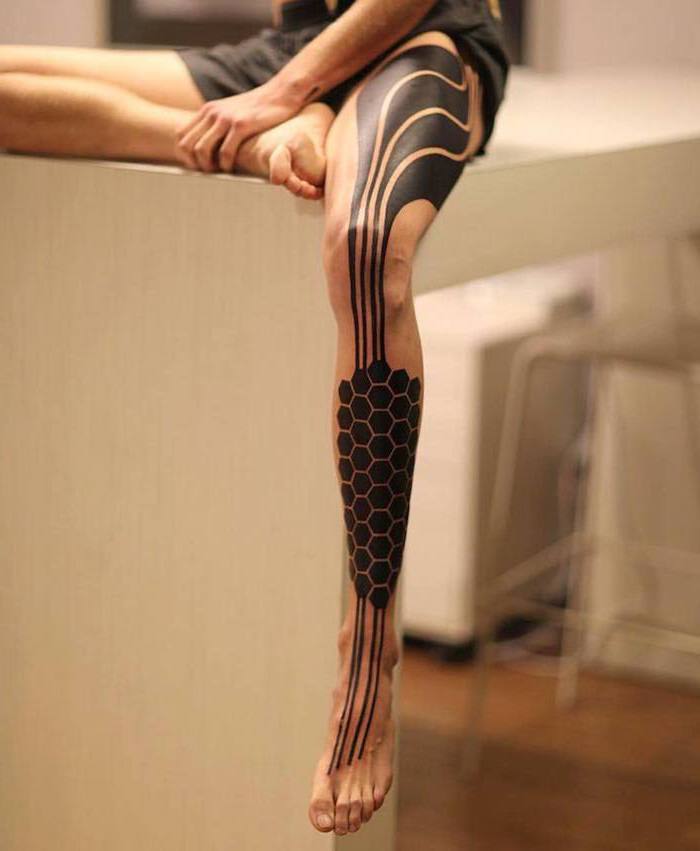
On a large canvas like the thigh, the ‘negative space’—the un-inked skin within and around your design—is just as important as the ink itself. An expert artist uses this space to create balance, improve readability, and give the artwork room to breathe. A design that’s too crowded can become a cluttered mess over time, so trust your artist if they suggest simplifying or leaving more open skin.
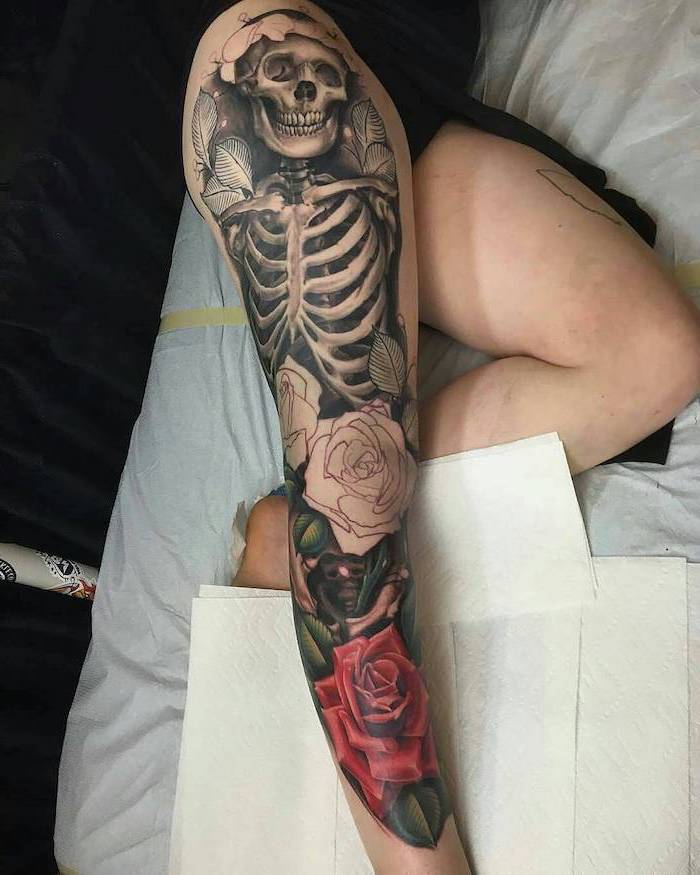
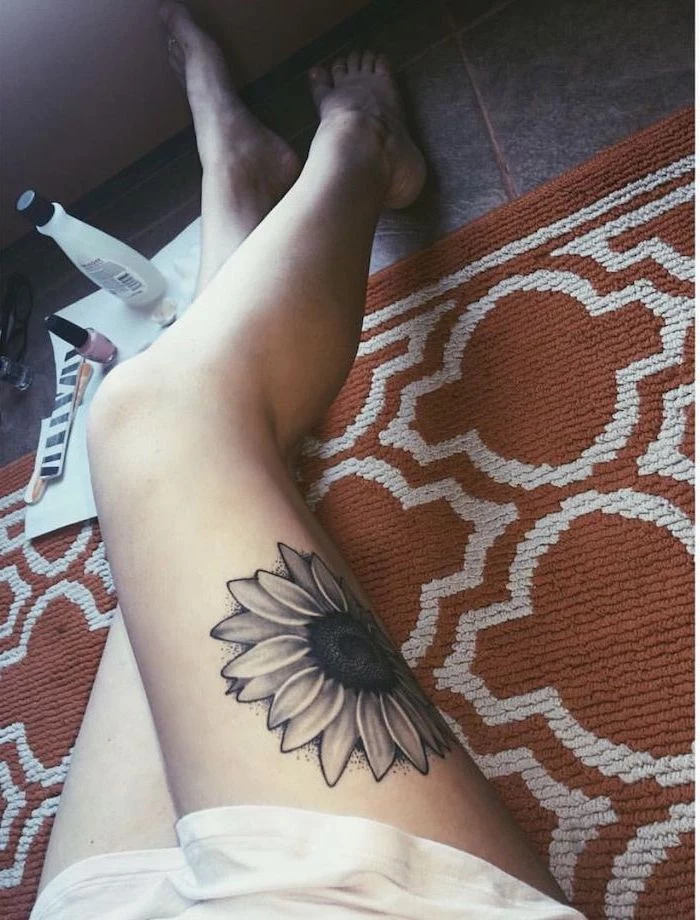
Did you know? The back of the thigh, while tender to tattoo, often has excellent skin elasticity.
This means the area can be particularly good for holding fine details and rich color saturation over the years. The skin is less exposed to the sun and daily wear than the front, making it a prime location for a piece you want to keep pristine.

To numb or not to numb? Topical anesthetics like TKTX or Dr. Numb are popular, but it’s a double-edged sword. While they can make the session more tolerable, some artists find that numbing creams can change the skin’s texture, making it rubbery and harder to work with. Always discuss this with your artist beforehand; some may refuse to work on numbed skin or may have a preferred brand they trust.

A well-done tattoo on the thigh should last a lifetime, but touch-ups are sometimes needed. You might consider one if:
- Certain colors have faded due to sun exposure (often bright yellows or reds).
- Fine lines have softened slightly over a decade or more.
- You notice small gaps in saturation that weren’t apparent when it first healed.
Wait at least a year before assessing if a touch-up is necessary. Many artists offer a free touch-up session within the first year.