I’ve been a tattoo artist for a long time, and if I had to guess, I’ve probably put more wolves on skin than any other animal out there. It’s wild. People come in with photos, rough sketches, and powerful stories—they see strength, family, freedom, and that untamed spirit. My job is to take that feeling and make it a permanent part of them. It’s a huge responsibility, and frankly, a good tattoo is so much more than just a cool picture.
The wolf is an amazing subject to work with. Its form gives us artists a ton of creative runway. We can build up deep, touchable-looking fur, capture a world of emotion in the eyes, and design a pose that flows perfectly with the curve of a bicep or the plane of a back. But here’s the truth: a successful wolf tattoo comes down to getting the design, placement, and artist just right. This guide is all the professional advice I’ve gathered over thousands of hours, machine in hand, to help you get it right before you even set foot in a studio.
First, How a Tattoo Actually Works
Before we even get to the art, we need to talk about the canvas—your skin. Think of your skin in layers. The top one, the epidermis, is constantly shedding. We don’t want to put ink there; it would literally just flake away in a few weeks. Our target is the layer just beneath that, the dermis.
The dermis is stable. When we use needles to push ink into it, your body’s immune system goes, “Whoa, what’s this?” and sends out cells called macrophages to clean up the mess. But here’s the cool part: these cells swallow the ink particles but can’t actually break them down. They get stuck there, holding the ink in place forever. That’s your tattoo.
Knowing this helps you understand why an artist’s skill is so critical. Needle depth is everything. We have to push the ink just deep enough to hit the dermis, but not so deep that it hits the fatty layer underneath. Ink that goes too deep can spread over time, creating a blurry, fuzzy mess called a “blowout.” A seasoned pro controls this by feel, by the sound of the machine, and by stretching the skin just right. A machine running correctly has a very specific buzz… it’s a sound you learn to trust.
By the way, that realistic fur? It’s an illusion. We aren’t drawing every single hair—that would look like a muddy patch. Instead, in black and grey work, we use different dilutions of black ink (called a grey wash) and even your own skin tone to create highlights and shadows. We build up layers of shading to create the form, making sure our needle strokes follow the natural direction of the fur’s growth. It’s a slow process that takes years to get right.
The Craft: Techniques for a Wolf That Feels Alive
A great wolf tattoo is built with specific tools and techniques. The needles, inks, and machines I choose all depend on the style we’re aiming for.
Linework: The Skeleton of Your Tattoo
Most tattoos start with a solid foundation of linework. For a bold, neotraditional wolf, I might grab a 9 or 11 round liner, which is a group of needles that creates a thick, solid line designed to last for decades. For more delicate, illustrative work, I’d switch to a tiny 3 round liner for a fine, pen-like quality. The trick with fine lines is that the depth has to be perfect. Too shallow and they’ll fade away; too deep and they’ll blur over the years.
Shading and Texture: This is Where the Magic Happens
Shading is what gives a tattoo depth, emotion, and texture. The approach changes completely depending on the style.
For Realism: To get that soft, lifelike look in black and grey, my go-to tools are curved magnum shaders. These are basically rows of needles that let me build up super smooth gradients. I work from my lightest grey washes and slowly build up to the darkest blacks. You can’t rush this. Rushing it just chews up the skin, leading to a painful healing process and a final tattoo that looks weak.
For Neotraditional: This style demands bold, saturated color. We use different shaders to pack solid color into the skin, often using tight little circles to make sure there are no patchy spots. The goal is a rich, velvety finish that looks amazing from across the room.
For Blackwork: Creating those deep, solid black areas you see in geometric or tribal-inspired wolves is tough work. It requires packing a ton of ink into the skin without causing too much trauma. Honestly, for the client, this is often one of the more painful parts of the process.
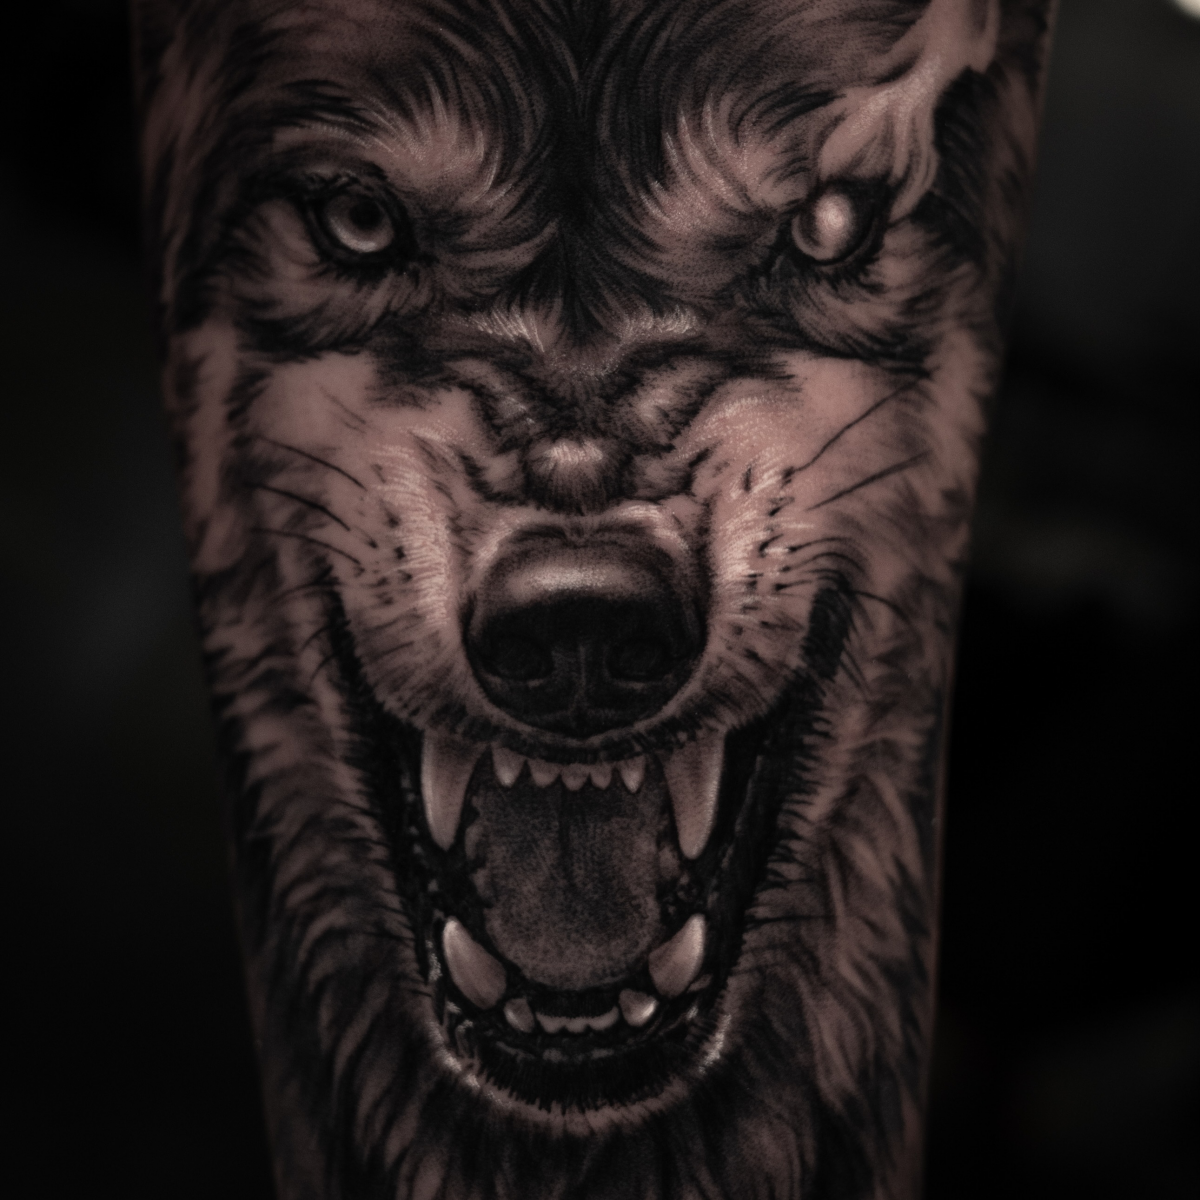
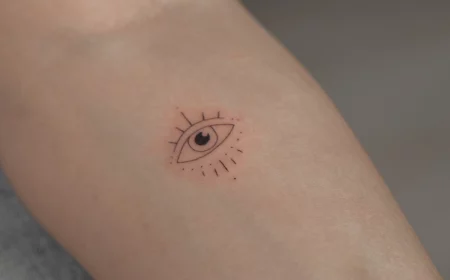
The Eyes: The Most Important Detail
The eyes can make or break a wolf tattoo. A calm, knowing gaze creates a totally different vibe from a snarling, aggressive one. We spend a lot of time on this tiny area. Often, the very last thing I do is add a tiny pin-prick of bright white ink. This creates a “catchlight,” that little reflection that makes the eye look wet and alive. It’s a simple trick, but if you misplace it, you can mess up the entire expression.
Choosing Your Style: More Than Just a Picture
Picking a style is just as important as picking the wolf itself. Each one has its own vibe and, importantly, its own way of aging.
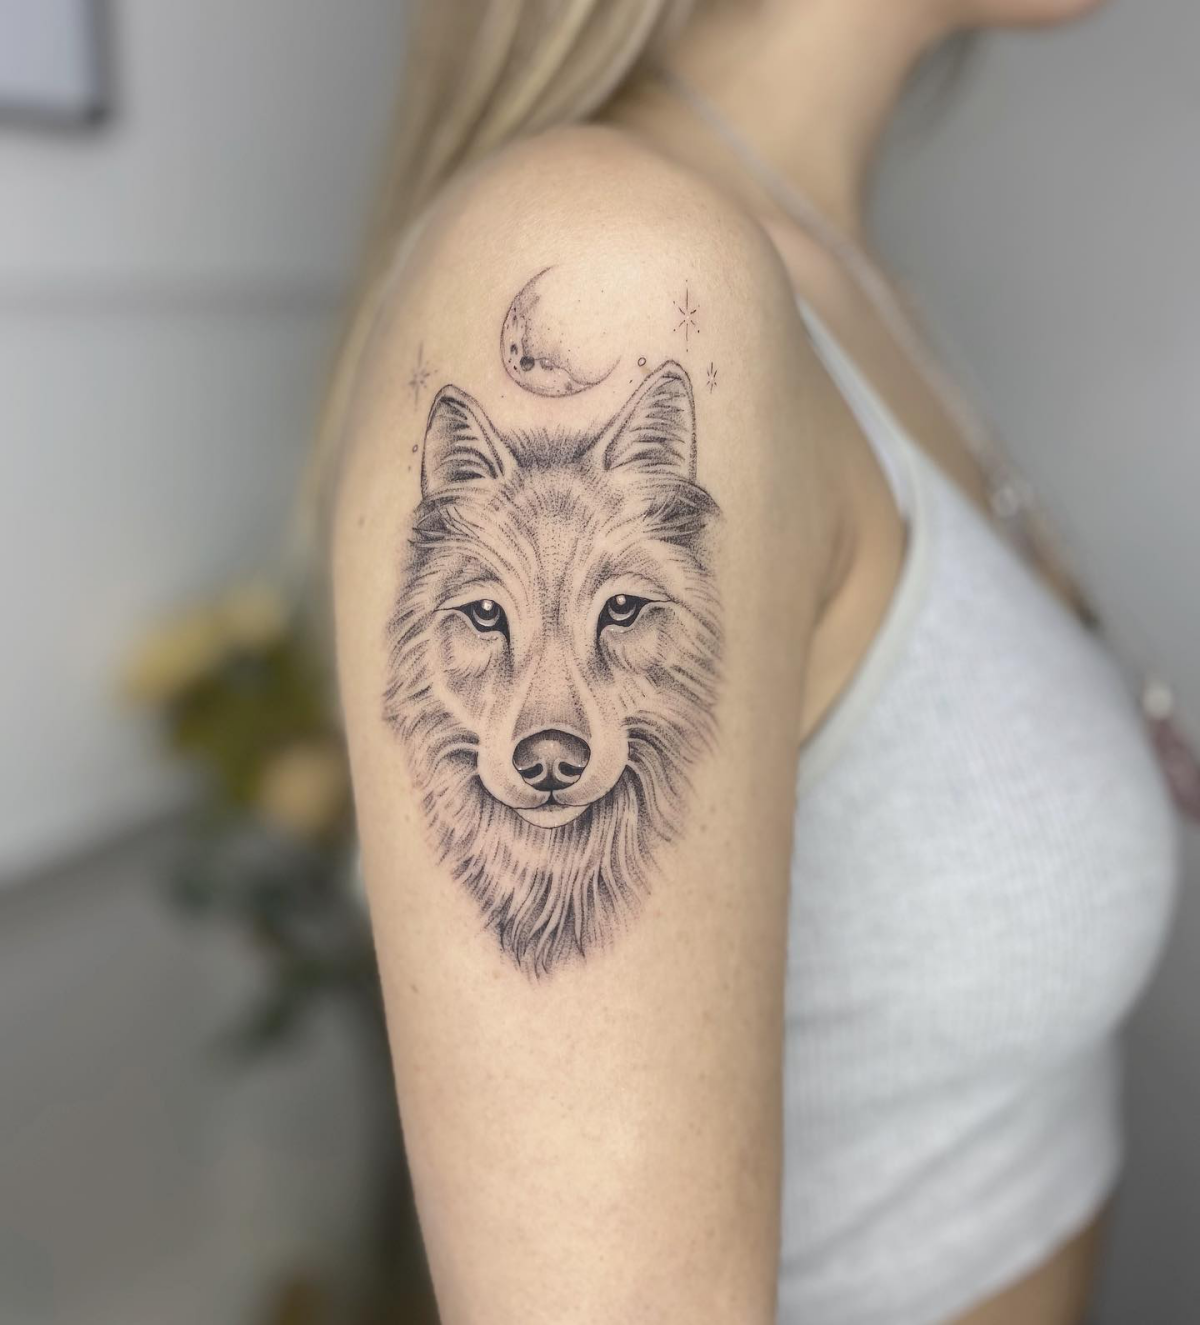
Realism (Black & Grey or Color) This is what most people ask for—a wolf that looks like a photograph. It can be stunning, but it comes with some homework. Realistic tattoos rely on very subtle shading. To keep it looking sharp, you HAVE to protect it from the sun. Sun exposure will fade the lighter tones, which can make the image look flat over time. Also, a quick tip: when you’re looking at an artist’s portfolio, look for photos of healed work. Fresh tattoos always look great. Healed work, a year or more out, shows you their real skill level.
Neotraditional These are probably my personal favorite to do. They mix the boldness of old-school traditional tattoos with more detail and a bigger color palette. You get a tattoo that is undeniably a wolf, with a strong outline that’s readable from a distance. Those thick outlines act like a container, which helps these tattoos age incredibly well, holding their color and shape for a lifetime.
A Quick Note on Skin Tone: A great artist knows how to make a design work beautifully on any skin tone. For clients with darker skin, the key is contrast. An artist might design the piece with more open skin breaks to use your natural skin tone as a highlight, or they may adjust the color palette to feature hues that will stay vibrant. For black and grey, a skilled artist will ensure the shadows and blacks are deep enough to provide a powerful contrast that will last. Don’t ever hesitate to ask an artist how they approach tattooing on your skin tone—a true professional will have a confident and thoughtful answer.
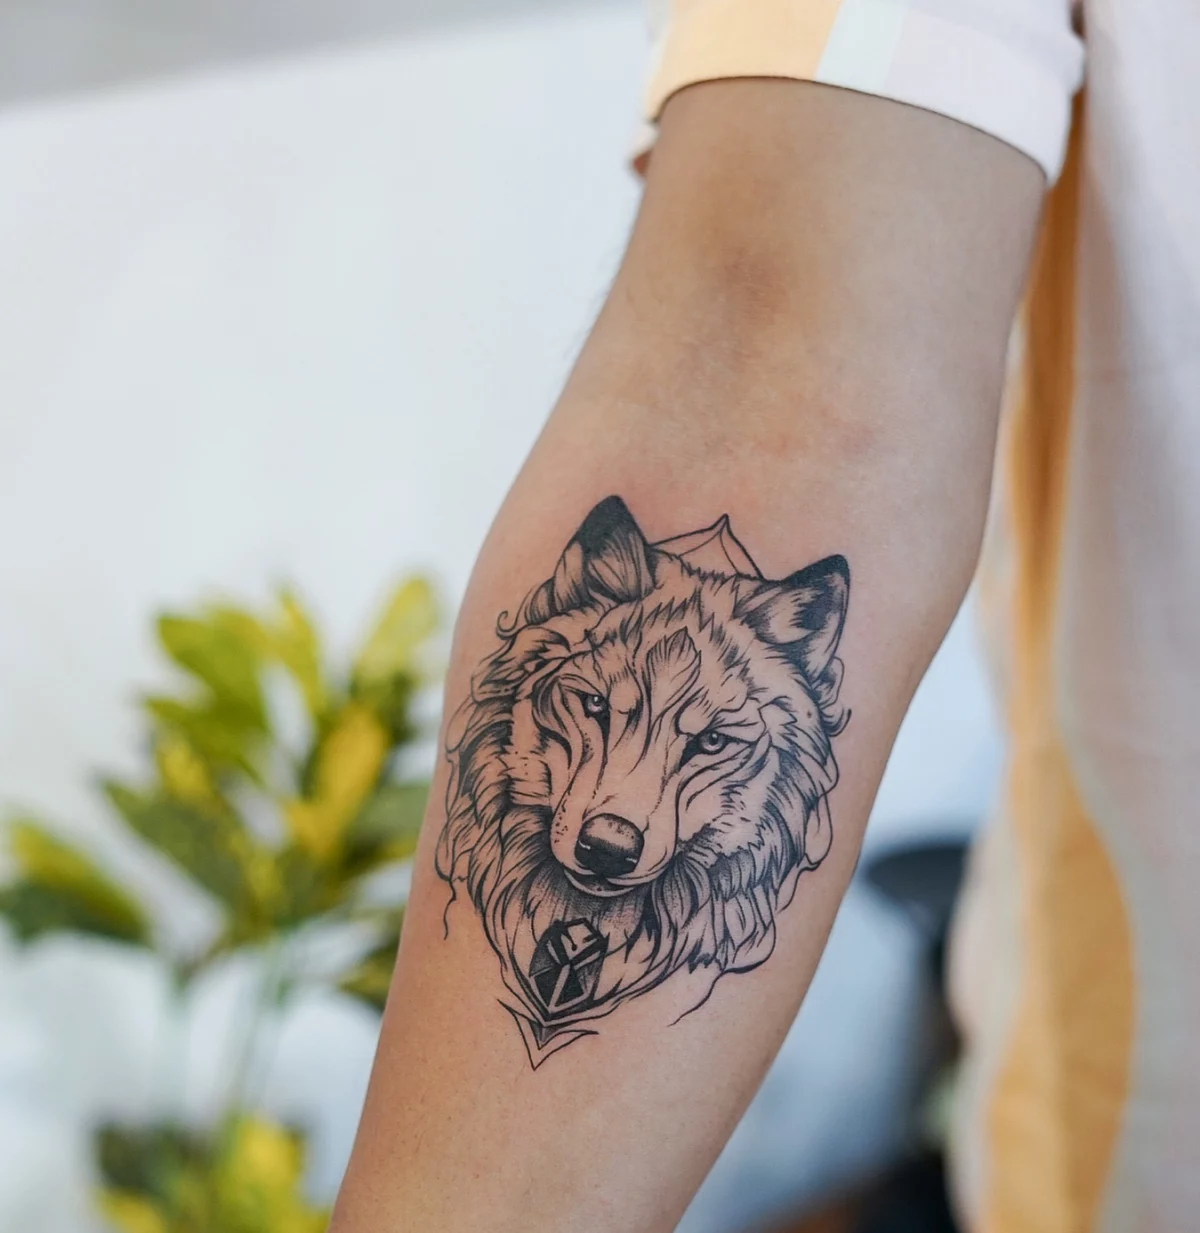
Geometric & Illustrative Styles These modern styles are super creative. You can have a wolf made of sharp geometric patterns or one that looks like it was drawn with loose, sketchy lines and watercolor splashes. They can be beautiful, but you have to be practical. Designs with lots of very fine lines or light colors that don’t have a black outline can be more likely to fade or blur over time. I always have an honest chat with my clients about the longevity of these styles so they know what to expect down the road.
The Consultation: Planning for a Tattoo You’ll Love Forever
The most important choice you’ll make is your artist. Their skill will literally define your tattoo. The consultation is where you make sure you’re on the same page.
How to Find and Contact Your Artist
First off, do not price shop. A cheap tattoo is rarely good, and a good tattoo is never cheap. You are paying for skill and safety. Instead, shop for an artist whose style you love. Instagram is your best friend here. Try searching hashtags like
[yourcity]tattoo,
wolftattoorealistic, or
neotradwolf. When you find artists you like, dig into their profiles. Are they showing healed work, maybe in their story highlights? That’s a huge green flag.
Feeling intimidated about that first email? Don’t be. We artists want clear information so we can tell if we’re a good fit for your project. Here’s a simple checklist of what to include:
Your Idea: Be clear. “I want a wolf tattoo.”
Style: Mention the style you like. “I’m looking for black and grey realism.”
Size & Placement: Be specific. “About 6 inches tall on my outer forearm.” And pro tip: attach a clear photo of the body part so the artist can see the space they’re working with.
Key Details: Mention anything crucial. “I want it to look calm and wise, not aggressive,” or “I’d like to include some pine trees in the background.”
Placement, Flow, and… Pain
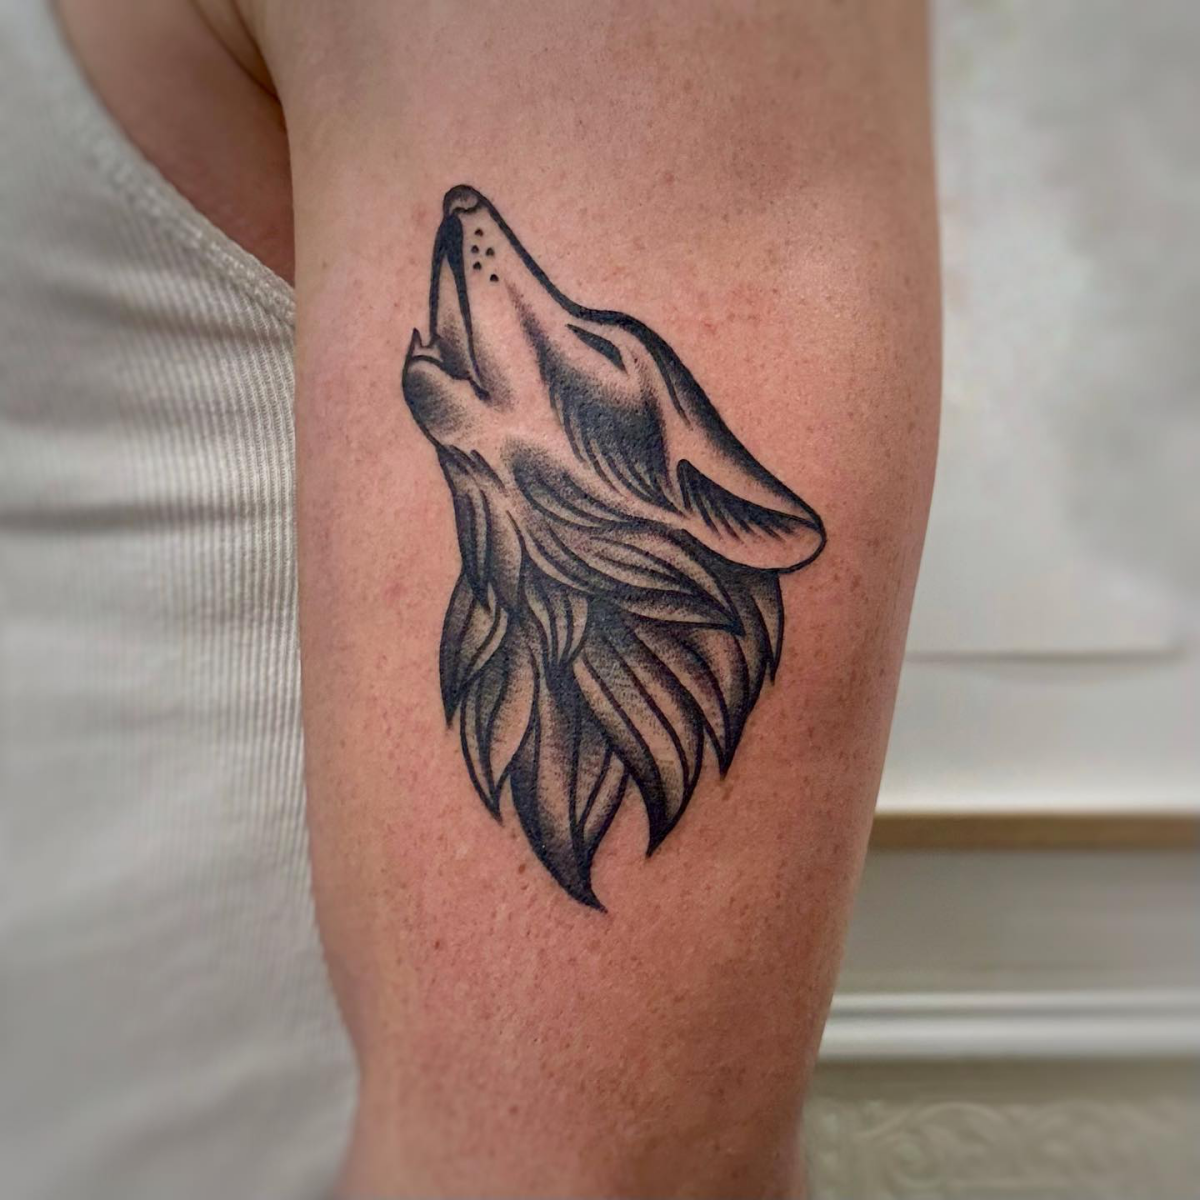
Where you put the tattoo is a huge deal. A design should flow with your body. A howling wolf is perfect for a forearm or calf, following the muscle. A sleeping wolf might fit beautifully on a shoulder cap. And let’s talk about the question everyone has: how much will it hurt? Everyone is different, but here’s a general idea on a 1-10 scale:
Heads up, here’s my general pain map: Outer Bicep: 3/10. Forearm: 4/10. Calf: 5/10. Shoulder Blade: 6/10. Back of the neck: 7/10. Ribs or Stomach: 9/10. It’s temporary, but it’s good to have a realistic expectation!
Size vs. Detail
I often get requests for a super-detailed, realistic wolf portrait the size of a quarter. I have to gently explain that this just won’t work. Detail needs space to breathe. Over time, ink spreads a tiny bit under the skin. Lines that are too close together will eventually blur into a muddy mess. Trust your artist when they recommend a minimum size for a design. That advice comes from seeing how tattoos age over decades.
Budget and Timing
A quality tattoo is an investment. Look, a good artist in a major city will likely charge somewhere between $150 and $300 an hour. That palm-sized wolf we talked about? You’re probably looking at an investment of $450 to $1,000, depending on the artist’s speed and the level of detail. A full forearm piece could be 8-12 hours, maybe split into two sessions. Be upfront about your budget. A good artist can often design something awesome within your budget by adjusting the size or complexity, without ever sacrificing quality.
Big Projects & Fixing Old Mistakes
Sometimes a wolf is part of a much bigger plan, which requires even more commitment.
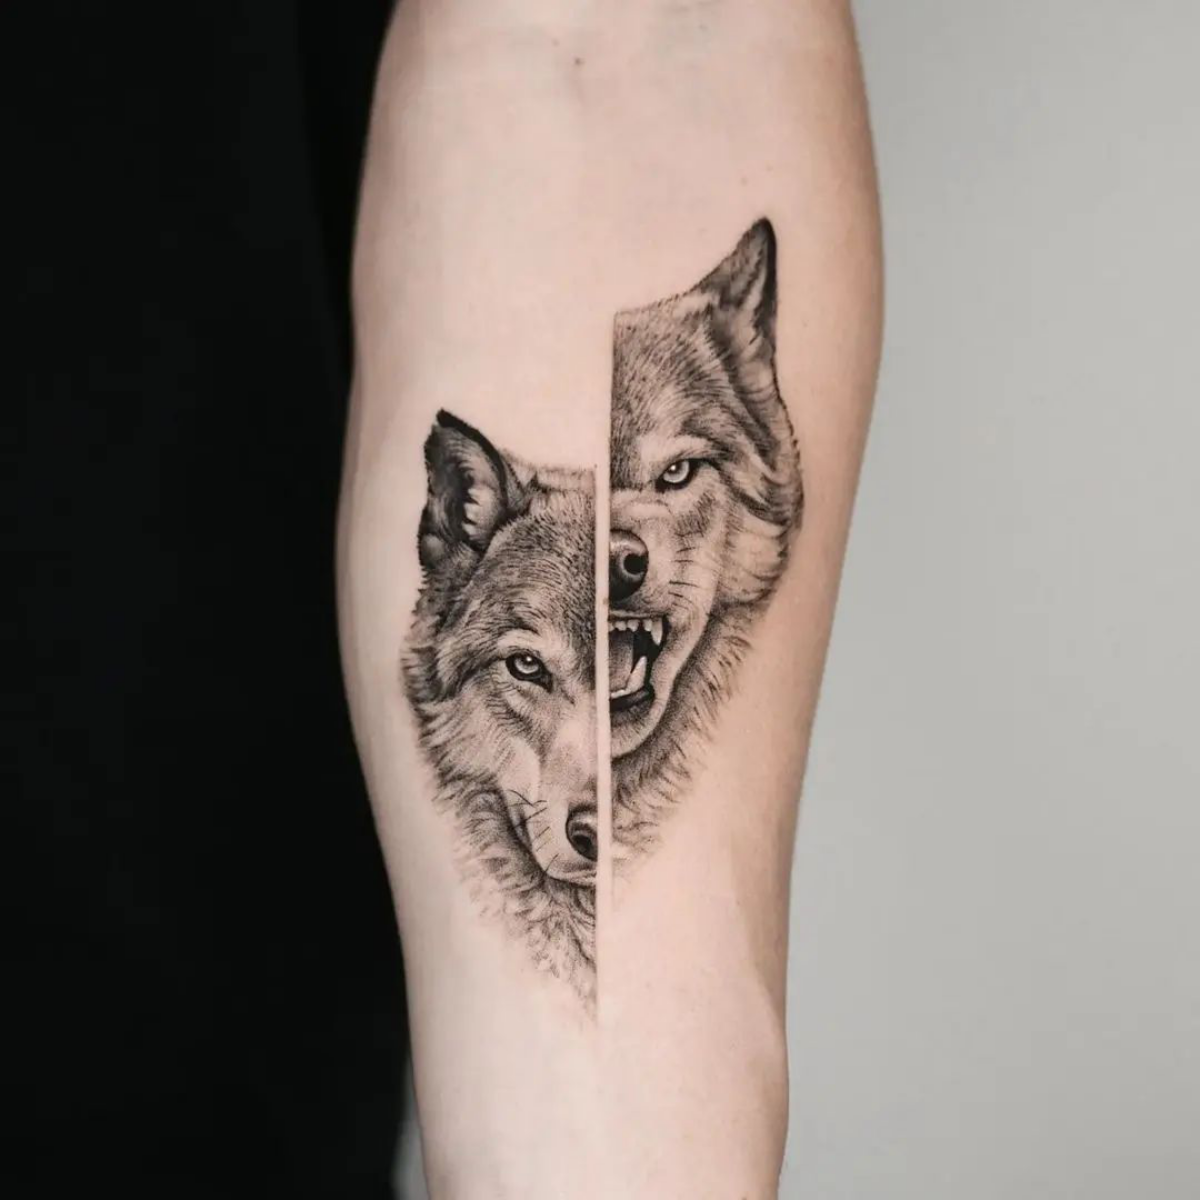
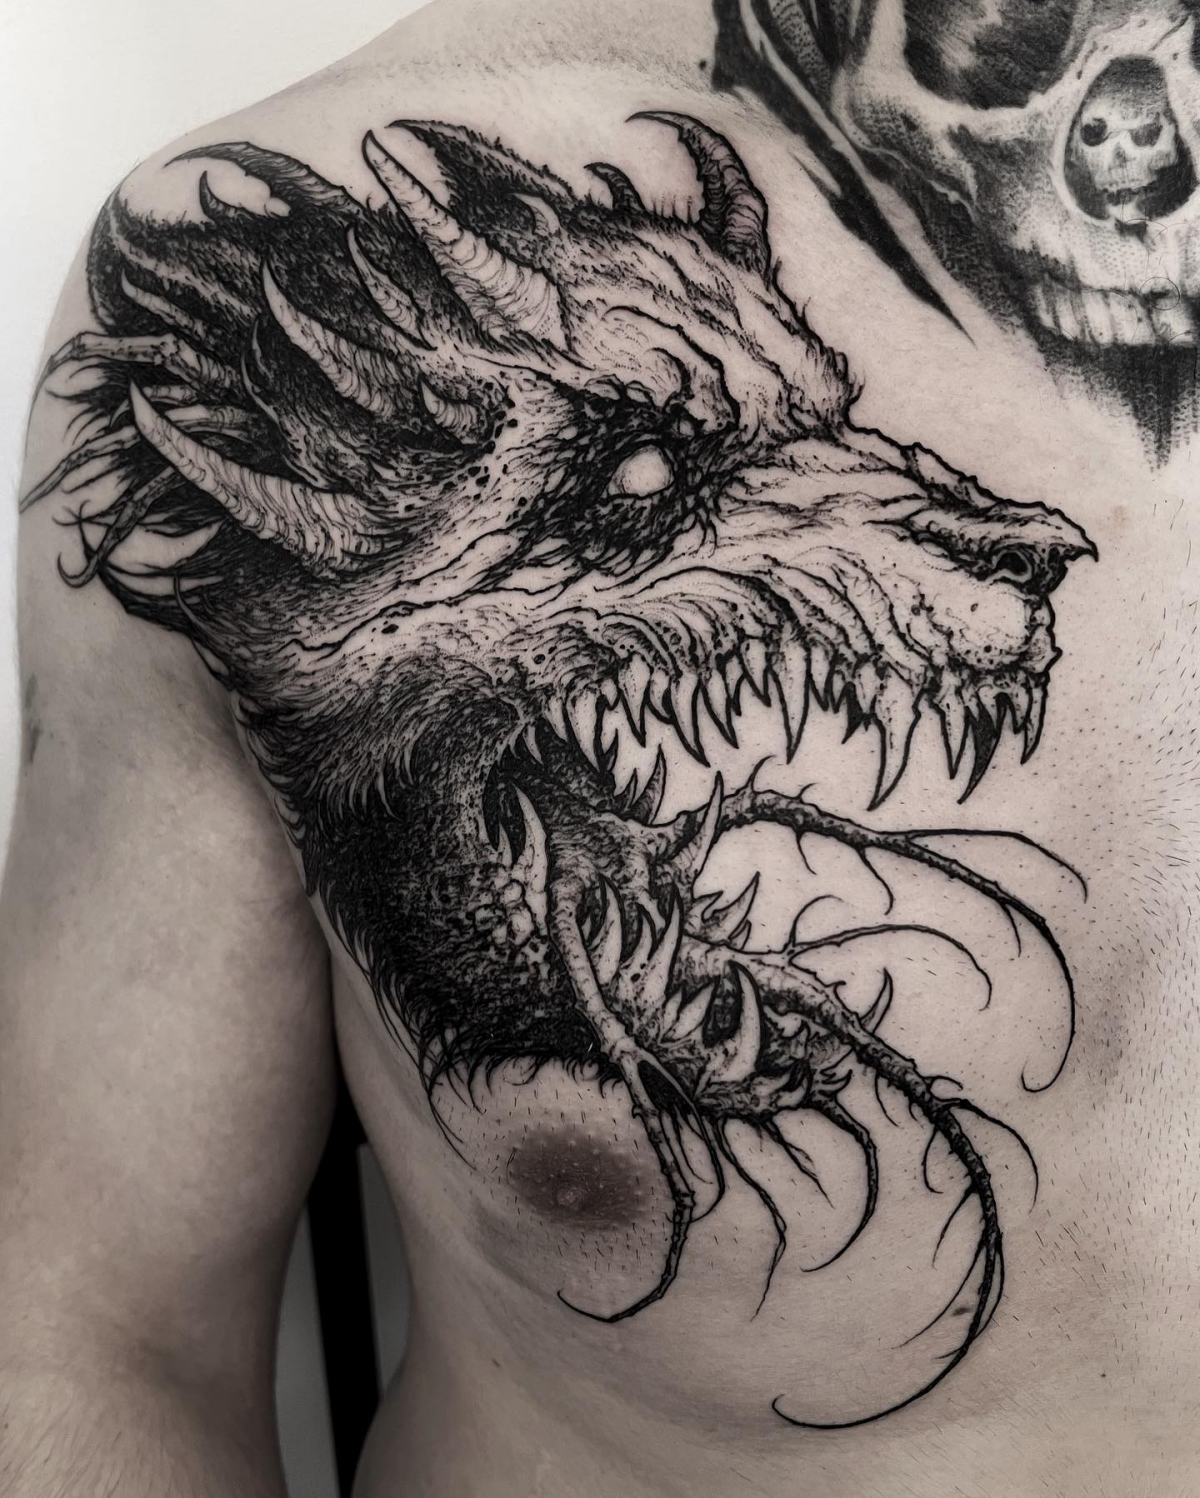
Cover-Ups A wolf can be a fantastic choice for a cover-up. The dark, heavily textured fur is perfect for hiding old, faded ink. I once had a client with a truly regrettable tattoo from his youth on his arm. We designed a snarling wolf, and I used the deep, dark fur of its neck and back to completely swallow the old ink. He almost cried when he saw the final result. That’s the power of a good cover-up. Just know, the new tattoo will have to be significantly larger and darker than the old one. This is a technical challenge, so find an artist who is experienced with them.
Sleeves and Back Pieces A wolf can be an amazing centerpiece for a full sleeve or back piece, woven into a forest scene or a mythological battle. These projects are a serious commitment of time, money, and pain tolerance, often taking 20 to 60+ hours over many months. The most important thing is to find ONE artist for the entire project to ensure the style is consistent. You’re going to be spending a lot of time with them, so make sure it’s someone you trust and can talk to easily.
Safety & Aftercare: Now, It’s Your Turn
My job is done when you walk out the door. After that, the life of your tattoo is in your hands. This part is not optional.
Studio Red Flags and Green Flags
A professional studio should feel as clean as a doctor’s office. It’s not a negotiation. Here’s what to look for and what should make you walk away.
Green Flags (What you want to see): Look for current Bloodborne Pathogens (BBP) certificates on the wall. The artist should open all needles and ink caps—which must be single-use—right in front of you. Everything they might touch, from the machine and power supply to the chair and spray bottle, should be wrapped in disposable plastic barriers. They should welcome questions and show you healed photos of their work.
Red Flags (If you see this, leave): The artist works from their home (a huge no). The shop is visibly dirty or cluttered. They offer you a price that seems way too good to be true. They get defensive when you ask about their safety procedures. Your health is not worth saving a few bucks.
The Healing Process Step-by-Step
Follow your artist’s instructions to the letter. They generally go something like this:
Bandage: Leave the bandage on for a few hours, or as long as your artist tells you.
First Wash: After removing the bandage, gently wash the tattoo with lukewarm water and a mild, unscented liquid soap. Use only your clean fingertips. Pat it dry with a fresh paper towel—don’t use a bath towel.
Moisturize Lightly: For the next two weeks or so, wash the tattoo 2-3 times a day. After it’s dry, apply a VERY thin layer of unscented lotion. Less is more. You can find great options like Lubriderm, Aveeno, or a super-thin layer of Aquaphor at any pharmacy for about $10. Don’t suffocate it!
Don’t Scratch: Your tattoo will peel and flake like a sunburn. This is normal. Let the flakes fall off on their own. Picking at them can pull ink out.
No Soaking, No Sun: For at least two weeks, no pools, no hot tubs, no oceans, no baths. And keep it out of direct sunlight.
The
1 Rule for Long-Term Care
The sun is the absolute worst enemy of your tattoo. UV rays break down ink particles, turning blacks to grey and making colors look faded and dull. Once your tattoo is fully healed, get in the habit of putting a high-SPF sunscreen on it anytime it’s going to be exposed. This single habit is the best thing you can do to keep your wolf looking bold for the rest of your life.
(Good to know: I’m a tattoo artist, not a doctor. If you see signs of infection like excessive redness, swelling, pus, or you get a fever, please contact a physician right away.)
Getting a wolf tattoo is a big deal. It’s a symbol, an art piece, and a technical process all rolled into one. It takes a little research, an investment in a real professional, and a promise to yourself to take care of it. In all my years doing this, I’ve learned the best tattoos come from a partnership. When you bring a powerful idea and trust my expertise to bring it to life, we can create something truly special together.
Galerie d’inspiration
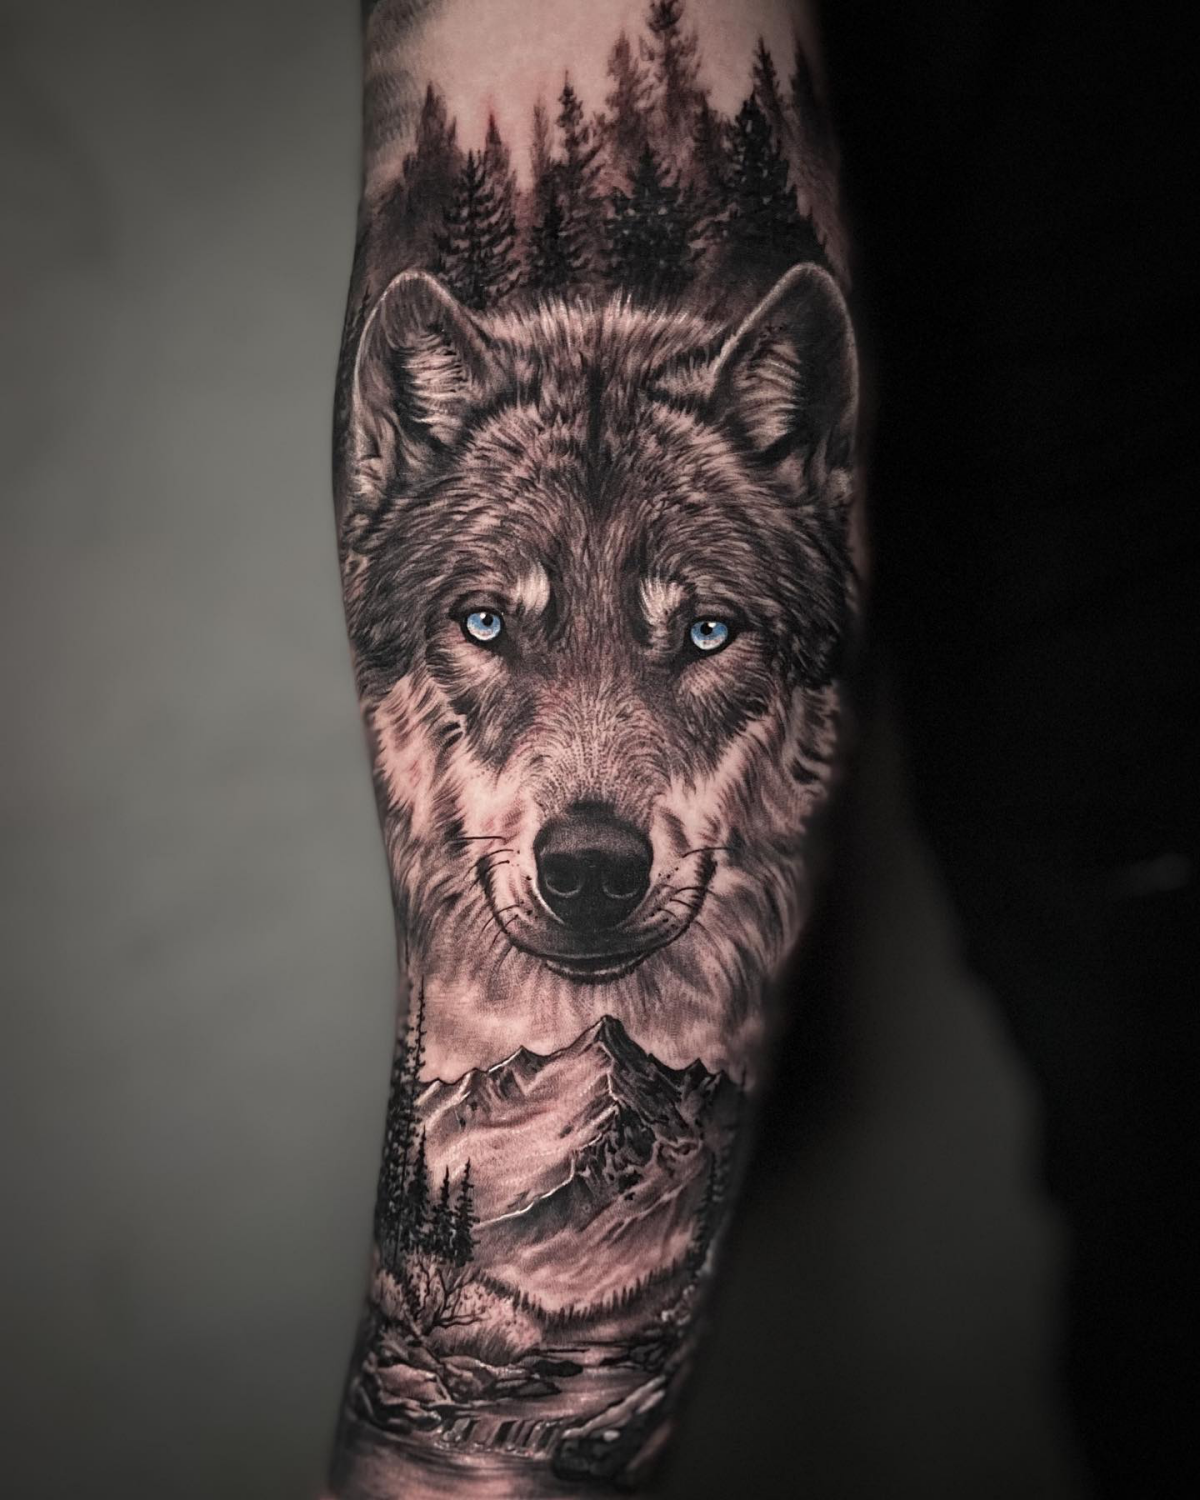
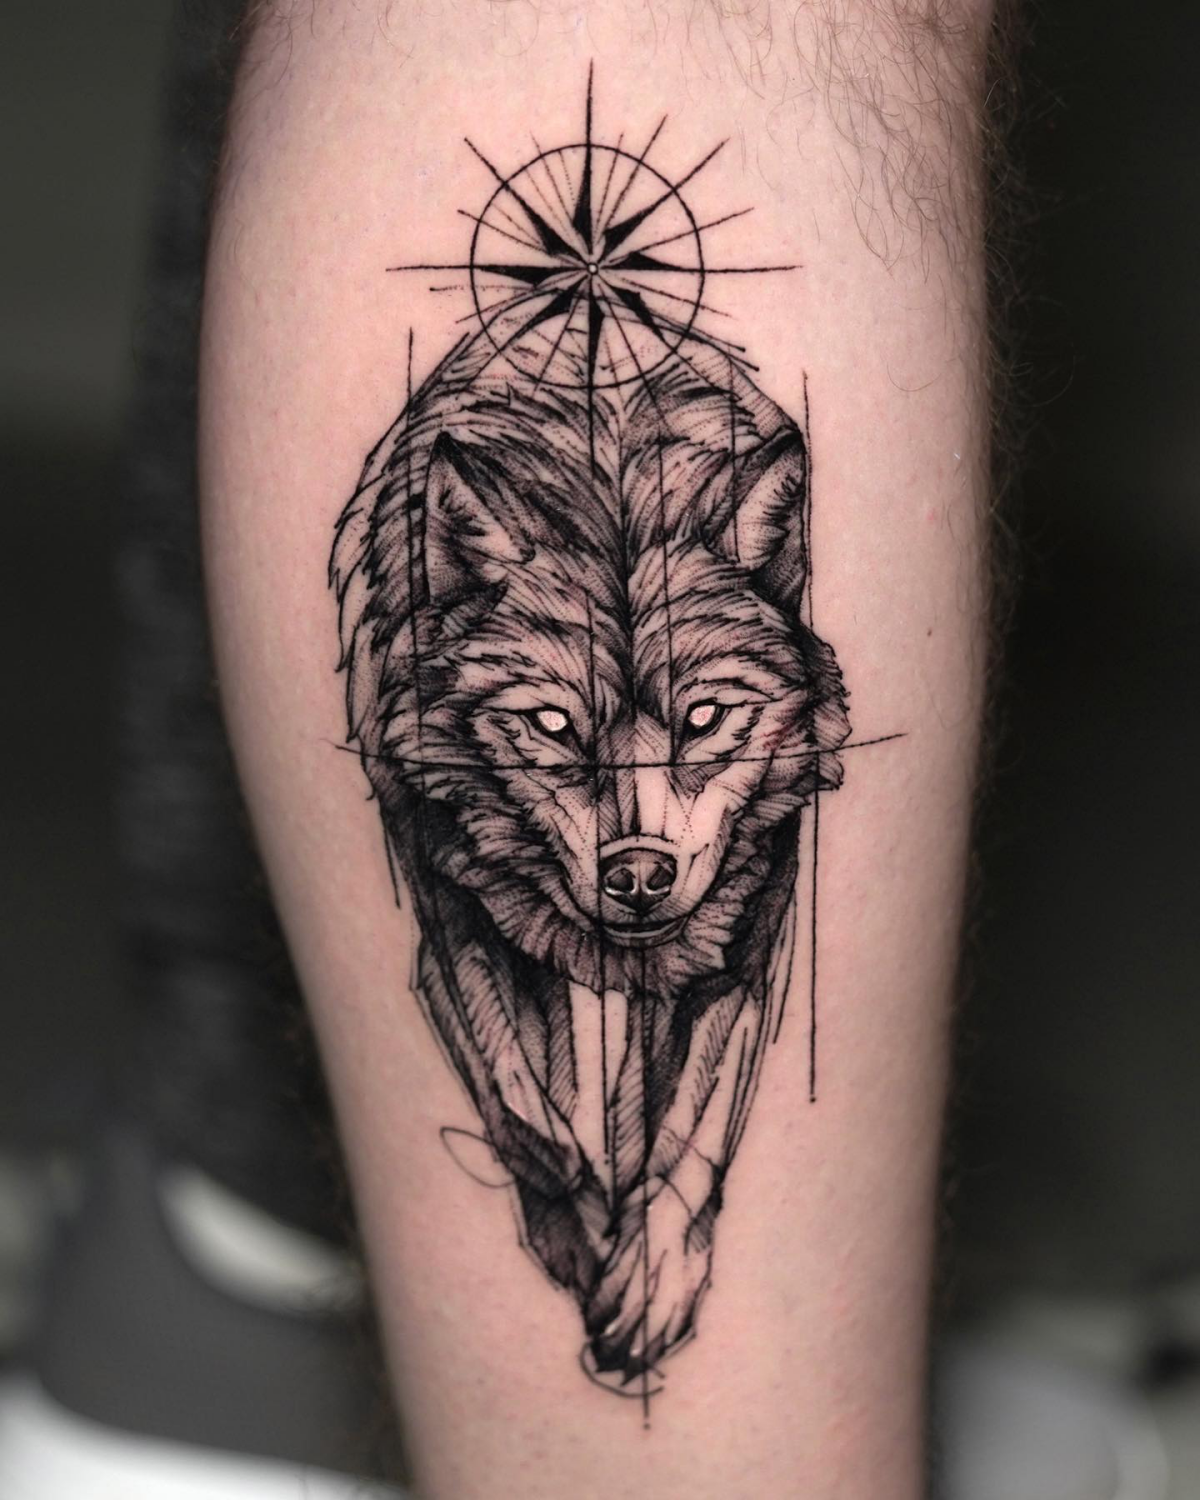
That fresh, detailed fur on your wolf tattoo needs the right protection to heal sharp. Many artists, myself included, now favor transparent adhesive films like Saniderm or Dermalize PRO. It acts like a second skin, protecting the piece from friction and bacteria while letting it breathe. You leave it on for several days, allowing the most critical healing phase to happen in a sterile, moist environment. This can be a game-changer for preserving those ultra-fine lines.
The oldest preserved tattoos in the world belong to Ötzi the Iceman, who lived over 5,300 years ago. While he didn’t have a wolf, his 61 tattoos were simple lines and crosses, proving the human desire for permanent marking is an ancient one.
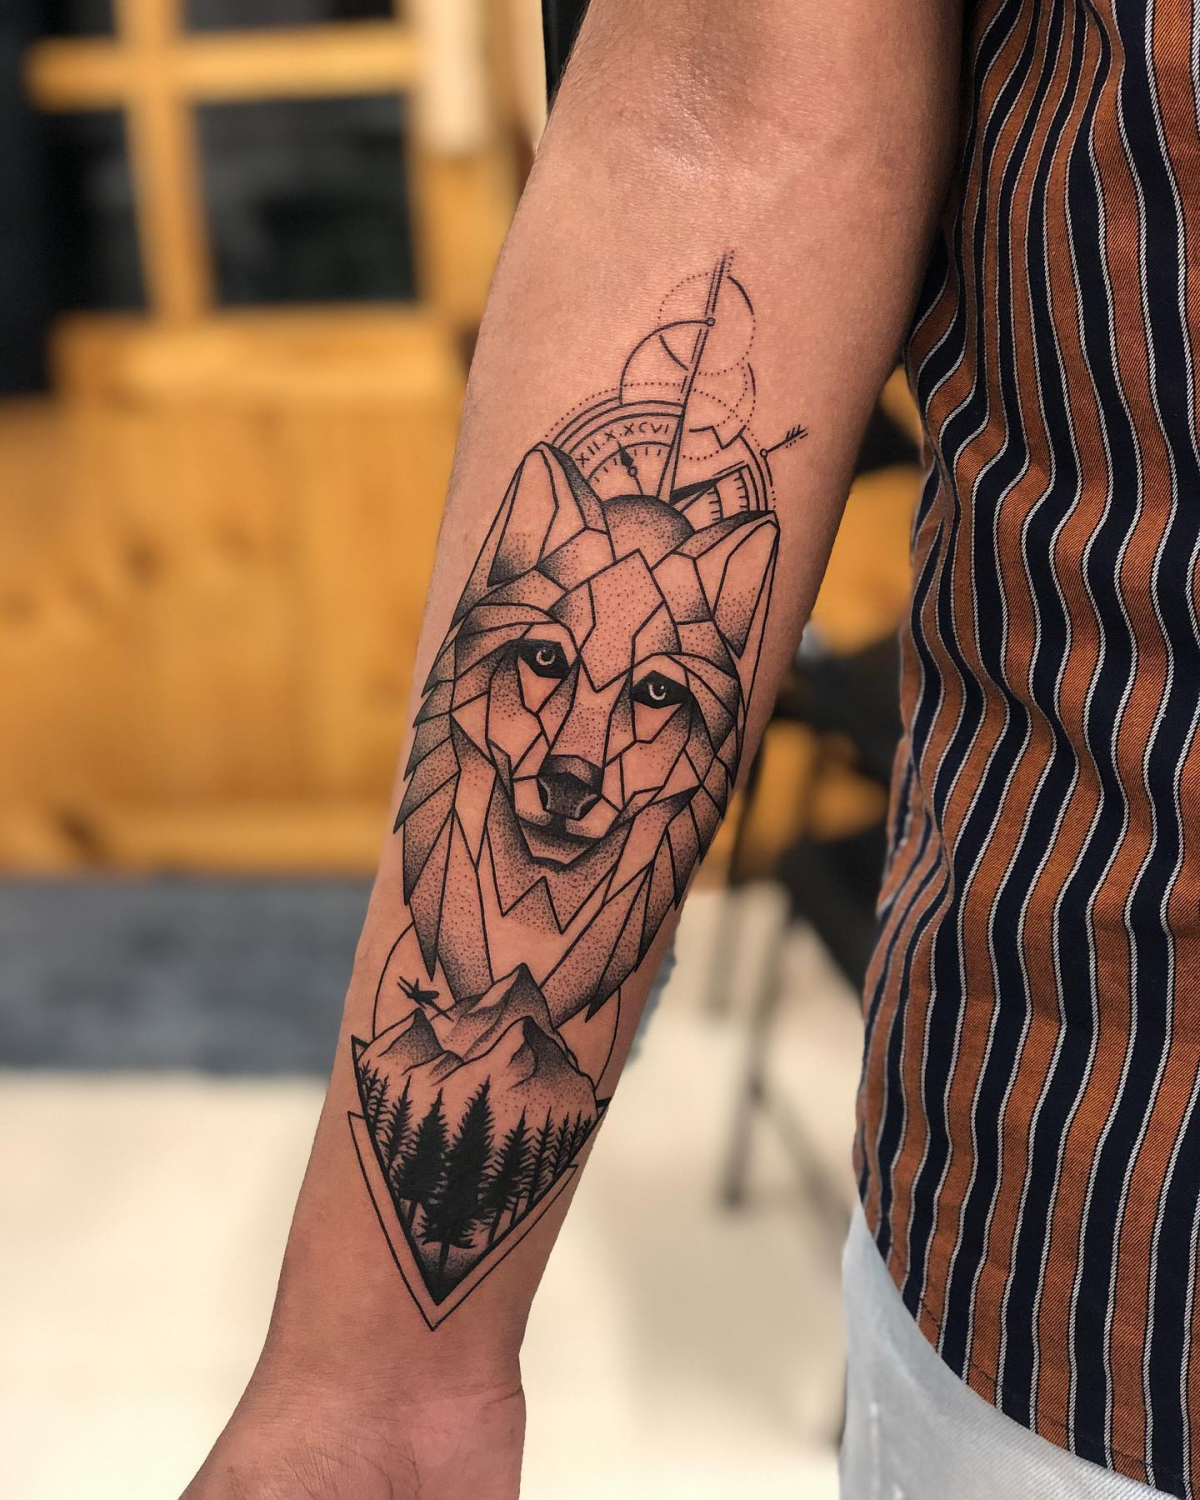
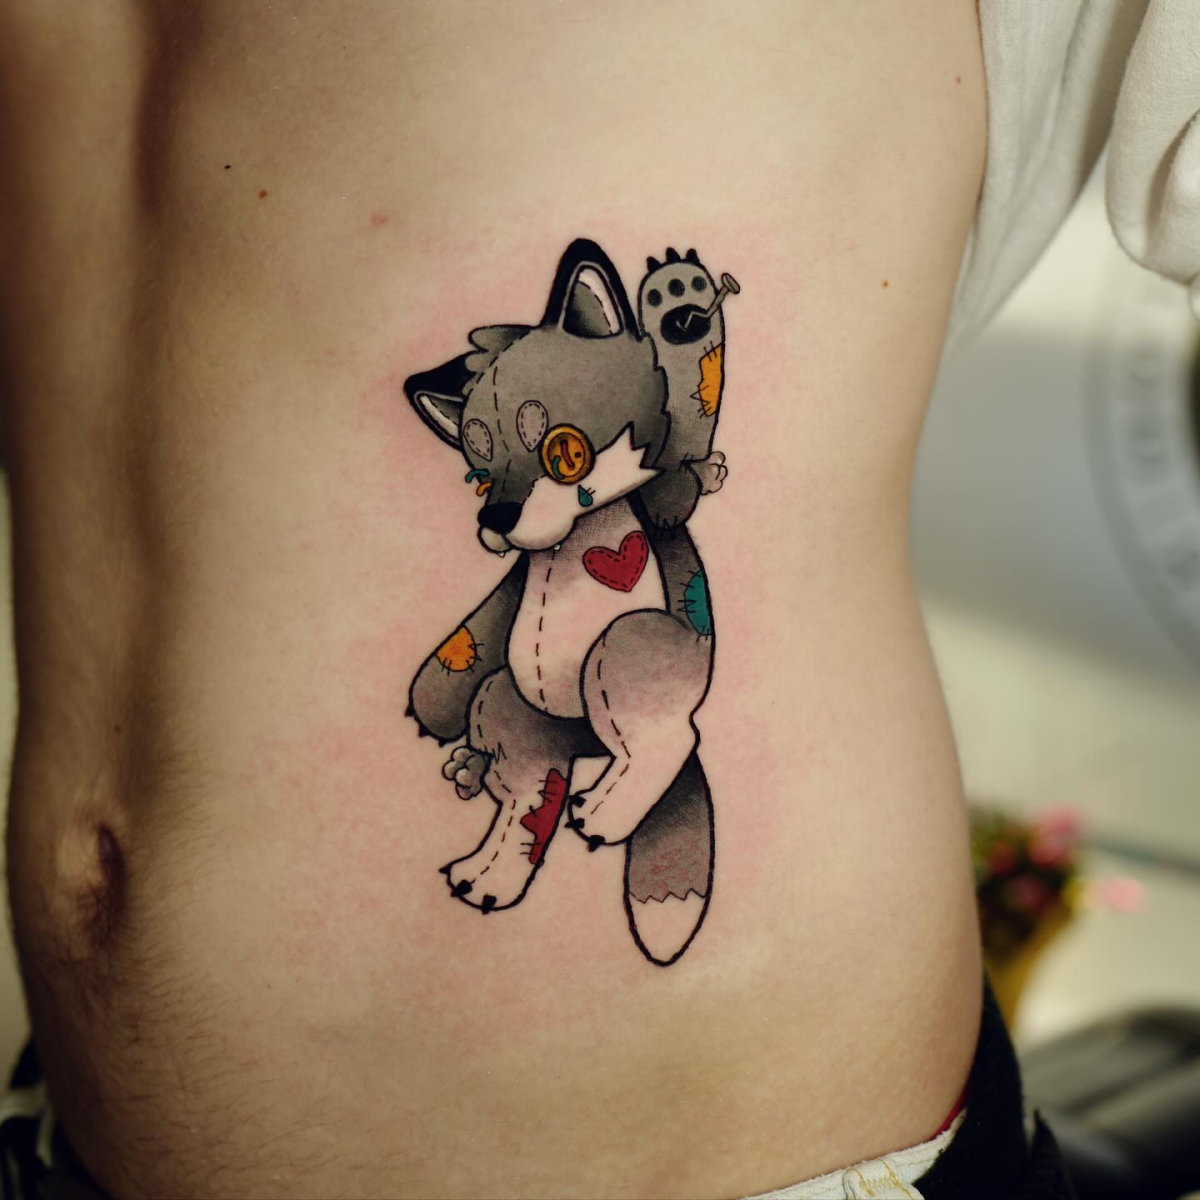
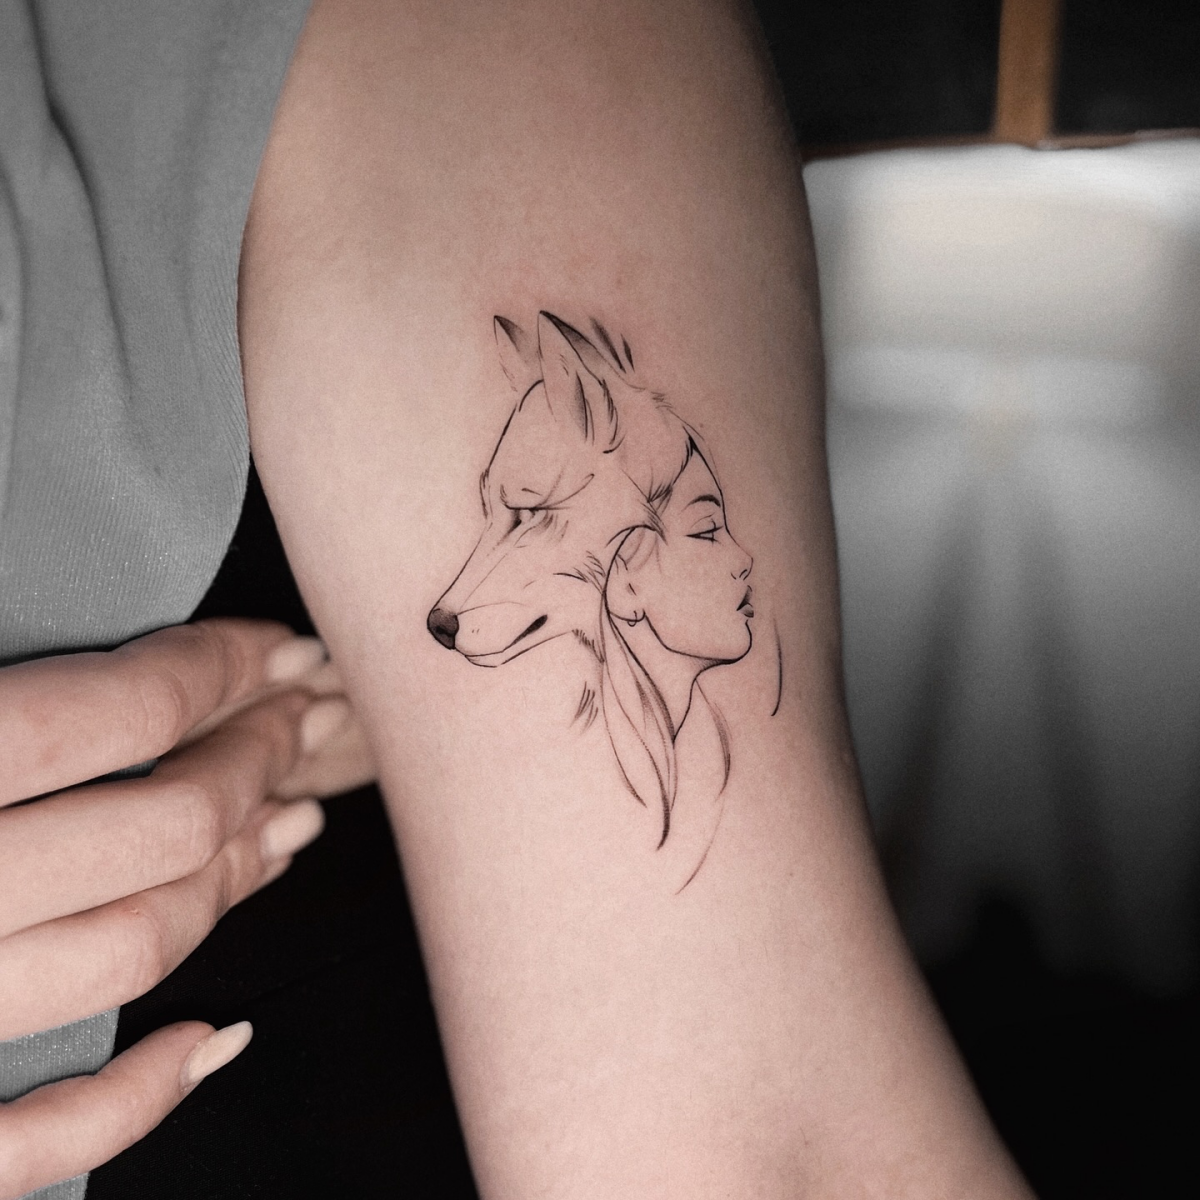
Thinking beyond pure realism? The wolf is a master of stylistic interpretation. Consider these approaches when talking to your artist:
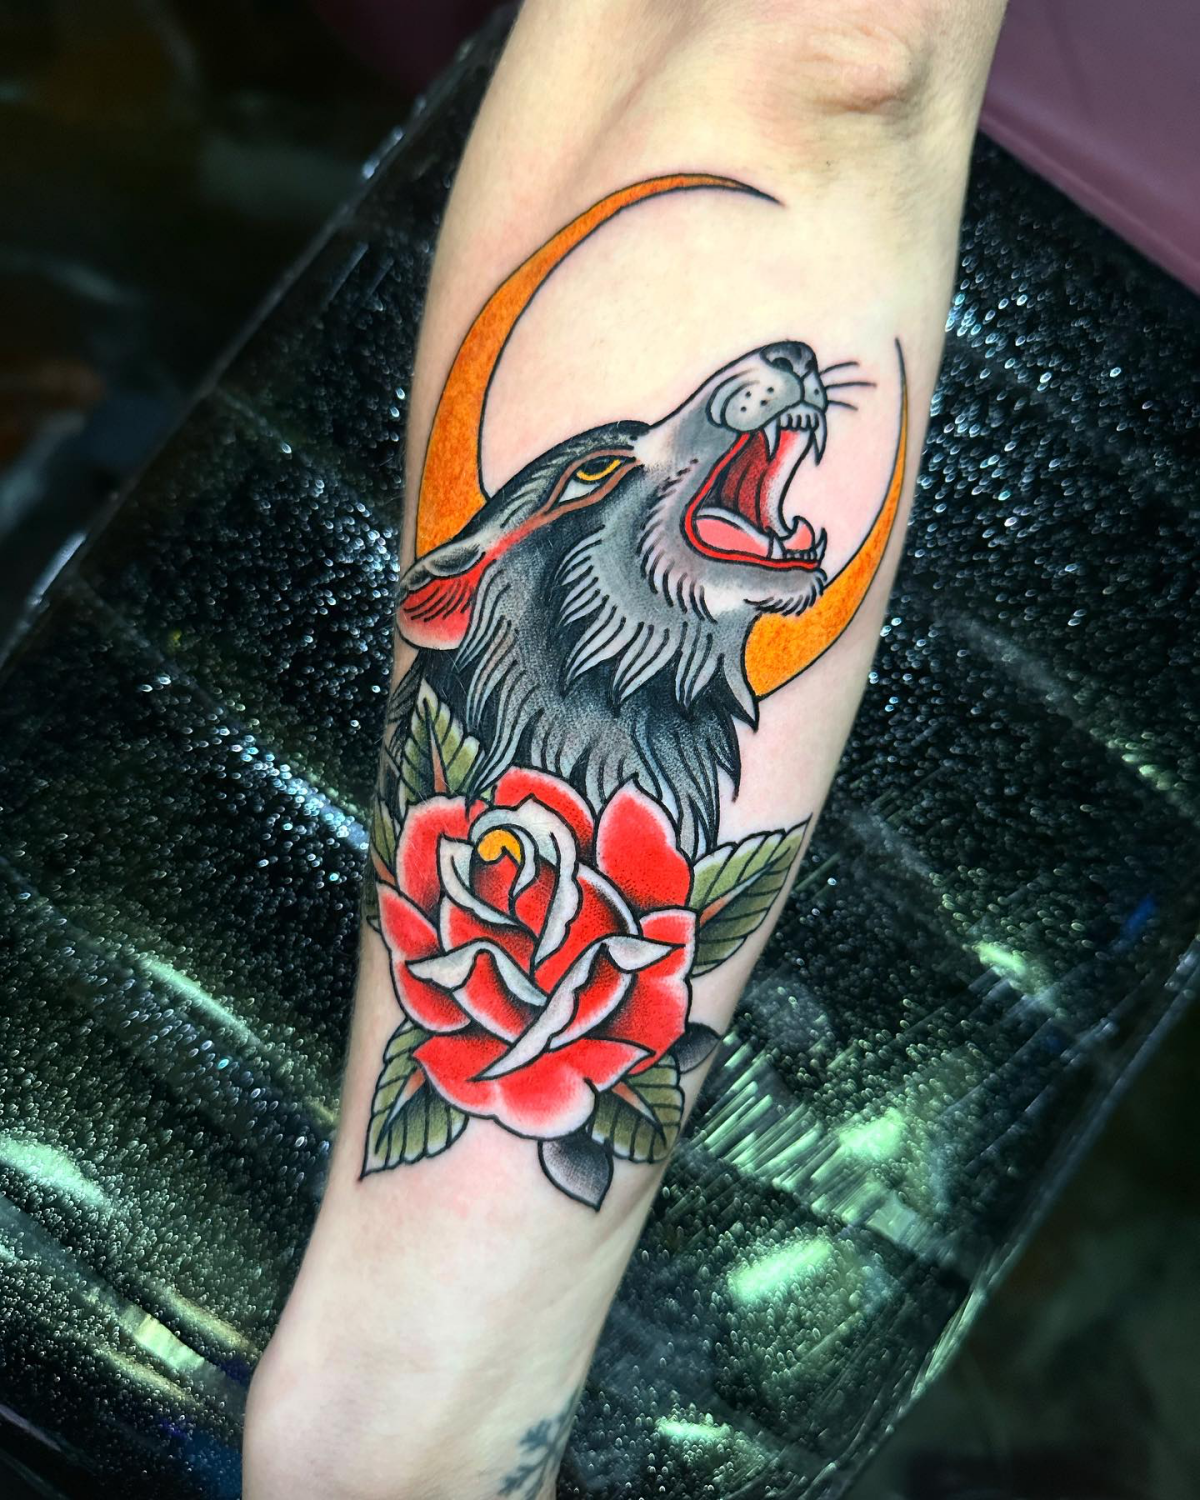
Neo-Traditional: Bold lines, a more illustrative feel, and a limited but rich color palette. Think of a wolf with deep gold eyes and ornamental leaves framing its face.
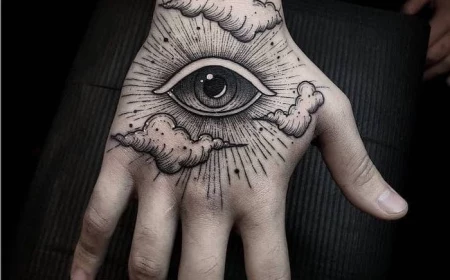
Geometric: Combining the wolf’s organic form with crisp lines, dots, and sacred geometry patterns. Perfect for a modern, symbolic take.
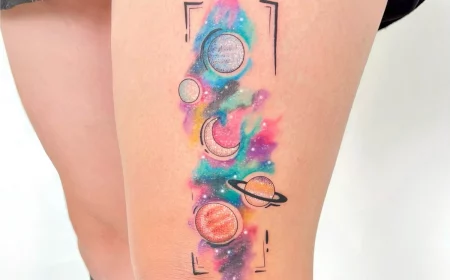
Watercolor: Soft edges and vibrant color splashes that bleed out from the main form, giving the wolf a dreamy, ephemeral quality.
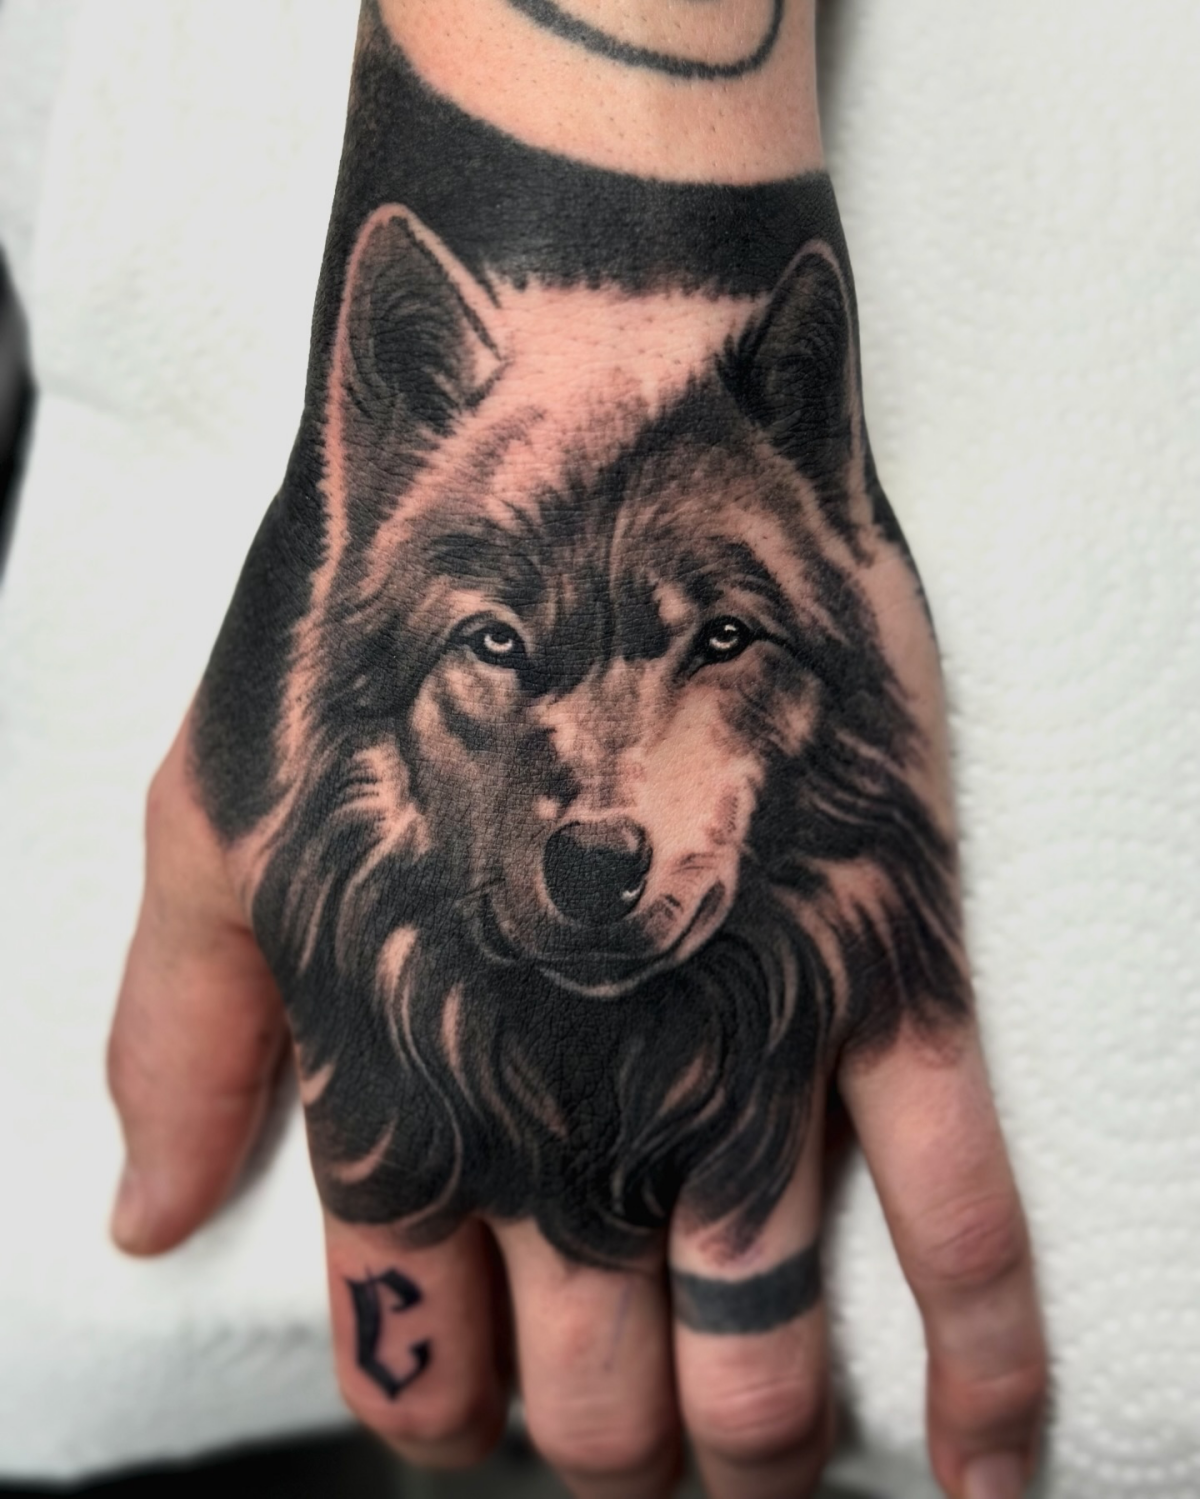
Important point: Don’t try to cram a hyper-realistic, full-face wolf portrait onto a small area like your wrist or ankle. Over time, ink spreads slightly under the skin. Those tiny, delicate details that create the illusion of fur and the glint in the eye will blur together, turning your powerful wolf into an unreadable grey smudge. For detailed portraits, give the artist a proper canvas, like a bicep, calf, or shoulder blade.
Just a black and grey wolf, or something more?
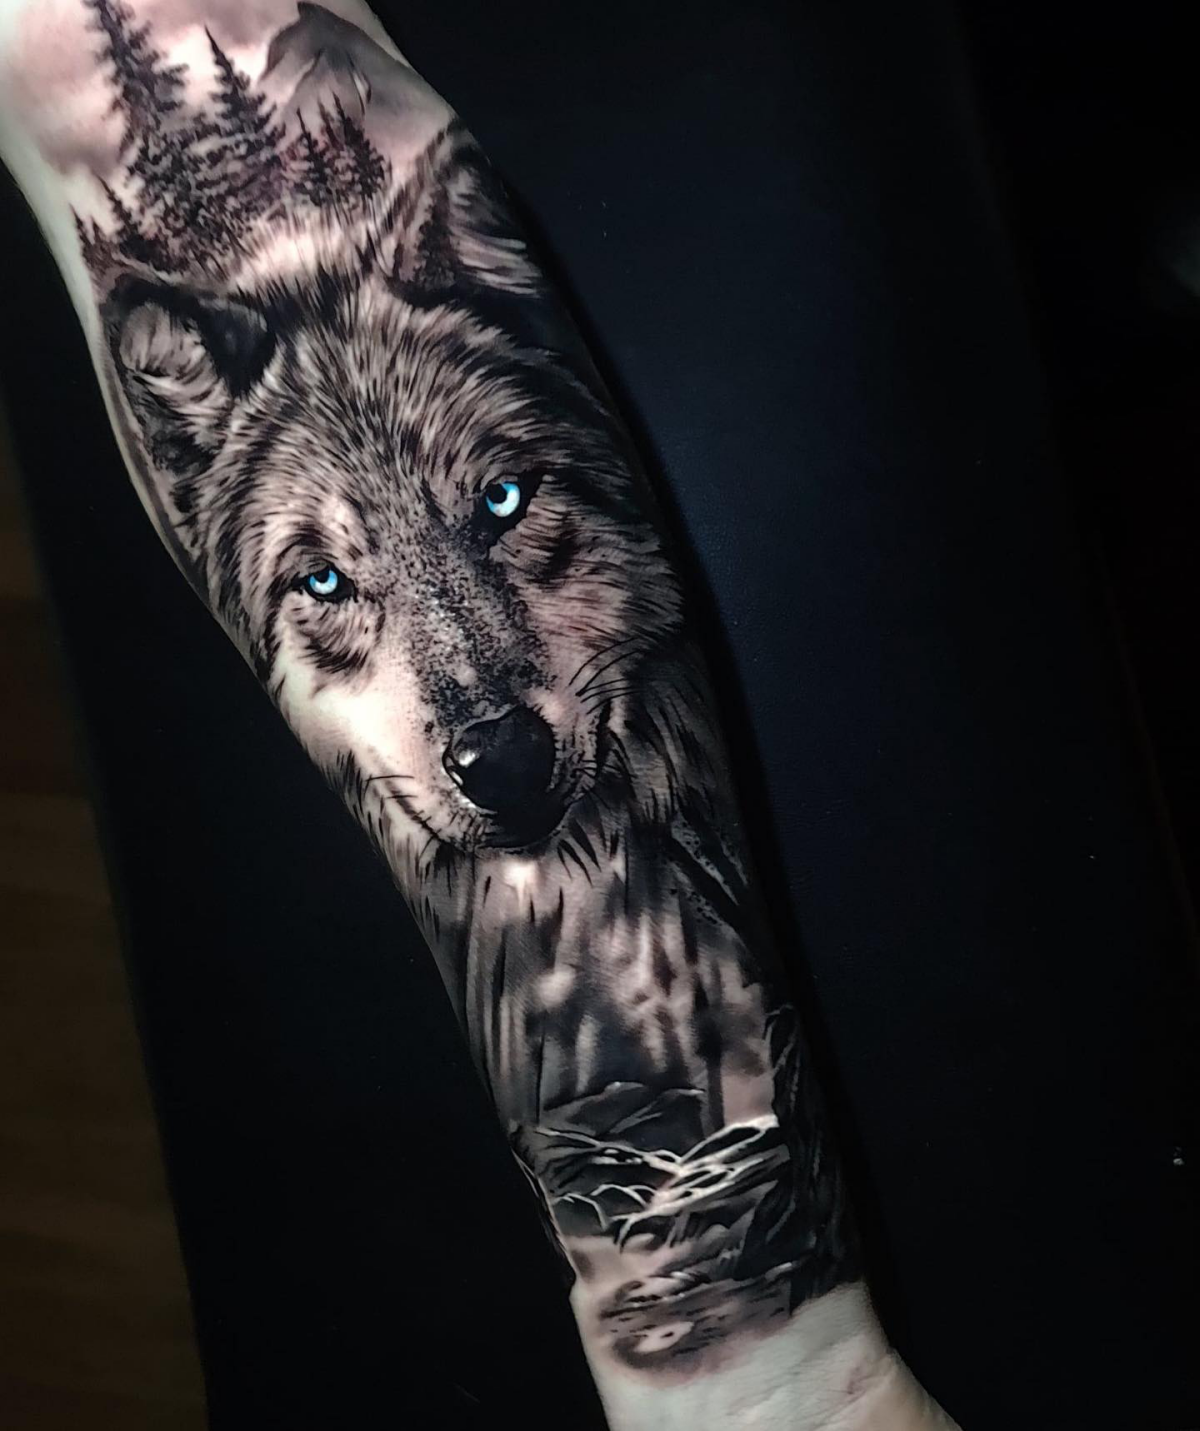
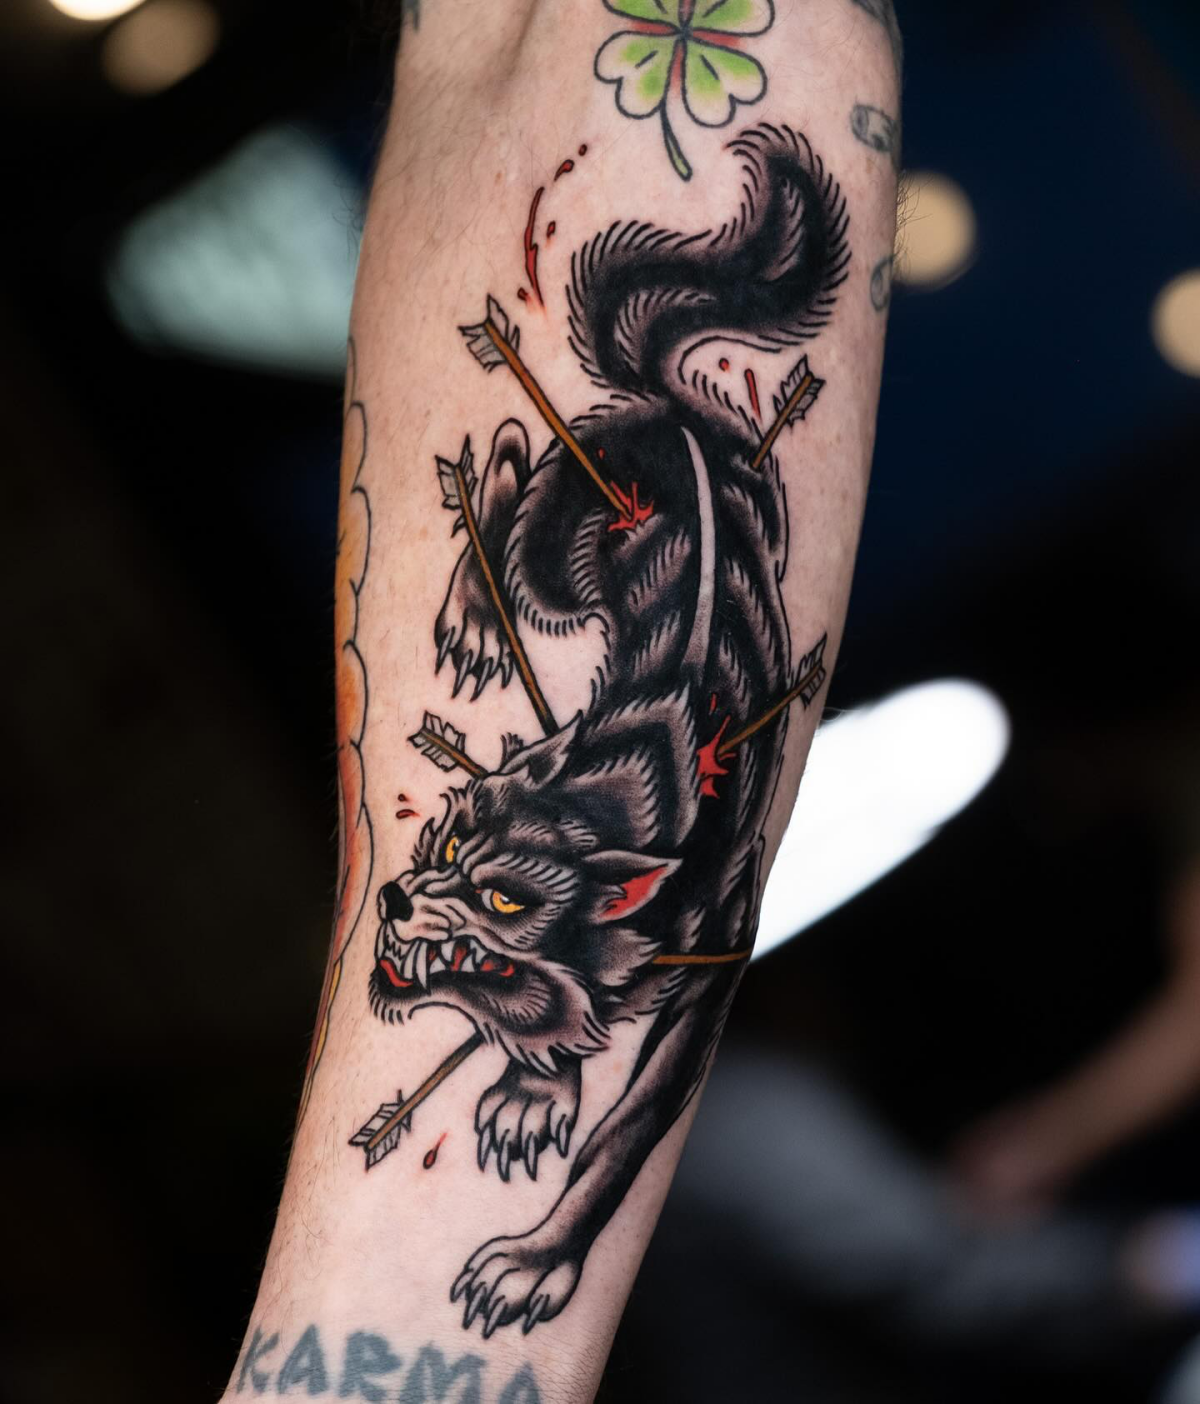
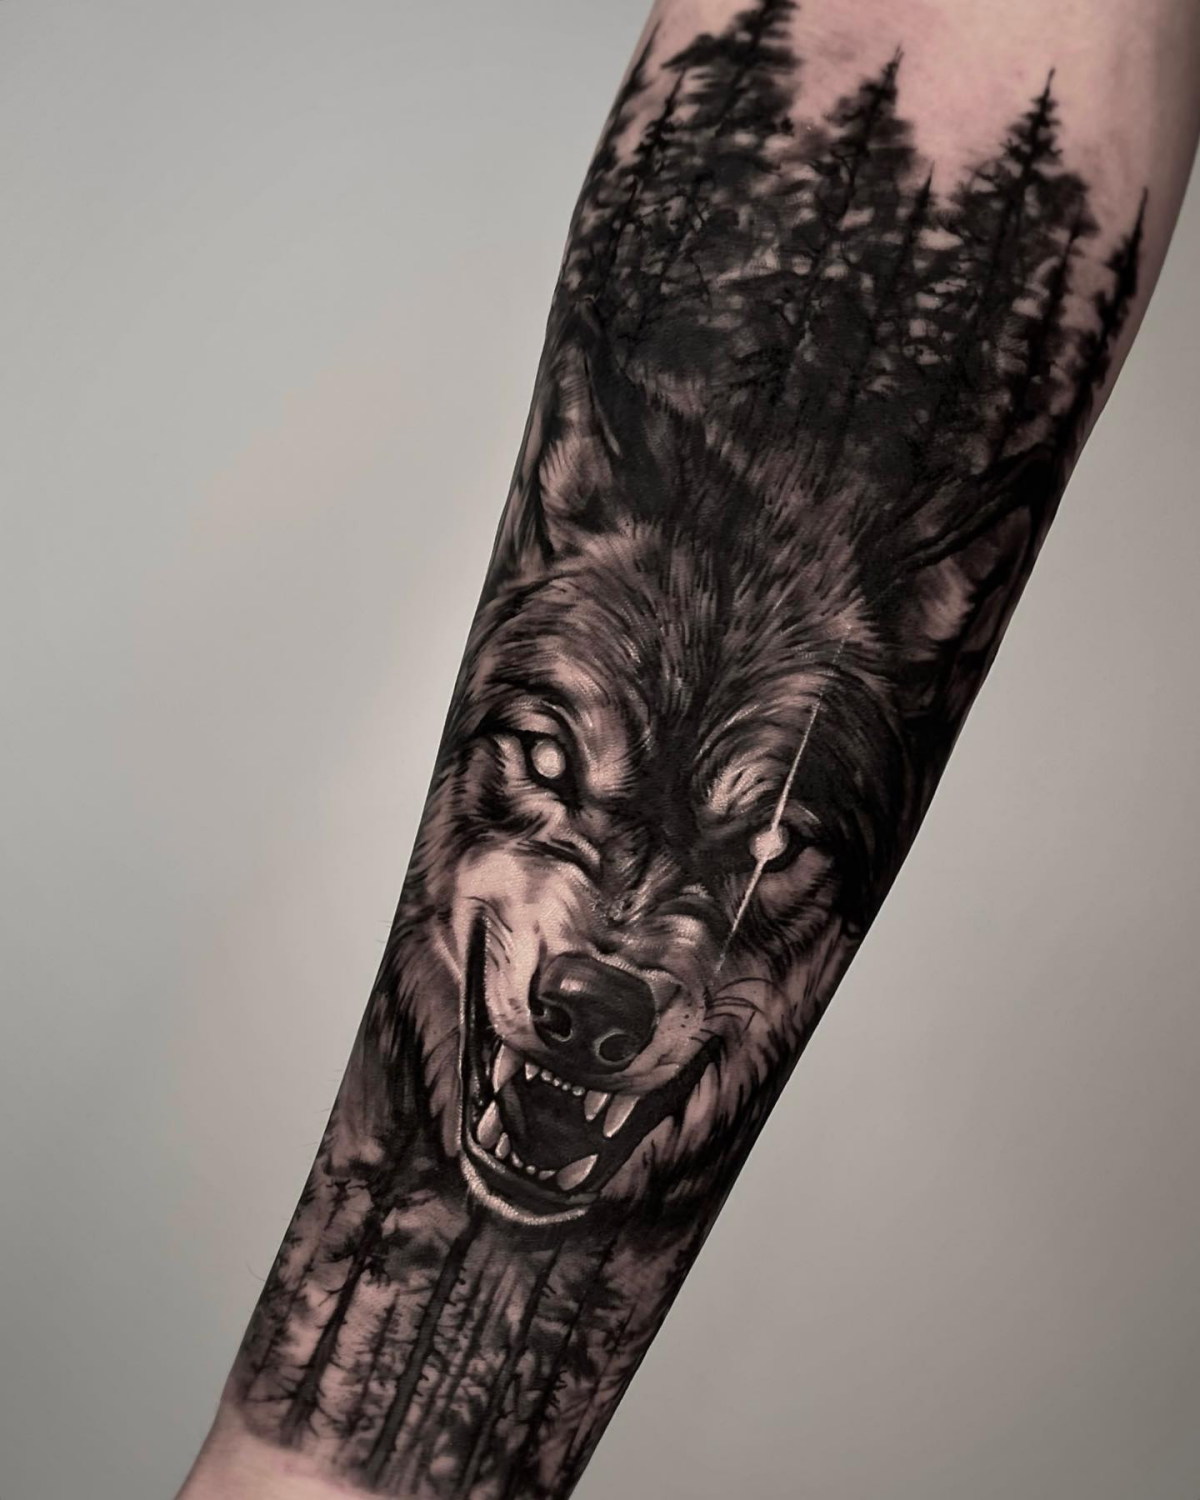
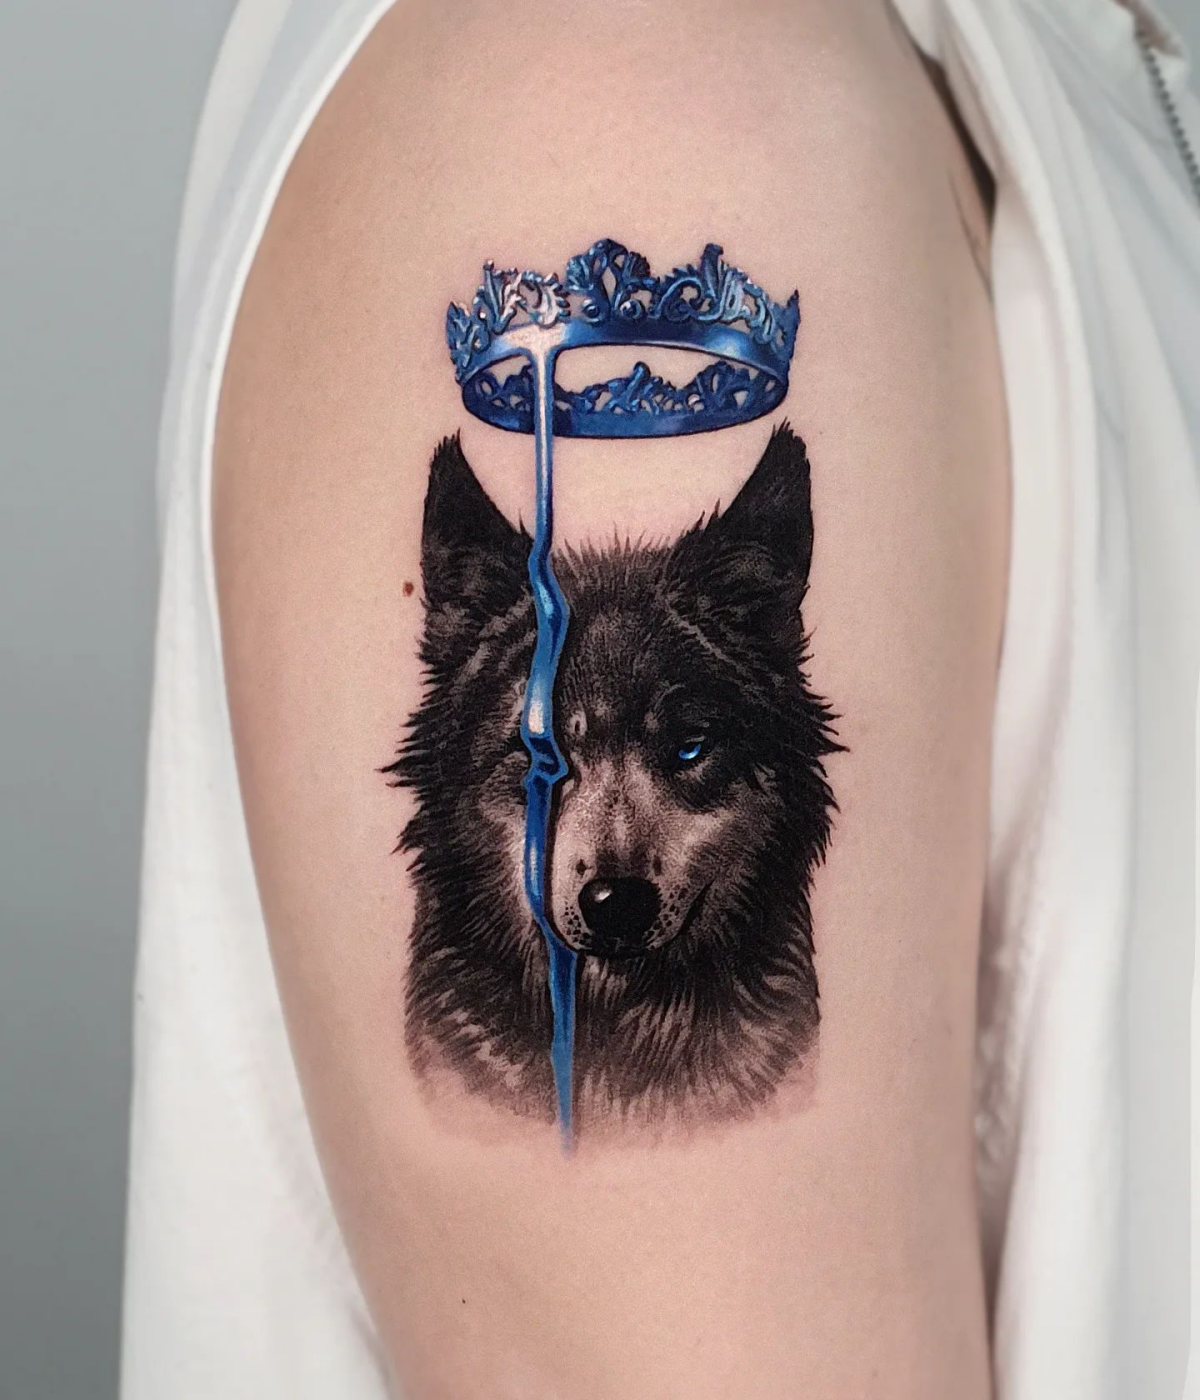
The colors you choose can completely transform the mood and meaning of your tattoo. A wolf is never just a wolf. With black and grey, the focus is on texture, form, and raw emotion. But a strategic touch of color adds a new narrative layer. A splash of blood-red can signify ferocity or a painful past. Ice-blue eyes can convey a supernatural, piercing intelligence. Even background elements, like a deep green forest or a golden full moon, situate your wolf in a world of its own, giving it a story to inhabit.
A design that remains clear and powerful for decades.
Fur texture that suggests depth without turning into a blob.
An outline that holds strong as your body changes.
The secret? Designing for the future. A great artist doesn’t just tattoo for the photo you’ll take tomorrow; they tattoo for the person you’ll be in 20 years. This means using a strategic mix of bold and fine lines, ensuring enough negative space so details can breathe, and building contrast that will last.
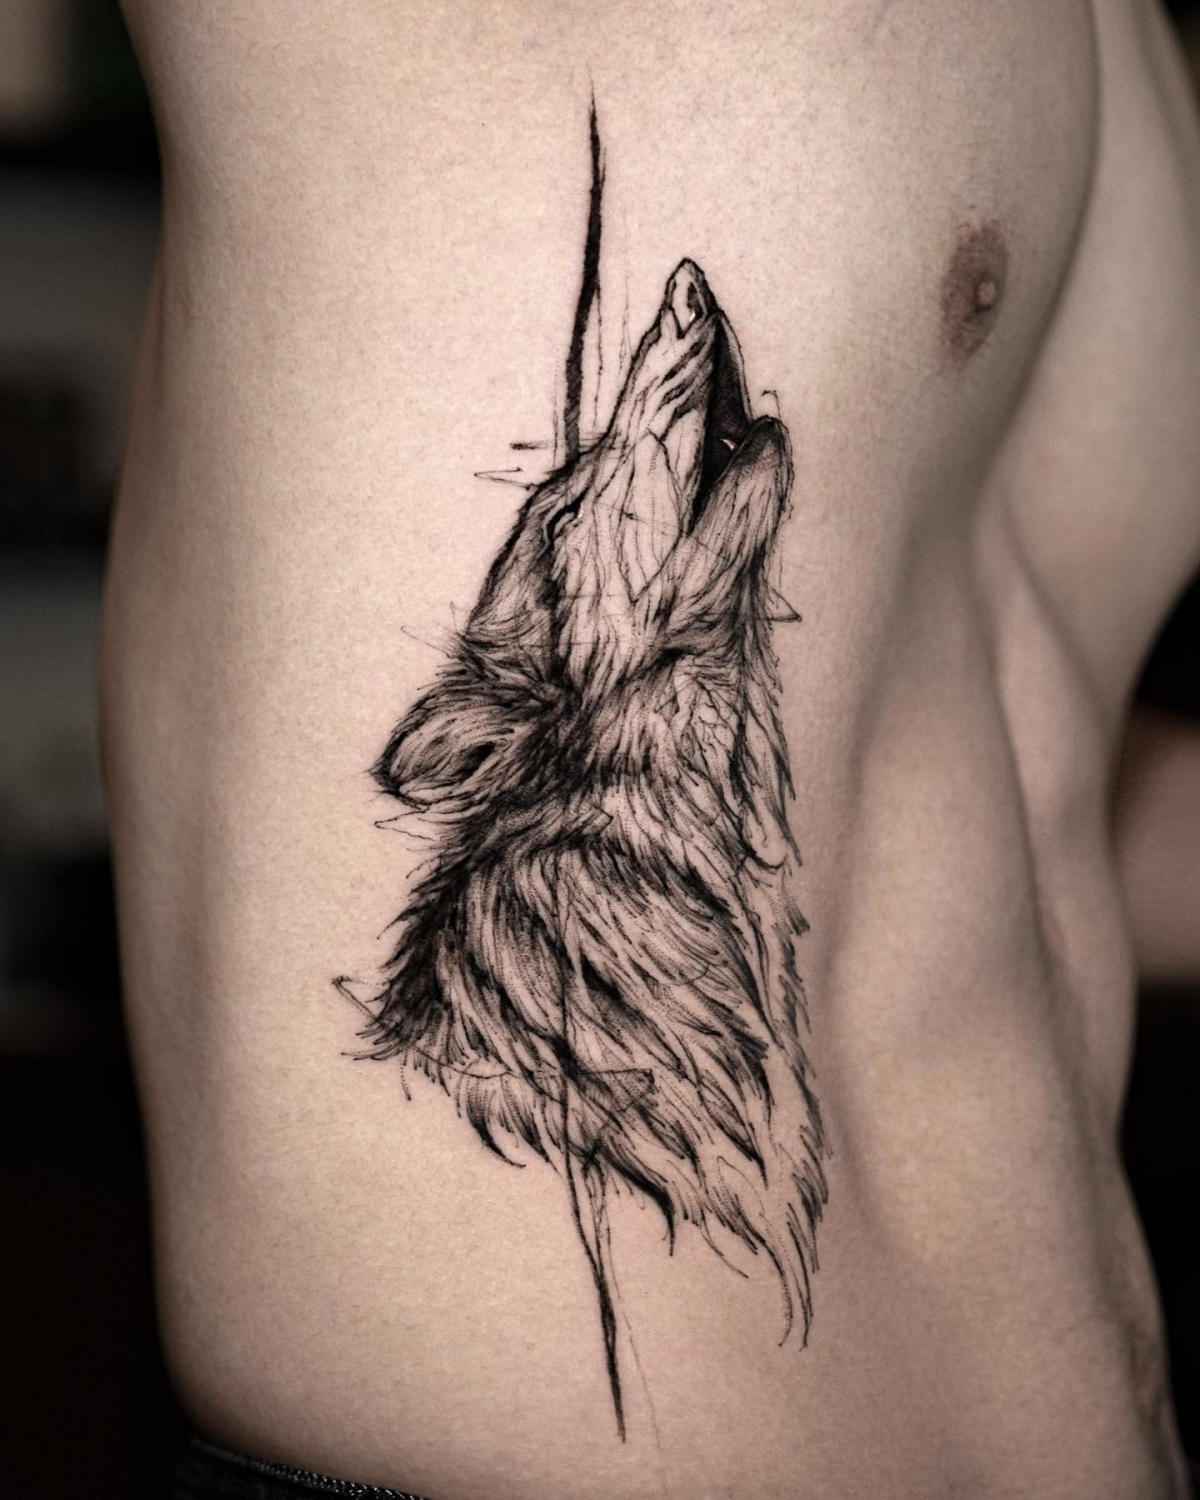
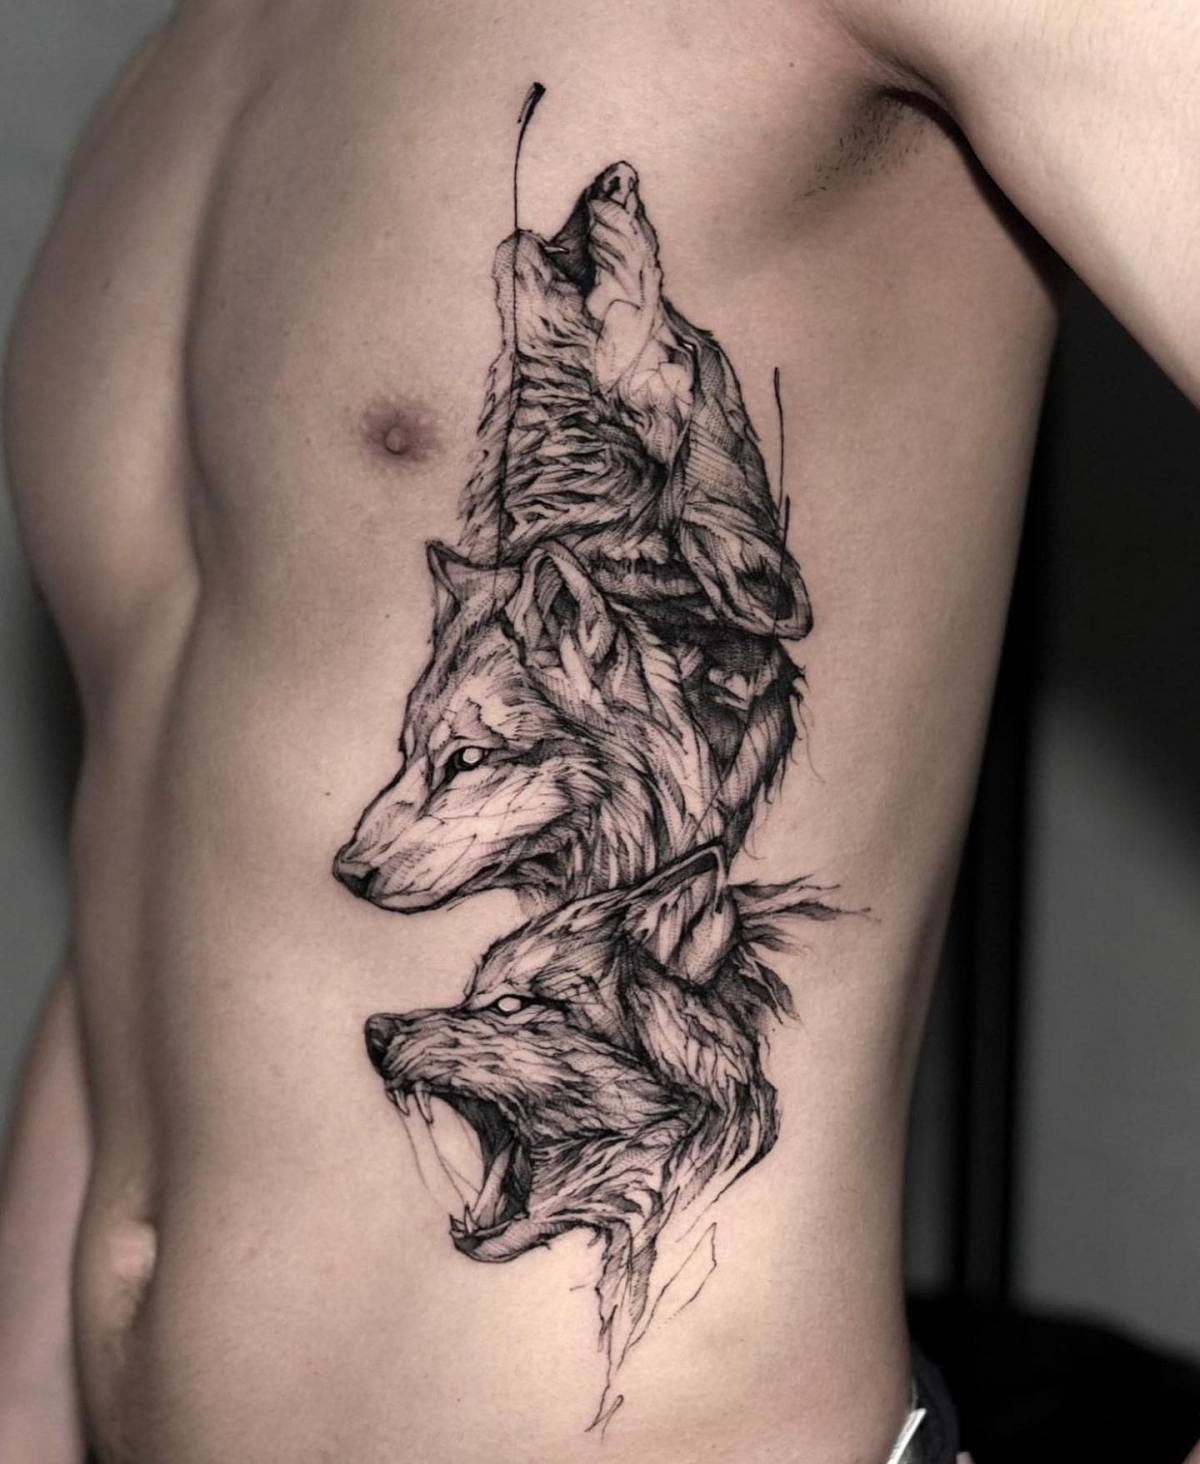
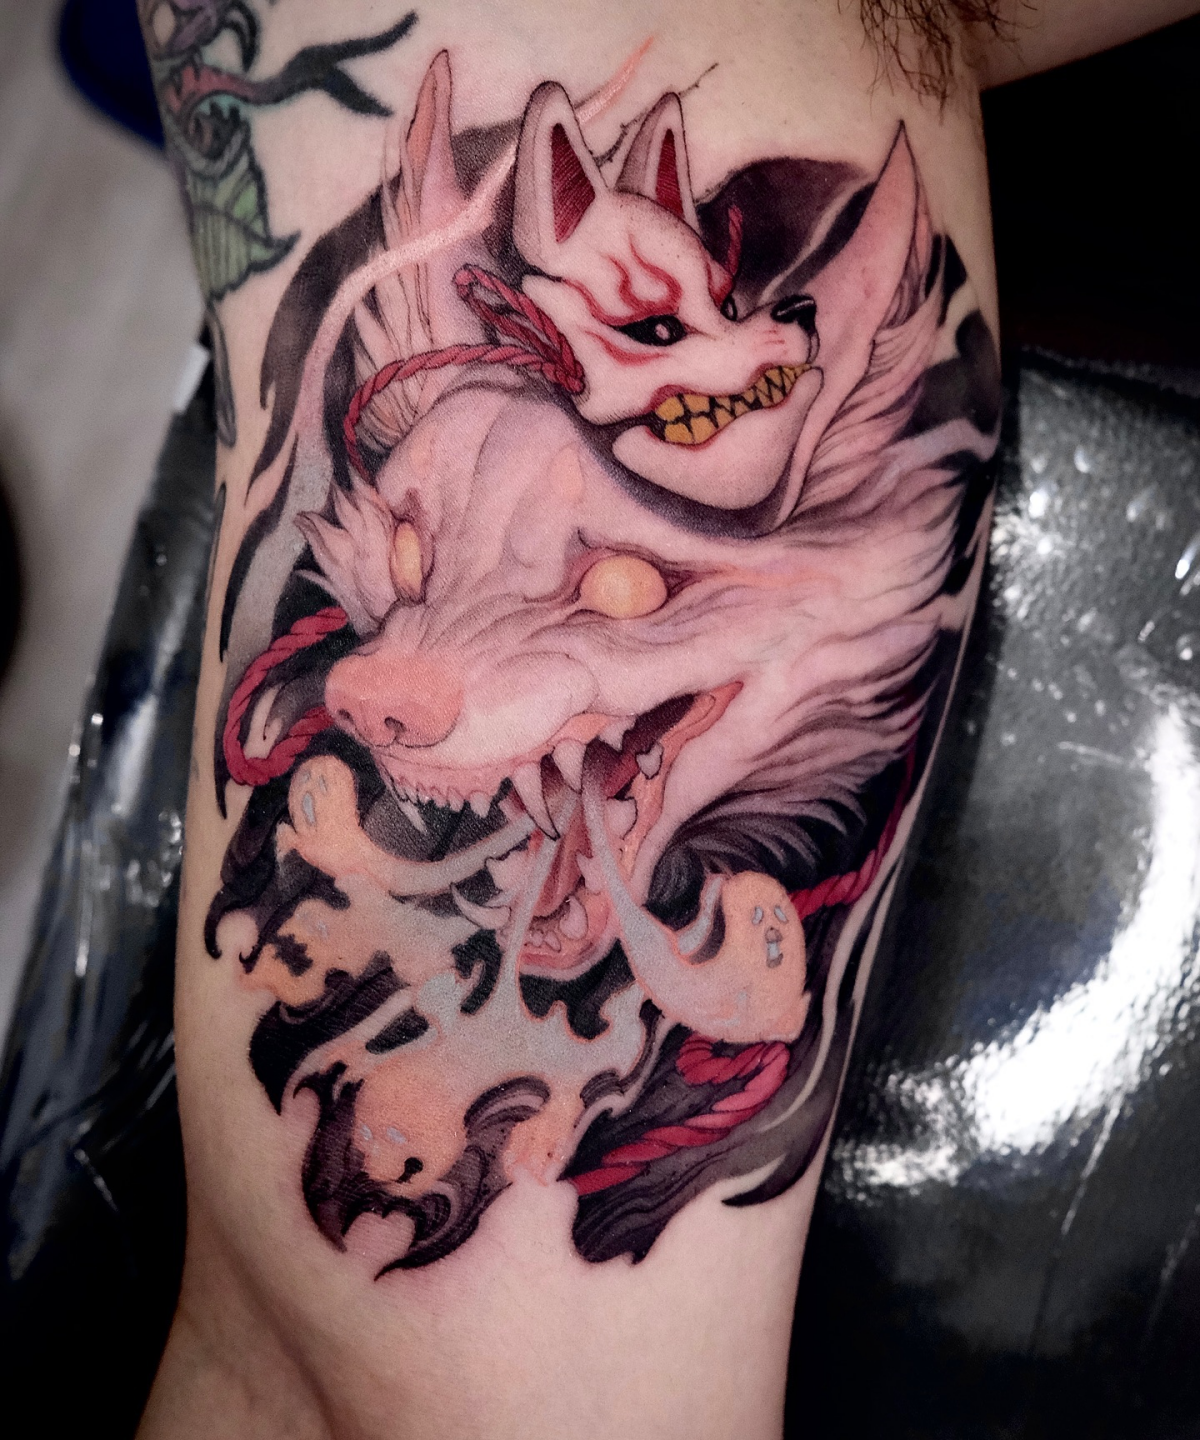
Realistic Howl: The focus here is on anatomical accuracy. The artist will use subtle shading to define the muscles in the neck, the tension in the snout, and the deep, cavernous shape of the mouth. The feeling is primal and visceral.
Symbolic Howl: This is less about realism and more about conveying an idea. The howl might transform into something else—sound waves, a constellation, or the silhouette of a forest. It’s an artistic interpretation of the wolf’s call.
The choice depends on whether you want to capture a moment in nature or express a more abstract feeling of freedom or communication.
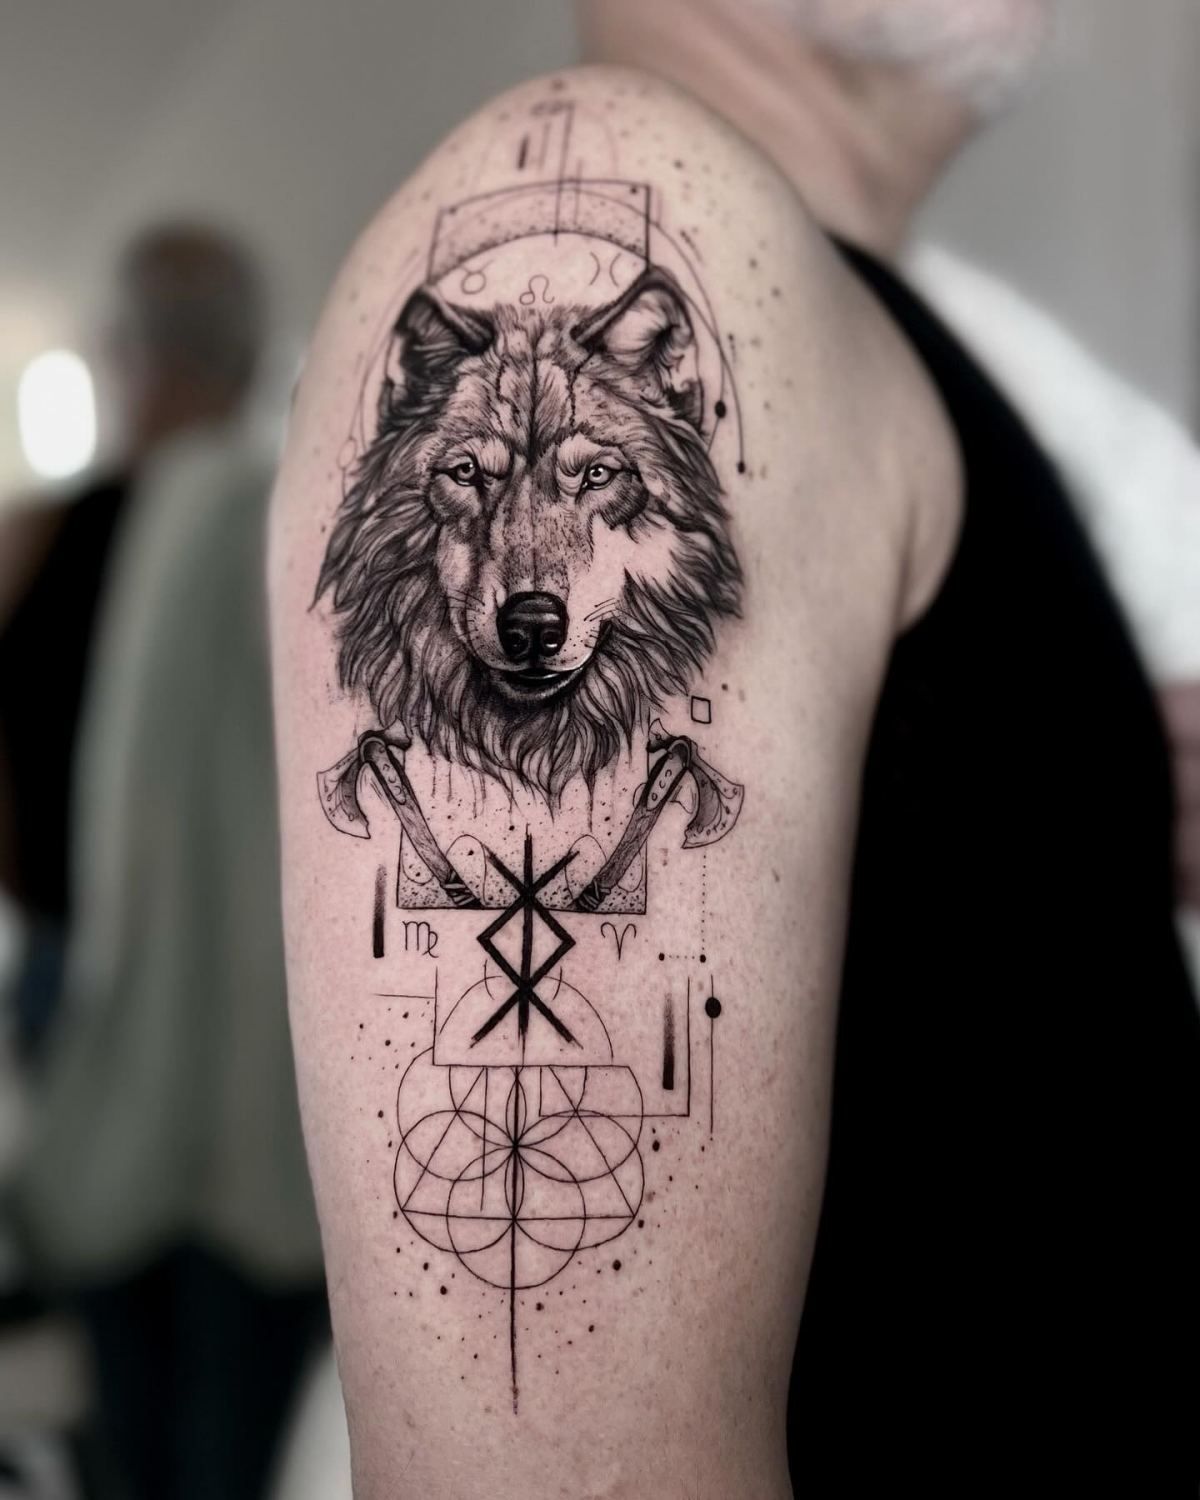
In Norse mythology, the giant wolf Fenrir was a symbol of untamable chaos, destined to fight Odin himself during Ragnarök, the end of the world.
This adds a layer of formidable, world-shaking power to the wolf’s image. A tattoo referencing Fenrir isn’t just about a wild animal; it’s about embracing a force of nature so great it could challenge the gods. It speaks to a rebellious spirit and an acknowledgment of the beautiful, destructive cycles of life.
Okay, let’s be real: how much will that big wolf piece on my back actually hurt?
There’s no single answer, but some areas are notoriously more sensitive. The spine is very bony with many nerve endings, so any linework directly on it will be intense. The shoulder blades and outer back are generally more manageable, with more flesh to cushion the needles. Expect the long shading sessions, where the artist builds up fur texture, to feel like a deep, persistent abrasion. It’s more of an endurance test than a sharp pain. Our advice? Get a great night’s sleep, eat a big meal beforehand, and bring headphones.
John combines 12 years of experience in event planning, interior styling, and lifestyle curation. With a degree in Visual Arts from California Institute of the Arts and certifications in event design, he has styled luxury weddings, corporate events, and celebrity celebrations. John believes in creating memorable experiences through innovative design and attention to detail.
To provide the best experiences, we use technologies like cookies to store and/or access device information. Consenting to these technologies will allow us to process data such as browsing behavior or unique IDs on this site. Not consenting or withdrawing consent, may adversely affect certain features and functions.
Functional
Always active
The technical storage or access is strictly necessary for the legitimate purpose of enabling the use of a specific service explicitly requested by the subscriber or user, or for the sole purpose of carrying out the transmission of a communication over an electronic communications network.
Preferences
The technical storage or access is necessary for the legitimate purpose of storing preferences that are not requested by the subscriber or user.
Statistics
The technical storage or access that is used exclusively for statistical purposes.The technical storage or access that is used exclusively for anonymous statistical purposes. Without a subpoena, voluntary compliance on the part of your Internet Service Provider, or additional records from a third party, information stored or retrieved for this purpose alone cannot usually be used to identify you.
Marketing
The technical storage or access is required to create user profiles to send advertising, or to track the user on a website or across several websites for similar marketing purposes.