Getting an Anchor Tattoo? Here’s What a Pro Wants You to Know
After more hours in a tattoo chair than I can count—both as an artist and a client—I’ve seen trends flash and fade. The anchor, though? It’s different. It’s a cornerstone of Western tattooing, one of the first things many of us learn to draw, and for a very good reason. It’s a rock-solid foundation.
In this article
I’ve probably inked hundreds of them, from tiny, subtle anchors tucked behind an ear to massive back pieces showing a ship battling the waves. And with every single one, I’m reminded that this isn’t just a cool image. It’s packed with history and resilience. Honestly, it’s also a design that really shows an artist’s skill.
You can find endless photo galleries online, but they rarely get into the nitty-gritty. They don’t explain why a bold, traditional anchor will still look sharp in 30 years while a wispy watercolor version might… well, not. They don’t talk about how the skin on your ribs feels completely different under the needle compared to your forearm. That’s the kind of knowledge you can only get from experience. So, my goal here is to share that practical, in-the-trenches know-how, so you can walk into a studio feeling confident and walk out with an anchor built to last.
The Tattoo Itself: More Than Just Ink and Skin
Before we even get to styles, let’s quickly cover what’s actually happening. A tattoo is as much a minor medical procedure as it is an art form. Understanding the mechanics helps you appreciate the skill involved and make smarter choices for your own body.
Basically, a professional tattoo machine uses super-fine needles to deposit ink into the dermis, which is the stable layer of skin below the outer layer that constantly sheds. Your immune system then kicks in, sending cells to surround the ink particles, essentially locking them in place. That’s why it’s permanent—it’s your own body holding the art for you.
This is also why a cheap tattoo can be a disaster. If an artist doesn’t go deep enough, the tattoo will fade as your skin sheds. But if they go too deep, you get a ‘blowout’—that ugly, blurry, bruised look where the ink has spread into the fatty layer beneath. I see it most often on thin-skinned areas like the inner wrist or ankle, and heads up, it’s a permanent mistake that’s incredibly difficult to fix.
Placement, Pain, and Your Skin
Every person’s skin is a unique canvas. I have to assess it the moment someone sits down. Younger skin is often elastic and amazing to work on, while older skin might be thinner. Sun-exposed skin on an outer forearm can be tough and leathery, requiring a different approach than the soft skin of the inner bicep.
And then there’s the pain. It’s subjective, of course, but some spots are universally a bit more… spicy. Here’s a quick rundown of what to expect:
- The Easy Spots (Pain: 2-4/10): Think outer thigh, calves, outer bicep, and most of the forearm. These areas have good muscle or fat padding, making them a great choice for your first piece. It’s more of a persistent, scratchy annoyance than true pain.
- The Middle Ground (Pain: 5-7/10): This includes shoulders, the upper back, and the stomach. Totally manageable for most people, but you’ll definitely feel it more.
- The Spicy Spots (Pain: 8-10/10): Alright, let’s be real. The rib cage, sternum, spine, feet, hands, and neck are intense. The skin is thin and stretched right over bone. I always tell my clients that a rib piece is a serious commitment to discomfort. Plan accordingly!
By the way, your skin tone plays a role here, too. Richly pigmented skin is gorgeous for tattooing, but it’s good to know that ultra-fine lines or very subtle color shading might not have the same high contrast as on lighter skin. For this reason, many pros recommend designs with strong, clear outlines to ensure the tattoo stays bold and readable for decades.
Anchor Styles: A Technical Look at What Lasts
The anchor can be done in any style, but some are just better suited to its bold form and roots. When I consult with a client, we don’t just talk about what looks cool today, but what will age gracefully and honor the tradition.
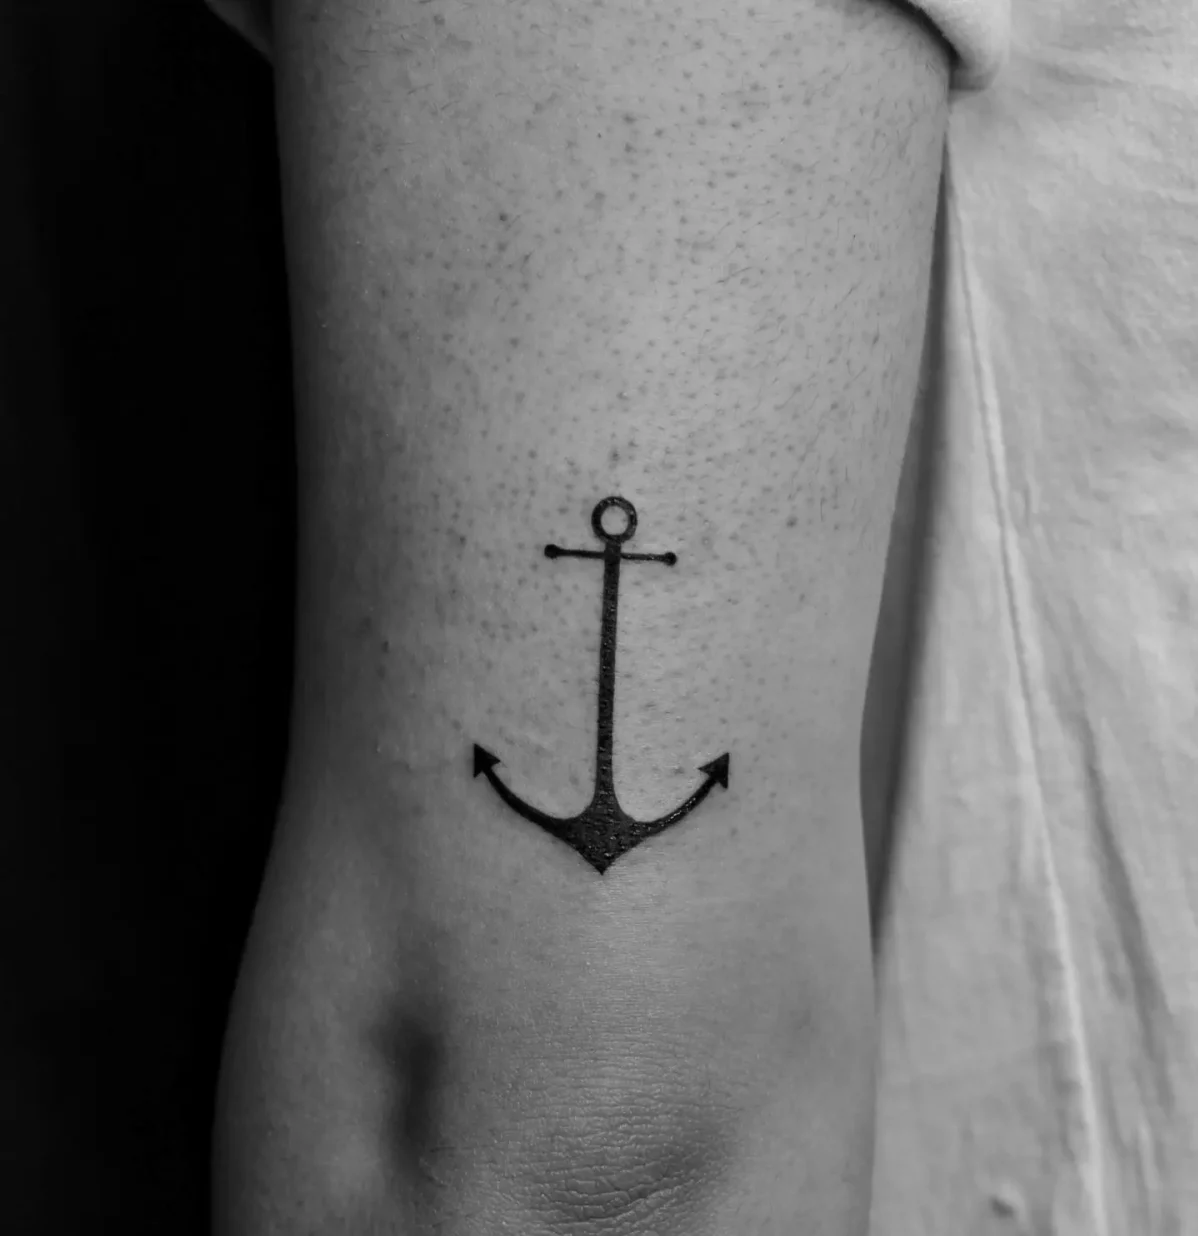
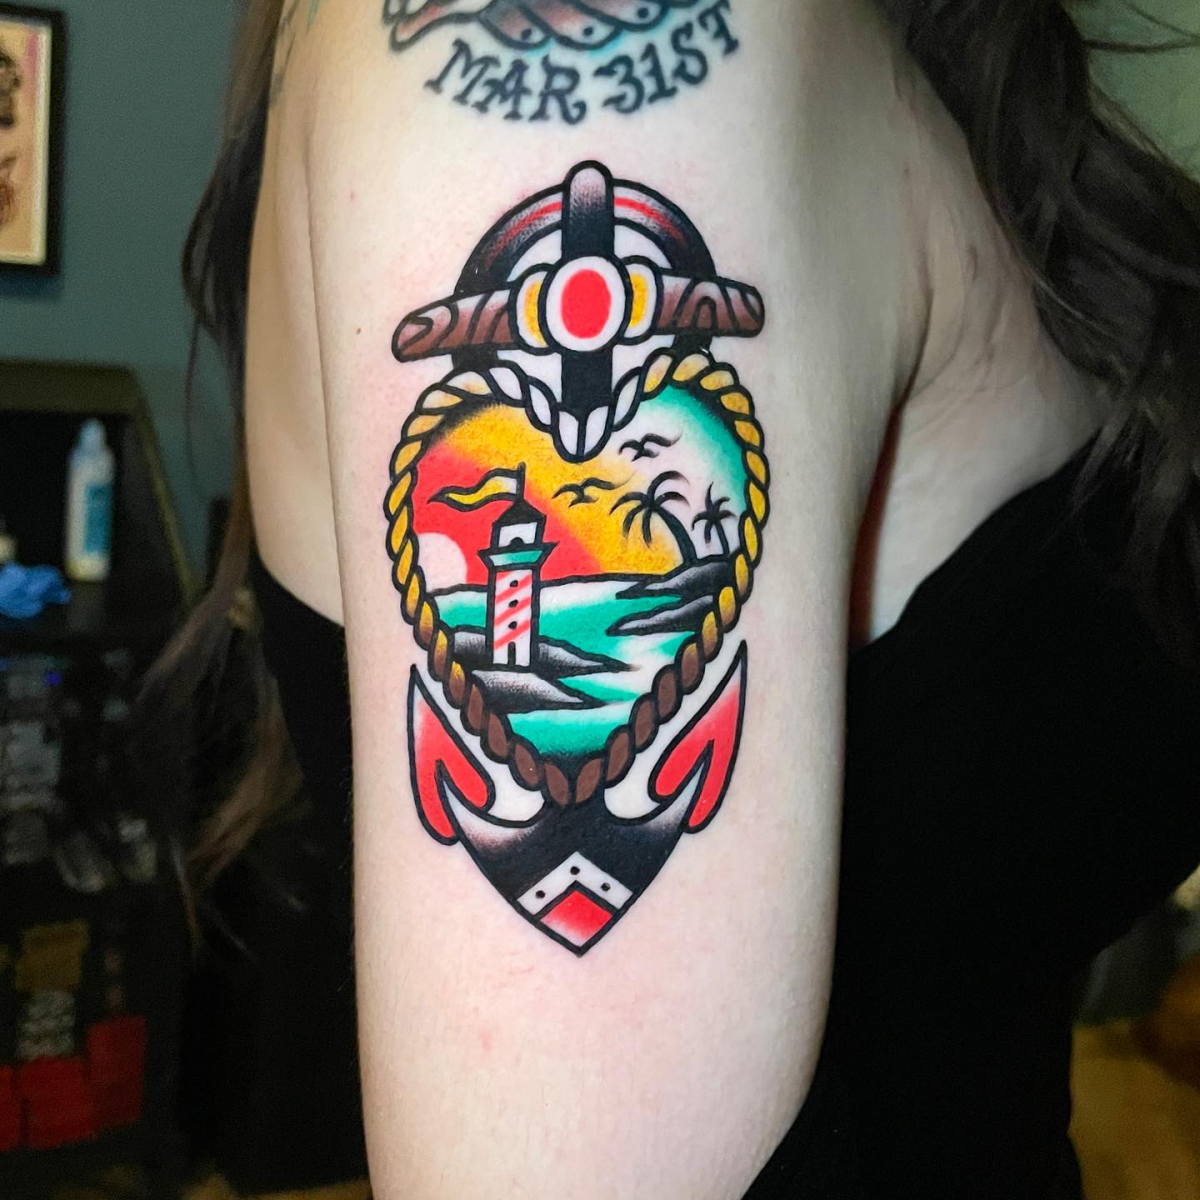
American Traditional: The Gold Standard
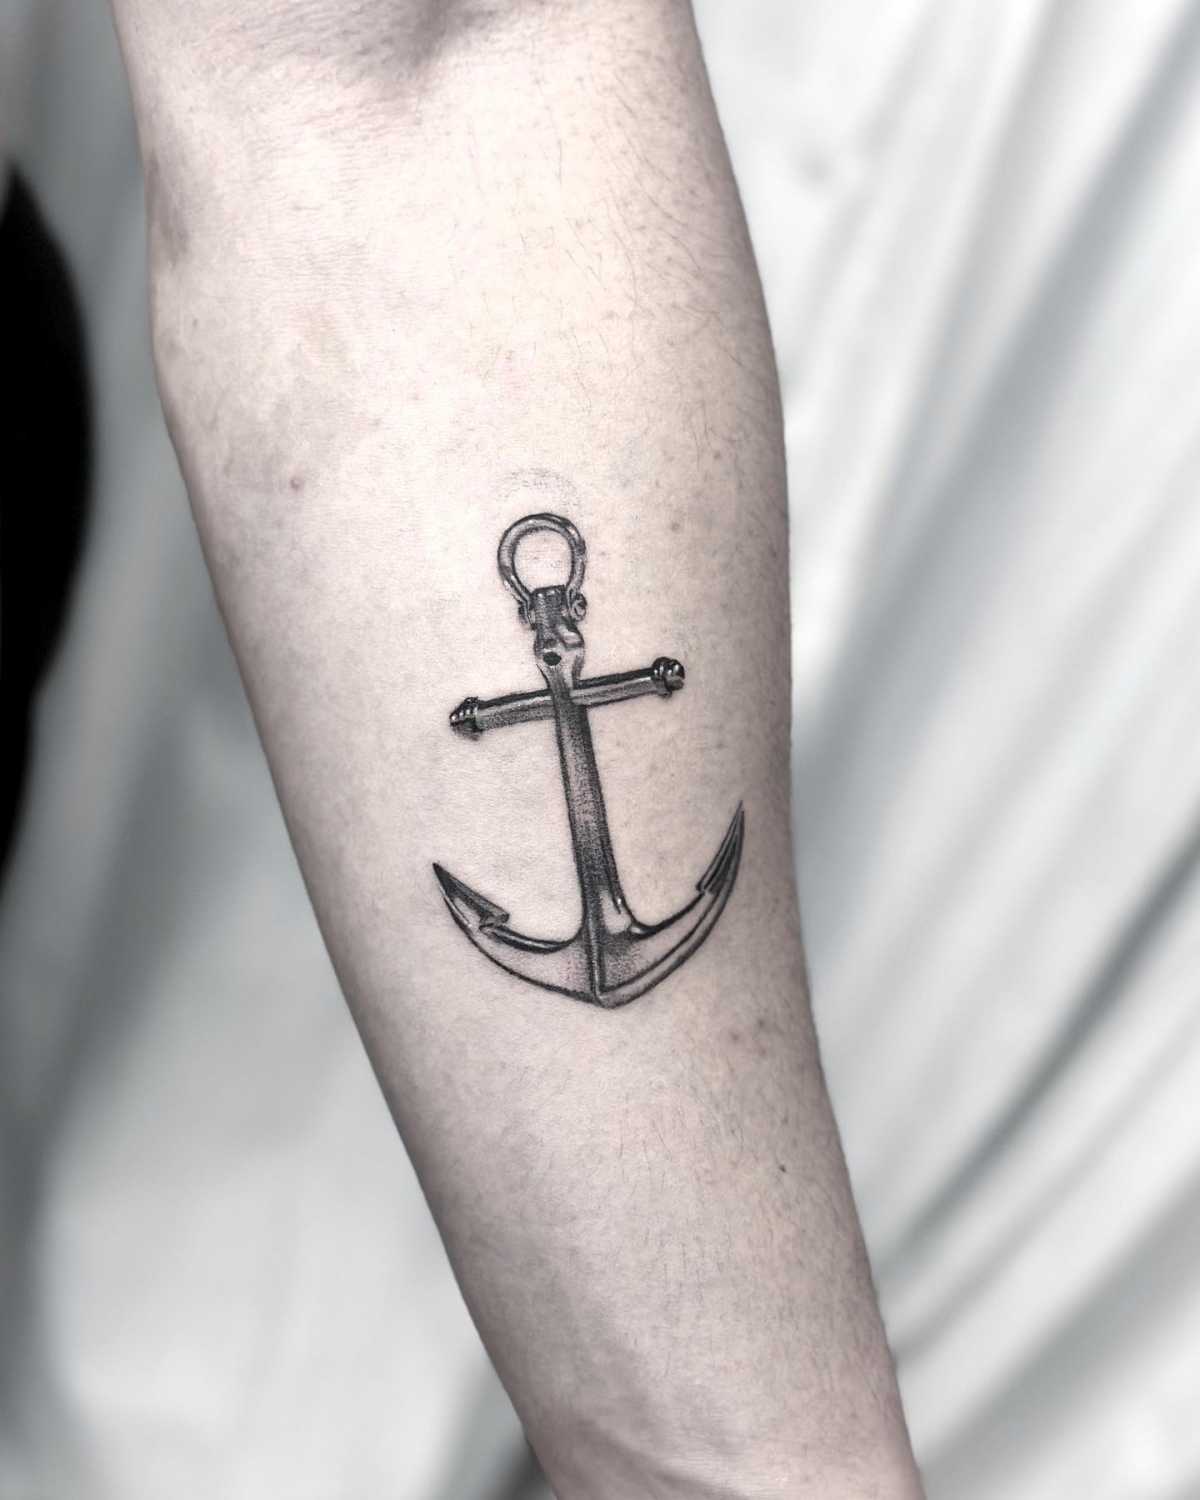
This is the classic. It’s defined by a simple, powerful look: heavy black outlines, a limited color palette (think bold reds, yellows, and greens), and solid, deliberate shading. There’s a reason these tattoos still look amazing on old sailors—they are designed for longevity.
The bold lines hold their integrity for decades, and the solid color packing ensures it stays vibrant. An American Traditional anchor is a powerful statement that will quite literally never go out of style.
So, what are we talking about, cost-wise? For a solid, palm-sized American Traditional anchor on your forearm, you’re likely looking at 1 to 2 hours of work. Depending on the artist’s rates and your city, that could land anywhere between $250 and $500. It’s an investment, but it’s one that’s built to last.

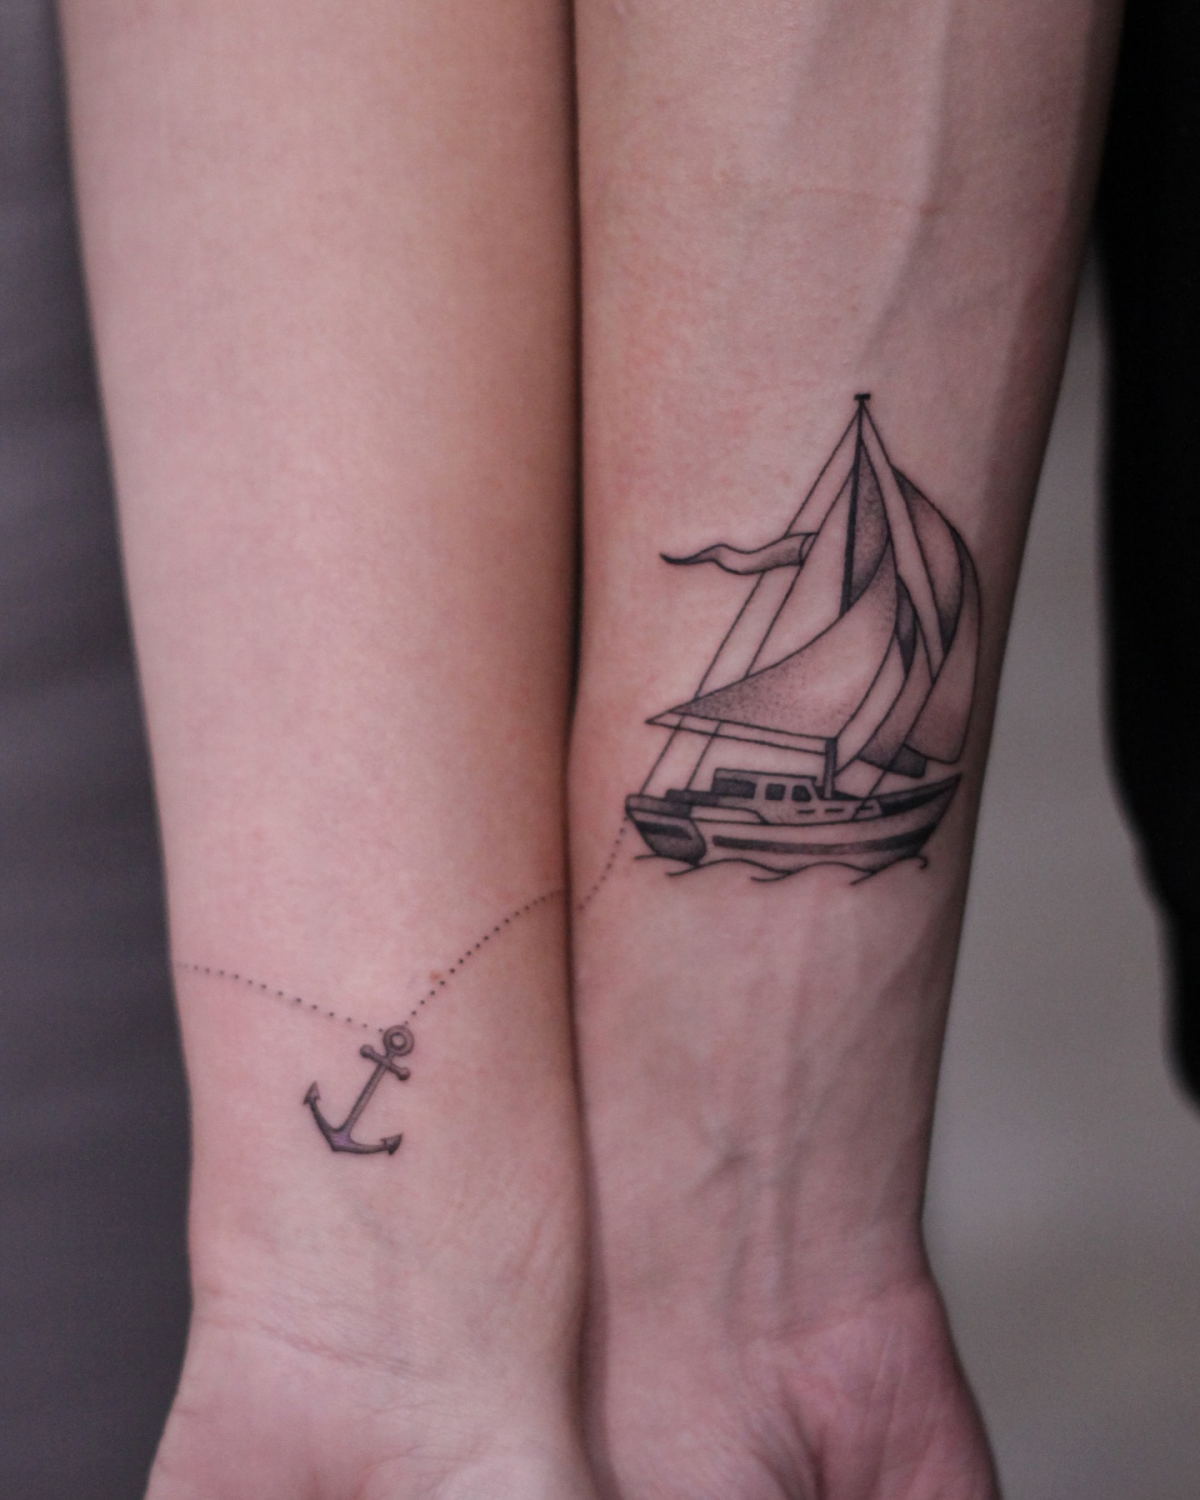
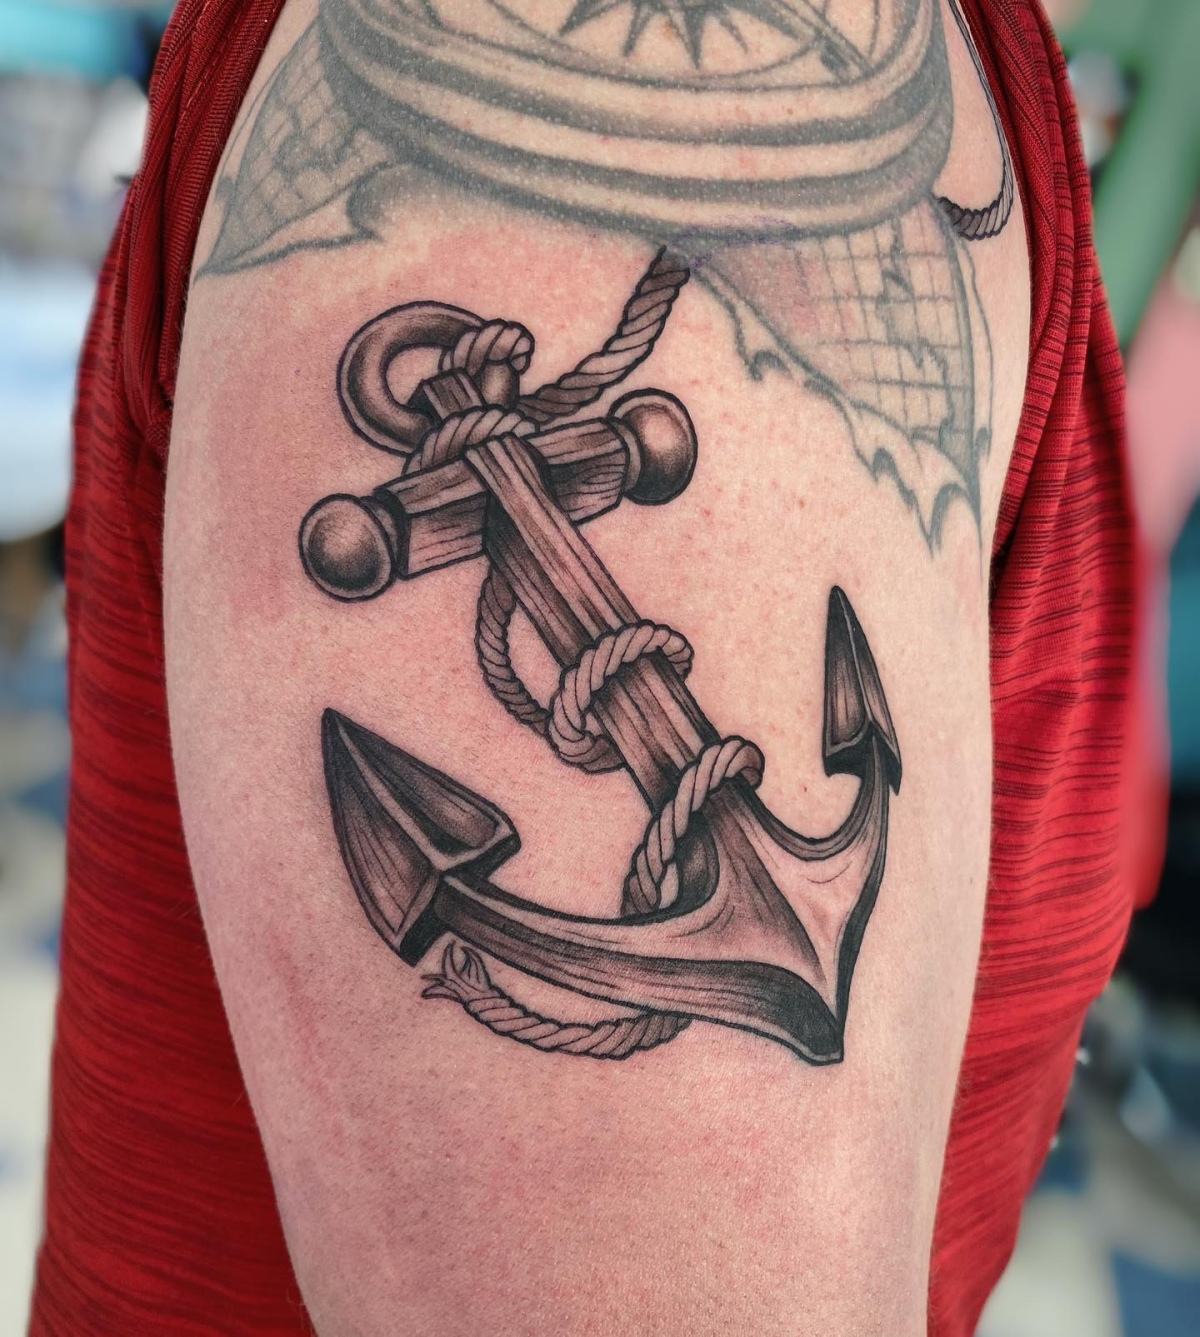
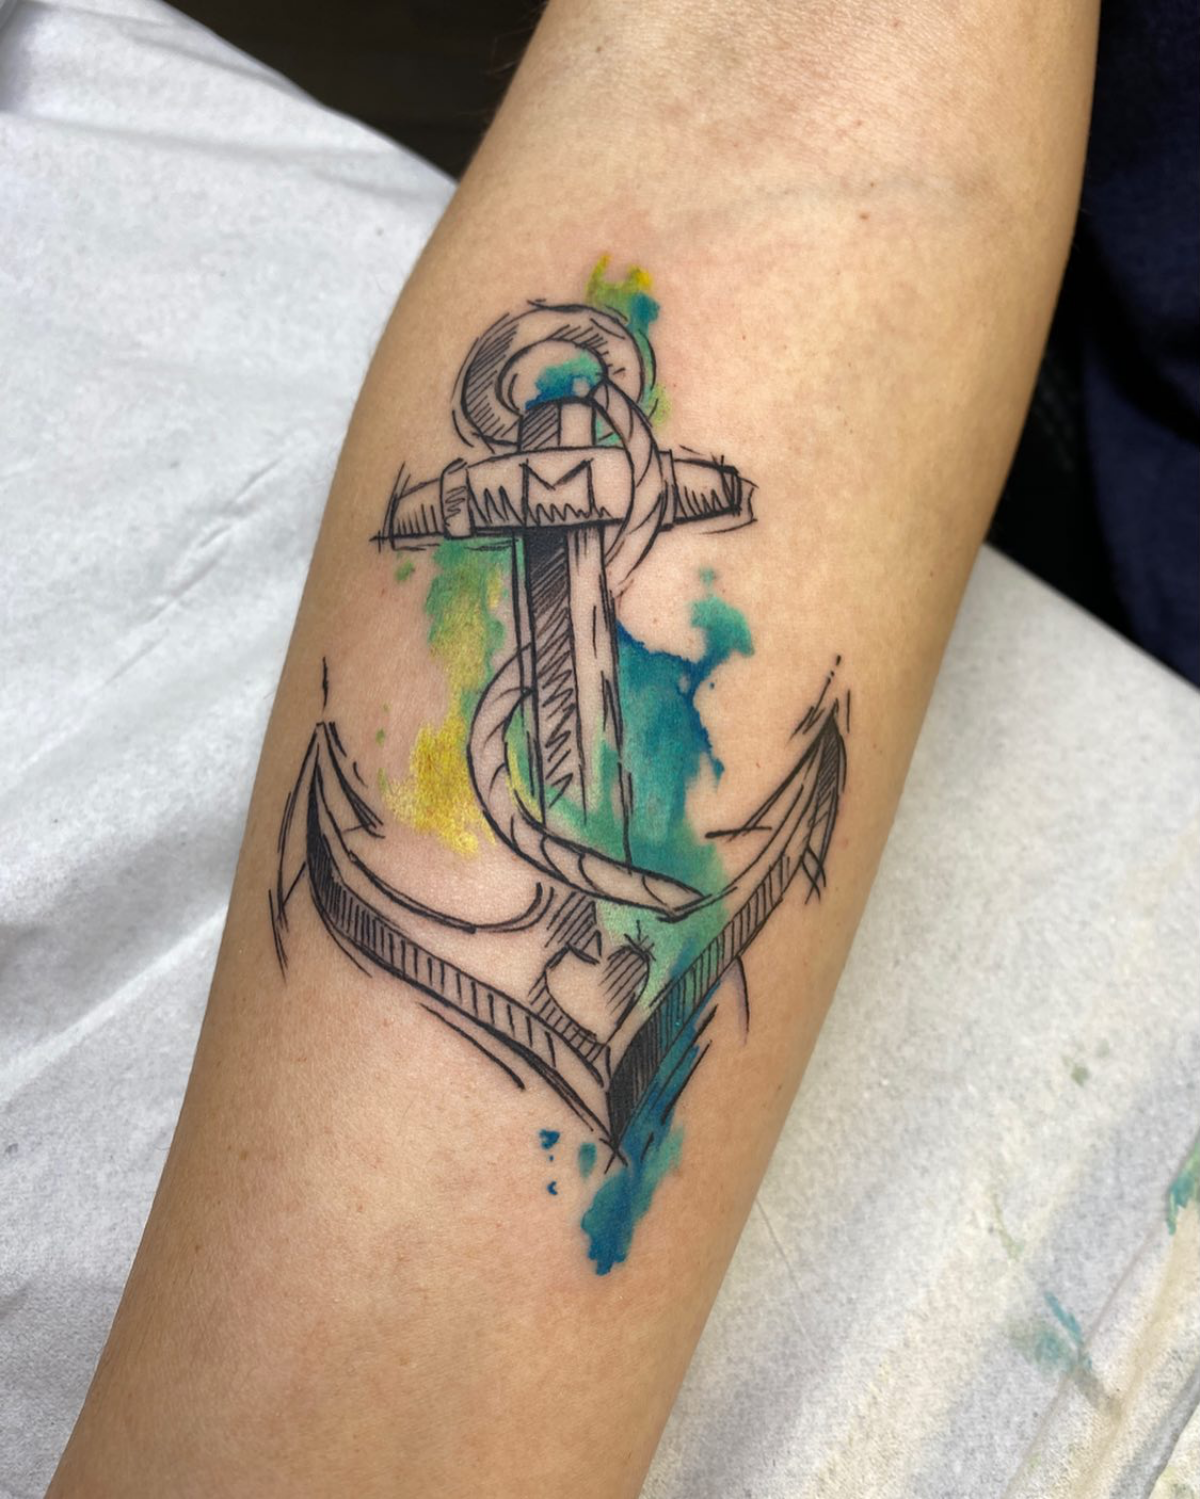
Neo-Traditional: The Modern Twist
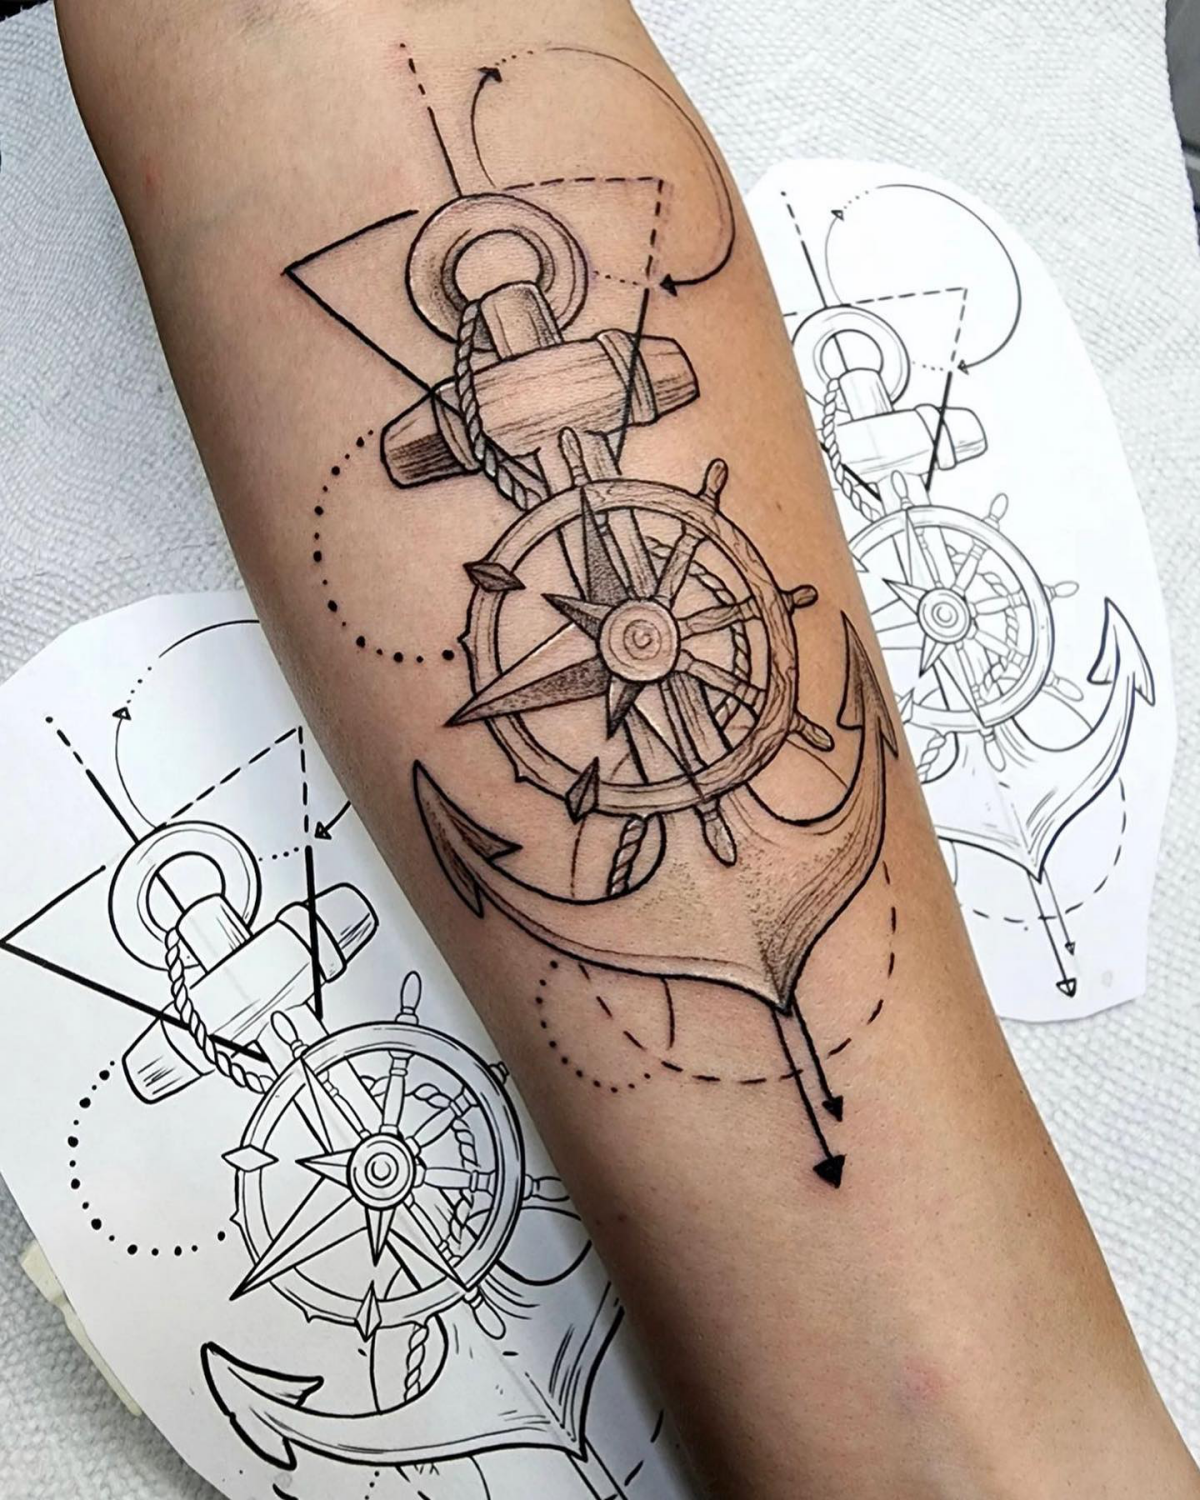
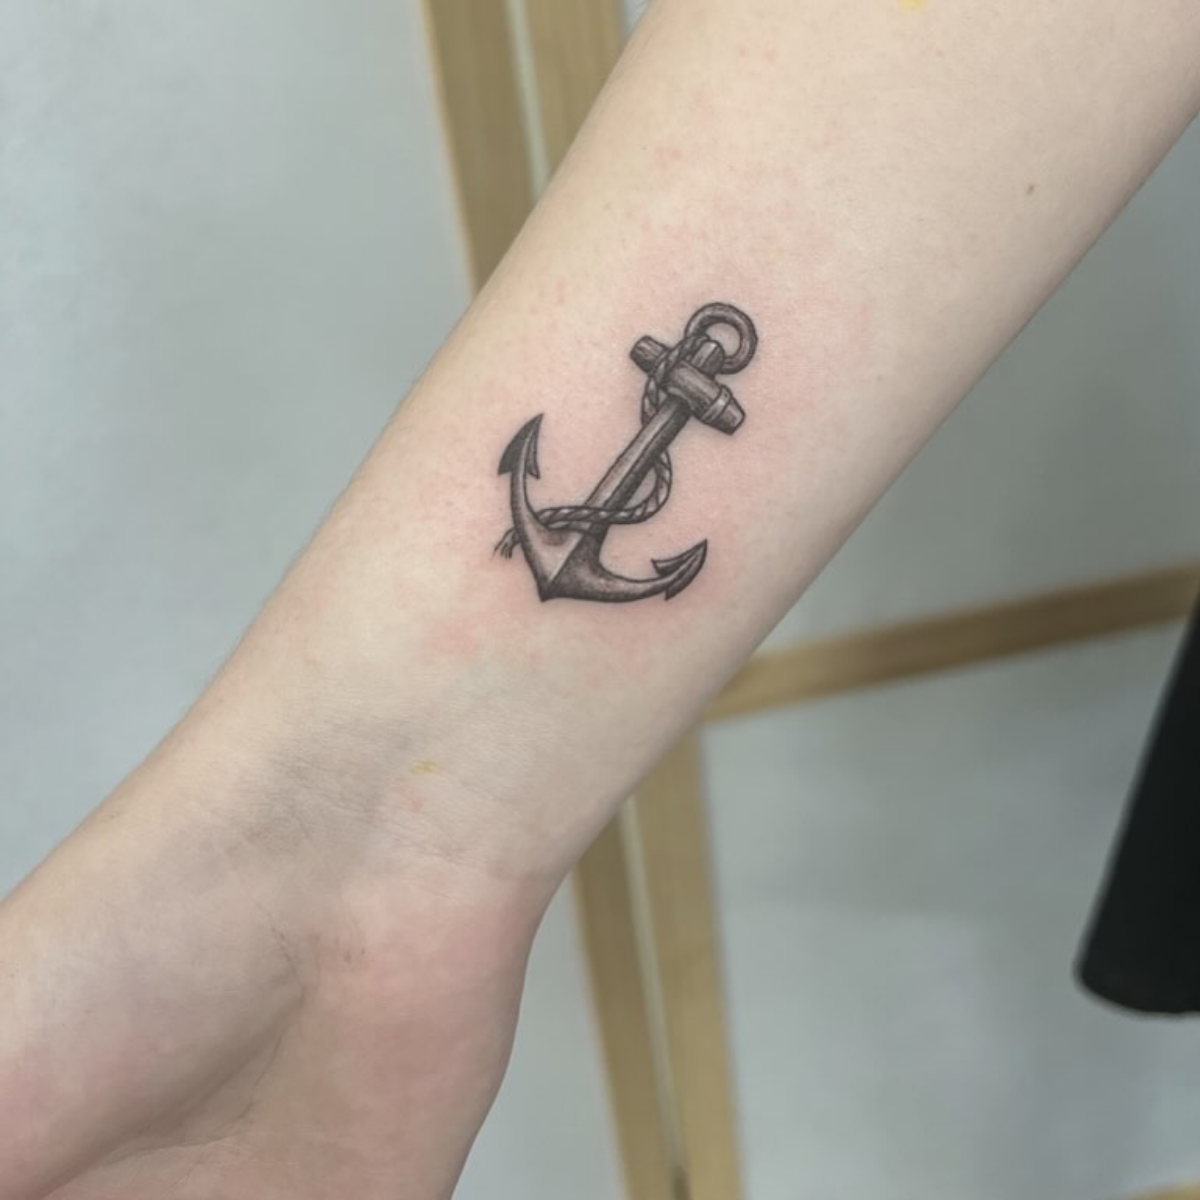
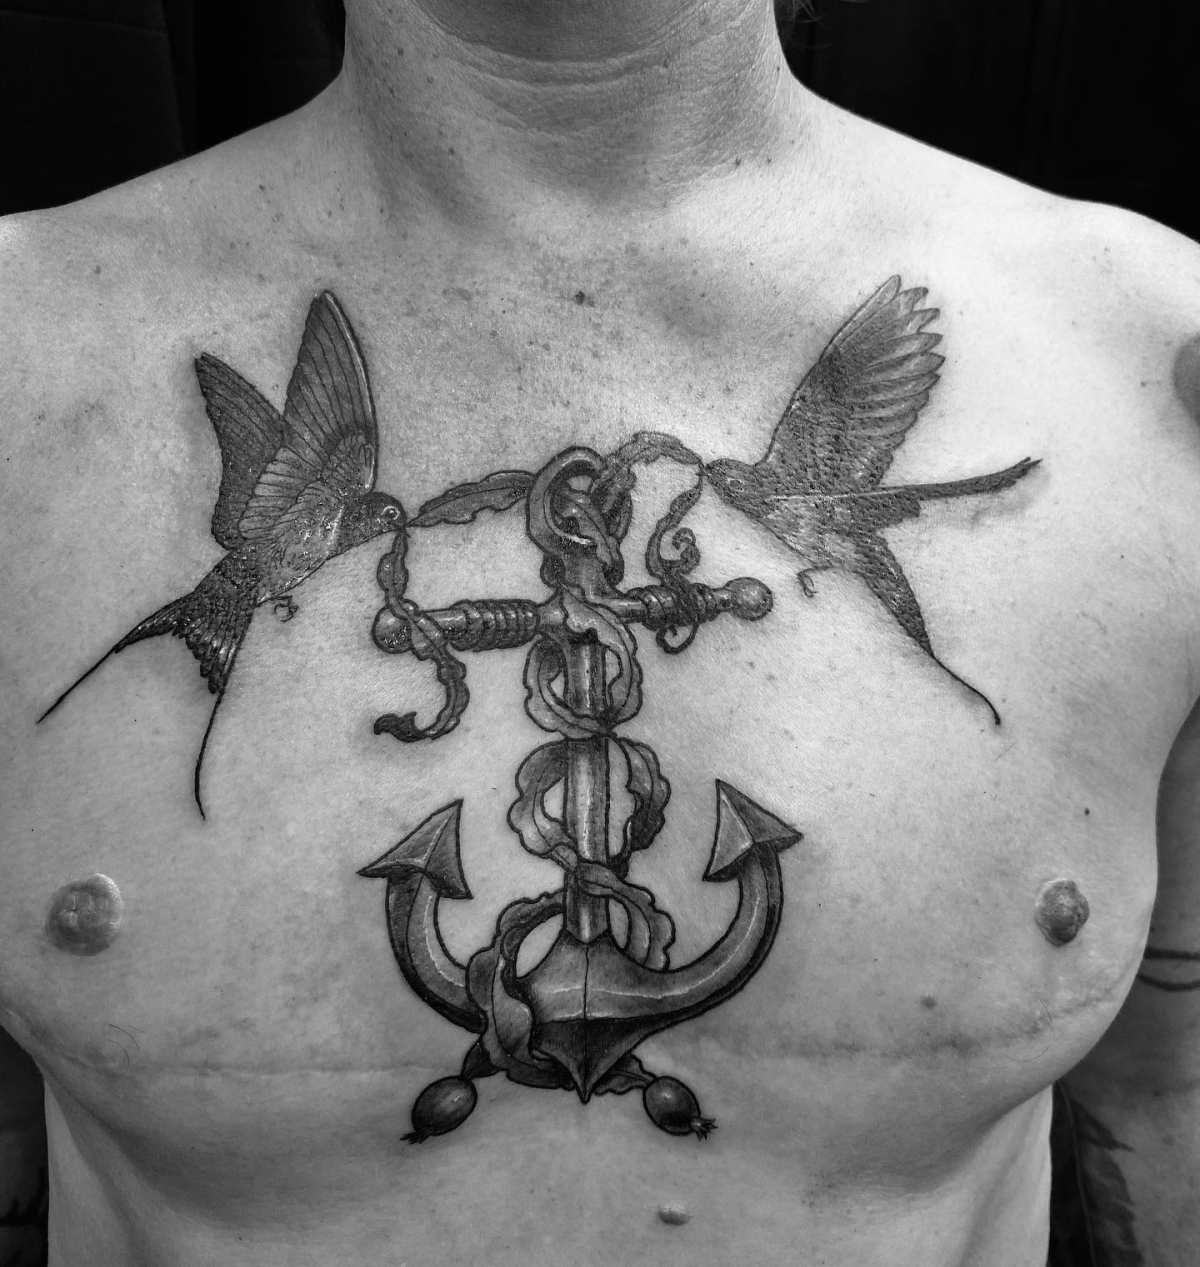
Neo-Traditional takes those classic principles and adds a modern, illustrative flair. It keeps the bold outlines but brings in more detail, a much wider range of colors, and different line weights. An artist might use a heavy needle for the main outline, then switch to a finer one for the details on a rope or decorative jewels.
It’s a beautiful style, but remember that those finer details will be the first to soften with age compared to the heavy lines of a pure traditional piece.
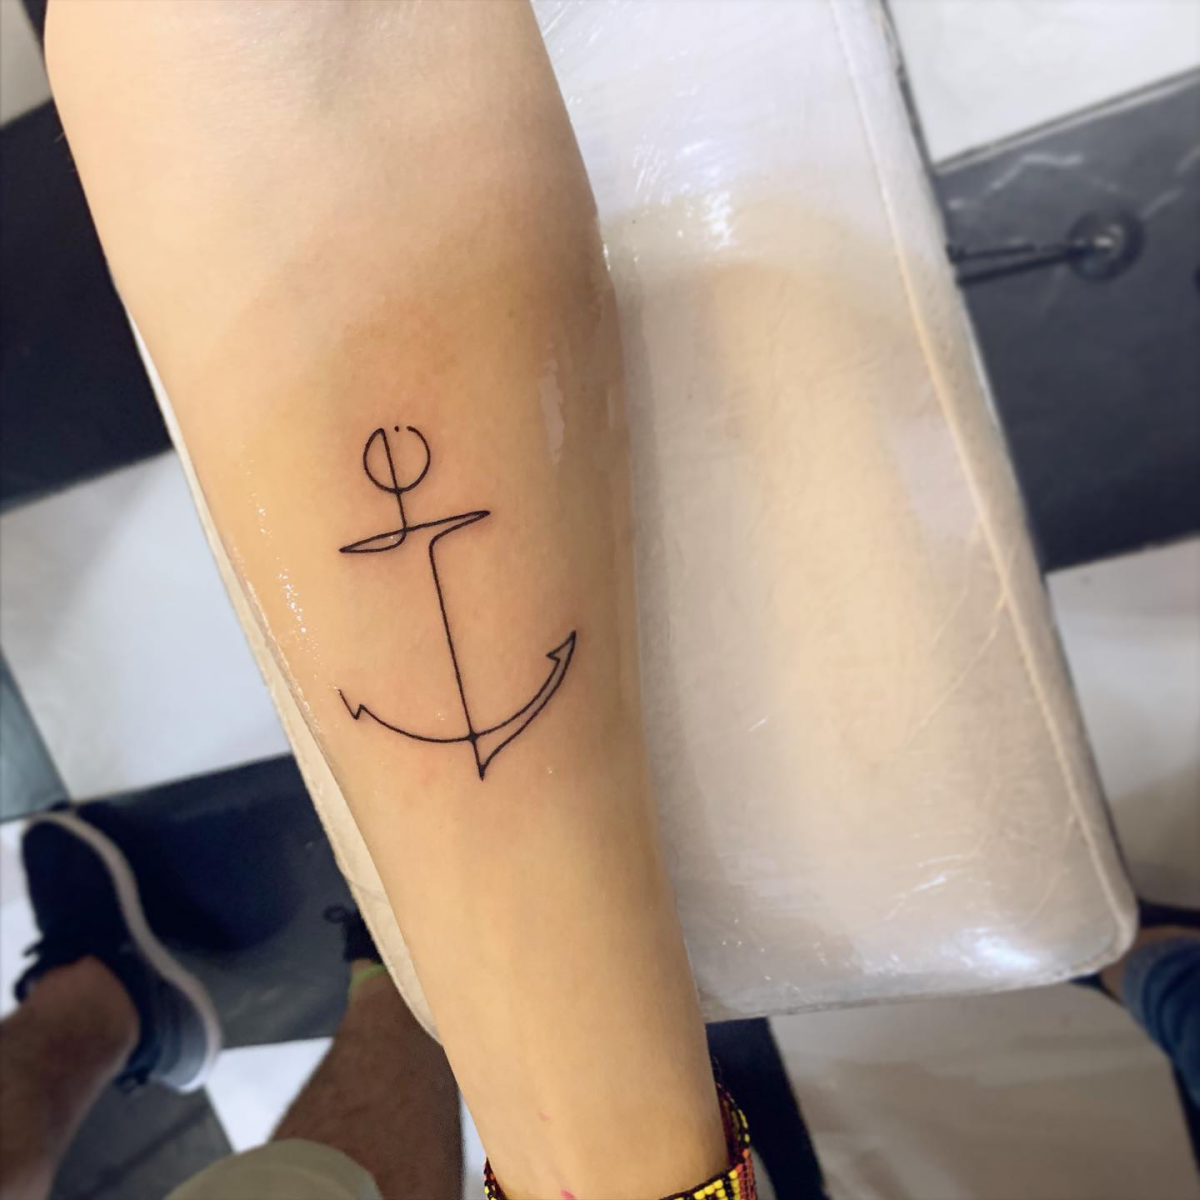
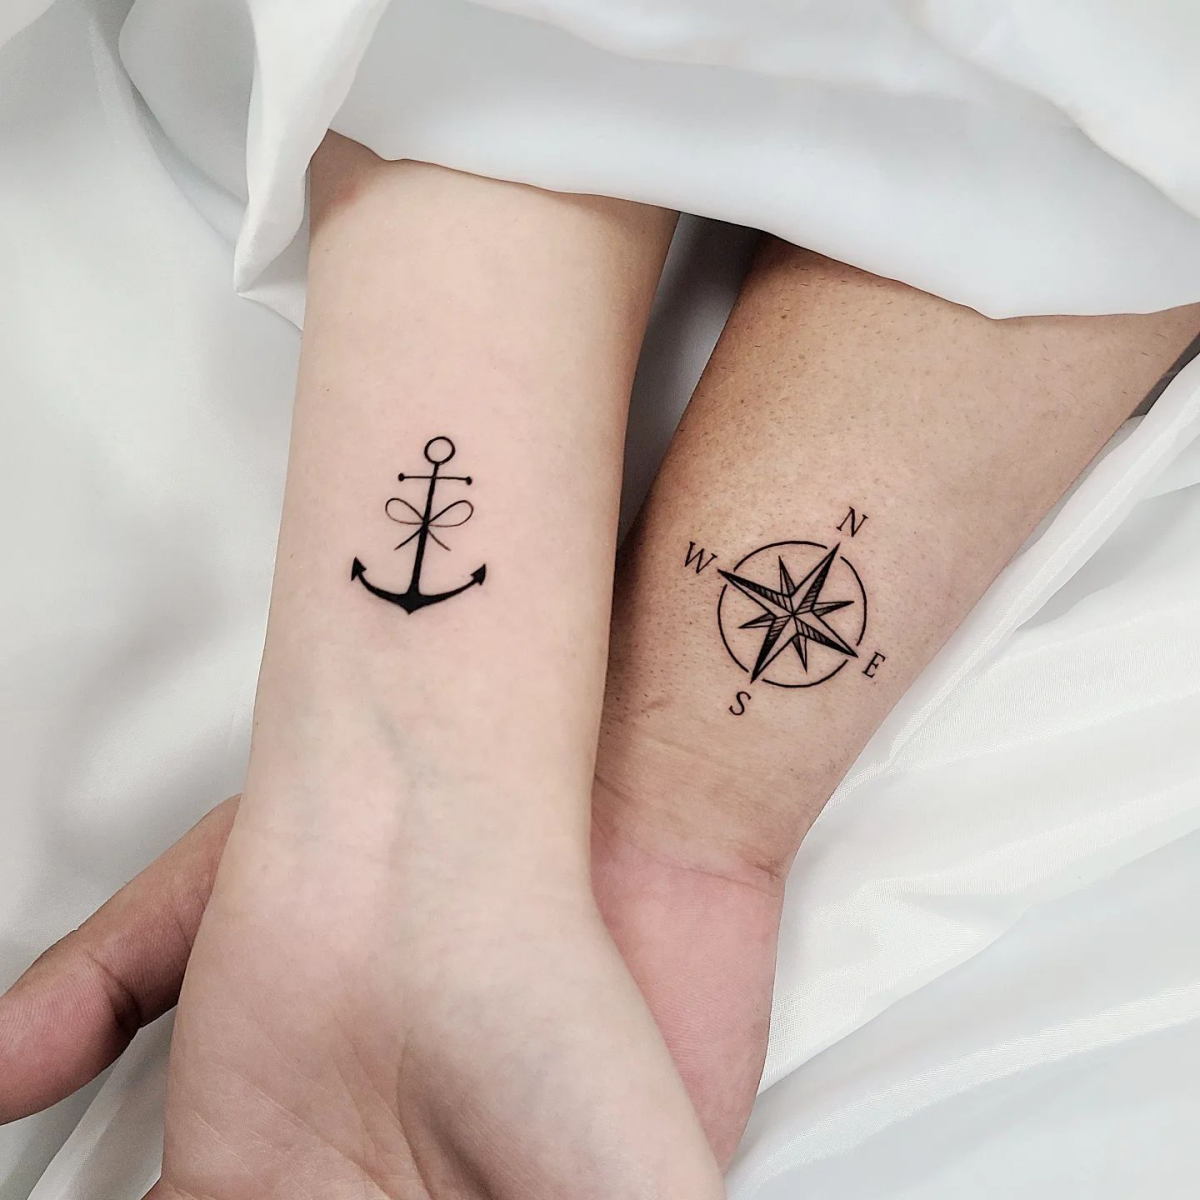
Fine-Line and Micro-Realism: A Quick Word of Caution
These delicate, single-needle tattoos are incredibly popular right now, and a tiny, detailed anchor can look amazing when it’s fresh. But here’s where I have to be brutally honest with my clients.
I had a client once who was set on a tiny, single-needle anchor right on their finger. It looked perfect the day we did it. A year later, they came back in, and it had softened into a little grey smudge. We ended up covering it with a slightly larger, bolder traditional design that they love, but it was a lesson learned. The skin is a living canvas; over 5 to 10 years, those razor-thin lines will inevitably soften and spread. Without a containing outline, they can become an indistinct blur.
If you’re set on this style, my best advice is to go a little bigger than you first planned. And expect to need a touch-up down the road. Oh yeah, and what about numbing cream? Always ask your artist first. Some creams can change the skin’s texture, making it rubbery and hard to work with. Most pros prefer to work on clean skin, but they’ll have a conversation about it if you’re really worried.
What’s the Big Deal About an Anchor Anyway?
The anchor is one of the oldest tattoo symbols out there, with roots deep in maritime culture and even early religious history. For seafaring cultures of the past, an anchor tattoo meant a sailor had successfully crossed a major ocean—a truly dangerous feat. It was a badge of honor and a symbol of hope for a safe return home. The anchor represented stability in a storm.
The symbolism is even older, though. In times of persecution, early Christians would use the anchor as a covert symbol for the cross, allowing them to identify one another safely. It represented faith and steadfastness—the ‘anchor of the soul’.
Today, people get anchors for all those reasons and more. I’ve tattooed them on veterans to honor their service, on people who have weathered a tough time in their life, and on families to represent their role as each other’s ‘safe harbor’.
Getting it Done Right: A Practical Checklist
This is a partnership. Here’s how to be a great client and get the best possible result.
Choosing the Right Artist
This is the most important decision you’ll make. Do not price shop for a tattoo. A cheap tattoo is rarely good, and a good tattoo is never cheap. You’re paying for skill, experience, and safety.
- Check Healed Work: Fresh tattoos on Instagram always look amazing. Ask to see photos of HEALED work, at least a year old. That’s the real test of an artist’s skill.
- Match the Artist to the Style: If you want a bold traditional anchor, find an artist whose portfolio is full of it. Don’t go to a photo-realism expert and ask for something totally different.
- The Consultation is Key: A good artist will want to talk to you. If they seem rushed or dismissive, walk away. Not sure what to ask? Here are a few great starters:
- “Could I see some photos of your healed work, specifically your traditional-style lines?”
- “Based on my skin here on my ribs, do you have any concerns about blowouts with this design?”
- “Just so I know, what’s your touch-up policy?”
Protecting Your Investment: Aftercare Made Simple
The job isn’t done when you leave the studio. Good aftercare is 50% of the final result. Here’s the rundown.
Your Aftercare Shopping List:
Keep it simple. You don’t need a bunch of fancy, expensive products. You can find everything you need at a Target or pharmacy.
- Mild Antibacterial Soap: Something like Dial Gold is perfect. (Cost: ~$5)
- Ointment/Balm: A simple product like Aquaphor or a tattoo-specific balm recommended by your artist is best. (Cost: ~$8-15)
- Paper Towels: You probably already have these!
The Healing Routine
Your artist will wrap you up. Some use a medical adhesive bandage (like Saniderm) that can stay on for a few days. Follow their specific instructions. Once the wrap is off, the routine is simple:
- Gently wash the tattoo twice a day with the antibacterial soap and lukewarm water. Just use your clean fingertips. No scrubbing!
- Pat it dry with a clean paper towel. A cloth towel can hold bacteria.
- Apply a VERY thin layer of your ointment. A thin layer is crucial. Smothering it can trap moisture and mess up the healing.
Your tattoo will get flaky and itchy like a sunburn. Do not pick or scratch! Gently slapping it can help with the itch. And for at least two weeks, avoid soaking it—so no baths, pools, or hot tubs. Keep it out of the sun, too.
The Long-Term Secret: Sunscreen
Here’s the final pro tip. The sun is the #1 enemy of your tattoo. UV rays break down the ink and cause it to fade. Once your anchor is fully healed, the best thing you can possibly do is slather it with high-SPF sunscreen whenever it’s exposed. This single step will do more to keep your tattoo looking crisp in 20 years than anything else.
Galerie d’inspiration
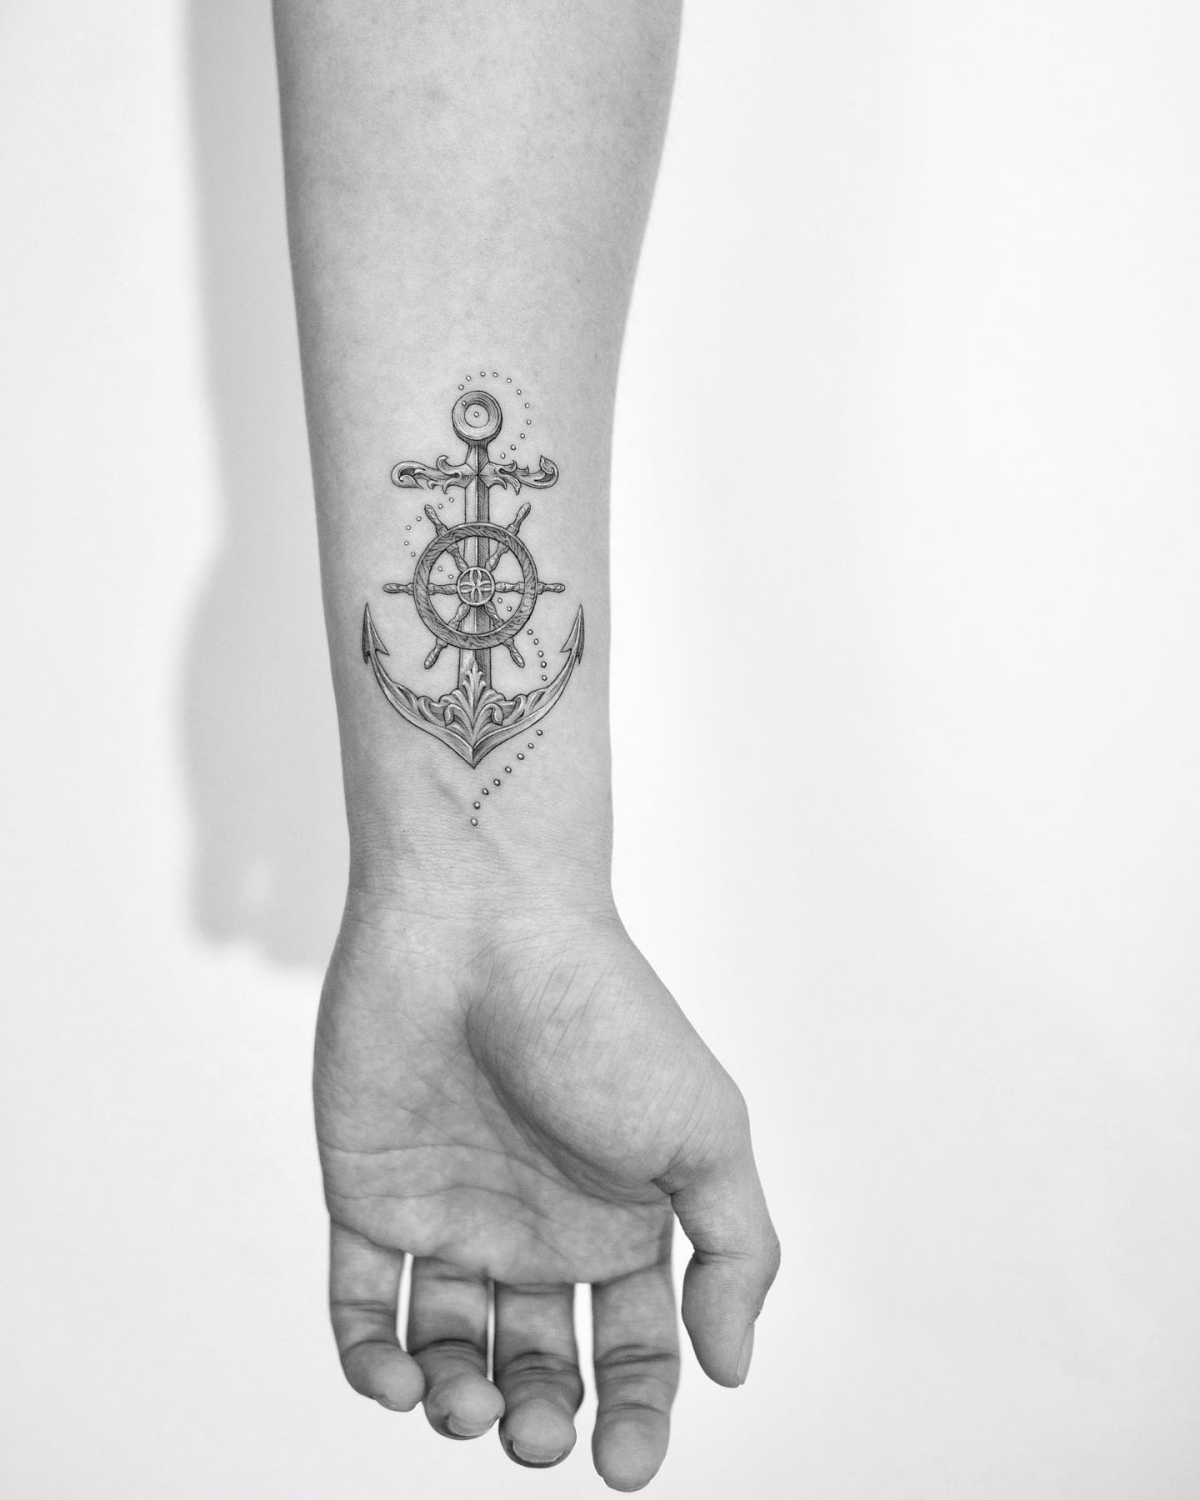
Traditional vs. Micro-Realism: A bold, traditional American anchor with thick black lines and solid color is designed to age gracefully, looking strong and clear for decades. The thick lines hold their integrity as skin ages. A micro-realism anchor, while stunningly detailed when fresh, relies on tiny lines and subtle shading that are more susceptible to blurring and fading over time. Think about whether you want a tattoo that looks perfect for a year, or one that looks great for thirty.
The anchor became a popular sailor tattoo after the Battle of Trafalgar in 1805, symbolizing a sailor’s safe return home. It was often the first tattoo a mariner received after crossing the Atlantic.
This deep-rooted symbolism is why the design has endured far beyond naval circles. It’s not just a trend; it’s a piece of maritime heritage representing stability, hope, and a connection to something steadfast, whether that’s the sea, family, or personal conviction.
Will my anchor tattoo hurt?
Yes, but the intensity varies dramatically by placement. An anchor on the fleshy part of your forearm or calf will be relatively low on the pain scale—a persistent, manageable scratching sensation. The same design on your ribs, sternum, or foot becomes a different beast entirely. The skin is thinner and closer to the bone, making the vibration and needle penetration much more intense. Always discuss pain tolerance with your artist; they might suggest splitting a large piece on a sensitive area into multiple sessions.
The first 48 hours of healing are critical for line sharpness. Your artist will have a preference, but the goal is to keep the area clean and lightly moisturized. Here’s a typical pro-level routine:
- Gently wash the tattoo with unscented antibacterial soap and lukewarm water, then pat dry with a paper towel.
- Apply a very thin layer of a specialized tattoo balm like Hustle Butter Deluxe or a product like Aquaphor Healing Ointment.
- Avoid petroleum jelly (Vaseline), which can clog pores and trap bacteria.
- Repeat this process 2-3 times a day for the first few days, then switch to a gentle, unscented lotion.
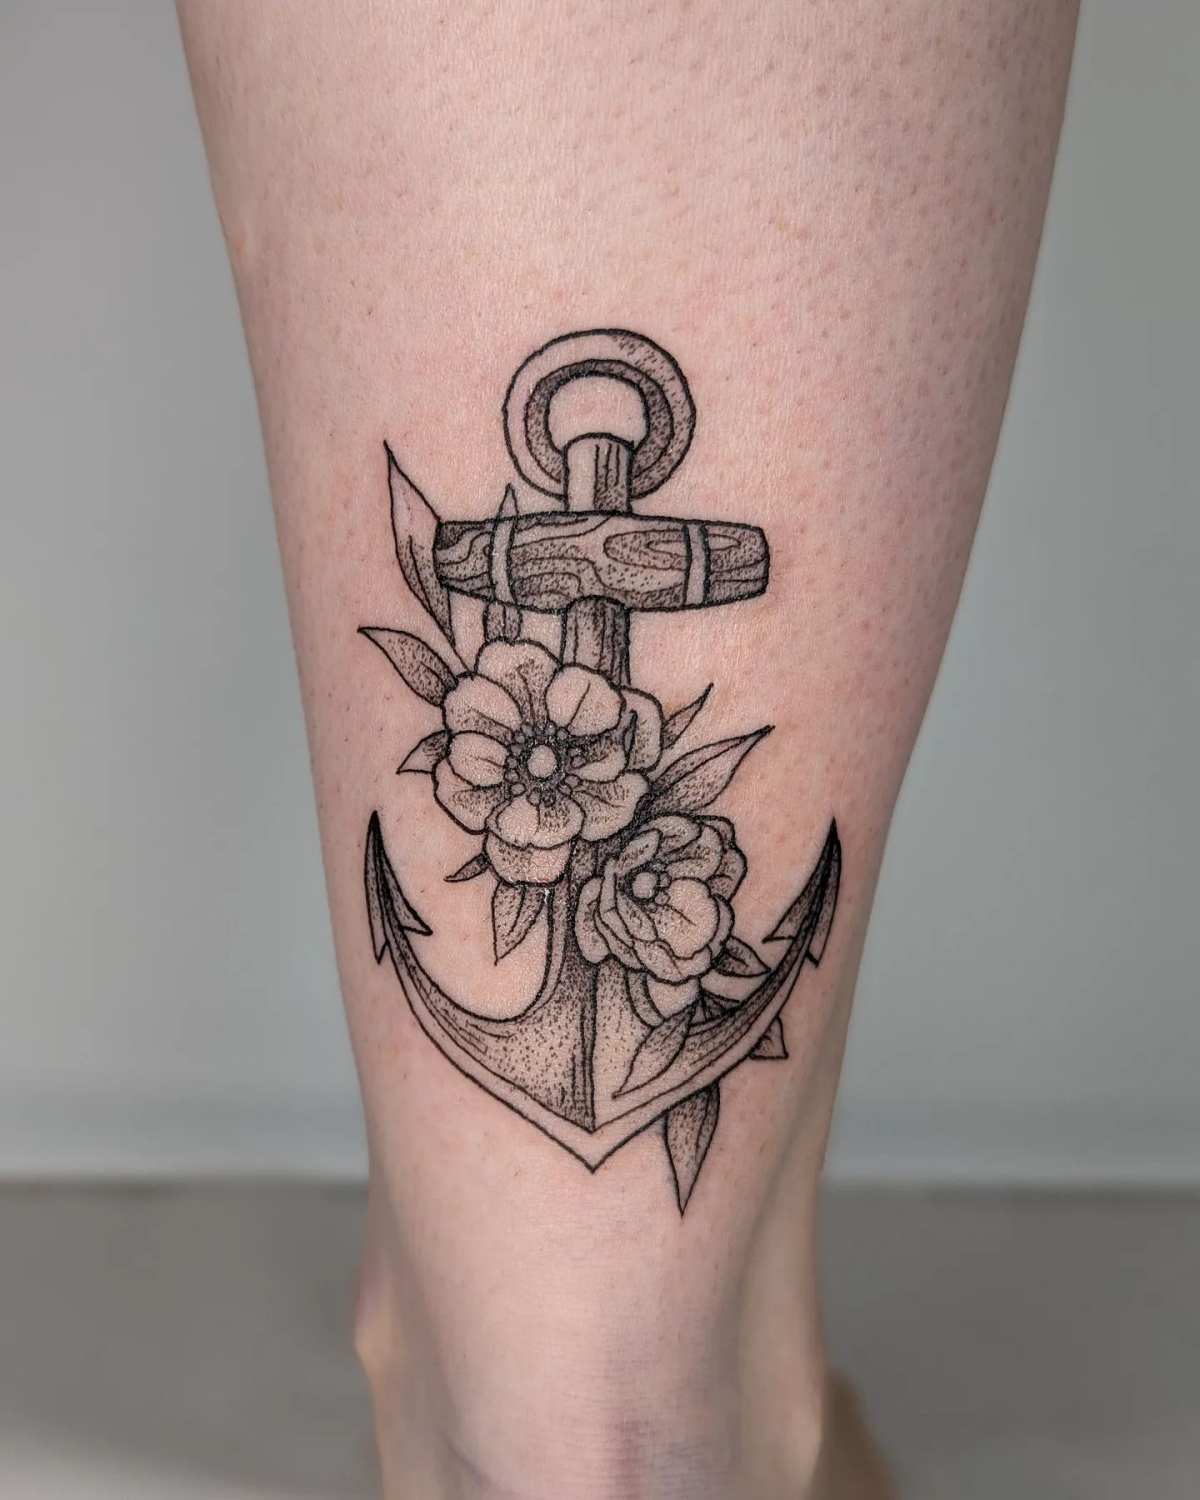
Beyond black, the colors you choose for elements like a rope or flowers around your anchor have different lifespans. Yellows and whites tend to fade the fastest, especially with sun exposure. Reds and blues, particularly from quality manufacturers like Eternal Ink or World Famous Ink, offer incredible vibrancy and longevity. For a timeless look, you can’t go wrong with a classic black and grey with a strategic pop of deep red or navy blue.
- Crisp, unblemished lines that don’t look fuzzy.
- Rich, saturated color that looks solid, not patchy.
- A design that remains vibrant for decades.
The secret? High-quality ink and a skilled hand. Professional inks are highly pigmented and sterile, ensuring safety and color integrity. An experienced artist knows exactly how deep to deposit that ink to avoid blowouts while ensuring the pigment is locked into the dermis for maximum permanence.
Fact: The buzz of a tattoo machine isn’t just noise; it’s a finely tuned instrument. A coil machine has a classic, loud buzz, while modern rotary machines (like those from Cheyenne or FK Irons) are much quieter, often a soft hum.