The Framer’s Guide to Hanging a Gallery Wall That Actually Stays Put
I’ve spent a ton of time in the dusty backroom of a custom frame shop. My main job was stretching canvases, cutting mats, and joining frames. But pretty soon, clients started asking me to come to their homes and hang the work. That’s where I learned the real craft isn’t just about the frame; it’s about the wall itself.
In this article
Honestly, I’ve installed everything you can imagine—from a single, massive painting over a fireplace to a sprawling 50-piece collection snaking up a winding staircase. I’ve seen what works, what lasts, and oh boy, have I seen what can go wrong in a hurry.
A gallery wall is so much more than just a bunch of pictures. It’s a system. When it’s done right, it has a beautiful balance and rhythm. But when it’s done wrong, it just looks like clutter and, even worse, can be a serious safety hazard. So let’s forget the fleeting trends for a minute. I want to share the foundational principles I use for every single installation. This is the framer’s method for planning a layout, choosing the right gear, and hanging your art so it stays exactly where you want it.
It All Starts with the Wall (Not the Art)
Before you even think about arranging your beautiful frames, you have to understand what you’re hanging them on. The wall is your foundation. In my experience, most installation disasters happen because the hanger wasn’t matched to the wall type. It’s a simple physics problem, really: the anchor and the screw have to support the total weight of the art against the constant pull of gravity.
What Kind of Wall Are You Working With?
First things first, you need to know your wall type. Not sure? Here’s a super simple trick we always use: take a thumbtack and try to push it into the wall in a spot that will be hidden later. If it goes in fairly easily, you’ve got drywall. If it feels like you hit a rock and it just won’t go in, you’re likely dealing with plaster.
- Drywall (or Gypsum Board): This is the standard in most modern homes. It’s basically gypsum plaster squeezed between two thick sheets of paper. It’s a breeze to work with but has very little holding power on its own. A single nail might hold a tiny 5-pound piece, but I wouldn’t trust it for long. For anything with a bit of heft, you either need to find a wooden stud behind the drywall or use a proper wall anchor.
- Plaster and Lath: Common in older homes, these walls are made of wooden strips (lath) covered in heavy plaster. They are incredibly dense and strong but also brittle. Drilling into plaster can easily cause it to crack or crumble.
Quick tip for plaster walls: To prevent the plaster from chipping when you drill, put a small ‘X’ of blue painter’s tape over the spot. Drill right through the center of the tape. It works like a charm to keep the edges of the hole clean and prevent spiderweb cracks.
The Secret Weapon: Finding a Stud
Okay, so what’s a stud? It’s the vertical wood beam that makes up the frame of your house, hidden behind the drywall. Hitting a stud with your nail or screw is the most secure way to hang anything heavy. You can find them a couple of ways.
The easiest method is an electronic stud finder. You can get a decent one for about $20 at any hardware store, and it’s a great tool to have in your kit. But if you want to go old school, you can use the knock test. Gently knock along the wall, and you’ll hear the sound change from a hollow echo (between studs) to a solid, dull thud (right over a stud). Studs are also usually placed 16 inches apart from center to center, so once you find one, you can often measure to find the next one.
A Framer’s Guide to Wall Anchors
When you can’t hang on a stud, a wall anchor is your best friend. But walking down the hardware aisle can be overwhelming. Here’s the simple breakdown:
For drywall, if you’re hanging something in the 10 to 25-pound range, a self-drilling threaded anchor is perfect. They often look like big, chunky plastic screws. The best part? You don’t even need a drill. You just screw the anchor directly into the wall, and then screw your hook into the anchor. A pack of assorted anchors like these will only set you back about $10-$15 and will save you a world of heartache.
Now, for something heavier—say, a 40-pound mirror or a large, glass-fronted piece—you’ll want to level up to a toggle bolt. These look a little intimidating with their spring-loaded wings, but they are rock solid. You drill a hole, pinch the wings together, push them through the hole, and they pop open on the other side of the drywall, creating a super-secure hold. Brands like Toggler make some really reliable ones.
My Go-To Shopping List for Hanging Day
If you’re gearing up for a project, it helps to have everything ready to go. Here’s a quick rundown of what I’d have in my toolbox:
- A good stud finder: As I said, about $20 and worth every penny.
- A laser level: This is a game-changer for gallery walls. You can find basic ones starting around $25-$30, and they ensure all your pieces line up perfectly.
- An assortment of wall anchors: A $10 kit will cover most of your bases.
- Quality picture wire and D-rings: You can get a roll of wire and a pack of rings for under $15. Make sure the wire is rated for more than your heaviest piece!
- A pencil, tape measure, and a hammer. The classics.
Common Mistakes I’ve Seen a Thousand Times
I’ve been called in to fix a lot of gallery walls, and it’s usually the same few mistakes over and over.
One of the biggest pitfalls is trusting the flimsy sawtooth hanger or cheap wire that comes pre-installed on many store-bought frames. My pro fix? I always remove it. For a more stable and secure hang, I attach D-rings to both sides of the frame, about a third of the way down from the top. Then I either run a properly-rated wire between them or, even better, hang the D-rings directly onto two separate hooks on the wall. This keeps the picture from tilting and distributes the weight perfectly.
Another common mistake is trying to hang a heavy piece with a single, tiny nail. It’s just not worth the risk of it crashing down.
Know When to Call for Backup
Look, I’m all for a good DIY project. But there are times when it’s just smarter (and safer) to call in a professional. If you’re planning to hang something that weighs over 75 pounds, if you’re dealing with tricky walls like brick or concrete, or if you’re trying to mount that massive 50-piece collection up a difficult staircase… it might be time to call someone who has the right tools and, frankly, the right insurance. It gives you peace of mind that your treasured pieces are safe and secure.
Inspirational Gallery
Going for that eclectic, collected-over-time vibe?
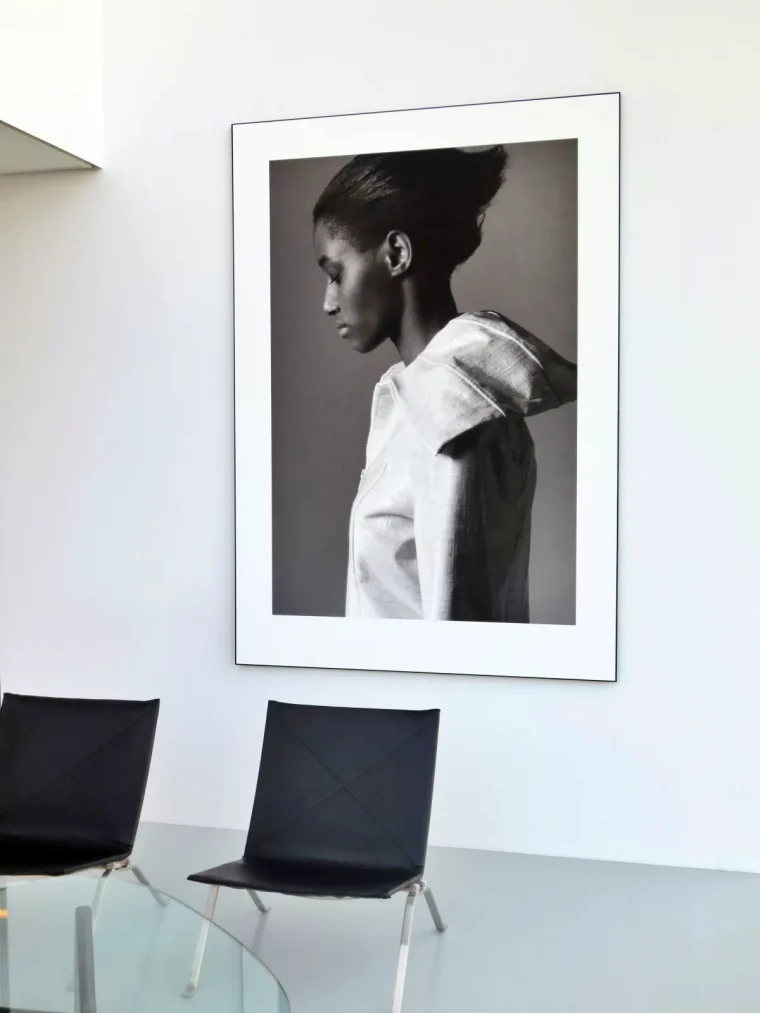
The key to mixing various frame styles—ornate gold, sleek black, rustic wood—is to find a unifying thread. Don’t focus on the frames themselves, but on the matting. Using the same color mat (like a crisp off-white or a dramatic charcoal) for every piece creates a cohesive through-line. It gives the eye a consistent resting place, making the diverse frames feel intentional and curated rather than chaotic.
Before you hammer a single nail, map your entire gallery wall on the floor. Trace each frame onto kraft paper, cut out the templates, and arrange them on the wall with painter’s tape. This lets you live with the layout for a day or two, making adjustments to spacing and flow without creating a single hole. It’s the one step professionals never skip.
- It fills vertical space like nothing else.
- It tells a dynamic, evolving story.
- It turns an awkward area into a focal point.
The secret to a stunning staircase gallery wall? Use the stair nosing as your guide. Keep the center of each frame (or grouping) at a consistent height—typically 57 to 60 inches—above the step it corresponds to, creating a visual line that flows perfectly upward.
Over 50% of the irreversible damage to art and photos is caused by indoor and outdoor UV light.
This is why the glass in your frame matters as much as the anchor in your wall. For irreplaceable art or photos hung in a sunny room, consider upgrading to UV-protective glazing. Museum-grade acrylics, like those from Tru Vue or Acrylite, can block up to 99% of UV rays, preventing fading and keeping colors vibrant for decades.
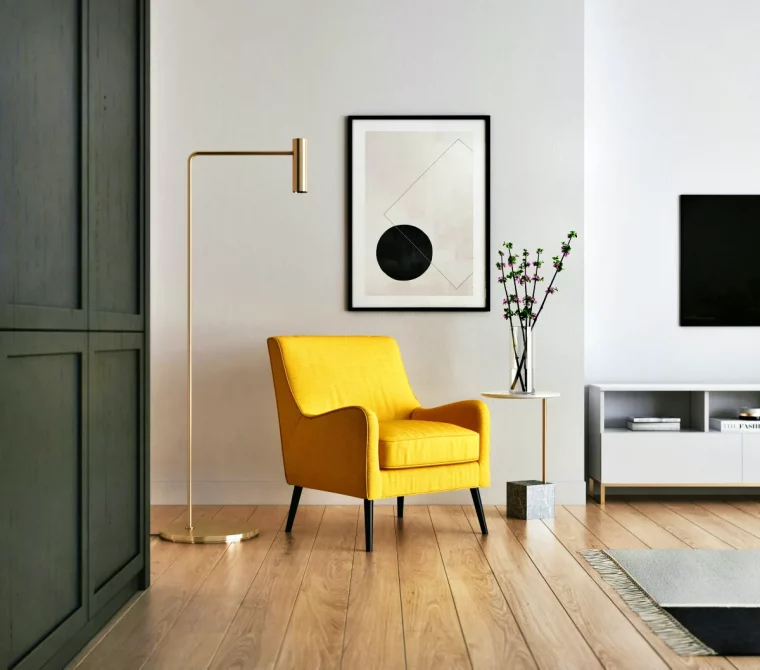
The one mistake to avoid: The ‘floating’ gallery wall. A collection of frames hung too high and disconnected from any furniture looks lost. Always anchor your arrangement to something—a sofa, a console table, a headboard. The bottom edge of the lowest frames should be just 6-8 inches above the furniture to create a single, cohesive visual statement.
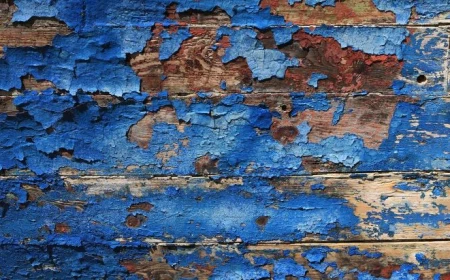
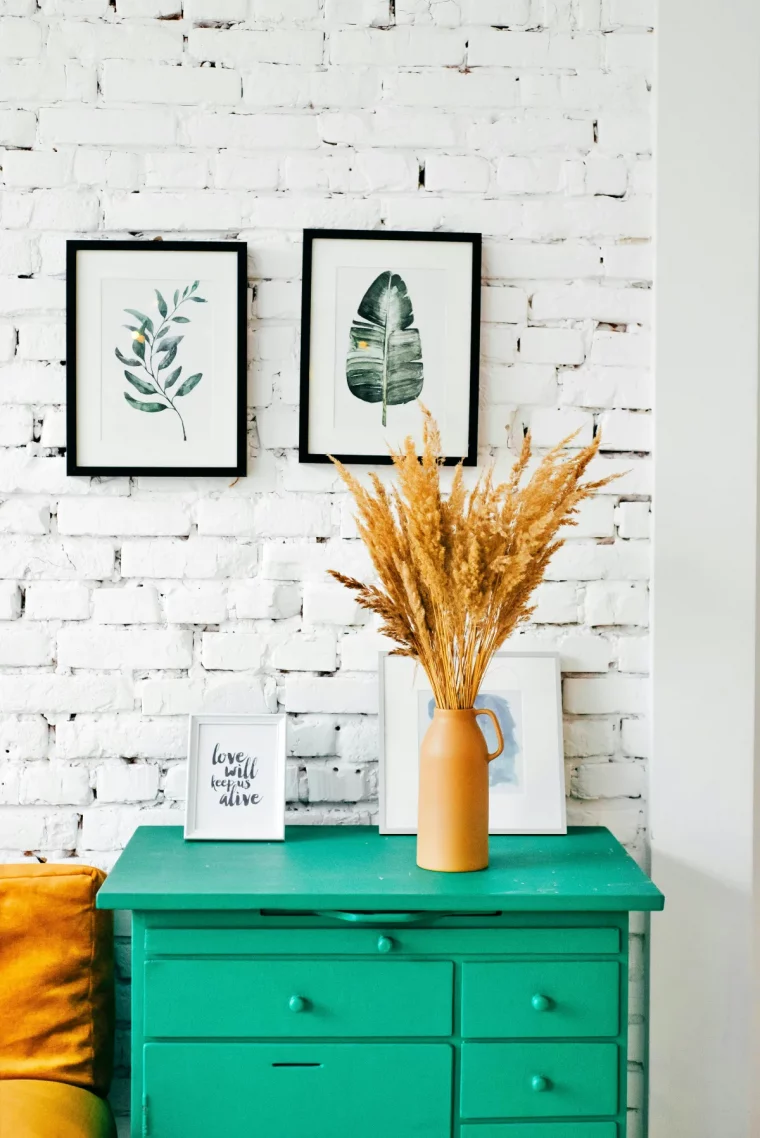
A gallery wall doesn’t have to be expensive. Think beyond fine art prints and explore personal treasures that tell your story. Frame a beautiful piece of wallpaper remnant, a vintage silk scarf, a child’s first watercolor painting, or even a collection of antique postcards. These objects add texture, depth, and a narrative quality that store-bought art can’t replicate.
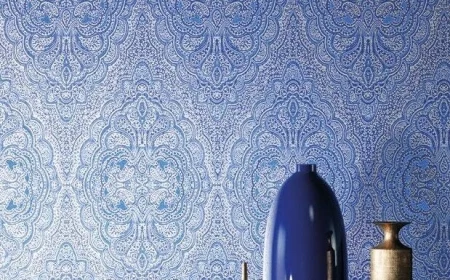
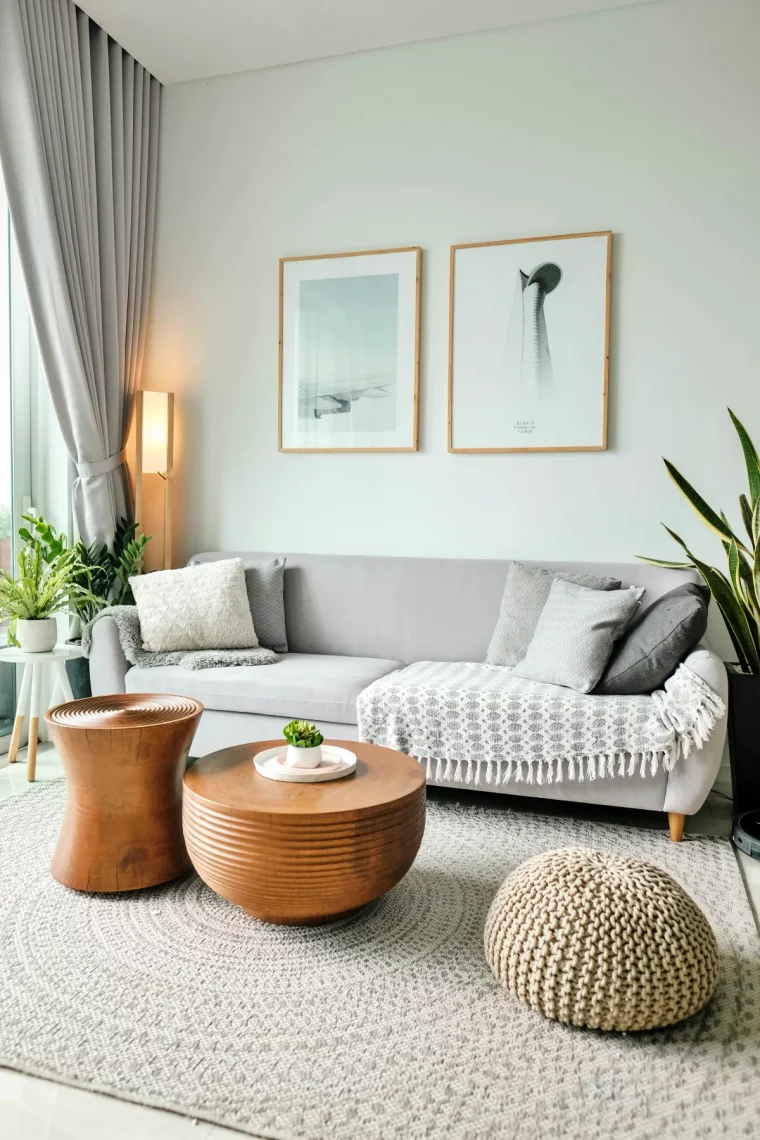
To create a harmonious feel, pull your color palette directly from the room itself. A successful gallery wall doesn’t just hang on the wall; it speaks to its surroundings.
- For a subtle look: Choose art with neutral tones and one or two accent colors found in your sofa pillows or rug.
- For a bold statement: Select pieces that feature a complementary color to your main wall color (e.g., deep blues and ochres against a sage green wall).
The ‘rule of thumb’ for spacing in a grid layout is to keep the distance between frames consistent, typically 2 to 3 inches. Any wider, and the pieces feel disconnected; any tighter, and the wall looks cluttered.
Standard Glass: The traditional choice. It’s crystal clear and scratch-resistant but heavy and can shatter. It offers minimal protection from UV light, making it best for art in low-light areas.
Plexiglas (Acrylic): Lightweight, shatter-resistant, and often available with built-in UV protection. It’s the safer choice for large pieces or in homes with kids and pets, though it can scratch more easily than glass.
For most home applications, a high-quality, UV-filtering acrylic offers the best combination of safety and preservation.