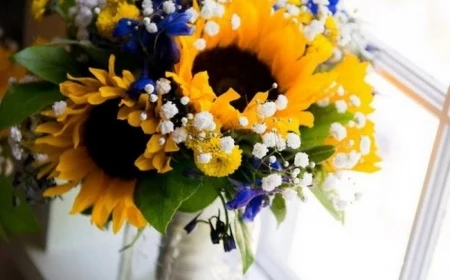
Stop Stressing About Your Table: A Pro’s Guide to Gorgeous Settings
How to Actually Design a Beautiful Table (Without the Overwhelm)
After years of designing tables for all sorts of events, from huge parties to cozy family dinners, I’ve learned one simple truth: the table is where the magic happens. It’s the heart of the home, the place people lean in and connect. A well-thought-out tablescape isn’t just about making things look pretty—it’s about setting a mood, sparking conversation, and making your guests feel genuinely special. And no, it’s not about dropping a ton of cash. It’s about being thoughtful with your choices.
In this article
I get it, though. You see those perfect pictures online and your brain just short-circuits. Where do you even begin? The good news is, there’s no big secret. It’s just a set of principles that the pros use every single time to build something that feels both beautiful and effortless. These are the same fundamentals I’ve shared with apprentices, and they work whether you’re using flowers from your garden or planning a bigger event. Let’s walk through that process, from the core ideas to the hands-on work.
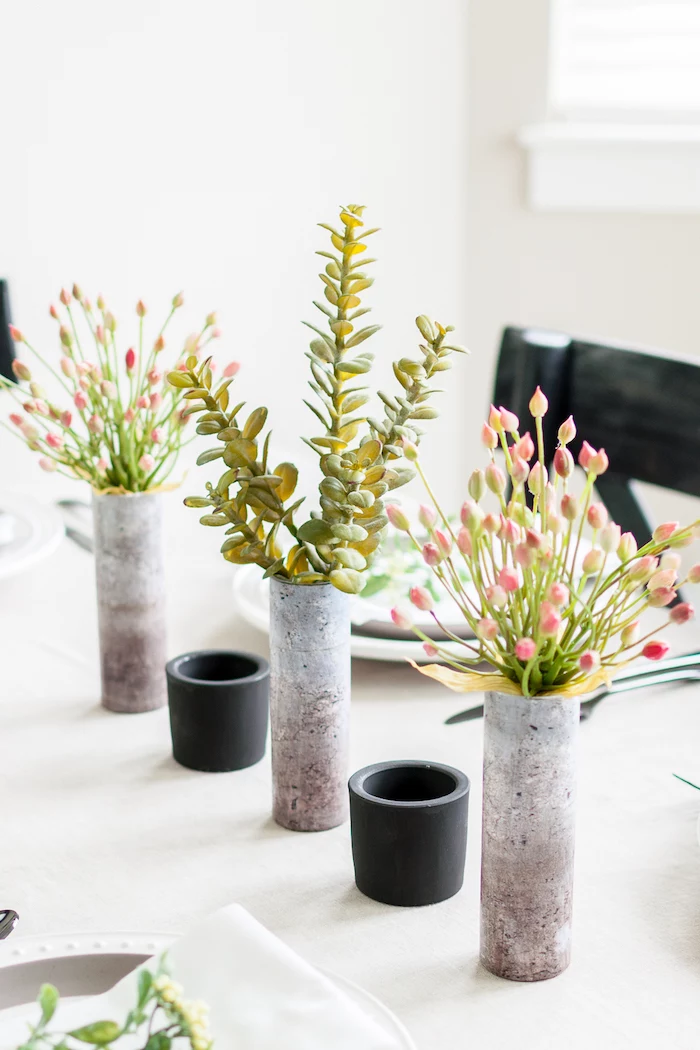
First Things First: The Ground Rules of Table Design
Before you even think about touching a flower, you need a game plan. Great design doesn’t happen by accident. It all comes down to understanding three key things: space, color, and texture. Nailing these concepts is what separates a table that feels cluttered from one that feels perfectly composed.
Let’s Talk Balance and Scale
Your number one rule should always be practicality. Can your guests actually use the table? I once saw a setup with these enormous, dramatic candelabras that looked incredible. The only problem? They created a solid wall down the middle of the table, and nobody could see the person across from them. A quick switch to a lower, wider arrangement gave a similar vibe without blocking the view.
Here are a few practical rules of thumb to keep in mind:
- Keep Centerpieces Low: For a typical dining table, try to keep your main arrangements under 12 inches tall. This is the sweet spot that allows for easy conversation. If you’re dying for some height, go for super slender elements like thin taper candles or a few tall stems in bud vases—things you can easily see around.
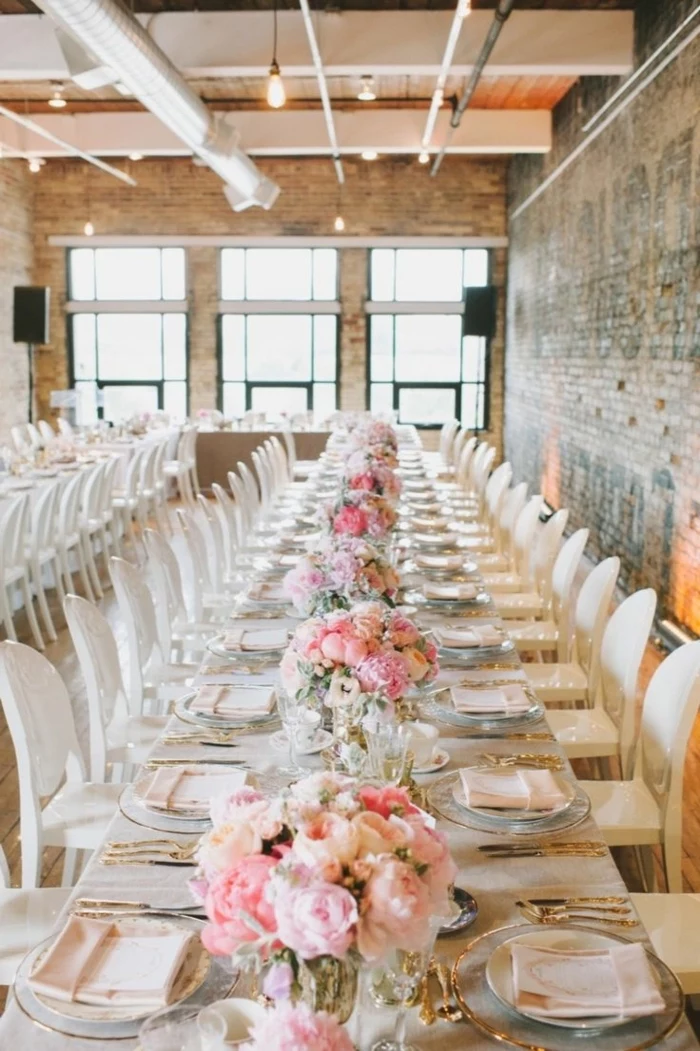
- Match the Table’s Shape: A long, rectangular table is practically begging for a linear design. Think a beautiful foliage garland, a series of small bud vases, or a simple runner. On the other hand, a round table almost always looks best with a single, central arrangement. Trying to dot a bunch of little things on a round table can just look messy. For a standard 60-inch round table that seats eight, a centerpiece around 18-22 inches across feels just right.
- Embrace Empty Space: A table doesn’t need to be covered from end to end. Honestly, a little breathing room—what designers call negative space—gives the eyes a place to rest and makes the items you do use feel more intentional and important. A simple runner and a few candles can have way more impact than a table crowded with stuff.
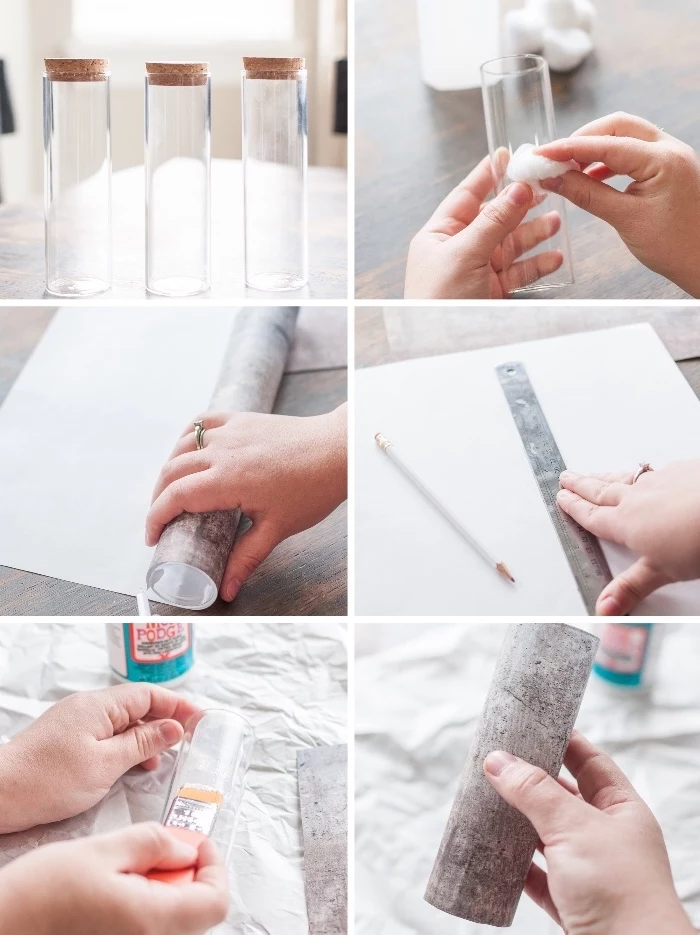
Putting Color Theory to Work
Color is your most powerful tool for setting an emotional tone. Instead of just grabbing colors you like, think about the feeling you want to create. It’s a small shift in thinking that makes a huge difference.
- Monochromatic: This is all about using different shades of a single color—like deep navy, royal blue, and pale sky blue. It creates a vibe that’s sophisticated, calm, and super cohesive. The trick to keeping it from feeling flat? Use tons of different textures.
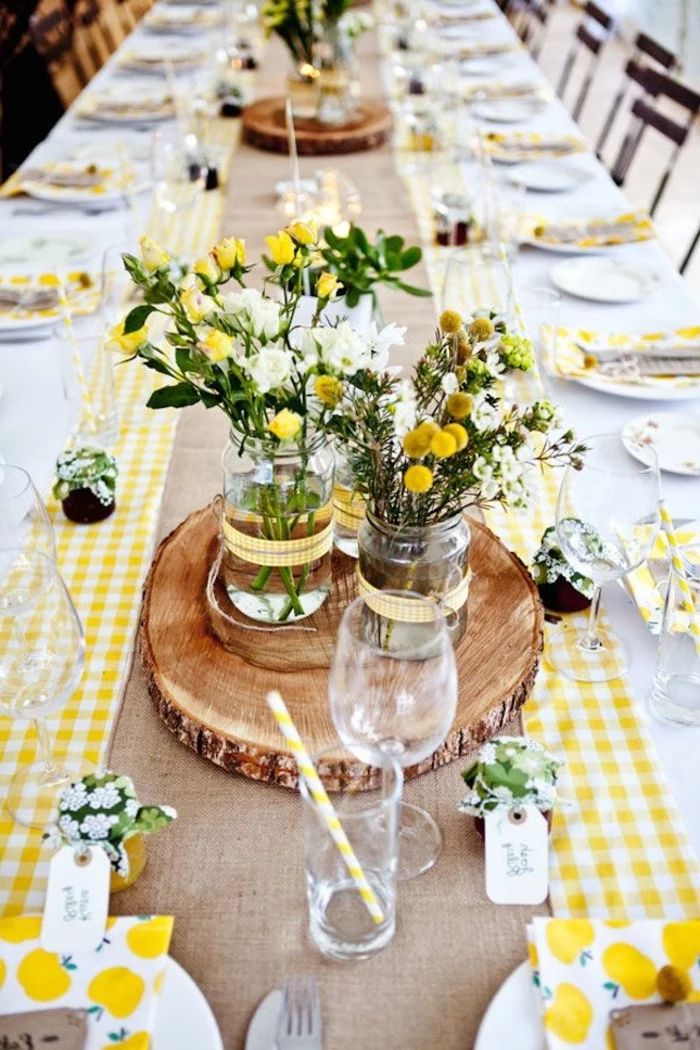
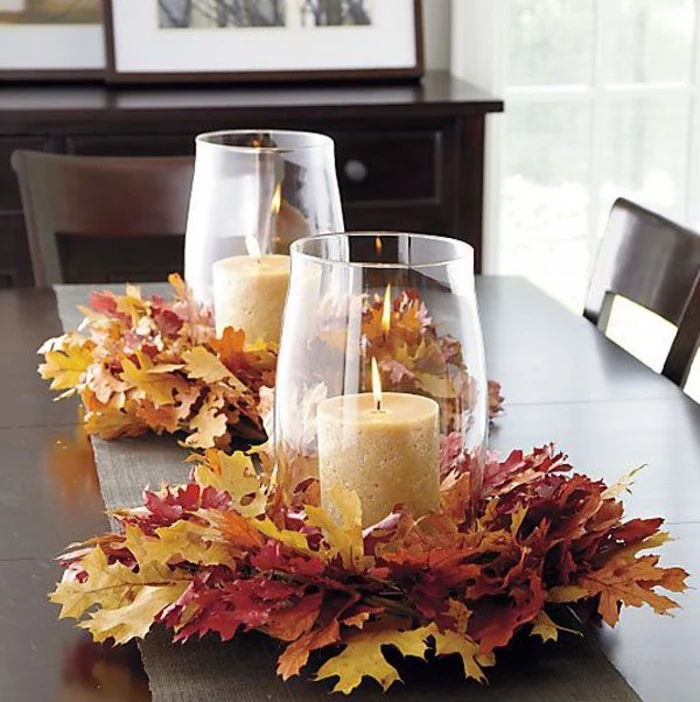
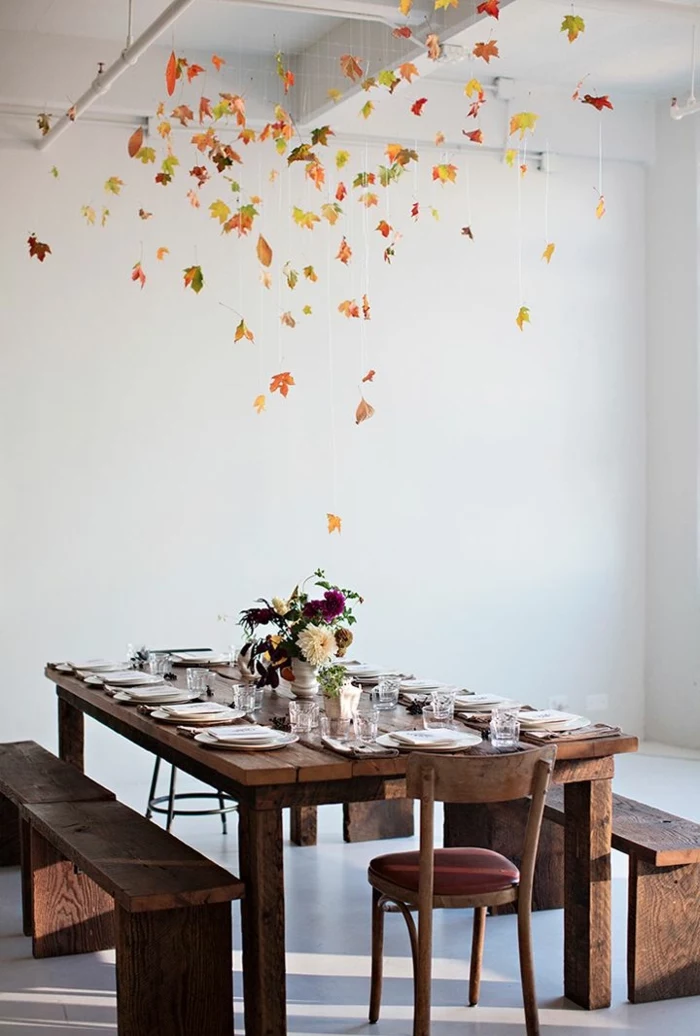
- Analogous: Think of colors that are neighbors on the color wheel, like yellows, oranges, and reds. This kind of palette feels harmonious and is often really warm and vibrant. It’s a natural fit for autumnal themes or a sunny, cheerful get-together.
- Complementary: This is where you use colors from opposite sides of the color wheel, like blue and orange or deep purple and a sunny yellow. This combo is high-contrast, energetic, and demands attention. It’s perfect when you want a lively, festive atmosphere. A great way to do this is to use one color for your base (like blue linens) and its complement for the accents (like bright orange flowers).
By the way, some of the best advice I ever got was to just “look at nature.” Nature almost never gets color wrong. Think about the deep purple and green of an artichoke or the perfect pink and green of a watermelon slice. These pairings just work, every time.
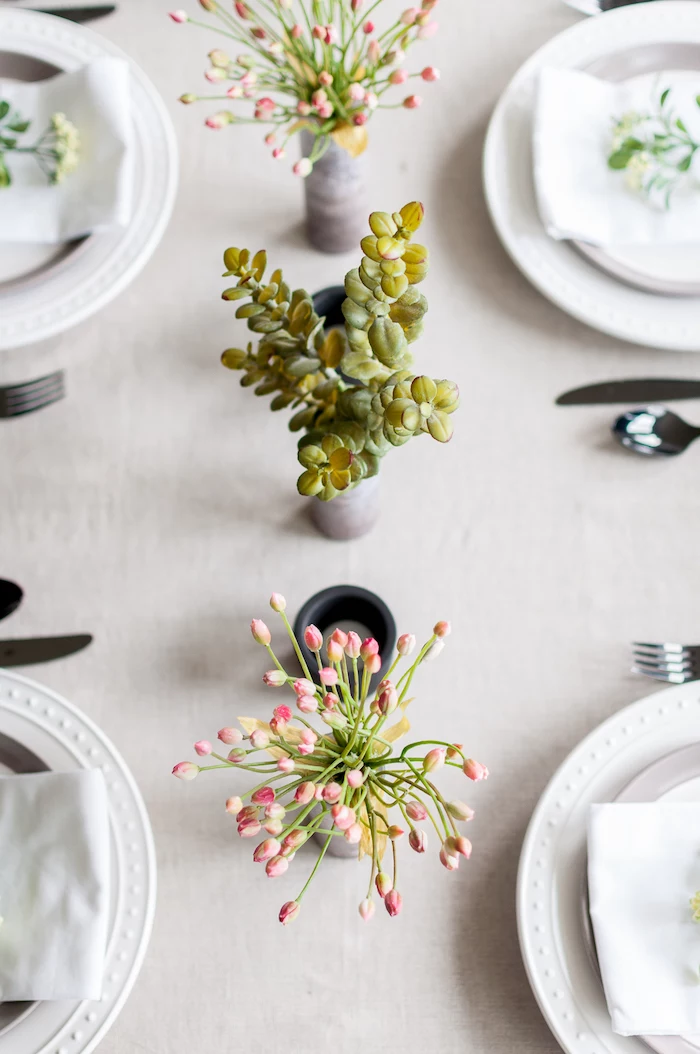
Why Texture and Layers are Everything
Texture is what gives a design that rich, finished feel. A table with only smooth, shiny surfaces can feel a bit cold. Layering in different textures is how you create depth and make things interesting to the eye. It’s a go-to technique for high-end events.
Think of building your table in layers, from the bottom up:
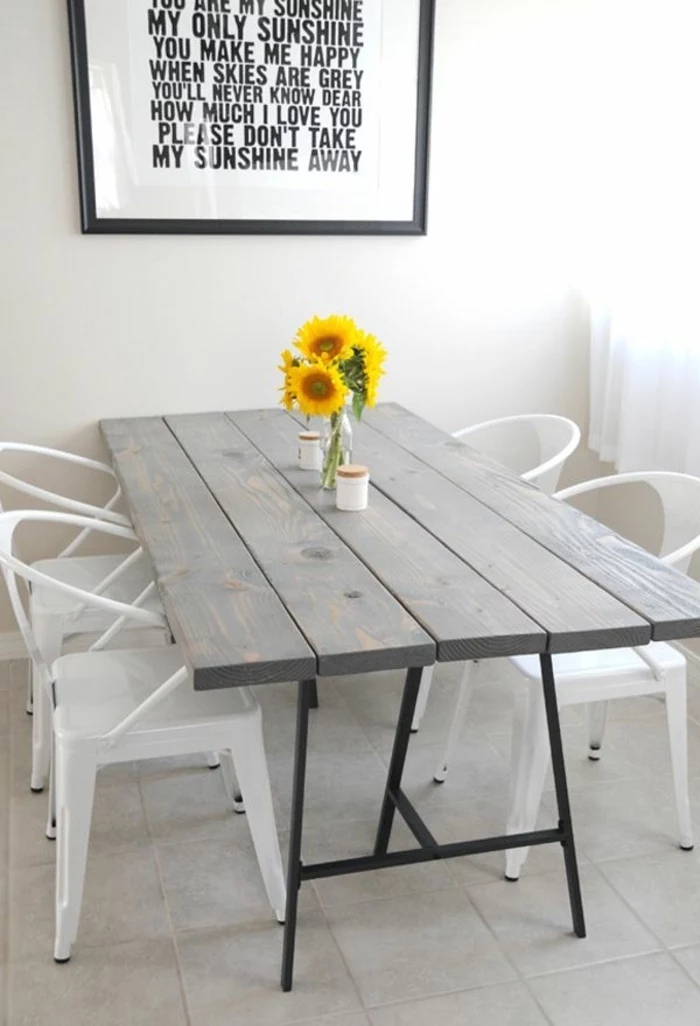
- The Base: This is your tablecloth or just the bare table itself. A beautiful rustic wood table already has amazing texture! If you’re using a cloth, think about the material. Raw linen feels totally different from smooth, crisp cotton.
- The Middle: A table runner is a perfect way to add another layer of color and texture. You could lay a rich velvet runner over a simple linen cloth or use a gauzy cheesecloth runner directly on a wood table for a softer look.
- The Top: This is where your centerpiece, plates, and glassware come in. Mix it up! A smooth ceramic plate next to a nubby linen napkin, paired with sparkling glassware and the rough texture of certain leaves… all of it works together to create something truly engaging.
Quick Tip: One of the easiest ways to make a place setting feel more special is to use a charger plate. It’s a simple, decorative plate that sits under the dinner plate, adding another layer of color, texture, or a bit of metallic shine. You can find inexpensive ones at places like HomeGoods or craft stores for a few bucks each, and they instantly elevate the whole look.
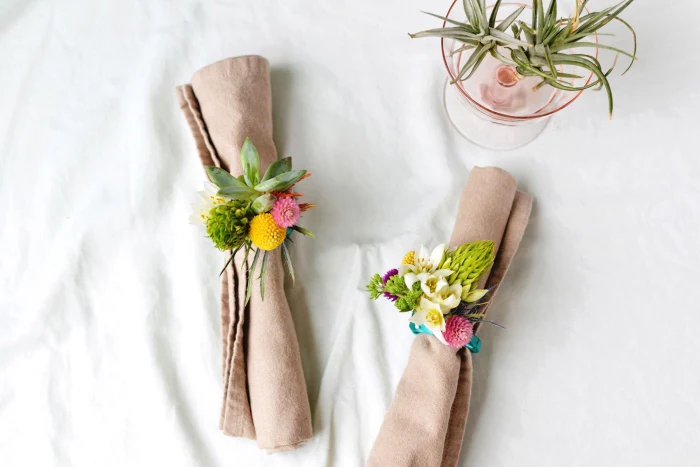
A Pro’s Guide to Choosing Your Materials
Your design is only as good as what you make it with. Knowing how to pick and prep your materials is a skill that separates the amateurs from the pros. This means understanding flowers, linens, and all the little bits and pieces that hold it all together.
The Big Debate: Fresh Flowers vs. High-End Fakes
Flowers are usually the star of the show, so this is a big decision. Your choice will probably come down to your budget, how much time you have, and the look you’re going for.
Let’s talk Fresh Flowers: There’s just nothing like the scent and delicate beauty of fresh flowers. But to get professional results, you have to source and prep them correctly.
- Sourcing: Local flower growers are fantastic if you have them, but let’s be real—most of us are heading to the grocery store. And that’s totally fine! You just need to be smart about it. Places like Trader Joe’s and Costco can have amazing deals. Look for the hardiest options: carnations, alstroemeria, mums, and solidago (that yellow filler flower) are all tough and last for ages. Roses can be great too, just check that the heads are firm. Try to avoid anything that already looks a little sad or wilty on the shelf.
- Conditioning (Don’t Skip This!): This is the absolute most important step for making your flowers last. The moment you get them home, strip off all the lower leaves that would sit in the water—they’ll just rot and create bacteria. Then, using sharp shears (not kitchen scissors, which crush the stems), snip at least an inch off the bottom of each stem at a 45-degree angle. Plunge them immediately into a clean bucket of cool water with some flower food. Let them drink for at least a few hours, or even overnight, before you start arranging.
- Heads Up! A Quick Safety Note: Please be aware that some common flowers are toxic if eaten. Lilies are extremely dangerous for cats. Others like lily of the valley, foxglove, and oleander can be harmful to kids and pets. If you’ve got little ones or curious animals, stick to safe flowers or make sure your arrangements are placed well out of reach.
What about High-Quality Artificial Flowers? Fake flowers have come a LONG way. We’re not talking about those dusty, obviously plastic flowers anymore. The best ones are often called “real touch” and are made from materials that uncannily mimic the feel of real petals.
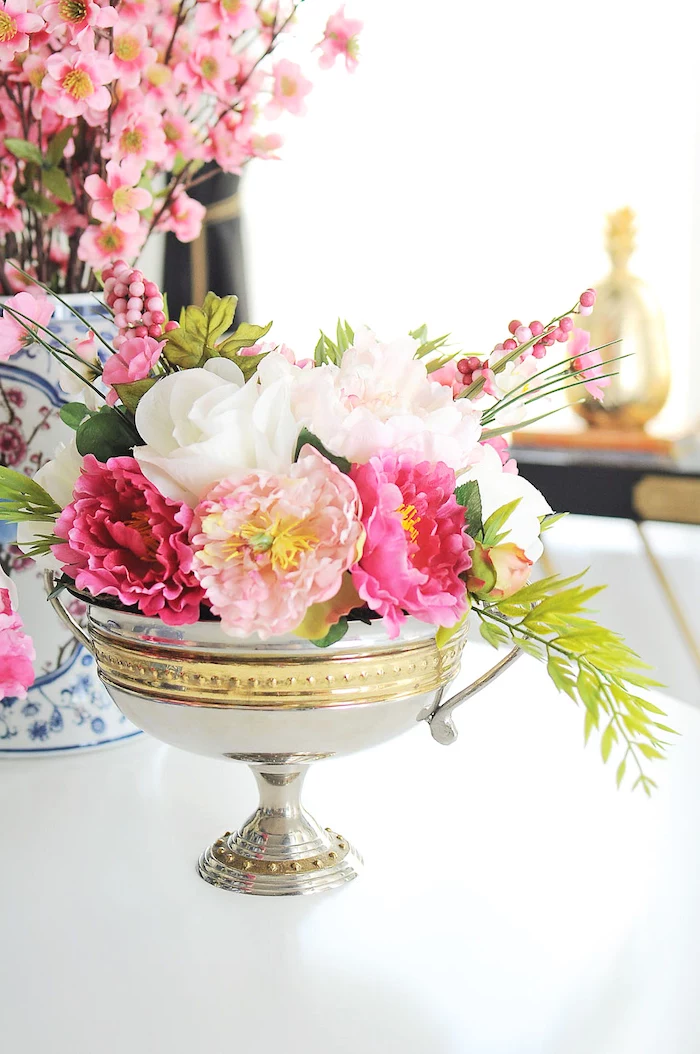
- What to Look For: Look for subtle, realistic color variations in the petals and details on the stems and leaves. A single, flat color is a dead giveaway. They do cost more upfront—a single high-quality stem can run you $8 to $15—but you own them forever.
- Pro Touches: The key to making fakes look believable is to shape them. They have wires inside, so bend the stems and leaves into more natural, graceful curves instead of leaving them stick-straight. My favorite trick is to mix them with real, dried elements like eucalyptus, pampas grass, or dried lavender. The combination is often so convincing people have to touch them to know for sure.
Choosing Your Linens and Hard Goods
The supporting cast is just as important as the star flowers.
- Linens: Fabric sets a huge mood. Polyester is the event industry workhorse because it’s cheap (under $20 for a tablecloth) and resists wrinkles. But for a more luxe or natural vibe, linen or a cotton blend is gorgeous. Yes, it wrinkles, but that’s part of its charm! Expect to pay more, maybe $70+, for real linen. For a budget-friendly rustic look, a few yards of cheesecloth from a fabric store makes an amazing, drapey table runner for less than $10.
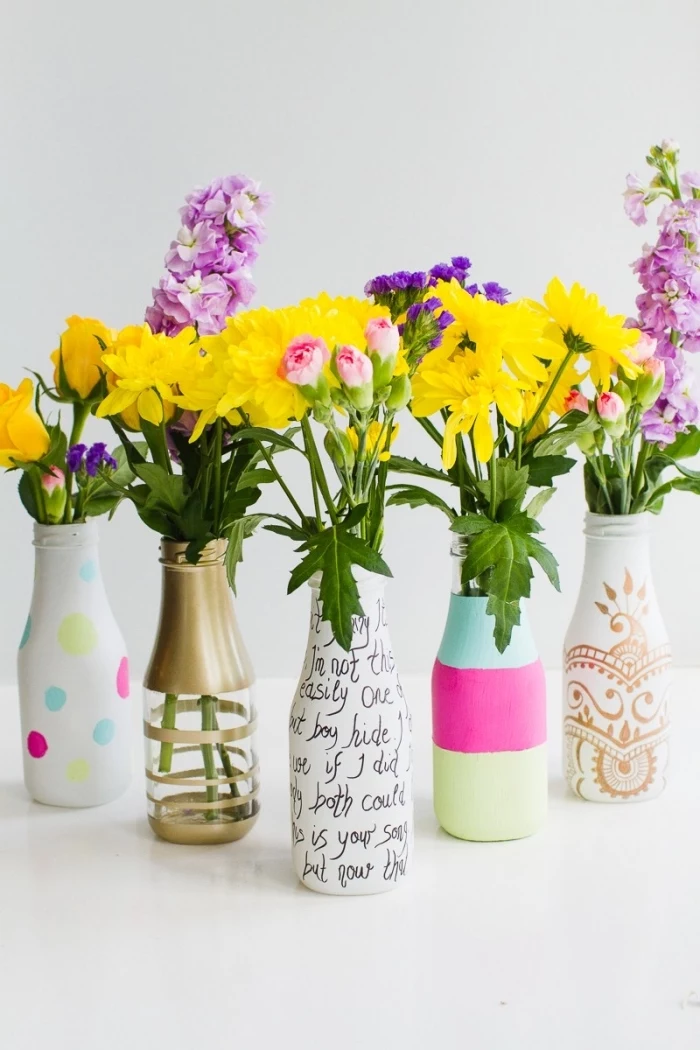
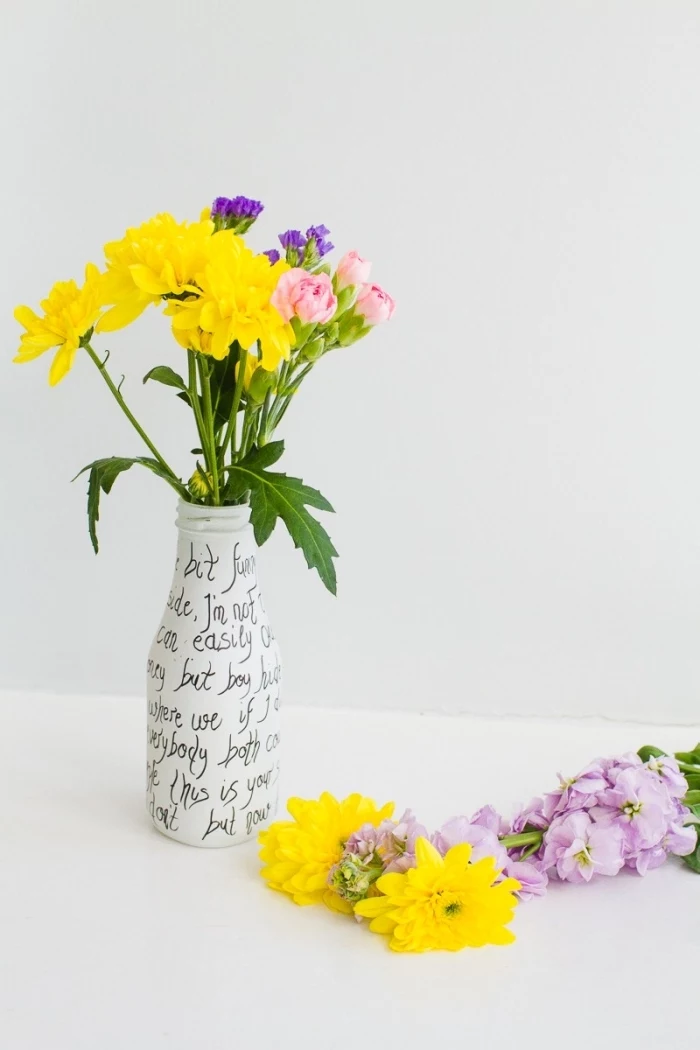
- Vases and Containers: A simple, clear glass vase is always a classic. But a colored glass or ceramic vase can be a great way to punch up your color scheme. Here’s a classic florist’s hack: for a wide-mouthed vase, create a grid across the top opening with clear, waterproof floral tape. This structure holds your stems exactly where you want them to go.
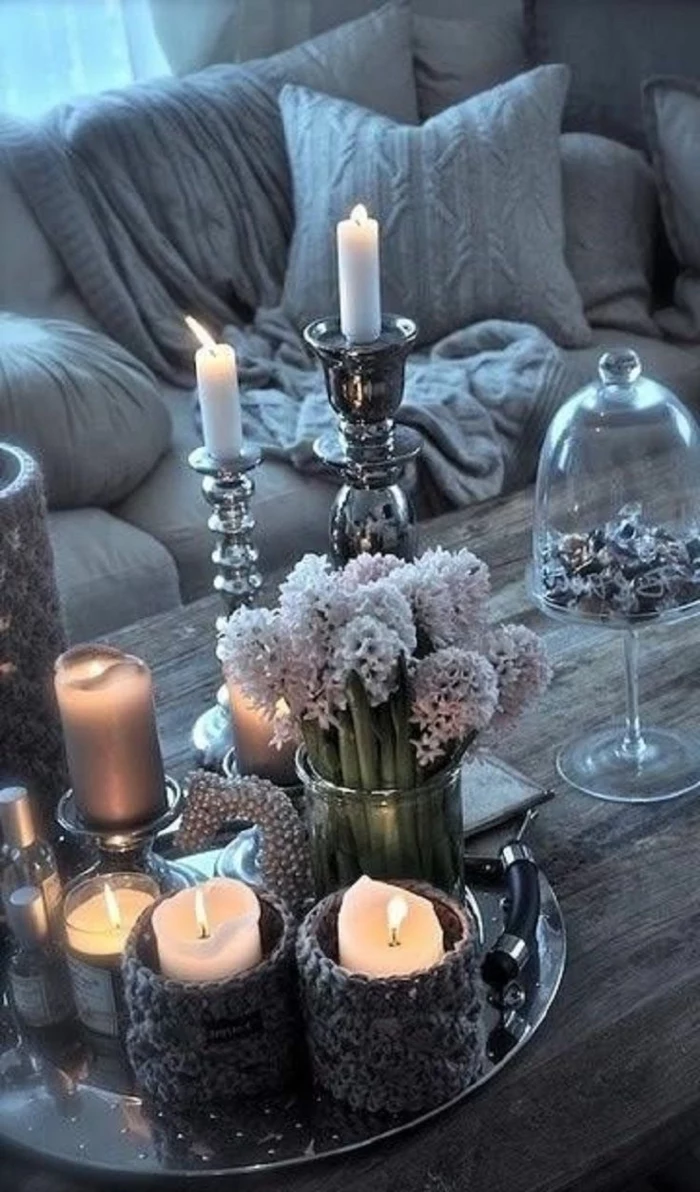
- Candles: Candles are a must for warmth and ambiance, but safety is non-negotiable. Always use sturdy holders that won’t tip, and keep flames far away from anything flammable. I once saw a centerpiece with dried grasses catch fire from a votive—it was put out in seconds, but it was a scary reminder! For long events or total peace of mind, high-quality flameless LED candles are a fantastic, worry-free option.
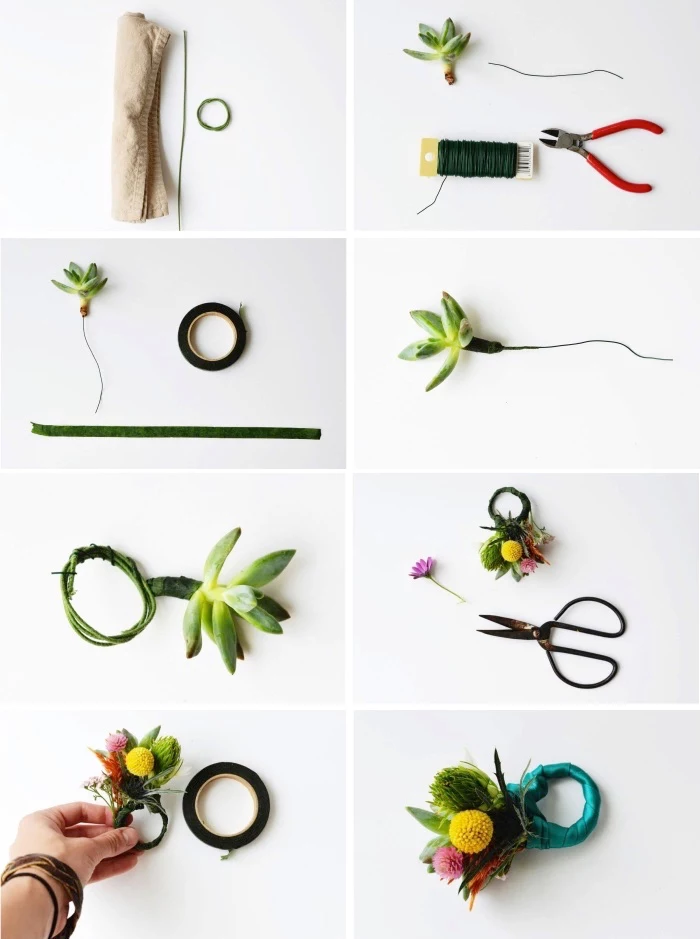
Let’s Get Our Hands Dirty: Core Techniques
Okay, enough theory. Let’s move on to the fun part. These three projects will teach you fundamental techniques that you can adapt for any occasion.
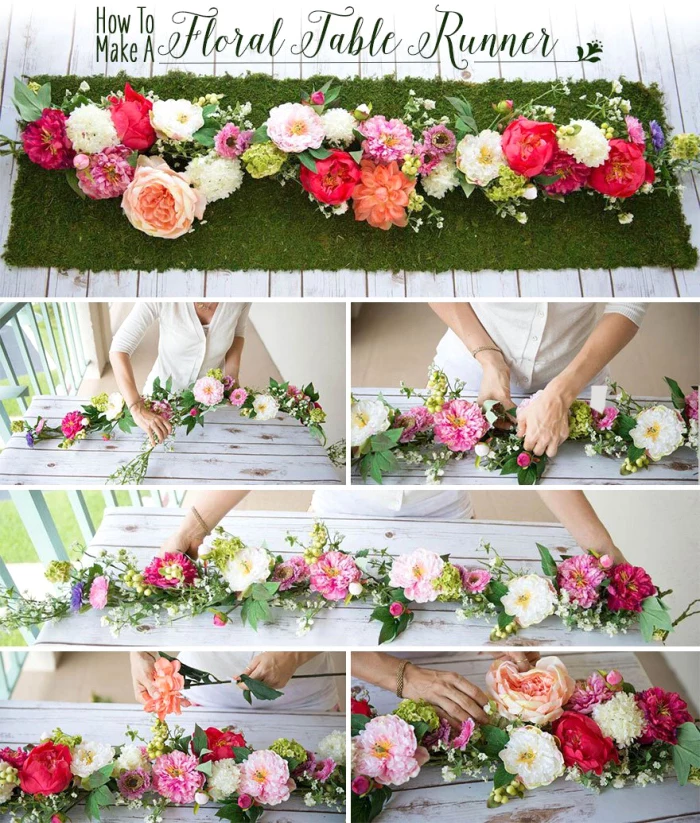
Project 1: The Lush Foliage & Floral Garland
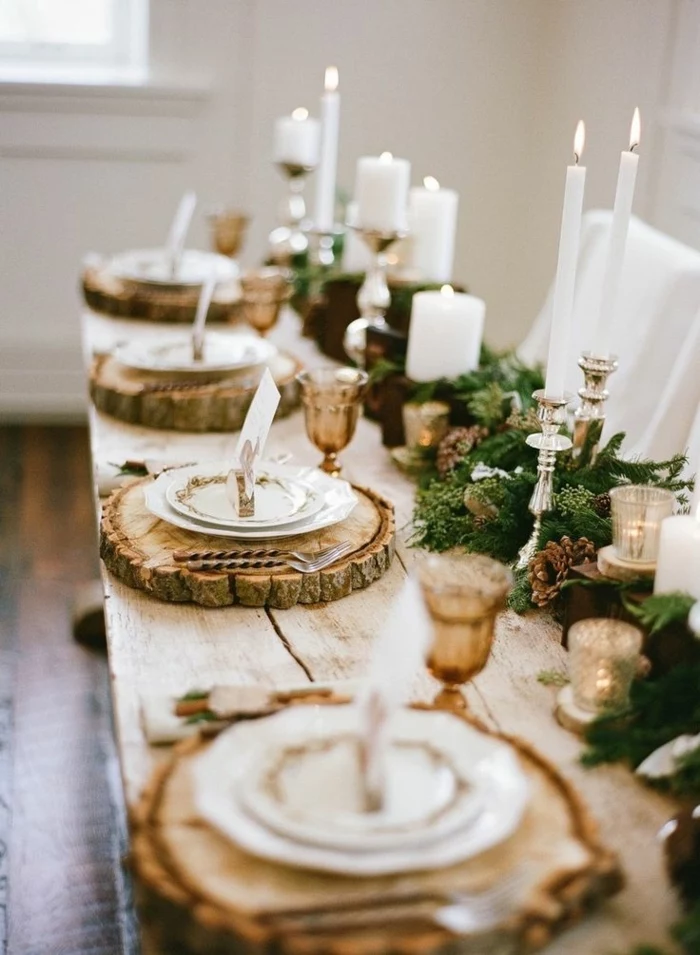
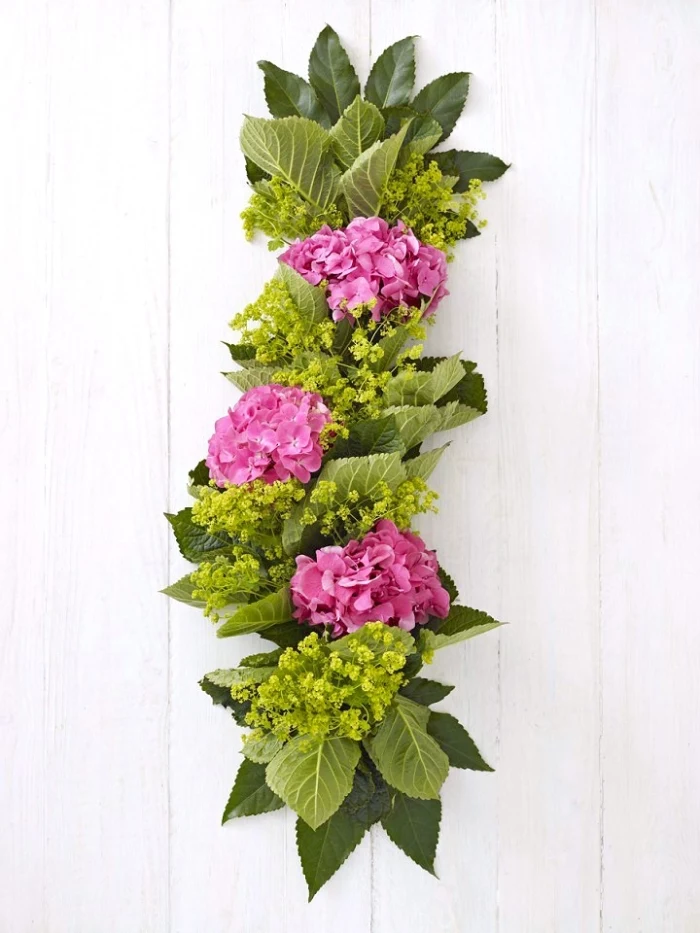
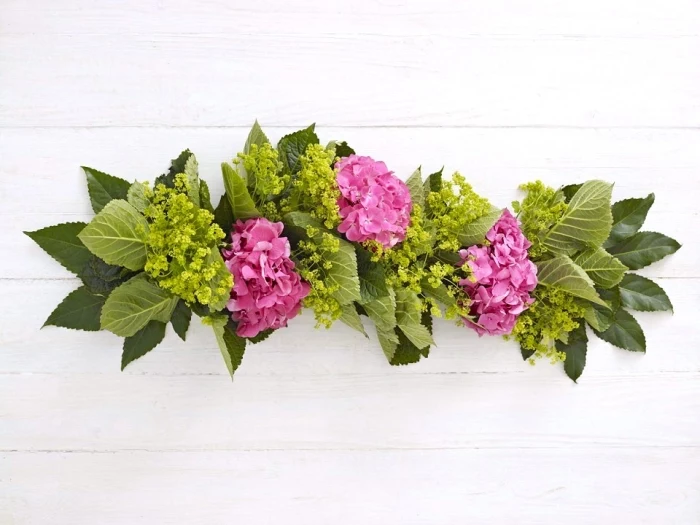
A garland is the perfect choice for a long table. It lies low for easy conversation and creates a stunning visual centerpiece. This is a much better method than just laying loose leaves on the table.
What You’ll Need:
- Base Foliage: You want something sturdy that holds up well without water. Silver Dollar Eucalyptus, Italian Ruscus, or Salal are all pro choices. For an 8-foot table, plan on 2-3 bunches. Cost Estimate: Around $40-$60 for the foliage.
- Accent Flowers: Pick hardy flowers that can go a few hours without water, like spray roses, carnations, mums, or thistle.
- Tools: Paddle wire, floral tape, and sharp floral shears. You can get these at any craft store.
The Method (Plan for 2-3 hours, so put on some music!):
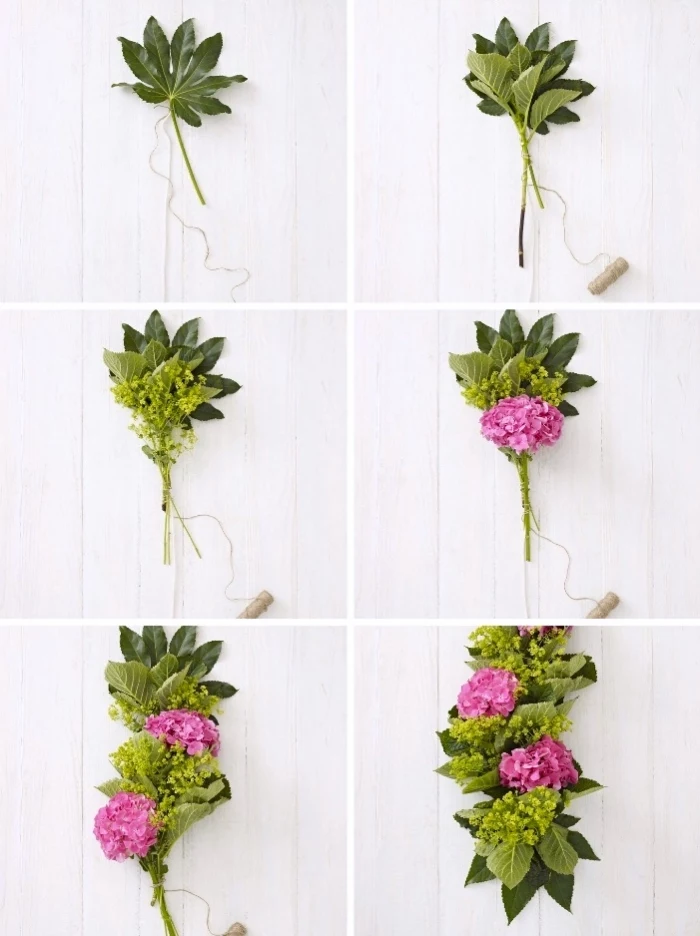
- Make Mini-Bundles: This is the secret. Don’t try to build the whole thing at once. Take a few stems of foliage and an accent flower or two and arrange them into a small bunch, about 6-8 inches long.
- Wrap ’em Up: Use your paddle wire to wrap the stems of the bundle together tightly. Then, cover the wire with floral tape to hide your work and seal in a bit of moisture. Make about 15-20 of these little bundles.
- Build the Chain: Lay your first bundle down. Place a second bundle so its leafy top half overlaps and hides the wrapped stems of the first one. Use a small piece of wire to bind the two bundles together.
- Repeat, Repeat, Repeat: Keep adding bundles, always overlapping to hide the mechanics. This creates a beautiful, seamless garland. For a really polished look, start from both ends of the table and work toward the middle.
- Finishing Touches: Once it’s on the table, you can tuck in extra sprigs to fill any gaps. To keep it looking fresh, give it a heavy misting of water an hour before guests arrive.
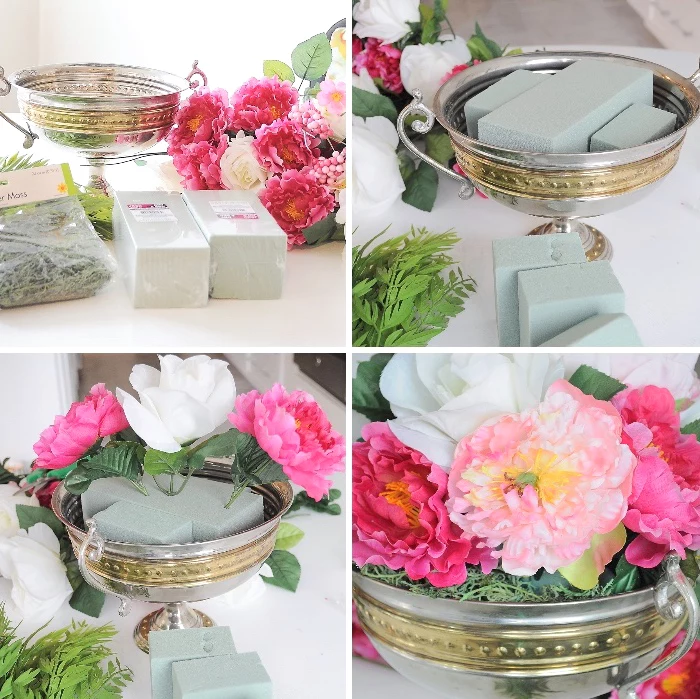
Project 2: The Pro-Style Centerpiece Arrangement
This technique uses floral foam to give you complete control, creating that lush, full look you see in magazines. It’s a game-changer.
What You’ll Need:
- Container: A low, wide bowl or compote dish is perfect.
- Floral Foam: Make sure you get the kind for fresh flowers (it’s usually green).
- Flowers: A simple recipe for an 8-inch bowl would be: 1 bunch of base greenery like eucalyptus (about $15), 5-7 focal flowers like roses ($20), and a half-bunch of airy filler like waxflower ($8).
- Tools: A knife for the foam and your floral shears.
The Method (This should take about 45-60 minutes):
- Soak Your Foam (The Right Way!): This is so important. Do NOT push the foam brick into the water. Just gently place it on the surface of a bucket of water and let it sink on its own. This takes a few minutes and ensures it gets fully saturated with no dry spots inside.
- Prep the Base: Cut the wet foam to fit snugly in your bowl, rising about an inch above the rim. Now, start adding your greenery. Poke small pieces into the foam around the edges, angling them down to hide the foam and the rim of the bowl.
- Create Your Shape: Now, grab your main (focal) flowers. Place one in the center to set your height, then a few more around it to establish the width. Cut the stems to different lengths to create a more natural, rounded shape.
- Fill ‘er Up: Use your remaining focal flowers and your smaller filler flowers to fill in all the gaps. Turn the container as you work to make sure it looks great from every angle. The goal is to hide all the green foam!
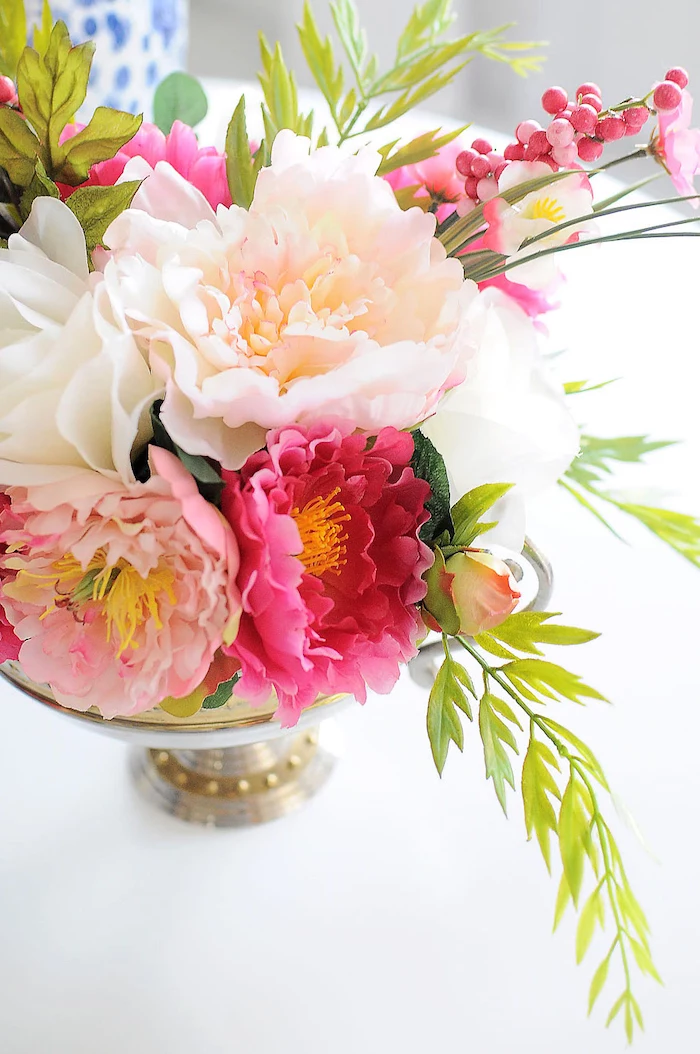
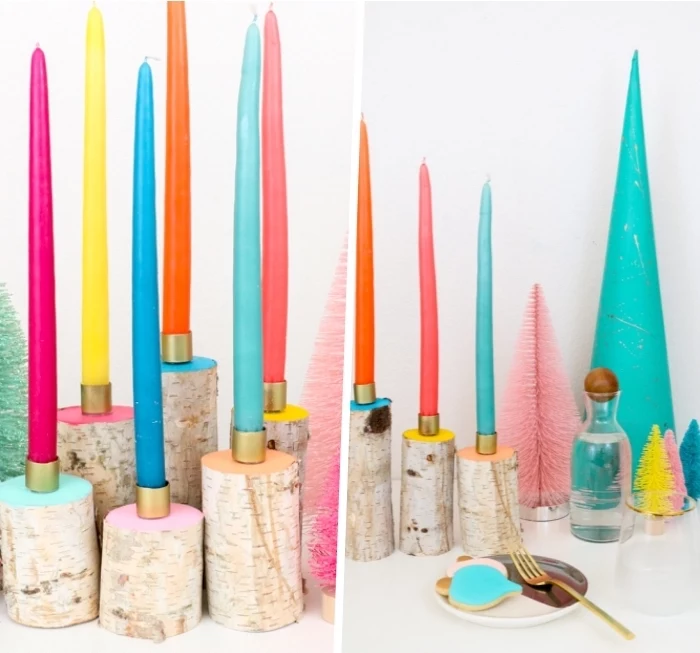
Project 3: The Rustic Wood Candlestick Holder
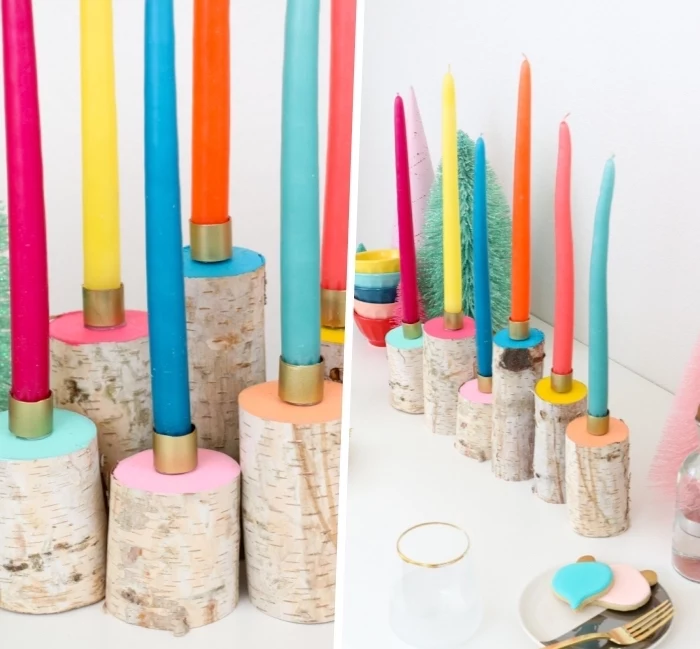
This is a beautiful, natural element, but we have to talk about how to make it safely. A branch as a candlestick is charming, but only if it’s done right.
What You’ll Need:
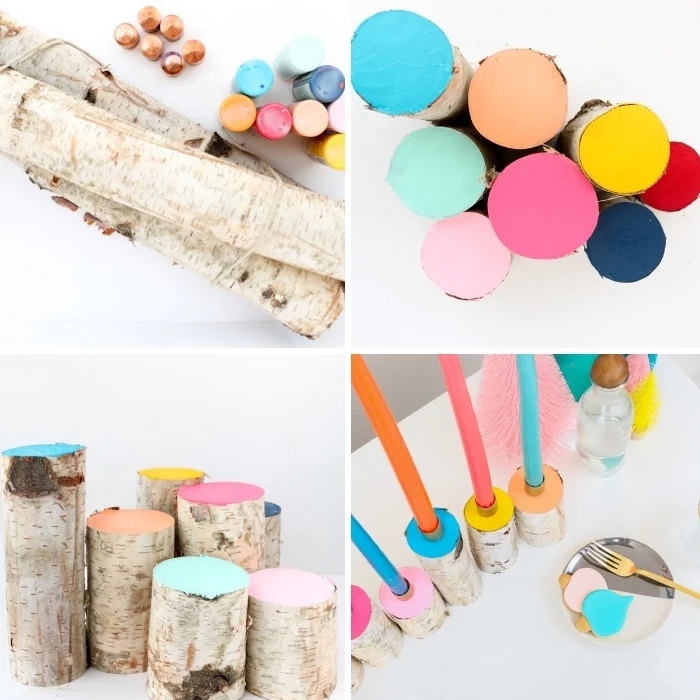
- Wood: A dry piece of a hardwood branch (like oak or maple), about 3-4 inches wide and cut 4-6 inches tall.
- Tools: A saw, sandpaper, a drill, and a spade bit. You’ll likely need a 7/8-inch spade bit for a standard taper candle.
- The NOT-Optional Safety Part: A metal or glass candle insert cup. This little piece is what prevents the flame from ever touching the wood. You can find them online or at craft stores like Michael’s for just a couple of bucks. You’ll also need a non-flammable glue, like a two-part epoxy.
- Candle: A standard taper candle.
The Safe and Professional Method:
- Prep the Wood: Cut both ends of your branch so they’re perfectly flat and stable. Sand everything smooth. Test it on a flat surface. If it wobbles at all, don’t use it. Safety first!
- Drill the Hole: Securely clamp the wood to a workbench. Use your spade bit to drill a hole in the center, just deep enough for your metal insert to sit flush with the top of the wood.
- Install the Safety Insert: Clean out the sawdust. Apply your non-flammable glue to the outside of the metal insert and pop it into the hole. Let it cure completely. This creates your essential fireproof barrier.
- Final Placement: Even with the insert, always place this on a heatproof surface like a ceramic plate or charger. And like any candle, keep it away from flammable stuff and never, ever leave it unattended.
DIY or Call a Pro? When to Make the Call
I’m a huge believer in learning these skills yourself. There’s nothing more rewarding than creating something beautiful with your own hands. But, it’s also important to be realistic.
DIY is perfect for:
- A dinner party for 4-12 people.
- Your family’s holiday table.
- A single, special centerpiece for a birthday.
In these cases, the creative process is part of the fun, and the stakes are low. If something doesn’t turn out right, it’s just a learning experience.
It’s time to hire a professional when:
- The event is a wedding or another huge life milestone. Trust me, on a day with a million other things happening, you do not want to be worrying about wilting flowers.
- You need more than three or four arrangements. The sheer logistics of sourcing, prepping, and arranging that many flowers is a full-time job in itself.
- The design is complex, like a hanging installation. Those require special gear, insurance, and a whole team to set up and tear down.
A pro florist does more than just play with flowers. We manage budgets, buy from wholesale markets, handle all the stressful logistics, and fix problems on the fly. For a big, important day, that peace of mind is worth every penny.
So there you have it. Start with these ideas and techniques. Practice them. And don’t be afraid to experiment! Over time, you’ll develop your own eye and the confidence to create a warm, welcoming space for any occasion.
Your turn! Why not try the layering principle this week? You don’t need to buy anything new. Just use what you have: a tablecloth, a pretty scarf as a runner, and a few small vases or jars from around the house. See what a difference it makes!
Inspiration Gallery
The forgotten element: Your lighting. A stunning table can fall flat under harsh overhead lights. Install a dimmer switch if you can—it’s a game-changer. For a quick fix, turn off the main light and use lamps, floor lights, and of course, candles, to create soft, flattering pools of light that make everyone look and feel great.
The average American family uses 2,200 paper napkins per year.
Switching to cloth napkins is one of the easiest and most elegant eco-friendly swaps for your table. Not only do they feel more luxurious, but they reduce waste significantly. Invest in a quality set of linen or organic cotton napkins that can be washed and reused for years, adding a touch of sustainable class to every meal.
How do I choose the right color palette without it looking chaotic?
Think like a designer and use the 60-30-10 rule. Your dominant color (like the tablecloth) should be about 60% of the look. Your secondary color (napkins, placemats) takes up 30%. Finally, an accent color (flowers, candle holders, glassware) makes up the final 10%. This simple formula creates a cohesive, professional-looking palette every time.
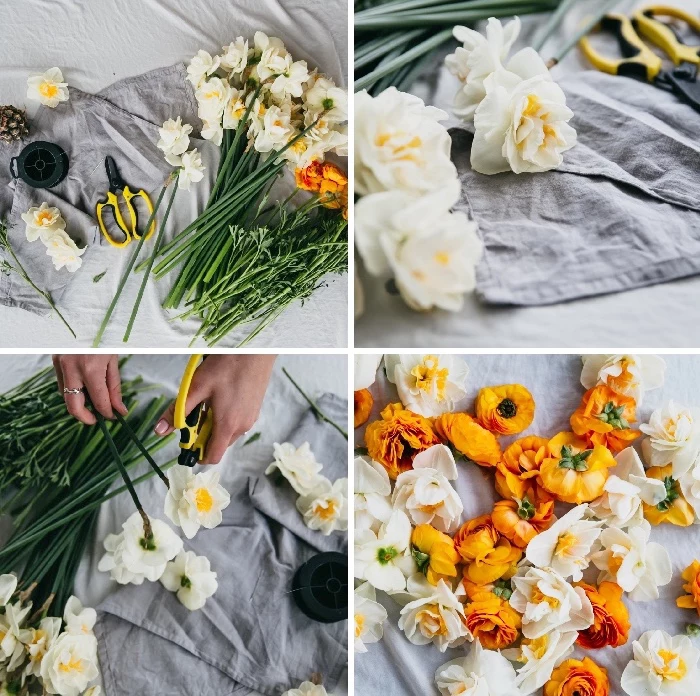
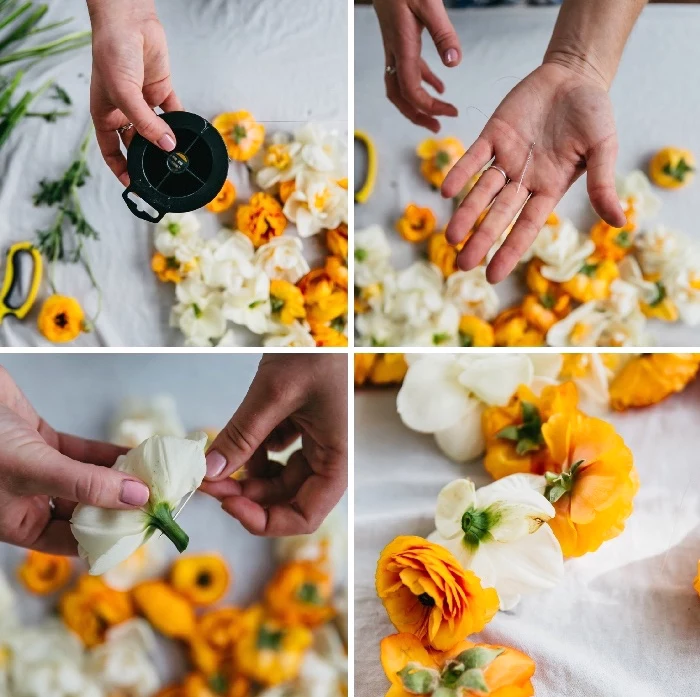
Don’t overlook the power of texture to create depth and interest. Imagine a smooth ceramic plate on a rustic linen placemat, next to a sleek, modern wine glass and a matte-finish fork. The interplay between these surfaces—rough, smooth, shiny, matte—is what gives a table setting a rich, layered, and professionally styled feel. It’s a sensory detail that guests will notice, even if they can’t quite put their finger on why it feels so good.
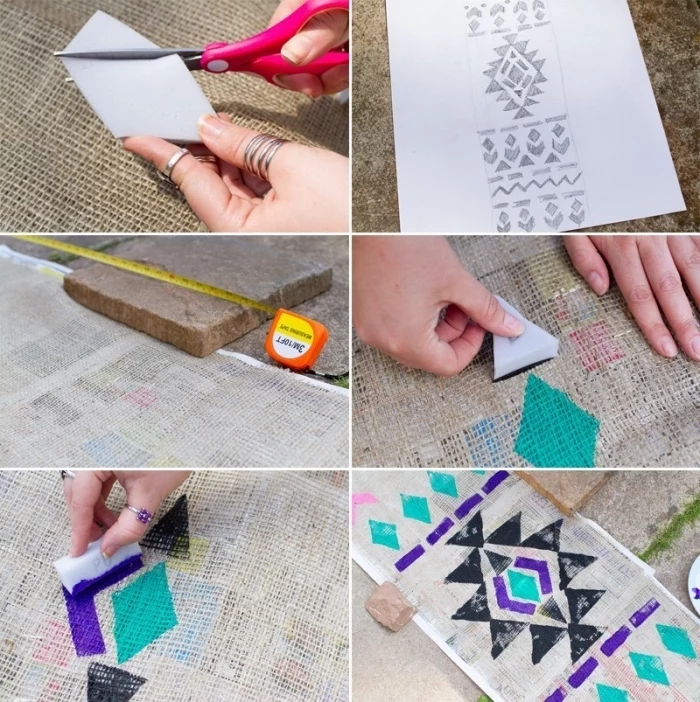
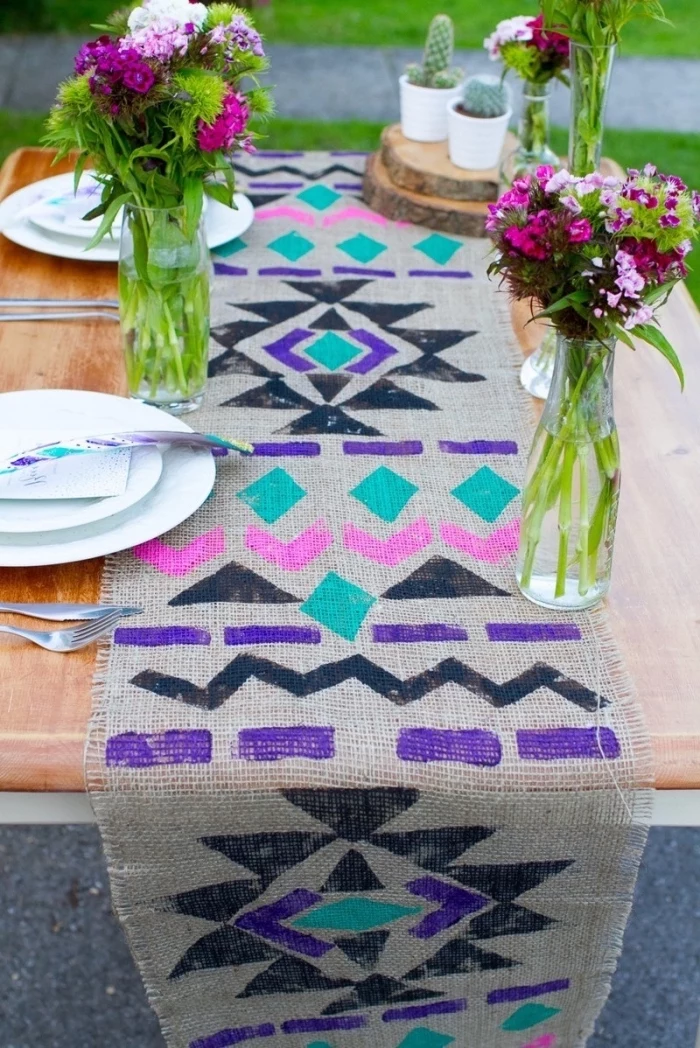
- Create an instant sense of occasion.
- Protect your table from spills and heat.
- Add a bold layer of color or pattern.
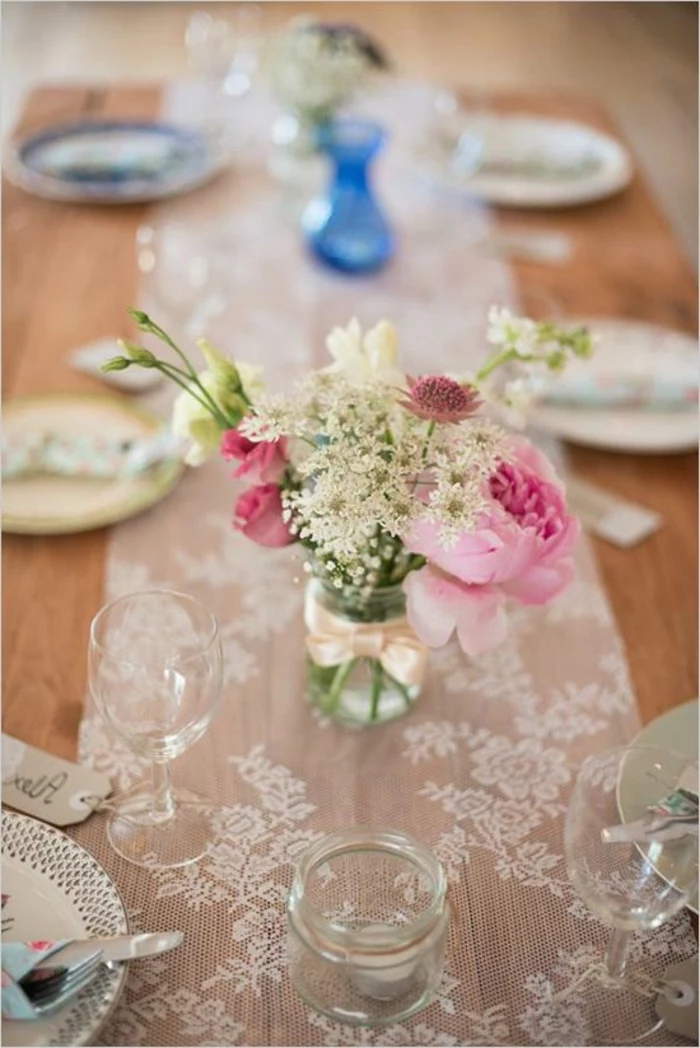
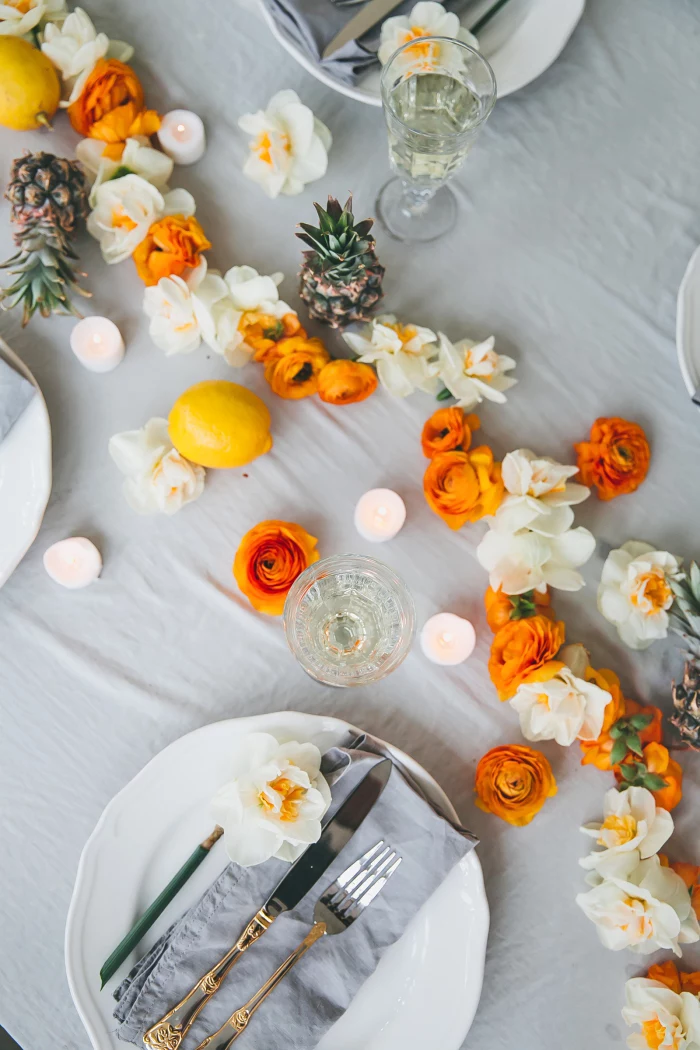
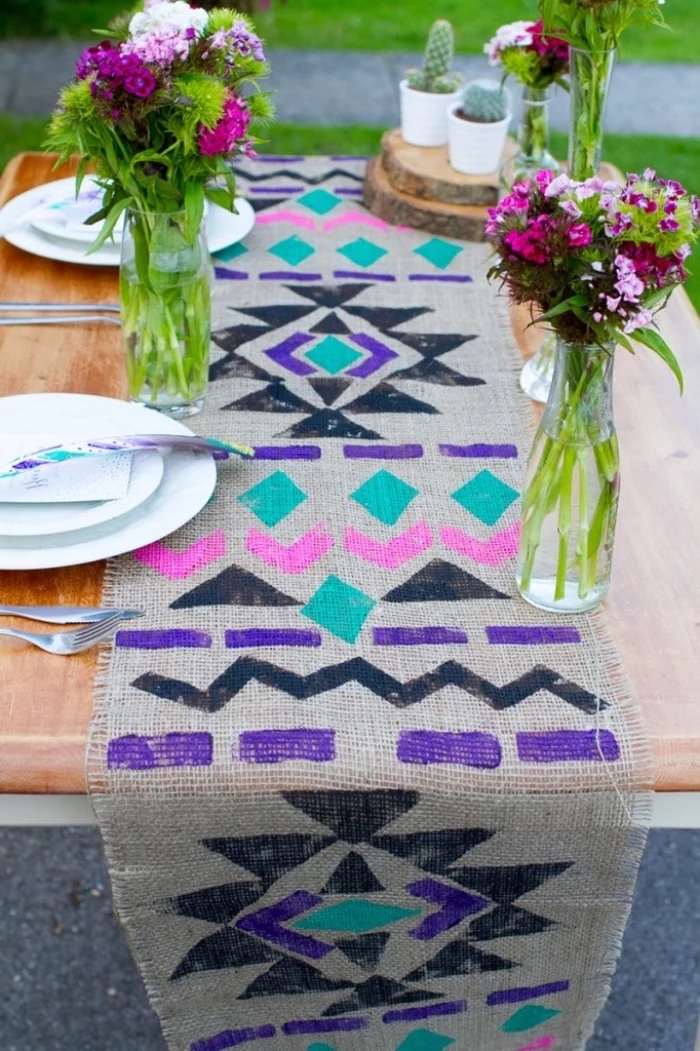
The secret? A beautiful table runner. It’s less formal than a full tablecloth but more impactful than a placemat, defining the center of the table and providing a perfect canvas for your centerpiece. For a modern look, try a simple, un-hemmed strip of linen from a fabric store.
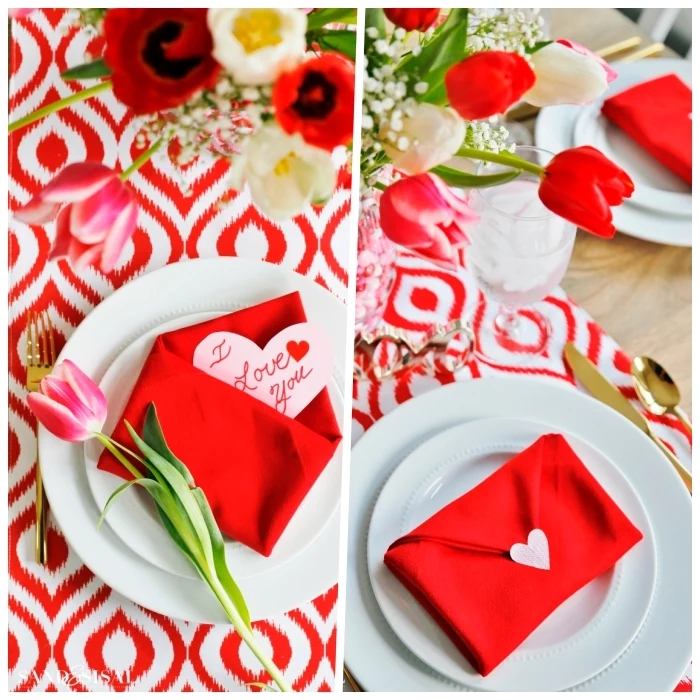
Linen Napkins: Beloved for their effortlessly chic, slightly crumpled look. They are highly absorbent, get softer with every wash, and signal a relaxed, high-end aesthetic. Perfect for rustic or minimalist settings.
Cotton Napkins: Offer a crisper, more formal feel. They hold sharp folds well (ideal for fancy napkin art) and are often more affordable. Look for high-quality cotton percale for a smooth, hotel-like finish.
For everyday luxury, linen is unbeatable. For formal events where precision matters, crisp cotton is your best friend.
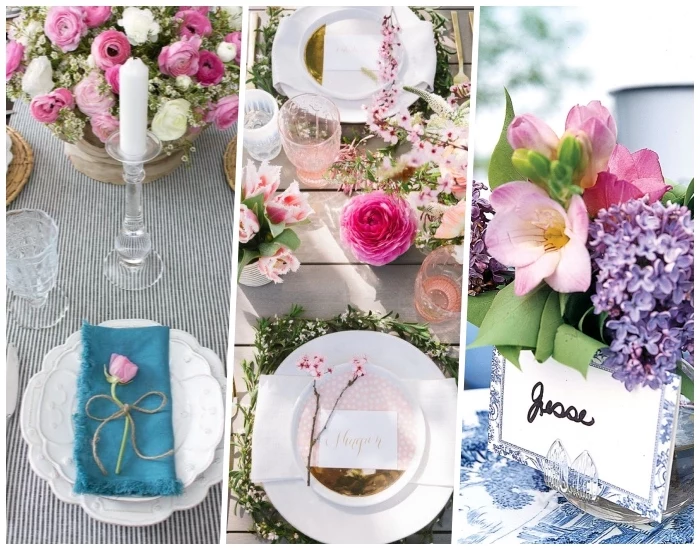
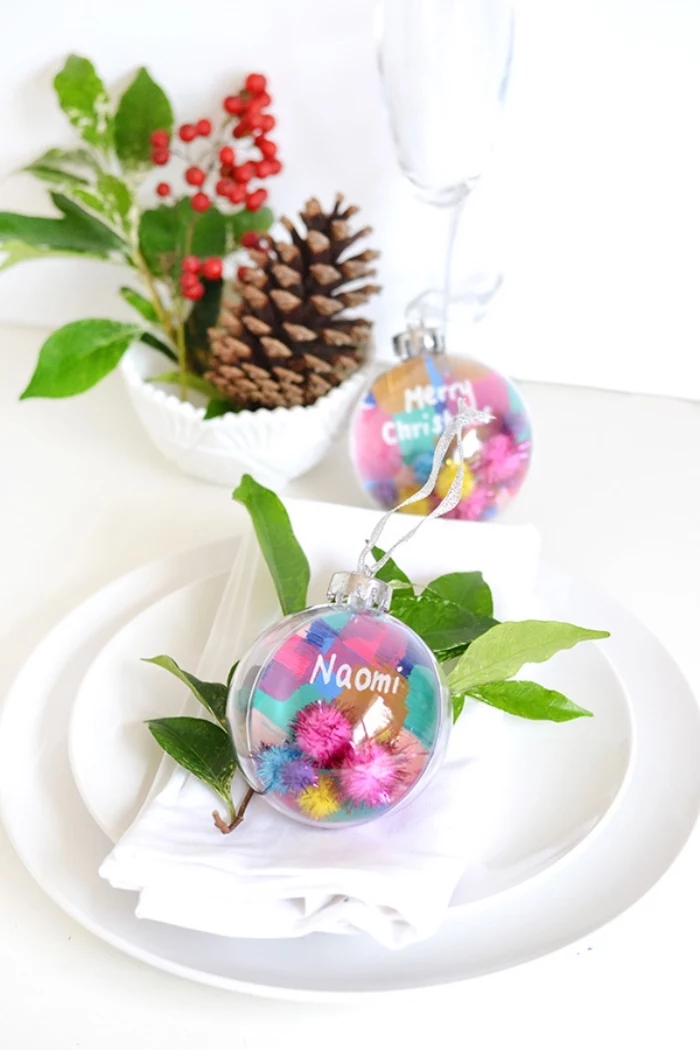
- A simple, handwritten calligraphy tag tied with twine.
- A single sprig of rosemary or a small flower tucked into the napkin.
- A name written in gold permanent marker on a smooth, dark river stone.
- A vintage photograph of the guest for a nostalgic touch.
A common mistake: Overpowering scents. While a scented candle can be lovely in a living room, it’s a disaster on the dining table. The fragrance clashes with the aroma of the food, confusing the palate. Stick to unscented beeswax or paraffin candles for dining. If you want to add fragrance, do it with your food, or place a lightly scented diffuser in the entryway, not at the table.
Embrace the Japanese aesthetic of Wabi-Sabi for a table setting that is perfectly imperfect and deeply calming. It’s about finding beauty in simplicity, nature, and craftsmanship.
- Use handmade, slightly irregular ceramic plates.
- Choose earthy, muted colors: think stone grey, moss green, and warm beige.
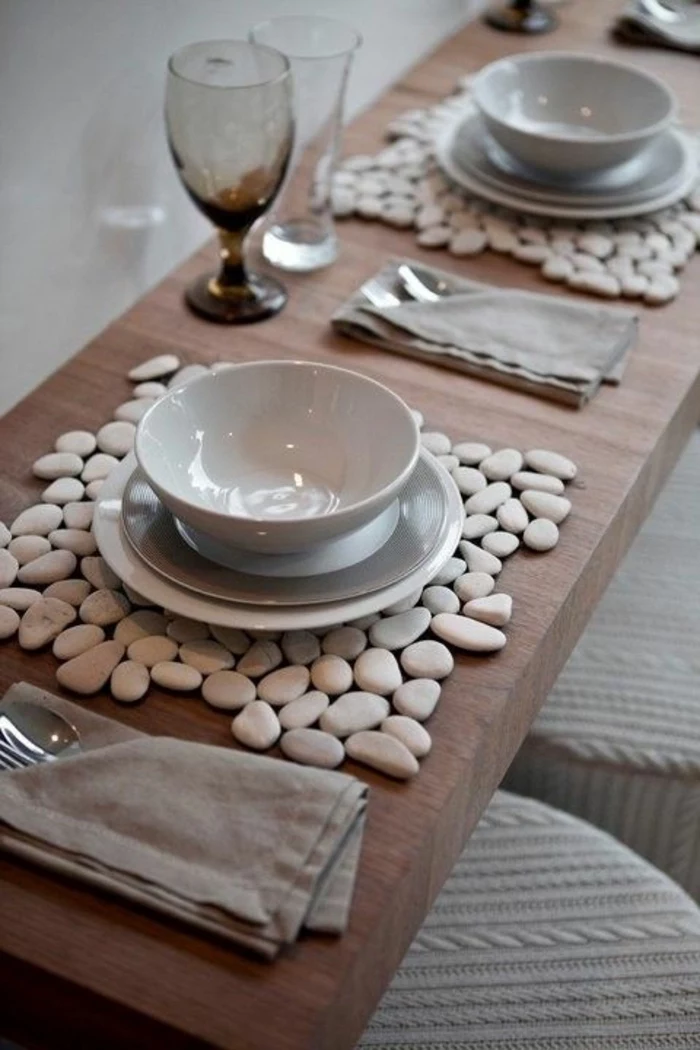
- Incorporate natural elements like a bare branch, a single stem in a clay vase, or a few smooth pebbles.
- Opt for wrinkled linen napkins that celebrate imperfection.
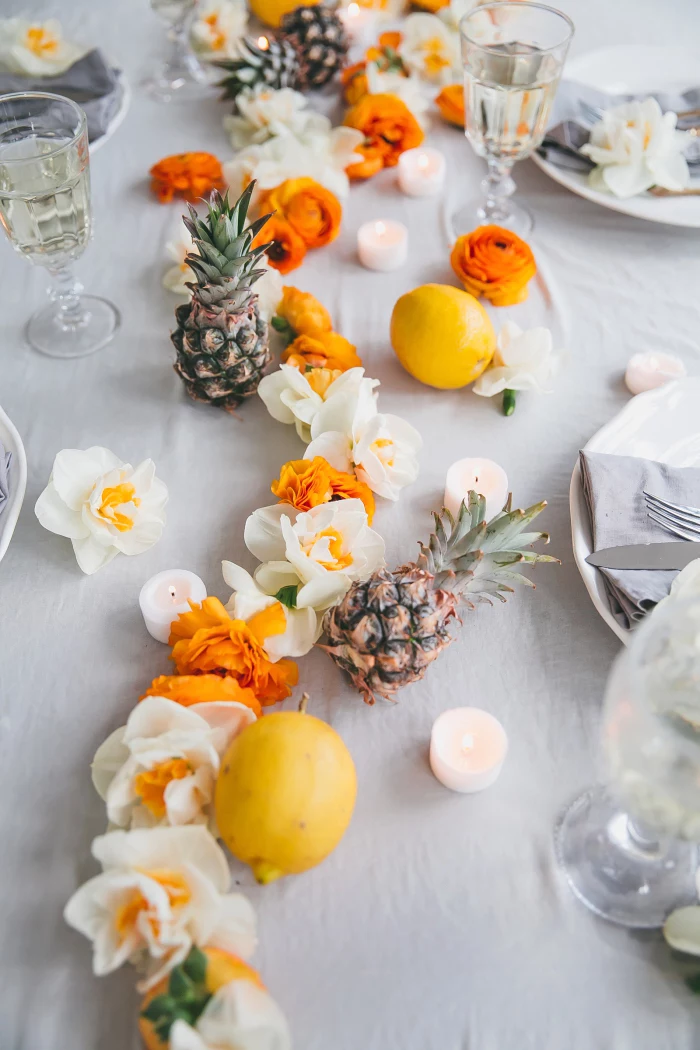
In the 18th century, the pineapple was the ultimate centerpiece. Renting one for an evening could cost the equivalent of $8,000 today, symbolizing extreme wealth and hospitality.
Your flatware’s finish can completely change the mood. Polished silver is timeless and classic, perfect for traditional settings. Matte black or gold offers a modern, dramatic edge. A brushed bronze or copper finish brings warmth and a touch of industrial chic. Don’t be afraid to choose a finish that contrasts with your dinnerware for a bold, designer-led statement.
Can I really mix and match different dish patterns?
Absolutely! The key is to create a common thread. Stick to a unified color family—for example, mix various blue and white patterns like chinoiserie, stripes, and floral. Alternatively, keep the plate style consistent (e.g., all round plates) but vary the pattern. Layering a patterned salad plate over a solid dinner plate is a foolproof way to start experimenting with this eclectic, collected-over-time look.
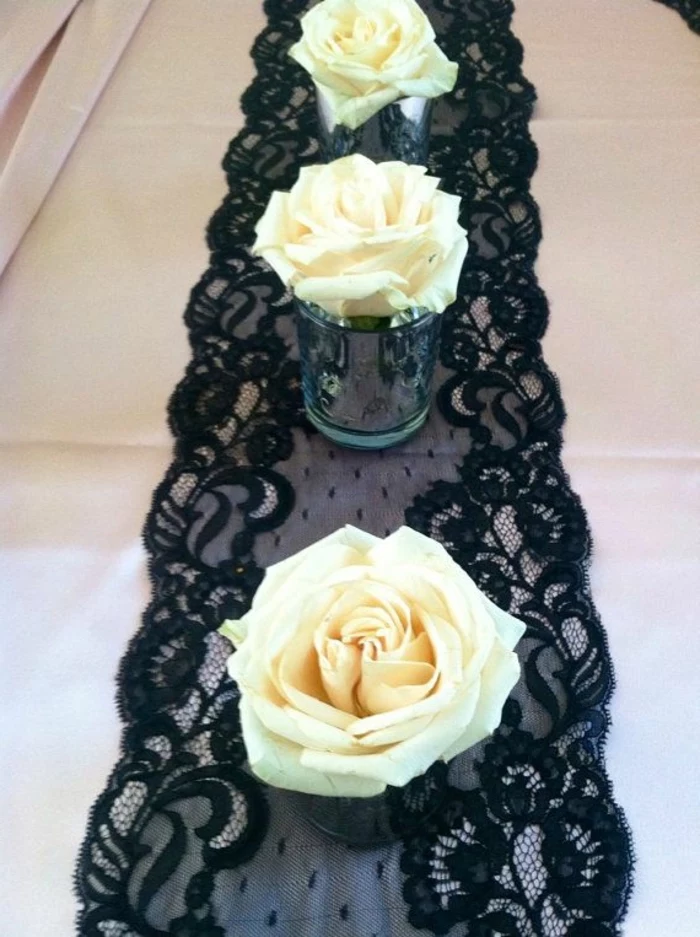
Go beyond the visual and consider the soundscape. The right music can be as important as the centerpiece. For an elegant dinner, a curated playlist of instrumental jazz or classical music works wonders. For a relaxed brunch, try some soulful folk or laid-back indie pop. Use a quality portable speaker, like a Sonos Roam or a JBL Flip, and keep the volume low enough for easy conversation.
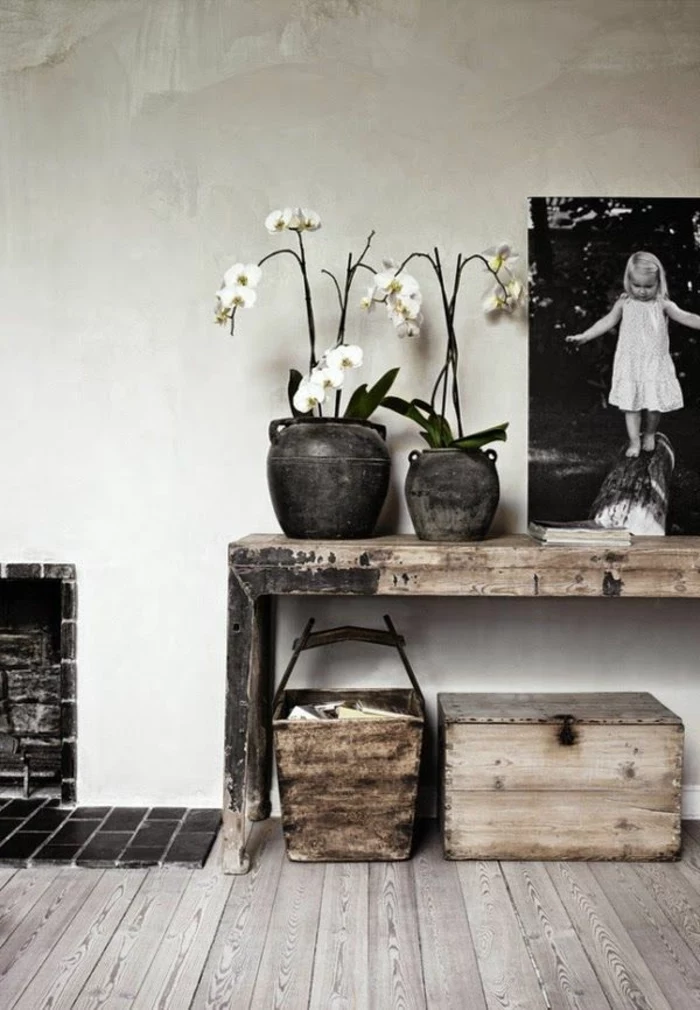
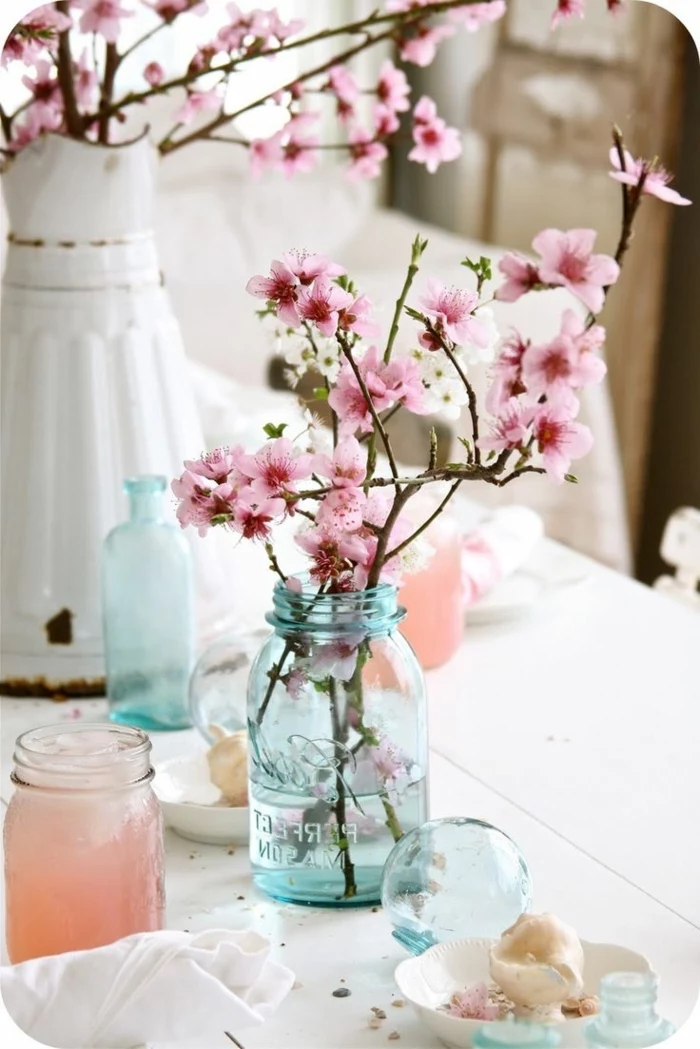
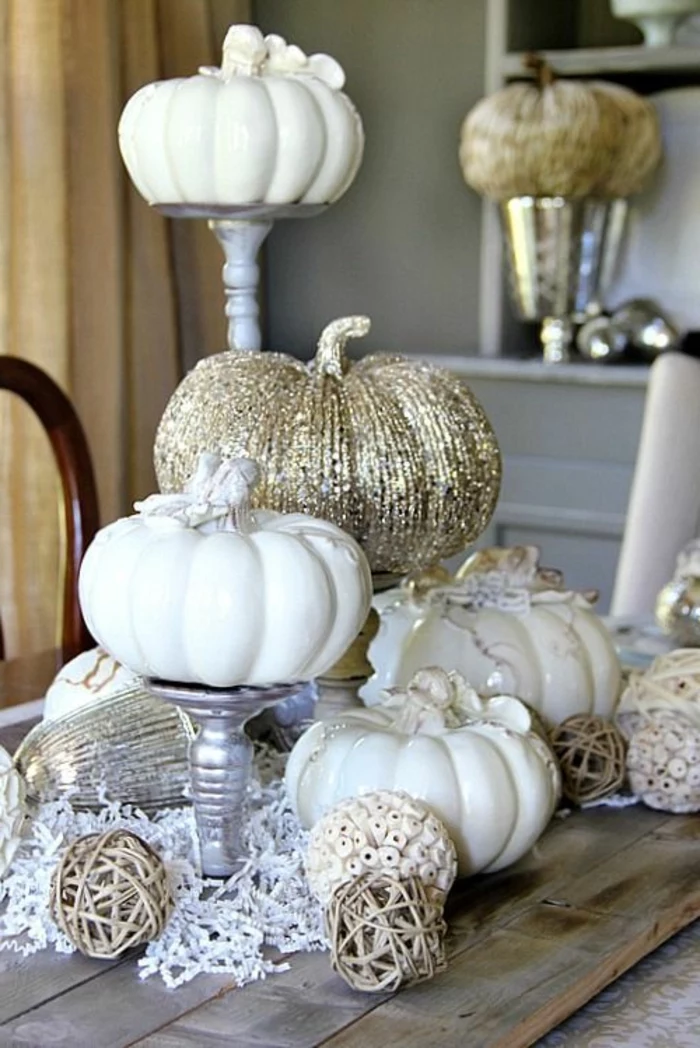
Maximalism: More is more! This is about bold patterns, rich jewel tones, layered textiles, and an abundance of flowers and objects. Think Gucci Décor meets a bohemian feast. It’s joyful, extravagant, and tells a story of personality and passion.
Minimalism: Less is more. Focus on high-quality materials, a restrained color palette, and clean lines. Each object is chosen with intention. Think Scandinavian design with its emphasis on form and function.
Choose the style that reflects the mood you want to create—opulent and vibrant, or calm and considered.
Studies in color psychology show that warm colors like red and orange can stimulate the appetite, while blue can act as an appetite suppressant.
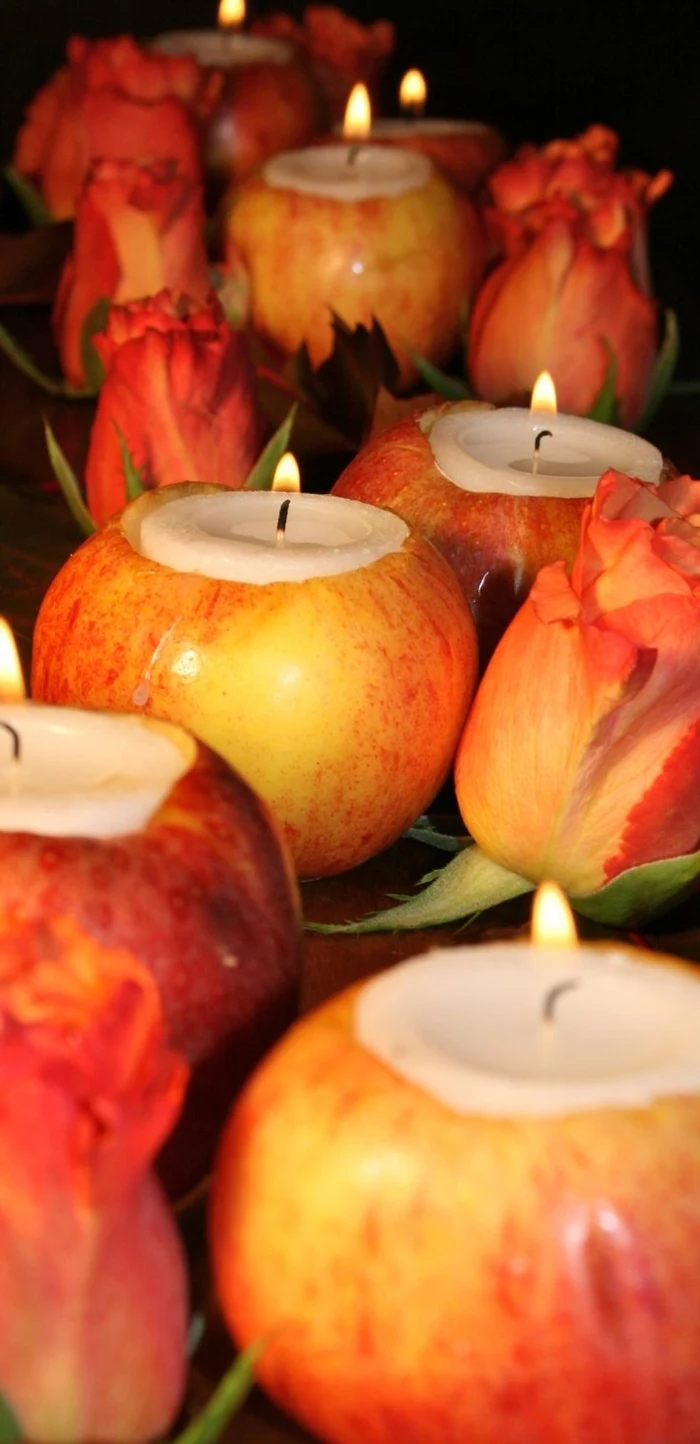
This is why you’ll often see warm tones in restaurant design. For your own table, accents of terracotta, warm yellow, or berry red can make the meal feel even more inviting and delicious. A simple set of ochre-colored napkins or a bowl of red apples can make a surprising difference.
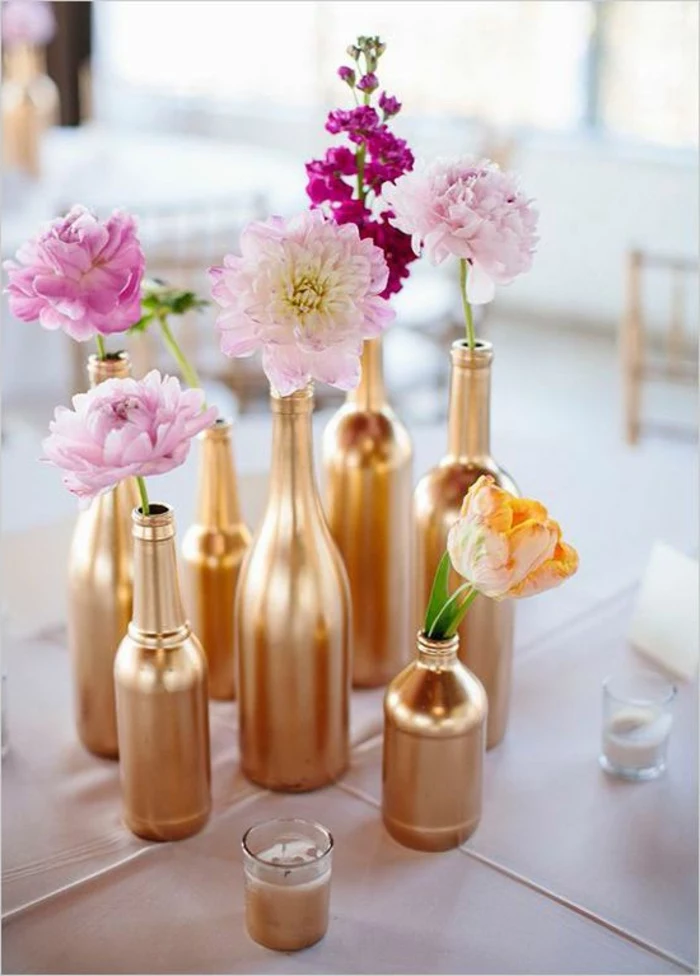
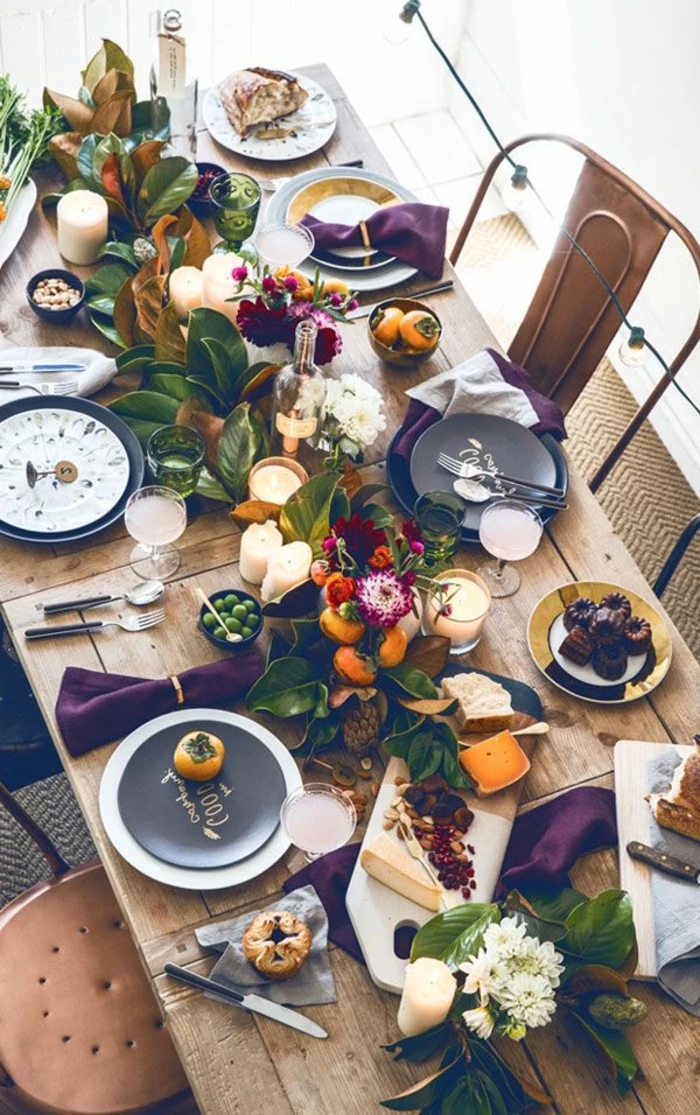
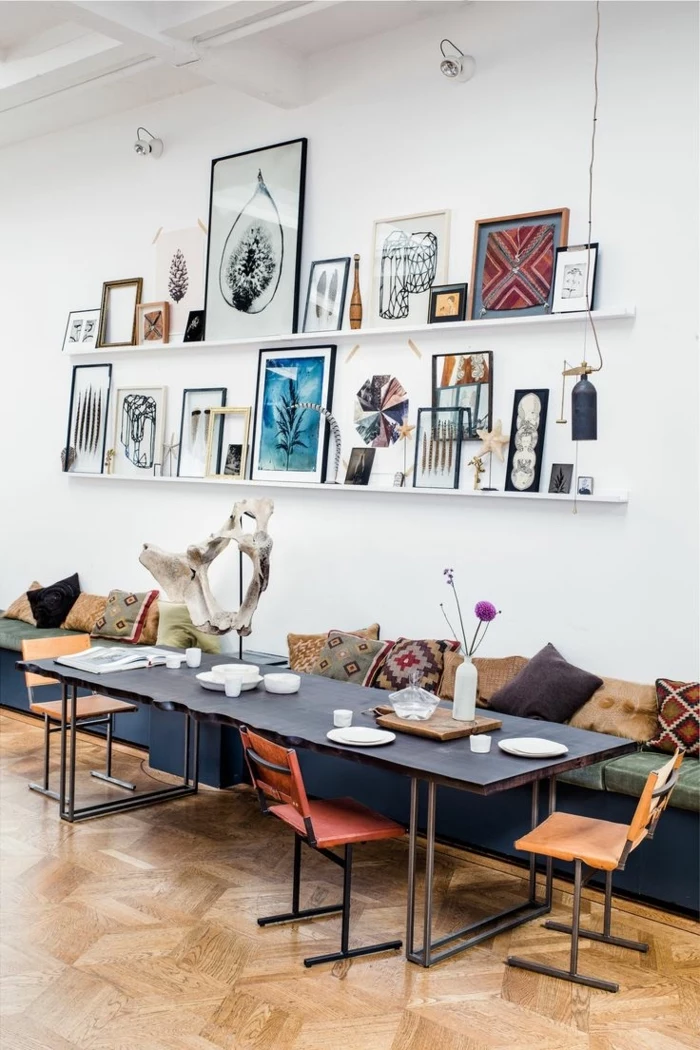
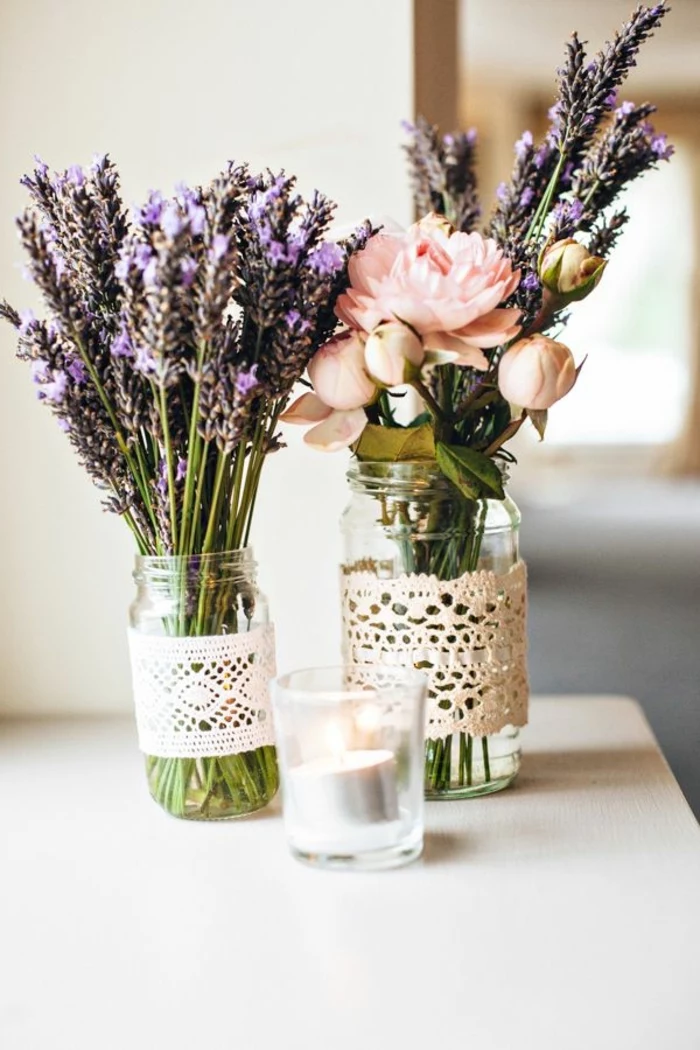
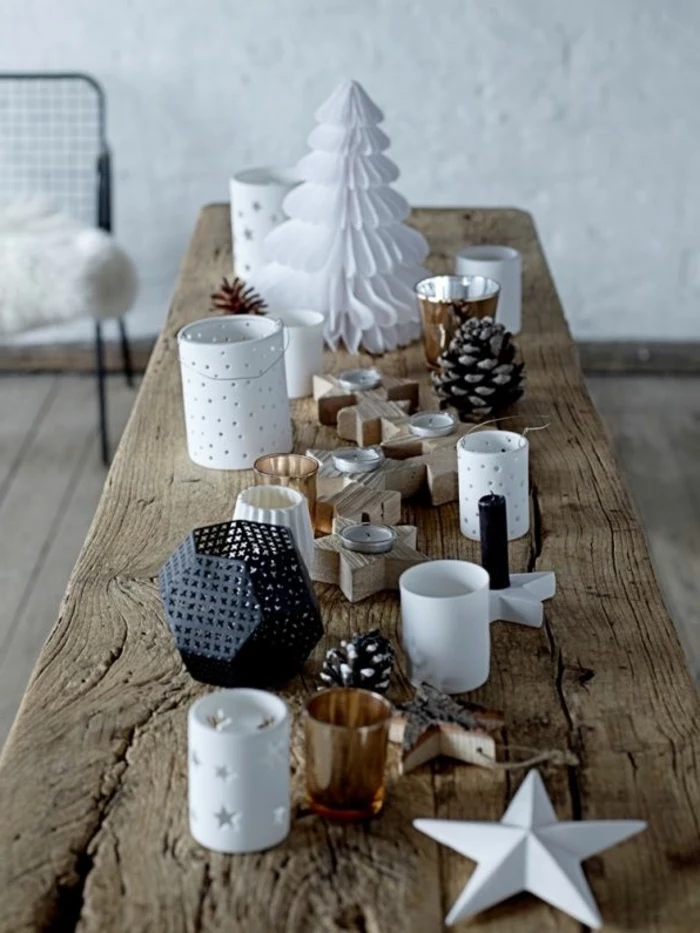
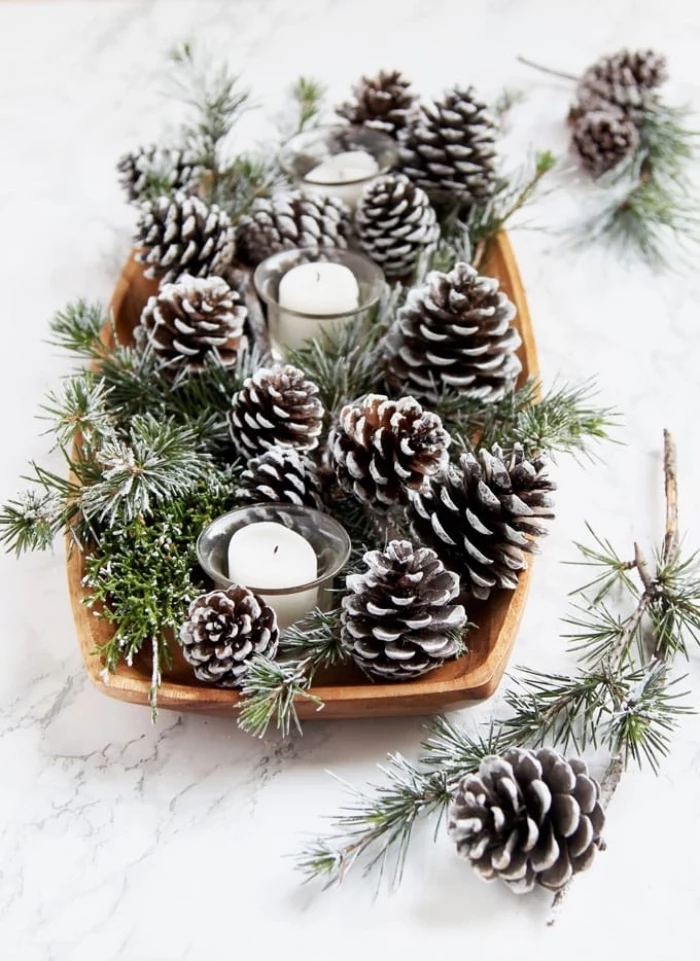
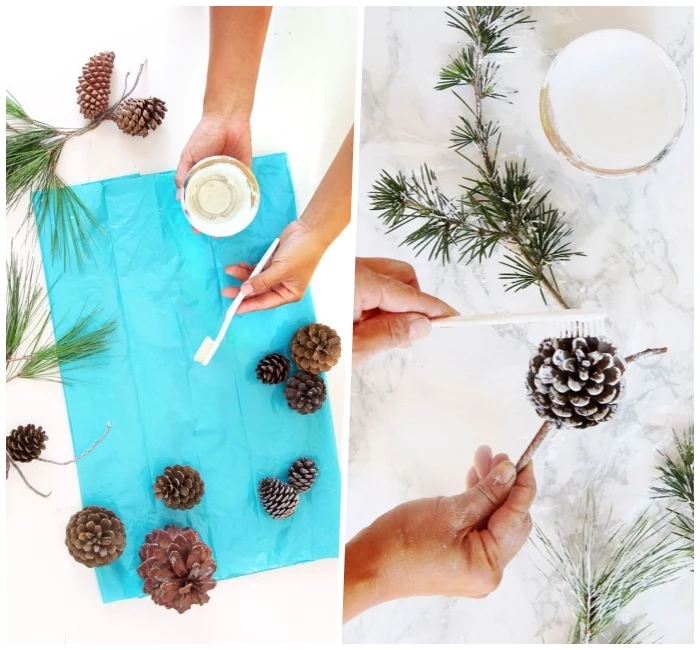
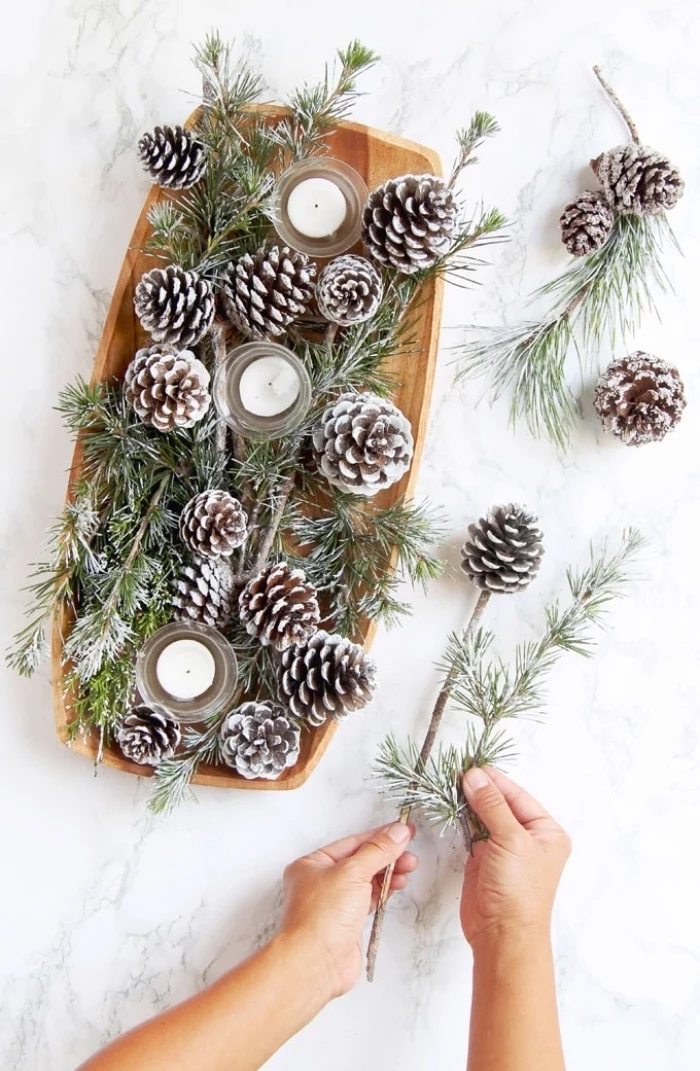
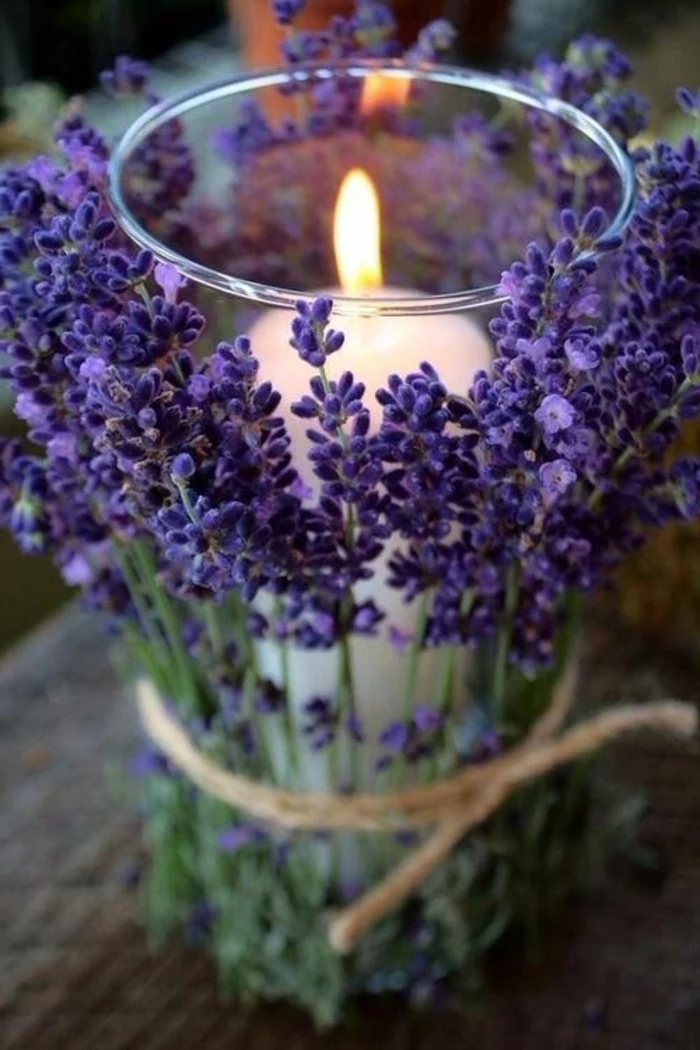
Bring the outdoors in by foraging for your centerpiece. It’s sustainable, free, and beautifully seasonal. In autumn, gather fallen branches with interesting shapes, colorful leaves, and pinecones. In spring and summer, look for wildflowers, Queen Anne’s Lace, and elegant ferns. Just be sure to forage responsibly: never take from private property, and be aware of any local protected species.

- They frame each place setting beautifully.
- They anchor the dinnerware and prevent it from sliding.
- They can introduce a new material, like woven rattan or sleek metal.
The secret? Using charger plates. These decorative base plates are larger than dinner plates and are purely for aesthetic. They remain on the table for the soup and starter courses and are typically removed before the main course is served.
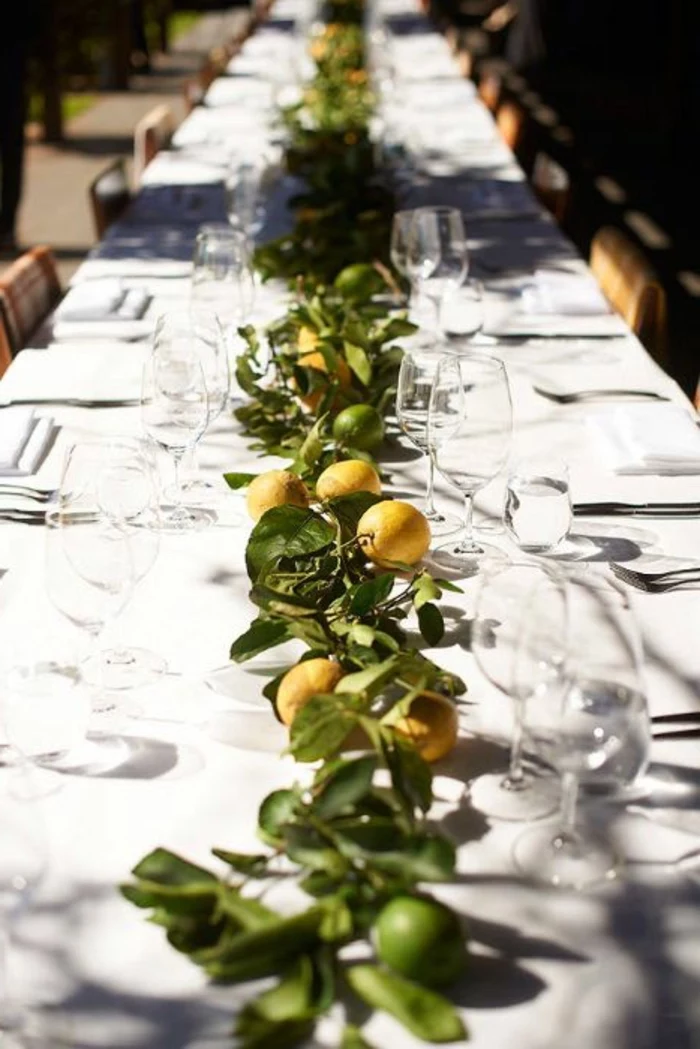
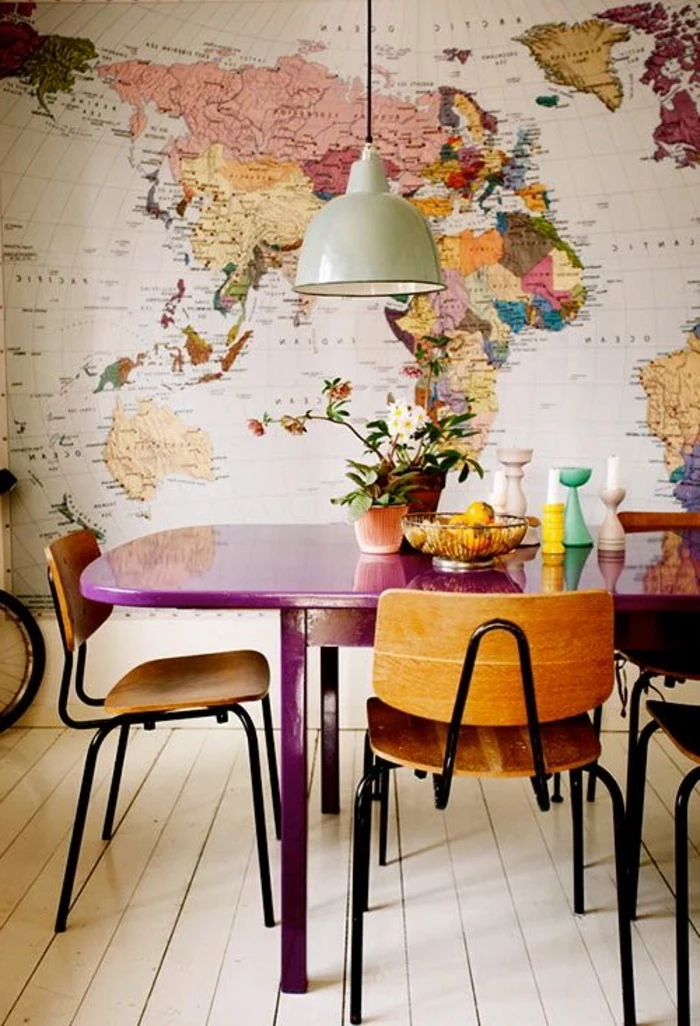
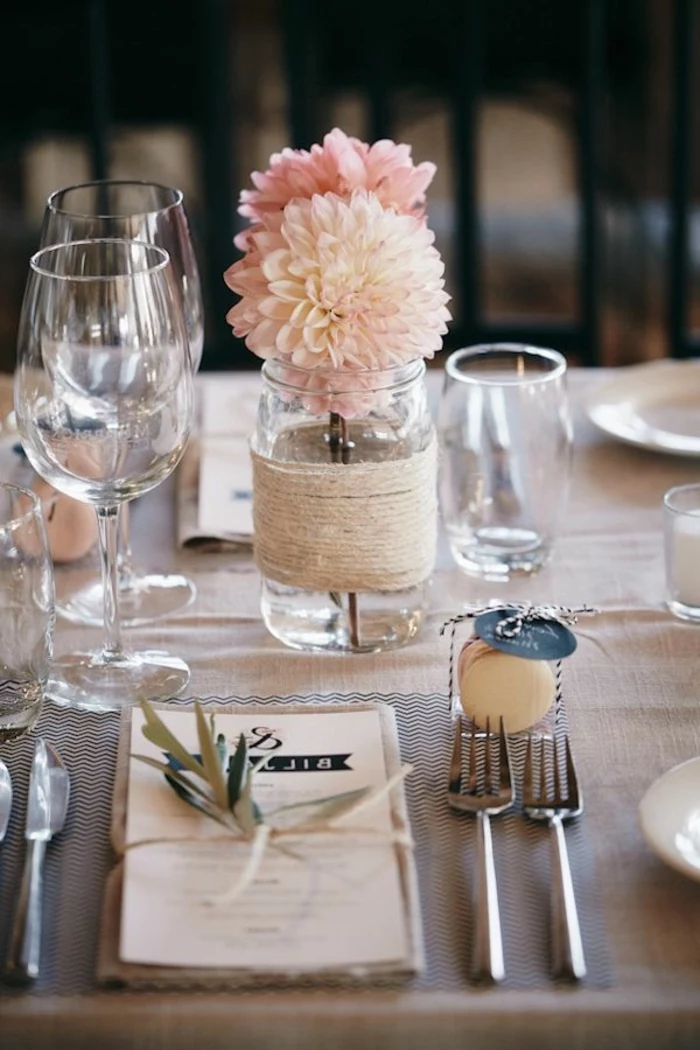
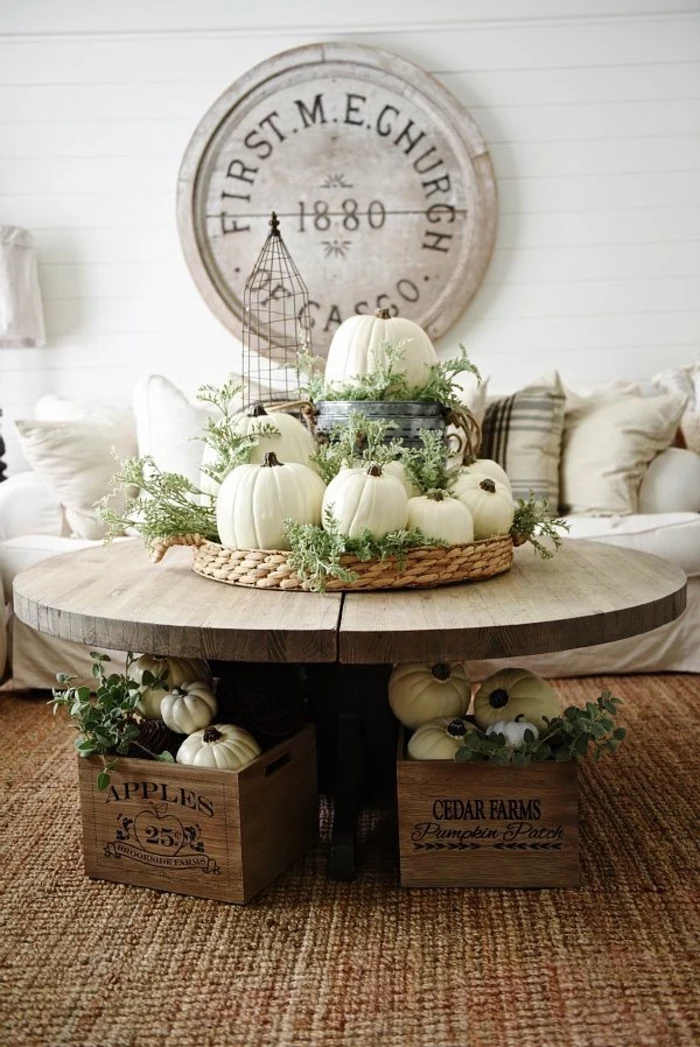
Look beyond flowers for an affordable and dramatic centerpiece. A large wooden bowl piled high with seasonal fruit like pomegranates, figs, or vibrant clementines adds a touch of Dutch still-life painting to your table. In autumn, a collection of gourds and pumpkins of varying sizes and colors creates a stunning, long-lasting display that celebrates the harvest.
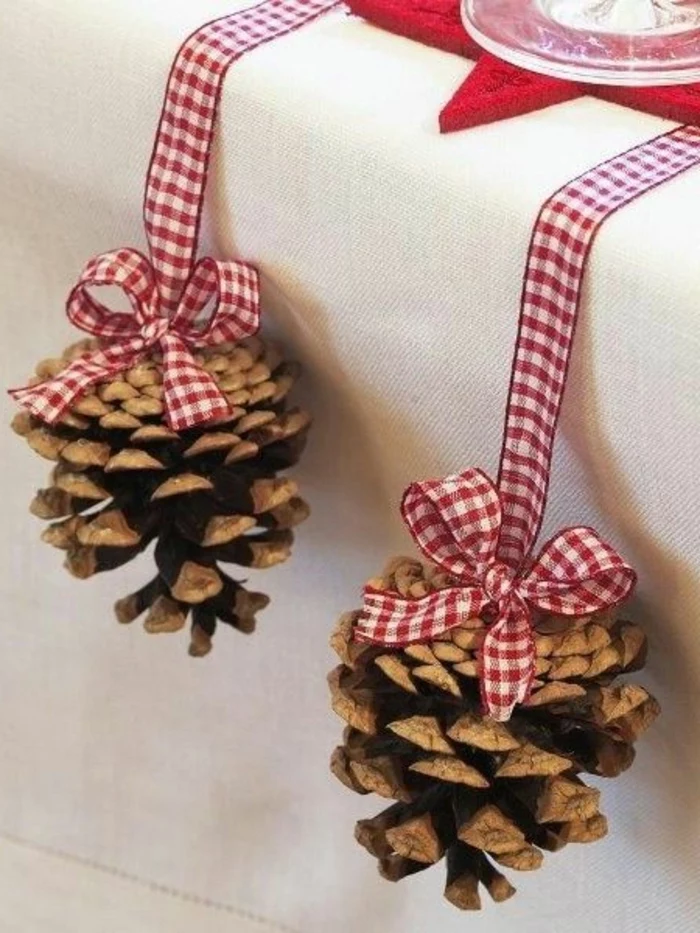
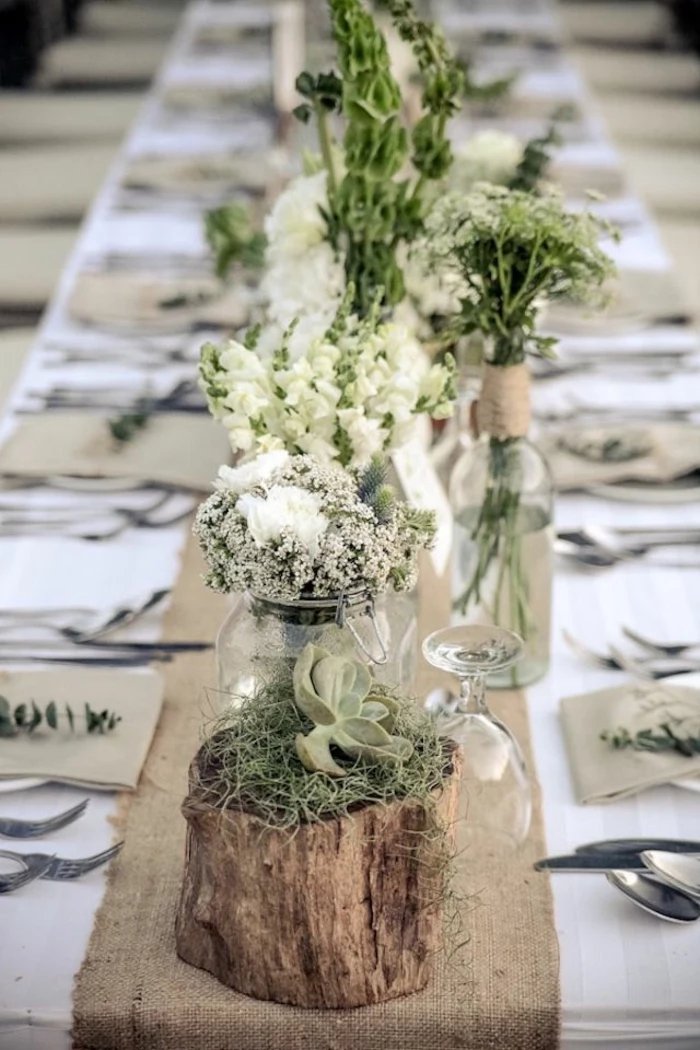
- Glassware: Look for unique shapes, colored glass, or vintage etched sets. Complete sets are rare, so aim for a
Channel the effortless charm of a Mediterranean lunch. Start with a base of crisp white or ocean blue. Use rustic, earthy elements like terracotta pots with herbs, small bowls of olives, and a loaf of crusty bread directly on a wooden board. Glassware should be simple and sturdy. The vibe is sunny, communal, and focused on the simple pleasure of sharing good food.
A pro tip for candles: To avoid messy drips on your tablecloth, place your candles in the freezer for at least an hour before lighting them. Chilling the wax makes it harder and denser, causing it to burn more slowly and evenly, which significantly reduces dripping. This works wonders for taper candles from brands like Ester & Erik or classic dinner candles.
What’s the best way to store my good table linens?
To prevent permanent creases, roll your tablecloths and runners around a cardboard tube (like the one from wrapping paper) instead of folding them. For napkins, store them flat and stacked. Always ensure linens are completely clean and dry before storing to prevent mildew and yellowing. For long-term storage, wrap them in acid-free tissue paper.
Drench your table in a single, powerful color for a high-impact, monochromatic look. Imagine an entire setting in a rich, moody green—from deep forest-green linens to emerald glassware and plates, accented with green foliage. The key is to vary the shades and textures within that one color family to create depth. For inspiration, look at paint swatches from Farrow & Ball to see how multiple tones of one color can work together.
- It adds a pop of personality to a neutral setting.
- It creates a cohesive, thoughtfully designed look.
- It makes your guests feel uniquely welcomed.
The secret? A simple DIY printed napkin. All you need are plain cotton or linen napkins, a fabric ink pad, and a rubber stamp. You can use a simple motif like a leaf, a geometric shape, or even a custom initial. It’s an easy, 30-minute project that elevates your entire table setting.
