Forget the Turkey: Your Ultimate Guide to Unforgettable Thanksgiving Sides
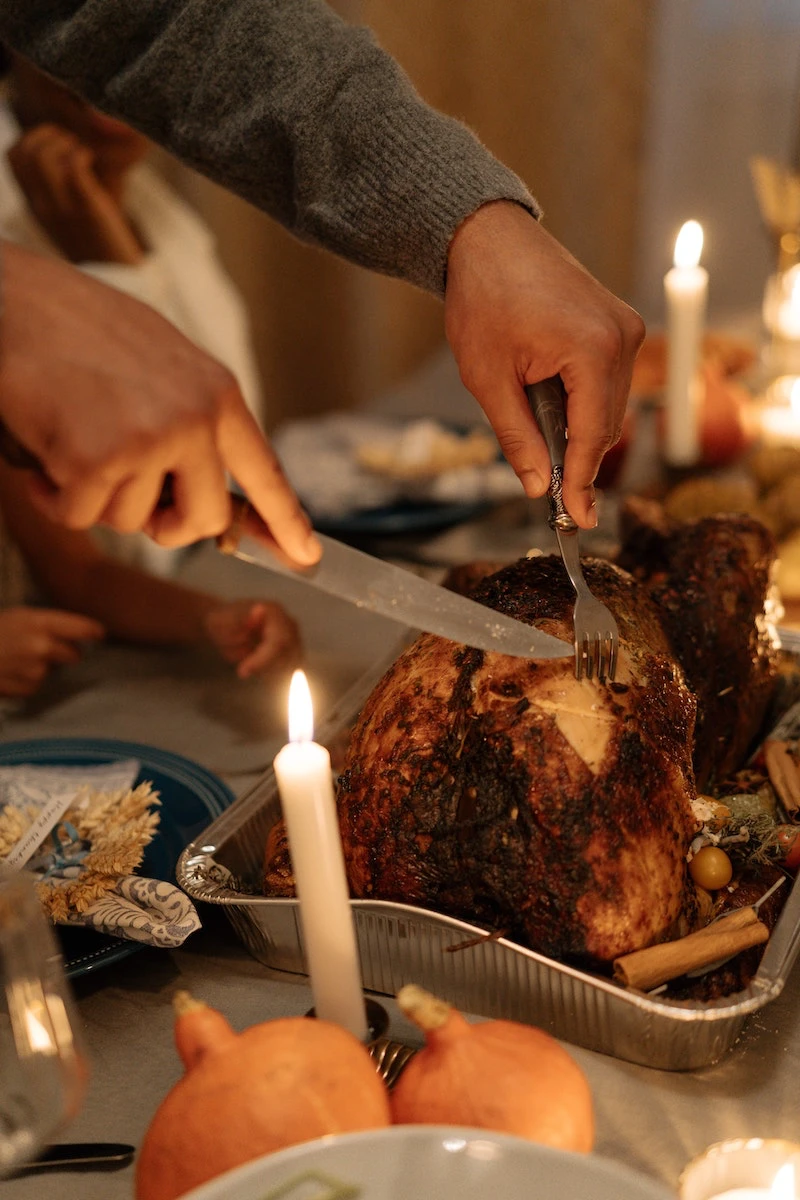
I’ve spent a lot of time in professional kitchens, and let me tell you, Thanksgiving is a whole different beast. From chaotic restaurant services to massive family catering gigs, I’ve seen it all. And here’s the honest truth: while the turkey gets all the glory, it’s the side dishes that truly make or break the meal. They’re where the real love and skill shine through.
In this article
So many home cooks get bogged down by the sheer number of moving parts. It’s not just about cooking; it’s about orchestrating a symphony of pots, pans, and precious oven space. This guide isn’t just a bunch of recipes. It’s a peek behind the curtain at how the pros think, plan, and execute a feast that feels both impressive and effortless. We’re going to get into the ‘why’ behind the methods so you can cook with confidence.
Part 1: The Game Plan: Building Your Menu & Your Schedule
Before you even think about peeling a single potato, you need a plan. A truly great Thanksgiving plate is all about balance. You want a mix of flavors and textures that keep every bite interesting. When I map out a menu, I think in a few simple categories.
How to Build a Balanced Plate:
- Something Starchy & Comforting: This is your foundation. Think creamy mashed potatoes, savory stuffing, or a decadent mac and cheese. These are the dishes that cry out for a ladle of gravy. You’ll want one or two of these.
- Something Fresh & Green: This is your moment of brightness. It can be crisp-tender green beans, roasted Brussels sprouts, or even a simple salad. This pop of green cuts through all the richness and keeps things from feeling too heavy.
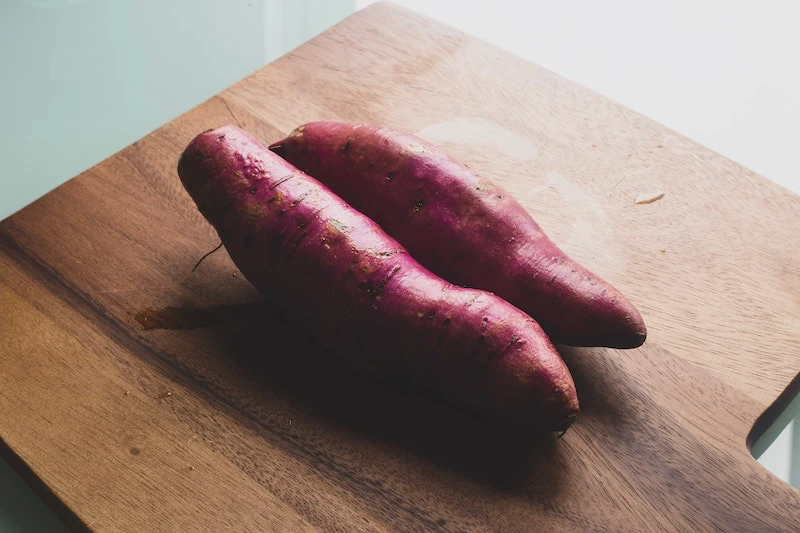
- Something a Little Sweet: Dishes like sweet potato casserole or glazed carrots provide a beautiful counterpoint to all the savory flavors on the plate.
- Something Tangy & Acidic: Cranberry sauce is the classic for a reason! Its tartness cleanses your palate and gets you ready for the next bite. A sharp vinaigrette on a salad can pull double duty here, too.
For a standard gathering of 8-12 people, a good mix is about five sides total: two starchy, two vegetable (one can be your sweet one), and the cranberry sauce. This gives everyone plenty of variety without turning your kitchen into a war zone.
The Pro’s Secret Weapon: Your Make-Ahead Schedule
Heads up: Your oven is the most valuable piece of real estate on Thanksgiving Day. A smart prep schedule is the single best tool for a low-stress holiday. Here’s a timeline that has saved my skin more times than I can count.
- Up to a Week Ahead: Go ahead and make your cranberry sauce. Seriously. It actually gets better as the flavors meld in the fridge. Just pop it in an airtight container. Done.
- Three Days Ahead: If you’re making stuffing from scratch, this is the time to bake your cornbread or buy a good loaf of bread. Cut it into cubes and leave it on a baking sheet on the counter to get stale. Dry bread is your best friend for avoiding soggy stuffing.
- Two Days Ahead: This is your big prep day, what we call ‘mise en place’ in the kitchen. Wash, trim, and chop almost all your veggies—onions, celery, green beans, Brussels sprouts. Store them in zip-top bags or containers in the fridge. This step is a total game-changer.
- One Day Ahead: Assemble your casseroles. Green bean casserole, mac and cheese, and your stuffing can all be fully assembled (but not baked). Cover them tightly with foil and stick them in the fridge. You can also make your gravy base (the roux and stock) and just reheat and finish it tomorrow.
- Thanksgiving Day: This day is for finishing touches, not starting from scratch. Your main jobs are roasting the turkey, boiling and mashing the potatoes (they’re best fresh), and baking off your pre-made casseroles.
The All-Important Reheating Strategy
Okay, so you’ve made all this stuff ahead of time. Now what? The last thing you want is a dry, sad casserole. Here’s a quick cheat sheet:
- Casseroles (Stuffing, Mac & Cheese): Take these out of the fridge about 30-45 minutes before baking to take the chill off. Bake them at around 350-375°F. Keep them covered with foil for the first 20-25 minutes to trap steam and heat them through, then remove the foil for the last 15 minutes to get that golden, bubbly top. If your stuffing seems a little dry, drizzle a few tablespoons of warm stock over it before it goes in the oven.
- Mashed Potatoes: The best way to reheat mashed potatoes is on the stovetop over low heat. Add a splash of milk or cream and a pat of butter to bring them back to life, stirring gently until they’re hot. A slow cooker set to ‘low’ also works great to keep them warm.
- Blanched Veggies: If you blanched your green beans ahead of time, you just need to finish them. A quick 5-minute sauté in a hot pan with some butter or olive oil is all they need.
Part 2: Mastering the Non-Negotiable Classics
Some dishes are just required at the table. Let’s get them right by digging into the technique.
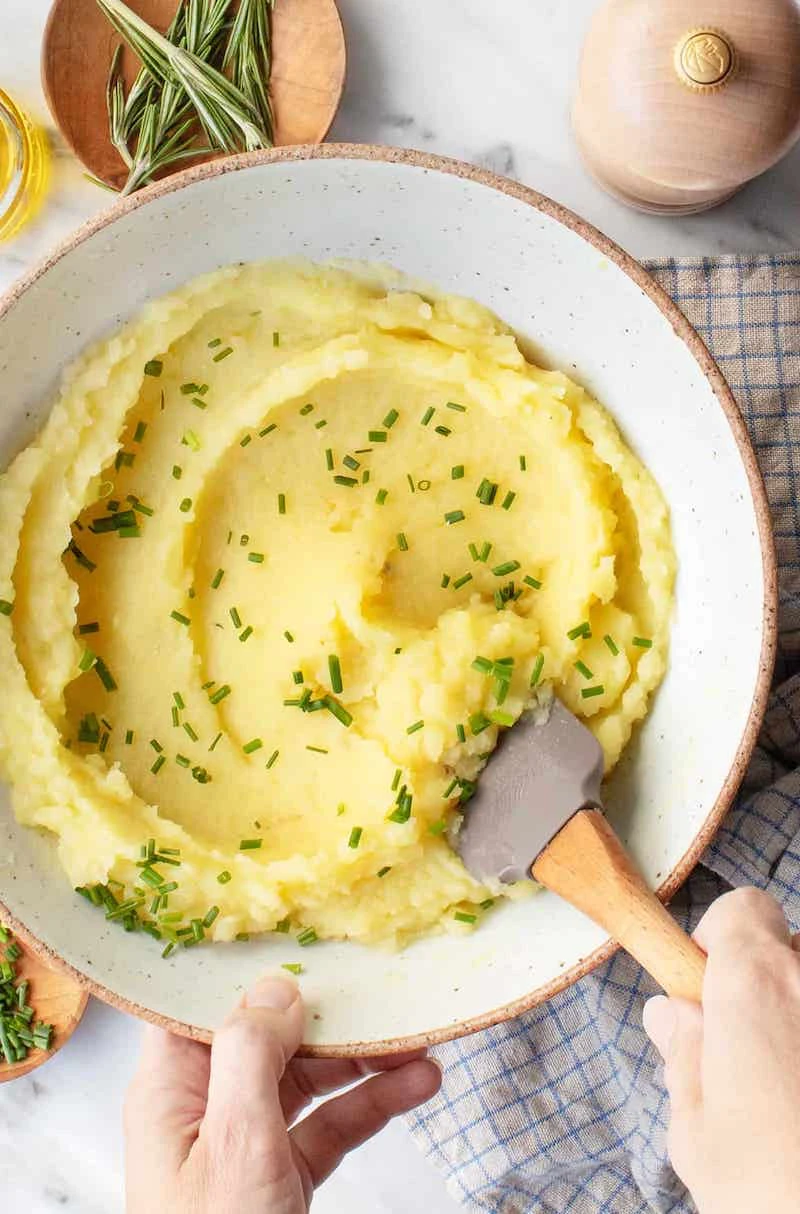
The Quest for Perfect, Creamy Mashed Potatoes
Gluey, watery, or lumpy mashed potatoes are a culinary tragedy. The secret to fluffy, flavorful potatoes is understanding the starch.
So, which potato should you buy? You basically have three choices:
- Russet or Idaho Potatoes: These are high in starch and low in moisture. They break down into a light, fluffy, absorbent texture that’s perfect for mashing. This is your classic choice.
- Yukon Gold Potatoes: These are the perfect middle ground. They’re moderately starchy but also have a naturally buttery flavor and creamy texture. They make a denser, richer mash. My personal favorite.
- Red Bliss or New Potatoes: These are waxy and low in starch. They hold their shape well, which is great for potato salad, but they turn gluey when mashed. Avoid these for this dish.
Technique Time:
- Cook Them Smart: It sounds weird, but boil the potatoes whole, with the skin on. This prevents them from getting waterlogged, which is the number one cause of bland potatoes. Once a knife slides in with zero resistance, they’re done. The skins will peel right off when they’re cool enough to handle.
- Use the Right Tool: This is non-negotiable. For the best texture, you need a potato ricer or a food mill. A good ricer costs about $25-$40 at kitchen stores or online, and it’s a tool you’ll have for ages. It pushes the potato through tiny holes, making it fluffy without breaking the starch cells. PLEASE, never use a blender or food processor. I once watched a new cook turn a 20-pound batch into wallpaper paste this way. We had to throw it all out.
- Warm Your Dairy: Always add warm milk or cream and melted butter. Cold ingredients don’t absorb as well and cool everything down. Fold them in gently with a spatula—don’t overmix!
- Potato Troubleshooting: If your potatoes are bland, you probably just need more salt. They’re sponges! If they feel a little gluey, sadly, there’s no going back. You likely used the wrong potato or overmixed them. Just own it and call them ‘rustic style’.
Classic Herb Stuffing (That’s Actually Safe)
Whether you call it stuffing or dressing, I strongly recommend baking it in a separate dish. To be safe, stuffing inside a bird needs to reach 165°F. By the time that happens, your turkey breast is often Sahara-dry. Baking it separately gives you a perfect, moist interior and a crunchy, golden-brown top. It’s the best of both worlds.
As for the bread, stale is non-negotiable. Fresh bread just turns to mush. You don’t need fancy bread, either. A standard loaf of white or wheat bread from the grocery store (costing around $3-$4) works beautifully once it’s dried out.
Stuffing SOS:
- Too Soggy? If you added too much stock, don’t panic. Spread the stuffing out on a baking sheet and pop it into a 375°F oven for 10-15 minutes. This will help some of the excess moisture evaporate before you put it in its final baking dish.
- Too Dry? Easy fix. Just drizzle a bit of warm chicken or turkey stock over the top before baking. Add a little at a time until it feels properly moistened but not saturated.
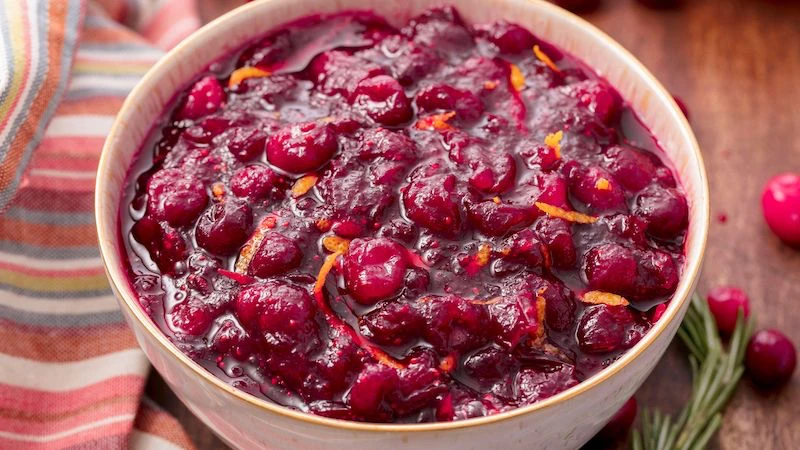
Simple, Perfect Cranberry Sauce (Your Easiest Upgrade)
To be frank, if you only make one thing from scratch, let it be this. It takes 15 minutes, costs about $3 for a bag of cranberries, and is a million times better than the canned stuff. It’s the biggest flavor payoff for the least amount of work.
The magic is pectin. Cranberries are full of it. When you heat them with sugar and liquid, they pop and release that pectin, which naturally thickens the sauce as it cools. That’s it. No cornstarch needed.
The Technique: Just combine a 12-ounce bag of fresh cranberries, one cup of sugar, and one cup of liquid (water is fine, orange juice is better) in a pot. Bring it to a simmer and cook for about 10-12 minutes, until most of the berries have burst. It will look loose, but trust the process! It thickens up dramatically as it cools. You can get fancy by adding a cinnamon stick, some orange zest at the end, or a splash of port wine while it cooks.
Part 3: Vegetables That Don’t Suck
Vegetables should never be a boring afterthought. Here’s how to make them shine.
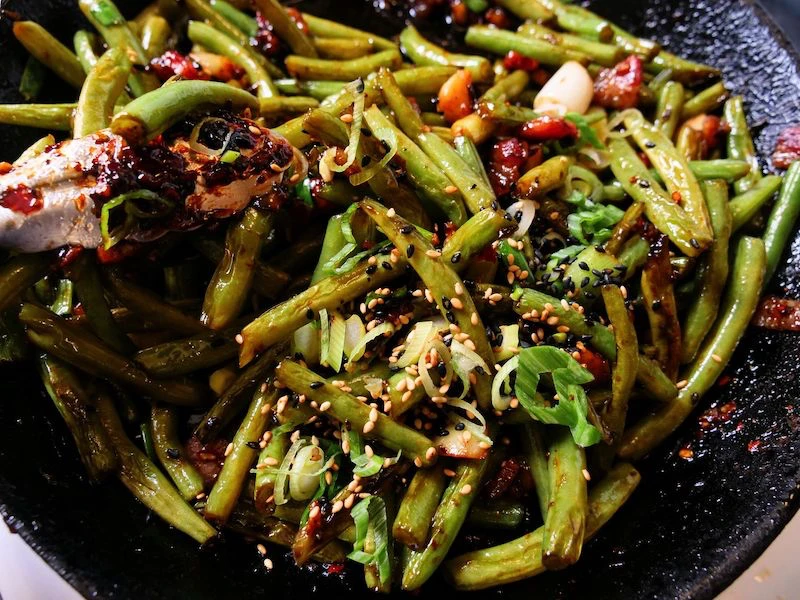
Green Beans That Stay Green and Crisp
The secret to vibrant, crisp green beans is a classic technique called ‘blanch and shock.’ You drop the beans into a big pot of rapidly boiling, very salty water for just 2-3 minutes. And when I say salty, I mean it. A good rule of thumb is one tablespoon of salt per quart of water—it should taste like the sea. This salt seasons the beans from the inside out and helps set their bright green color.
Then, you ‘shock’ them by immediately moving them to a big bowl of ice water. This stops the cooking instantly, locking in their crisp texture. You can do this two days in advance. On Thanksgiving, just toss them in a hot pan for five minutes with some shallots, garlic, and maybe some toasted almonds to heat them through. For a budget-friendly crunch, those canned fried onions work surprisingly well here too!
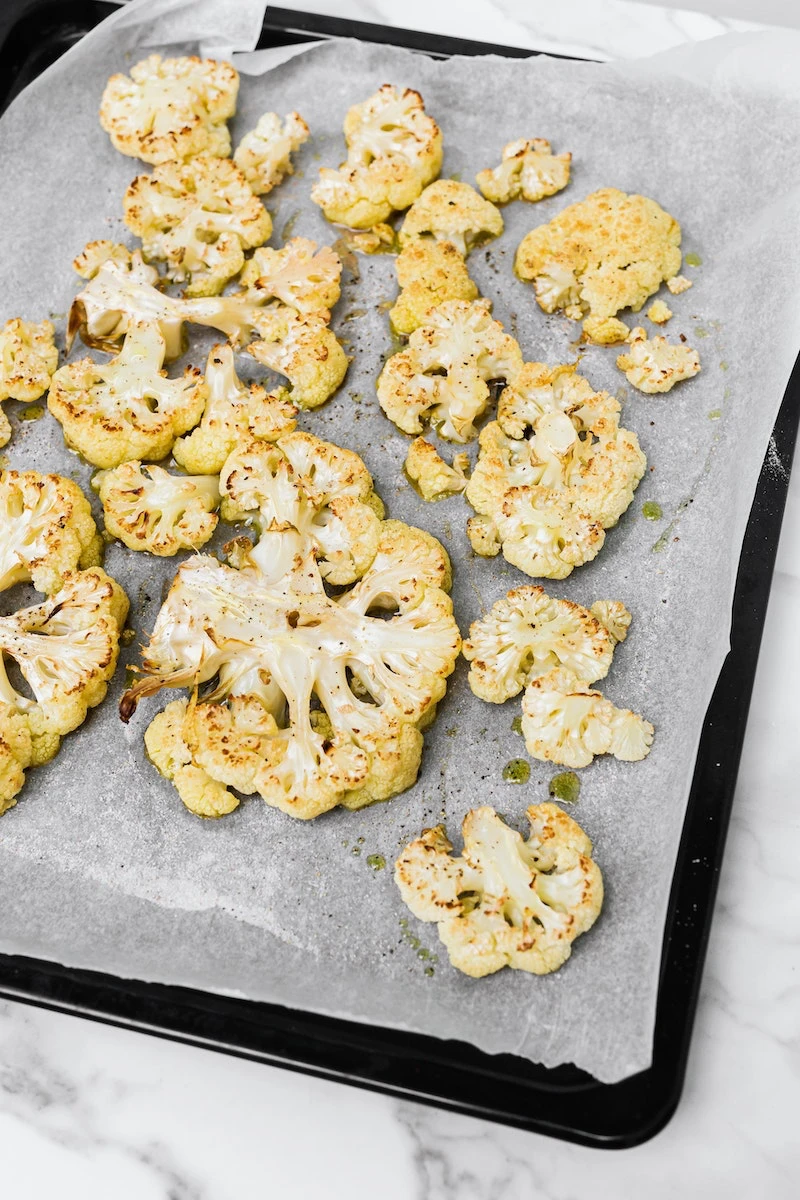
Roasting Veggies for Maximum Flavor
Roasting vegetables like butternut squash, carrots, or Brussels sprouts brings out their natural sweetness. The key is high heat (400-425°F) and not crowding the pan.
This is the most common mistake I see. If you pile veggies onto a single baking sheet, they just steam in their own liquid and turn out soggy. Give them space! Use two pans if you have to. Toss them with enough olive oil to get a light, even coat, and roast until they’re browned and caramelized. By the way, buying whole squash and carrots is almost always cheaper than the pre-cut versions, and they taste better, too.
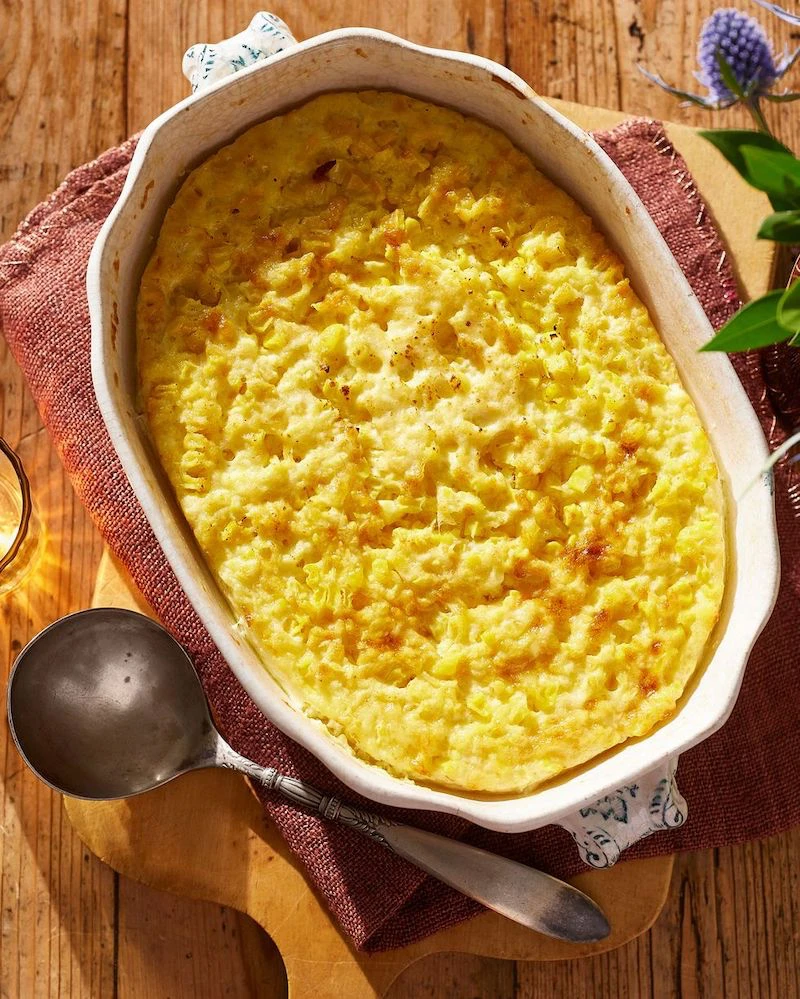
As for sweet potato casserole, the marshmallow thing is a classic, but if you want to elevate it, try a crumble topping made from flour, brown sugar, cold butter, and chopped pecans. It gives you an amazing crunchy-creamy contrast.
Part 4: The Finishing Touches That Tie It All Together
Gravy is the liquid gold of the meal, and you need a good roll to mop it all up.

Lump-Free, Flavorful Gravy Every Time
First, get yourself a fat separator. It’s a simple plastic pitcher that costs around $15 and is worth every single penny. It lets you easily pour off the pure, flavorful pan drippings while leaving the fat behind.
The secret to thick, smooth gravy is a roux—a paste of equal parts fat and flour. A great rule for home cooks is to use 2 tablespoons of fat (like the separated turkey fat or butter) and 2 tablespoons of flour for every 1 cup of liquid you want to thicken. Cook the fat and flour together for a few minutes to get rid of the raw flour taste. Then, to avoid lumps, gradually whisk in WARM stock and your pan drippings. Constant whisking is key. Bring it all to a simmer to let it thicken, and you’re golden.
A Quick Word on Bread
My final piece of advice? If baking isn’t your thing, don’t sweat it. Buy good rolls from a local bakery. Look for something soft and enriched that will act like a sponge for gravy, like classic Parker House rolls or small brioche buns. No one will care that you didn’t make them from scratch, I promise.
A Final Word on Safety & Staying Sane
Keep hot foods hot (above 140°F) and cold foods cold (below 40°F). Don’t let anything sit out at room temperature for more than two hours. After the feast, get those leftovers into shallow containers and into the fridge quickly.
But the most important tip? Be realistic. The goal is to enjoy the day with people you care about, not to win a culinary competition. A successful Thanksgiving is built on a good plan and a calm cook. You’re not just following recipes anymore; you’re in control of your kitchen. Now go make an amazing meal.
Inspiration:
How do professional chefs get such perfectly smooth, creamy mashed potatoes every time?
The secret isn’t just the cream and butter; it’s the tool. Forget the electric mixer, which overworks the starches and turns potatoes into a gluey paste. Most high-end kitchens rely on a potato ricer or a food mill. Forcing the cooked potatoes through the small holes creates light, fluffy strands that absorb dairy beautifully without becoming gummy. An OXO Good Grips ricer is a fantastic, durable option for achieving that five-star restaurant texture at home.

- A vibrant, fresh aroma that cuts through richness.
- A final pop of color that makes every dish look intentional.
- An extra layer of bright, complex flavor.
The secret? The
More than 75% of a vegetable’s surface needs to be in direct contact with the hot pan to achieve proper caramelization.
This is the cardinal rule of roasting. When you overcrowd a sheet pan with Brussels sprouts or potato wedges, you trap moisture. This moisture steams the vegetables, leaving them soft and gray instead of deeply browned and flavorful. For that coveted crispy, sweet exterior, always use two pans instead of cramming everything onto one. It’s the simple change that guarantees a perfect result.