Don’t You Dare Toss Those Pumpkin Guts! Here’s What to Do Instead
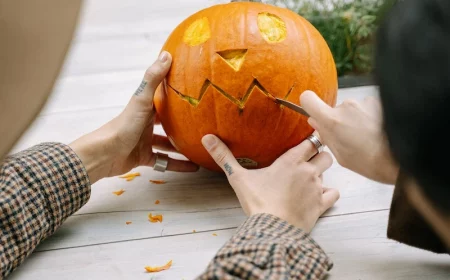
Every autumn, my kitchen counter becomes ground zero for pumpkin carving. And every single time, I end up with a huge bowl of what most people just call “pumpkin guts.” You know the stuff—that slippery, stringy, seedy mess. For so many, this is where the journey ends. The guts hit the trash can, and the jack-o’-lantern gets its moment of glory on the porch. But I see something totally different in that bowl. I see potential.
In this article
I’ve spent years working in both professional kitchens and getting my hands dirty in the garden, and I’ve learned one thing for sure: waste is usually just a lack of imagination. That bowl of pumpkin innards is packed with flavor, nutrients, and possibility. It’s the bridge between a fun holiday tradition and the food we eat, the soil we nurture, and even the critters in our backyard. This isn’t just about being thrifty; it’s about respecting the whole ingredient. So today, I’m going to walk you through how to turn those pumpkin scraps into something genuinely awesome, and we’re going way beyond just roasting a few seeds.
First Things First: Know Your Guts
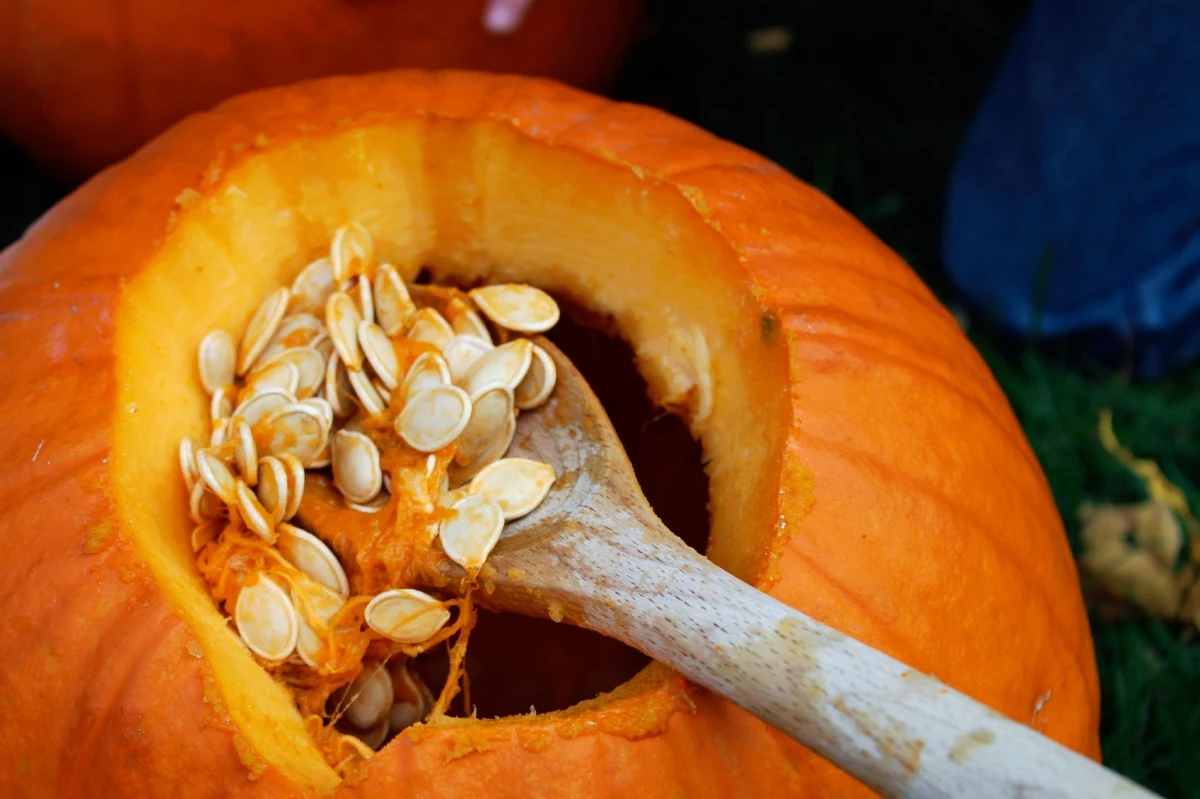
Before you can really use them, you gotta know what you’re working with. This isn’t just a random slimy blob. It’s actually made of three distinct parts, and separating them is the key.
- The Seeds (or Pepitas): These are the obvious treasure. The seeds from a typical carving pumpkin have that tough white or yellowish shell. But inside, there’s a tender, green kernel loaded with good stuff like magnesium and zinc. (By the way, some pumpkins are grown just for their seeds, which are hull-less, but you probably won’t find those in your standard carving pumpkin). A typical 10-15 pound carving pumpkin will yield about 1 to 2 cups of seeds, so you’ll have plenty to work with!
- The Fibrous Pulp: This is all the stringy, web-like stuff that holds the seeds. Honestly, it doesn’t taste like much on its own, but its real magic is in its structure. Think of it like the secret ingredient for a veggie stock—it provides body and a subtle, earthy sweetness when you simmer it down.
- The Attached Flesh: As you scoop, you’ll inevitably scrape off some of the bright orange interior wall. This is the good stuff, the same flesh you’d use for a pie, and it’s full of beta-carotene. How much you get just depends on how aggressively you scrape.
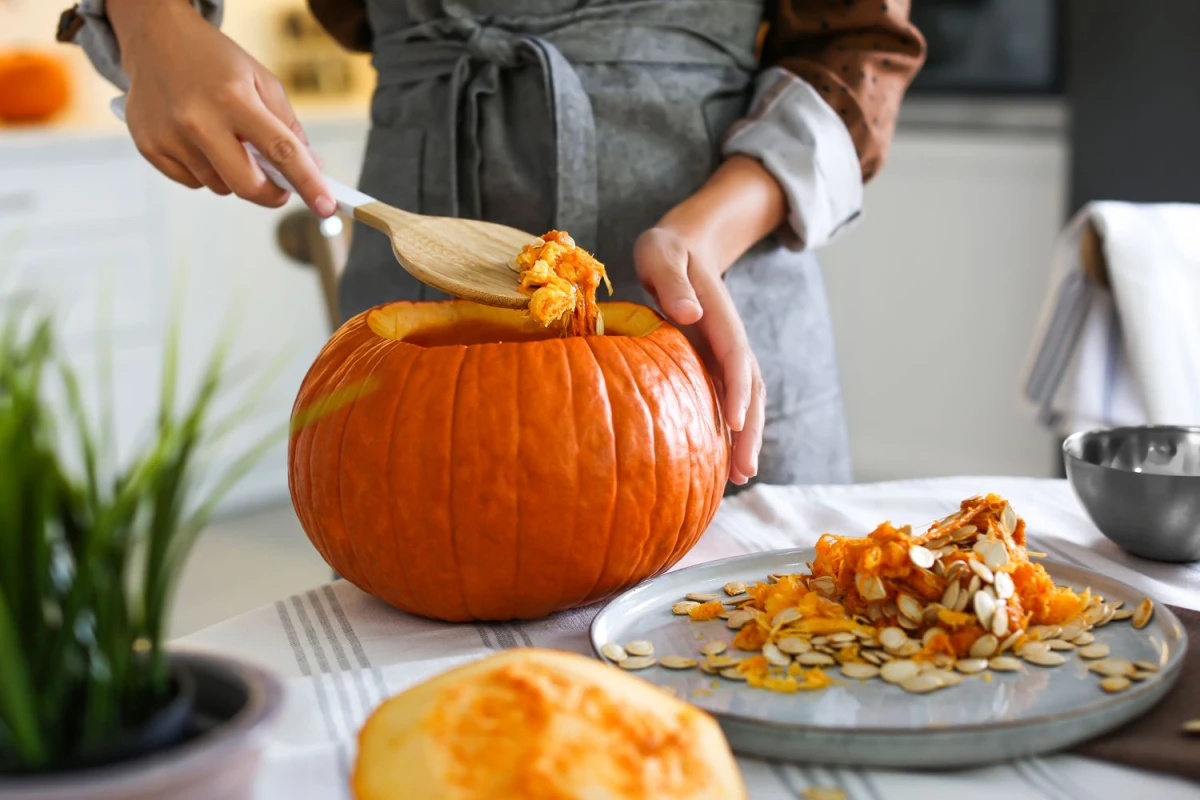
The Pro Separation Trick That Changes Everything
Most people sit there for ages, painstakingly picking seeds from the stringy pulp. It’s sticky, it’s slow, and you never get them all. Forget that. There’s a much smarter way, and all it takes is a bowl and some water.
First, grab your gear. You’ll want a really big bowl, a sturdy metal spoon or an ice cream scoop for scraping (seriously, I’ve seen cheap plastic ones snap right in half), and a colander.
Here’s the game-changing method:
1. Dump all the scooped-out guts into your large bowl.
2. Fill the bowl with cool water. Heads up: don’t use warm water, as it can make the pulp mushy and harder to work with.
3. Now, get your hands in there and swish it all around. Break up the big clumps and agitate the mixture.
And like magic, the good seeds will float to the top! The waterlogged pulp and all the stringy bits are denser, so they’ll sink to the bottom. I learned this trick years ago, and it has saved me countless hours of frustration.
From here, it’s a breeze. Just skim the floating seeds off the top with your hands or a slotted spoon and pop them into your colander. Drain the pulp separately. The whole process takes less than five minutes and sets you up for success with everything else.
In the Kitchen: It’s Not Just About Roasted Seeds
Once everything is separated, your pumpkin scraps are ready to become kitchen heroes. This is where the real fun begins, turning what was almost trash into the foundation of a meal.
Technique 1: Actually Crispy Roasted Pumpkin Seeds
Let’s be honest, we’ve all had those disappointing, chewy pumpkin seeds. The secret to that perfect, snackable crunch isn’t in the roasting—it’s in the prep. There are two non-negotiable steps: brining and drying.
Brining is a Must: After you’ve rinsed your seeds, prepare a simple brine. For every two cups of seeds, just dissolve two tablespoons of salt into four cups of water. Let the seeds soak in this saltwater solution. An hour is good, but letting them sit overnight in the fridge is even better. The salty water seasons the seed from the inside out and helps break down fibers in the hull for a better crunch.
Drying is CRITICAL: This is the step everyone skips! After brining, drain the seeds and pat them completely dry with a towel. Then, spread them on a baking sheet to air-dry for at least an hour. Any moisture left on the outside will steam the seeds in the oven, and steamed seeds are chewy seeds. You want to ROAST, not steam.
A few common mistakes I see all the time:
– Roasting too hot: A high oven burns the outside before the kernel inside can cook. Stick to a low-and-slow 300°F (150°C).
– Forgetting the oil: Toss the dry seeds with a light coat of a high-smoke-point oil, like avocado or grapeseed oil, before they hit the oven.
– Crowding the pan: Spread them in a single, even layer. Give them space!
Roast for 20-30 minutes, stirring halfway through. They’re done when they’re light golden brown and you hear a faint crackling sound. Let them cool completely on the pan; they’ll get even crispier as they cool.
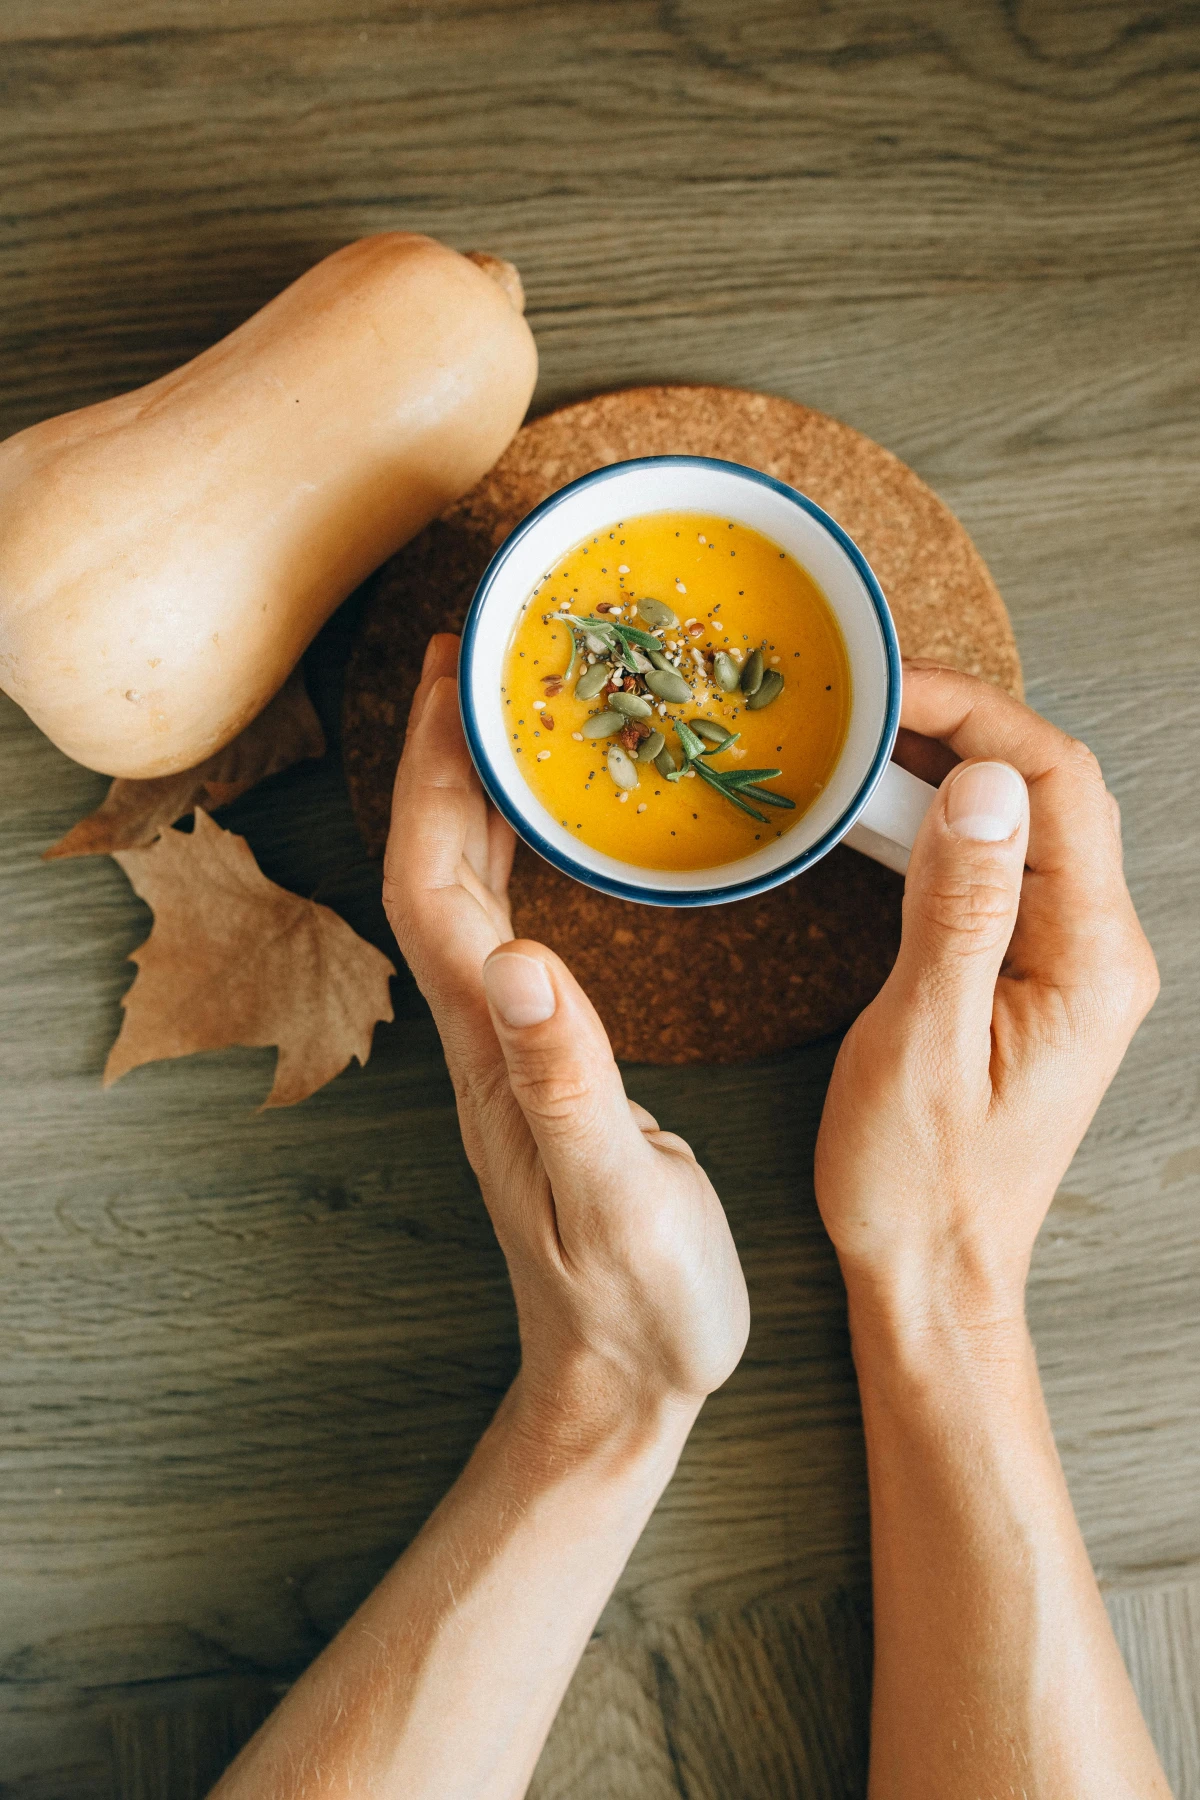
Technique 2: Fragrant Pumpkin Pulp Stock
Don’t you dare throw away that stringy pulp! It makes a wonderfully light vegetable stock with a beautiful golden color and a hint of sweetness. It’s perfect for fall soups, risottos, or just for cooking grains like quinoa.
Just toss the fibrous pulp into a stockpot with other kitchen scraps—onion ends, carrot peels, celery leaves, a few peppercorns, and a bay leaf. Cover with cold water, bring it to a gentle simmer (never a rolling boil!), and let it hang out for about 45-60 minutes. The pulp from one medium pumpkin will get you a good 4-6 cups of beautiful stock, which is easily enough for a family-sized pot of soup.
Strain it through a fine-mesh sieve, and you’re good to go. You can store it in the fridge for about five days or freeze it for months. It’s a delicate flavor, for sure, but it adds a lovely, subtle layer to so many dishes.
For Your Garden and Backyard Friends
If you’re not in the mood for cooking, you can send those nutrients right back to the earth.
Composting Pumpkin Guts the Right Way
Pumpkin is fantastic for compost, but you need to do it right. It’s a “green” material (high in nitrogen), so you need to balance it with “browns” (high in carbon) like dry leaves or shredded cardboard. A good rule is two or three parts brown for every one part green. Also, chop up the guts first! Smaller pieces break down way faster.
No compost pile? No problem. Here’s a great little hack called trench composting. Just dig a hole about a foot deep in an unused part of your garden bed, dump the guts in, and cover it back up with soil. The worms will find it and have an absolute feast, enriching your soil in the process.
Heads up! Never, ever compost a pumpkin that’s been painted or decorated with glitter. Those chemicals can ruin your soil. Also, the seeds might sprout. You can either bake them for a few minutes to kill them first or just be ready to pull up some volunteer pumpkin plants next spring.
A Treat for Local Wildlife
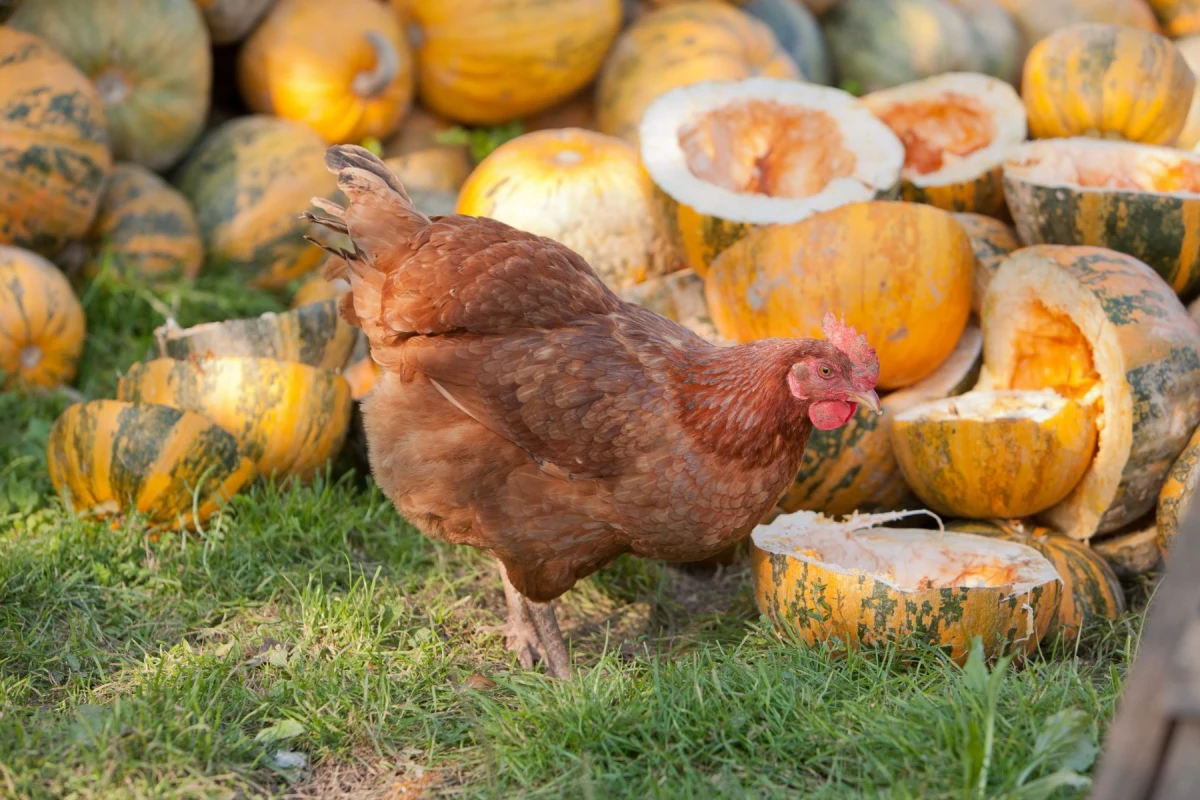
Birds, squirrels, and even deer often enjoy pumpkin pulp and seeds. If you have backyard chickens, they go absolutely wild for this stuff. Just be responsible about it. Put the guts in a dish or on a tray well away from your house to avoid attracting rodents. And only offer it when it’s fresh—remove any uneaten bits after a day so they don’t get moldy and harm the animals.
Wait, There’s More? Skincare & Fun Activities
A Quick & Natural Pumpkin Face Mask
Pumpkin flesh contains natural enzymes and acids that are great for exfoliation. You can make a simple face mask by pressing the fleshier parts of the guts through a sieve to create a rough puree. You’re aiming for a texture like gritty applesauce, not a silky baby food.
For a basic mask, mix about two tablespoons of this puree with a teaspoon of honey. CRITICAL SAFETY WARNING: ALWAYS perform a patch test on your inner arm first! The enzymes can be potent and might cause irritation, especially on sensitive skin. If you see any redness or feel itching, wash it off immediately. This is a fun, temporary treatment, not a replacement for professional skincare. I only leave it on for about 10 minutes.
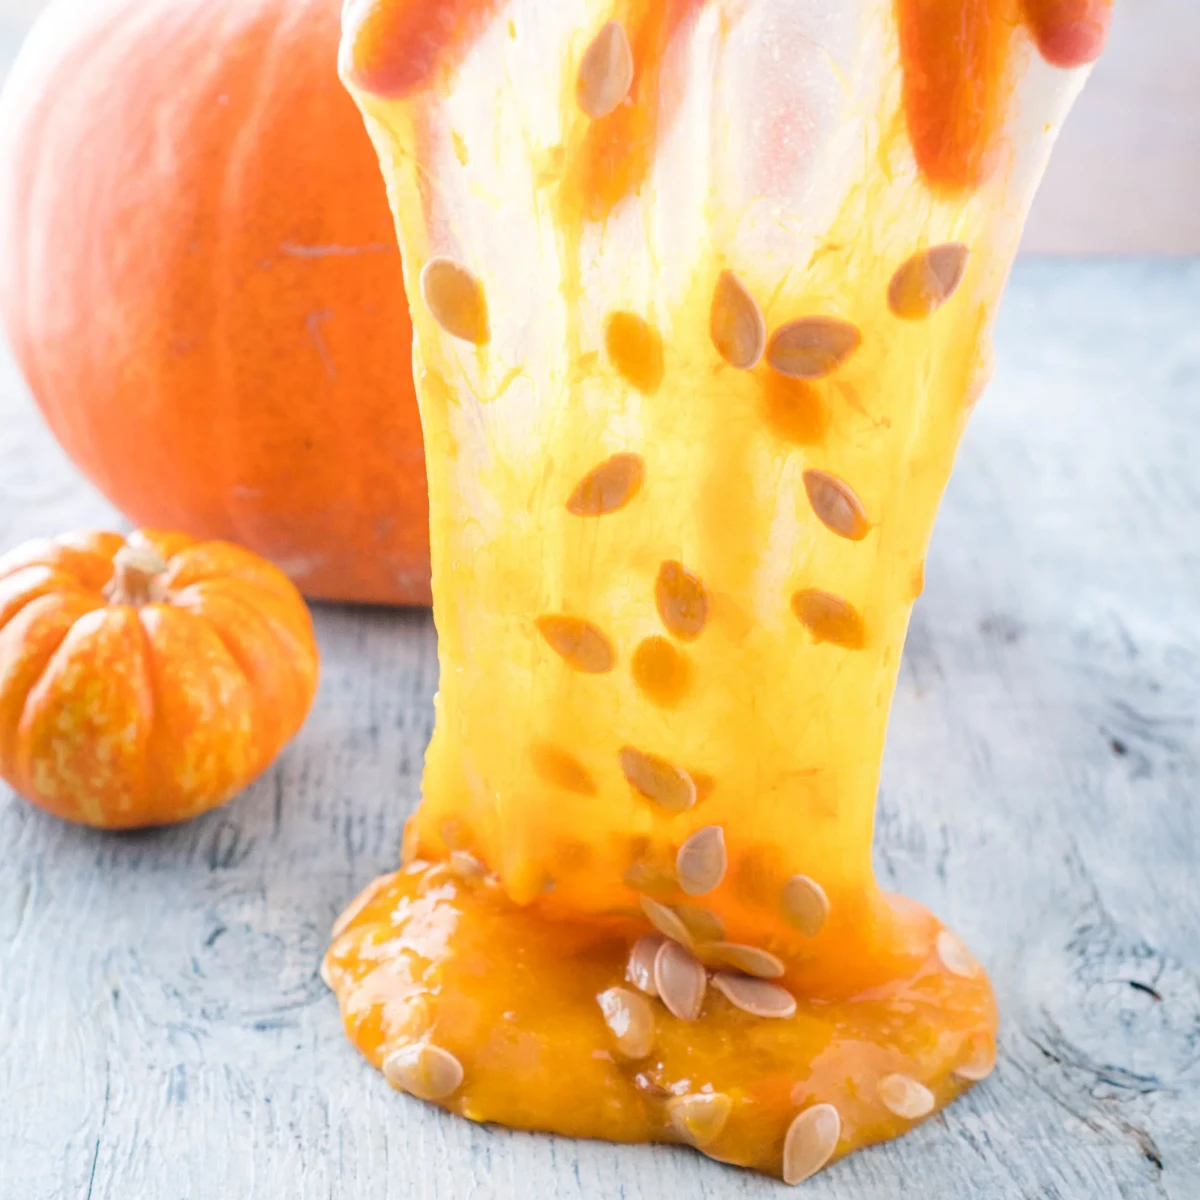
The Best Kind of Mess: Pumpkin Slime
If you have kids, this is a must-do. Take about a cup of the stringiest pulp, mix it with a quarter cup of clear school glue (the kind you can get for a couple of bucks), and then slowly stir in a tablespoon or two of a saline contact lens solution. Here’s the secret, though: check the ingredients on the solution! It must contain boric acid and sodium borate, or it won’t work. That’s the magic that makes it slimy!
This is a “make and play” activity, not a “make and keep” one. It’s made of fresh stuff, so it will get moldy in a day or two. Supervise the kids, have fun with the gooey mess, and then toss it when you’re done.
For the Truly Ambitious: Next-Level Pumpkin Projects
If you’ve mastered the basics and want a fun challenge, here are a couple of more advanced ideas.
Make Your Own Pumpkin Seed Flour
You can grind your roasted (but unsalted and unoiled!) seeds into a nutritious, gluten-free flour. Just blitz them in a high-powered blender or coffee grinder until fine, then sift. It has a rich, nutty flavor. Don’t swap it 1-for-1 with regular flour; instead, try replacing about 20-25% of the flour in a recipe for muffins or cookies to add a boost of protein and flavor.
Create a Pumpkin-Vinegar Shrub
A shrub is a vintage drink mixer made from fruit, sugar, and vinegar, and it’s an amazing way to preserve flavor. Combine a cup of your stringy pumpkin pulp with a cup of sugar in a jar, muddle it, and let it sit in the fridge for a day. The sugar will pull out all the liquid, creating an orange syrup. Strain the syrup out, then mix it with one cup of apple cider vinegar. This concoction will last for months in the fridge!
Not sure how to use it? Try the ‘Autumn Sparkler’ right away: mix 1 ounce of your pumpkin shrub with 2 ounces of apple cider, and top it off with sparkling water. It’s a delicious, sophisticated drink that took almost zero effort.
Final Thoughts
So next time you’re carving that pumpkin, pause and take another look at that bowl of guts. It’s not waste. It’s a handful of salty snacks, the base for a savory broth, a treat for your garden, and an opportunity to get a little more creative in the kitchen. Enjoy every single part of it.