Your Walls Are the Secret to a Magazine-Worthy Holiday Vibe
I’ve been an interior decorator for a long time, and every single year, it’s the same story. As soon as there’s a little chill in the air, my clients start asking how they can make their holiday decor feel, well, different. They’re tired of just pulling out the same old bins of ornaments and garland. My answer almost always catches them off guard: look at your walls.
In this article
Honestly, the biggest surfaces in any room are your secret weapon. A fantastic wallpaper, even a temporary one, can be the thing that takes your home from just “decorated for the holidays” to a truly immersive, cozy escape. We’re not talking about a cute phone background here; we’re talking about using real design principles to create a backdrop for all those holiday memories. So, let’s walk through how the pros do it, from picking the right materials to understanding why it works so well.

Why a Holiday Accent Wall Actually Works
Before you even think about unrolling a single piece of paper, let’s talk about the “why.” In the design world, we’re obsessed with creating an atmosphere. Your walls are the number one tool for that job. They control the light, the mood, and whether a room feels spacious or snug. For the holidays, we’re usually aiming for warm, inviting, and cozy.
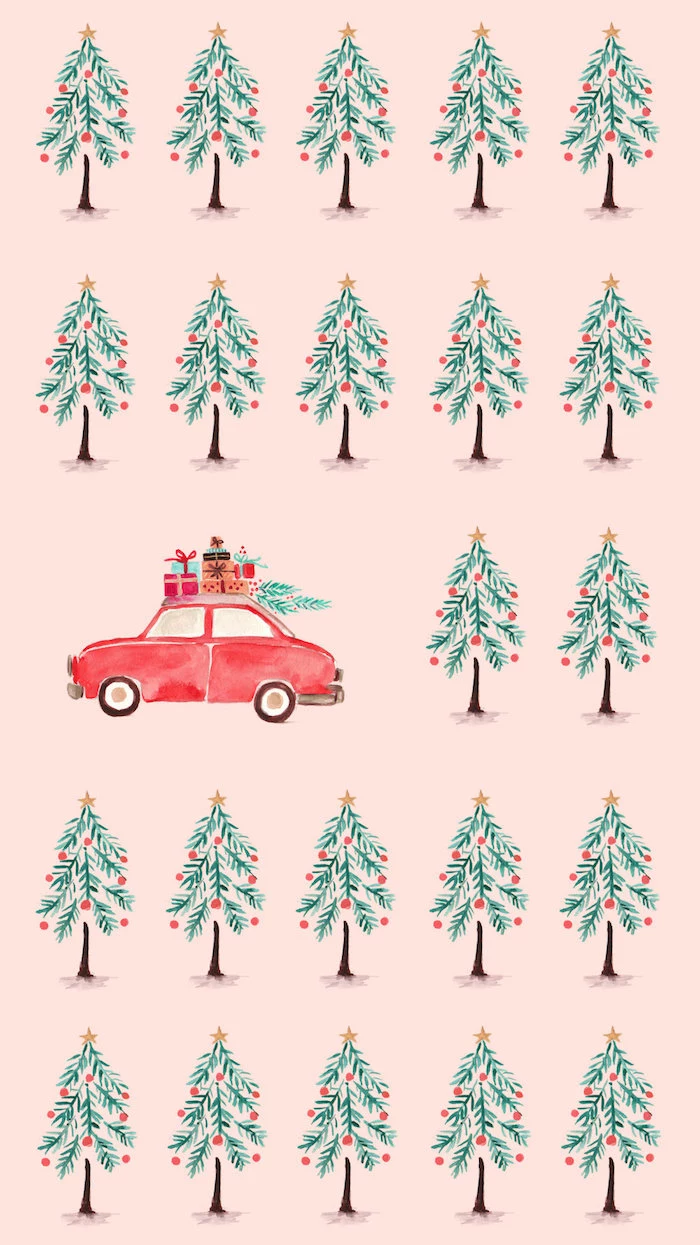
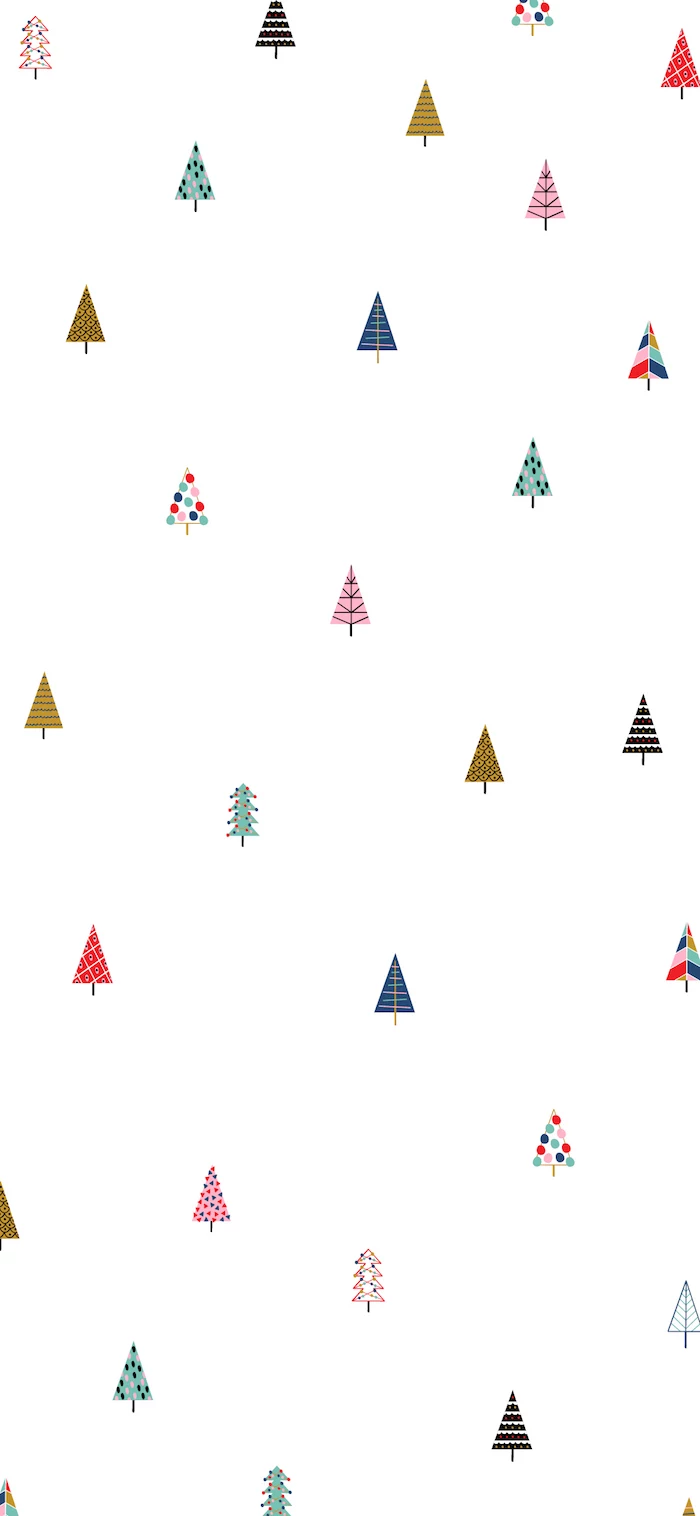
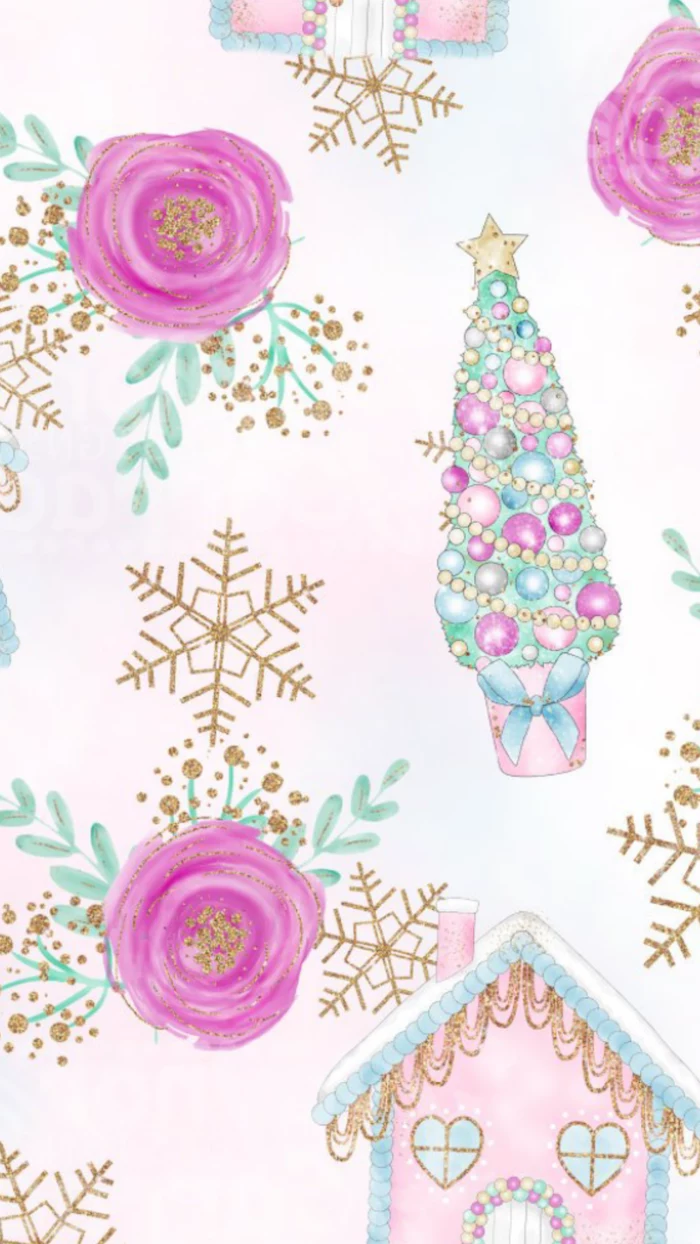
A well-chosen wallpaper pattern acts as a design anchor. It sets the entire color palette and style for everything else you do. For instance, if you choose a deep forest green paper with a subtle, shimmering gold pinecone pattern, you’ve instantly created a classic, rich vibe. Now, your other decorations—the garland on the mantel, the ornaments on the tree, even the ribbon on the presents—can pull those exact shades of green and gold. It’s what creates that cohesive, polished look that can be so hard to get otherwise.

I once had a client who was terrified of patterns. They loved the idea but were convinced it would be “too much.” We found a bold, large-scale plaid in shades of cream, charcoal, and a hint of cranberry. The moment that first panel went up, their whole demeanor changed. It didn’t make the room feel smaller; it made it feel intentional and incredibly sophisticated. It gave all their existing decorations a new lease on life. That’s the power of a good anchor.
Choosing Your Paper: The Most Important Decision
Okay, let’s get practical. The idea of wallpapering can feel like a huge, messy commitment, but we’re living in the golden age of high-quality, removable papers. These are the go-to for home stagers, set designers, and savvy holiday decorators. But a heads-up: not all peel-and-stick papers are created equal.
Vinyl vs. Fabric: What’s the Difference?
You basically have two main choices, and what you pick depends on your budget and the look you’re after.

Your most common and budget-friendly option is peel-and-stick vinyl. You can find this stuff everywhere, from big-box stores like Home Depot to online retailers. Look for brands like RoomMates or WallPops. A good roll will cost you somewhere in the neighborhood of $30 to $60. The key here is to find one with a decent thickness and a matte or satin finish, which looks more high-end. The most critical detail? The product description should say “low-tack removable” or “repositionable” adhesive. This means it’s designed to come off without a fight.
For a more luxurious feel, you can look at woven, fabric-based papers. Think brands like Tempaper or the endless options on Spoonflower. These feel more like canvas or linen and are a dream to install. They’re more breathable, so they’re less likely to bubble, and they are much more forgiving if you need to pull a piece off and reposition it. The colors often look richer, too. They do cost more, often running $5 to $10 per square foot, but if you plan on carefully removing and reusing the paper for a few holiday seasons, it can be a worthwhile investment.

Oh, and a quick note on using wrapping paper: a lot of DIY blogs suggest it. To be frank, I wouldn’t recommend it for a whole wall. It’s too thin, tears easily, and shows every tiny bump. But for a small project, like lining the back of a bookshelf? A beautiful, heavyweight wrapping paper can work wonders.
Prep Work: The Step You Absolutely Cannot Skip
I cannot stress this enough: 90% of wallpaper failures, temporary or not, are because of bad prep. I learned this the hard way on an early job. The client’s wall had a faint orange-peel texture, and while the paper looked great at first, the seams started lifting overnight. The adhesive could only grab onto the tiny peaks of the texture. It was a mess.
So, here’s your pre-flight checklist. Do this and you’ll be golden.
- Wash the Wall: Use a sponge with a bit of mild dish soap and warm water to gently wipe down the entire wall. This removes dust and oils. Then, wipe it again with a clean, damp sponge and let it dry completely. And I mean completely—give it a solid 24 hours.
- Check Your Paint Finish: Removable adhesive loves satin or semi-gloss paint. It has a hard time with ultra-matte or flat finishes because they’re too porous, and the glue can bond too strongly, sometimes pulling paint off on removal. If you have matte paint, you can either accept the risk and plan for touch-ups or apply a coat of a shield-style wallpaper primer first.
- Let It Cure: Never, ever apply peel-and-stick to a freshly painted wall. The paint needs 3 to 4 weeks to fully cure. If you put paper on it too soon, you’ll trap the solvents, and the wallpaper will fail while ruining your new paint job.
- Do a Patch Test: This is non-negotiable. Buy a small sample or cut a 12×12 inch square from the end of your roll. Stick it in a hidden spot (like behind the sofa) and leave it for two days. Peel it off slowly. This five-minute test can save you from a major headache and costly repairs.

The Fun Part: Measuring and Hanging Your Paper
Before you get started, it’s a good idea to gather your supplies so you aren’t running around mid-project. It makes the whole process feel much calmer.
Your Shopping List:
- The wallpaper of your choice
- A plastic smoothing tool or squeegee
- A very sharp utility or craft knife (with extra blades!)
- A metal straightedge or ruler
- A measuring tape
- A sturdy step ladder
Ready? Okay, let’s hang some paper. Working with patterns requires a little bit of math, but don’t worry, it’s simple.
How Much to Buy? The biggest fear is running out of paper. A good rule of thumb is to calculate the square footage of your wall (width in feet x height in feet) and divide by 25. This gives you a rough number of standard-sized rolls. But here’s the pro tip: ALWAYS buy one extra roll. Pattern matching creates waste, and having an extra roll for mistakes or future repairs is a lifesaver.

Getting It on the Wall:
- Measure and Cut: Measure your wall’s height and add about 4 inches of extra length. Cut your first panel. For the second panel, lay it beside the first on the floor and slide it up or down until the pattern aligns perfectly, then cut it to the same length.
- Application: Start in a top corner. Peel back about 6 inches of the backing paper, line up the top edge with the ceiling (letting that 2-inch excess hang over), and press it firmly to the wall. Now, using your smoothing tool, work from the center outward, pressing the paper down as you slowly pull off more of the backing.
- Overlap Slightly: A little-known trick is to overlap your panels by just a tiny amount, like 1/16th of an inch. Some papers can shrink slightly as they settle, and this micro-overlap prevents gaps from appearing between the seams.
- Trim the Excess: With a panel up, use your straightedge and a fresh, sharp blade to trim the excess paper at the ceiling and baseboard. Seriously, change your blade every few cuts. A dull blade will snag and tear the paper.
Quick Fixes: What if you get a stubborn air bubble? Don’t panic! Just take a pin or the tip of your craft knife and prick a tiny hole in the center of the bubble. Then, use your smoother to gently push the air out through the hole. It will disappear.
Not Ready for a Full Wall? No Problem.
A full accent wall is amazing, but it’s not the only way to get this effect. Here are a few other ideas, depending on your comfort level.
- Framed Panels: This is my go-to recommendation for renters. It gives you 80% of the impact with 20% of the effort. Buy three large, simple frames—for a standard sofa, three 24×36 inch frames look fantastic. Cut a high-quality wallpaper to fit inside each. Hang them in a neat grid, and you have a stunning, temporary focal point.
- Bookshelf Backing: A classic designer move. Empty your bookshelves, clean the back panel, and apply a fun, festive wallpaper. It adds instant depth and makes anything you place on the shelves pop.
- Stair Risers: If you’re feeling bold, applying wallpaper to the risers of your staircase is a high-impact look. It’s a great way to use up scraps, and you can alternate between a couple of coordinating patterns for a really dynamic feel.

The After-Party: Removal and Storage
When the season’s over, don’t just rip the paper off the wall. To keep your paint pristine, work slowly. Start at a top corner and pull downwards at a 45-degree angle.
Here’s the golden rule: if you feel any serious resistance, stop. Grab a hairdryer, put it on a low heat setting, and gently warm up that section of the paper. This softens the adhesive and helps it release cleanly. This one trick is the secret to damage-free removal.
To reuse your paper, carefully re-apply it to its original backing (or wax paper if you threw it out). Roll it up with the pattern facing out, secure it with a bit of painter’s tape, and store it somewhere dry and climate-controlled—not a damp basement or a hot attic.
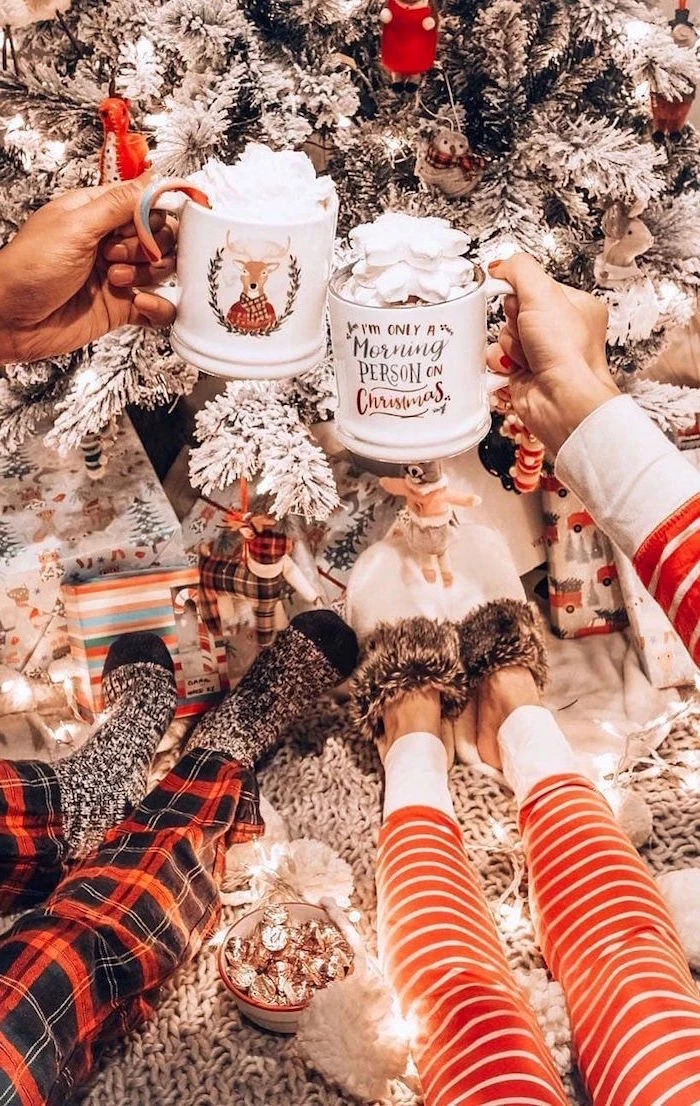
Ultimately, this is about more than just decoration. It’s about creating a whole mood, an environment that feels special the second you walk in the door. It takes a little more planning than just hanging a wreath, but the result is a backdrop for your holiday that feels personal, beautiful, and completely you.
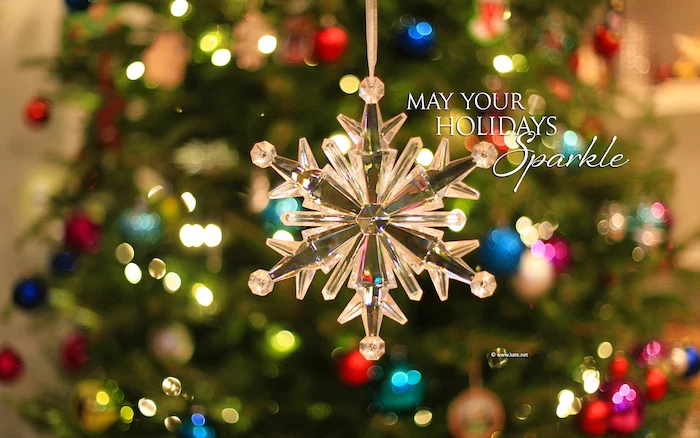
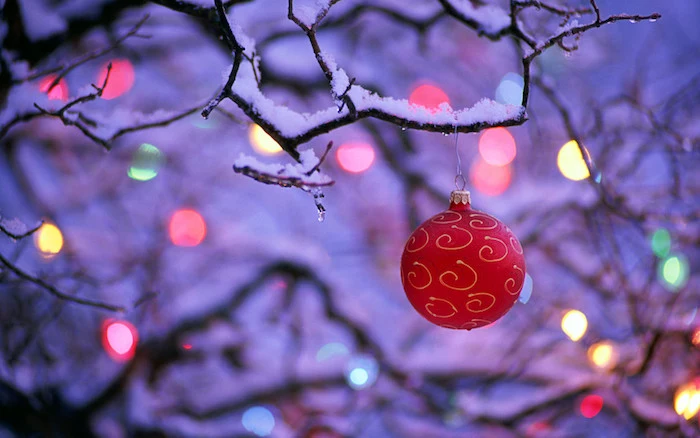
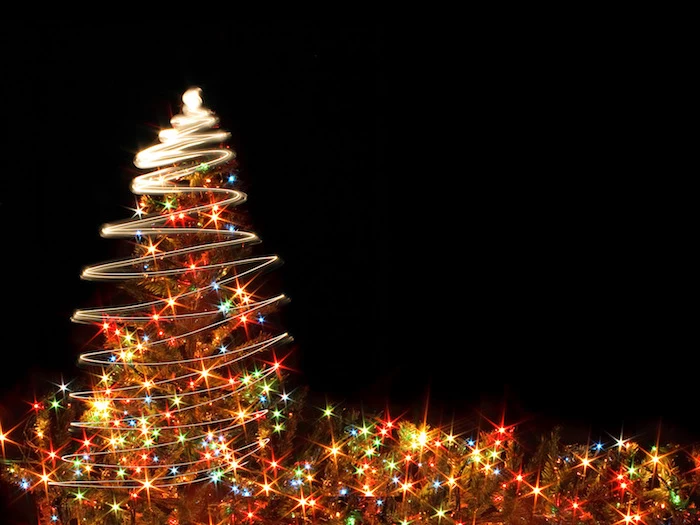
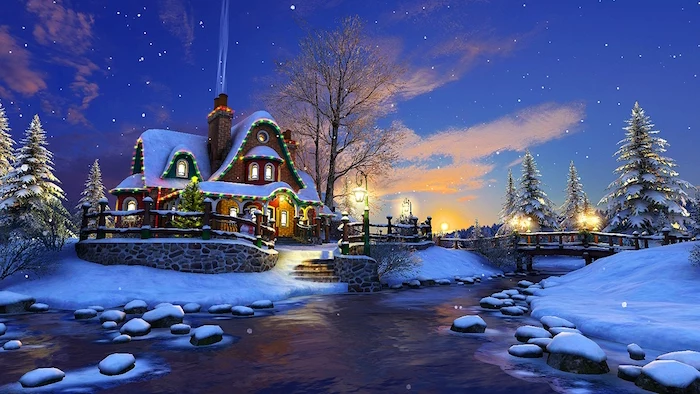
Inspirational Gallery

Don’t want the commitment of full wallpaper? Consider a large-scale holiday tapestry. Brands like Society6 offer countless artist-designed options, from snowy forests to abstract winterscapes. Hung behind a sofa or dining buffet, it creates a powerful focal point that can be rolled up and stored easily after the season.

- Create a gallery wall with a festive twist.
- Use identical frames in gold or black.
- Fill them with a mix of high-quality wrapping paper, vintage Christmas cards, and prints of winter patent drawings (like old sleighs or ice skates).
The secret? A cohesive color palette to tie them all together.

The lighting matters: Once your festive wall is up, adjust your room’s lighting to enhance it. Use an uplighter from the floor to graze the wall, highlighting the texture of a grasscloth paper or the shimmer in a metallic pattern. This simple trick adds professional-level drama and depth.


More than 70% of the sensory information we process is visual. A wall treatment is the single largest visual element you can change to instantly shift a room’s emotional energy for the holidays.

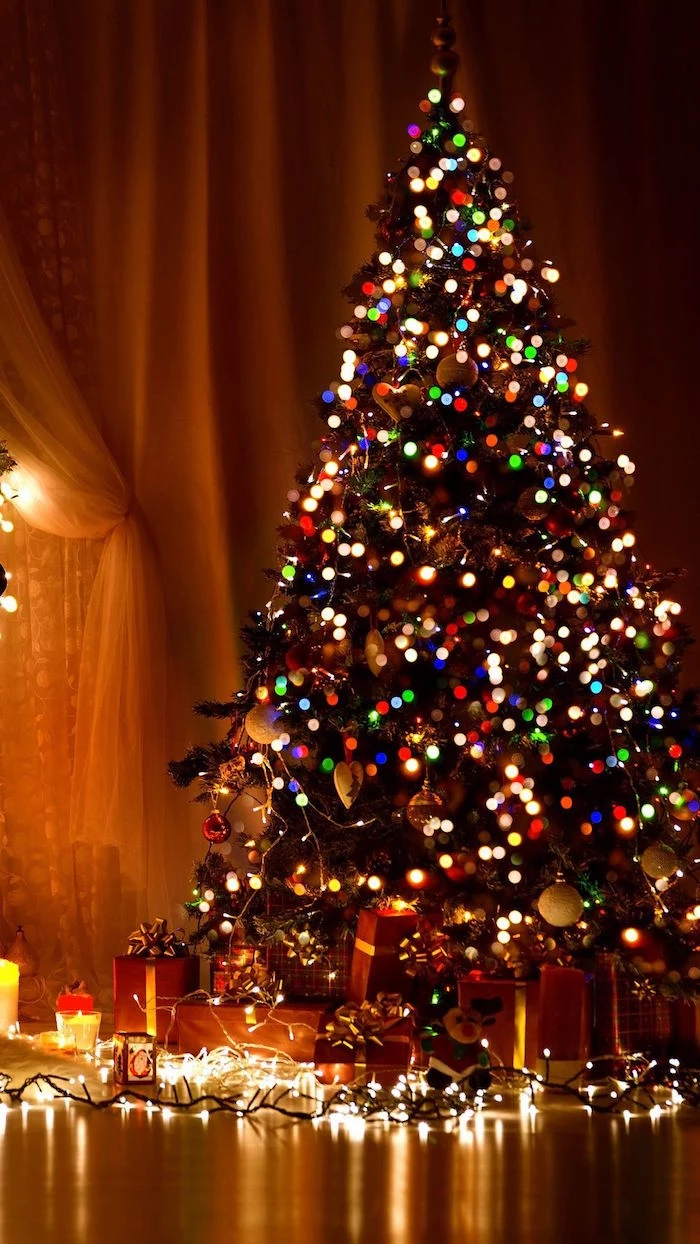
For a truly luxurious feel, think beyond flat color. A deep navy or emerald green velvet wall hanging absorbs light, creating an intensely cozy and silent atmosphere perfect for winter nights. It’s an amazing sensory backdrop for candlelight and sparkling tree lights.


Afraid of patterns clashing with your ornaments?
Opt for a textural wallpaper instead of a pictorial one. A faux grasscloth or a subtle linen-weave paper, like those from Tempaper, adds immense warmth and sophistication without competing for attention. It enriches the space while letting your tree and mantel decor remain the stars.

For a Scandinavian Vibe: Look for peel-and-stick wallpaper with simple, repeating patterns like minimalist trees or stars in a monochrome palette. Brands like Chasing Paper have elegant, understated options that evoke a serene Nordic winter.
For a Classic Glam Look: Choose a paper with a high-impact damask or art deco pattern featuring metallic gold or silver accents. This creates a rich, celebratory backdrop perfect for a New Year’s Eve party.

Searches for ‘peel and stick wallpaper’ have grown by over 300% in the last five years.
This boom means more choices than ever for temporary holiday transformations. Innovations in adhesives mean they are easier to apply, and more importantly, remove without damaging your walls, making a seasonal accent wall a risk-free design choice.
- It provides a perfect, non-distracting backdrop for photos.
- It makes metallic and glass ornaments pop.
- It feels instantly dramatic and sophisticated.
The technique? Paint one wall in a deep, moody color like Farrow & Ball’s ‘Hague Blue’ or Benjamin Moore’s ‘Hunter Green’. It’s faster than wallpaper and equally transformative.


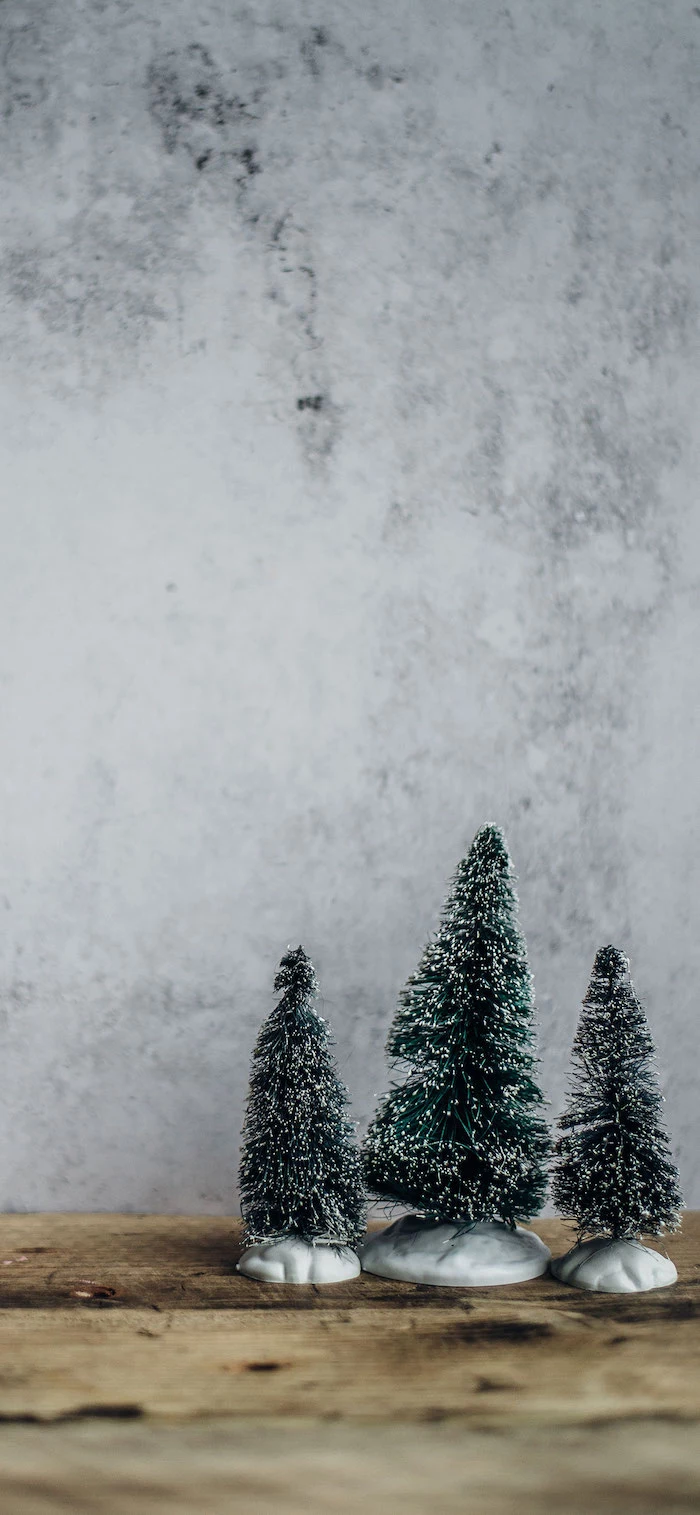
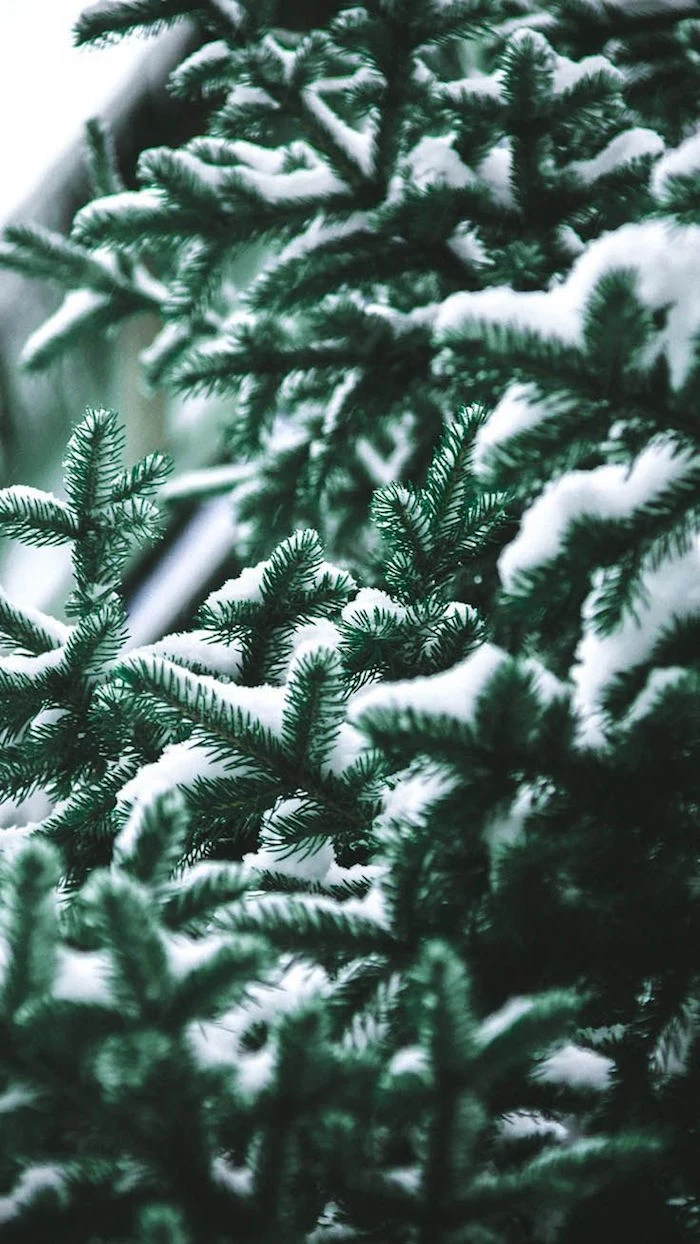
Bring the outside in with a large-scale mural of a winter forest. Companies like MuralsWallpaper offer stunning, hyper-realistic scenes of snow-covered birch or pine trees. In a dining room, it can make holiday meals feel like a magical escape to a winter lodge.
Consider the ‘fifth wall’ – the ceiling. For a child’s room or a whimsical touch in a family room, applying glow-in-the-dark star decals to the ceiling can create a magical ‘night sky’ effect. It’s a subtle holiday addition that keeps delighting after the lights go out.

Want a DIY solution with major impact?
Create a geometric design using thin, metallic washi tape. A simple pattern of intersecting gold or copper lines on a dark wall can mimic the look of expensive inlay. It’s incredibly budget-friendly, completely removable, and takes just an afternoon.
A simple, yet effective, trick for an empty wall is to create an art piece with light. Use command hooks to hang a curtain of cascading fairy lights, often called ‘waterfall lights’. They come in warm or cool whites and provide an instant magical ambiance with minimal effort.

- A small-scale, busy pattern can make a room feel cramped.
- A large-scale mural might overwhelm a tiny space.
The rule of thumb: The scale of the pattern should correspond to the size of the room and the viewing distance. For a wall you see from across a large living room, go bold. For a small entryway, a more delicate pattern works best.

Mistake to Avoid: Forgetting Wall Prep. Even temporary wallpaper needs a clean, smooth surface. Wiping down the wall with a damp cloth to remove dust and grime is essential. For bumpy textures, a skim coat of plaster might be necessary, but for most, a simple cleaning ensures the paper adheres properly and removes cleanly.


If wallpaper feels too uniform, try wall decals. You can buy pre-made sets of vinyl snowflakes, stars, or reindeer from sellers on Etsy and arrange them in a custom pattern. Scatter them drifting down a stairwell wall or cluster them to form a ‘tree’ shape for a personalized, artistic touch.
How do you handle transitions and corners?
For a professional finish with peel-and-stick wallpaper, always wrap the paper an extra inch or two around outside corners. For inside corners, cut the paper directly into the crease and start a new sheet on the adjacent wall, overlapping slightly. This prevents the paper from pulling away or bunching up.

The color green is associated with tranquility and health. Using a deep forest green on a wall can subconsciously create a calming, restorative atmosphere—a perfect antidote to holiday stress.

Don’t be afraid to mix your metals. If you choose a wallpaper with gold accents, you can still use silver and bronze ornaments. The key is to have the wall act as the main ‘anchor’ metal, while the others serve as complementary highlights. This creates a layered, collected look rather than a strictly matched one.

For a subtle and sustainable option, consider using stencils and a sample pot of paint. A repeating pattern of a simple star or a pine bough, stenciled in a tone-on-tone color (a satin finish over a matte wall, for example), adds depth and festive cheer that can be easily painted over in January.


High-Quality Wrapping Paper: Find a roll with a gorgeous, repeating pattern from a brand like Paper Source or Rifle Paper Co. and use it to panel a small nook or the back of a bookshelf. It’s a low-cost, high-impact secret of stylists.
Digital Projector: For the ultimate temporary wall, use a small digital projector to cast a slow-moving image of falling snow or a crackling fireplace onto a blank wall. It’s pure, dynamic holiday magic.
An often-overlooked opportunity for a festive wall is the kitchen backsplash. Apply a sheet of heat-and-moisture-resistant peel-and-stick tile in a festive color or pattern. Brands like Smart Tiles or Art3d offer options that look like real ceramic but can be removed after the holidays.

- A cozy, ‘hygge’ atmosphere.
- A natural, biophilic touch.
- A perfect frame for rustic ornaments.
The answer? A peel-and-stick wallpaper that mimics a whitewashed wood plank or reclaimed barn wood. It instantly adds texture and a cabin-chic vibe.
A final pro tip: Before you commit to a full roll, order a sample of your chosen wallpaper. Tape it to the wall and observe it for a few days. See how it looks in the morning light, in the evening with lamps on, and next to your existing furniture. This small step can save you from a costly design misstep.


