Your Manicure’s Secret Weapon: Pro Tips for Nails That Actually Last
After more than two decades behind the nail table, I can tell you one thing for sure: I’ve seen it all. From nails completely wrecked by harsh job-site chemicals to acrylics from a discount shop hiding a nasty green bacterial spot underneath. But you know the most common story? The person who’s just frustrated that their manicure chips in three days, no matter what they do. They see a trendy shape online, try it out, and don’t understand why it doesn’t work for them.
In this article
- The Unskippable Basics: Nail Health 101
- Finding Your Perfect Match: A No-Nonsense Guide to Nail Shapes
- The Pro’s Playbook: How to Get a Manicure That Actually Lasts
- Your DIY Manicure Toolkit & Troubleshooting
- Choosing Your Style: Color, Art, and Salon Enhancements
- Staying Safe: Salon Red Flags & What to Pay
- Inspiration Gallery
So, let’s skip the fleeting trends. My goal here is to share the real-deal knowledge I’ve picked up from thousands of hours of work. I want to show you how to pick a nail shape that actually fits your hands and your life, and how to prep your nails so that any manicure—whether it’s a simple polish or a fancy design—looks amazing and, more importantly, lasts.
The Unskippable Basics: Nail Health 101
Before we even dream of polish colors, we have to talk about the canvas itself: your natural nail. A gorgeous manicure on an unhealthy nail is like building a fancy house on a shaky foundation. It’s not going to last, and it might even be hiding bigger issues. Understanding your nail’s basic structure is step one.
The part you paint, the nail plate, is made up of layers of a protein called keratin. It should feel firm but have a little flex. This plate sits on the nail bed, which is the soft tissue that gives your nails their healthy pink color. A big red flag is seeing the nail plate lifting away from the bed. If that happens, it’s time to see a doctor, not cover it up with more polish.
Now, let’s clear up the biggest misconception in the nail world: the cuticle. That little ridge of living skin at the base of your nail? That’s the eponychium. Its job is to protect the nail matrix (where new nail cells are born) from infection. It should never, ever be cut. When I see techs aggressively clipping this living tissue, it’s a huge sign of improper training.
The true cuticle is the non-living, transparent film of skin that sticks to your nail plate as it grows out. THIS is the stuff that’s safe to remove. A good tech will use a quality cuticle remover to dissolve it and a gentle pusher to lift it away. Honestly, this one step makes a massive difference in how well polish sticks and prevents that annoying lifting at the base of your mani.
By the way, let’s bust a common myth right now. You’ve probably heard that your nails need to “breathe.” The truth? Nails get all their oxygen and nutrients from your bloodstream, not the air. When people talk about taking a “breather” from polish or enhancements, it’s usually to give the nails a break from potentially damaging application or removal processes, not because they’re suffocating. A healthy nail can be polished year-round without a problem!
Finding Your Perfect Match: A No-Nonsense Guide to Nail Shapes
That super-trendy nail shape you see all over social media might be a terrible choice for your hands and lifestyle. Do you type all day? Are you a gardener? A new parent constantly buckling car seats? These things matter! Here’s a breakdown of what to choose for a life that’s both stylish and practical.
To make it easy, here’s a quick rundown:
- Round: This is the champion of durability. It follows the natural curve of your fingertip, leaving no sharp corners to snag or break. If you work with your hands a ton—as a nurse, chef, or artist—this is your go-to shape. It’s clean, low-maintenance, and the least likely to fail you.
- Squoval: The best of both worlds! A squoval shape has the straight sides of a square nail but with soft, rounded corners. It gives you a classic, put-together look without the sharp edges that catch on everything. It’s probably the most popular request I get because it’s so universally flattering and practical.
- Oval: A super classic and feminine shape that can make fingers look longer and more slender. The sides are filed straight before tapering into a soft, rounded top. It’s a great shape for growing your nails out, but it’s a bit more delicate than a round or squoval nail.
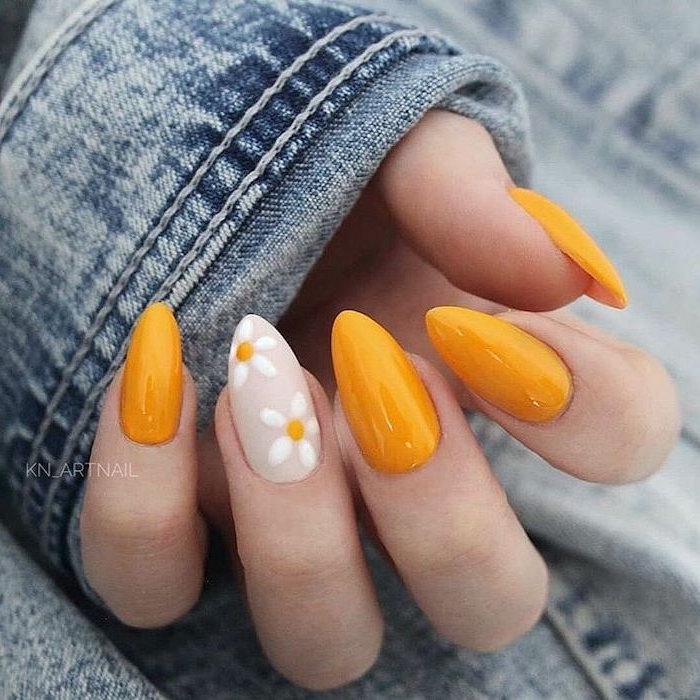
- Almond: Very elegant, but definitely more fragile. The nail is slim on the sides and tapers to a soft point, like the nut it’s named after. This shape really needs some length to look right, and on natural nails, the tip is prone to breaking. I usually suggest this shape only for clients getting a gel overlay to add some much-needed strength.
- Square: This shape is a statement. It has perfectly straight sides and a blunt, flat top. The sharp corners are a major snag risk, and honestly, it can make wider fingers look a bit stubby. It looks best on long, narrow nail beds.
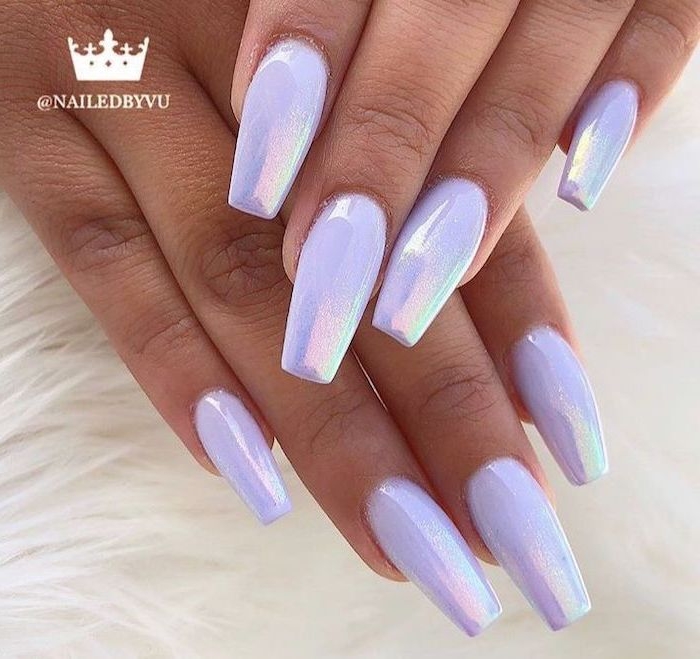
- Coffin (or Ballerina): Long, tapered, and squared off at the tip, this is almost exclusively done with nail enhancements like acrylic or gel. Its strength is 100% dependent on the skill of the tech who creates the structure. It’s high-fashion and high-maintenance.
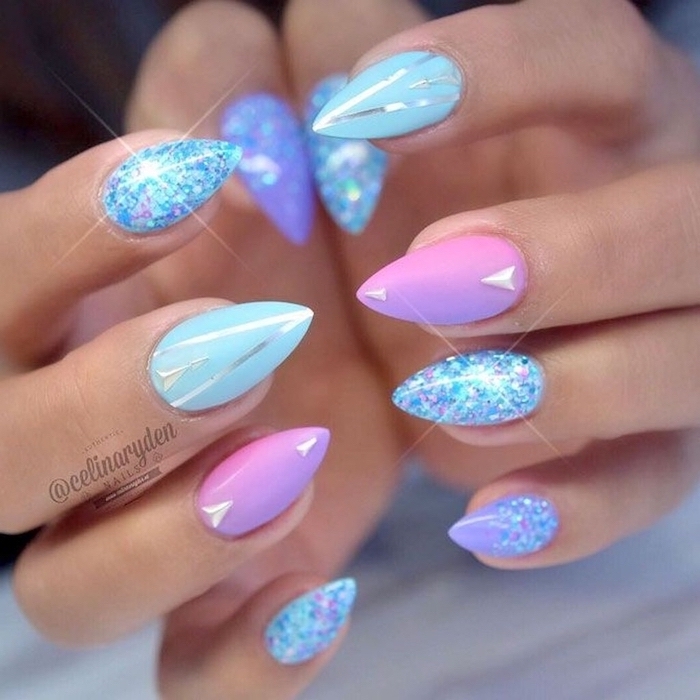
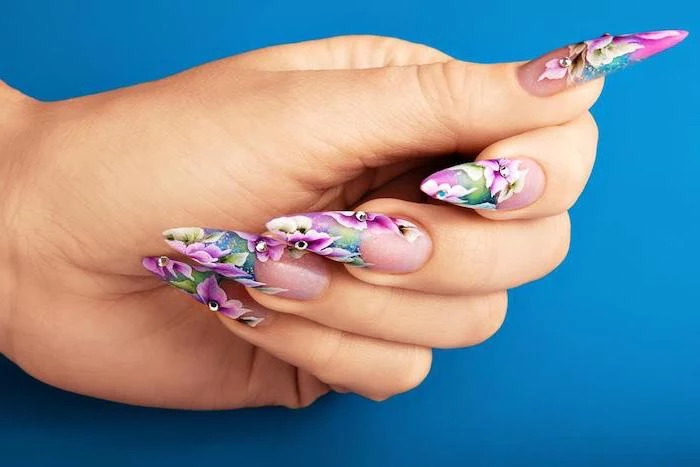
- Stiletto: The most dramatic and fragile of all, filed to a sharp point. This is impossible to maintain on natural nails and is always created with enhancements. A quick heads-up: be careful! You can easily scratch yourself, your kids, or your pets. These also require a top-tier technician to ensure they’re sealed perfectly to prevent moisture from getting trapped underneath.
The Pro’s Playbook: How to Get a Manicure That Actually Lasts
A long-lasting manicure isn’t about the polish brand; it’s all about the prep and application. Skipping even one of these steps can cut the life of your manicure in half.
- Prep is Everything. Your nail plate has natural oils that fight polish adhesion. First, I shape the nail with a gentle 240-grit file, always filing from the side to the center, never sawing back and forth. Then, I lightly buff just the shine off the nail surface. After tidying the cuticles, I scrub the nail plate with a lint-free wipe soaked in 99% isopropyl alcohol. Don’t just swipe—really scrub!
- The Base Coat Foundation. Never, ever skip this. A good base coat protects your nail from stains and gives the color something to grip. For a client with ridges, I’ll use a ridge-filler. For peeling nails, a rubberized base coat is amazing. The most important part? I always “cap the free edge” by running the brush along the very tip of the nail. This is your number one defense against chipping.
- Flawless Color Application. The secret is thin coats. Two or three thin coats are way better than one thick, goopy one. I use a three-stroke method: one down the center, then one on each side. Try to “float” the polish on, letting it flow off the brush instead of pressing down. And yes, you have to cap the free edge with every single color coat. It builds a durable seal. A little patience goes a long way here; wait at least 2-5 minutes between coats.
- The Protective Top Coat. This is the armor for your manicure. A quick-dry top coat not only adds incredible shine but also creates a hard, protective shield. My go-to favorites that you can buy yourself are Seche Vite or INM Out The Door—they dry like concrete. And for the last time, cap that free edge! Quick tip: To extend the life of your mani, re-apply your top coat every 2-3 days. It can seriously add a week to your wear time.
Your DIY Manicure Toolkit & Troubleshooting
Thinking of doing this at home? Awesome! You can get fantastic results without spending a fortune. Here’s what you need for a solid starter kit, which will probably run you between $40 and $60 for quality basics that will last you for ages.
- Nail File: A 240-grit file is great for natural nails. A glass or crystal file is a fantastic investment (around $10-$15 from brands like Tweezerman) because it seals the nail edge as it files, preventing peeling.
- Buffer Block: A simple 4-way buffer block from the drugstore works perfectly.
- Cuticle Remover & Pusher: The classic Blue Cross brand is cheap, effective, and available at Sally Beauty. Pair it with an orange wood stick or a metal pusher.
- 99% Isopropyl Alcohol: A must-have for dehydrating the nail plate.
- Base Coat, Color, and Top Coat: The essentials!
- Cuticle Oil: Use this daily to keep your nails and skin hydrated.
But what happens when things go wrong? Don’t panic. Here are some quick fixes:
- Help, I have bubbles! This usually means your polish coats were too thick or you didn’t wait long enough between them. Shaking the polish bottle can also introduce air. The only real fix is to remove and re-do that nail, but next time, roll the bottle between your hands and apply thinner coats.
- I smudged it! If it’s still wet, you can sometimes fix it. Add a tiny drop of nail polish remover to the smudge to smooth it out, let it dry, and then apply another thin layer of color over the whole nail. Finish with a top coat.
- I got one chip… Don’t re-do the whole manicure! Gently file the chipped edge smooth. Apply a tiny bit of base coat just to the chipped area. Dab on your color, feathering it out at the edges. Once dry, apply a full layer of top coat over the entire nail to blend it all together. It’s a lifesaver.
Choosing Your Style: Color, Art, and Salon Enhancements
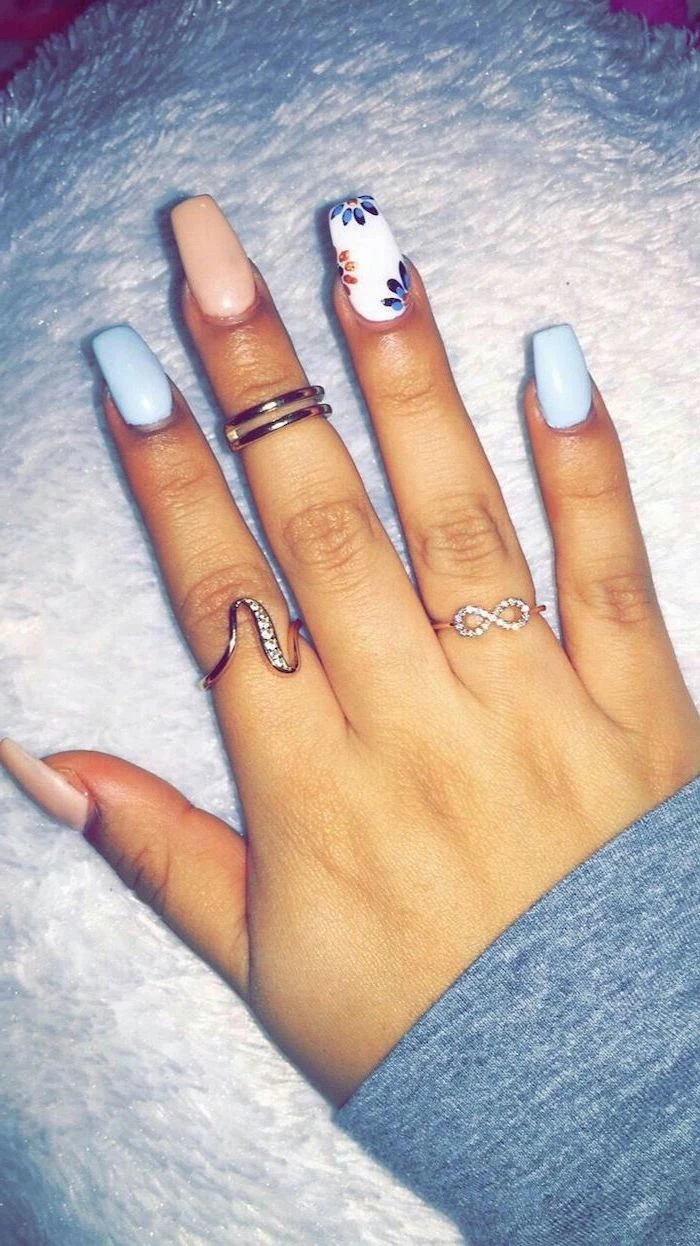
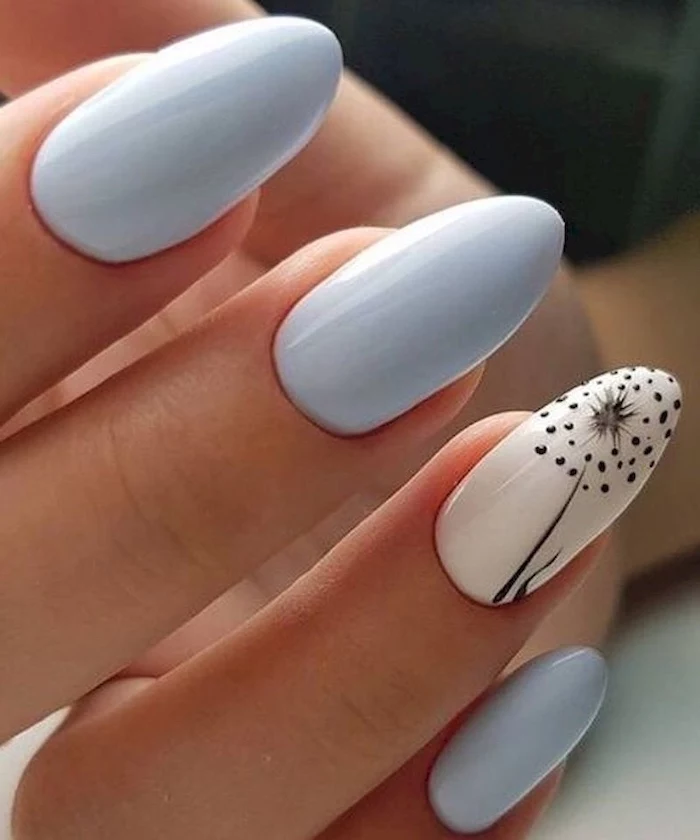
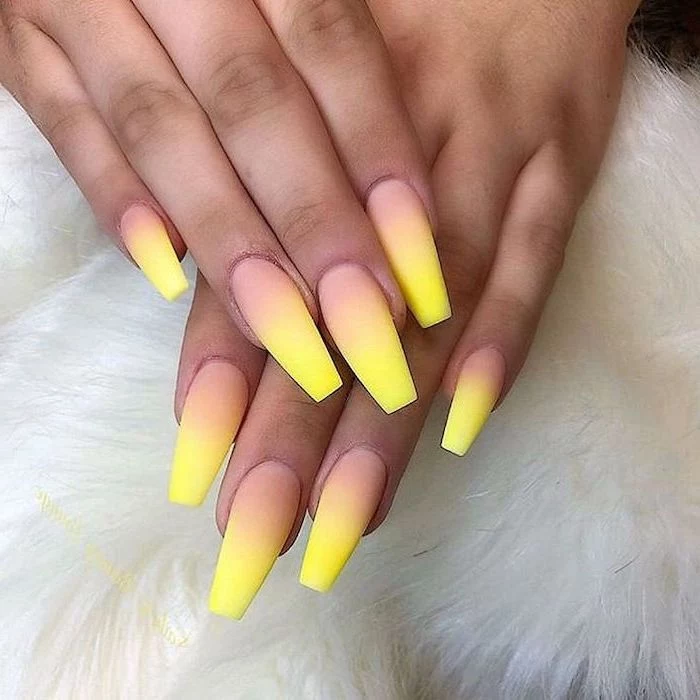
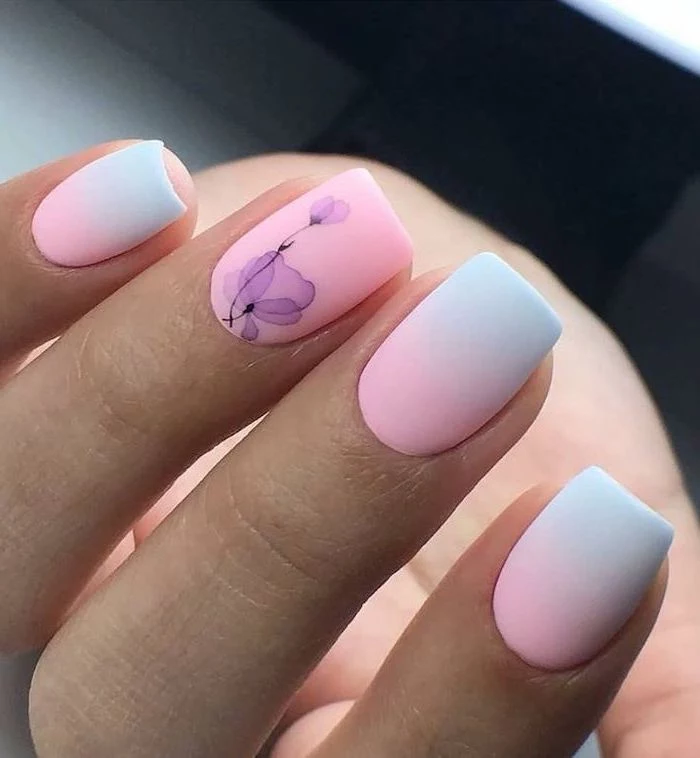
Nail art is fun, but what looks good is all about what’s flattering and well-executed. For color, considering your skin tone is a great starting point. Warm skin tones glow with corals, golds, and warm reds. Cool skin tones are stunning with jewel tones, blues, and berry shades. But honestly? The best color is the one that makes you smile when you look at it.
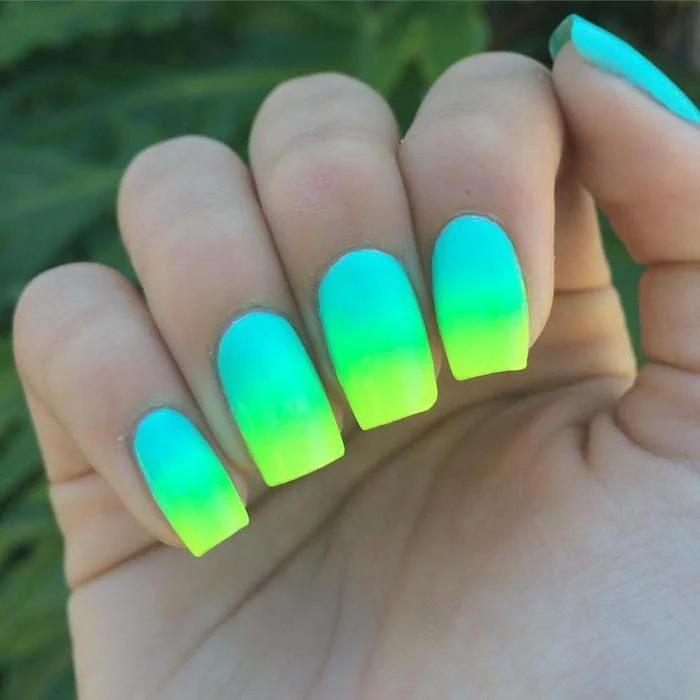
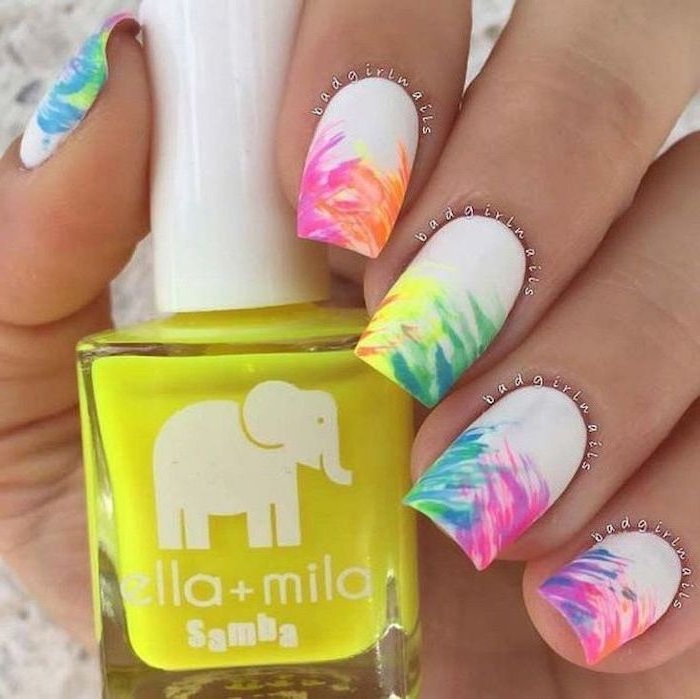
For DIY art, start simple. A toothpick makes perfect dots. To try a gradient (ombré), paint stripes of color on a makeup sponge and dab it onto your nail. A word of advice I learned the hard way: apply liquid latex or petroleum jelly around your nail first for easy cleanup!
Oh yeah, and when you go to a salon, you’ll hear about different types of manicures. Here’s a super quick guide:
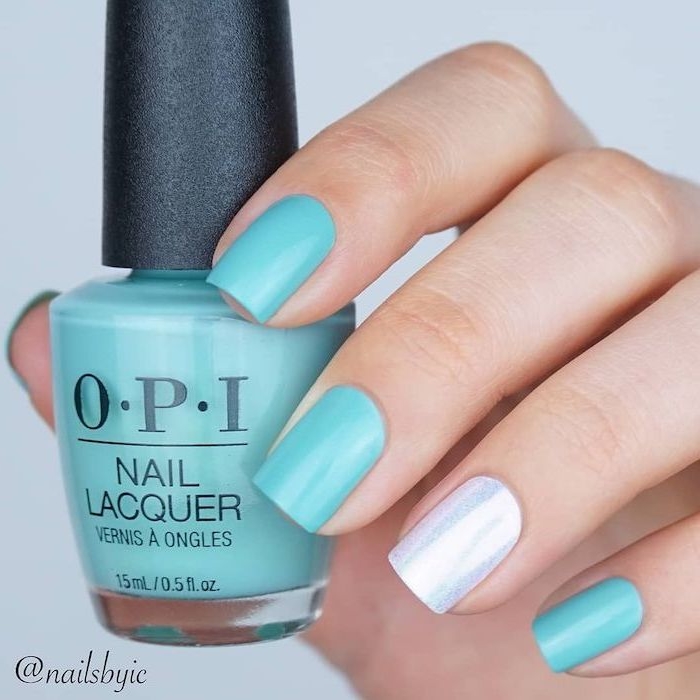
- Gel Polish: This is a polish that’s cured under a UV or LED lamp. It’s fantastic for a chip-free manicure that lasts 2-3 weeks. It adds a bit of strength but is still flexible. Removal involves soaking in acetone.
- Dip Powder: This involves applying a base liquid and dipping your nail into a fine acrylic powder, which is then sealed with an activator. It feels harder and thicker than gel and can last 3-4 weeks. It’s very durable but can feel bulky if not applied well.
- Acrylics: The strongest and most traditional enhancement. A technician mixes a liquid (monomer) and a powder (polymer) to create a bead of product that’s sculpted onto your nail. This is what’s used for long extensions and dramatic shapes like Stiletto or Coffin. They require professional filling every 2-3 weeks and can be damaging if removed improperly.
Staying Safe: Salon Red Flags & What to Pay
This is the most important part. A pretty manicure is never worth your health. When you walk into a new salon, keep your eyes open. Metal tools must be sterilized in a steam autoclave between clients—ask to see it. Files and buffers should be brand new for you. If they pull a dusty, used file from a drawer, walk out. The whole place should feel and smell clean.
I once had a new client whose previous tech told her the green spot on her nail was a “water stain.” It was a bacterial infection from trapped moisture, likely due to unsanitary tools. That’s why hygiene is non-negotiable.
You should also know what to expect in terms of time and money. A cheap, rushed $15 manicure is a red flag. A quality manicure with regular polish will likely cost between $25 and $45 and take about 45-60 minutes. For a gel manicure, expect to pay $40-$60+ and be in the chair for a solid hour or more. If someone is done in 20 minutes, they’re cutting corners—guaranteed.
Ultimately, your nails are a fun expression of your style, but their health is a reflection of your knowledge. Taking the time to get the fundamentals right is a skill that will serve you way better than any fleeting trend. Treat them well, and you’ll have a healthy, beautiful canvas for years to come.
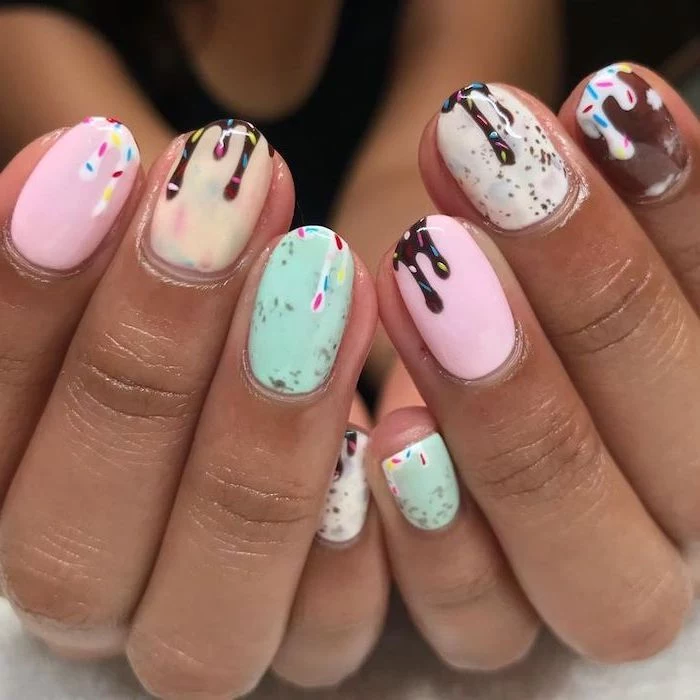
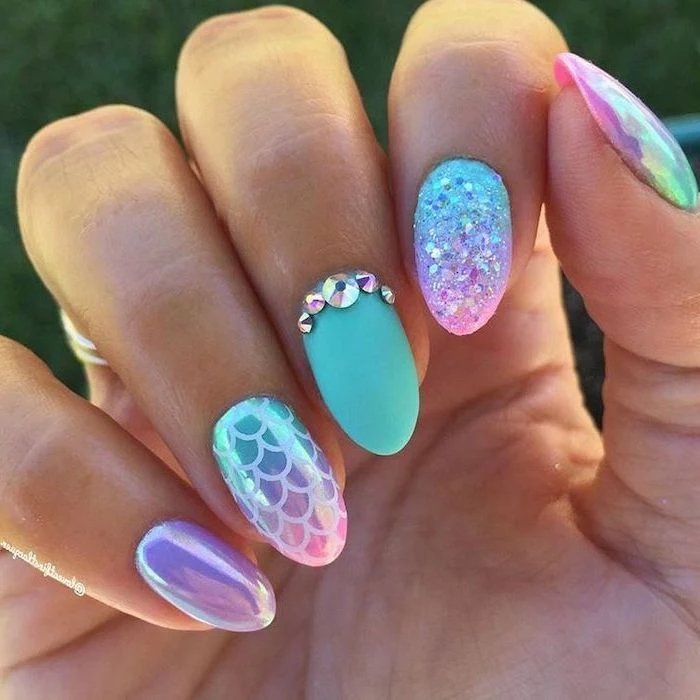
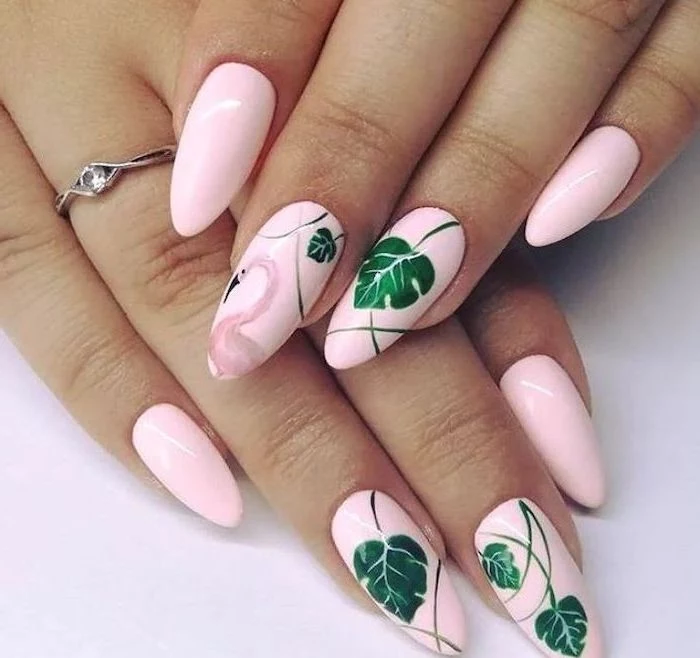
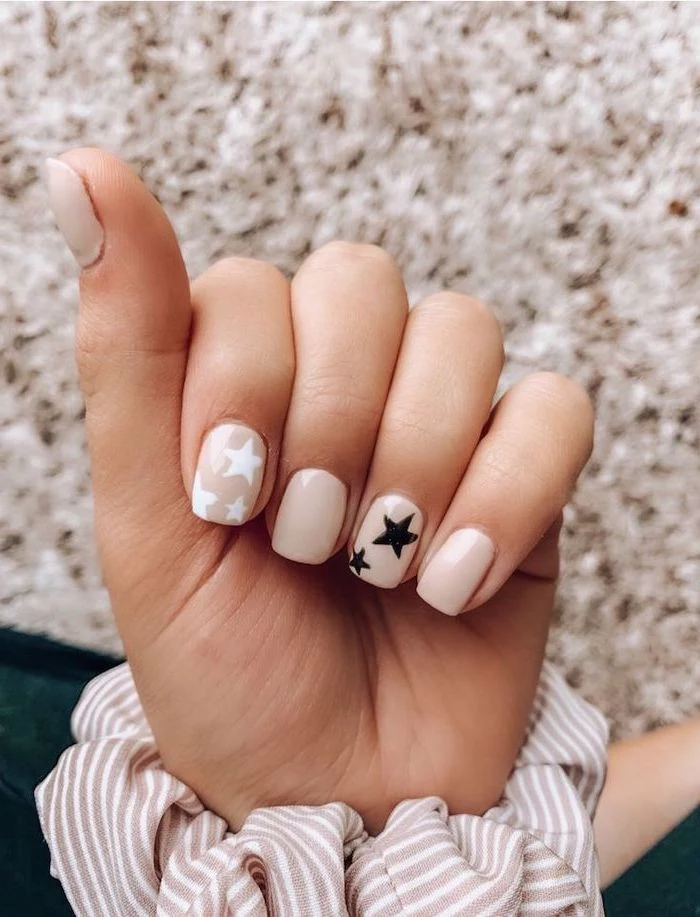
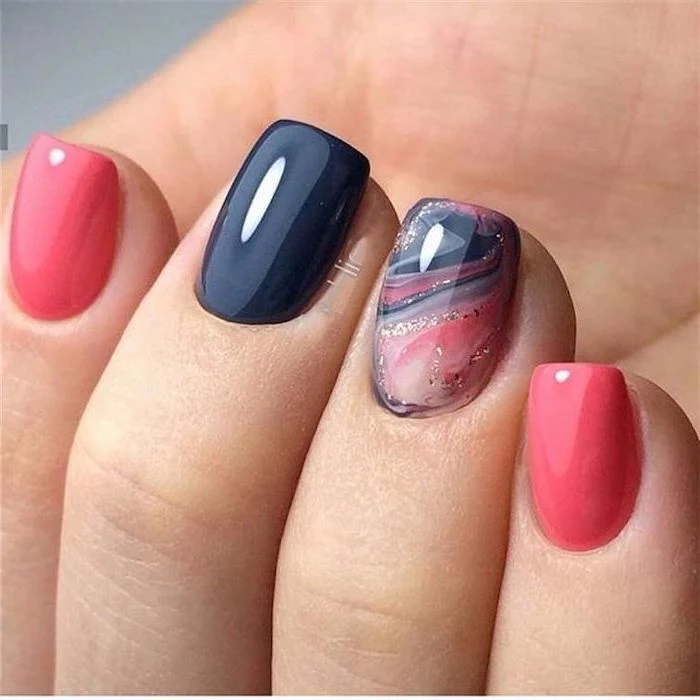
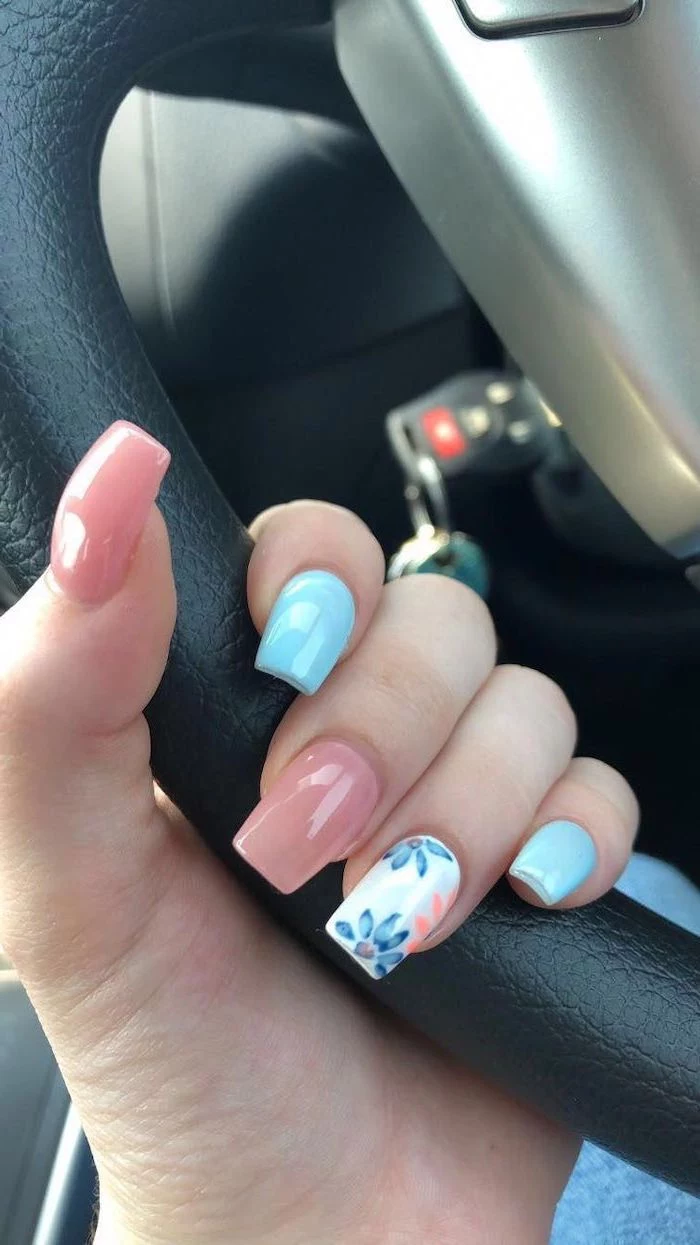
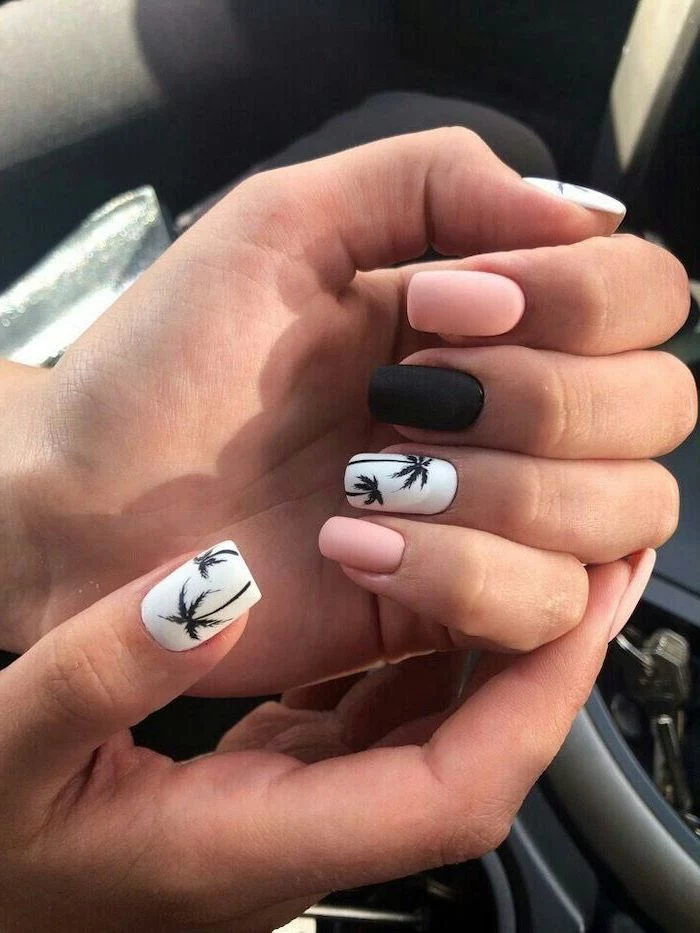
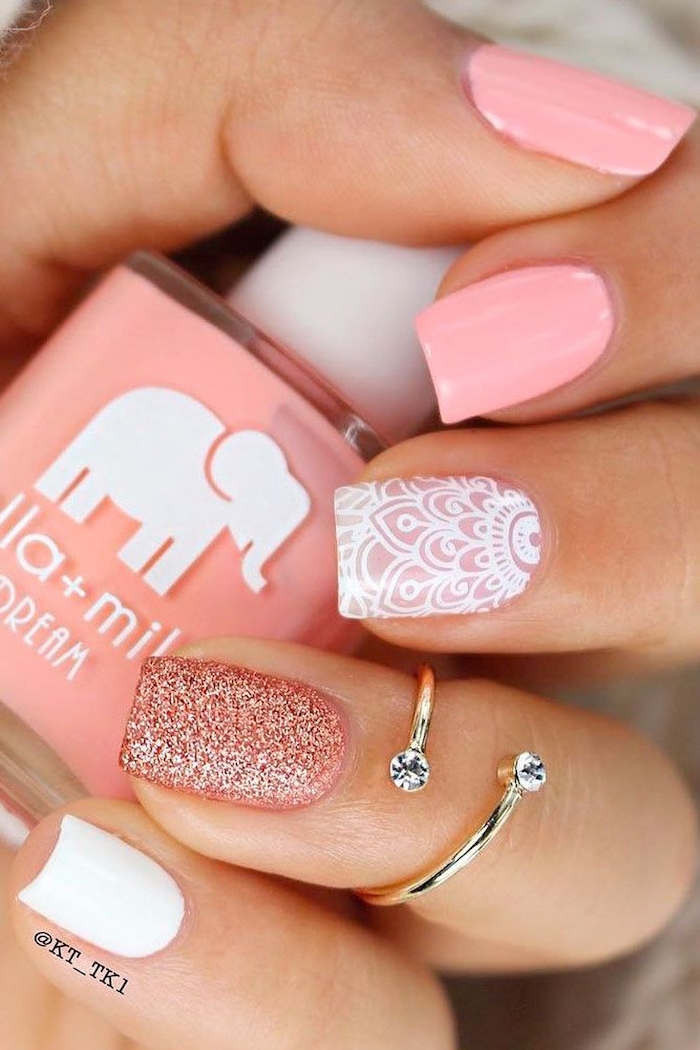
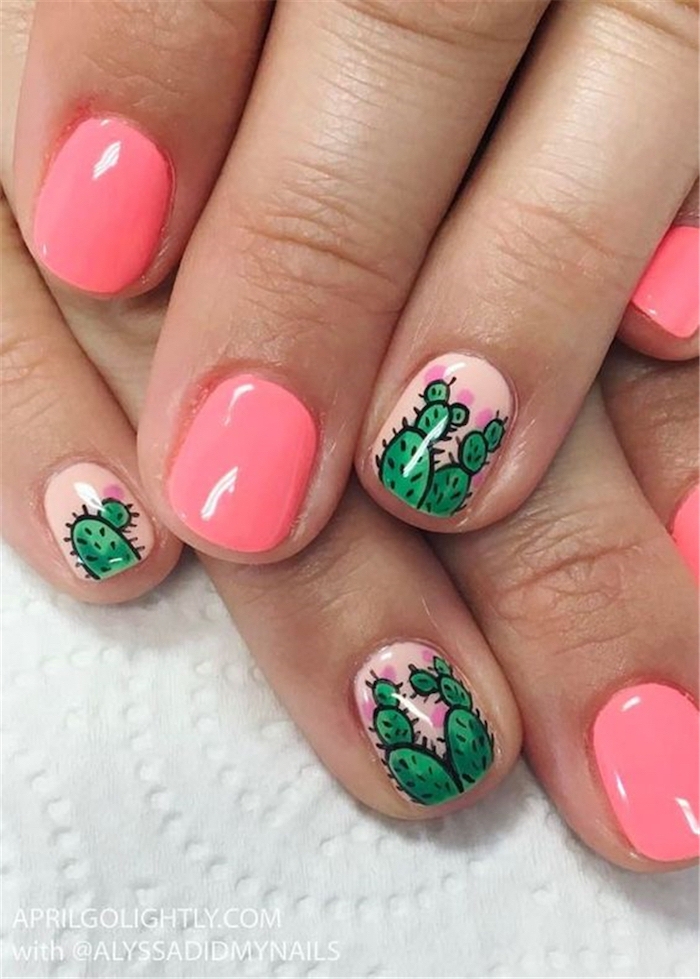
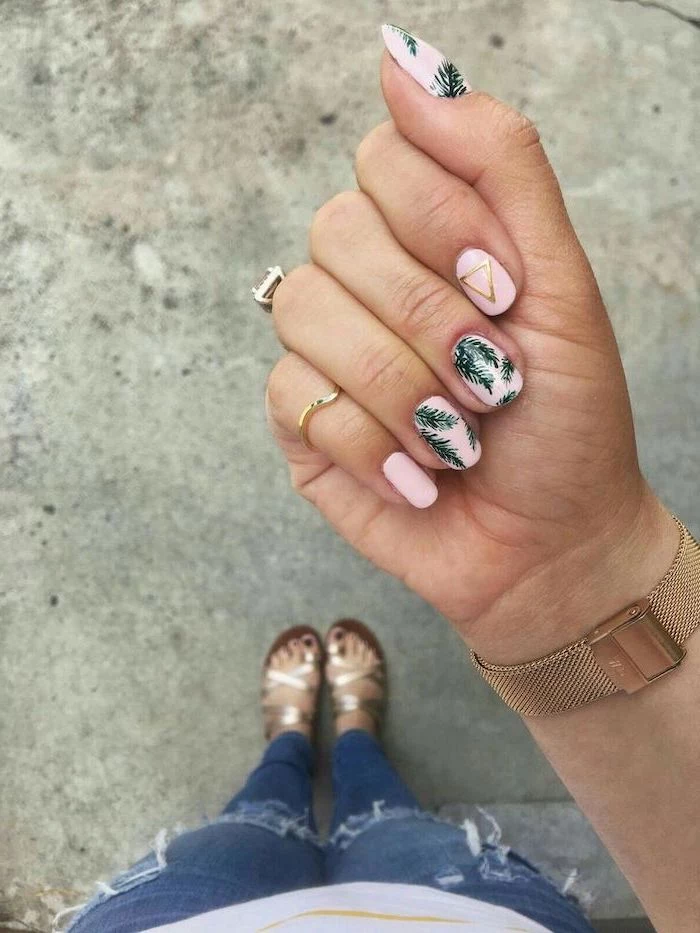
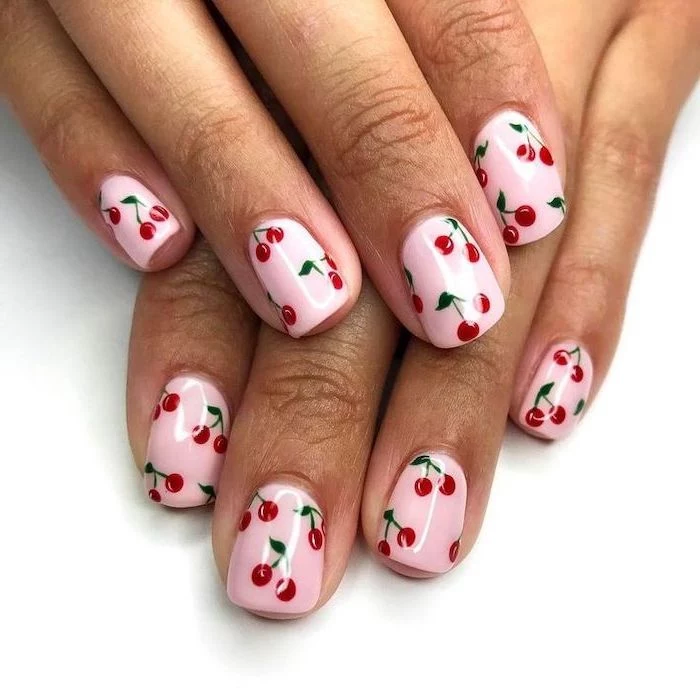
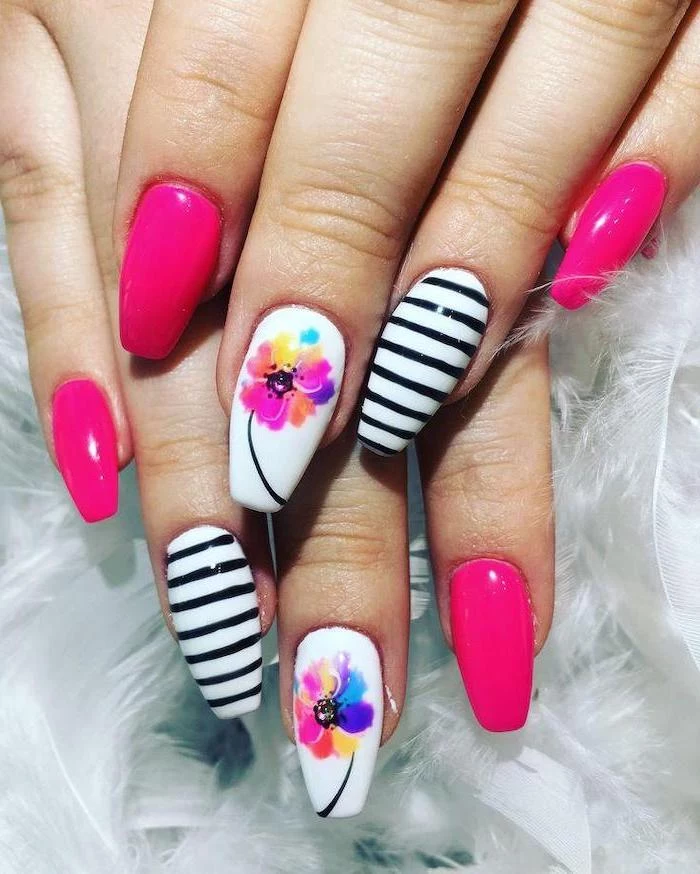
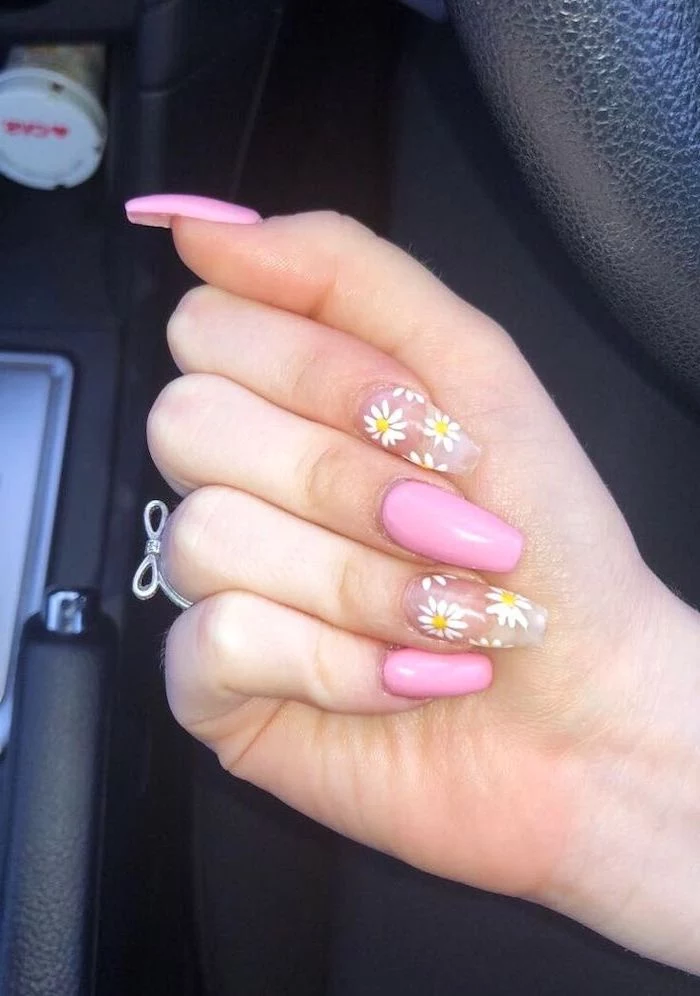
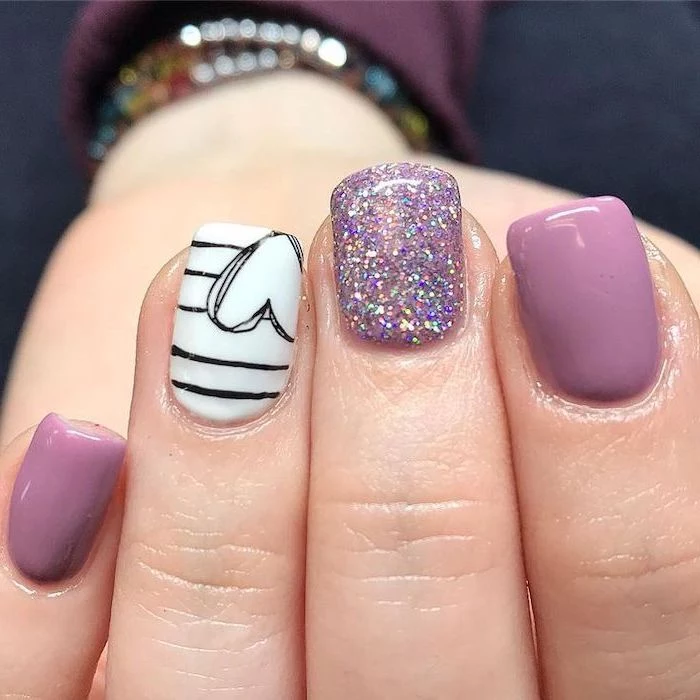
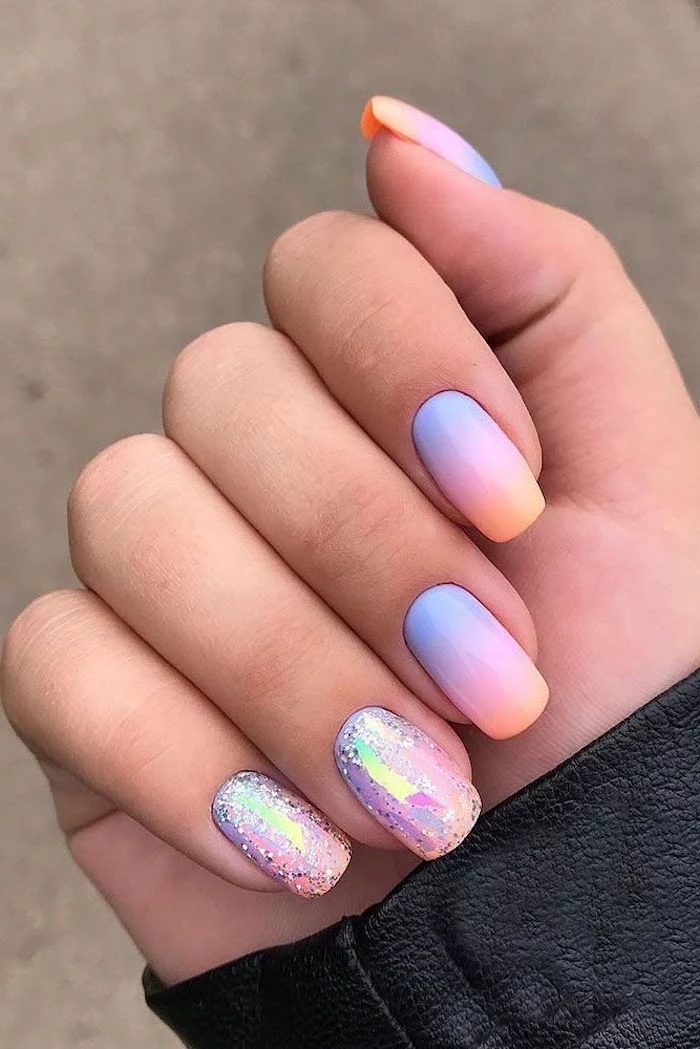
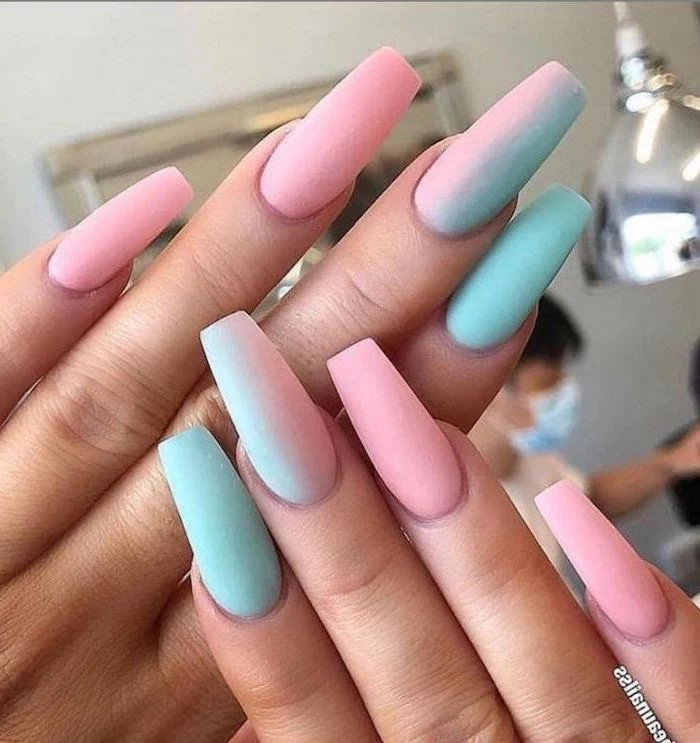
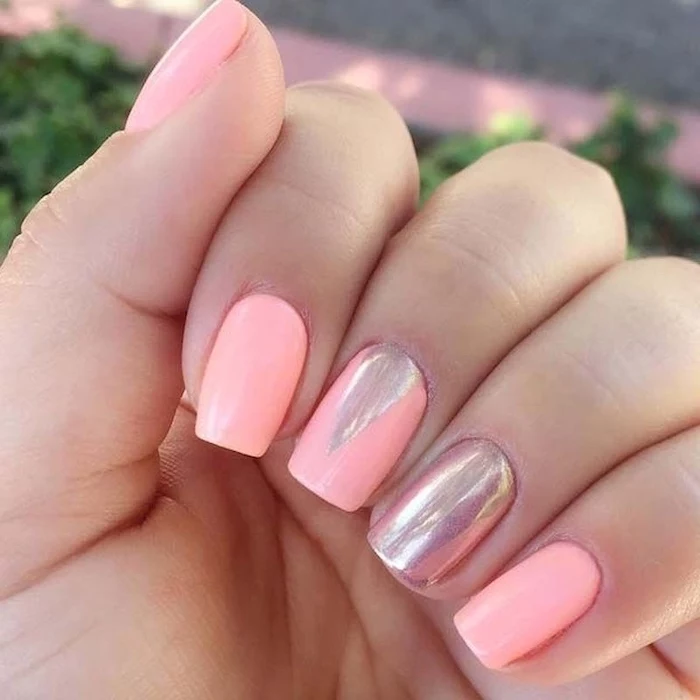
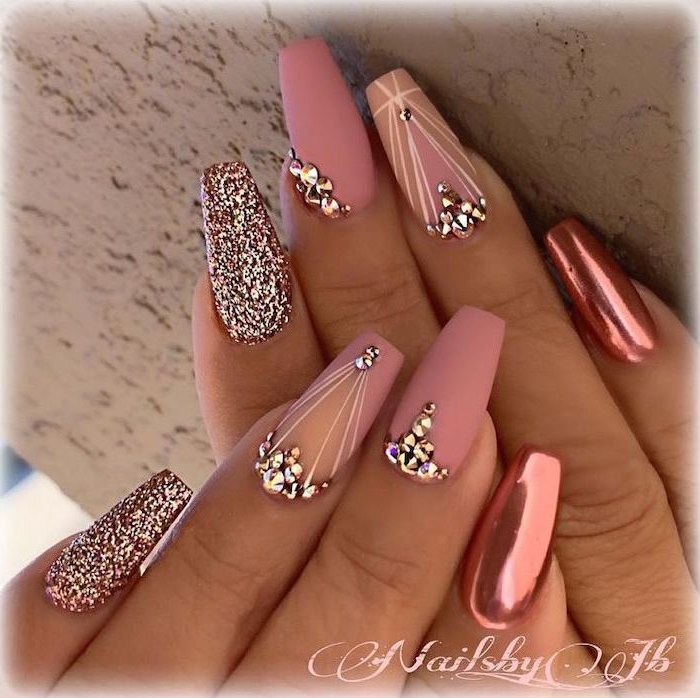
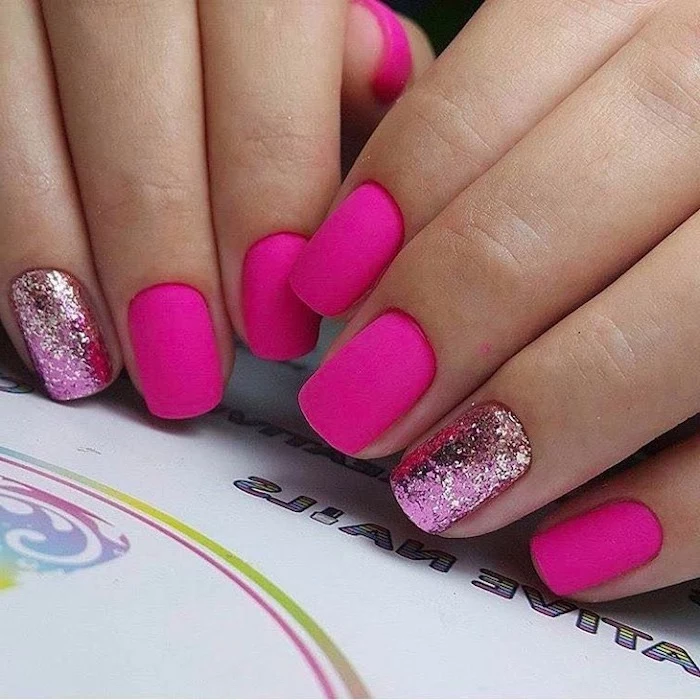
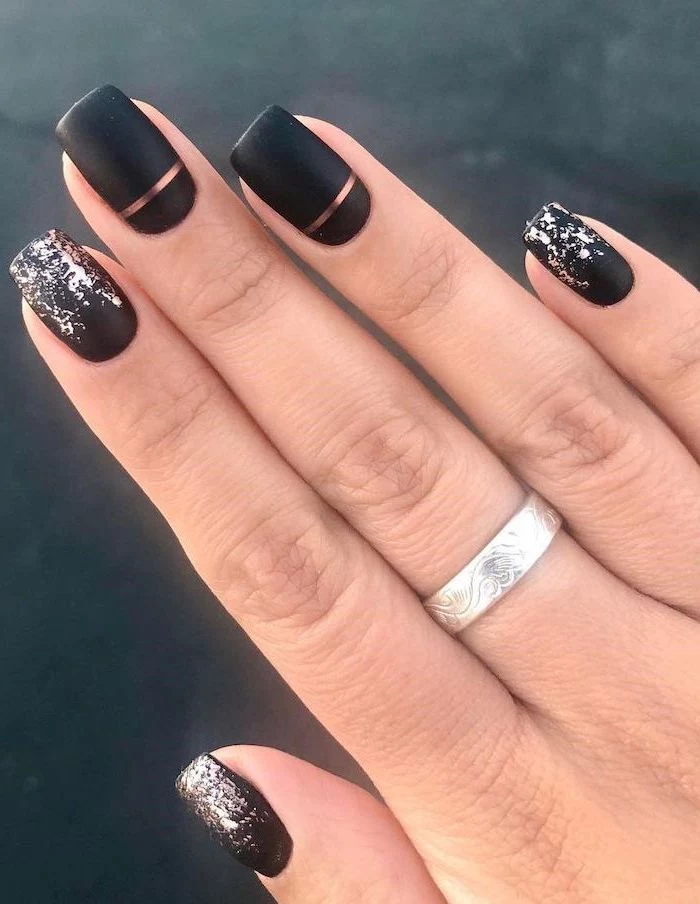
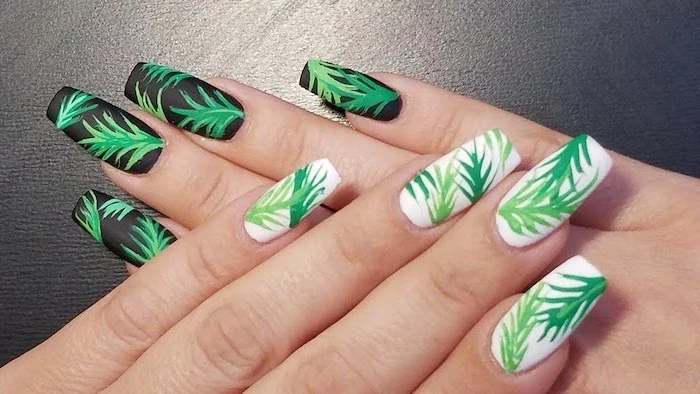
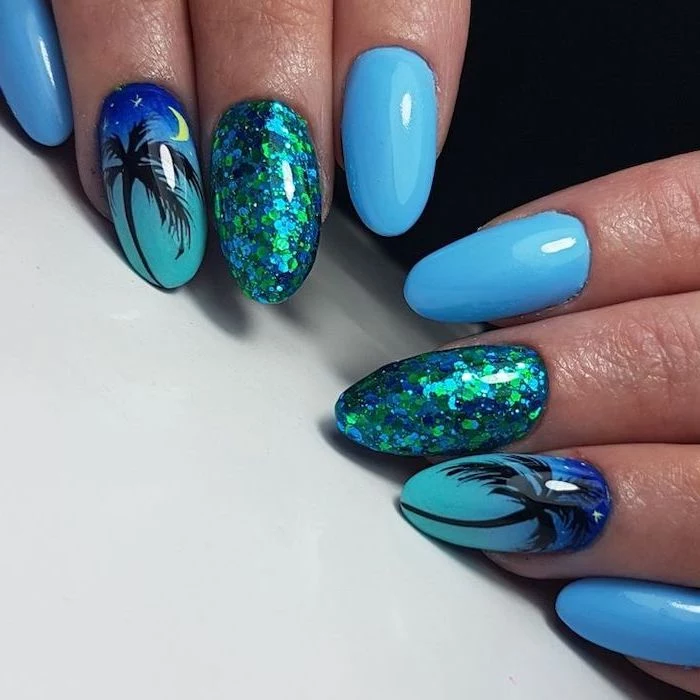
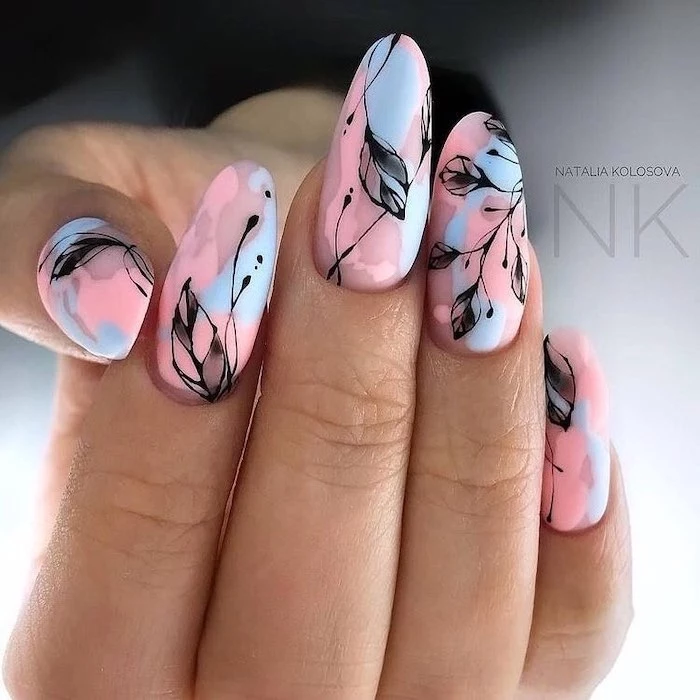
Inspiration Gallery
- Gently push back cuticles after a warm shower when they are softest.
- Apply a quality cuticle oil, like CND SolarOil or L’Occitane Shea Nail & Cuticle Oil, daily.
- Keep nails filed in one direction to prevent splitting.
- Give your nails a


The most overlooked step: Capping the free edge. After painting each nail, swipe the brush horizontally along the very tip of the nail. This seals the polish, creating a barrier that dramatically reduces chipping and extends the life of your manicure by days.


Nails are made of dead keratin cells; they don’t


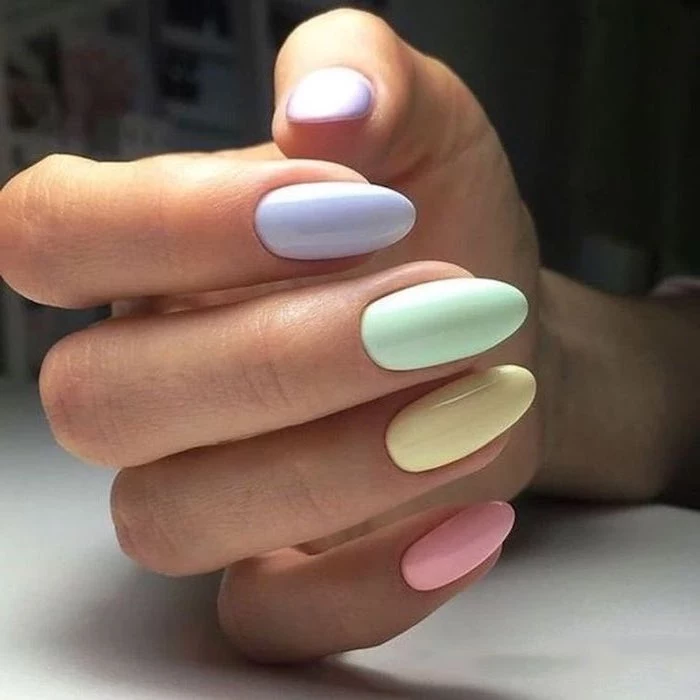
Finding the most flattering nude polish can be a game-changer. The key is to match the undertone of your skin:
- Fair Skin: Look for nudes with a hint of soft pink, like Essie’s


Is an at-home LED gel kit worth the investment?
For longevity, yes. A properly applied gel manicure using a kit like the ones from Gelish or Le Mini Macaron can last two weeks without a single chip. However, the removal process is more involved (requiring soaking with acetone) and can be damaging if done improperly. Regular polish offers more flexibility for quick color changes but lacks the armor-like durability of gel.


Glass File: A gentler option that seals the keratin layers as you file, preventing peeling. Brands like Mont Bleu offer durable, high-quality options. They are washable and last for years.
Emery Board: More abrasive and tends to shred the nail edge if not used carefully. They are inexpensive but wear out quickly and cannot be properly sanitized.
For natural nails, a glass file is a superior long-term investment in nail health.
Nails can absorb up to one-third of their weight in water.
This is why your nails feel soft and bendy after a long bath. When they absorb water, they expand, and as they dry, they contract. This constant expansion and contraction can cause polish to lift and chip. The solution? Wear gloves when doing dishes and try to minimize prolonged water exposure right after a fresh manicure.


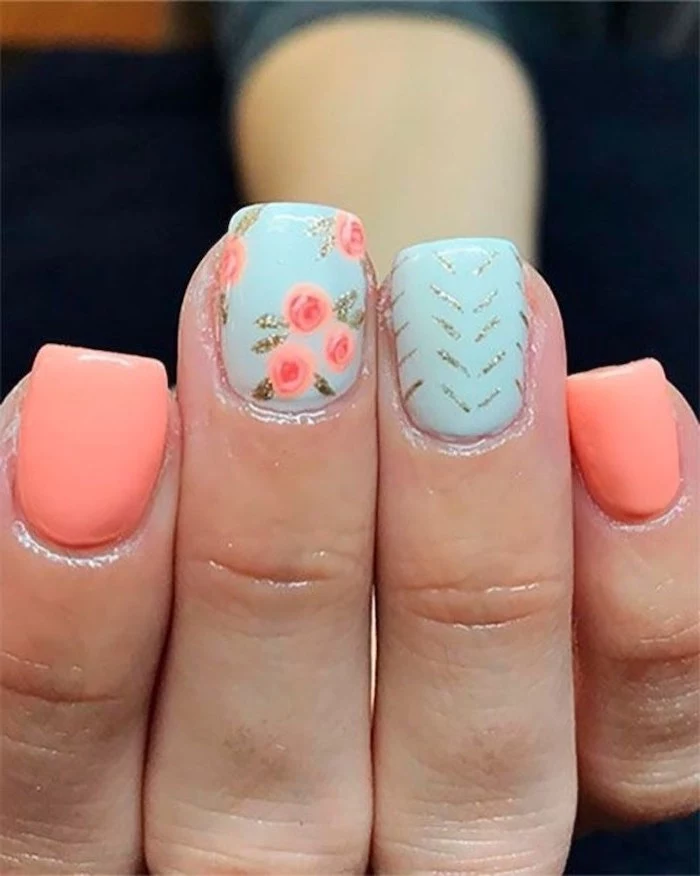
- Create perfect, uniform dots for polka dot designs.
- Drag it through wet polish for easy marble effects.
- Use it to place tiny rhinestones with precision.
The secret? A simple toothpick or the ball-point end of a bobby pin. You don’t need fancy tools to start your nail art journey.

- Act quickly while the polish is still tacky.
- Add a tiny drop of nail polish remover to the smudged area.
- Gently pat and smooth the surface with your fingertip.
- Wait a minute, then re-apply a thin layer of your color and a top coat.


Stop storing polish in the bathroom: The constant temperature and humidity fluctuations from showers can alter the formula, making it thick and streaky. A cool, dark place like a dresser drawer or a closet is the ideal environment to preserve your collection.

The first modern, liquid nail polish was invented in 1920 by makeup artist Michelle Ménard, who was inspired by the glossy paint used on automobiles.


Not all top coats are created equal. Choosing the right one depends on your needs:
- Quick-Dry: Ideal for impatience. Seche Vite is a cult classic that dries to the touch in minutes, creating a hard, glossy shell.
- Plumping/Gel-Effect: Gives the thick, cushy look of a gel manicure without the UV lamp. Try Essie’s

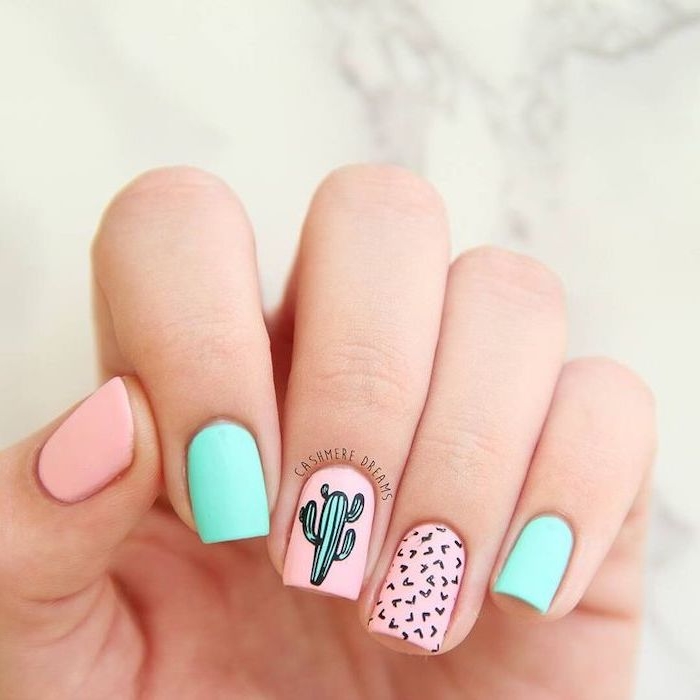
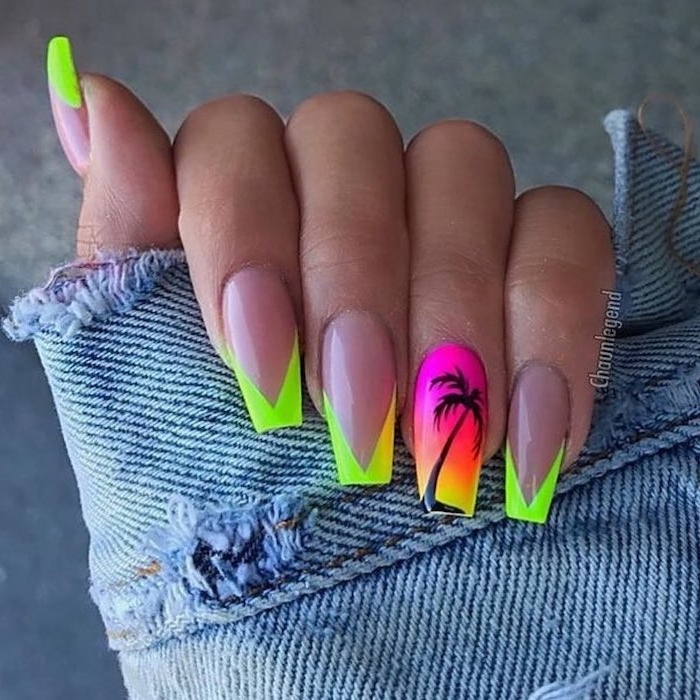
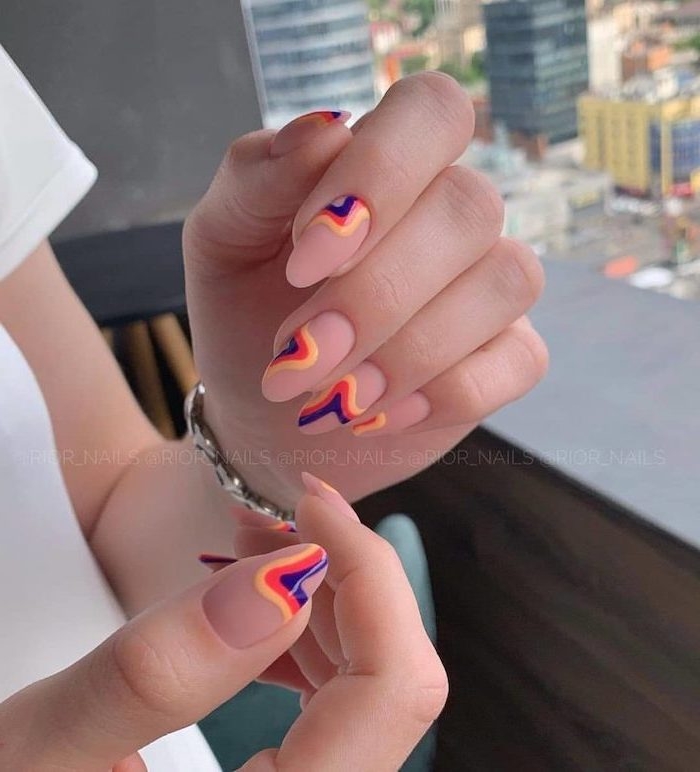
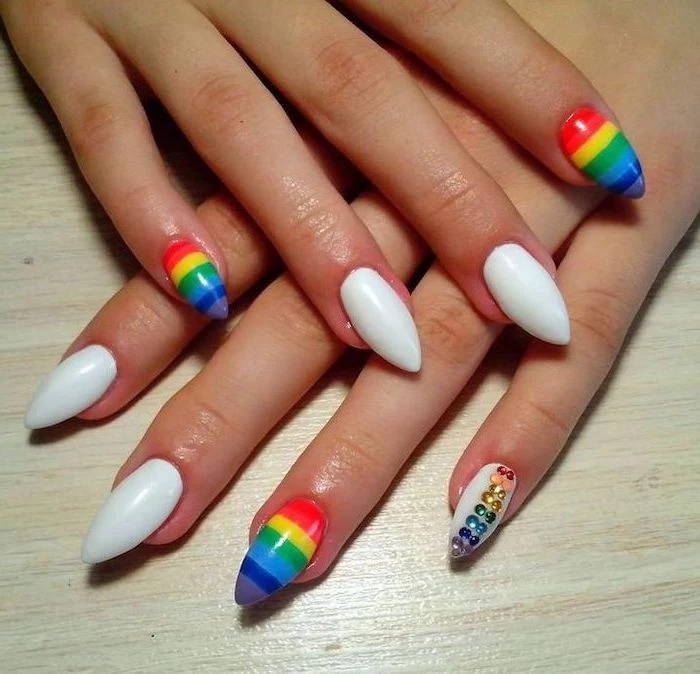
Can you do nail art on short nails?
Absolutely! In fact, some designs look even better on shorter nails. Opt for minimalist styles like a micro-French tip, a simple

Ridge-Filling Base Coat: Contains thicker polymers that smooth out any bumps or ridges on the nail surface, creating a perfect canvas. Ideal for mature or damaged nails. Orly’s


A deficiency in biotin (Vitamin B7) is often linked to brittle nails.
While topical treatments are crucial, true nail health starts from within. Foods rich in biotin, such as eggs, almonds, salmon, and avocados, can help strengthen the keratin structure of your nails over time. Think of it as building a stronger foundation from the inside out.

- It prevents bubbles from forming in the polish.
- It allows each layer to cure properly, creating a stronger bond.
- It ultimately leads to a manicure that is more durable and less prone to smudges.
The secret? Patience. Waiting at least two full minutes between each coat—base, color, and top coat—is non-negotiable for a salon-quality finish.


A manicure can be more than just nail color; it’s a ritual of self-care. Set aside time, put on some music, and focus on the small, precise movements. The act of carefully painting your own nails can be a meditative practice, a moment of quiet focus in a busy week that leaves you with a beautiful, confidence-boosting result.


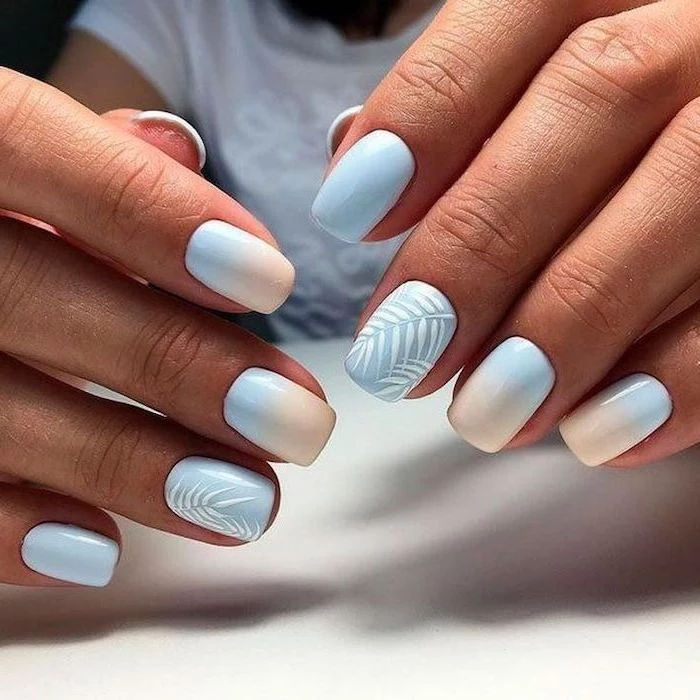
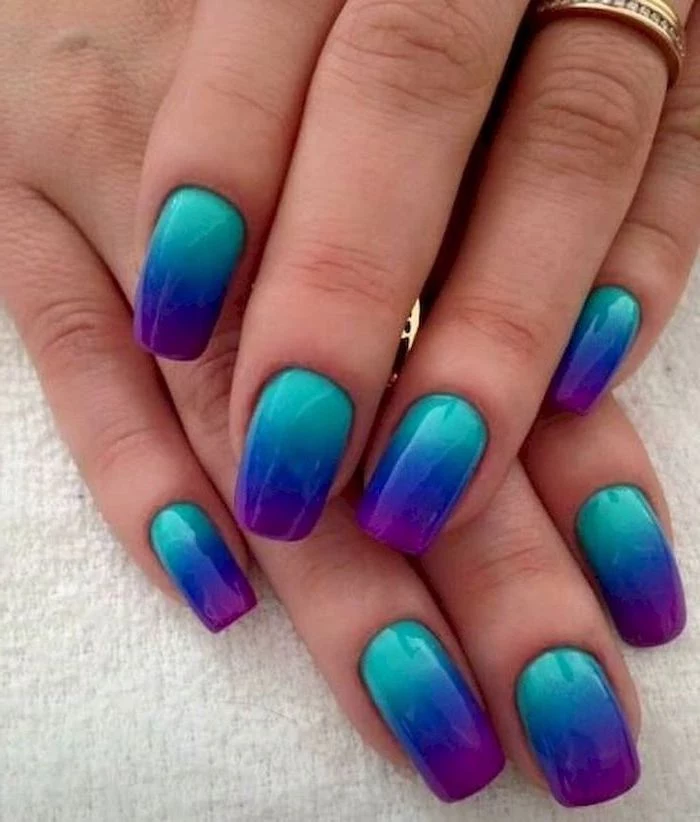
- Paint a base color and let it dry completely.
- Choose a contrasting color. Wipe almost all the polish off the brush on the neck of the bottle.
- Lightly and quickly swipe the


Stop shaking, start rolling: Vigorously shaking a bottle of nail polish creates air bubbles that get trapped in the formula. These bubbles lead to a bumpy, uneven application and can even cause chips later on. Instead, gently roll the bottle between your palms to mix the pigments.

Many modern nail polishes are

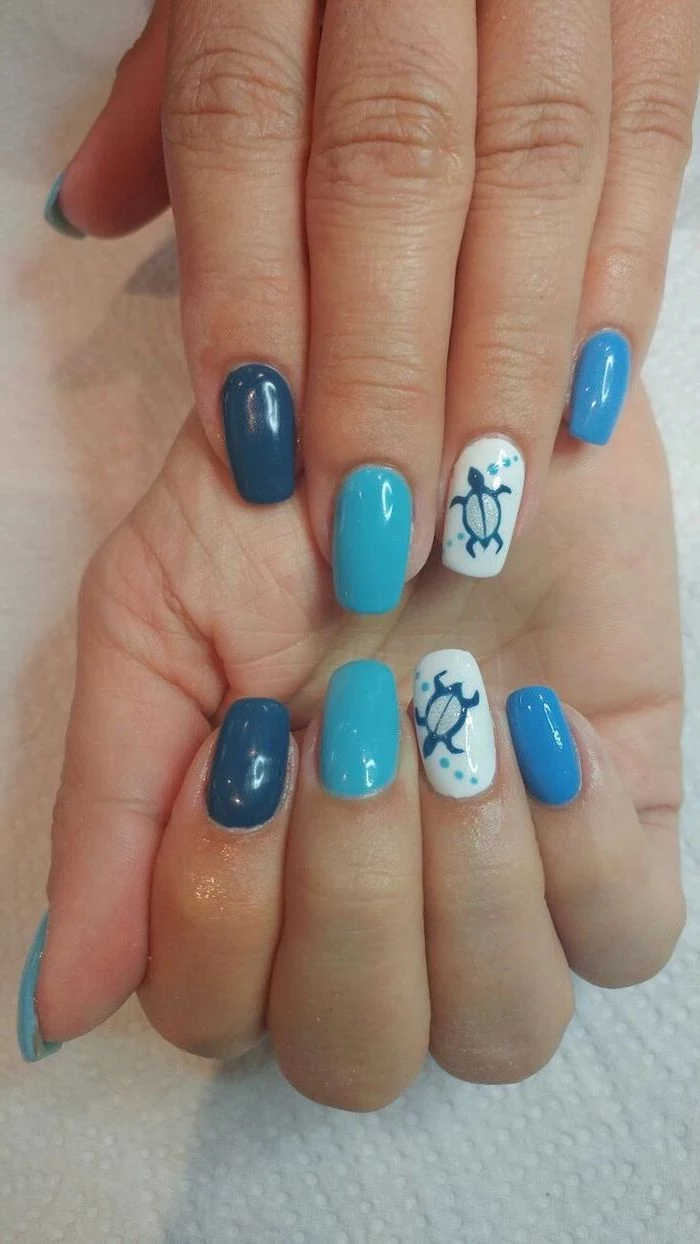
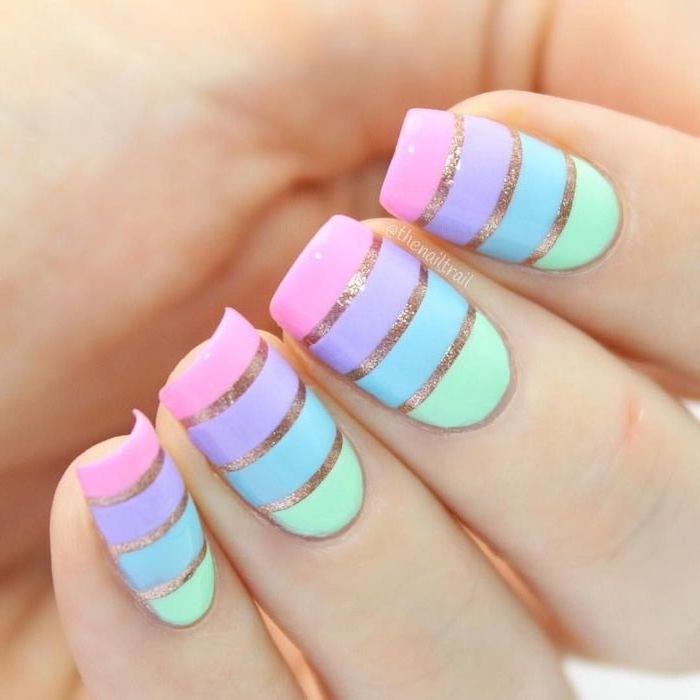
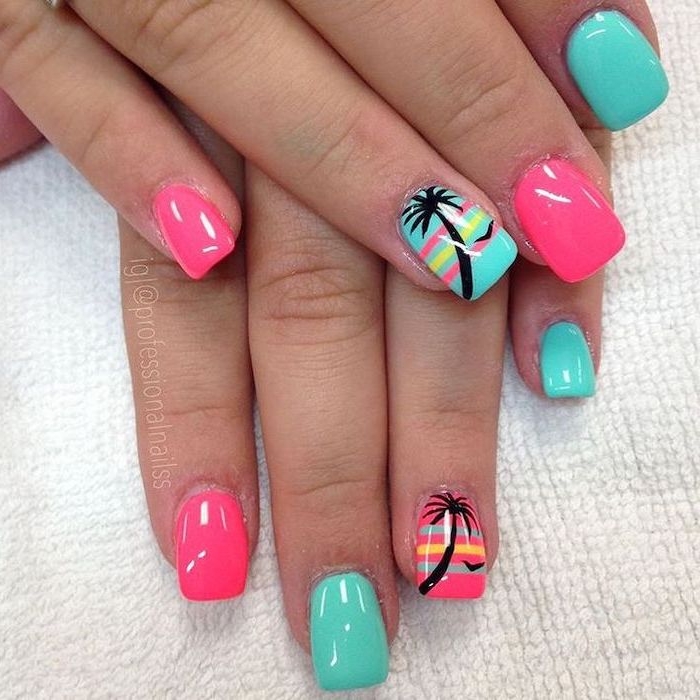
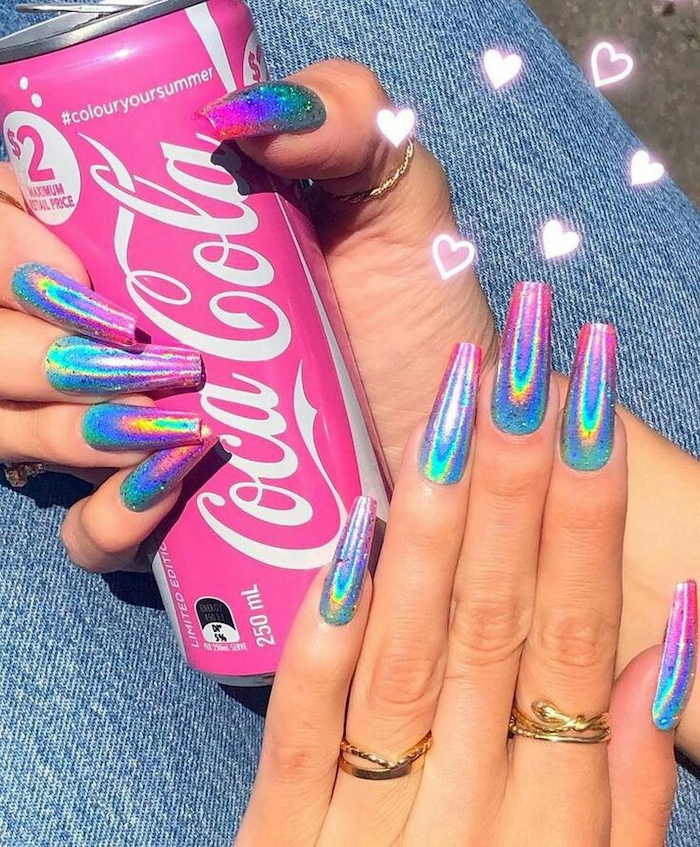
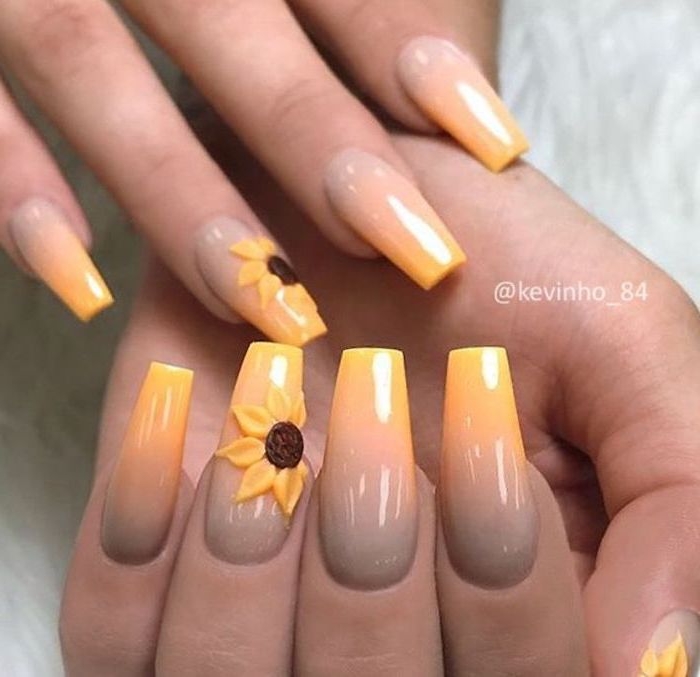
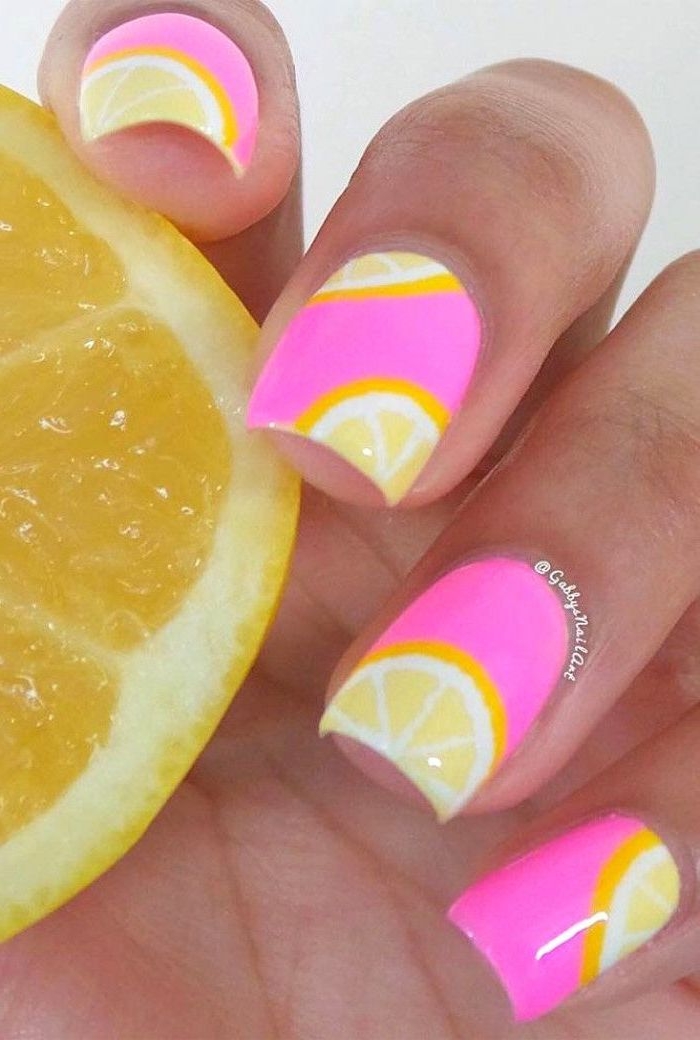
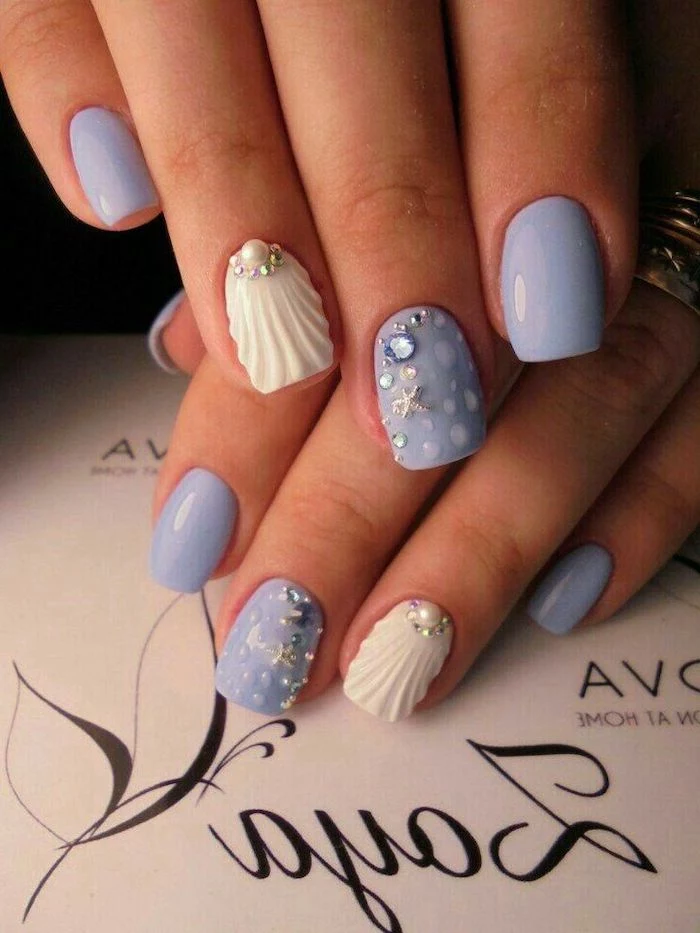
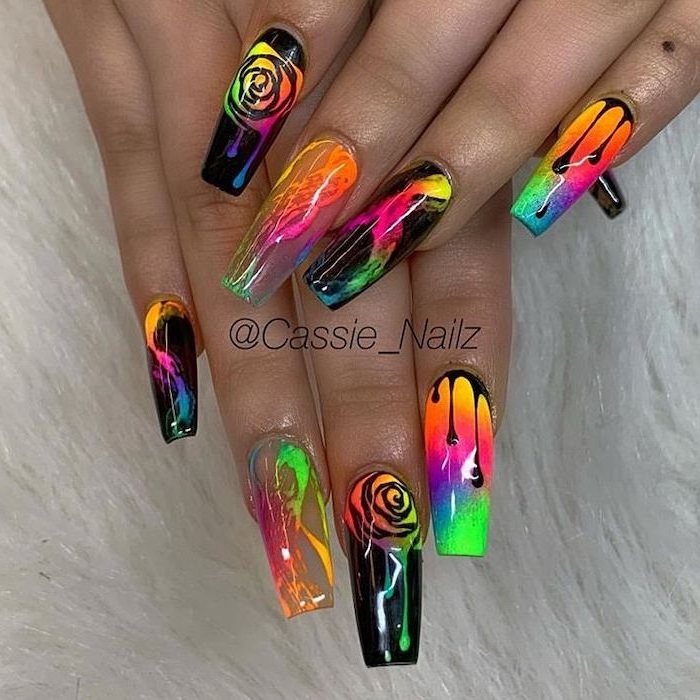
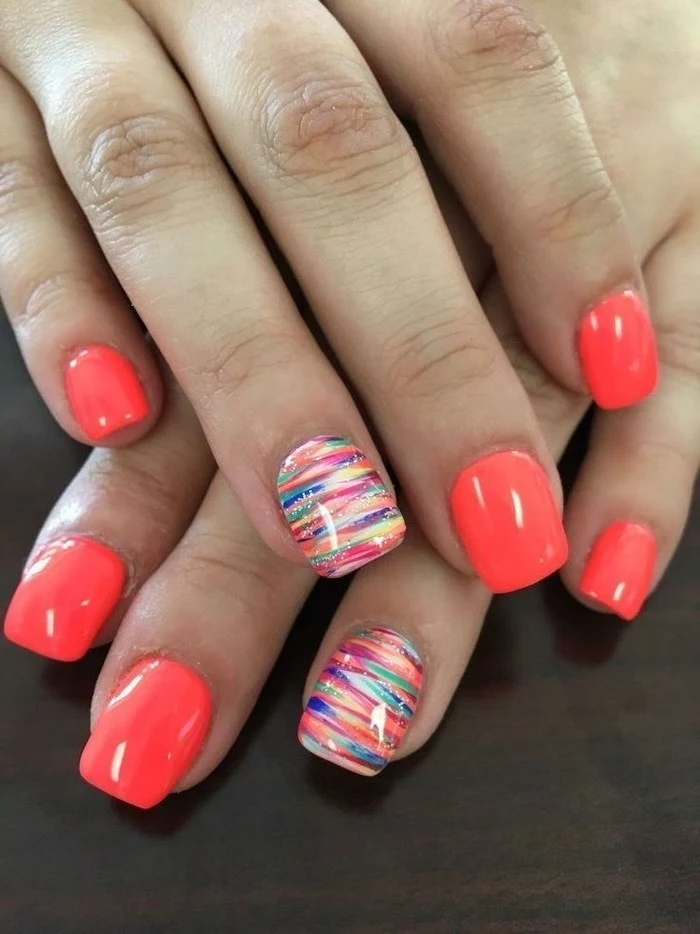
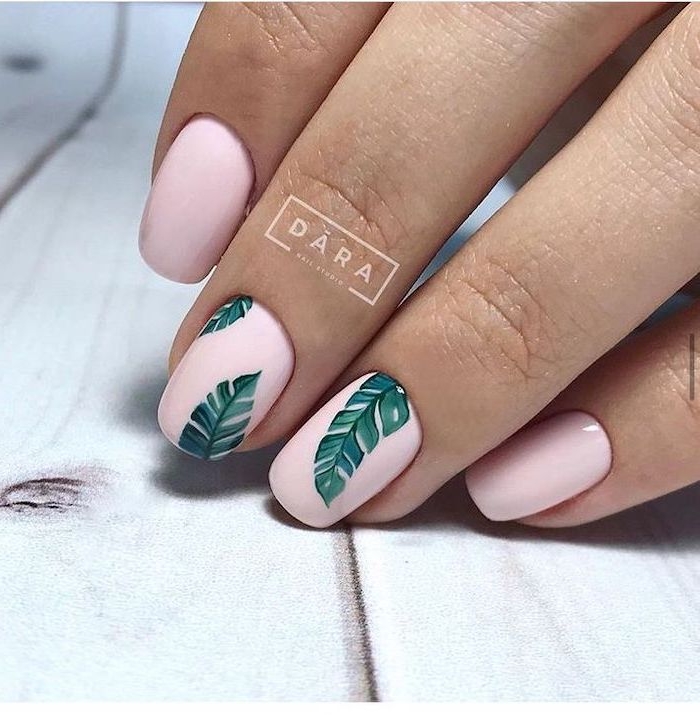
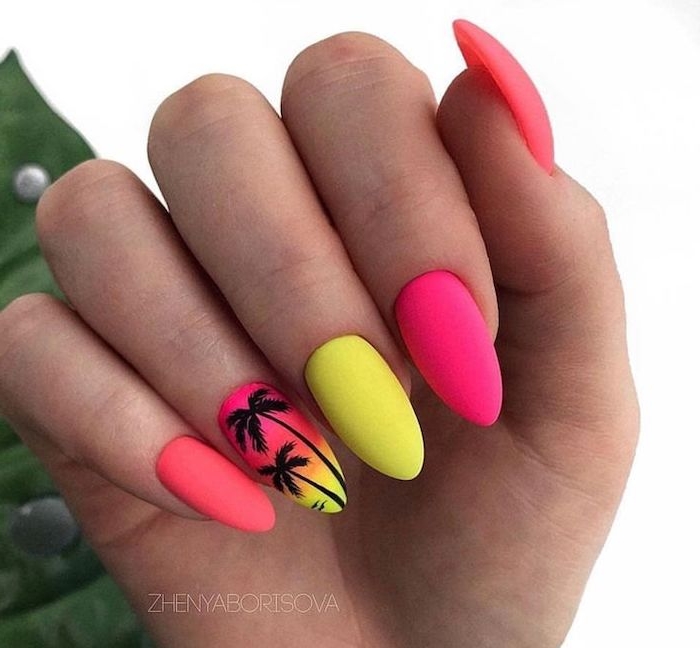
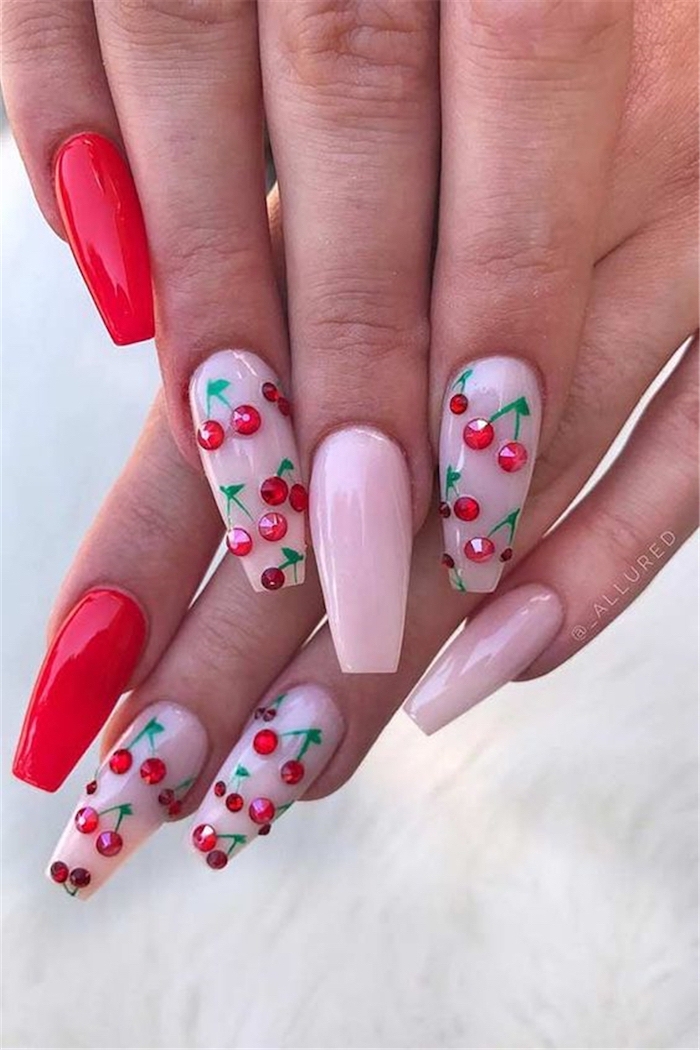
Nail art is a global language. Looking for fresh inspiration?
- Japan: Known for intricate 3D embellishments, elaborate charms, and hyper-detailed


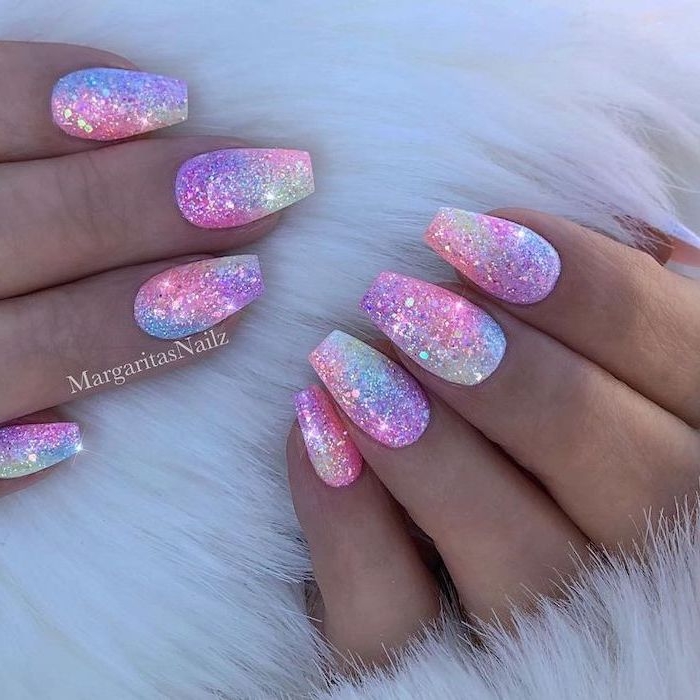
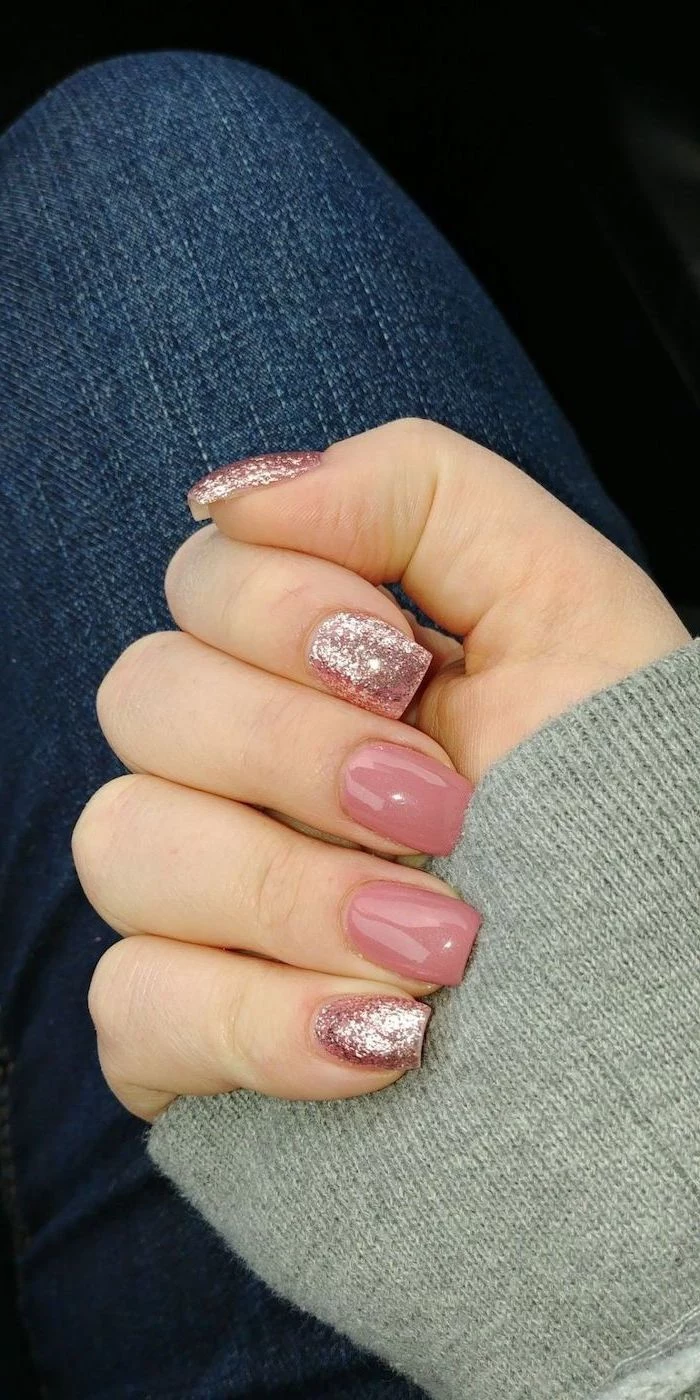
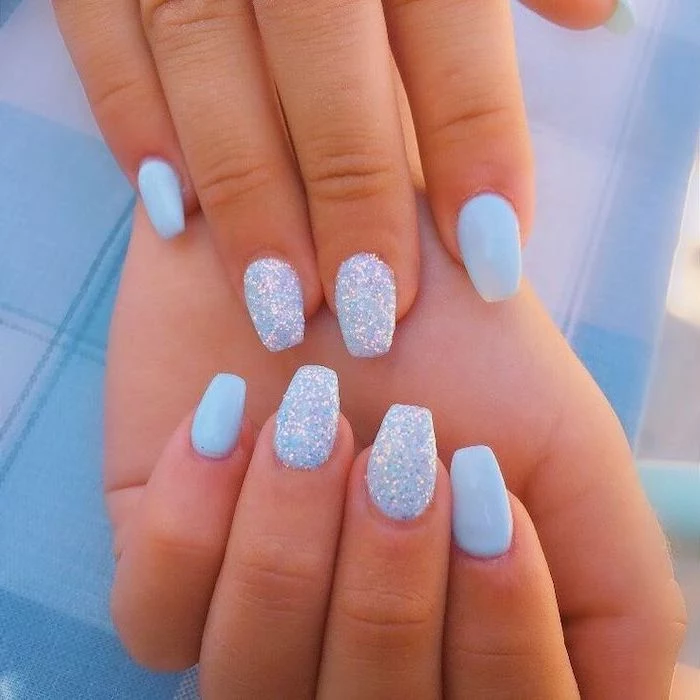
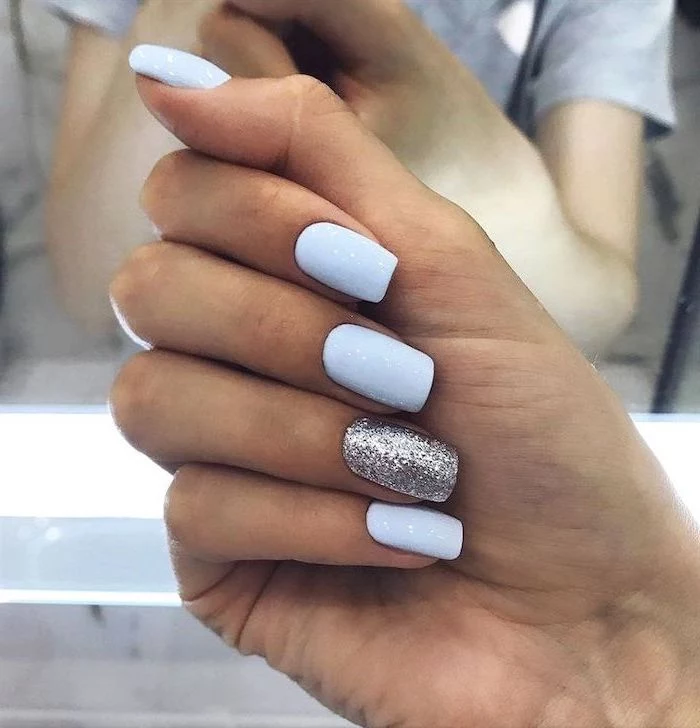
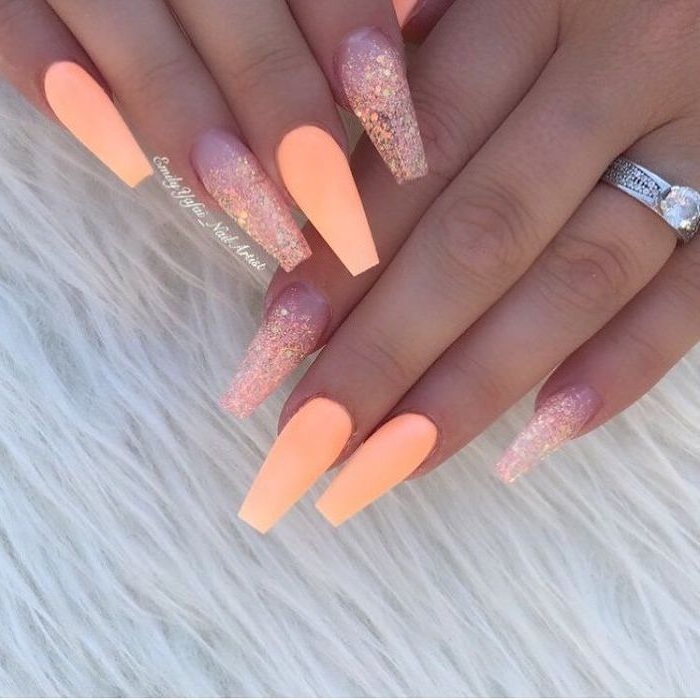
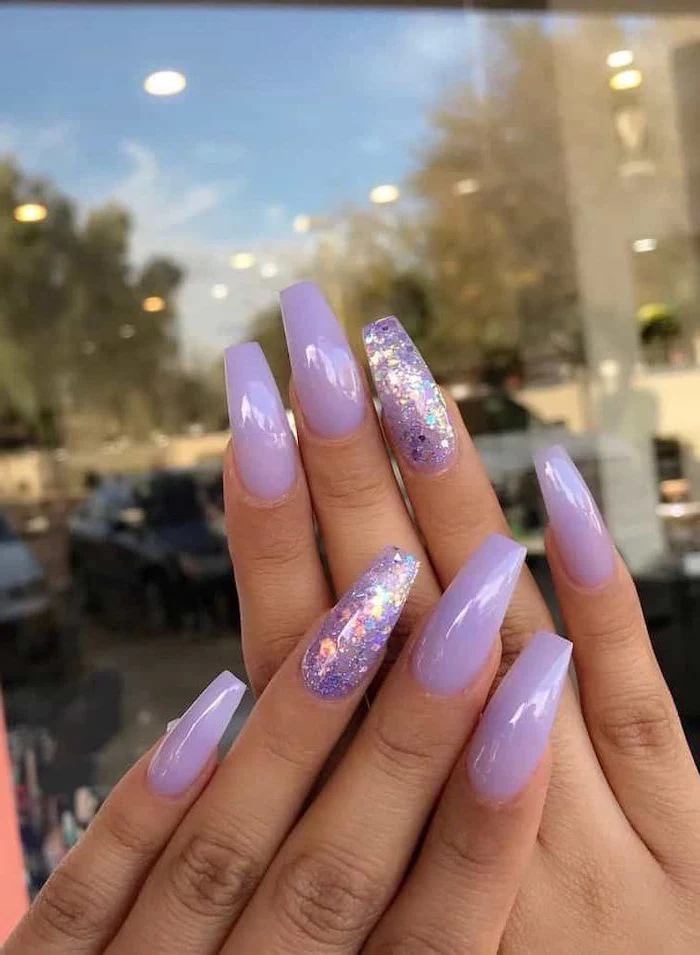
What’s the best way to remove stubborn glitter polish without damaging nails?
Use the foil method. Soak a small piece of a cotton ball in pure acetone, place it on your nail, and wrap your fingertip tightly in a small square of aluminum foil. Let it sit for 5-10 minutes. The foil traps heat and allows the acetone to work its magic. When you unwrap it, the glitter polish should slide right off with the cotton.

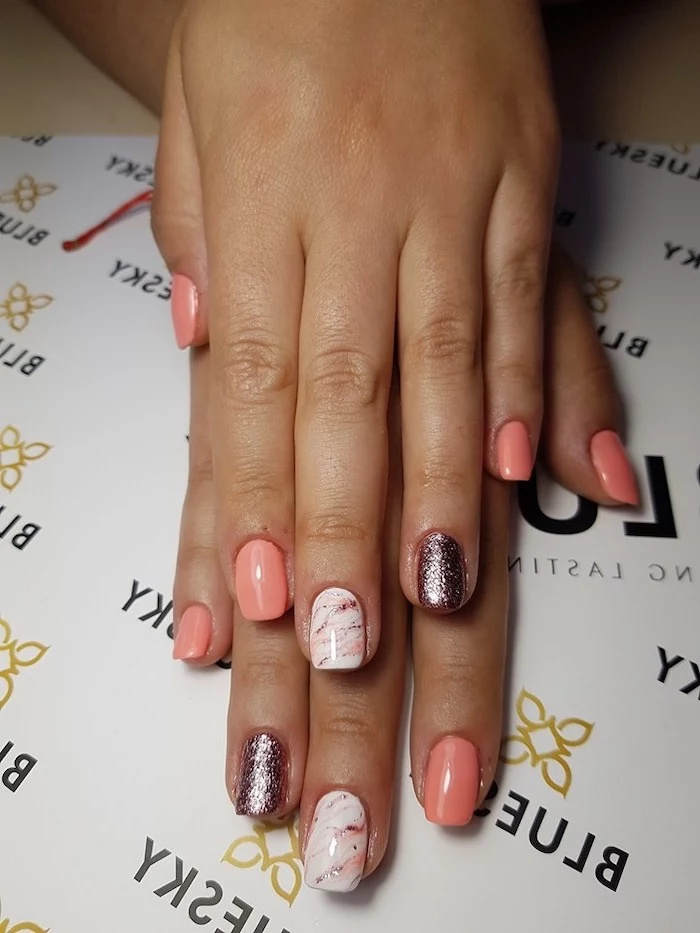
Square/Squoval: This shape has sharp or slightly rounded corners that are more prone to snagging and breaking, especially for those who work with their hands.
Round/Almond: By following the natural curve of the fingertip, these shapes have no sharp corners to catch on things. They distribute impact more evenly, making them inherently stronger and more durable for everyday life.
For maximum longevity, a shape that mirrors your cuticle line is often the best choice.
- Japan: Known for intricate 3D embellishments, elaborate charms, and hyper-detailed
- Fair Skin: Look for nudes with a hint of soft pink, like Essie’s