The Real Deal on Microneedling: What It Costs, How It Feels, and If It’s Worth It
I’ve been a licensed esthetician for a long time, and let’s just say I’ve seen skincare fads come and go. But every so often, a treatment comes along that isn’t just hype—it genuinely works. For me, that’s microneedling. I’ve done this treatment on thousands of faces, from people wanting to fade old acne scars to those looking to soften the lines that life has given them.
In this article
- So, How Does This Actually Work?
- Pro Tools & Techniques: Why You Can’t DIY This
- Let’s Talk Money: Budgeting for Microneedling
- The Full Experience: From First Chat to Final Glow
- How Does Microneedling Compare to Other Stuff?
- Beyond the Face: Scars, Stretch Marks, and More
- The Final Word: A Marathon, Not a Sprint
- Galerie d’inspiration
My goal here isn’t to sell you on it. It’s to pull back the curtain and give you the honest-to-goodness information I share with my own clients. Social media loves a dramatic before-and-after, but it rarely shows the meticulous process behind the results. We’re going to skip the hype and get right into what’s happening to your skin, the difference between pro tools and those scary home-rollers, and what you can realistically expect.
So, How Does This Actually Work?
To really get microneedling, you have to think beyond the needles. The fancy name for it is Collagen Induction Therapy, and that name nails it. We’re essentially creating a controlled injury to signal your body’s amazing internal repair crew to get to work. It’s a natural process that happens in three stages.
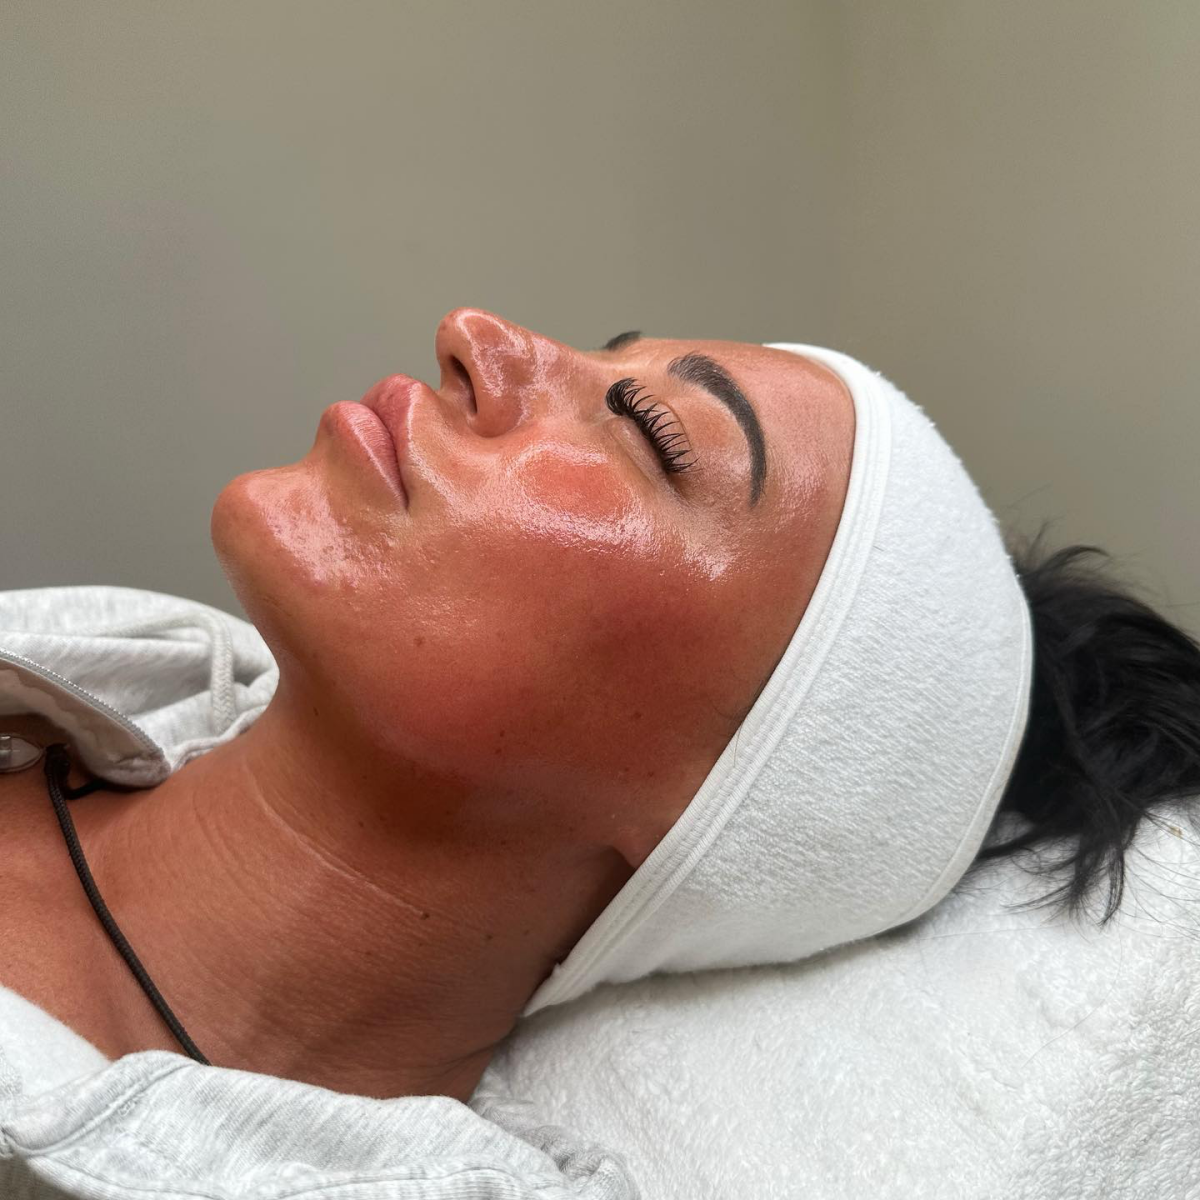
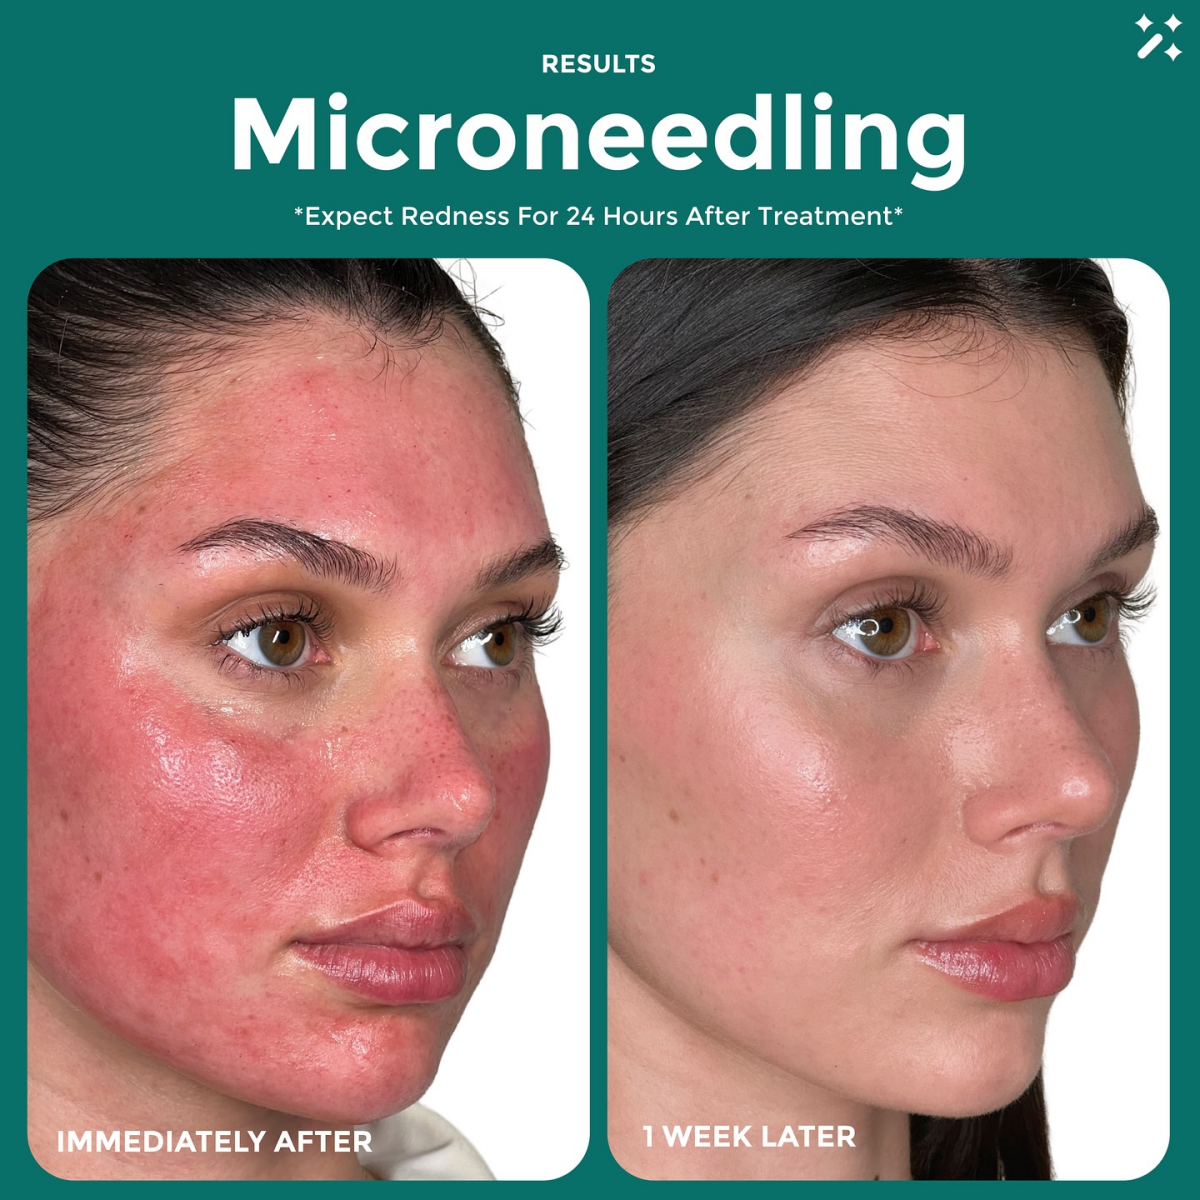
First, there’s the Inflammation Phase (lasts about 1-3 days). As the super-fine needles create tiny channels in your skin, your body goes, “Whoa, something’s happening here!” It sends increased blood flow to the area, which is why your skin looks red and feels warm, kind of like a mild sunburn. This is the starting gun for the whole process.
Next up is the Proliferation Phase (from day 3 to about week 3). This is when the magic really starts. Your body dispatches little cellular construction workers called fibroblasts to the scene. These guys are collagen-making machines, and they start spinning up new, fresh collagen and elastin. This is what gives you that initial plump, smooth look in the first few weeks.
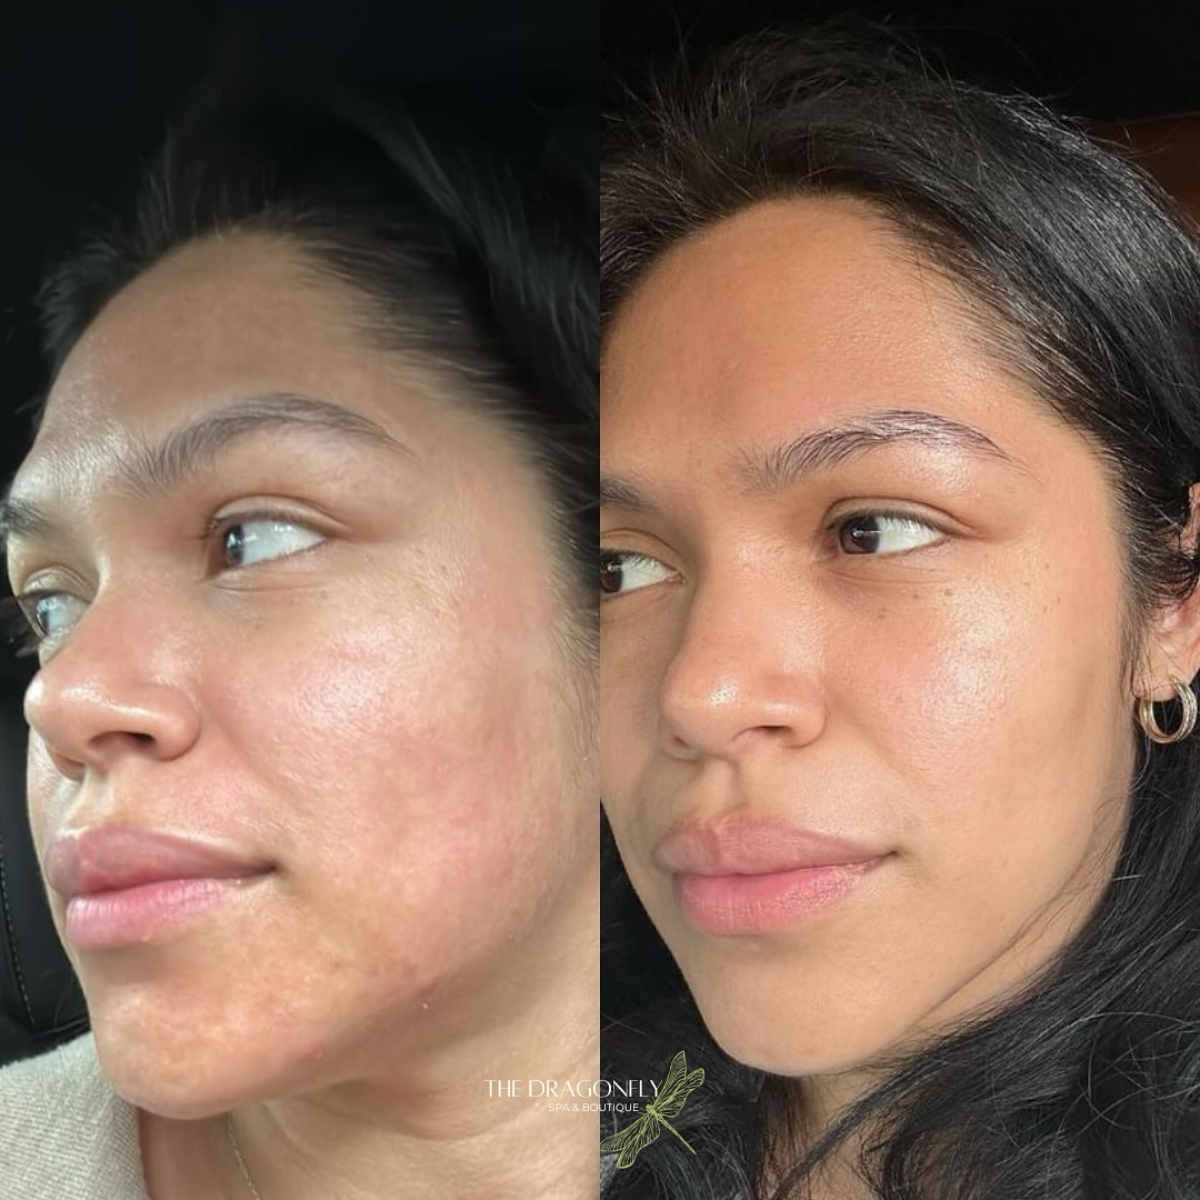
And finally, the most important part: the Remodeling Phase (starting around week 3 and lasting 6 months or more). That new collagen gets reorganized and strengthened into a more durable, supportive structure. This is the slow and steady work that truly tightens skin, breaks down old scar tissue, and fills in fine lines from underneath. It’s why your best results often show up months after your treatment.
Good to know: That final remodeling phase can actually continue for up to a YEAR after your final treatment. Seriously. The new collagen is like a gift that keeps on giving, long after you’ve left the clinic.
Pro Tools & Techniques: Why You Can’t DIY This
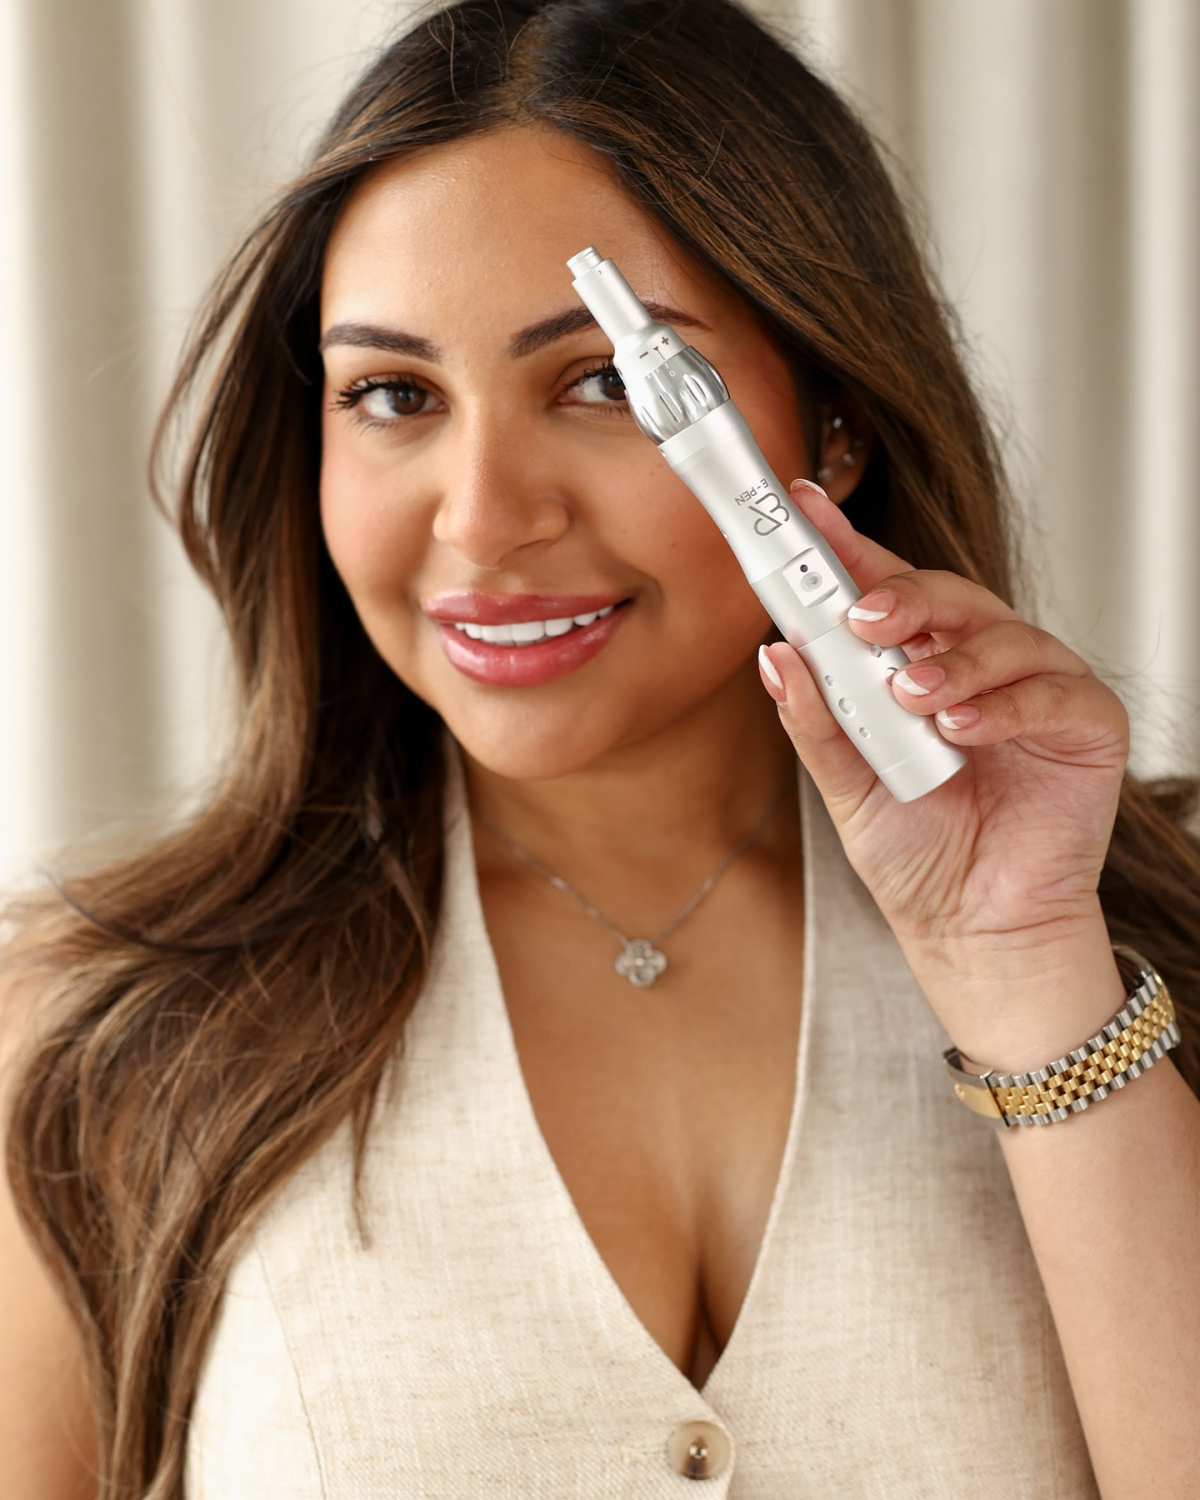
Let’s be real for a second. The difference between a great result and a disaster is all in the technique and the tool. In any reputable clinic, we use professional microneedling pens. These are not the same as those manual dermal rollers you see online.
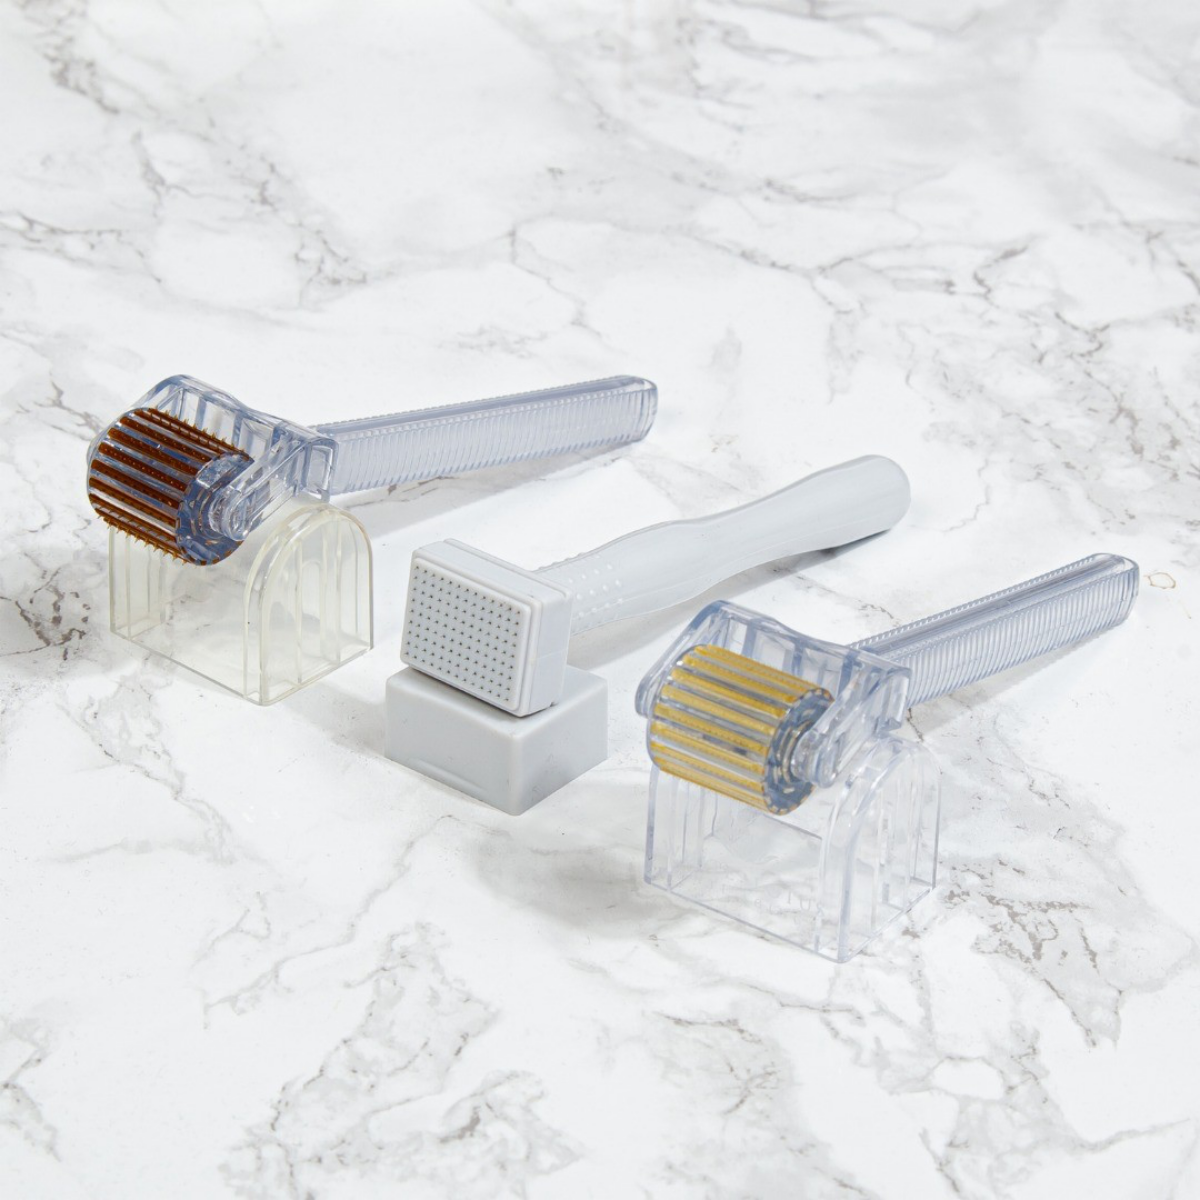
A pro pen uses a sterile, single-use needle cartridge that moves in and out vertically at an incredibly high speed. This creates clean micro-channels. A roller, on the other hand, has needles that enter and exit the skin at an angle, which can literally tear the skin, leading to more damage, potential scarring, and a much higher risk of infection. I’ve personally had to help clients fix track-like marks and pigmentation caused by a cheap roller they bought online. It’s just not worth the risk.
Another key is that a pro can adjust the needle depth. Your face isn’t a uniform canvas!
- Delicate Areas: Around the eyes and lips, the skin is super thin. We use a very shallow depth (think 0.25 mm) just to boost product absorption and gently stimulate the tissue.
- Foreheads: This skin is also thin and sits right over bone, so a depth of 0.25 mm to 0.5 mm is usually perfect for texture and fine lines.
- Cheeks: For general rejuvenation on the cheeks, we can go a bit deeper, from 0.5 mm to 1.5 mm, to really get that collagen engine revving.
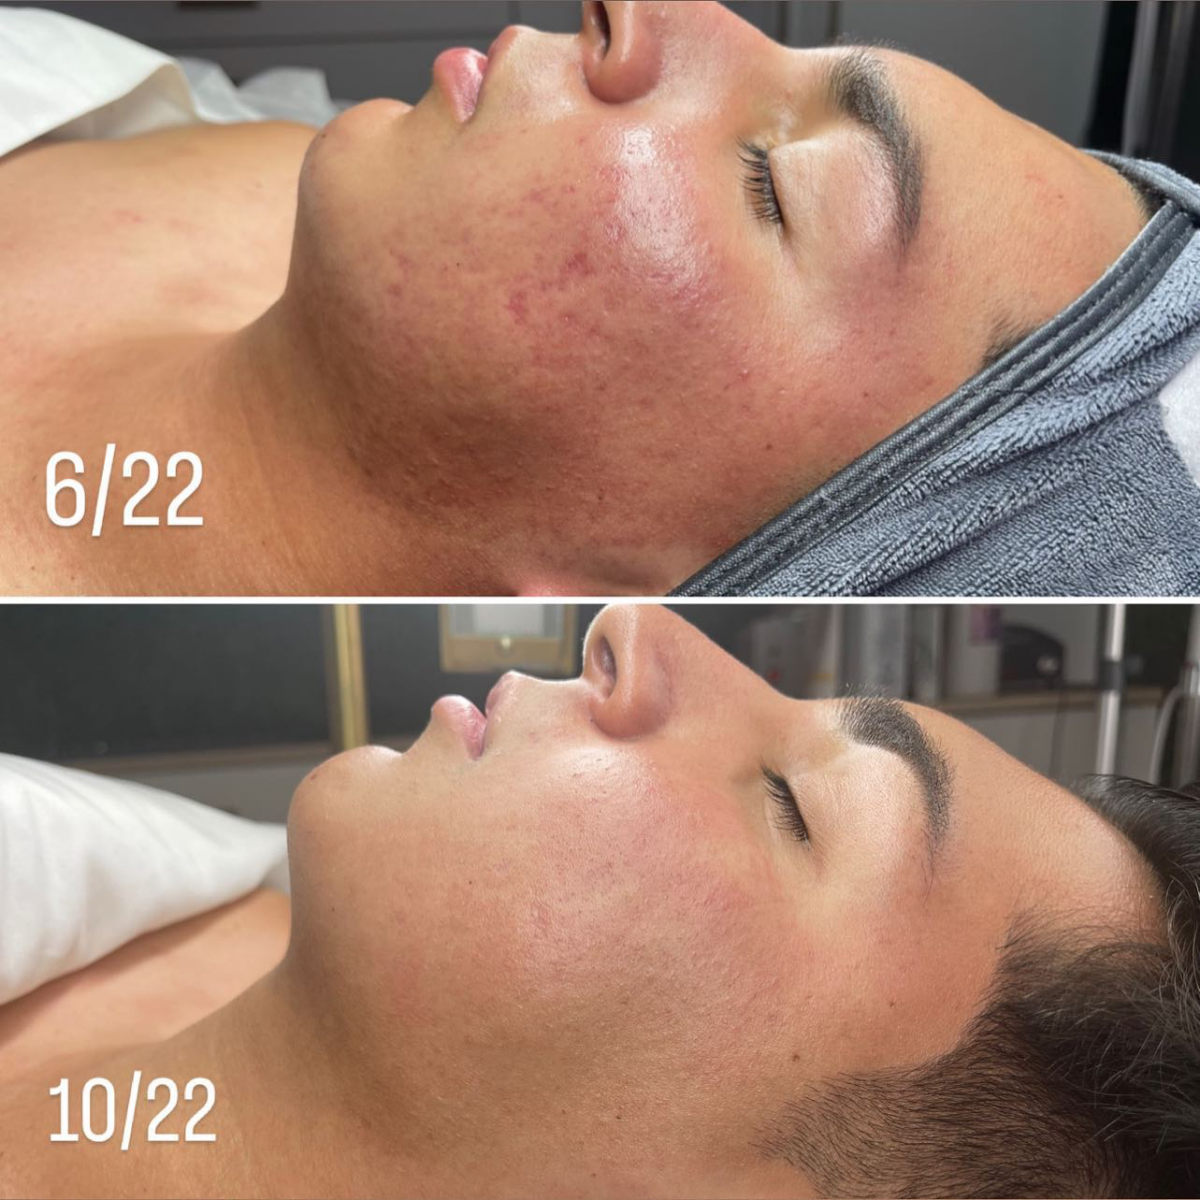
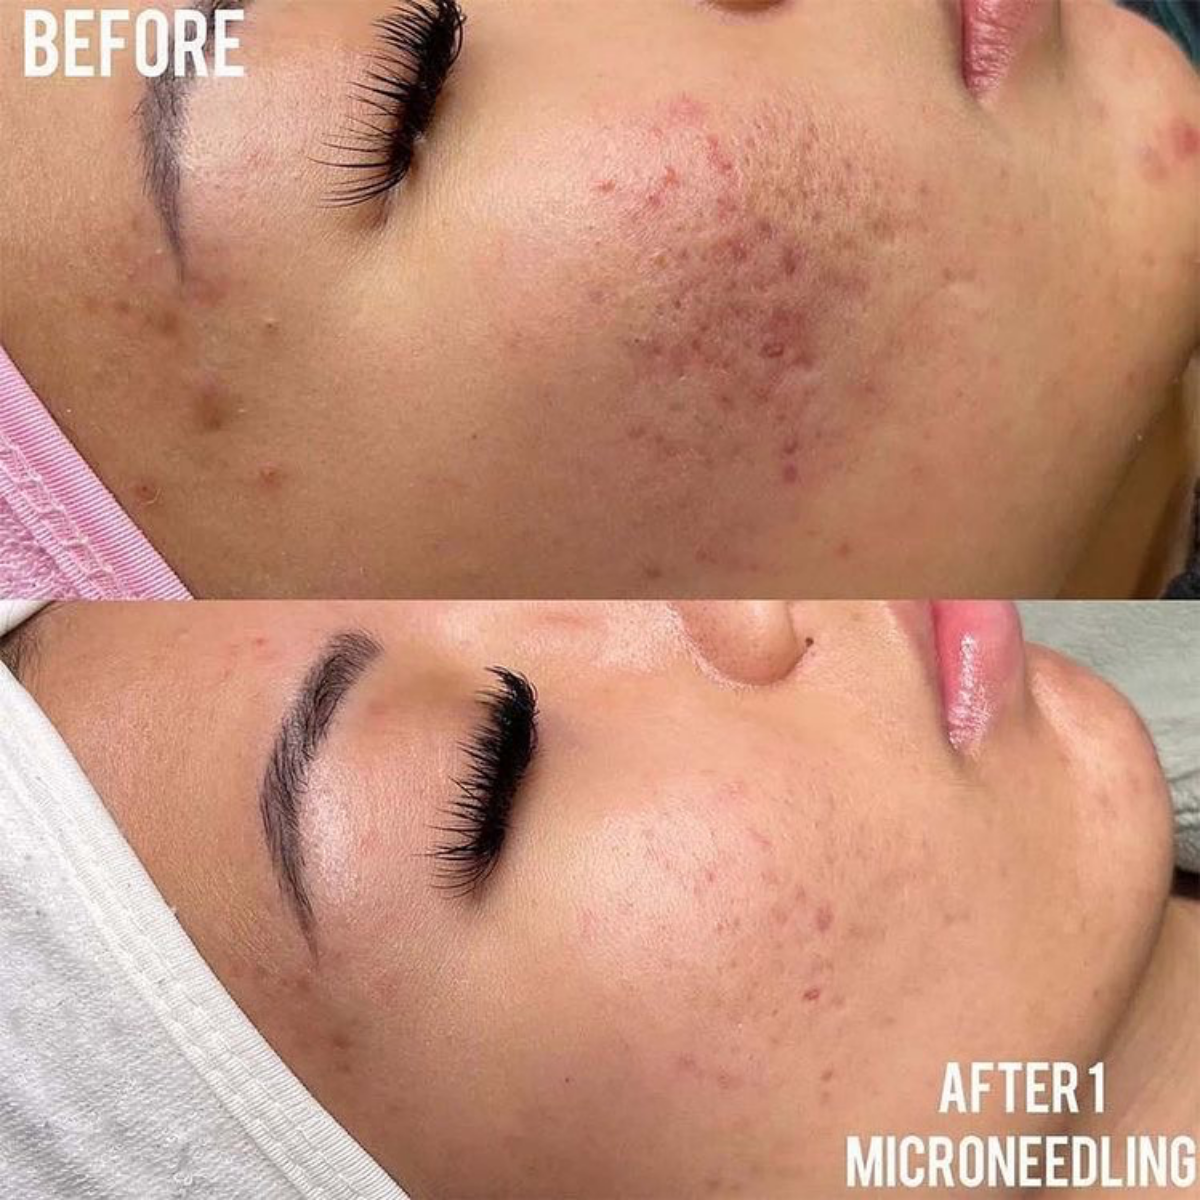
- Acne Scars: To break up the tough, fibrous tissue in depressed acne scars, we have to go deeper, often between 1.5 mm and 2.5 mm, targeting the scar directly.
Let’s Talk Money: Budgeting for Microneedling
Okay, this is the question everyone has but is sometimes afraid to ask. What’s this going to cost? Prices vary a lot based on where you live and the clinic’s experience, but here’s a realistic ballpark to help you plan.
For a standard facial microneedling session, you can expect to pay anywhere from $300 to $700. Most clinics offer a discount if you buy a package of three or more, often saving you about 15-20%, so it’s always worth asking.
If you’re looking at more advanced options:
- Adding PRP (Platelet-Rich Plasma): This is the famous “Vampire Facial.” Using your own plasma can boost results, and it typically adds another $200 to $500 to the session cost.
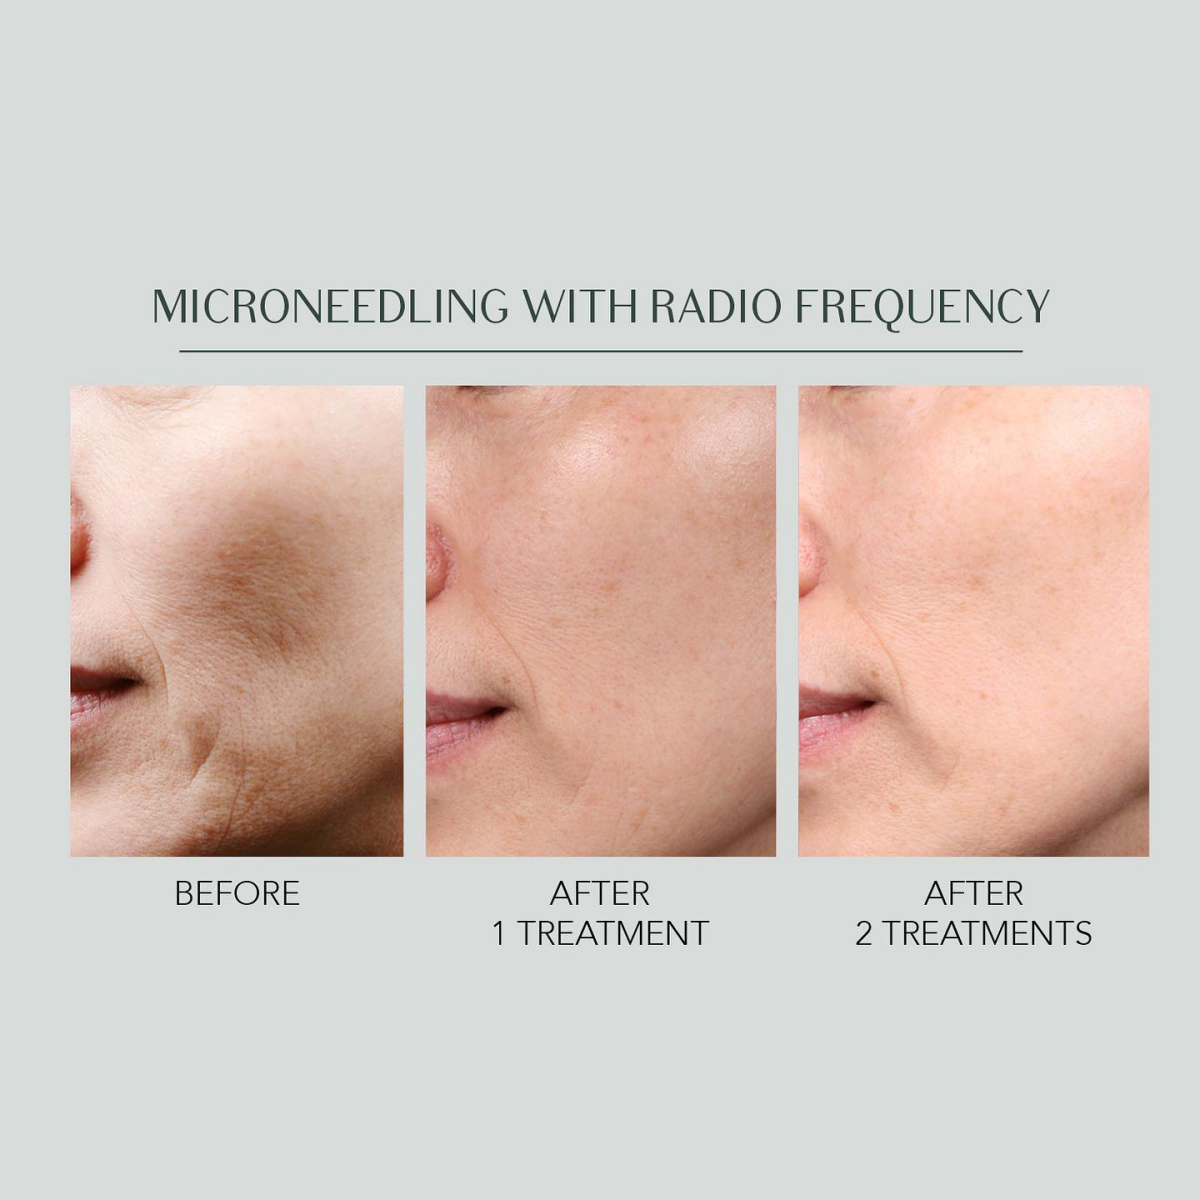
- RF Microneedling: This combines microneedling with radiofrequency heat for serious skin tightening. Because it’s a more intensive treatment with more expensive equipment, sessions usually start around $750 and can go up to $1,500 or more.
The initial consultation is often free or, in many places, the fee (maybe $50-$100) is applied toward your first treatment if you decide to book. Don’t be tempted by super-low prices you see on social media—quality equipment, sterile supplies, and expert training cost money. An unusually cheap price is a major red flag.
The Full Experience: From First Chat to Final Glow
Step 1: The Consultation
This is, without a doubt, the most important step. We’ll go over your medical history, any skin conditions you have, and medications you’re on. We HAVE to talk about things like a history of cold sores or keloid scarring. Most importantly, we talk about your goals. A good provider will set realistic expectations—this isn’t a facelift in a needle.
Step 2: Pre-Treatment Prep
To get the best results and heal faster, you have to prep your skin. For about a week before your appointment, you’ll need to stop using any harsh stuff—that means retinoids, exfoliating acids, and benzoyl peroxide. And, of course, stay out of the sun. Trust me on this one. I once had a client who used a strong retinoid two nights before her session, and her skin was so irritated that her recovery took almost twice as long. Prep is not optional!
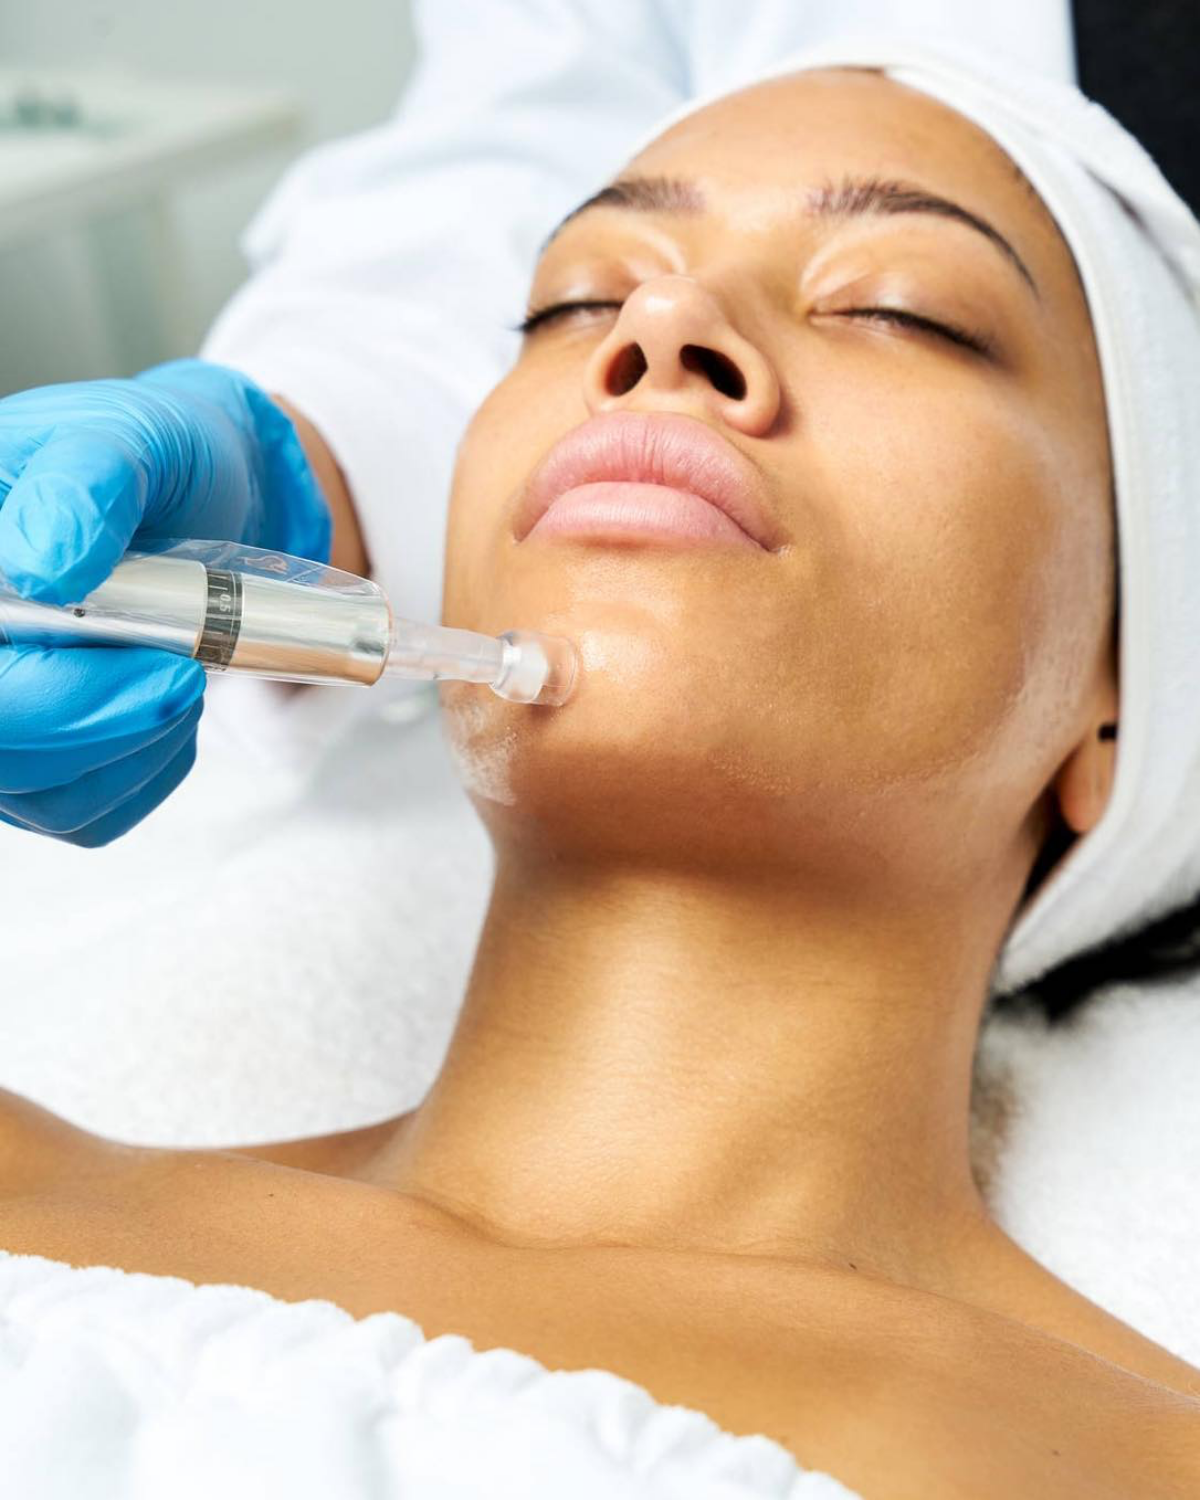
Step 3: The Treatment Session (About an hour)
First, we clean your skin really well and then apply a topical numbing cream. This sits for about 30-45 minutes. Once you’re numb, we clean you up again and get started. I always open the new, sterile needle cartridge right in front of my client.
So what does it feel like? Honestly, with the numbing cream, it’s not bad at all. Most people describe it as a vibrating sensation, like a tiny electric toothbrush moving across the skin. On a pain scale of 1 to 10, most clients put it at a 2 or 3. The forehead and nose can be a bit more sensitive, but it’s over in about 20-30 minutes. After the numbing wears off a few hours later, your face will feel tight, warm, and sensitive, like you got a bit too much sun at the beach. It might throb a little, but it’s more of a discomfort than actual pain.
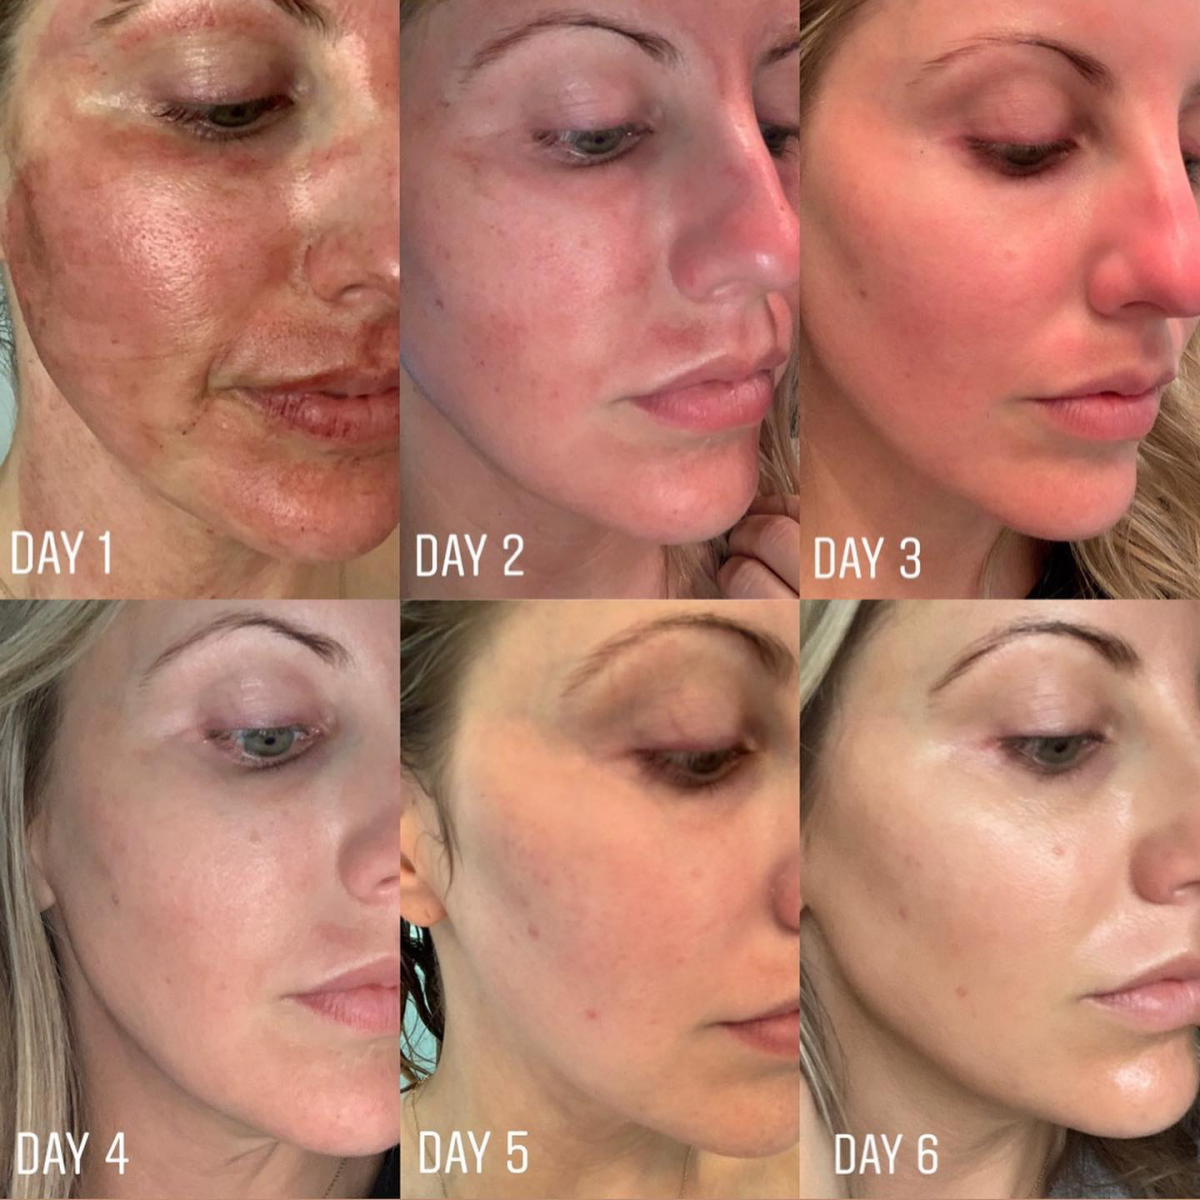
Step 4: The Recovery Zone & Aftercare
What you do for the next few days is critical. For the first 24 hours, just leave your skin alone. No washing, no makeup. Just use the calming serum your provider gives you. Days 2-3, your skin will be pink and feel super dry. You can wash with a gentle cleanser and use a simple moisturizer. By days 4-7, you might get some light flaking—don’t pick at it! Sunscreen (SPF 30+) becomes your new best friend from here on out.
Your Post-Care Shopping List
Don’t get overwhelmed by products. Keep it simple and affordable. You can find everything you need at places like Target, Ulta, or online.
- Gentle Cleanser: Look for something creamy and non-foaming. Think Cetaphil or La Roche-Posay Toleriane Cleanser (around $15).
- Hyaluronic Acid Serum: This gives your skin the hydration it’s craving. The Ordinary or Vichy Mineral 89 are great options and cost between $10 and $30.
- Mineral SPF 30+: A physical/mineral sunscreen is gentler on healing skin. EltaMD and Blue Lizard are fantastic choices (usually $20-$40).
Quick Post-Care FAQ
- What if I get a pimple after my treatment? It can happen as things come to the surface. Whatever you do, DO NOT pop or pick it. Just let it be.
- What if I’m still really red on day 4? Everyone’s skin is different. Some people, especially those with fair or sensitive skin, might stay red a bit longer. As long as it’s improving and doesn’t feel hot or infected, it’s likely normal. But always, always call your practitioner if you’re concerned.
How Does Microneedling Compare to Other Stuff?
People always ask this, so let’s break it down. I won’t give you a confusing chart, just the straight scoop.
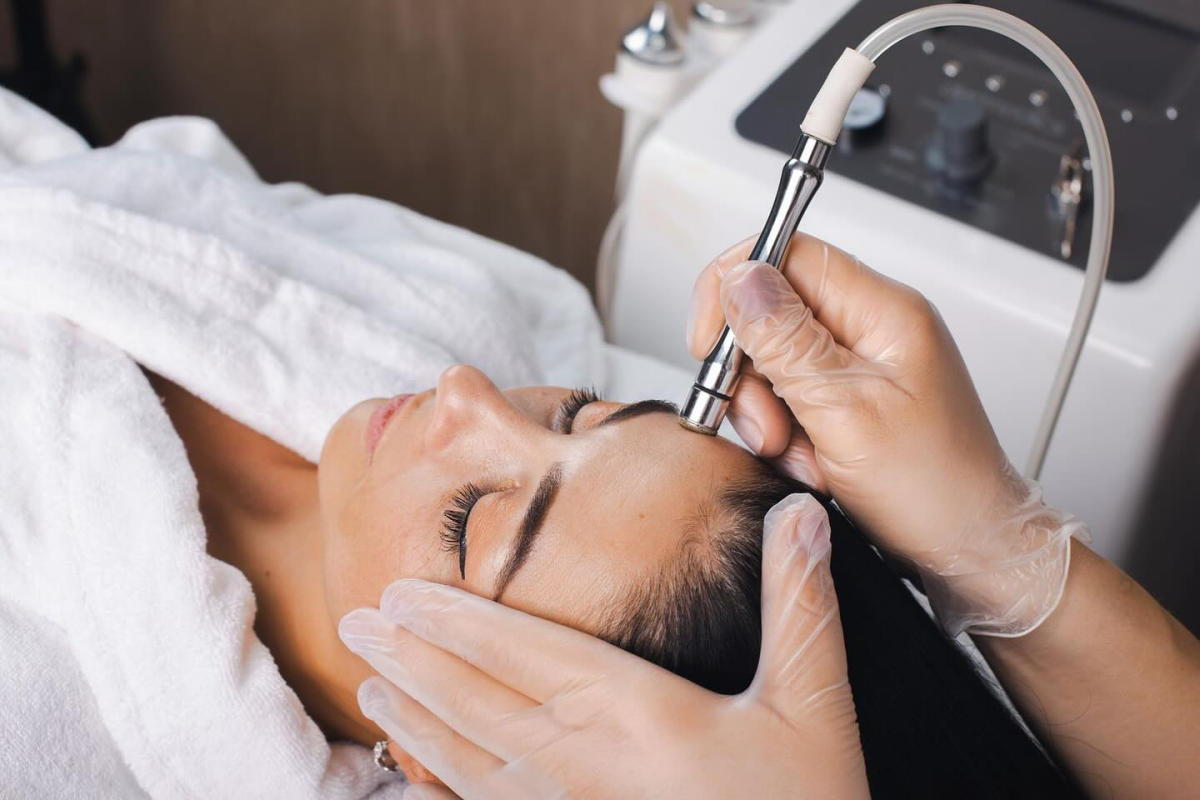
Versus Microdermabrasion: This isn’t even a fair fight. Microdermabrasion is basically a surface-level exfoliation. It’s like polishing your floors. It makes things look shinier for a bit, but it does nothing to rebuild the foundation. Microneedling works way deeper to rebuild that foundation from the ground up. Microdermabrasion is cheaper (maybe $75-$150) with no downtime, but the results are temporary and superficial.
Versus Fractional Lasers: Lasers also create micro-injuries, but they use heat to do it. They can be incredibly effective, especially for deep scars and serious sun damage. The catch? The heat brings a higher risk of pigmentation issues, especially for darker skin tones. Downtime is longer (often a week or more of serious redness and peeling), and the cost is significantly higher, often starting at $1,000+ per session. Microneedling is generally a safer bet for a wider range of skin tones.
Versus Botox: These two are best friends, not competitors! Botox stops the muscles that cause wrinkles from moving. Microneedling fixes the texture and static lines that are already there when your face is at rest. Many clients do both: Botox to prevent new wrinkles and microneedling to repair the overall quality of their skin.
Beyond the Face: Scars, Stretch Marks, and More
Don’t think microneedling is just for faces. I’ve had amazing success treating surgical scars and stretch marks on the body. A while back, I had a client who was incredibly self-conscious about a scar on her knee from an old surgery. She was skeptical, but after a series of treatments, the scar tissue softened and blended so well with the surrounding skin that she wore shorts for the first time in years. It was a huge moment! The skin on the body is thicker, so it often takes more sessions, but the results can be life-changing.
The Final Word: A Marathon, Not a Sprint
Real, lasting change takes time. For most people, I recommend a starting series of 3 to 6 treatments, spaced about 4 to 6 weeks apart. This lets your skin complete its healing cycle before we stimulate it again.
After that, maintenance is key. Most people come in for a top-up session once or twice a year to keep that collagen production humming along. When done safely by a professional who cares, microneedling is one of the most powerful tools we have for helping your skin heal itself and create a healthy, natural, lasting glow.
Galerie d’inspiration
How can I supercharge my microneedling results?
Think of the treatment as laying the foundation; your aftercare is how you build the house. Many clinics offer an upgrade by adding Platelet-Rich Plasma (PRP) to your session. Using your own plasma, rich in growth factors, dramatically accelerates healing and collagen synthesis. At home, support the process with a dedicated routine. Incorporate serums containing peptides and growth factors, like those from SkinCeuticals or Neocutis, to continuously feed your skin what it needs to rebuild. It’s the ultimate way to protect and enhance your investment.

A study published in the Journal of Cutaneous and Aesthetic Surgery found that four microneedling sessions resulted in up to a 400% increase in collagen and elastin deposition six months after treatment.
This isn’t just about a temporary glow. The treatment fundamentally rebuilds your skin’s support structure from within. That impressive statistic translates to tangible, long-lasting firmness, reduced scar depth, and a visible softening of fine lines that develops for months after your final session.

Your skin is beautifully receptive but also vulnerable in the 48 hours post-treatment. Follow these golden rules to ensure a smooth recovery and optimal results:
- Do cleanse gently: Use a mild, soap-free cleanser and lukewarm water. Avoid washcloths or scrubs.
- Do hydrate intensely: This is the time for hyaluronic acid. It will soothe and plump the skin without irritation.
- Don’t use actives: Steer clear of retinoids, vitamin C, and exfoliating acids for at least 3-5 days.
- Don’t sweat it out: Avoid strenuous exercise, saunas, and steam rooms, which can increase inflammation.
Professional Pen: A device like the FDA-cleared SkinPen® uses sterile, single-use needle cartridges. The esthetician has precise control over needle depth (from 0.25mm to 2.5mm), customizing the treatment for delicate areas like under the eyes versus thicker skin on the cheeks.
At-Home Roller: A manual dermaroller has fixed-length needles that enter the skin at an angle, creating tearing micro-injuries rather than clean channels. Sterilization is a major concern, and improper use can easily lead to infection, hyperpigmentation, and even scarring—the very things you’re trying to treat.