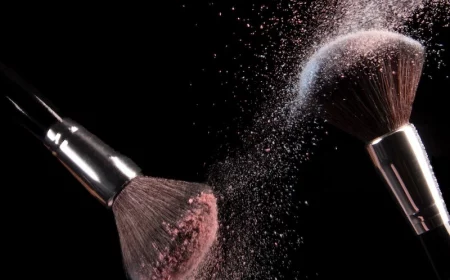
Your Makeup Sponge Is Gross. Here’s How to Actually Clean It.
I’ve spent more than a decade working as a makeup artist, from the chaos of fashion shows to the quiet focus of a wedding day. And through it all, one humble tool has been my secret weapon: the makeup sponge. But let’s be real, this little tool has a dark side. A clean sponge gives you that flawless, airbrushed skin you’re after. A dirty one? It’s a recipe for streaky foundation, wasted product, and, honestly, skin problems.
In this article
So many people I’ve trained start out thinking a quick rinse under the faucet is good enough. It’s one of the first habits we break. Cleaning a makeup sponge isn’t just about getting the old makeup off; it’s about hygiene, performance, and protecting your tools. This is my complete guide to keeping your sponges in top shape, using methods I’ve relied on for years.
What’s Really Going On Inside Your Sponge?
To get why cleaning is such a big deal, you have to know what your sponge is made of. Most of the good ones are a hydrophilic (a fancy word for ‘water-loving’) foam. When you wet it, the tiny open cells fill with water and the sponge puffs up. This is the magic! A damp, swollen sponge stops your expensive foundation from soaking straight into the core. Instead, the makeup sits on the surface, ready to be bounced and blended onto your skin.

But here’s the catch: that brilliant design also makes it a perfect little petri dish. After you use it, your sponge is holding onto moisture, leftover makeup, your skin’s natural oils, and dead skin cells. This warm, damp, and nutrient-rich environment is a dream home for bacteria and mold. Seriously, it’s gross. A dirty sponge can lead to breakouts, irritation, and even skin infections.
Plus, a sponge caked with old, dried makeup gets stiff and scratchy. It soaks up more of your fresh product and applies it unevenly. So, cleaning isn’t just for your skin’s health—it’s the key to making the tool work the way it was meant to.
The Daily Cleanse: Your Non-Negotiable Habit
In the pro world, we clean a sponge after every single use. No exceptions. For your own personal use, I can’t recommend this habit enough. It only takes a minute or two and makes your weekly deep clean way less of a chore.
For this daily wash, a solid cleanser is your best friend. It’s less messy than liquid soap and great for travel. You can buy brand-name solid cleansers, but a simple, gentle bar of soap works just as well. I often reach for a sensitive-skin bar or a natural glycerin-based soap, as they don’t have harsh detergents that can break down the sponge over time.
Here’s the simple process:
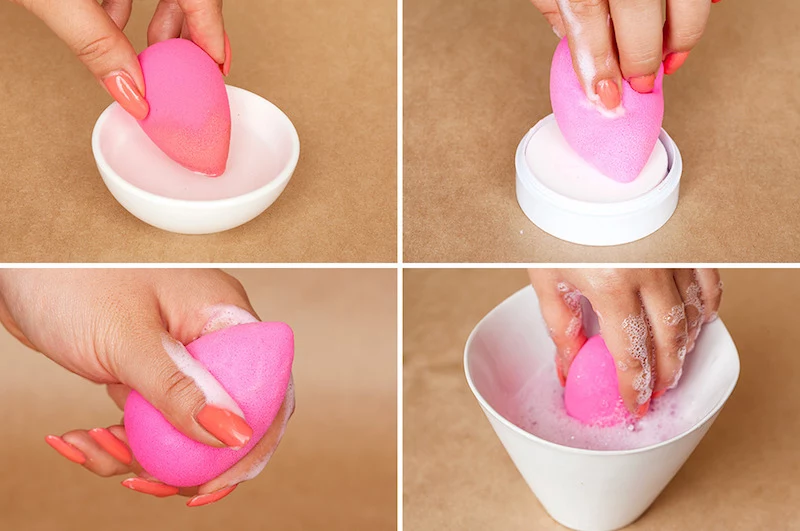
- Get It Soaking Wet: First, hold the sponge under warm running water. Squeeze it a few times until it’s fully expanded. Never use super hot water; it can degrade the material.
- Lather It Up: Rub the damp sponge directly on your solid cleanser or bar soap. You’re looking for a good, rich lather all over, especially on the stained spots.
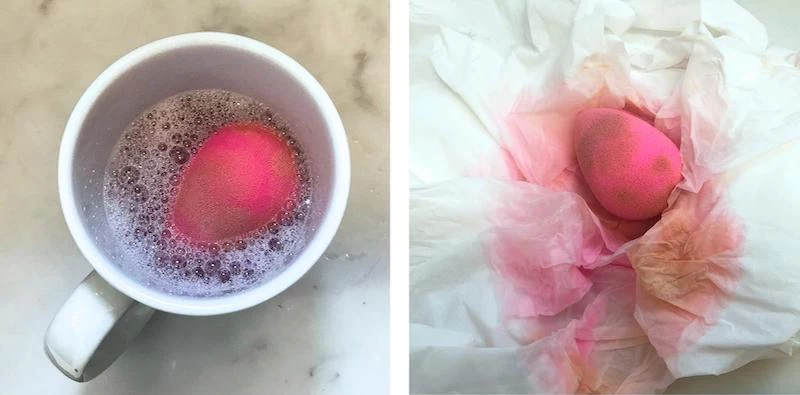
- Massage, Don’t Twist: This is the crucial part. Gently squeeze and massage the lathered sponge in your palm. Roll it around. You’ll see the suds turn the color of your foundation as the makeup lifts out. Be gentle! Twisting or pulling can create tiny tears that will only get bigger.
- Rinse Until Clear: Hold the sponge back under the running water and keep squeezing. The water will run dirty at first. Keep rinsing and squeezing until it runs completely clear. And when you think it’s clean, squeeze it one more time to be sure.
- Squeeze and Dry: Turn off the tap and give the sponge one last firm squeeze to get out as much water as possible. Then, set it out to dry on a clean surface with good airflow. A dedicated sponge stand is great, but a clean paper towel works fine. Whatever you do, DO NOT toss a damp sponge into a makeup bag or drawer. That’s how you get mold.
Time-Saver Hack: I keep a cheap bar of soap in a little soap dish right by my bathroom sink. It’s always there, so I have zero excuse not to give my sponge a quick wash right after I finish my makeup.

The Weekly Deep Clean: Soaking Out the Grime
Even with daily washing, a weekly deep clean is a good idea to tackle stubborn buildup, especially from long-wear or oil-based products. I usually do this on a Sunday night for all my tools.
Which Deep Clean Method Is Right for You?
Not all deep cleans are created equal. Here’s a quick guide:
- The Gentle Soap Soak: This is your go-to for regular weekly maintenance. It’s perfect for sponges that are moderately dirty with water-based or everyday makeup.
- The Oil Pre-Cleanse: This is the heavy-hitter. You’ll want to use this method to rescue a seriously stained sponge or to break down tough, waterproof products.
Method 1: The Gentle Soap Soak
This is a super easy way to loosen up buildup before the main wash.
You’ll just need a small bowl and a gentle liquid soap. A mild, clear dish soap or a natural castile soap is perfect here. The degreasing agents in dish soap are fantastic for breaking down the oils in foundation.

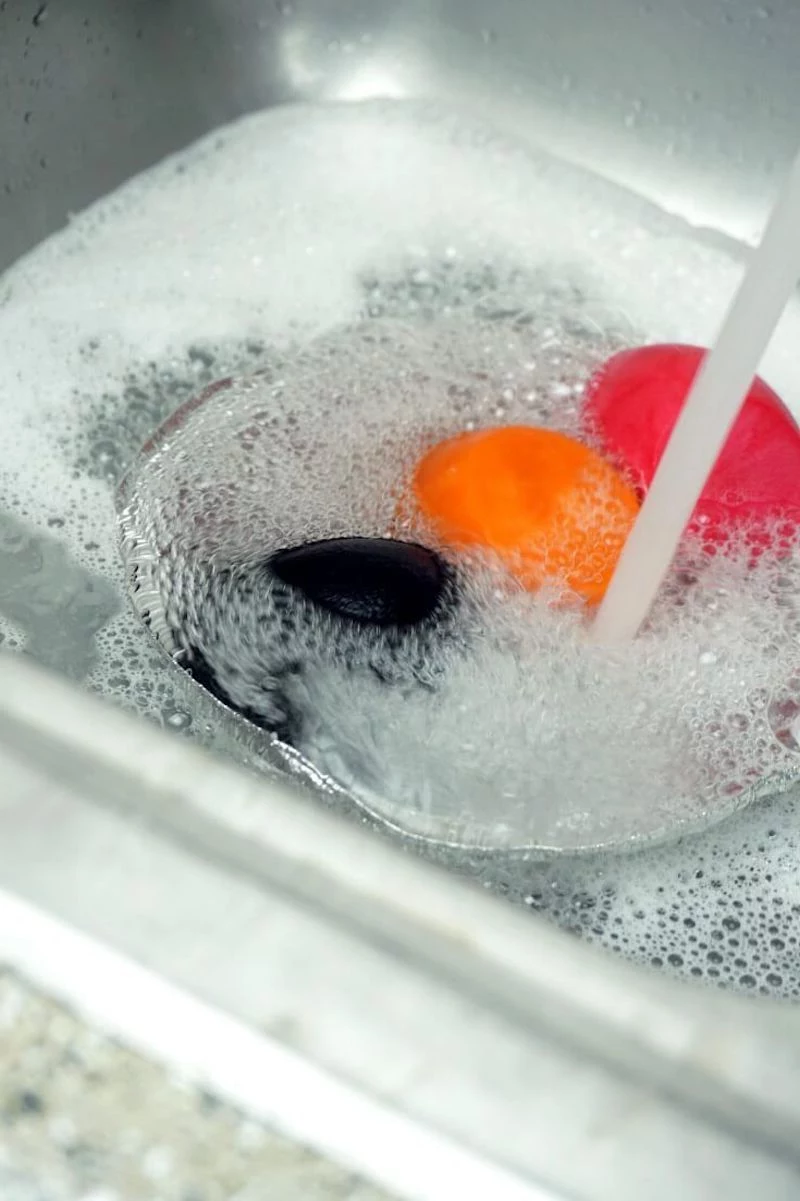
Simply fill a bowl with warm water, add a teaspoon of soap, and drop your sponge in. Give it a few squeezes to help it absorb the soapy water and let it soak for about 30 minutes. You’ll see the water get murky almost immediately! After the soak, just follow the massage-and-rinse steps from the daily cleanse until the water runs clear. Then, squeeze and set it out to dry.
Method 2: The Oil Pre-Cleanse for Stubborn Stains
Okay, this is the trick I pull out for the really tough jobs. It’s the only thing that gets out those super-pigmented liquid blushes or that long-wear foundation that seems to stain on contact. The idea is simple: oil dissolves oil.
For this, you’ll need a bit of oil (baby oil, jojoba oil, or even a basic cleansing oil works) and your regular sponge cleanser.
Start with a completely DRY sponge. Drip a small amount of oil directly onto the worst stains and gently massage it in. You’ll literally see the makeup start to melt and dissolve out of the foam—it’s so satisfying. Once the makeup is broken down, you have to wash the oil out. I find a solid cleanser works best for this. Wet the oily sponge and wash it thoroughly, maybe even twice, until it no longer feels slippery and the water runs clear. Then, as always, squeeze and air dry.
Sanitizing: How to Actually Kill the Germs
Cleaning gets rid of the visible gunk, but sanitizing is what kills the invisible germs. I recommend doing this once a month, or anytime you’ve been sick or dropped your sponge on a questionable surface.
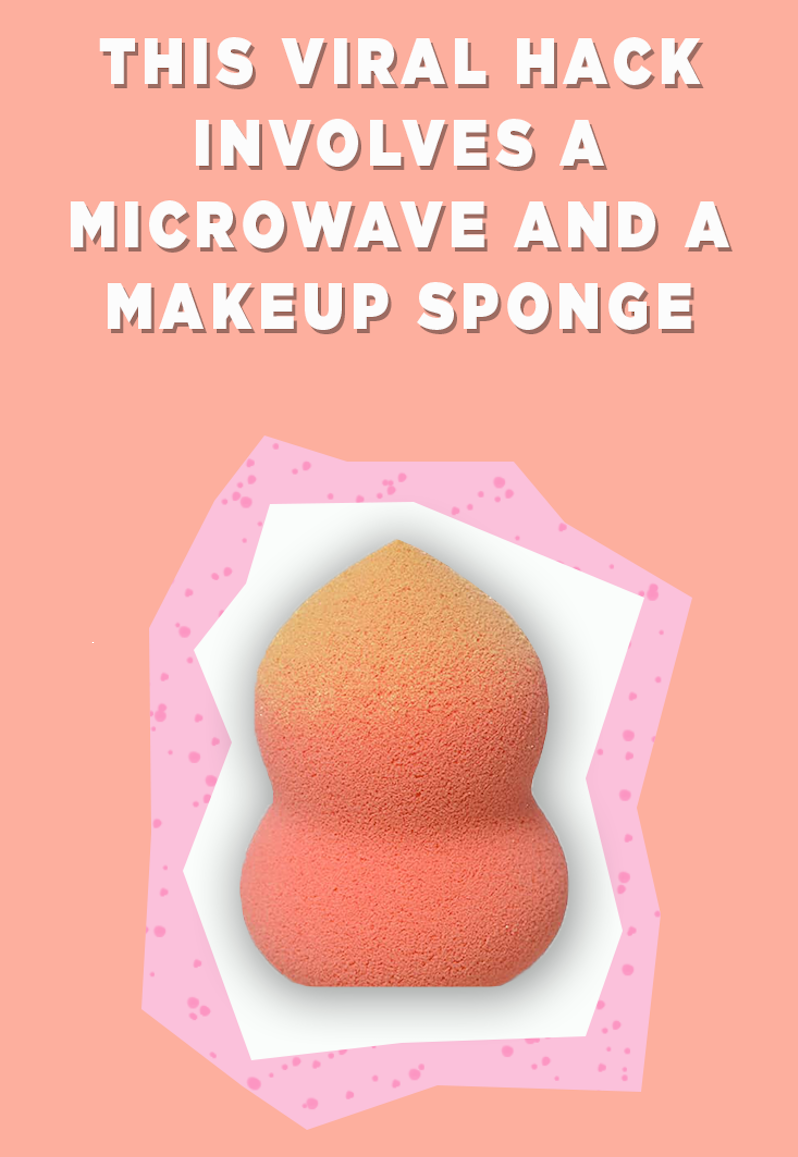
Heads up! The Microwave Method: This works, but you have to be careful. I am not kidding when I say I’ve seen people melt their sponges into a sad, rubbery puddle. The key is to make sure the sponge is completely submerged in water.
Fill a microwave-safe mug or bowl with water, drop your already clean sponge in, and make sure it’s totally underwater. Microwave it on high for exactly 60 seconds. This creates steam that kills the germs. The most important step? Let it COOL DOWN in the microwave for at least 5-10 minutes. The water is boiling hot and can cause serious burns. Once it’s cool enough to handle, carefully take it out, give it a final squeeze, and let it dry.
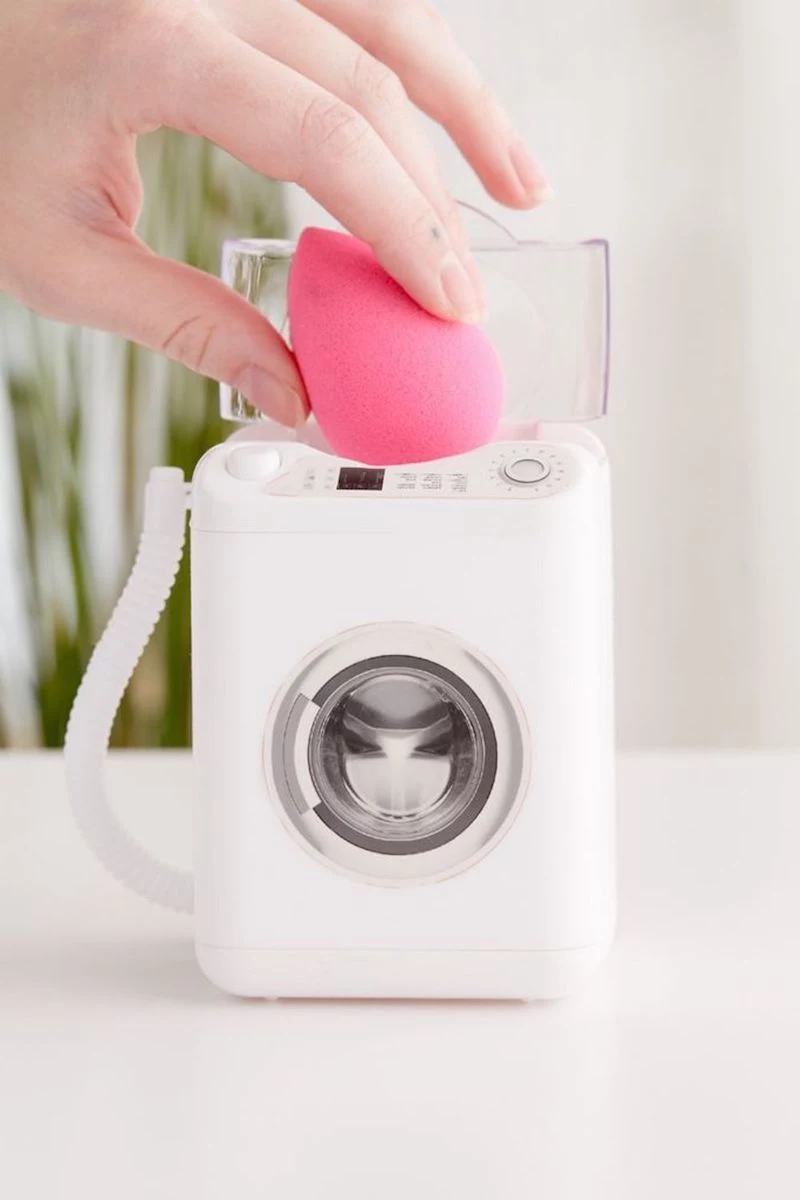
The Washing Machine Method (For Bulk Cleaning): If you have a bunch of sponges to clean, this is a lifesaver. Just toss them all into a small mesh laundry bag, zip it up, and throw it in the wash with a load of towels on a gentle cycle with warm water. Use a small amount of a gentle, fragrance-free detergent. And absolutely no fabric softener! Always let them air dry—the dryer will destroy them.
Your Sponge Cleaning Kit: Splurge vs. Save
You don’t need to spend a fortune to keep your tools clean. It really comes down to preference.
- The Budget-Friendly Kit (Under $10): You can get fantastic results with this. Grab a quality drugstore makeup sponge (about $5-$7) and a bar of gentle, unscented soap (around $1-$2). This setup works perfectly for daily and weekly cleaning.
- The Pro-Level Kit (Around $40-$50): If you want the brand-name experience, you can go for the popular teardrop-shaped sponge (usually about $20) and its matching solid cleanser (another $18-$25). It feels luxurious and works great, but honestly, the results are very similar to the budget method.
Knowing When It’s Time to Say Goodbye
Even the best-cared-for sponge doesn’t last forever. For daily users, plan on replacing it every 3 to 6 months. Here’s what to look for:
- Permanent stains that won’t lift even with an oil cleanse.
- Nicks, tears, or a ragged texture.
- It just doesn’t work as well. If it feels dense or isn’t blending flawlessly, it’s done.
- Any black or grey specks. This is mold. It is non-negotiable. Throw it out immediately. Your health is worth more than a $20 sponge.
My challenge to you: Go look at your makeup sponge right now. Be honest. Does it have little rips? Is it permanently stained with that lipstick from two months ago? If so, do yourself a favor and treat yourself to a new one. Your skin will thank you.
Quick Questions Answered
Let’s tackle some of those questions you might be too afraid to ask.
- “Can I just use my regular face wash to clean it?” I wouldn’t. For one, it’s a waste of your expensive skincare! But more importantly, many face washes contain oils or emollients that can leave a residue in the sponge that’s hard to rinse out, which isn’t great for your skin or your makeup application.
- “My sponge smells a little weird, but I don’t see any spots. What now?” Toss it. That musty or ‘off’ smell is the first sign of a bacteria party you do not want anywhere near your face.
- “How do I know if it’s really dry all the way through?” A great way to check is to give it a firm squeeze once you think it’s dry. If the center feels even slightly cool to the touch or squishy, it’s still damp inside. Let it sit out longer!
Inspirational Gallery
The Pro Cleanser: Formulated specifically for the sponge, the official Beautyblender Blendercleanser Solid is a master at dissolving long-wear foundation and stubborn pigments without damaging the delicate foam.
The Budget Hero: A gentle, unscented bar of soap (like Dove Sensitive Skin) or a few drops of Dr. Bronner’s Pure-Castile Soap can be just as effective for daily cleaning. They cut through oil and makeup beautifully without the high price tag.
A 2019 study in the Journal of Applied Microbiology found that up to 90% of in-use makeup sponges were contaminated with potentially harmful bacteria, including E. coli and Staphylococci.
Beyond just looking dirty, a sponge needs to be replaced entirely when you see these signs. Tossing it is a non-negotiable part of good hygiene.
- It has nicks, tears, or deep cracks that won’t come clean.
- It remains permanently stained even after a deep clean.
- It has lost its signature soft ‘bounce’ and feels dense or stiff.
- It develops a persistent musty odor that washing can’t remove.

Can you really put a makeup sponge in the microwave to clean it?
Yes, but with extreme caution! This viral hack works by using steam to sanitize. To do it safely, submerge the sponge completely in a microwave-safe bowl of soapy water. Never microwave a dry or merely damp sponge, as it can melt or catch fire. Zap it for about one minute, let it cool completely before removing, and then give it a final squeeze.

A common mistake: Never twist or wring your sponge like a dishrag! The delicate material that gives it that flawless blending ability is prone to tearing. Always squeeze it gently inside your fist to expel water and product. This simple change in technique will dramatically extend its lifespan and prevent rips that harbor bacteria.

- Prevents the growth of mildew and musty smells.
- Helps the sponge fully regain its soft, airy texture.
- Ensures it’s perfectly dry and ready for the next use.
The secret? Proper air circulation. After washing and squeezing, don’t toss it back into a dark, damp makeup bag. Let it dry completely on an open surface or a dedicated sponge stand, which allows air to flow all around it.

Have you noticed those tiny, pointed sponges, like the Micro Mini from Beautyblender or similar versions from Real Techniques? They aren’t just a gimmick. These mini-tools are designed for ultimate precision, allowing you to seamlessly blend concealer into the inner corner of the eye, cover a small blemish without disturbing the surrounding makeup, or apply a pinpoint of highlighter to the brow bone.
Over 30% of makeup users admit to never washing their makeup sponges.
This means millions are pressing a cocktail of old foundation, dead skin cells, and environmental grime back onto their face every single day. This not only results in a streaky, cakey application but can be a primary trigger for otherwise unexplained breakouts, blackheads, and skin irritation. Think of cleaning your sponge as the very first step in your skincare routine.
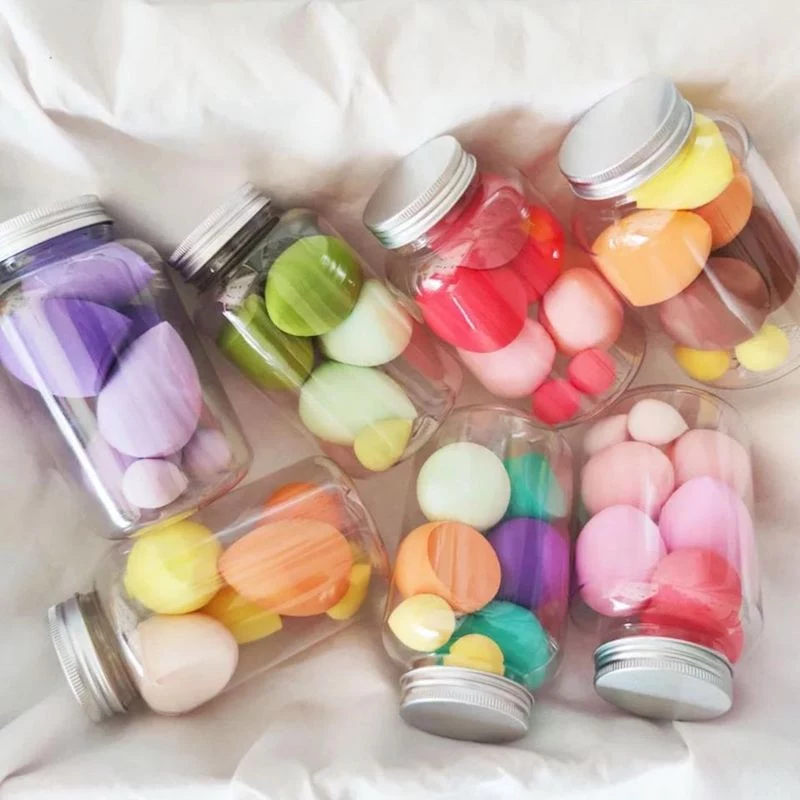
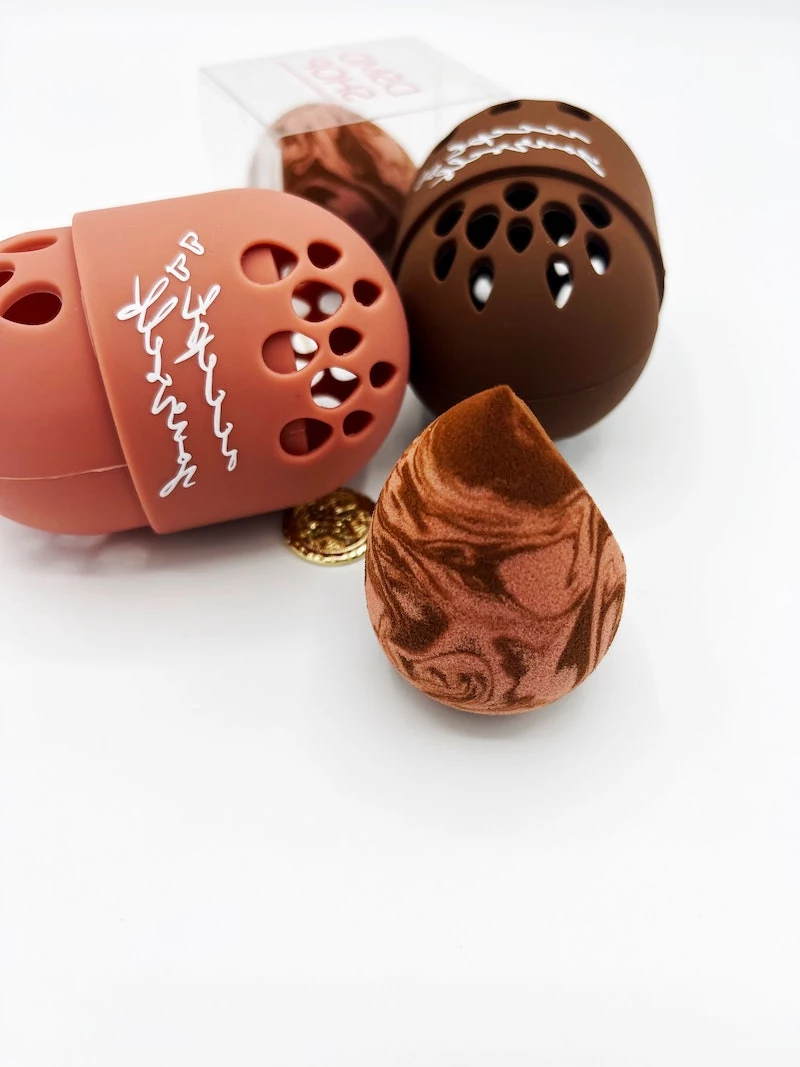
Beyond the classic pink foam, the world of sponges has expanded. Microfiber sponges, like those from Juno & Co., have a dual-layer design with a fuzzy outer coat that proponents claim wastes less product and provides a more velvety finish. On the other end, non-porous silicone ‘sponges’ don’t absorb any foundation at all, making them easy to wipe clean, though they require more dabbing and patting to achieve a blended look.
There’s a unique sensory satisfaction in using a perfectly clean, damp sponge. It feels cool and plush against the skin, and you can feel it depositing product evenly rather than dragging or smearing. It’s that soft, bouncy ‘stippling’ motion that creates an airbrushed effect, a feeling that’s completely lost when the sponge is stiff and saturated with old, dry makeup.