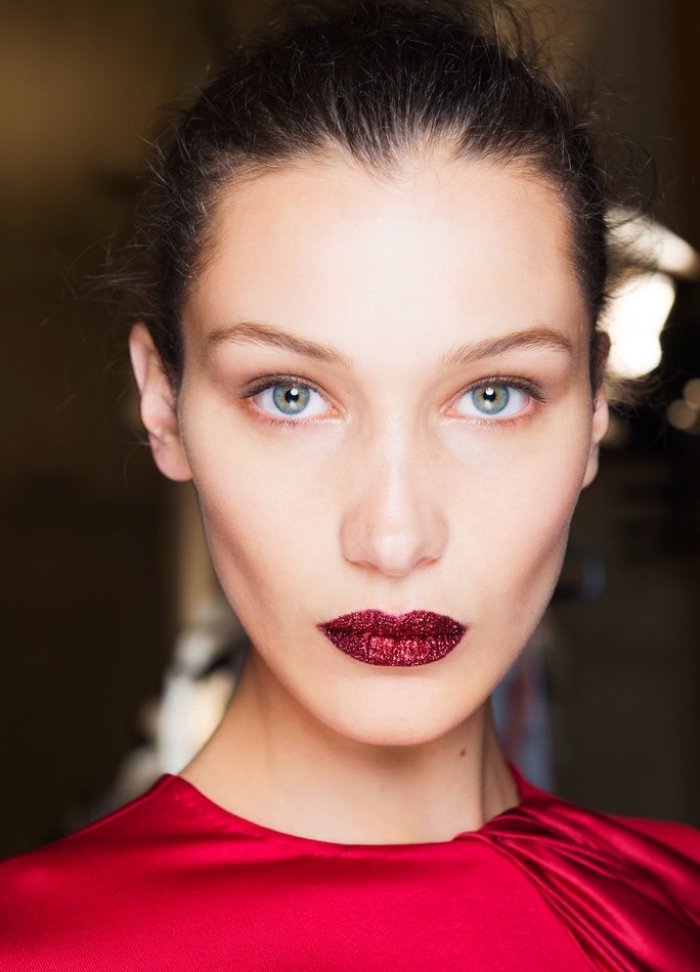
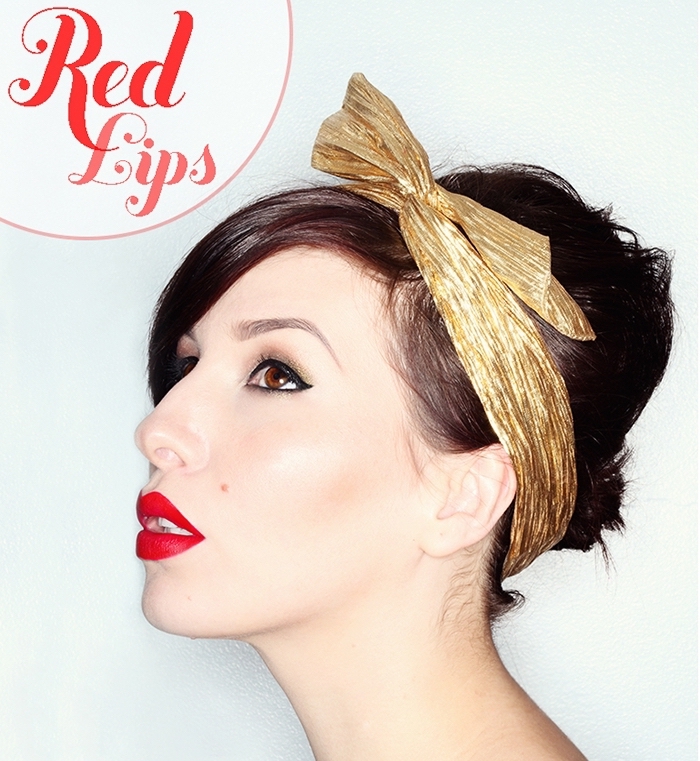
The Fail-Proof Guide to a Red Lip That Actually Lasts
For years, I’ve been a professional makeup artist, getting people ready for some of the biggest moments of their lives—from weddings to huge holiday parties. And when the festive season rolls around, one request always tops the list: the classic red lip. It’s a look that screams confidence and celebration. But let’s be honest, it’s also the one that gives people the most anxiety. The fear of smudging, fading, or getting it on your teeth is real.
In this article
I’ve seen that hesitation up close, time and time again. So many people believe a bold red just isn’t for them. My goal has always been to prove that a perfect red lip isn’t about having a certain face shape or just getting lucky—it’s all about technique. It’s a system you can learn. After countless applications in studios and on location, I’ve figured out a reliable method that keeps color looking sharp from the first sip of champagne to the very last dance.
So, forget what you think you know. This is the detailed walkthrough of the exact methods the pros use. We’ll cover everything from finding your perfect shade to the nitty-gritty of application. I’ll even share the troubleshooting tips I’ve picked up along the way. By the end, you’ll feel ready to rock a red lip with total confidence, whenever you feel like it.
First Things First: Finding Your Perfect Red
Before you even think about swiping on some color, a little knowledge goes a long way. The difference between a red lip that looks okay for an hour and one that looks stunning all night is understanding your materials and your canvas (that’s your lips!).
Figuring Out Your Skin’s Undertone
You’ve probably heard of the “vein test,” but honestly, it can be pretty misleading. As an artist, I focus on undertones—the subtle color that comes from beneath your skin’s surface and doesn’t change when you get a tan. Getting this right is the key.
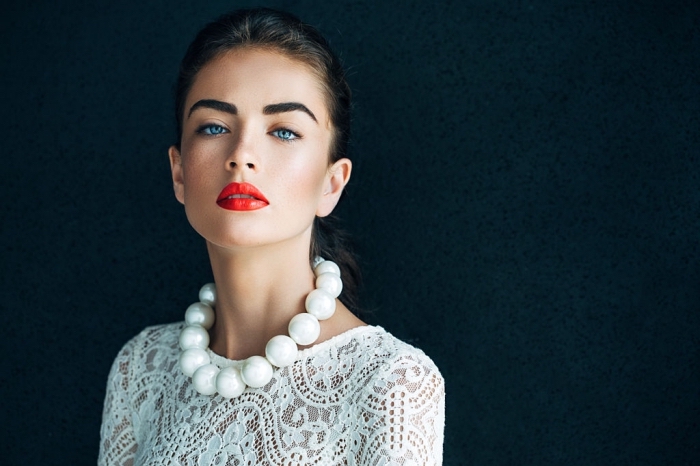
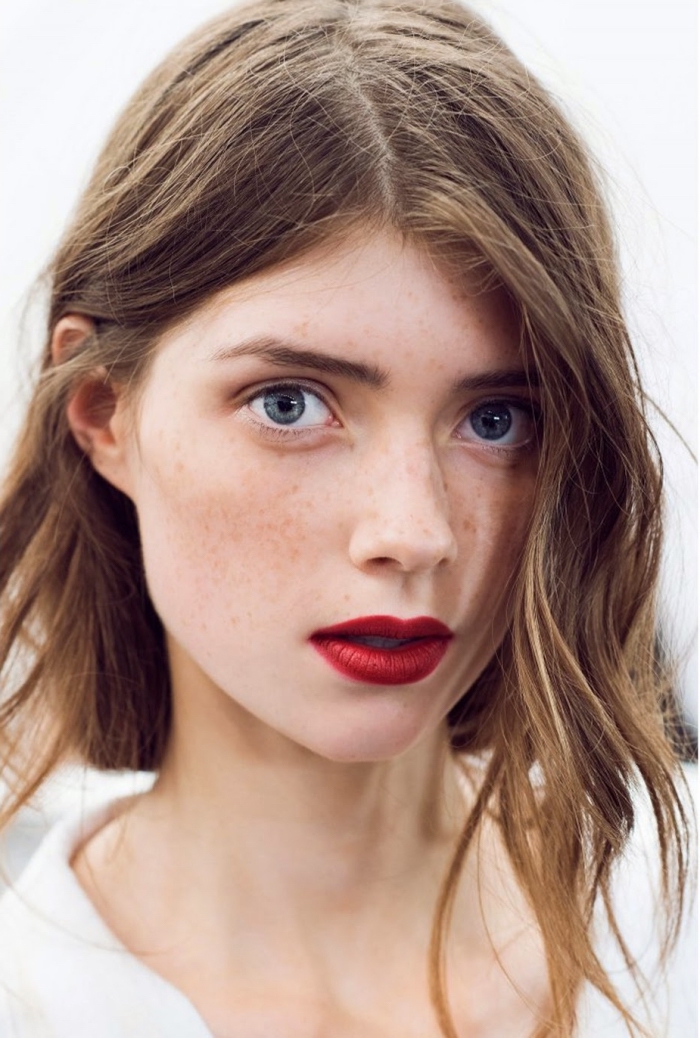
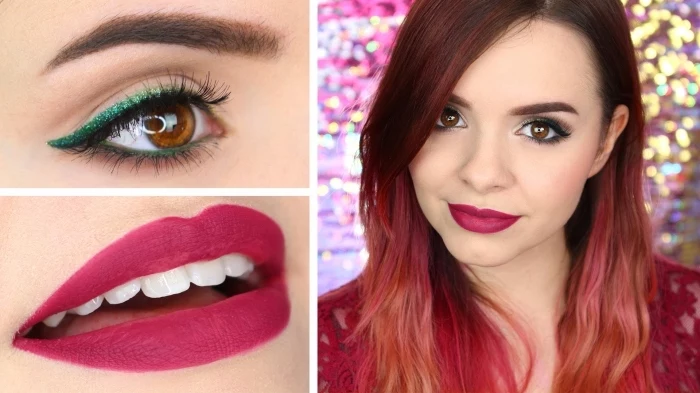
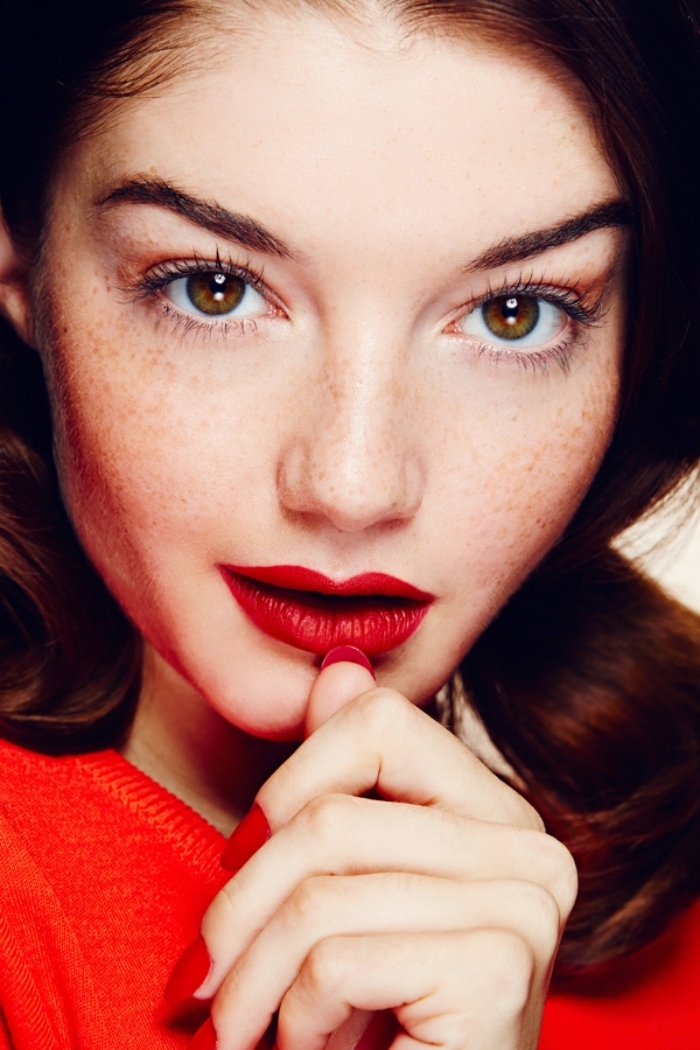
- If you have cool undertones, your skin has a subtle pink, red, or bluish hint. You’ll look amazing in blue-based reds. Think cherry, raspberry, and deep wine shades. A great side effect? The blue in these lipsticks helps counteract any yellow in your tooth enamel, making your smile look brighter and whiter.
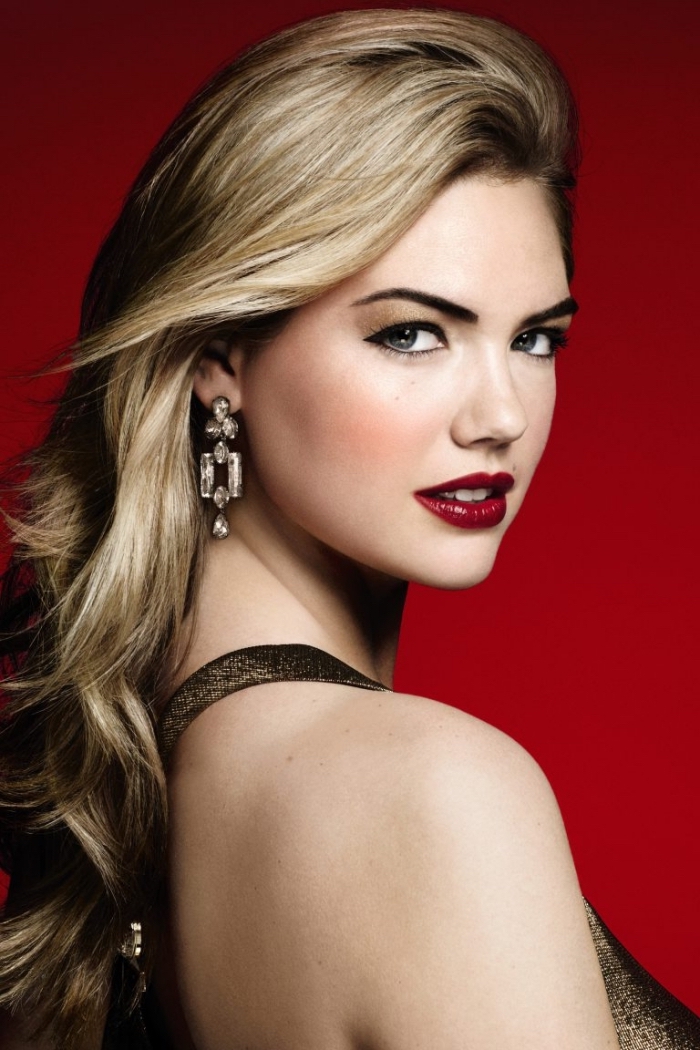
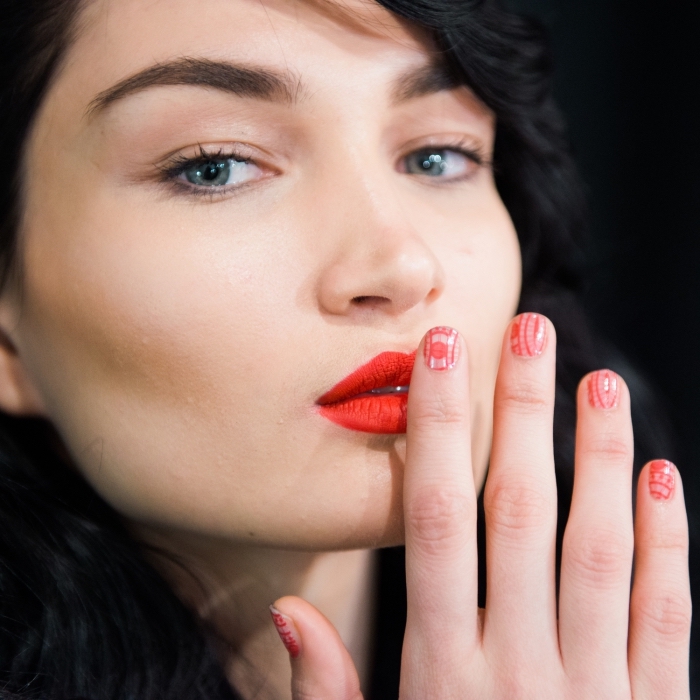
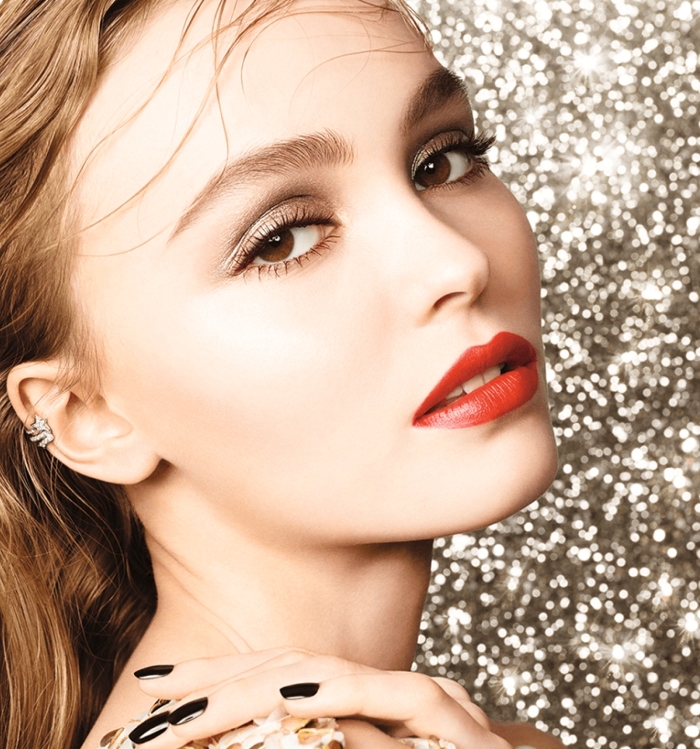
- If you have warm undertones, your skin has more of a yellow, golden, or peachy quality. You’ll want to reach for orange-based reds to really complement your complexion. We’re talking fiery brick reds, terracotta shades, and even some coral-reds.
- If you have neutral undertones, you’ve got a nice balance of both cool and warm tones. And good news for you—you can pull off almost any shade of red. True, primary reds often look absolutely incredible.
- And for olive undertones, which can be a unique category with greenish or gray hints, true reds and rich brick reds are usually a fantastic match. I’ve found it’s best to steer clear of reds that are too pink, as they can sometimes clash with the green in the skin.
A little trick I use is to hold a piece of pure white fabric and then a piece of off-white or cream fabric next to the face. If the bright white makes your skin look vibrant, you likely lean cool. If the cream is more flattering, you’re probably warm. If both look great? You’re a lucky neutral.

Let’s Talk Lipstick Formulas
The finish of your lipstick is just as important as its color. Each one wears differently and gives a totally different effect. For a bold look like red, this choice matters… a lot.
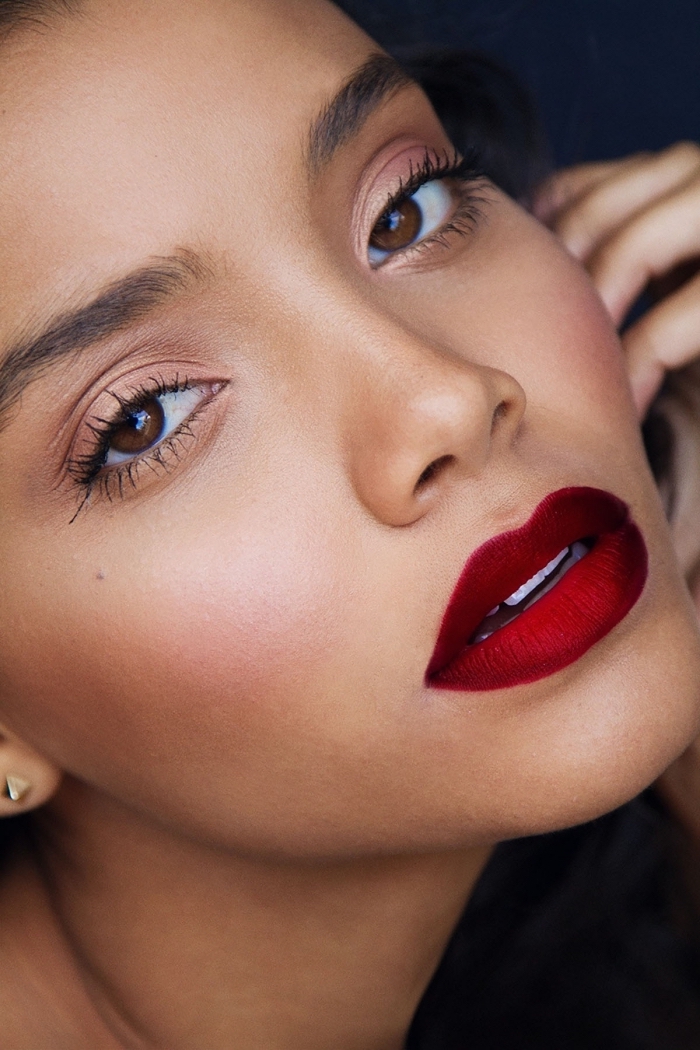
Your longest-lasting option is going to be a matte lipstick, especially the liquid matte formulas. They contain more wax and pigment with less oil, so they set down and do not budge. I’m talking drink-proof, kiss-proof, all-night-party-proof. The downside? They can feel drying, so I only use them on lips that are really well-hydrated. On the other end of the spectrum is gloss, which is all about high shine. It’s not long-wearing at all and can feel sticky, but it’s great for adding a pop of dimension over another lipstick for a photo.
In the middle, you have your classic lipstick formulas. A cream or satin finish has a beautiful balance of pigment and oil, so it feels comfortable and gives a subtle, healthy-looking sheen. It’s my go-to for something like a family dinner where extreme longevity isn’t the top priority. A sheer lipstick is your most forgiving option. It has more oil and just a hint of pigment, giving a beautiful wash of color. This is a perfect entry point if you’re new to red or want a more casual, daytime holiday look.
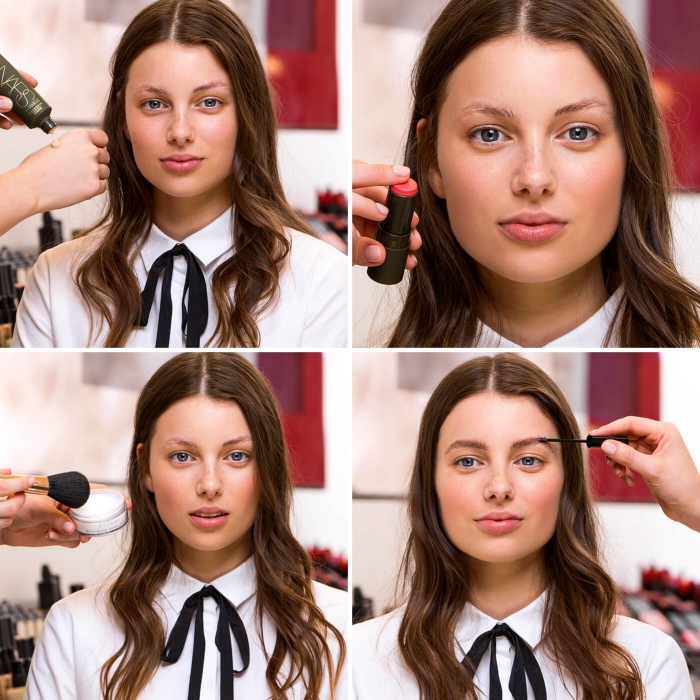
Building Your Bulletproof Red Lip, Step-by-Step
A flawless red lip is built in layers. This might seem like a lot of steps, but trust me, each one is critical. Rushing the prep is the number one mistake I see. Give yourself a good 10-15 minutes for this process the first time you try it. It’s so worth it!
Step 1: Create a Smooth Canvas
You can’t paint a masterpiece on a cracked canvas, right? Same goes for lipstick. If your lips are dry or flaky, the color will look patchy and uneven. Period.
About an hour before you start, gently exfoliate with a lip scrub. You can buy one for under $10 at most drugstores, or just mix some sugar with a drop of coconut oil. Rub it in small circles and wipe it away with a damp cloth. Heads up! The goal is to smooth, not to irritate, so be gentle.
Next, slather on a thick, hydrating lip balm. Let it sink in for at least 15-20 minutes. But—and this is critical—you MUST blot off any excess balm with a tissue right before you apply color. Any leftover oil will cause your lipstick to slide right off.
Step 2: Prime and Neutralize
For true-to-tube color and serious staying power, you need a neutral base. I take a tiny amount of whatever foundation or concealer I used on the face and pat it over the lips. This cancels out your natural lip color and also gives the lip liner something to grip onto.
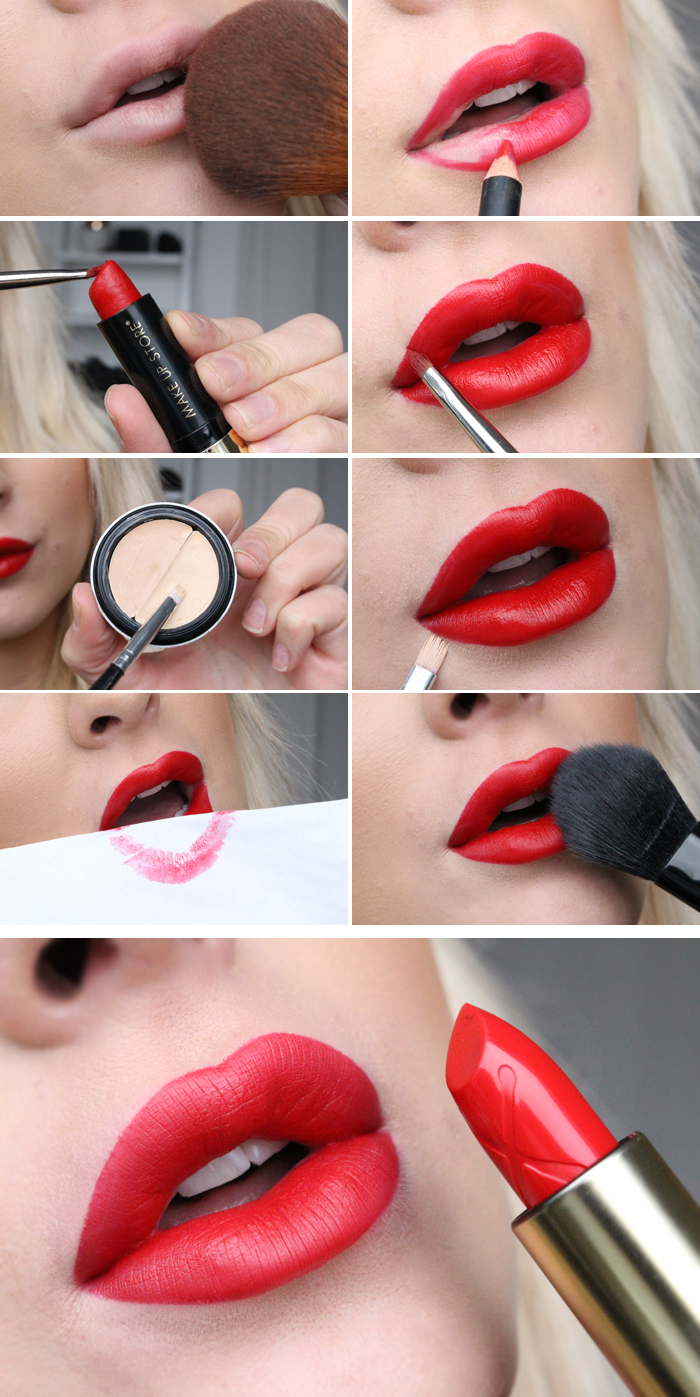
Step 3: Lip Liner Is Everything
Let me be clear: lip liner is non-negotiable for a bold red lip. It’s your blueprint. It defines the shape, stops the color from bleeding into fine lines, and acts as a long-lasting base coat.
Try to match the pencil to your lipstick shade. If you can’t find a perfect match, go for a nude that matches your natural lip color. Great pencils are easy to find and won’t break the bank; you can get fantastic, creamy, wax-based ones for between $5 and $15.

To apply, rest your elbow on a table for a steady hand. Start by drawing a small ‘X’ at your Cupid’s bow to define the peaks. Then, outline the center of your bottom lip. Finally, connect the lines from the outer corners of your mouth to the center marks you just made. And now for the pro secret: once you’ve outlined, use the side of the pencil to color in your entire lip. This creates a matte base, so even if your lipstick wears off a bit, you’ll still have color underneath. No dreaded ring-around-the-mouth here!
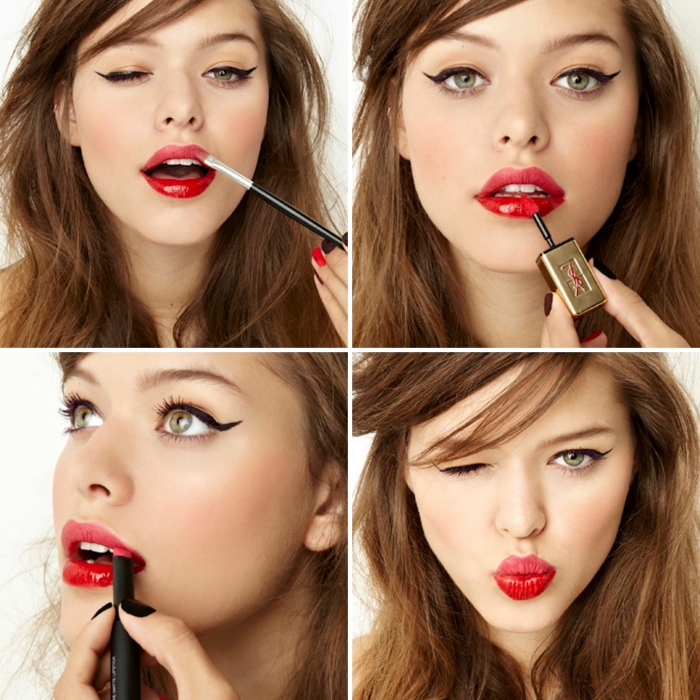
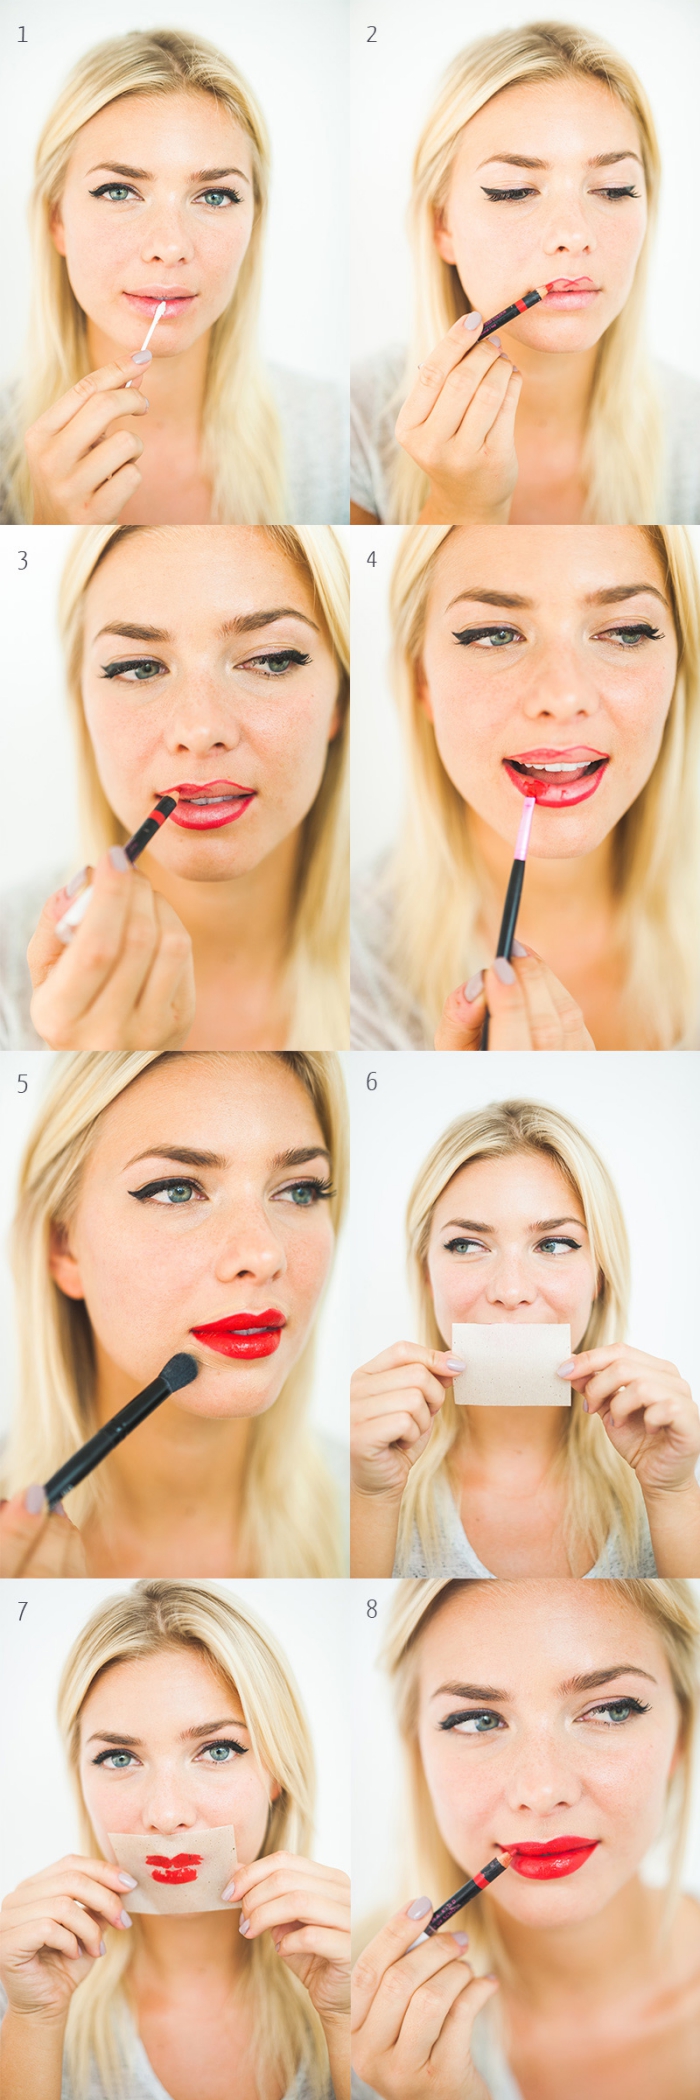
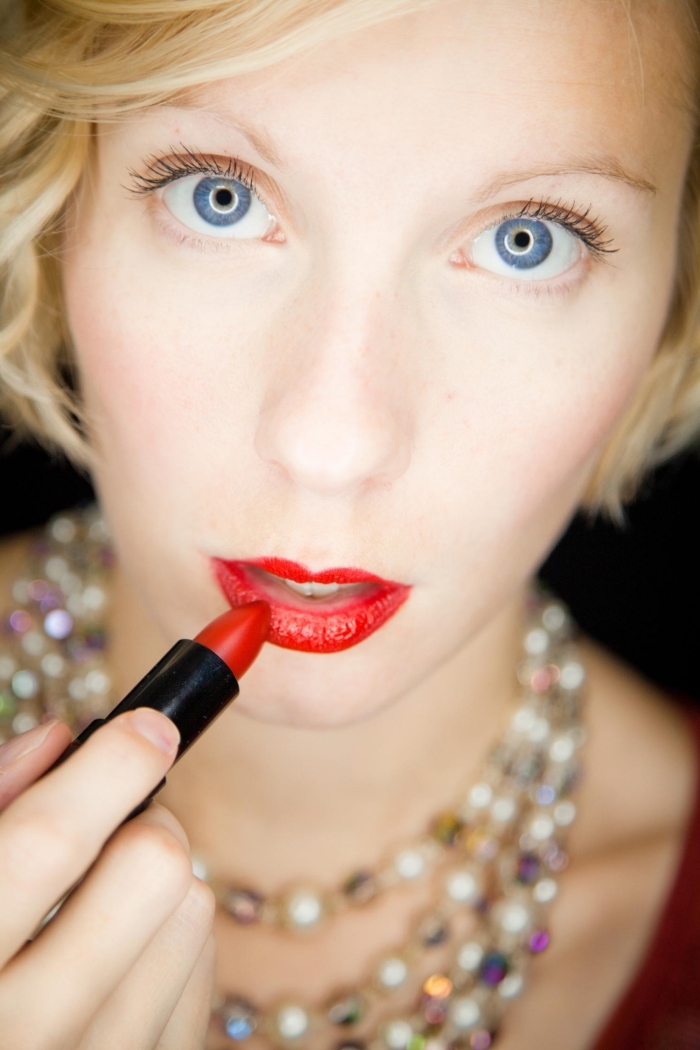
Step 4: The Lipstick Application
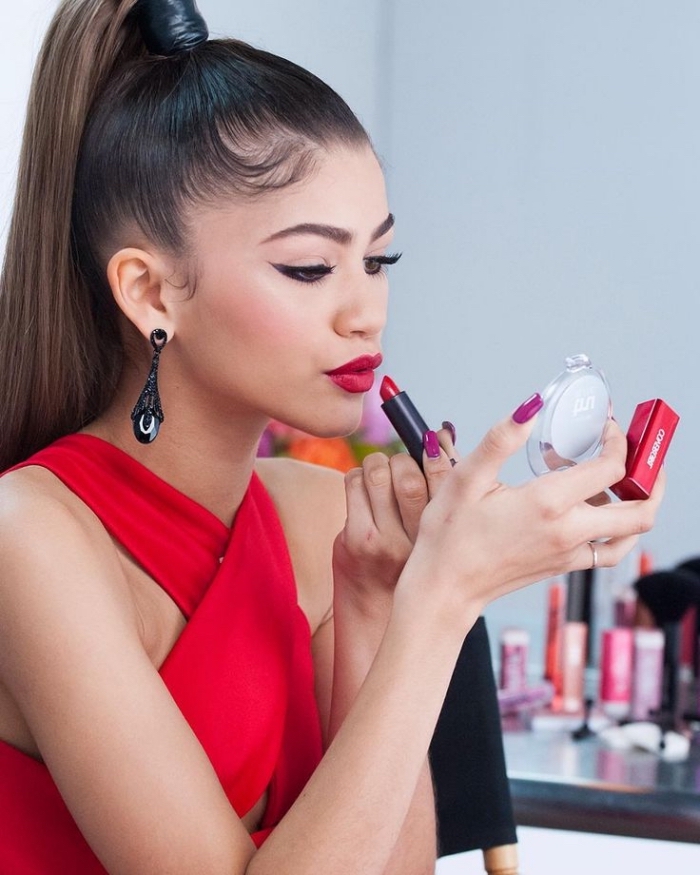
Now for the main event. You can apply the lipstick straight from the tube for a quick, bold look. But for ultimate precision, I always recommend using a small, firm lip brush (you can get one for less than $10 online or at a beauty supply store). This lets you paint the color on, tracing the liner you just applied and ensuring every corner is perfectly filled.
Step 5: Blot and Set for All-Night Wear
This is the trick that takes your lipstick from looking good to being completely bulletproof. After applying your first coat of lipstick, take a single ply of a tissue (just pull a 2-ply tissue apart) and lay it gently over your lips. Then, take a fluffy brush and a bit of translucent setting powder and lightly tap the powder through the tissue onto your lips. This sets the color without making it look dull or cakey.
You can even apply a second, very light layer of lipstick on top of the powder for extra intensity. Your lipstick is now locked in.
Quick Fixes & Pro Secrets
Even with the best technique, things can happen. Here’s how to handle the most common red lip emergencies.
- Help! I got it on my teeth! Ah, the classic fear. To prevent this, after you’ve finished your application, put your index finger in your mouth, purse your lips around it, and pull it out slowly. This removes any excess product from the inner rim of your lips that was destined for your teeth.
- Oh no, my liner smudged! Don’t try to wipe it! That just creates a bigger, reddish smear. Instead, grab a clean cotton bud with a tiny bit of makeup remover or a pointed Q-tip with a dot of concealer and use it to sharpen the line from the outside. It works like an eraser.
- What if it feathers? A good lip liner is your best defense. But if you’re prone to feathering, you can trace around the outside of your lip line with a clear, waxy lip liner before you begin. It creates an invisible wall that lipstick can’t cross.
My Kit Favorites (For Every Budget)
You don’t need to spend a fortune to get a killer red lip. To be frank, some of my favorite long-wearing formulas are from the drugstore. You can find incredible liquid matte lipsticks for around $10 to $15 that will outperform products three times the price.
So what are you paying for with the high-end stuff? When you splurge on a lipstick in the $30-$50 range, you’re often paying for a more luxurious, comfortable feel (especially in matte formulas), more complex and unique pigments, and, of course, that beautiful, weighty packaging that feels so nice in your hand.
The choice is yours. The technique is what truly matters, not the price tag. Now go find your perfect red!
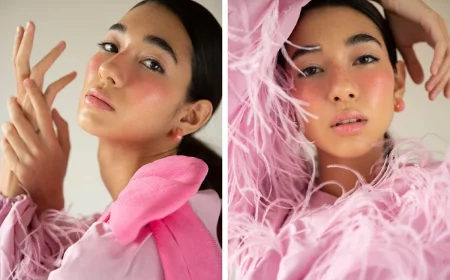
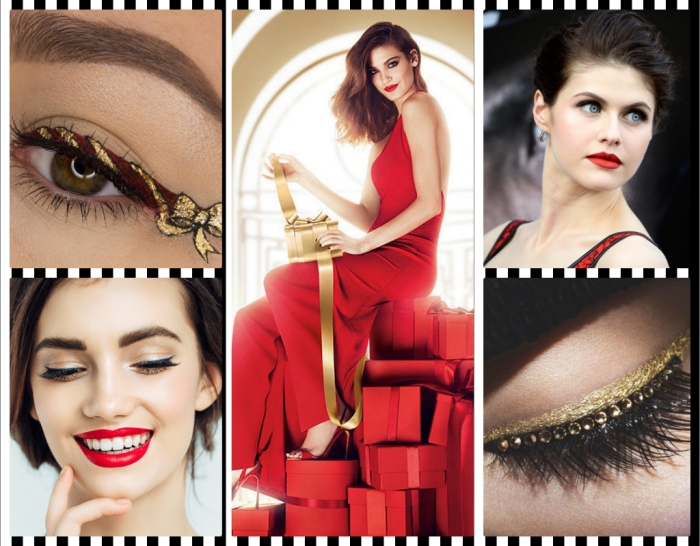
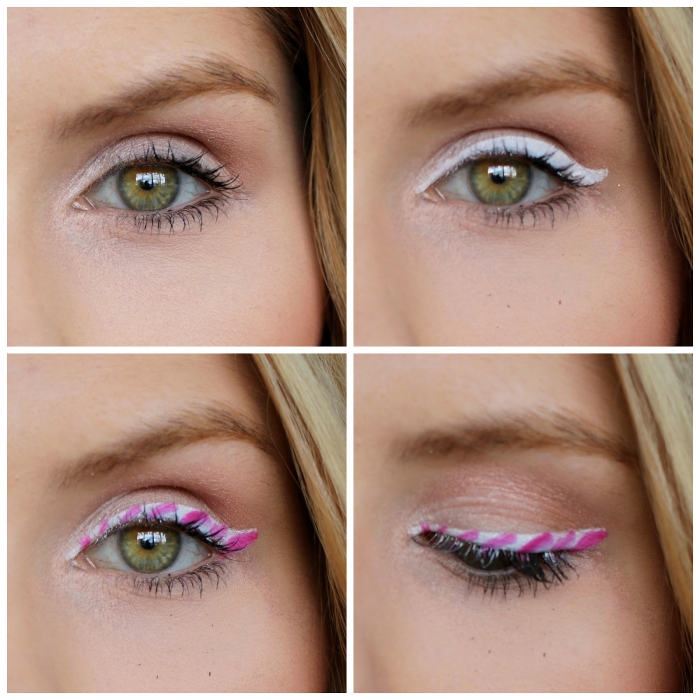
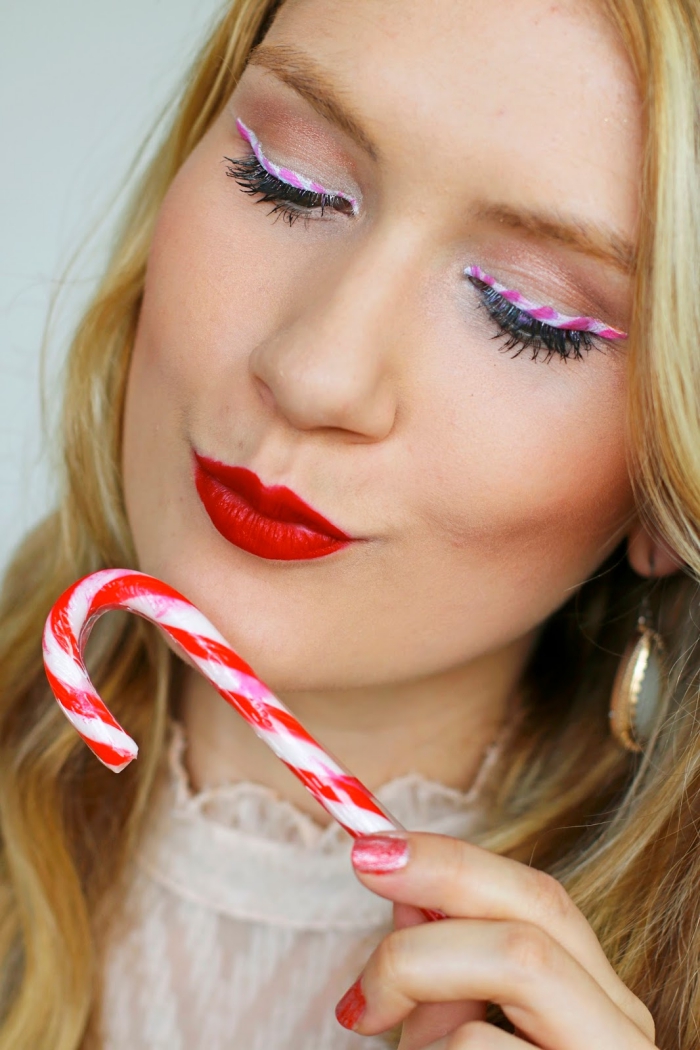
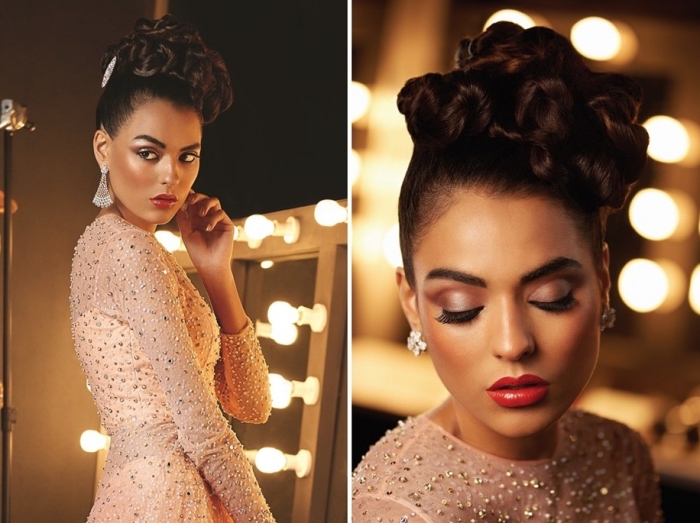
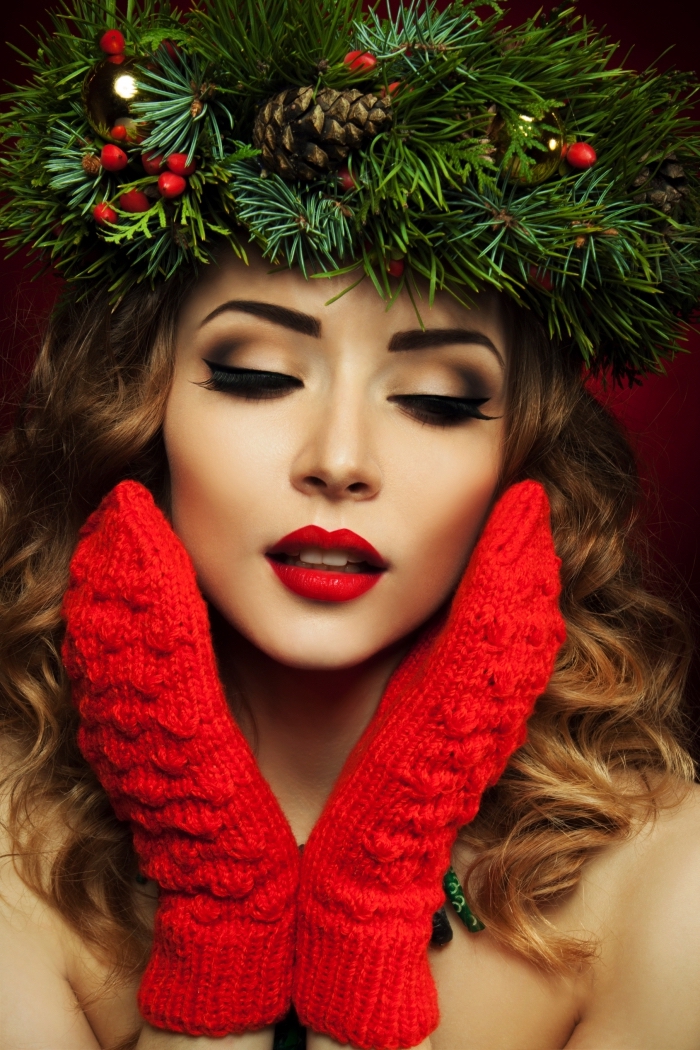
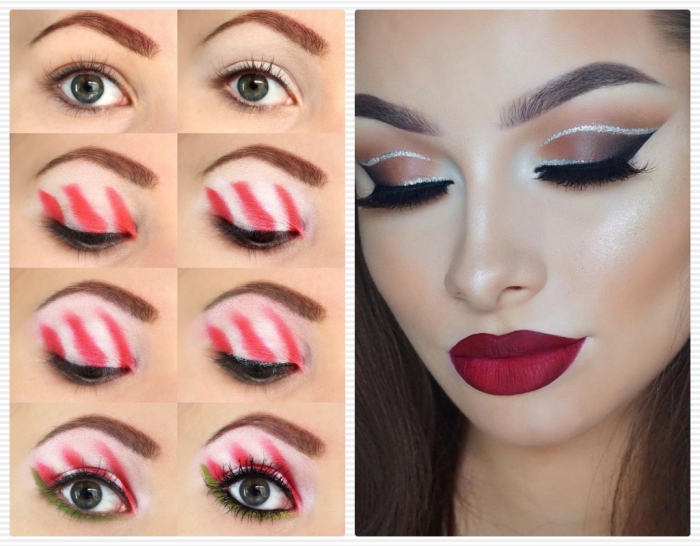
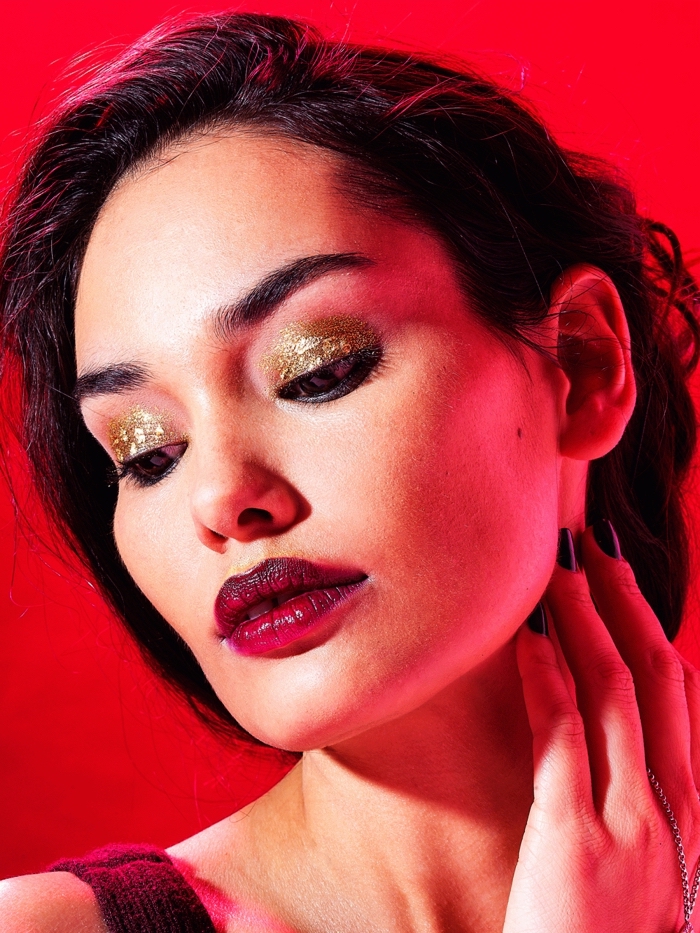
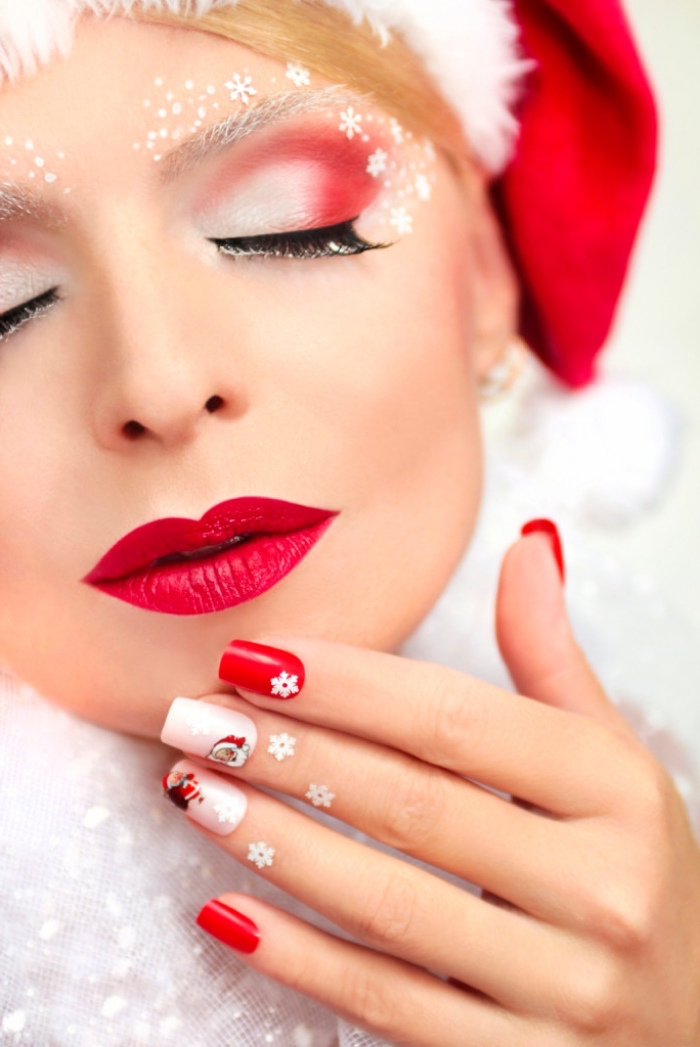
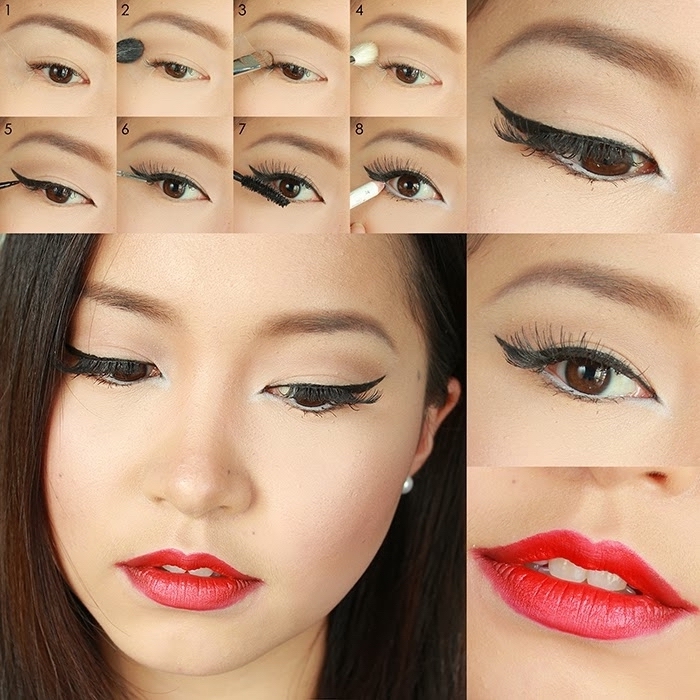
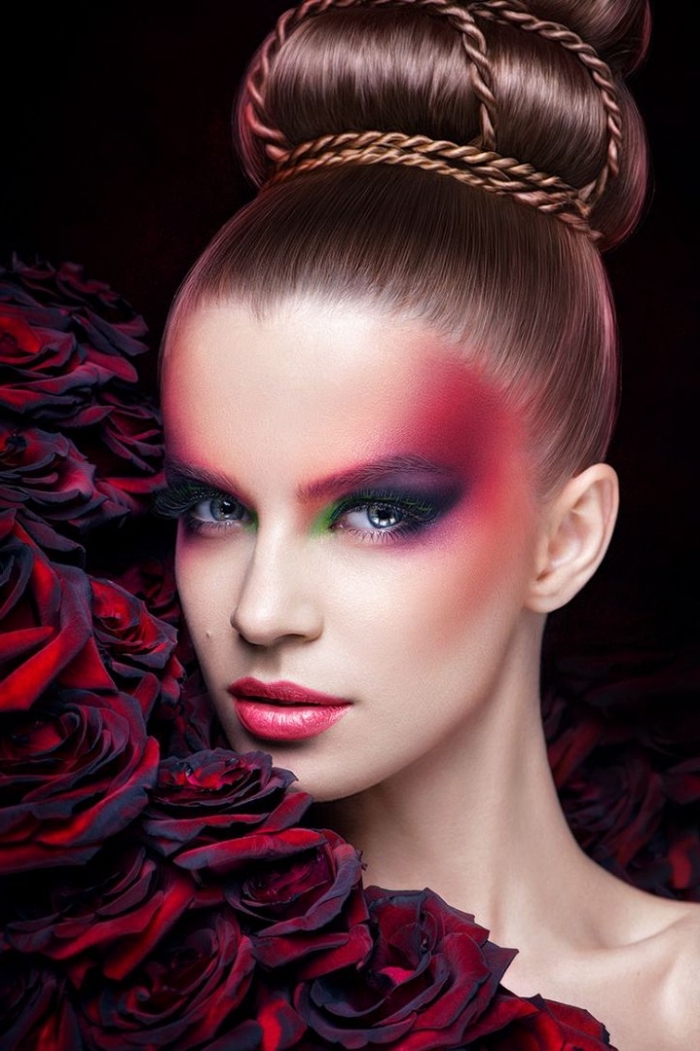
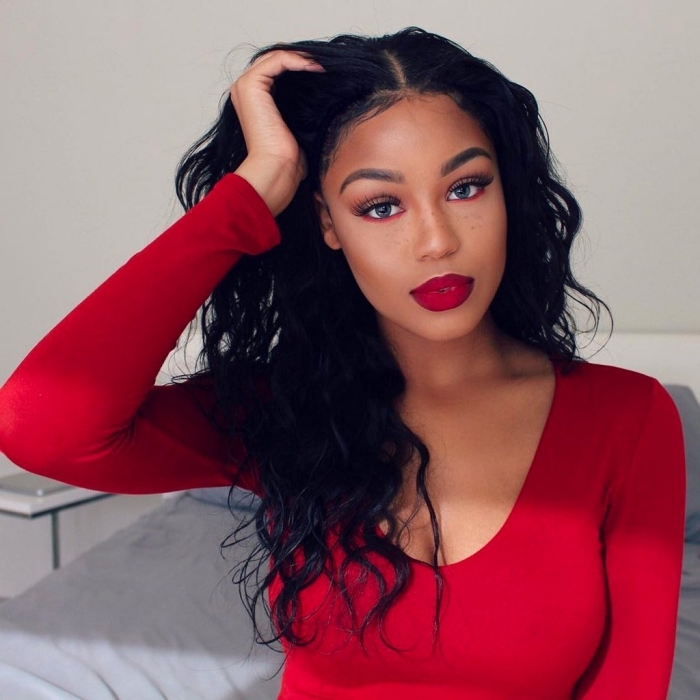
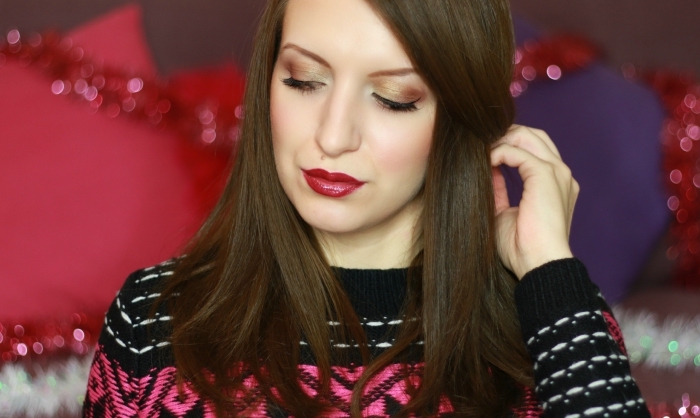
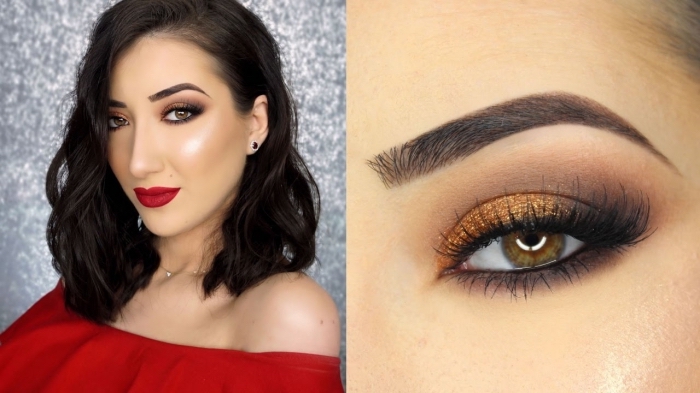
Inspiration Gallery
- Gently exfoliate with a soft, damp toothbrush or a sugar scrub.
- Apply a hydrating, non-oily lip balm and let it sink in for 10 minutes.
- Blot away any excess balm before starting your color application.
The secret? A perfectly smooth canvas is non-negotiable for a flawless red.
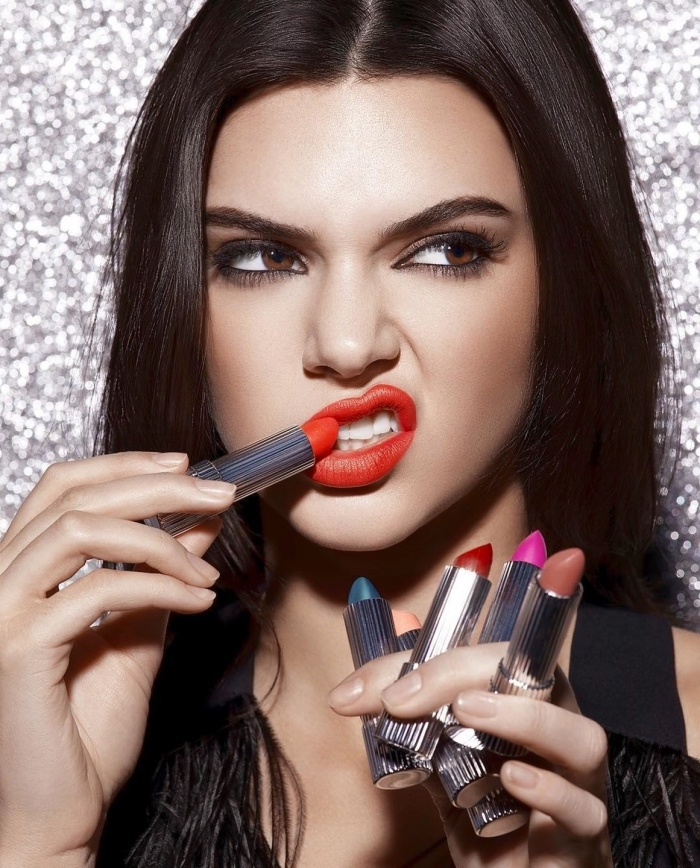
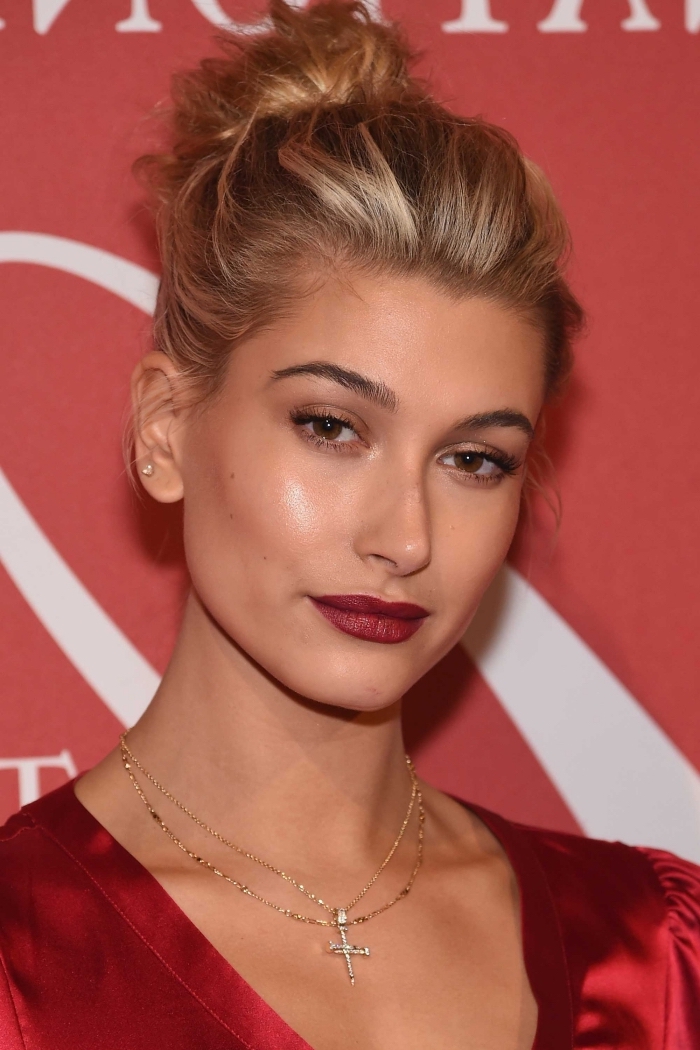
Blue-Based Reds vs. Orange-Based Reds: Blue-based reds (like raspberry or cherry) have cool undertones and can make teeth appear whiter. Think MAC’s Ruby Woo. Orange-based reds (like coral or poppy) have warm undertones and bring a vibrant, sunny warmth to the face, a great example being NARS’ Heat Wave. The right choice depends entirely on your skin’s undertone and the look you want to achieve.
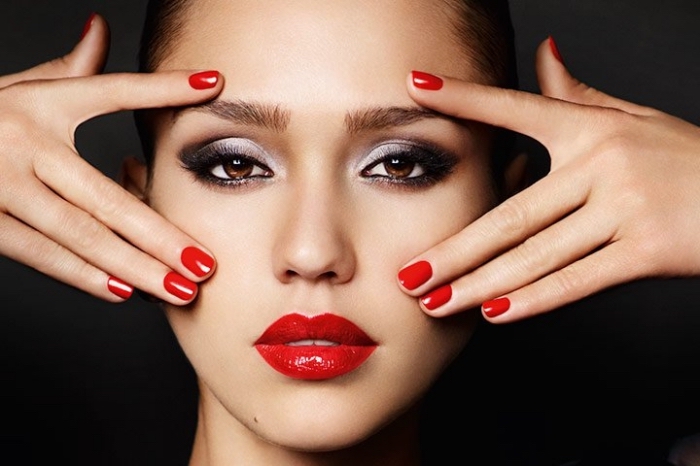
How do you stop red lipstick from getting on your teeth?
After applying your final coat of lipstick, form an ‘O’ with your mouth. Insert your clean index finger straight in, then pull it straight out. This classic makeup artist trick removes the excess color from the inner rim of your lips—the exact spot that’s most likely to transfer onto your smile.
The power of a lip brush shouldn’t be underestimated. While applying directly from the bullet is quick, a small, firm lip brush gives you unparalleled control. It allows you to build color in thin, even layers and to define your cupid’s bow and corners with razor-sharp precision. For liquid formulas, the doe-foot applicator is good, but a brush is still superior for the edges.
- It creates a barrier to stop your lipstick from feathering into fine lines.
- It gives the lipstick something to adhere to, dramatically increasing its wear time.
- It provides a color base, so your lip look doesn’t completely disappear after a meal.
The key is a perfectly matched lip liner. It’s the invisible architecture holding your entire look together.

Don’t sleep on drugstore gems. High-end reds are beautiful, but some of the most tenacious, pigment-packed formulas are on the pharmacy shelves. Maybelline’s SuperStay Matte Ink in the shade ‘Pioneer’ is legendary for its refusal to budge, offering a vibrant true red that rivals luxury brands for a fraction of the price.
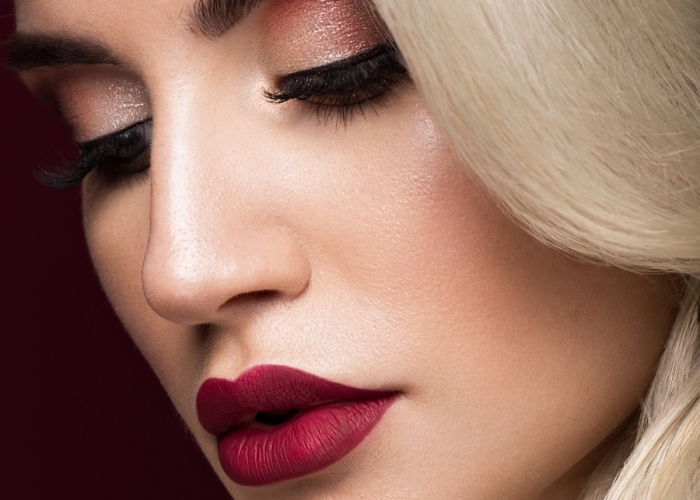
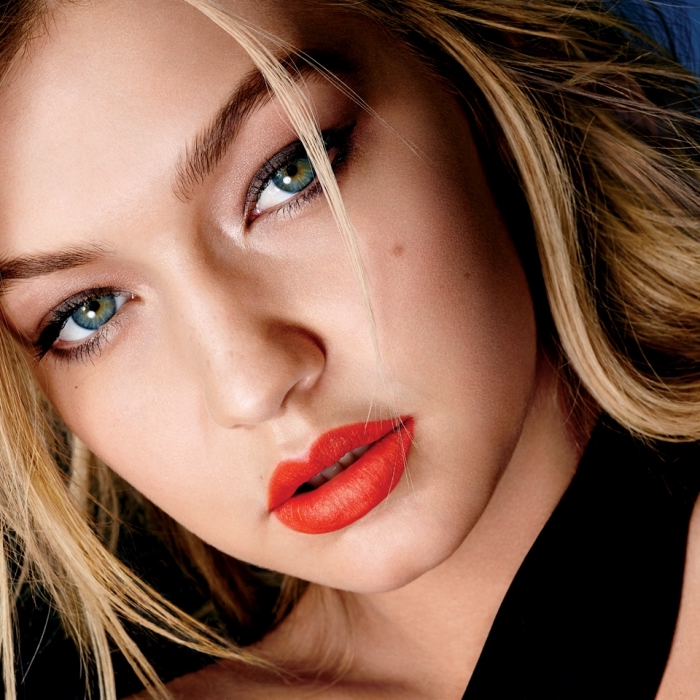
To achieve a modern, soft-focus look, try the ‘blurred lip.’ Apply your red lipstick mainly to the center of your lips. Then, use a fluffy eyeshadow brush or your fingertip to gently buff and smudge the color outwards towards the edges. It’s a lower-maintenance, romantic take on the classic bold lip.
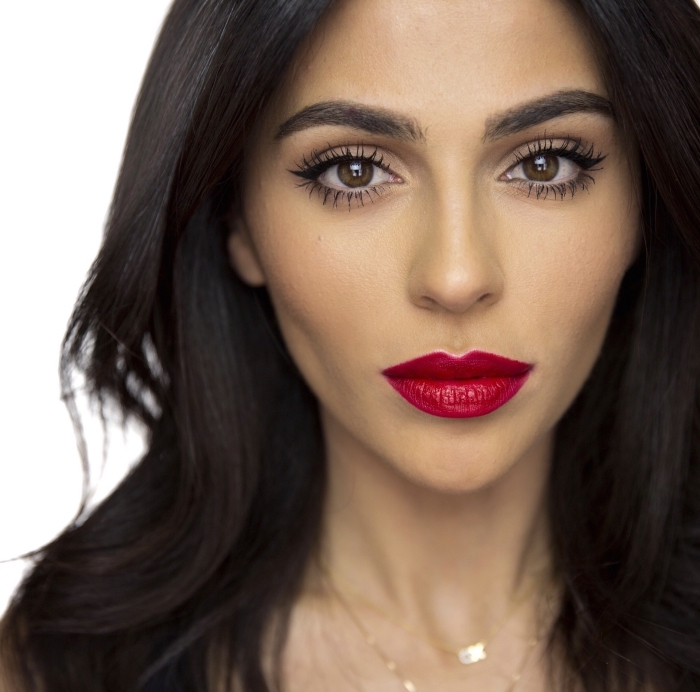
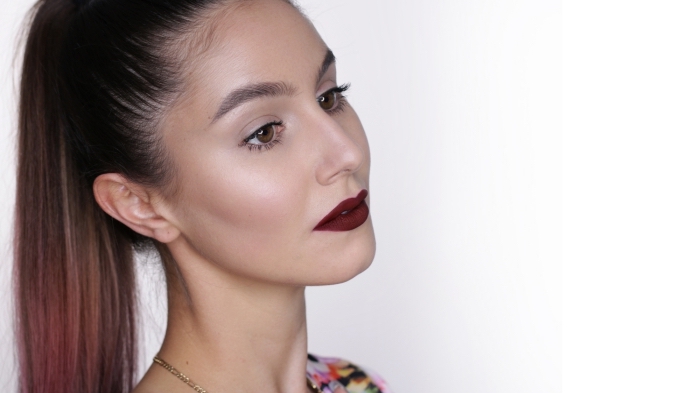
Iconic Status: For a universally flattering, semi-matte true red, nothing beats MAC’s Retro Matte Lipstick in ‘Ruby Woo’. It has a unique blue-red base that suits an incredible range of skin tones and has been a staple in makeup artist kits for decades. It’s the little black dress of red lipsticks.
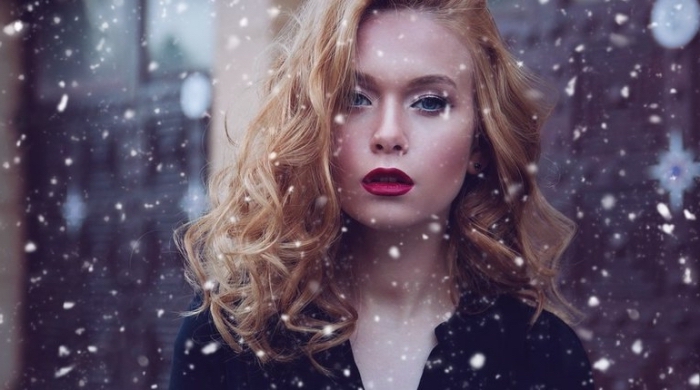
- For cool undertones: Look for reds with a blue or pink base. Think deep berry, raspberry, or true crimson. Fenty Beauty’s Stunna Lip Paint in ‘Uncensored’ is a perfect example.
- For warm undertones: Opt for reds with an orange or golden base, like brick, coral-red, or terracotta. A classic is Chanel’s Rouge Allure in ‘Pirate’.
- For neutral undertones: You’re in luck! Most shades will flatter you, from bright cherry to deep burgundy.


Can you fix a smudged red lip without starting over?
Absolutely. Dip a small, flat concealer brush into a tiny amount of high-coverage concealer or even your foundation. Carefully trace around the outside of your lip line to clean up any smudges and redefine the edge. It’s like using an eraser for your makeup, instantly sharpening the look.

“Pour yourself a drink, put on some lipstick, and pull yourself together.” – Elizabeth Taylor


The Blotting Secret: For ultimate staying power, apply your first layer of lipstick, then lay a single ply of tissue over your lips. Lightly dust a translucent setting powder (like Laura Mercier’s) over the tissue. The fine powder particles will pass through the tissue to set the color. Remove the tissue and apply one final layer of lipstick. This old-school technique truly works.
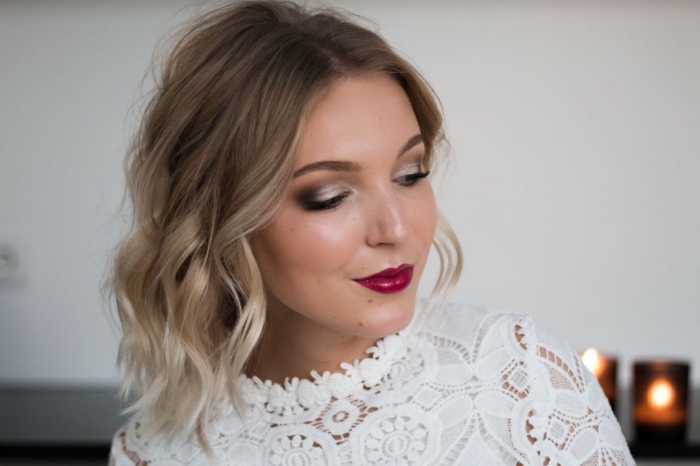

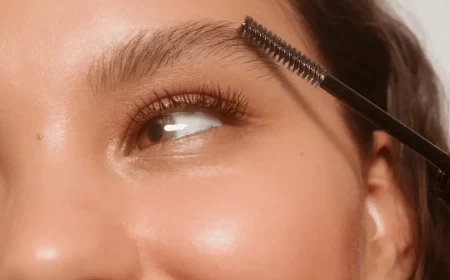
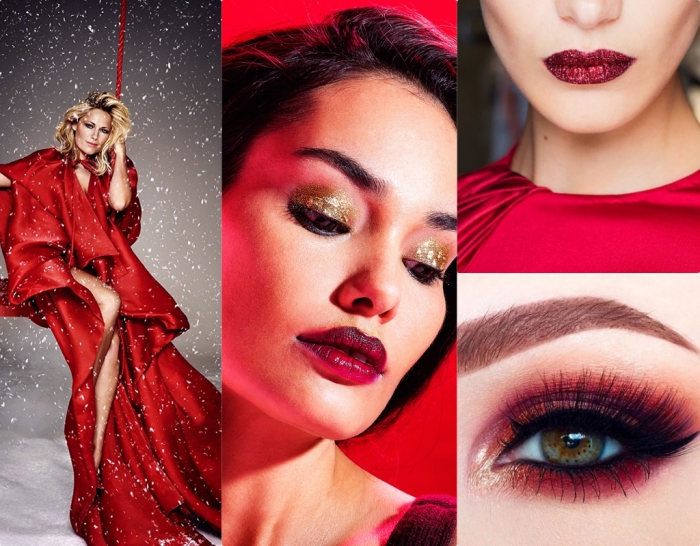
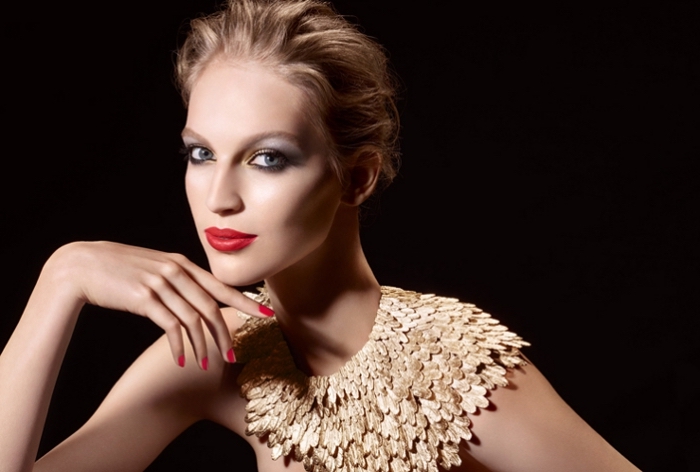
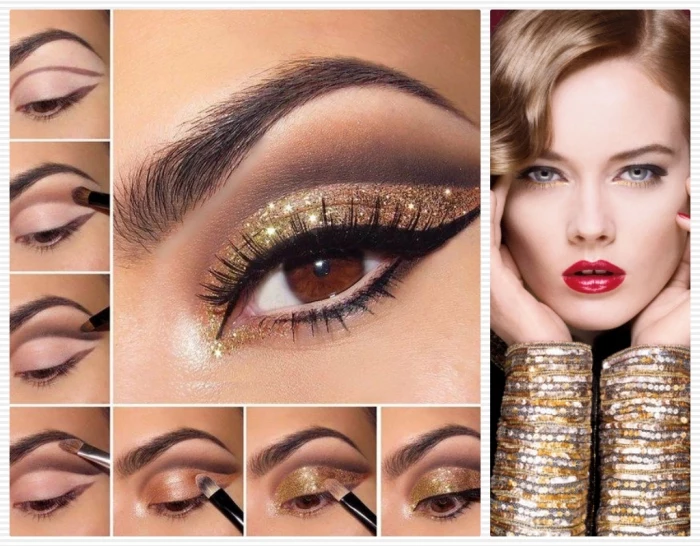
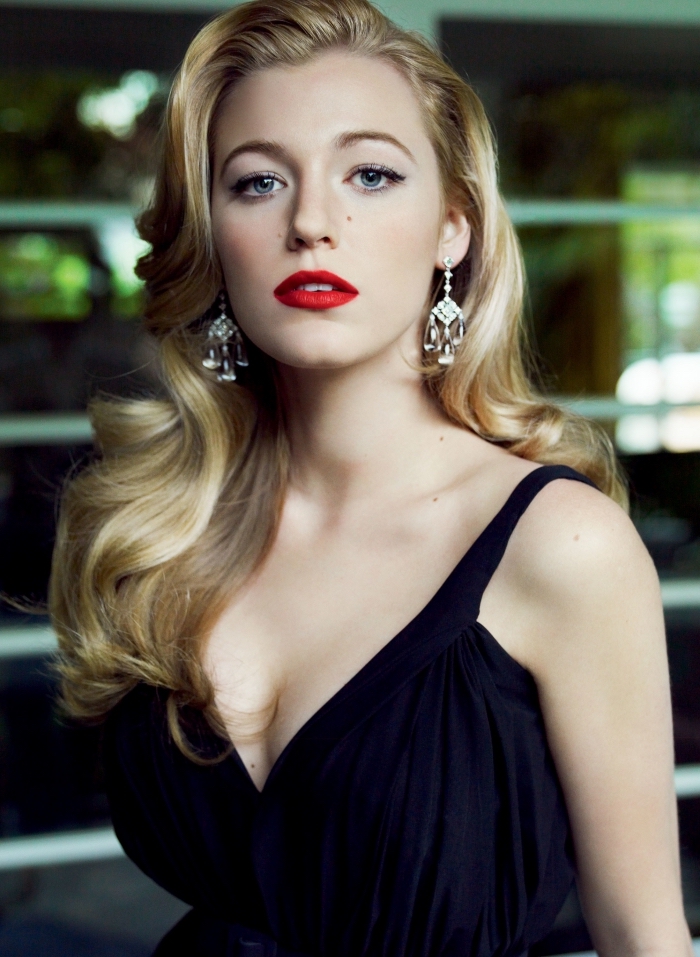
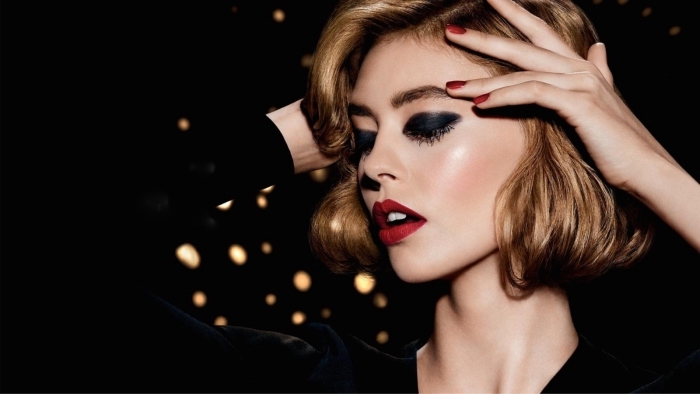
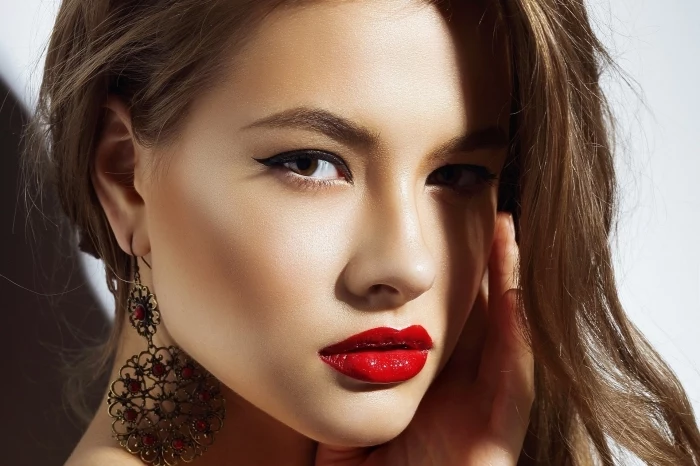
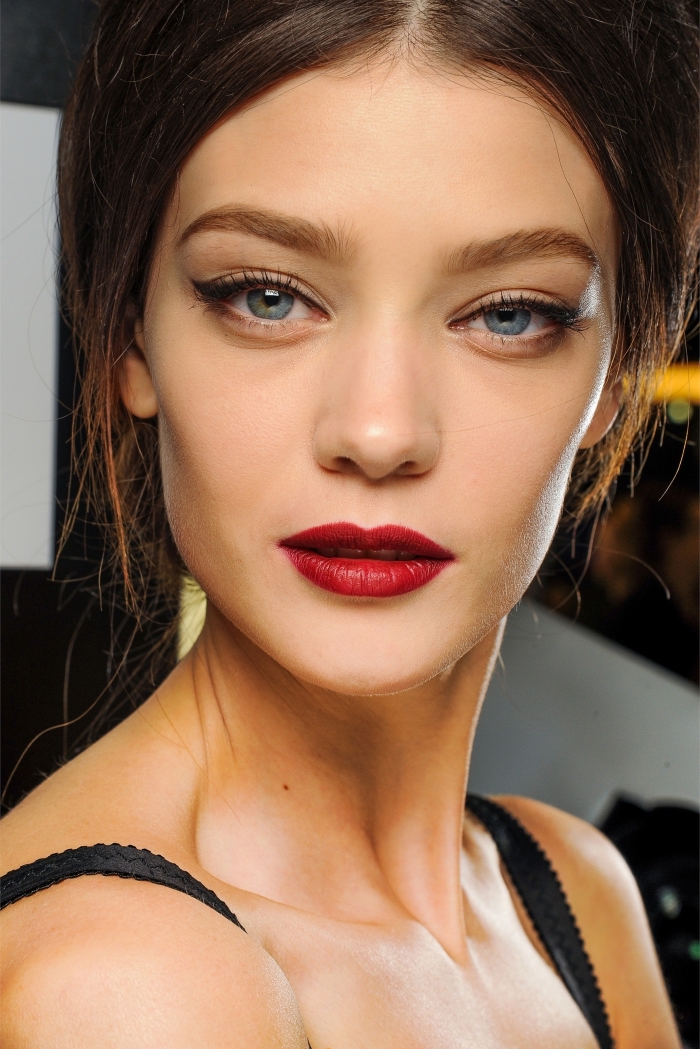
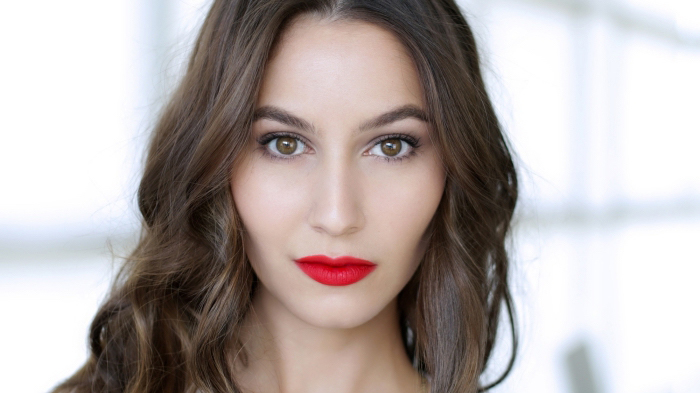
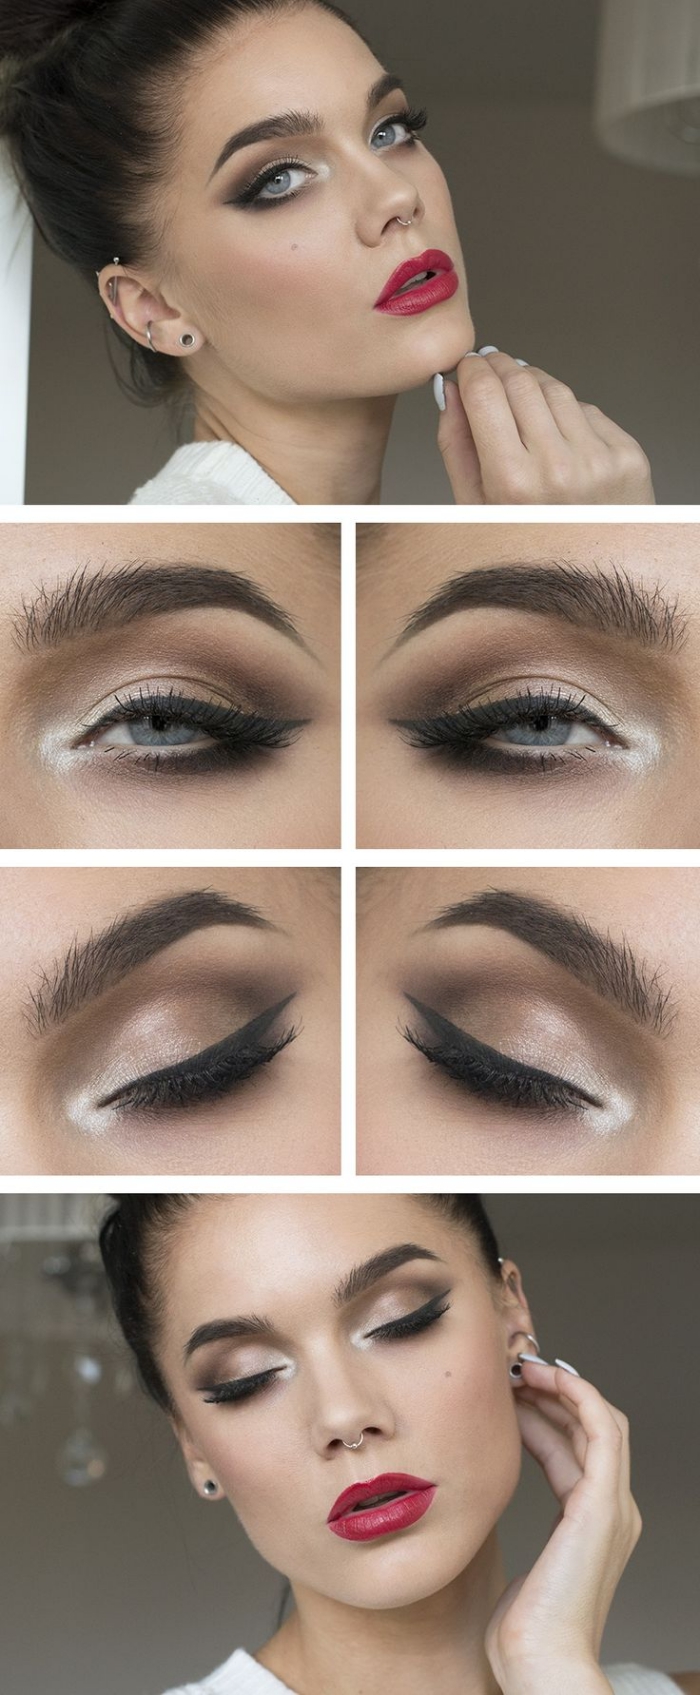
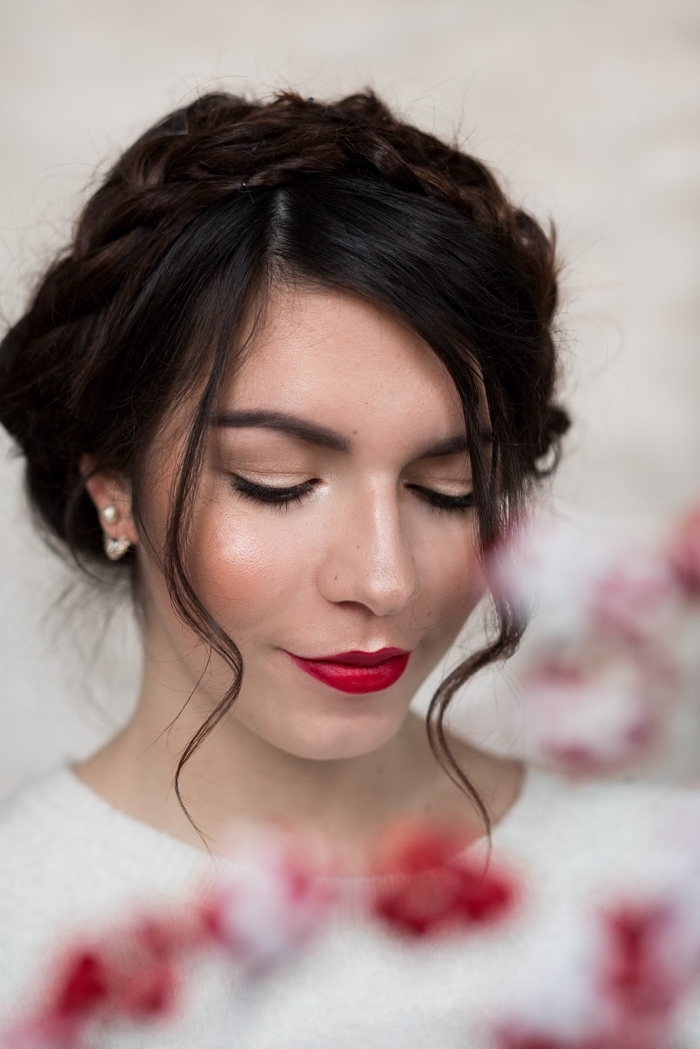
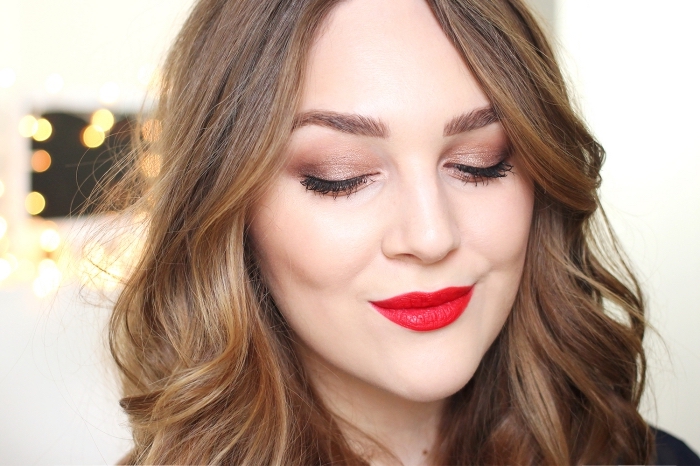
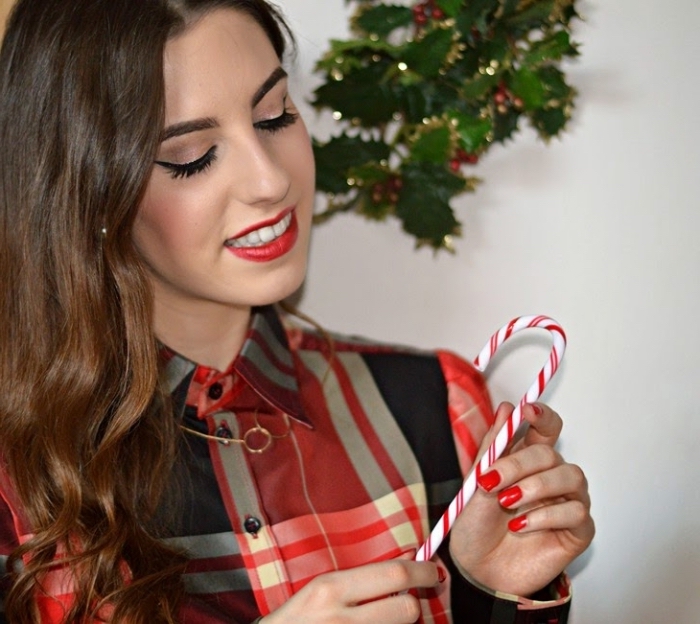
When wearing a statement red lip, let it be the star. The most classic pairing is simple, clean eye makeup: a sharp black winged liner and defined lashes. For a more modern approach, a wash of shimmery champagne or soft bronze eyeshadow across the lid adds glamour without competing for attention.
Liquid Lipstick: Offers incredible pigmentation and longevity, often drying down to a completely transfer-proof matte finish. Can be drying for some.
Bullet Lipstick: More comfortable and hydrating, available in a wider range of finishes (satin, cream, sheer). Requires more frequent touch-ups.
For all-day events, a liquid lipstick is your safest bet. For comfort and a classic feel, you can’t beat a traditional bullet.
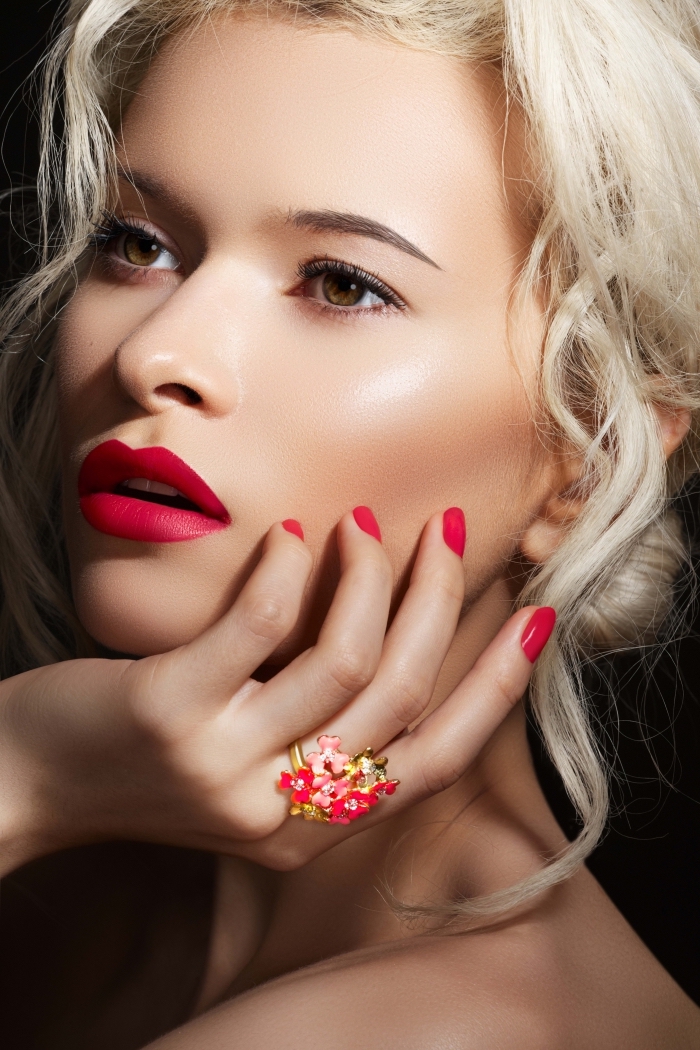
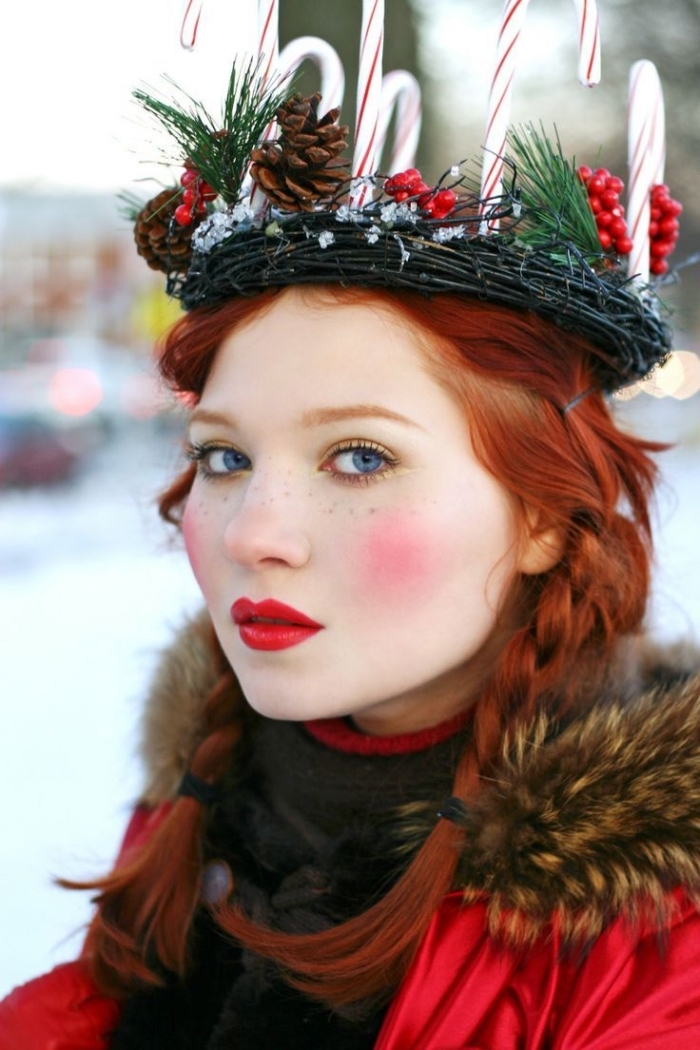
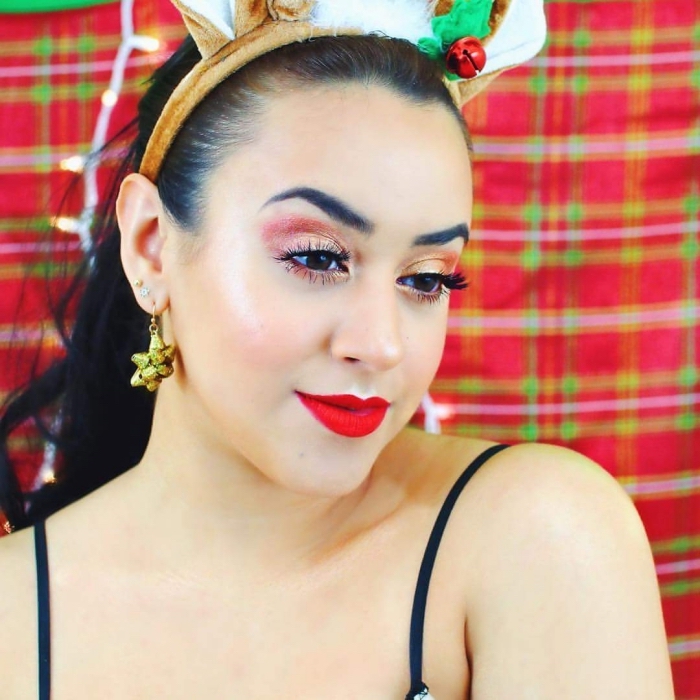
Create a monochromatic harmony by dabbing a tiny amount of your red lipstick onto the apples of your cheeks. Blend it out quickly with your fingers or a stippling brush before it sets. This creates an effortless, cohesive look where your lips and cheeks are perfectly in sync.
- A small travel-sized makeup remover wipe or micellar water on a Q-tip.
- The red lipstick you’re wearing.
- A matching lip liner.
- A small tube of concealer for cleaning up edges.

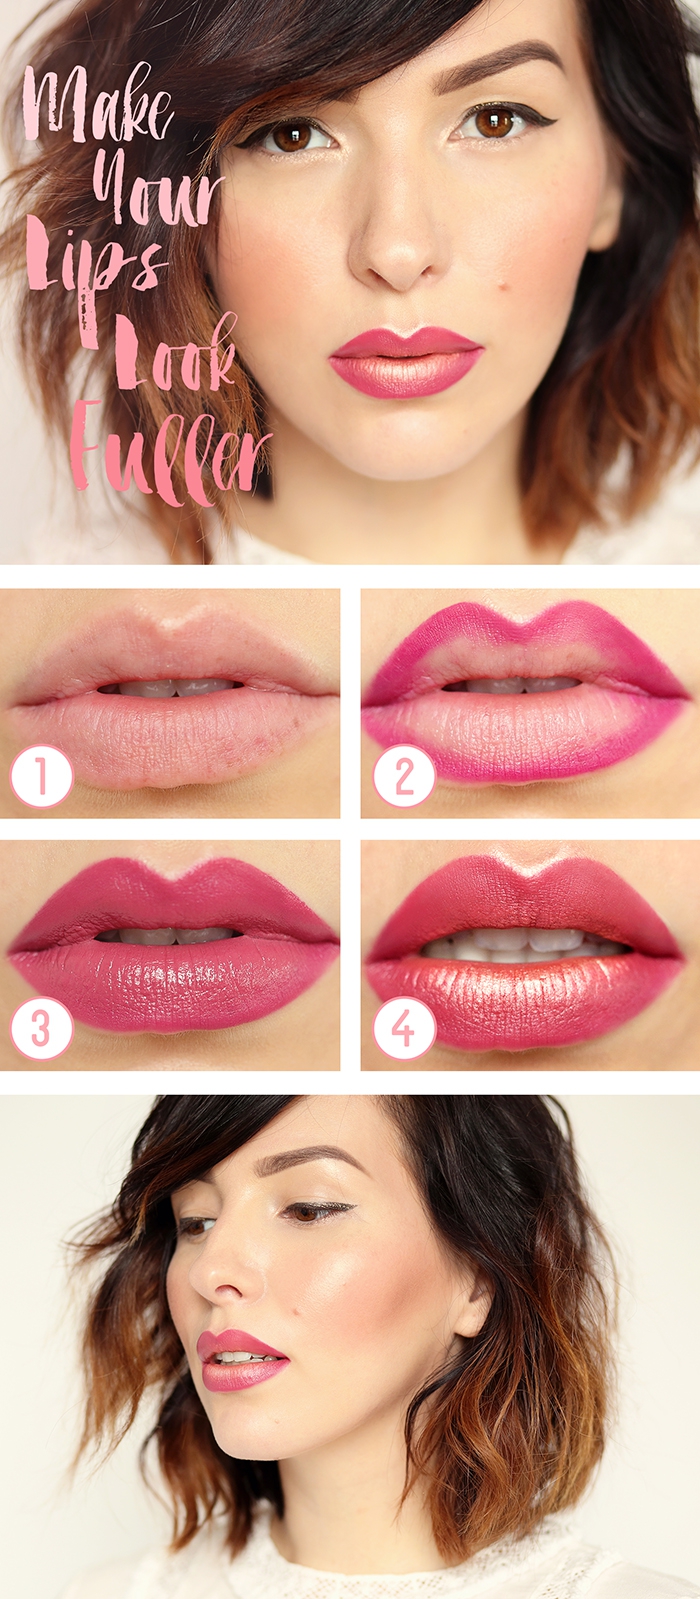
The concept of using a slightly darker lip liner isn’t about creating a harsh 90s outline. It’s about creating depth. By subtly tracing your lips with a liner one shade deeper than your lipstick, then filling in with the brighter red, you create a 3D effect that makes lips appear fuller and more defined. Blend the line inward for a seamless transition.


In a 2017 study by the University of Gettysburg, waitresses who wore red lipstick were tipped approximately 50% more by male customers.
While we can debate the social implications, it underscores the subconscious power and attention-grabbing nature of the color red in a service environment.

Is a lip primer really necessary?
For a long-lasting red, yes. A dedicated lip primer, like the one from Anastasia Beverly Hills, does more than just moisturize. It creates a smooth, grippy surface that fills in fine lines, prevents color from bleeding, and gives your lipstick something to cling to, extending its life significantly.
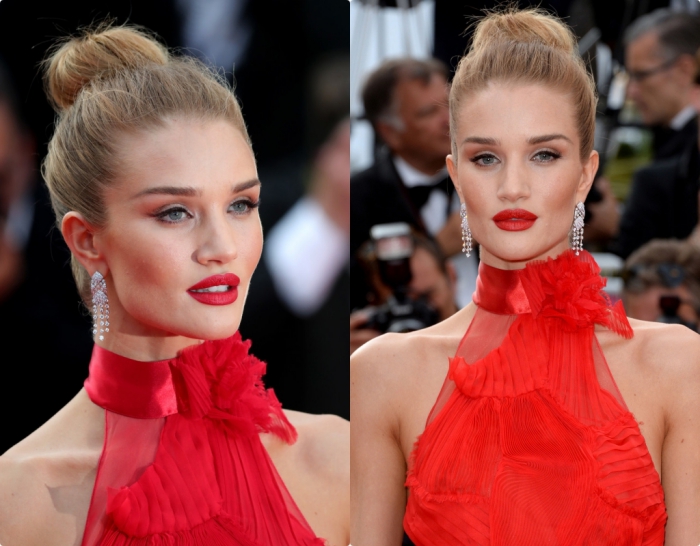
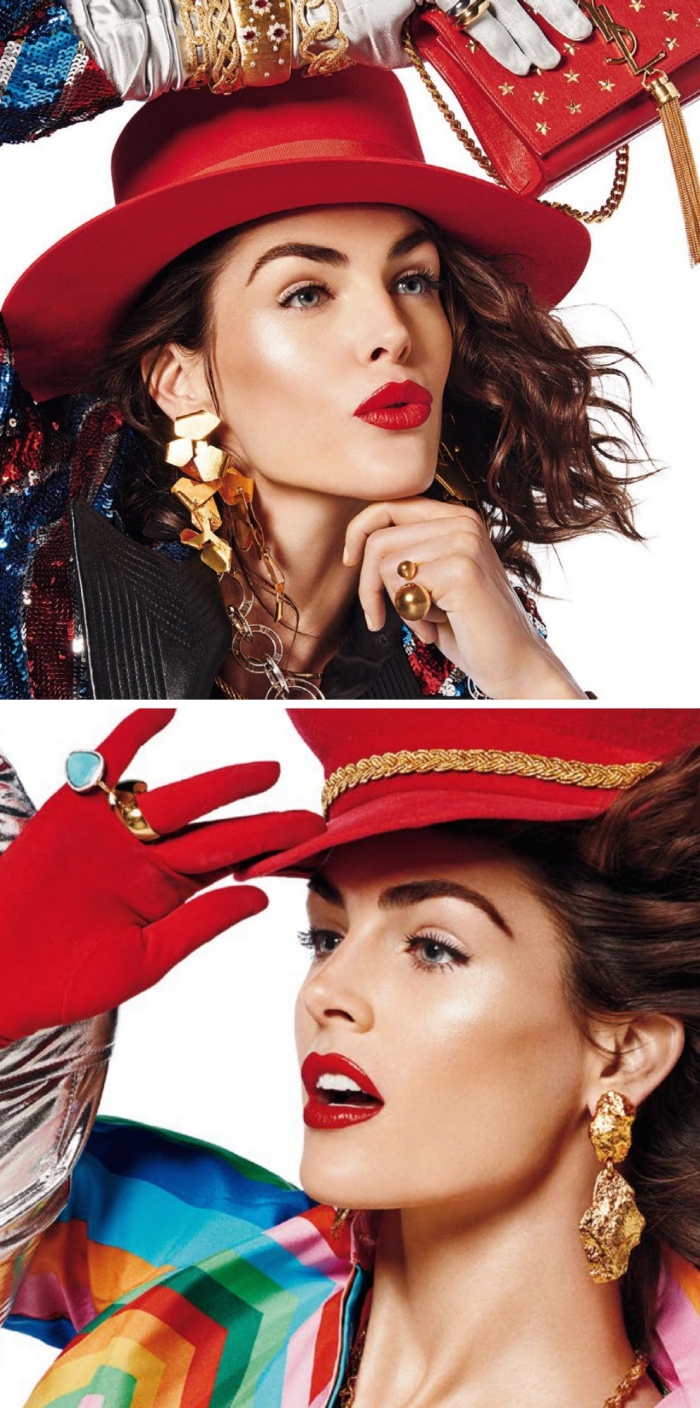
From Marilyn Monroe’s iconic pout to Taylor Swift’s signature look and Alexandria Ocasio-Cortez’s ‘power red’ (Stila Stay All Day Liquid Lipstick in ‘Beso’), the red lip has long been a symbol of glamour, confidence, and authority. It’s a look that transcends trends and speaks a universal language of boldness.
One of the biggest mistakes is applying a bold, creamy lipstick without a lip liner. The liner acts as a dam, preventing the emollient formula from migrating and ‘feathering’ into the fine lines around your mouth. No matter how precise you are with the bullet, skipping this step is asking for a messy result within an hour.

DIY Lip Scrub: Mix one teaspoon of brown sugar with half a teaspoon of coconut oil and a tiny drop of honey. Gently massage the mixture onto your lips for 30 seconds, then rinse with warm water. This removes dead skin and leaves your lips perfectly prepped and hydrated for color.
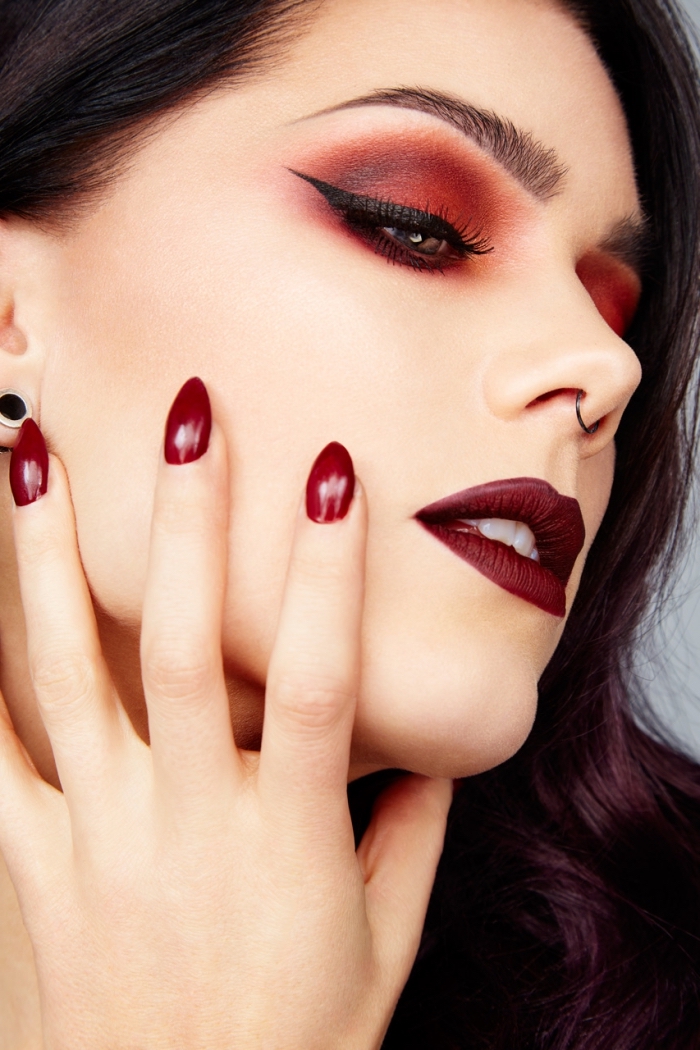
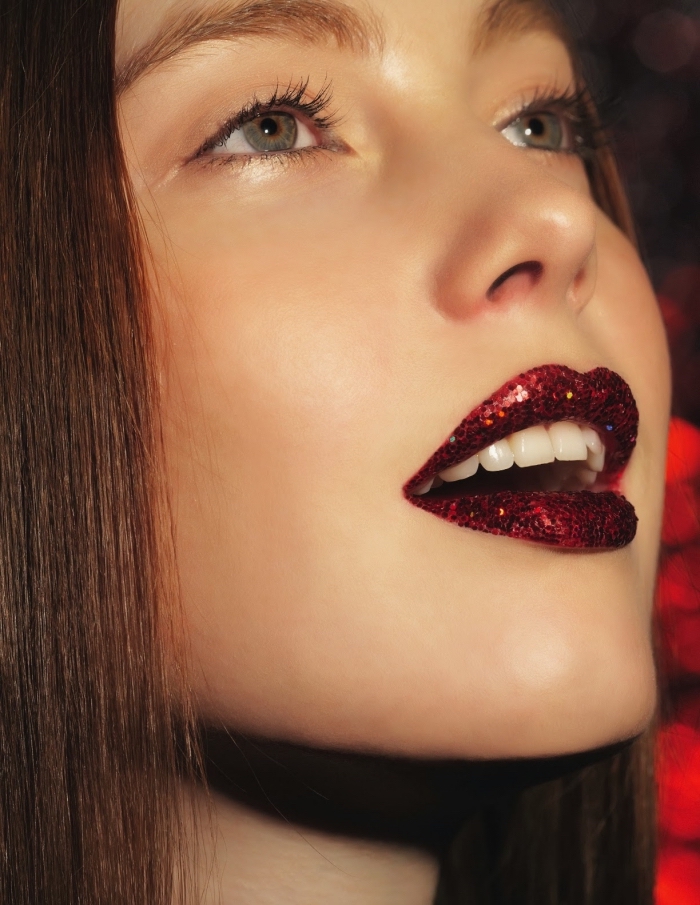
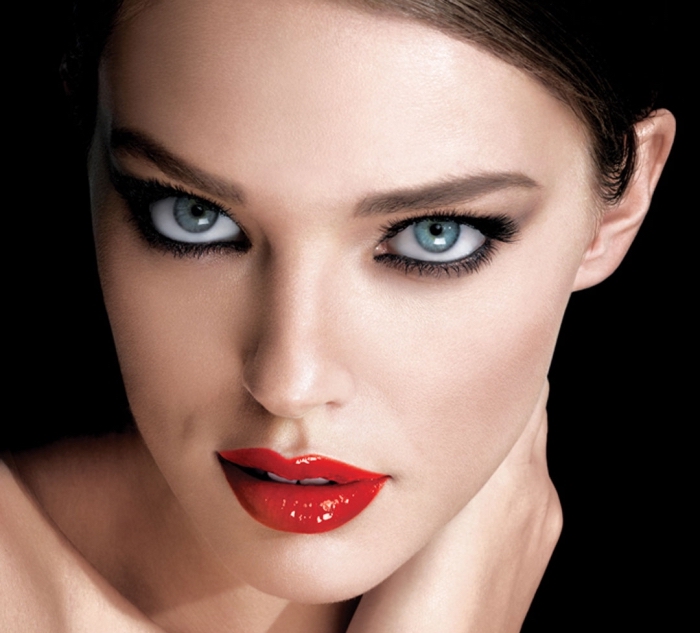
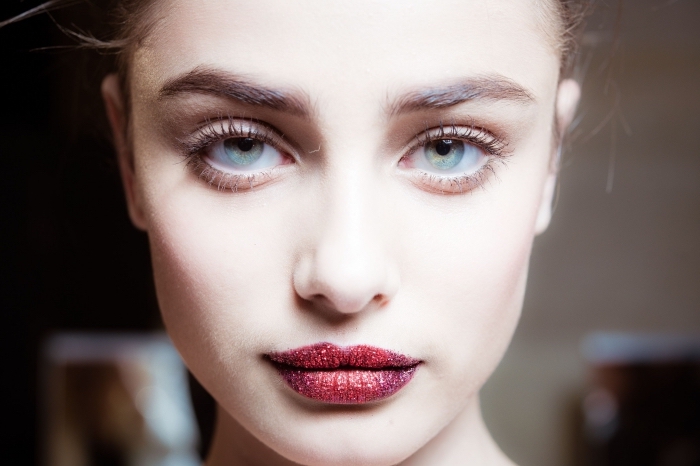
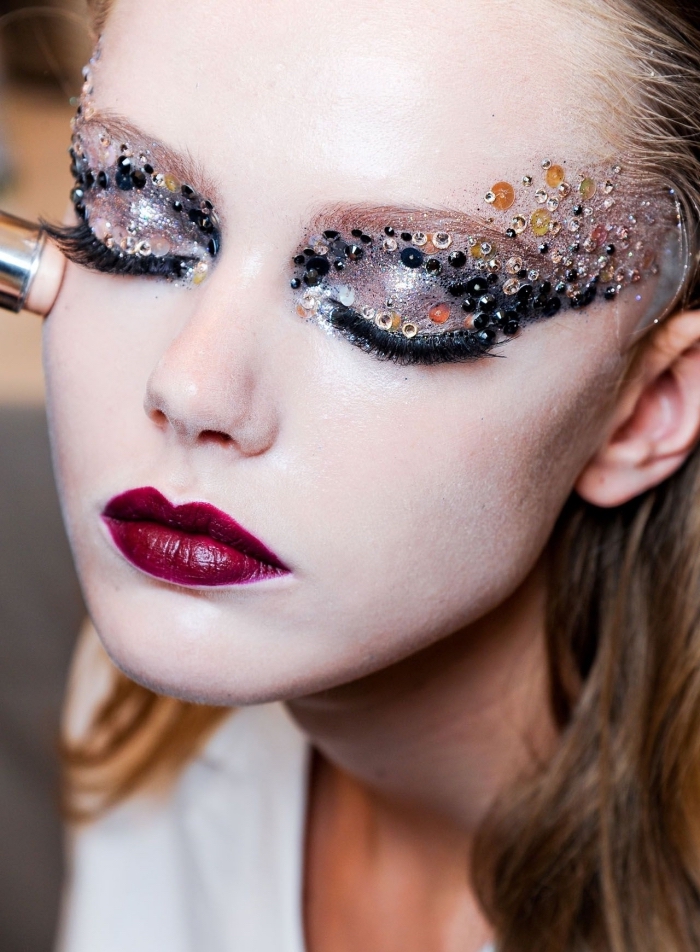
Move over, ultra-matte. The latest trend is the ‘vinyl lip.’ Think of the intense color of a liquid lipstick combined with the high-shine, almost wet look of a gloss. Brands like KVD Beauty and Urban Decay offer formulas that provide this mirror-like finish without the stickiness, for a bold, modern, and daring red.