Flawless All Night: The Real Pro’s Guide to Bulletproof Makeup
After years in the makeup business, I’ve seen every trend you can imagine. But you know what never goes out of style? Makeup that looks incredible and actually stays put through a whole special evening. We’re talking about makeup that survives dinner, drinks, and dancing without a second thought.
In this article
It’s not about copying a look from a magazine. It’s about learning the core techniques that build a polished, durable look that still feels like you.
So many people get hung up on the colors, but honestly, the secret to a long-lasting look is 80% what you do before makeup even touches your face. I learned this the hard way, working with clients who needed their look to be perfect for 12+ hours of photos, happy tears, and celebration. Let’s walk through the whole process, from skin prep to the final spray, so your makeup looks just as fresh when you get home as it did when you left.
Let’s Talk Skin Prep: The Real Foundation of Your Look
You wouldn’t build a house on a shaky foundation, right? Same goes for your face. A smooth, hydrated canvas is the absolute key to having products blend like a dream and stick around for hours. Skipping this is, hands down, the biggest mistake I see. It’s the difference between a flawless finish and a patchy, cakey mess by the time you order appetizers.
Your skin has its own delicate balance. When that’s off, it can get too dry or produce extra oil to compensate, and your makeup just won’t sit right. Dehydrated skin will literally drink the moisture from your foundation, making it look splotchy. On the flip side, oily skin can cause your makeup to break down and slide right off. The goal here is to get your skin calm, hydrated, and ready for what’s next.
My Go-To Skin Prep Routine
I suggest doing this an hour or two before you start your makeup. A big heads-up, though: NEVER try a brand-new, powerful product on the day of a big event. I once had a client use a strong acid peel for the first time on the morning of her sister’s wedding. She showed up with red, angry skin that was impossible to work with. Test any new active ingredients at least a week beforehand!

Here’s a simple checklist to follow:
- Gentle Cleanse: Start with a mild, hydrating cleanser. If you’re taking off old makeup, I swear by the double cleanse method. First, use an oil-based cleanser to dissolve all the makeup and sunscreen. Then, follow up with a gentle gel or cream cleanser. This leaves your skin perfectly clean without feeling stripped.
- Light Exfoliation (Optional, Be Careful!): If you’re dealing with some flaky spots, a very gentle exfoliant can be a lifesaver. I lean towards chemical exfoliants with something like lactic acid over a gritty physical scrub, which can cause tiny tears and irritation. And again, this isn’t the time to experiment!
- Hydration is Everything: This is the most critical step. On damp skin, apply a hydrating serum. Look for one with hyaluronic acid, which is amazing for pulling moisture into the skin. A fantastic budget-friendly option is The Ordinary’s Hyaluronic Acid 2% + B5, which is usually under $10. Let that sink in for a minute, then follow up with a moisturizer for your skin type—a lightweight gel for oily skin, or a richer cream for dry skin.
- Wait a Bit: Here’s a pro tip. After you moisturize, wait at least 10 minutes before putting anything else on. This is the perfect time to do your eye makeup! It gives the moisturizer time to fully absorb and prevents your primer and foundation from pilling up.
- Prime the Surface: Primer is the final barrier between your skin and your makeup. For oily skin, a mattifying primer like the e.l.f. Power Grip Primer (around $10) is a great, affordable choice to control shine. If you have dry skin, an illuminating one can give you a gorgeous glow. Spend a bit more, and you can get something like the Milk Makeup Hydro Grip Primer (around $38), which is a cult favorite for a reason.

Choosing Colors That Just Work
Trendy colors are fun, but for a timeless, sophisticated look, it’s all about what complements you. It really just comes down to understanding your skin’s undertones.
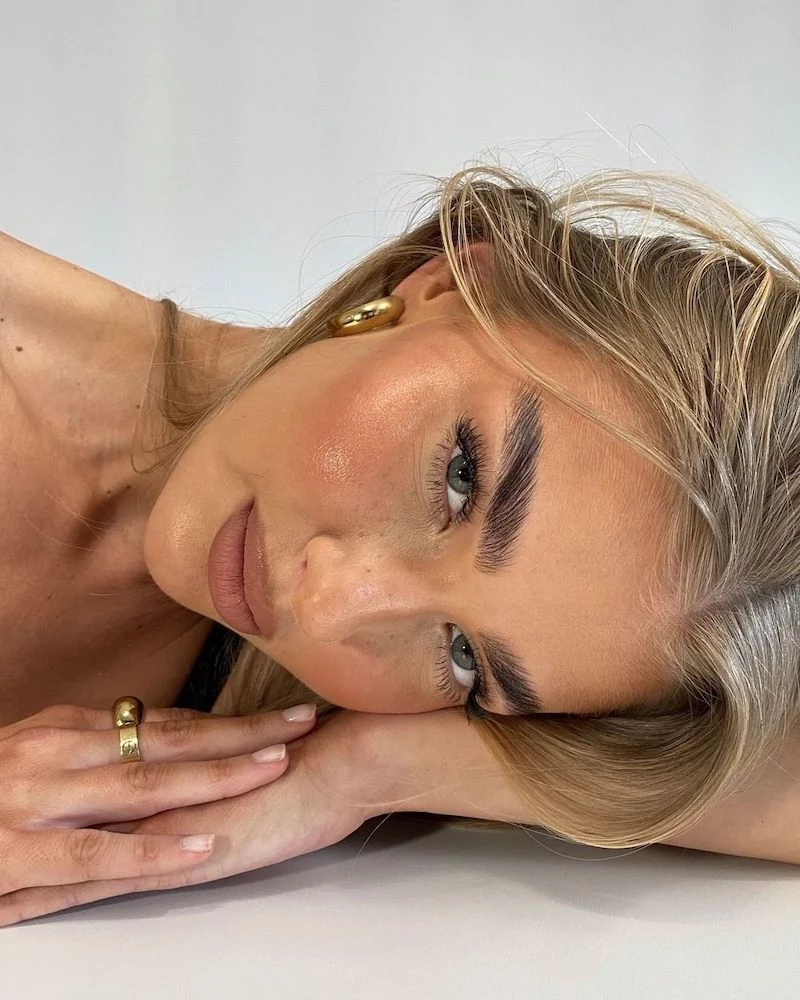
Your undertone is the subtle hue beneath your skin’s surface. A quick way to check is to look at the veins in your wrist. If they look bluish, you’re likely cool-toned. If they look greenish, you’re probably warm-toned. Can’t really tell? You might be neutral.
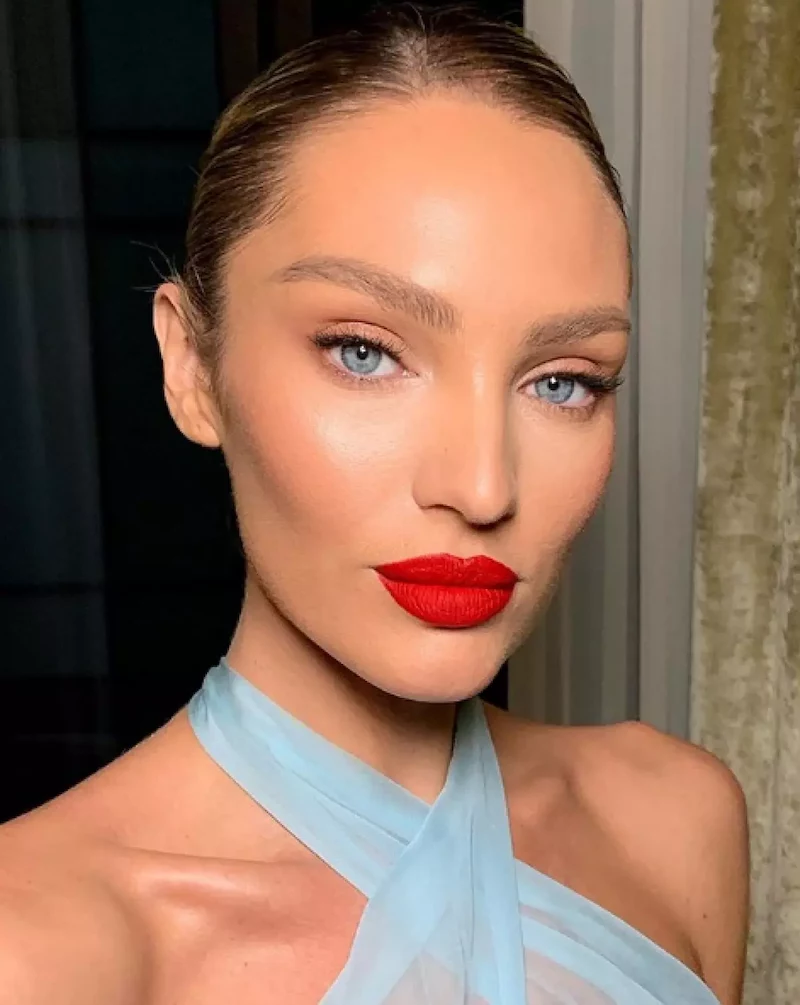
This is a superpower when choosing shades. Take a classic red lip, for instance. It’s not one-size-fits-all. Cool undertones look stunning in blue-based reds (think raspberry), like the iconic MAC Lipstick in ‘Ruby Woo’. Warm undertones, on the other hand, just glow in orange-based reds (think brick or poppy), like Fenty Beauty’s Stunna Lip Paint in ‘Uncensored’. Picking the wrong one can make your whole complexion look off.
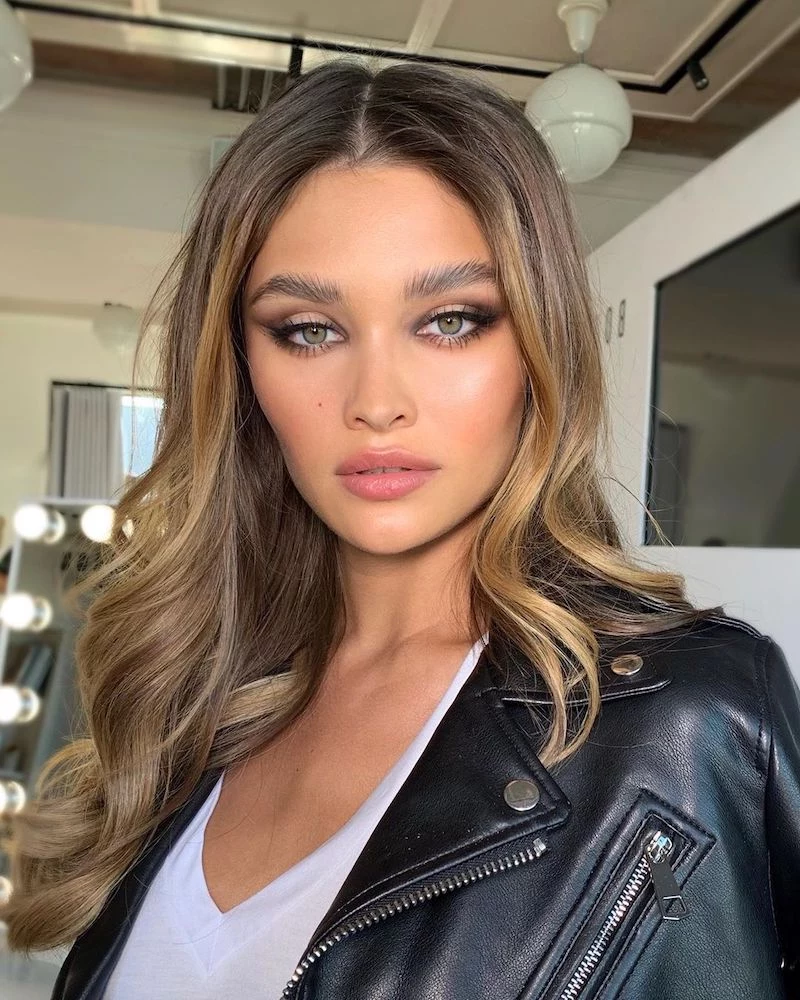
And remember to create balance. If you’re going for a bold, smoky eye, a softer, more muted lip is usually the way to go. If you’re rocking a statement lip, keep the eyes simple and defined. It’s all about creating one beautiful focal point.

Mastering the Eyes Without the Fuss
You don’t need a ten-step eyeshadow routine to make your eyes pop. It’s more about smart placement and good blending.
The Eyeliner Trick Everyone Should Know
Want your lashes to look thicker without a heavy line? Try tightlining. You just take a waterproof pencil liner and gently apply it to your upper waterline, right at the base of your lashes. It fills in the gaps and adds incredible definition. It’s a total game-changer.
For a classic wing, don’t try to draw it in one go. Use short, connecting strokes. And a liquid liner pen generally offers the most control if you’re just starting out.
Blending Eyeshadow Like You Know What You’re Doing
Muddy eyeshadow is usually caused by two things: skipping a transition shade and not blending correctly. An eyeshadow primer is non-negotiable here; it gives the powders something to stick to and prevents creasing.
Here’s a simple, four-step process for a defined eye:
- The Transition Shade: Grab a matte shadow that’s a couple of shades darker than your skin. For fair skin, a soft taupe is perfect. For deeper skin tones, a warm terracotta is gorgeous. Using a fluffy brush, sweep this into your crease with back-and-forth motions.
- Lid Color: Pat your main color (shimmer or matte) onto your mobile lid with a flat brush. Patting gives you way better color payoff than sweeping.
- Outer Corner Definition: Use a smaller brush to apply a darker shade to the outer third of your eye in a little “V” shape. This adds instant depth.
- Blend, Blend, Blend: With your original fluffy brush (and no extra product!), gently soften the lines where the colors meet. The goal is soft gradients, not a muddy mix.
By the way, a quick safety note: please only use products rated for eye safety. Craft glitter is a huge no-no; it can contain metal and scratch your cornea. And always, always clean your brushes to prevent nasty infections.

The Perfect Lip That Lasts Through Anything
A beautiful lip color that stays comfortable and doesn’t end up on your chin? It’s possible.
The secret is all in the prep and layering. First, gently exfoliate your lips with a sugar scrub or a damp washcloth. Apply a thin layer of lip balm, let it sink in for ten minutes, then blot off any excess. If you apply lipstick over slippery balm, it’s just going to slide around.
Next, use a lip liner that matches your lipstick to line and completely fill in your lips. This waxy base gives the lipstick something to grip. Apply your first layer of lipstick with a brush for precision. Then, take a single-ply tissue, lay it over your lips, and press gently. This blots away oils and leaves the pigment. Apply a second, thin layer of lipstick, and you’re good to go. This layering technique is what builds serious staying power.
That Final Step: Lock It All In
Okay, so what’s the deal with setting spray versus finishing spray? They sound similar but have totally different jobs.
- Setting Spray is like hairspray for your face. It usually contains polymers that form a film over your makeup, making it transfer-resistant and super long-lasting. This is your best friend for weddings or hot, humid nights. A fantastic option is the Urban Decay All Nighter Setting Spray (about $36), but the NYX Matte Finish Makeup Setting Spray does a great job for around $10.
- Finishing Spray has a different mission. Its job is to melt all the powder products together, getting rid of that “powdery” look and making everything look like real skin. It gives a beautiful, seamless finish.
For most evenings out, a good finishing spray is all you need to look polished and help your makeup last.
A Few Pro-Fixes for Common Headaches
Even with the best prep, things can happen. Here are a couple of quick fixes:
- Problem: My foundation looks a little cakey.
Fix: Mist your face with a finishing spray (like MAC Prep + Prime Fix+) and gently press—don’t rub!—a clean, damp makeup sponge over the area. This will melt the product back into the skin. - Problem: My under-eye concealer is creasing.
Fix: You’re probably using too much product. Apply a thinner layer, and immediately set it with a very fine, lightweight powder before it has a chance to settle into lines. - Problem: My red lipstick smudged!
Fix: Don’t wipe it! Take a cotton swab with a tiny bit of moisturizer, carefully clean up the edge, then use a small brush with a bit of concealer to redefine the lip line.
When to Just Call a Pro
You can absolutely get a stunning, long-lasting result at home with these tips. But sometimes, hiring a professional makeup artist is the best move. For huge events with lots of photos, or if you just want to relax and feel pampered, an artist is a great investment. Expect to pay anywhere from $150 to $500+, depending on the artist’s experience and your location. We have kits stocked with battle-tested products and the training to make anyone look and feel their absolute best.

At the end of the day, makeup should be fun. It should make you feel powerful and confident. Practice these techniques, find what you love, and enjoy the process of creating a look that’s all you.
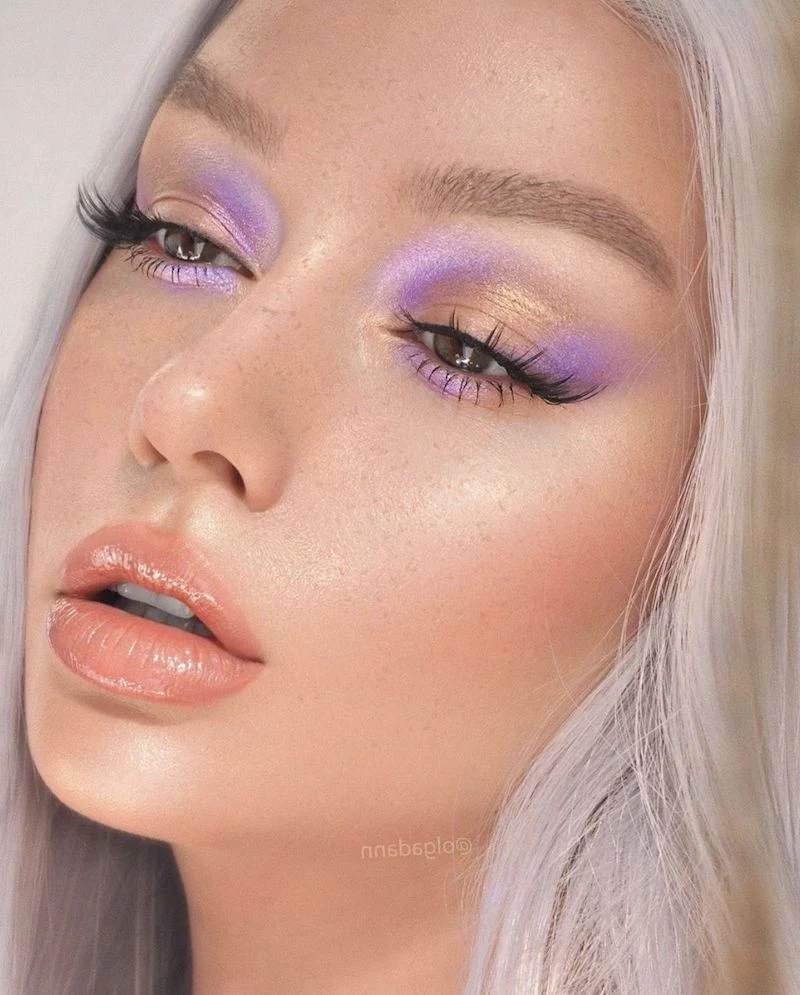
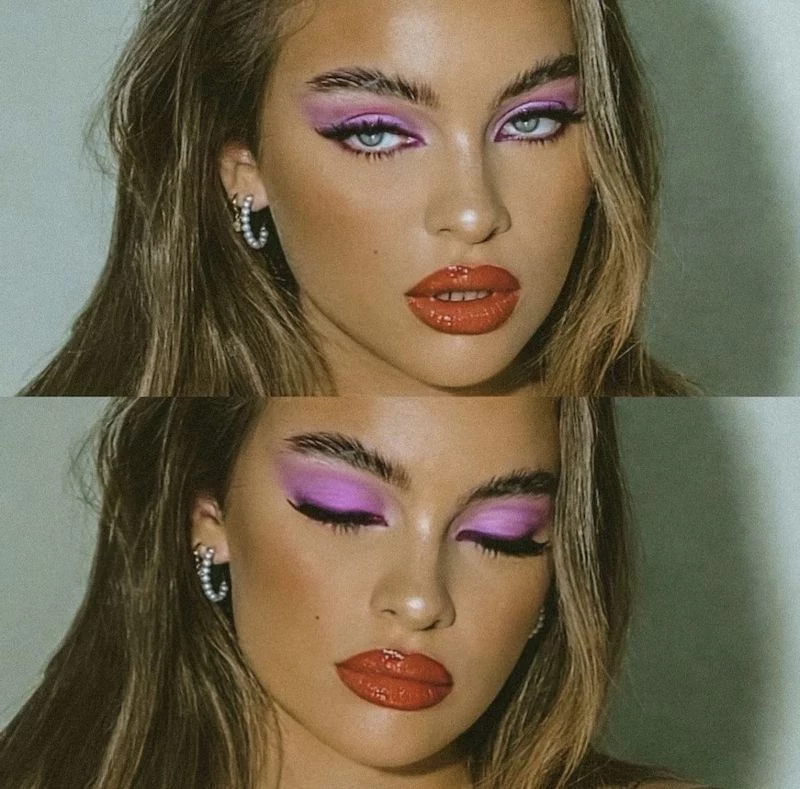
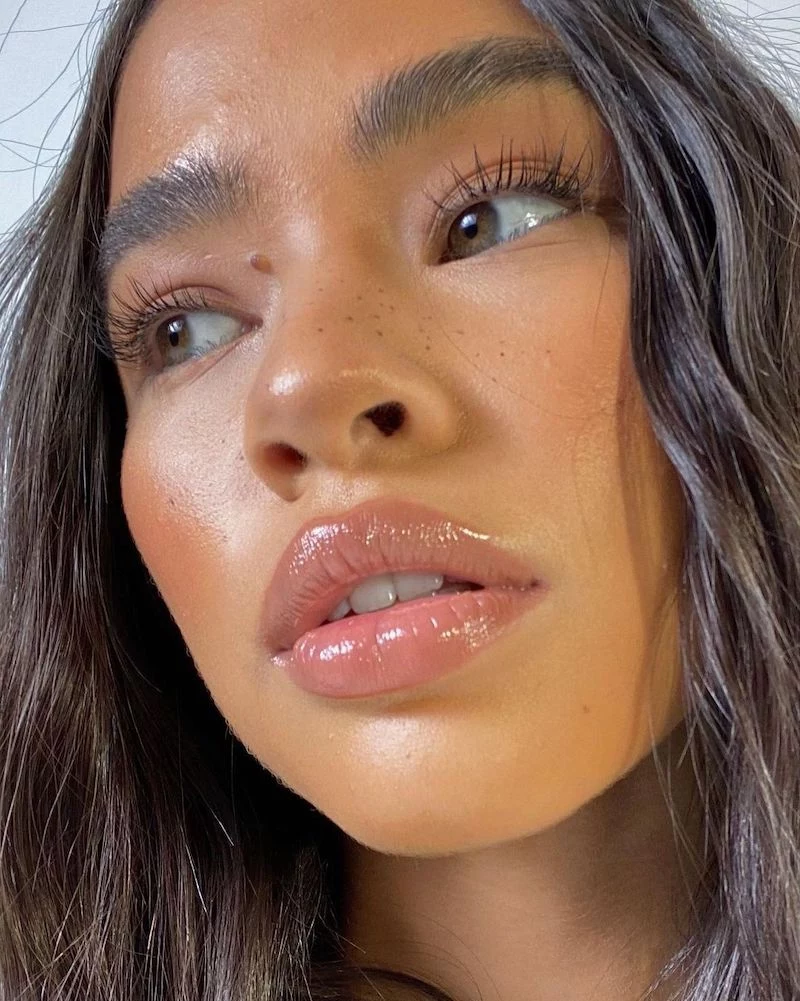
Inspirational Gallery

Setting Spray Showdown: Mist for the Mission
For a matte, locked-in feel: Urban Decay’s All Nighter is the industry gold standard for a reason. It creates a micro-fine film that literally holds makeup in place through sweat and humidity.
For a dewy, skin-like finish: MAC Prep + Prime Fix+ is less about locking down and more about melting powders into the skin for a seamless, hydrated glow. It refreshes and finishes. Your choice depends on the final texture you’re after!
- Prevents the dreaded

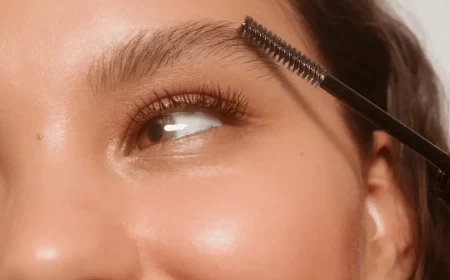
Don’t underestimate the power of an eye primer. A tiny dab of a dedicated formula, like the cult-favorite Urban Decay Primer Potion, creates a perfect canvas for eyeshadow. It grips onto pigment, making colors appear more vibrant and, most importantly, prevents the dreaded creasing in the eyelid fold, even after hours of wear.

How do I get that trendy, glossy lip to actually last through a drink?
The key is to create a durable base color before you add the shine. Start by filling in your entire lip with a long-wear lip liner. Apply a lip stain or a liquid matte lipstick, let it dry completely, and then top it with a high-shine gloss like the Fenty Beauty Gloss Bomb. The color will stay put, and you’ll only need to reapply the gloss for a quick refresh.

According to a study published in the International Journal of Cosmetic Science, the average lipstick wearer reapplies their product 2 to 14 times a day.
To stay on the lower end of that range during an event, always blot. Apply your first layer of lipstick, press a thin tissue over your lips, and lightly dust translucent powder over the tissue. Apply a second layer of lipstick. This sets the initial layer of oils and waxes, giving your color serious staying power.

The essential clutch-sized touch-up kit:
- Blotting Papers: To absorb oil without disturbing makeup. The Tatcha Aburatorigami Japanese Blotting Papers are a luxurious, effective choice.
- Your Lipstick: For a post-dinner refresh.
- A Pressed Powder Compact: For targeted mattifying. A small one like the Fenty Beauty Invisimatte Blotting Powder is perfect.
- Cotton Swabs: To instantly fix any smudges under the eye or around the lip.

The feeling of confidence when you catch your reflection hours into a party and your makeup is still impeccable? Priceless. It’s not about vanity; it’s about freedom. The freedom to laugh, dance, and live in the moment without worrying about a smudged wing or a faded lip. That’s the real power of a bulletproof look.

A critical misstep: Applying a thick, single layer of foundation. This is a recipe for a cakey finish that can crack and separate. For a durable, skin-like look, always apply foundation in multiple, whisper-thin layers. Use a damp beauty sponge or a stippling brush to build coverage only where you need it, letting your natural skin show through elsewhere. This technique ensures the product becomes one with your skin, rather than sitting on top of it.

Why does my blush always disappear first?
It’s often the first thing to fade because the natural oils on your cheeks break it down. The pro-level solution is layering. Apply a cream or liquid blush first, like a dab of Rare Beauty’s Soft Pinch Liquid Blush, and blend it out. Let it set, then lightly sweep a powder blush in a similar shade over the top. This creates a multi-dimensional color that lasts all night.
Ever heard of

Your skin does its most important repair work while you sleep. Leaving on a full face of long-wear makeup, especially heavy primers and foundations, can clog pores and interfere with this natural cell turnover process. For removal, a single face wipe won’t cut it. Embrace the double cleanse: start with an oil-based cleanser (like the DHC Deep Cleansing Oil) to dissolve stubborn products, then follow with your regular gentle face wash.
The Unsung Hero: Lip Liner
Think of lip liner as the primer and frame for your lipstick. For ultimate longevity, don’t just line the edges. Use a sharpened pencil that matches your lipstick to fill in your entire lip. This creates a waxy, pigmented base that your lipstick can adhere to, preventing both bleeding and premature fading in the center.
- Applying foundation directly onto dry, un-moisturized skin.
- Using your fingers to apply foundation when you want it to last (the oils on your hands can break it down).
- Dusting finishing powder all over your face, creating a flat look instead of targeting just the T-zone.
- Forgetting to set your under-eye concealer, leading to inevitable creasing.

Gel Eyeliner: Typically found in a pot and applied with a brush (like the classic Bobbi Brown Long-Wear Gel Eyeliner), it offers a rich, creamy application that’s perfect for creating a soft, smoky wing. It allows for more playtime before it sets.
Liquid Eyeliner: Delivered via a felt tip or brush pen (like Stila’s Stay All Day Waterproof Liquid Eye Liner), this provides the sharpest, most precise, and intensely pigmented lines with incredible, budge-proof staying power once dry.
Ever notice how a matte look can sometimes appear flat or aged? The secret to modern, long-lasting makeup is ‘strategic dewiness.’ After setting your T-zone with a fine powder like the Laura Mercier Translucent Loose Setting Powder, bring life back to the high points of your face. A light tap of a non-glittery liquid highlight on the cheekbones and brow bone adds dimension without compromising the longevity of your base.