Your Ultimate Guide to Melt-Proof Makeup (That Actually Feels Good)
Ever walk outside on a hot day and feel like your face is in a race to slide into your lap? Yeah, we’ve all been there. It’s that age-old question: “How do I stop my makeup from melting off my face?” And honestly, those ads for “24-hour sweat-proof” everything don’t really tell you the whole story.
In this article
- First, Why Your Makeup Melts
- The Unskippable Step: Sunscreen That Plays Nice
- The Foundation of Flawless: Prep & Prime
- Building a Base That Breathes
- Color That Clings: Cheeks, Lips, and Eyes
- Playing with Textures (Without Making a Mess)
- Quick Fixes: Troubleshooting Common Summer Makeup Fails
- Galerie d’inspiration
Let’s be real—no makeup is totally invincible against serious heat and humidity. Our bodies sweat to cool down, and our skin often pumps out more oil when it’s warm. Trying to fight that with layers of thick, heavy products is a battle you’re going to lose. It just leads to that gross, cakey feeling, clogged pores, and makeup that separates and looks patchy. The real pro secret isn’t about fighting your skin; it’s about working with it.
This guide isn’t about chasing some wild trend you saw online. It’s about the foundational techniques that pros use to make makeup last through 12-hour events in the middle of summer. Once you get the hang of it, this whole routine can be done in about 20-25 minutes, and the payoff is huge. My goal is to give you the know-how to build a summer makeup routine that feels light, looks fresh, and actually sticks around.
First, Why Your Makeup Melts
Before you even think about picking up a brush, you need a little background on what’s happening on your skin. Your success hinges more on this than any single product, I promise. Your skin has two things working against your makeup in the heat: sweat (which is water) and sebum (which is oil).
When it’s hot, you produce more of both. This creates a slick, chaotic surface where water-based sweat dissolves some products and oil-based sebum breaks down others. It’s a recipe for disaster, and it’s why that foundation that looks flawless in the winter looks like a separated mess in July.
Good to know: This is where a little label-reading comes in handy. You generally want to layer products with similar bases. To figure out what you’re working with, check the first few ingredients. If ‘Aqua’ or ‘Water’ is at the top, it’s water-based. If you see words ending in ‘-cone’ or ‘-siloxane’ (like dimethicone), it’s silicone-based. Trying to put a water-based foundation over a heavy, oil-based moisturizer is like mixing oil and water—it just won’t work.
The Unskippable Step: Sunscreen That Plays Nice
Sunscreen is non-negotiable. Period. But, a lot of them can make your makeup situation worse. Thick, greasy formulas are a one-way ticket to a makeup meltdown. You’ll want to look for sunscreens described as a “gel,” “fluid,” or “essence.” These are designed to sink in fast without leaving a heavy film behind. Honestly, Japanese and Korean sunscreens are often fantastic for wearing under makeup because they’re made to feel invisible.
A quick tip: Always, and I mean always, let your sunscreen set for a good 5 to 10 minutes before you even think about makeup. This gives it time to form its protective layer so it won’t mix with your foundation and cause pilling.
But How Do You Reapply Sunscreen Later?
This is the million-dollar question, right? You did everything perfectly, but now it’s 2 p.m. and your sun protection is wearing off. Don’t panic! You have a couple of great options that won’t destroy your hard work:
- SPF Setting Sprays: These are a game-changer. Think of them as a setting spray with sun protection. After you’ve been out for a couple of hours, just lightly mist your face to refresh your makeup and top up your SPF. Brands like Supergoop! and Coola make some really popular ones.
- Powder Sunscreens: These are mineral-based sunscreens in a loose powder format, often in a convenient self-dispensing brush. You can lightly dust it over your face, especially the T-zone, to reduce shine and add protection. ILIA and Supergoop! have versions that are pretty much invisible on the skin. It’s perfect for a quick, mess-free touch-up.
The Foundation of Flawless: Prep & Prime
How you prep your skin in the first ten minutes determines how your makeup will look eight hours later. This is the step pros never, ever rush.
Step 1: Get Your Skin Ready
Start with a clean, cool face. If you’re feeling hot, splashing your face with cold water or even using a chilled gel mask for a few minutes can calm the skin and temporarily tighten up pores. Next up is hydration, but keep it light. Heavy creams are the enemy here. Go for a hydrating serum with something like hyaluronic acid, which pulls moisture into the skin without adding weight. Follow that with a gel or gel-cream moisturizer. These are usually water-based and absorb completely, leaving nothing greasy behind. You’d be surprised how often “oily” skin is actually just dehydrated skin that’s overproducing oil to compensate.
Step 2: Pick the Right Primer
Primer is a must in high-heat situations. It creates a buffer between your skin’s oils and your makeup, giving your foundation something to grip onto. The trick is using the right one for you, and only where you need it.
- For Oily Skin: A mattifying, silicone-based primer is your best friend. Press a small amount into your T-zone (forehead, nose, chin) with your fingertips. Don’t rub! Pressing it in helps fill pores for a smooth finish. The e.l.f. Power Grip Primer is a fantastic budget option at around $10, while the Milk Makeup Hydro Grip Primer is a cult favorite for a reason, though it costs a bit more at about $38.
- For Dry or Normal Skin: You can stick with a hydrating primer. Just be careful with anything too “illuminating,” as a subtle glow can quickly turn into a greasy-looking shine in the summer humidity. Sometimes I mix a tiny drop of illuminating primer with a smoothing one to get the best of both worlds.
And let that primer set for a full minute! You need it to form a film. If you rush, it’ll just mix with your foundation and defeat the whole purpose.

Building a Base That Breathes
The goal for a summer base is to even out your skin tone without looking like you’re wearing a mask. The more product on your face, the more there is to melt and get cakey. Less is truly more.
Which Foundation Formula is Best?
Heads up, that full-coverage foundation you love might not be the best choice for daily wear in the heat. For real life, consider these options:
- Skin Tints & Tinted Moisturizers: These are the most forgiving. They offer a sheer wash of color to even things out without hiding your skin. They’re super lightweight and feel like nothing.
- Water-Based Foundations: These feel light and airy and are awesome for normal to oily skin. They typically give you light-to-medium coverage with a very natural finish.
- Long-Wear, Silicone-Based Foundations: If you really need more coverage for a special event, this is your go-to. They are built to resist transfer and moisture, but you have to apply them in thin layers to keep them from looking heavy.
My favorite application method for summer is a damp makeup sponge. It sheers out the product and presses it into the skin for a durable, second-skin finish. Brushes tend to lay down more product, which is what we’re trying to avoid. And here’s a technique I use all the time: spot concealing. Instead of slathering foundation everywhere, just apply it where you need it—like on red areas. Then, use a tiny brush and a high-coverage concealer to dot over any blemishes. This leaves most of your skin free to breathe, which makes a huge difference in comfort and longevity.
Lock It In: The Smart Way to Set
Setting your makeup does not mean “baking” your face with a thick layer of powder. That looks heavy and dry in person. The pro approach is much more strategic.
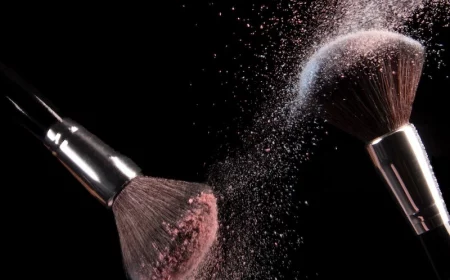
Use a very finely milled, translucent loose powder. Instead of a big fluffy brush, grab a smaller brush or a powder puff. Lightly press and roll the powder only onto the areas that get oily or where makeup tends to move, like your T-zone and under your eyes. Leave the high points of your face, like your cheekbones, mostly bare to keep some natural dimension.
Finally, setting spray is your secret weapon. These sprays create a flexible, invisible shield over your makeup that resists sweat and friction. Hold the bottle about a foot from your face and mist in an “X” and “T” motion. A light mist is all you need to meld all the layers together and lock everything in place.

Color That Clings: Cheeks, Lips, and Eyes
Now for the fun part! The key here is using formulas that fuse with the skin instead of just sitting on top of it. That means creams and liquids are your best friends.
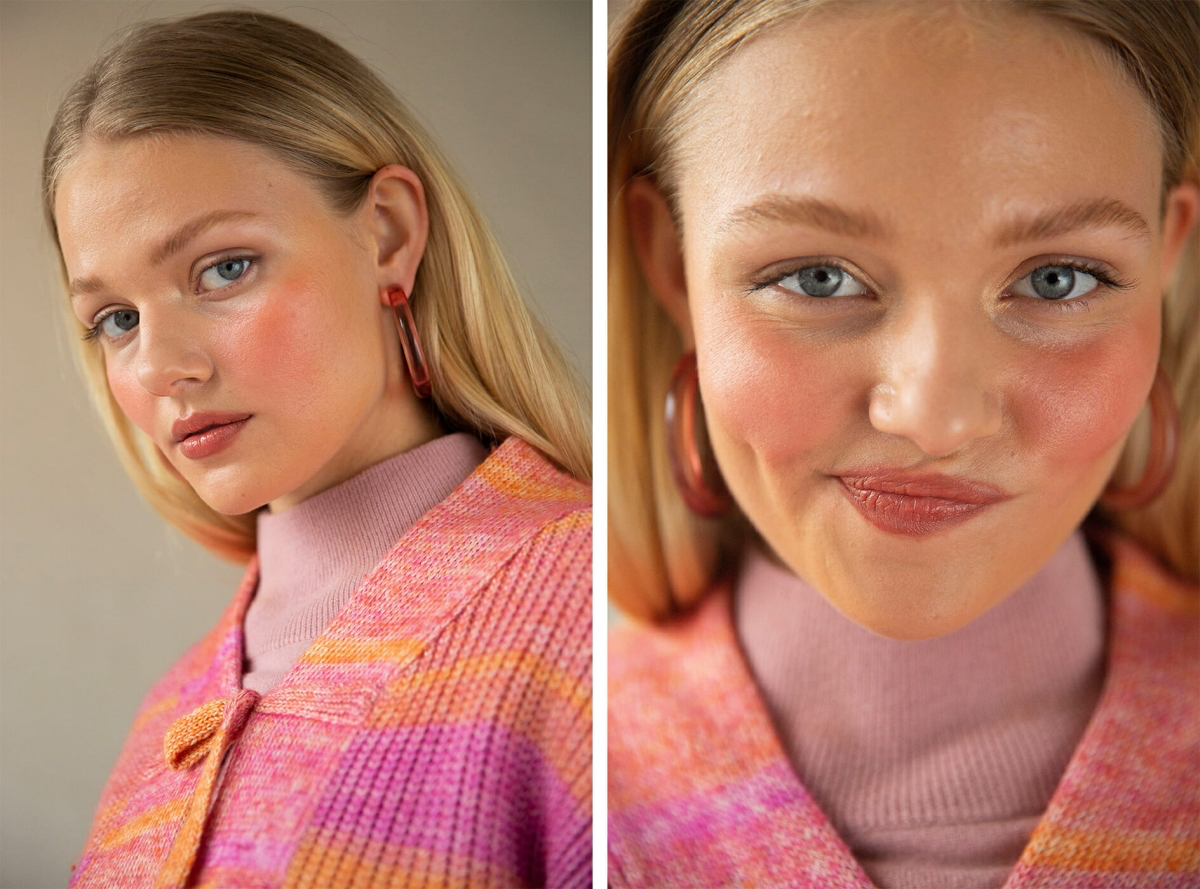
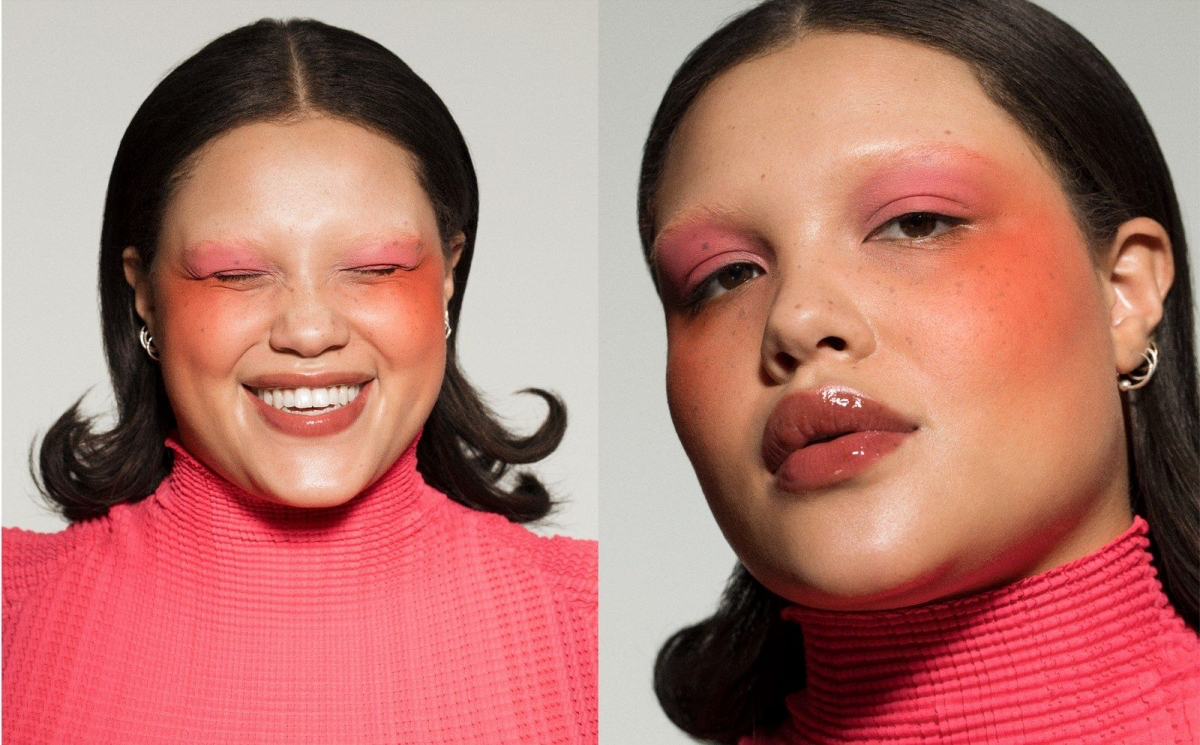
- For Cheeks: A powder blush can look patchy on oily skin. Cream or liquid blushes are way better for summer because they melt right in. Apply a cream blush with your fingers before you powder. For major staying power, apply the cream blush, lightly set it with translucent powder, and then tap a tiny bit of a matching powder blush on top. That color isn’t going anywhere.
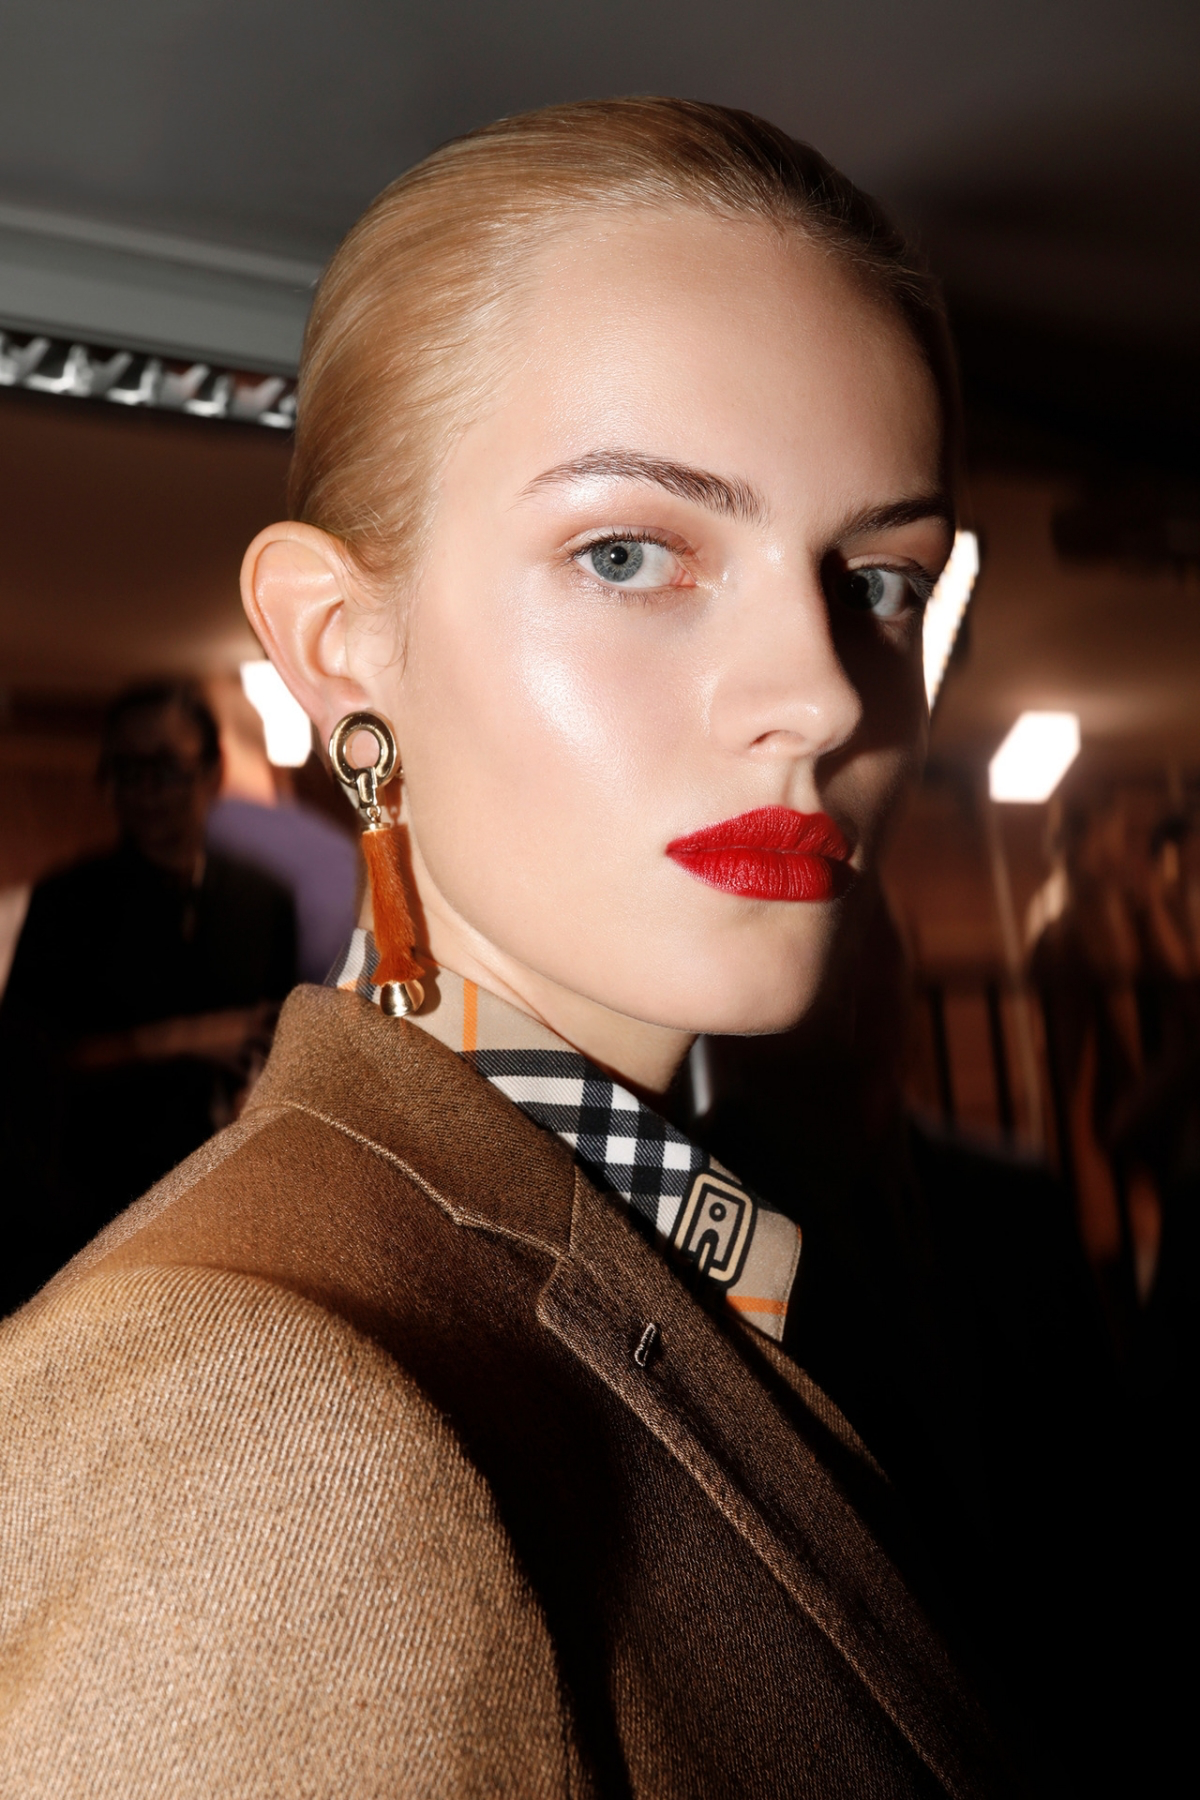
- For Lips: A thick, creamy lipstick will smudge, and a sticky gloss is just asking for your hair to get stuck in it. Lip stains are perfect for a low-maintenance, popsicle-stained look. If you want a bold lip, a long-wear liquid lipstick is the way to go. Apply one thin layer and let it dry completely without smooshing your lips together. It’ll be transfer-proof for hours.
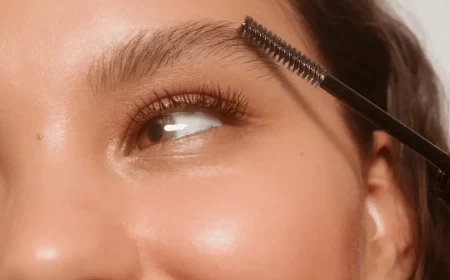
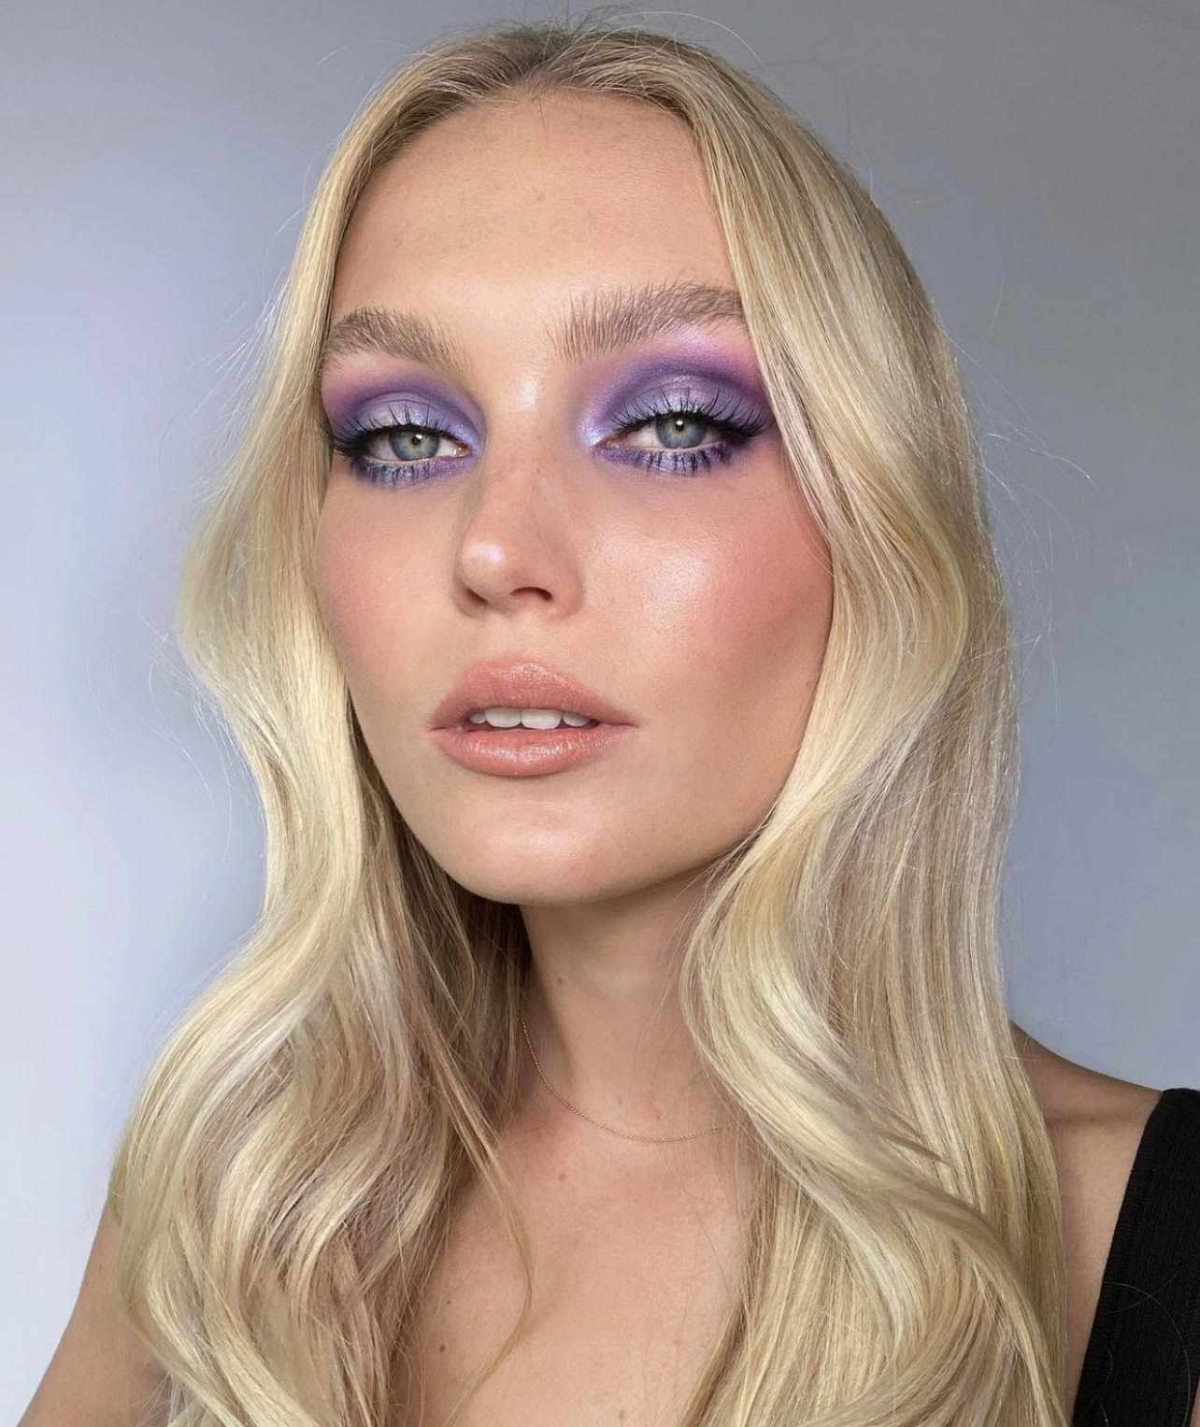
- For Eyes: Your eyelids can get oily, so an eyeshadow primer is absolutely essential. It’s different from face primer; it’s stickier to grab onto pigment. Cream eyeshadows that set to a powder finish are fantastic and can be applied with just a finger for a quick wash of color. And of course, waterproof eyeliner and mascara are a must. A good drugstore waterproof mascara will do the trick perfectly.
Playing with Textures (Without Making a Mess)
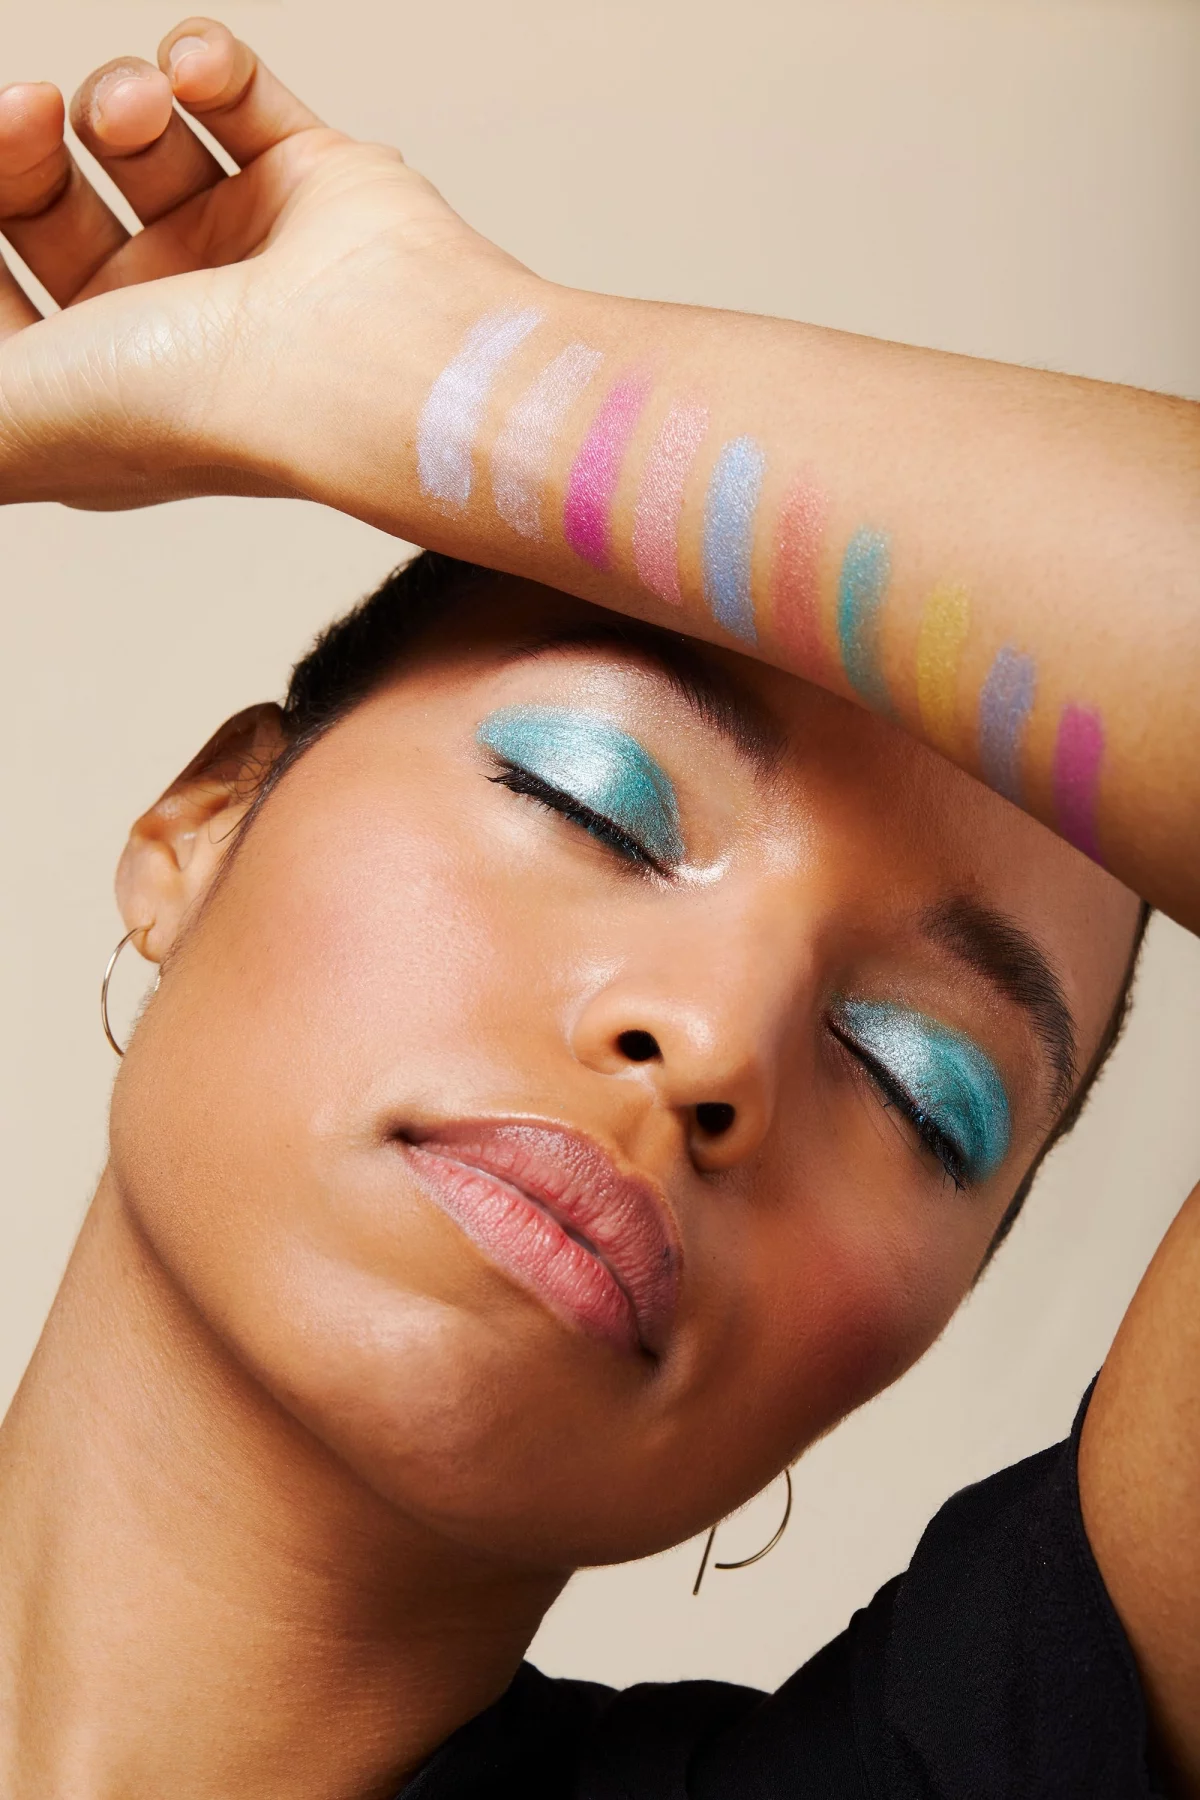
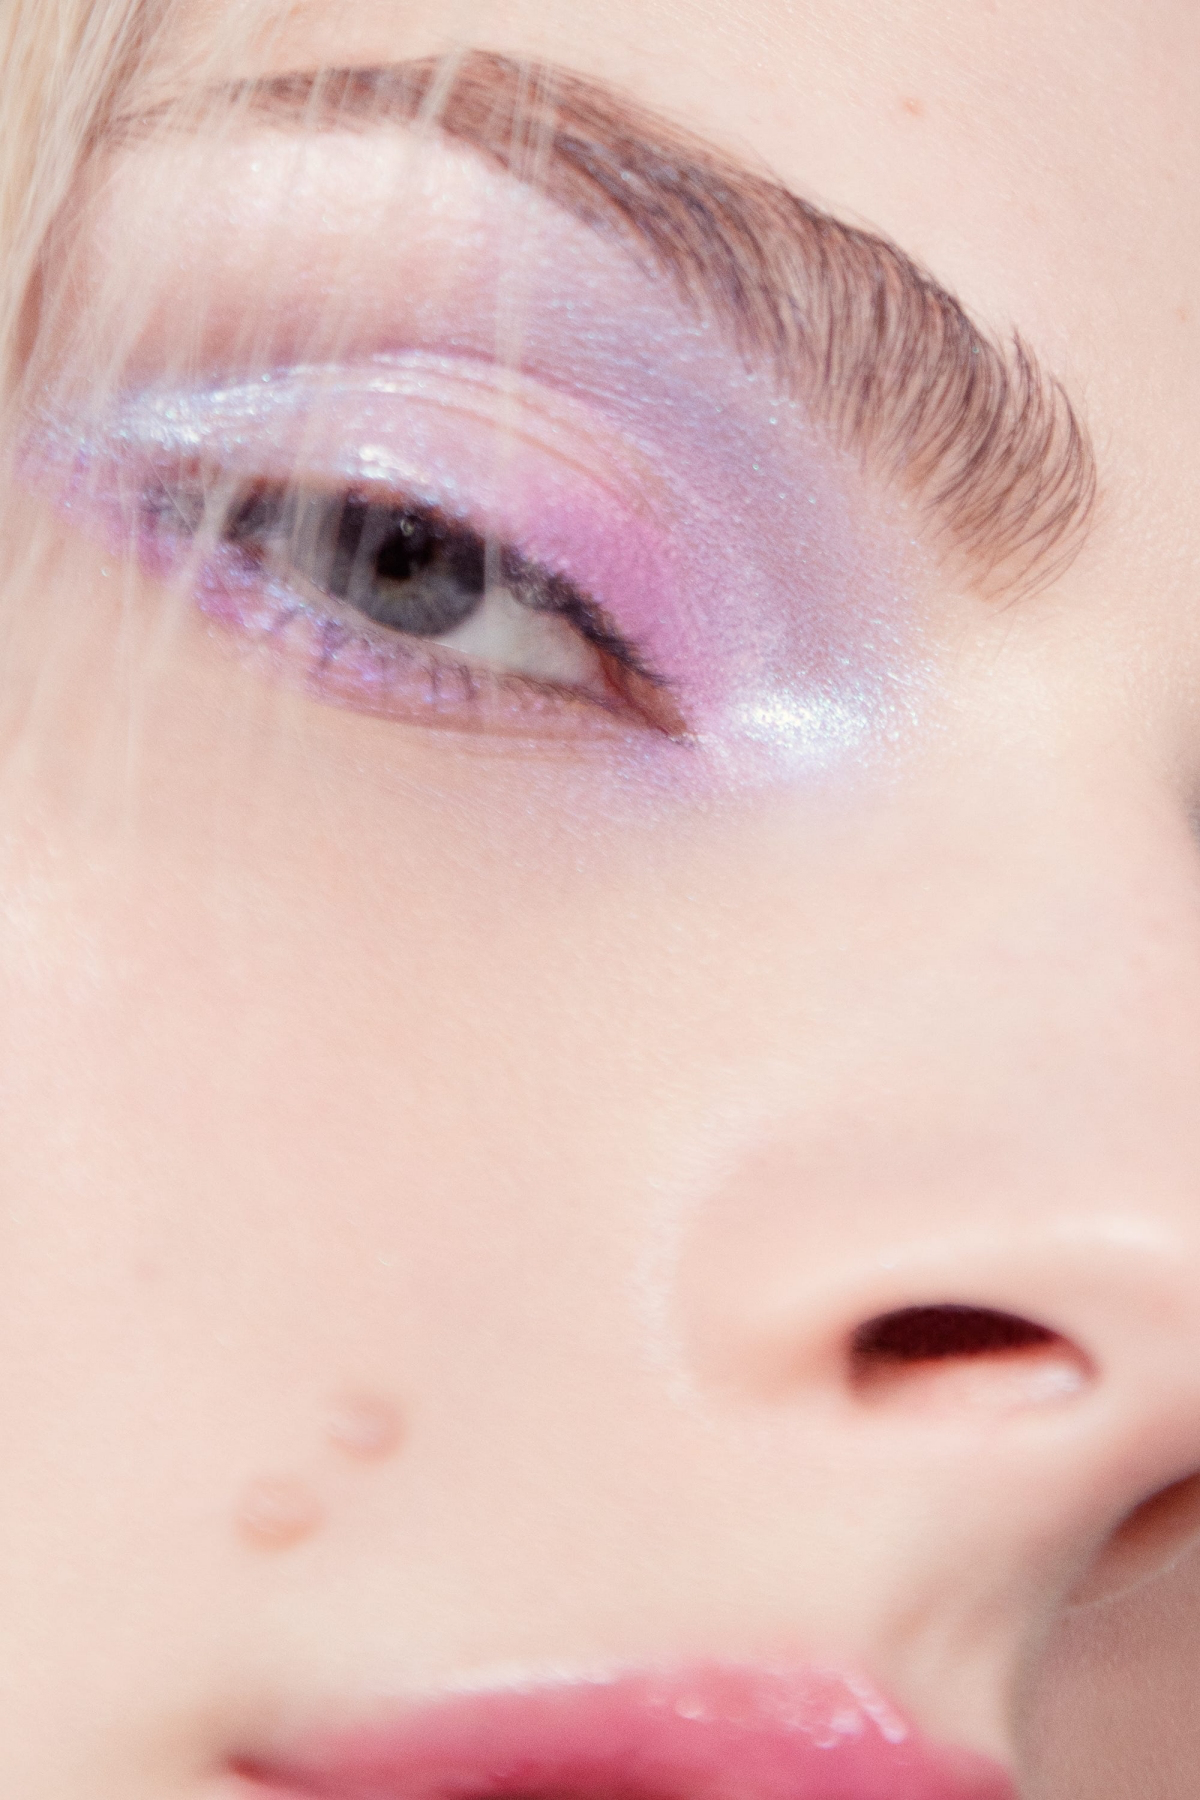
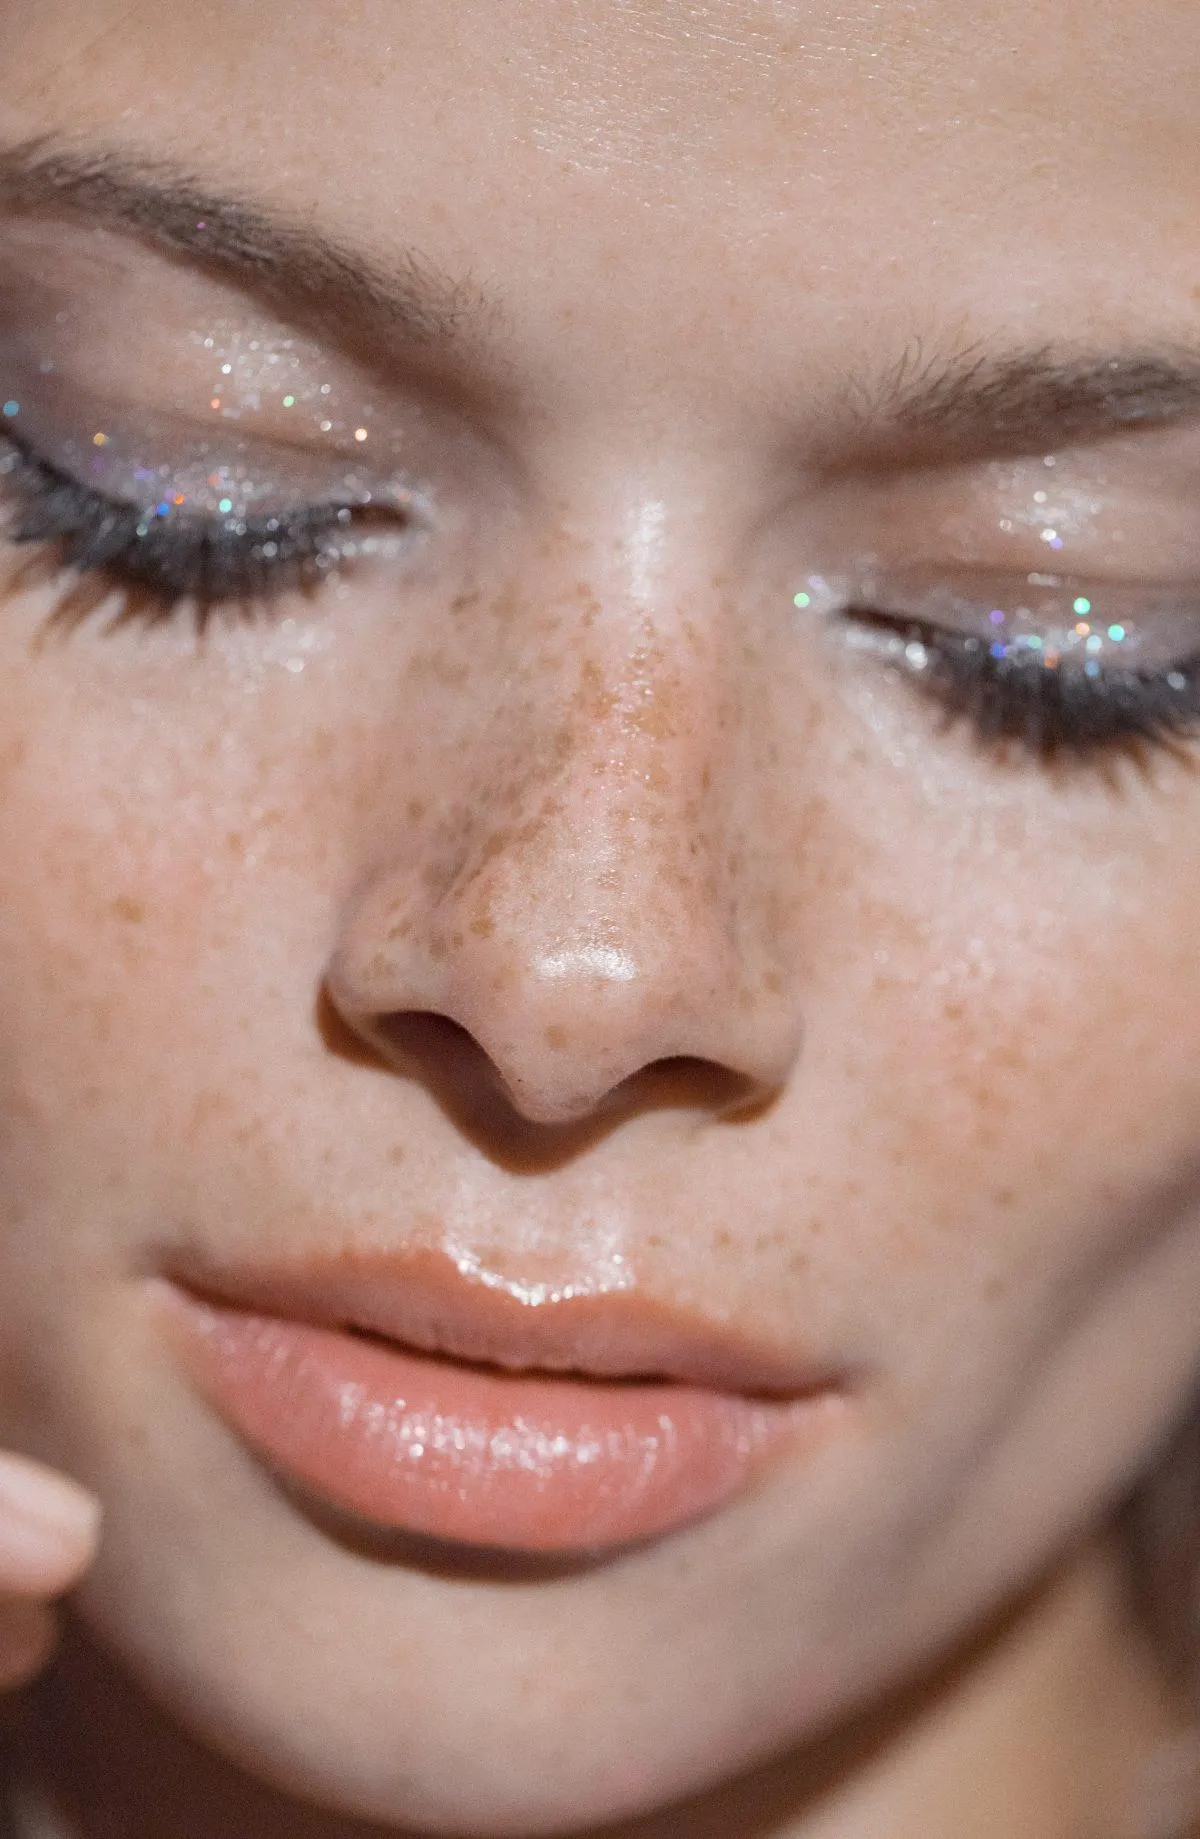
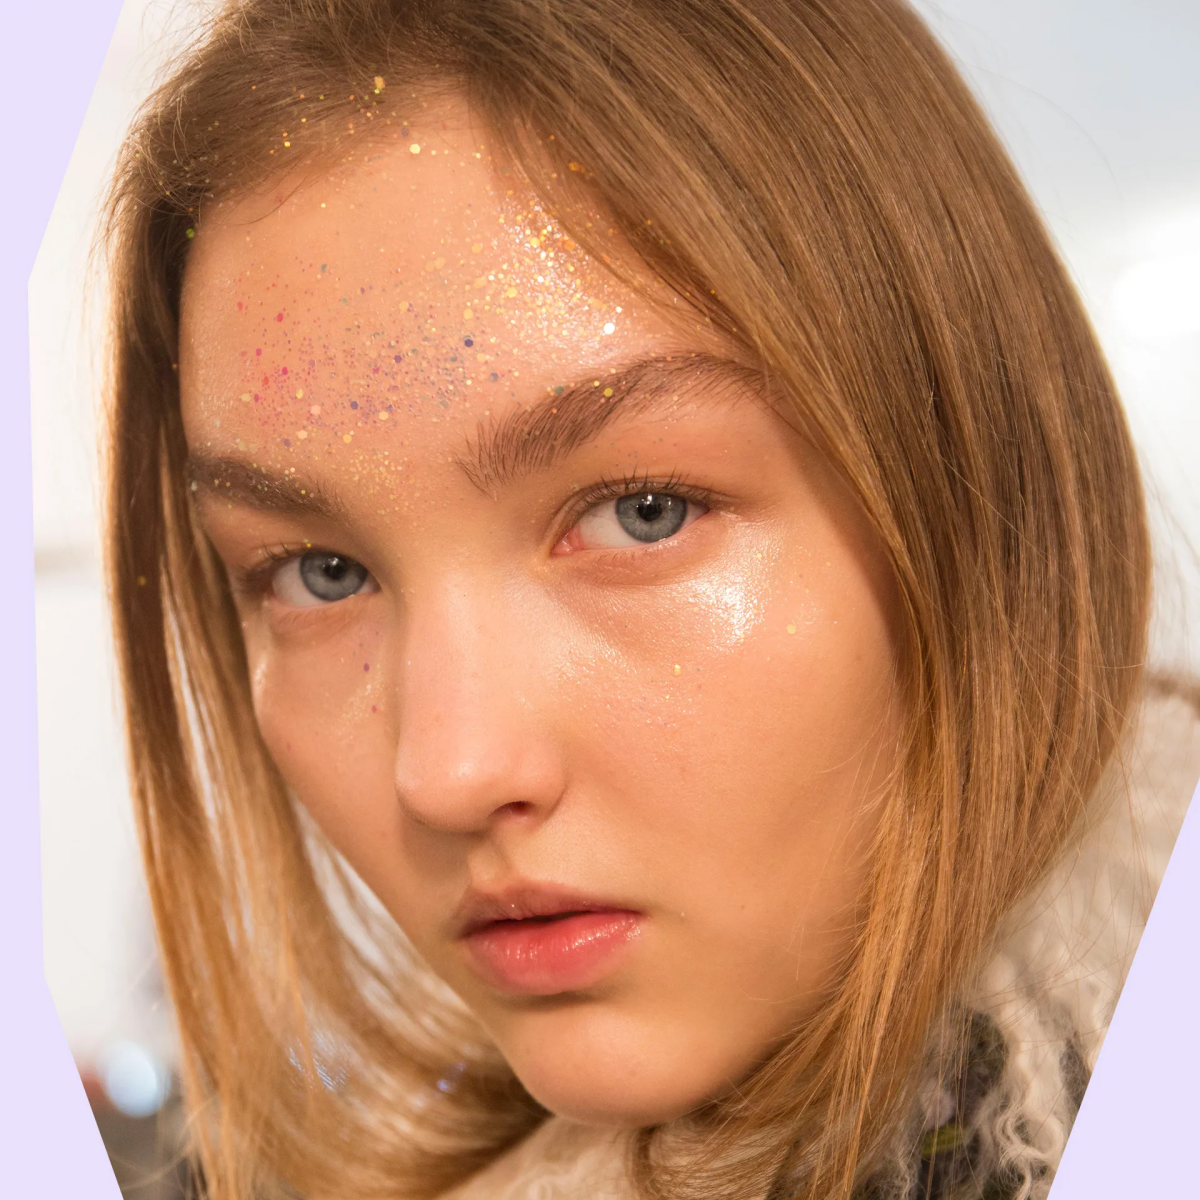
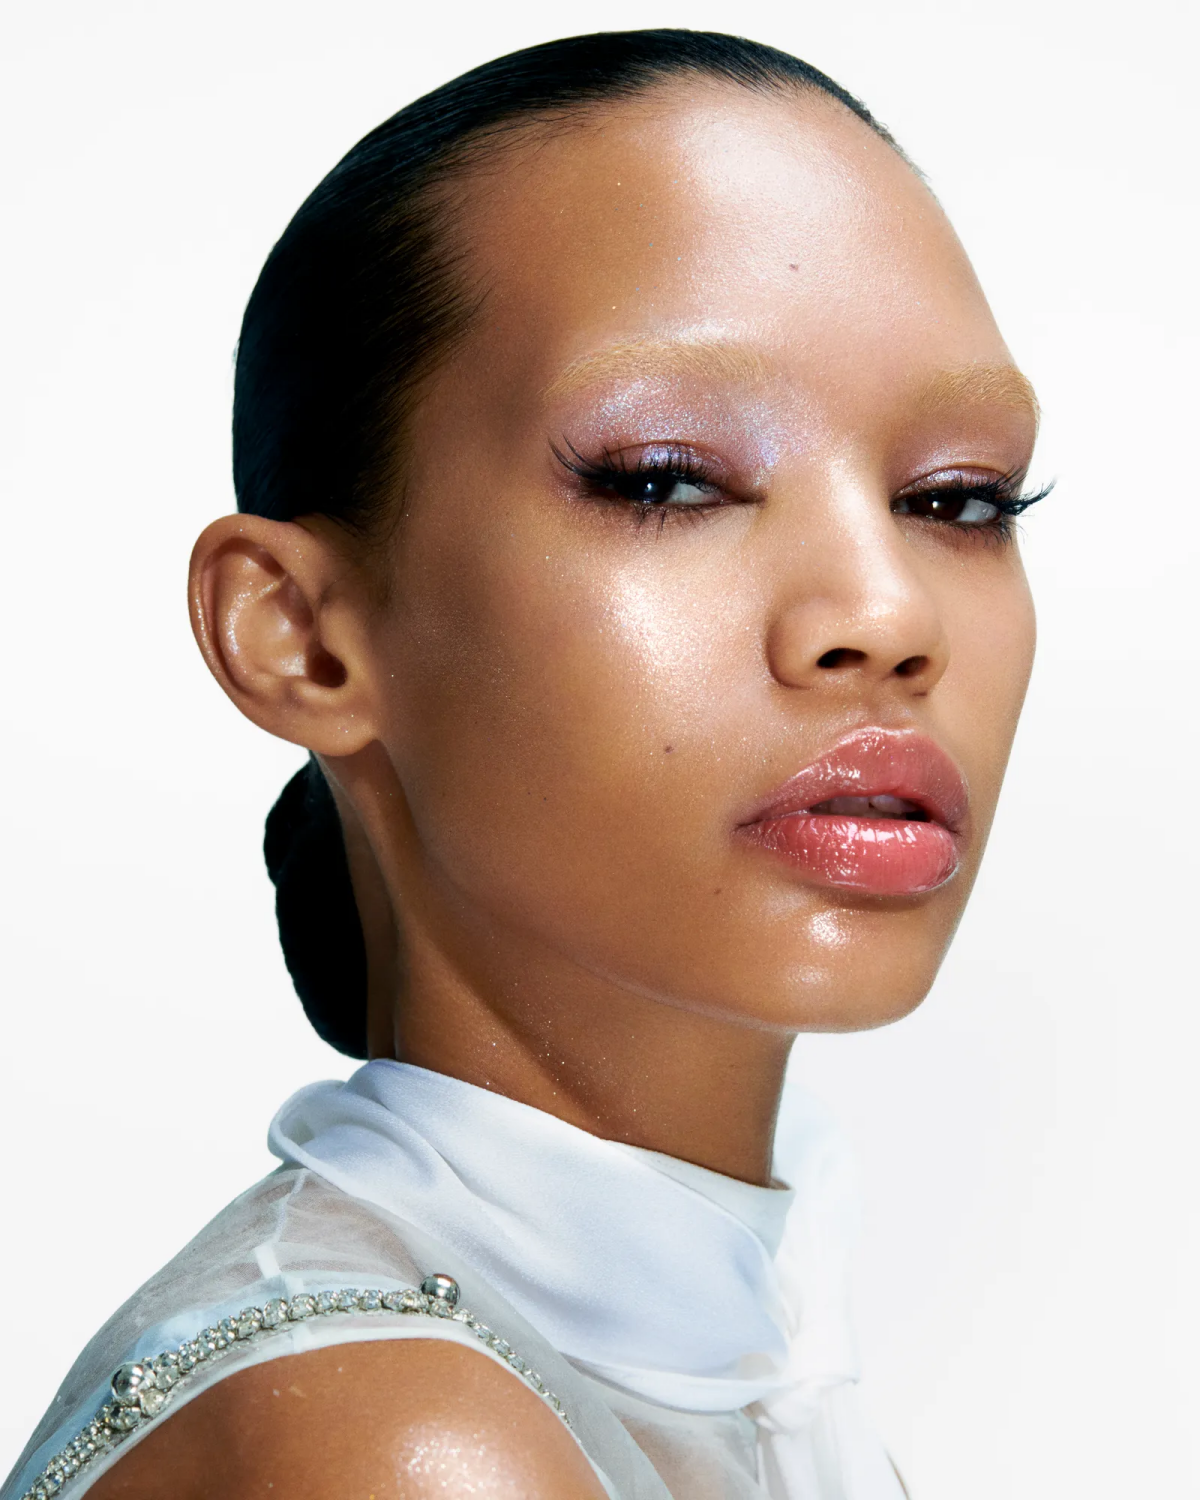
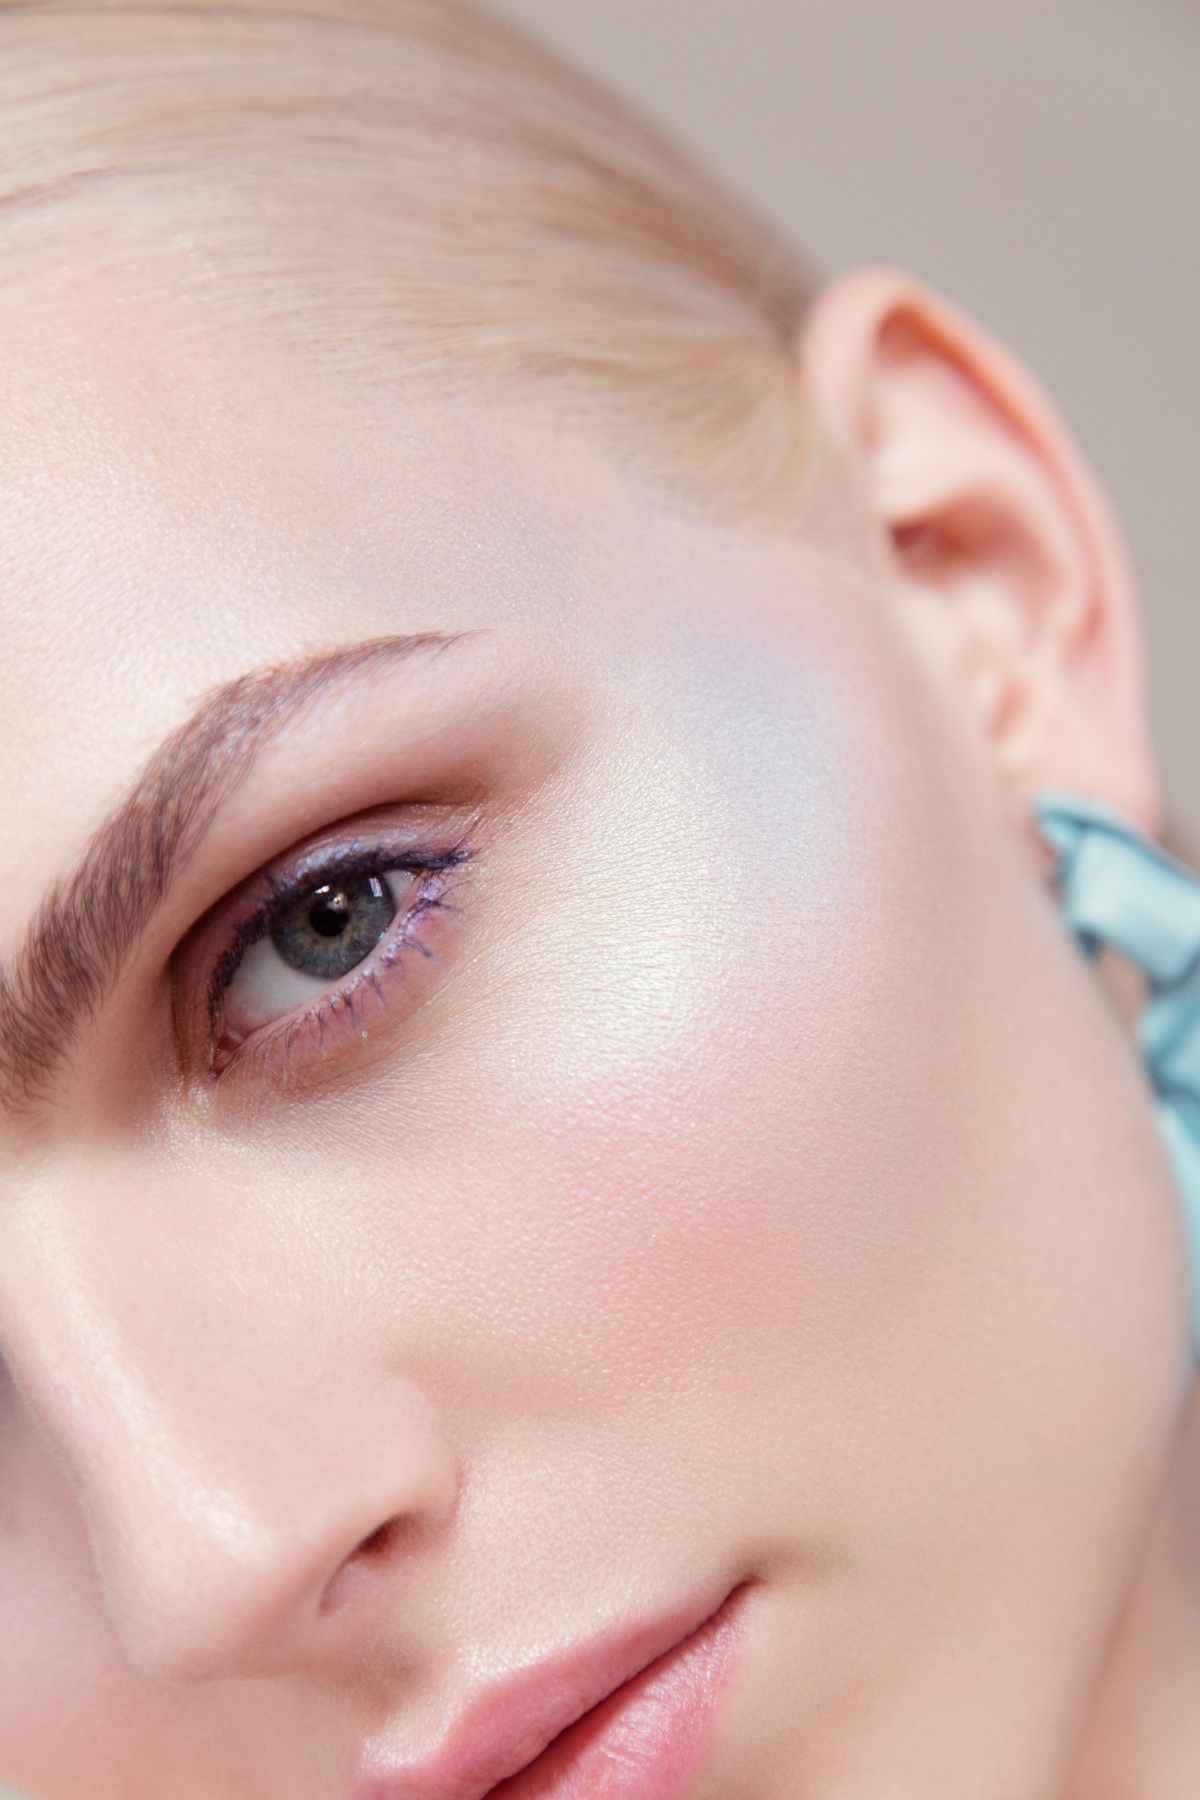
Just because it’s hot doesn’t mean you can’t have fun with glitter or iridescent pastels. The key is using products designed to stick.
If you want to use a loose glitter or a shimmery powder eyeshadow, you absolutely need a glitter glue or a specialized adhesive. It’s a sticky base that you tap on before the glitter, and it will lock those particles in place so they don’t end up all over your face by noon. For a simpler approach, liquid and cream shimmer eyeshadows are amazing. They glide on, set down, and don’t budge. They give you that beautiful, glossy-eye effect without the risk of fallout.
Quick Fixes: Troubleshooting Common Summer Makeup Fails
Even with the best techniques, things can sometimes go wrong. Here are a few common problems and how to fix them:
Problem: My foundation looks cakey and heavy.
Solution: You’re probably using too much product or your skin wasn’t prepped right. Switch to the spot-concealing method, or use a damp sponge to really press and sheer out the foundation. Also, make sure your moisturizer underneath is a lightweight gel, not a heavy cream.
Problem: My makeup is pilling or balling up as I apply it.
Solution: This usually happens when you layer products that don’t mix well (like oil and water) or when you don’t let your layers dry. Give your skincare, sunscreen, and primer at least a minute to set between each step. Patience is key!
Problem: My face looks shiny, not dewy.
Solution: There’s a fine line between a healthy glow and an oil slick. Use a mattifying primer in your T-zone and be strategic with your powder. You can also carry oil-blotting sheets—they lift away oil without disturbing the makeup underneath. They’re a lifesaver.
Galerie d’inspiration
The secret weapon in a makeup artist’s summer kit? Not one, but several types of setting sprays.
Choosing the right one is crucial. For an unbreakable matte finish that defies humidity, a powerful formula like Urban Decay’s All Nighter is a classic for a reason. If your skin leans dry and you fear the dreaded ‘makeup cracking’, opt for a hydrating mist like the Morphe Continuous Prep & Set Mist+ to lock in makeup while adding a dewy glow. For extreme conditions—think outdoor weddings or festivals—professionals often turn to theatrical-grade sealers like Ben Nye’s Final Seal for truly waterproof staying power.

For every 1°C increase in skin temperature, sebum production can increase by as much as 10%.
That sudden slick feeling isn’t your imagination; it’s your skin’s natural response to heat. Fighting it with layers of powder often leads to a cakey mess. A smarter move is to carry blotting papers. Brands like Tatcha or even affordable options from Clean & Clear gently lift the oil from your skin’s surface without disturbing the makeup underneath, instantly restoring a fresh, just-applied look.
Gripping Primer: Think of it as double-sided tape for your face. A formula like Milk Makeup’s Hydro Grip has a slightly tacky feel that literally grabs onto your foundation, holding it in place for hours. It’s ideal for all skin types when longevity is the primary goal.
Pore-Blurring Primer: These are typically silicone-based, like the Fenty Beauty Pro Filt’r Instant Retouch Primer. They work by creating an ultra-smooth, matte canvas that fills in pores and fine lines, preventing oil from breaking through. Best for oily or combination skin.
For a truly bulletproof base, some pros even layer them, using a blurring primer on the T-zone and a gripping primer everywhere else.

The single most impactful shift for melt-proof makeup: Stop applying foundation all over your face. Instead, master the art of spot-concealing. Use a high-coverage, long-wear concealer (like NARS Radiant Creamy Concealer) just on the areas that need it—under the eyes, around the nose, or on blemishes. Blend the edges into your moisturized and primed skin. The result is a perfected, natural look that feels weightless and has far less product to melt in the heat.
- Adds a protective, invisible shield over your makeup.
- Prevents smudging and color fading throughout the day.
- Refreshes the skin and can offer a matte or dewy finish.
The trick? The ‘sandwich’ technique. After your base makeup but before powder, lightly mist with setting spray. Let it dry, then apply your setting powder. Finish with one final mist. This layering method locks everything in from multiple angles.