Help, My Hydrangea Is Wilting! A Pro’s Guide to Bringing It Back to Life
I’ve been a professional gardener for a long time, and if there’s one thing I know, it’s the sheer panic that sets in when you see a perfectly beautiful hydrangea looking full and happy one day, and like a sad, wilted mess the next. I’ve gotten that panicked call more times than I can count. It’s totally understandable—these shrubs are the star of the show in many gardens, and seeing them suddenly droop is alarming.
In this article
But here’s the good news: hydrangeas are drama queens, but they’re also incredibly resilient. They’re usually just telling you very loudly that they need something. Bringing them back isn’t about some secret garden magic; it’s about learning to read the signs and giving the plant what it’s asking for. So let’s walk through how to diagnose and revive a struggling plant in your garden, and I’ll even share the pro florist tricks for saving cut stems that have gone limp in the vase.
First, Why Do They Wilt So Dramatically?
Before we can fix it, it helps to know what’s actually happening. The name Hydrangea literally comes from Greek words for “water” and “vessel.” These plants are basically giant, leafy water buckets. All those gorgeous, oversized leaves and massive flower heads create a huge surface area, and on a hot or windy day, water evaporates from them like crazy.
This process, called transpiration, is normal. But sometimes, a hydrangea loses water through its leaves faster than its roots can pull it from the soil. That water deficit is what causes the cells to lose pressure, resulting in that dramatic, sudden droop.
Think of the plant’s stems as a bundle of tiny drinking straws. When the plant is happy, the straws are full. When it wilts, there isn’t enough water to go around. For cut flowers, the problem is even worse. When you snip a stem, it can do two things: release a sticky sap that clogs the end of the straw, or suck in a tiny air bubble that creates a blockage. Understanding these simple physical barriers is the key to fixing everything.
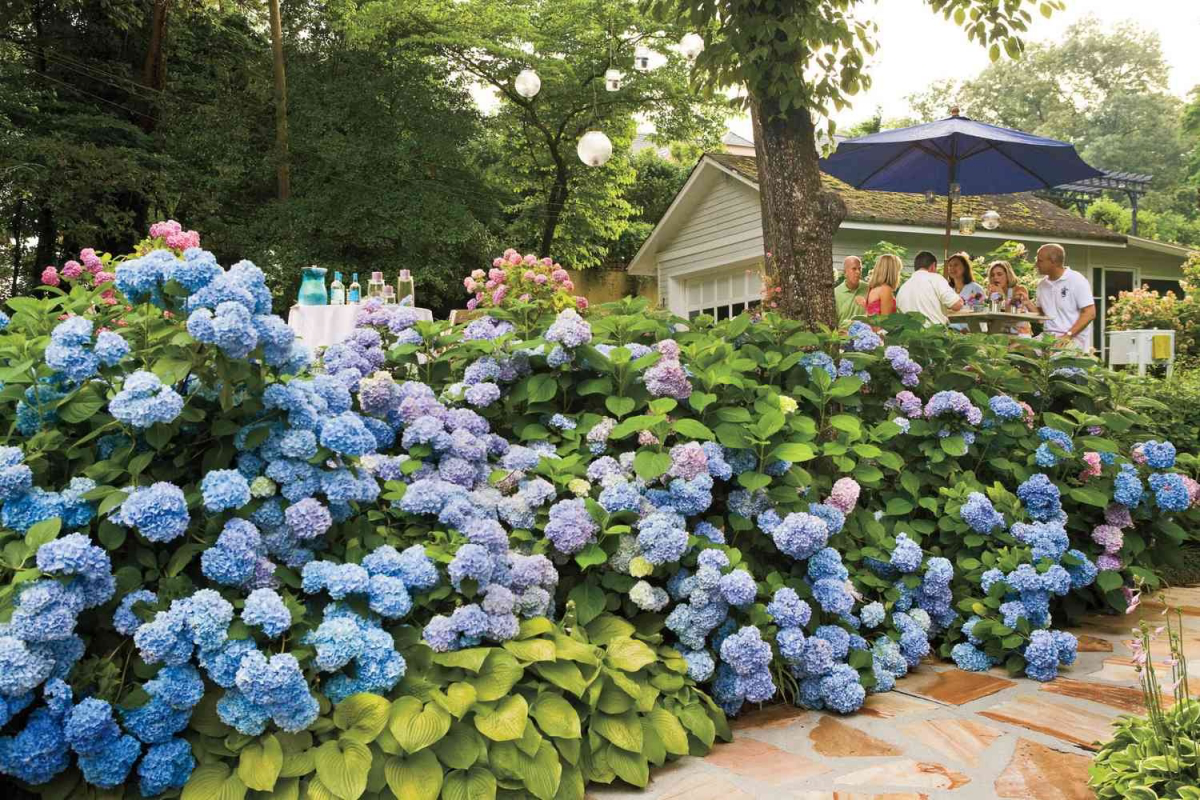
Reviving a Struggling Hydrangea in the Garden
Seeing a wilted hydrangea in the garden makes you want to just dump a bucket of water on it and pray. Sometimes that works, but it’s often a sign of a bigger issue. Let’s figure this out methodically.
1. Read the Leaves: What Are They Telling You?
First, just take a close look. The leaves are a roadmap to the problem. Is it wilting in the hot afternoon sun but looks fine the next morning? That’s probably just temporary heat stress. The plant can’t keep up with the intense sun but recovers overnight. If it’s still wilted in the morning, you’ve got a bigger water or root issue to solve.
Here’s a quick guide to what the leaves are trying to tell you:
- Crispy, Brown Edges: This is the classic sign of underwatering or even fertilizer burn. The leaf tips are the last to get water, so they’re the first to dry out.
- Yellow Leaves with Green Veins: This screams iron deficiency. It usually doesn’t mean there’s no iron in your soil, but rather that the soil pH is too alkaline (high), and the plant can’t absorb the iron that’s there.
- Overall Yellowing on Older, Lower Leaves: This often points to a nitrogen deficiency. The plant is smart, so it’s pulling nitrogen from its old leaves to feed the new growth.
- Ugly Black or Brown Spots: This is almost always a fungal thing, like Cercospora leaf spot. It’s super common in humid weather or if you’re watering overhead. It’s mostly a cosmetic issue, not a death sentence, but it’s a sign you need better air circulation.
- Entire Branches Suddenly Turning Black: Okay, this one is more serious. If whole branches are dying back quickly, you might be looking at root rot or a pest like a stem borer. This is when you need to investigate the base of the plant more closely.
Honestly, more than 90% of hydrangea problems I see come down to water—either too much, too little, or just bad timing.
2. Dig a Little Deeper (Literally)
If you suspect a water issue, you need to check the soil. You don’t have to excavate the whole thing. Just use a small trowel to dig a little inspection hole about a foot away from the plant’s base, right under the edge of its leaves. Go down 6-8 inches and feel the soil. Is it bone dry? Sopping wet and muddy? The goal is cool and moist, like a well-wrung-out sponge.
A quick tip from the pros: if you think your drainage is bad, try the ‘bucket test.’ Dig a hole about a foot deep and a foot wide near your plant and fill it with water. If that water is still sitting there an hour later, you’ve got a drainage problem. The roots are essentially drowning.
3. Time for Corrective Action
Once you’ve got a diagnosis, it’s time to act. But don’t go crazy and do everything at once; a stressed plant is a vulnerable one.
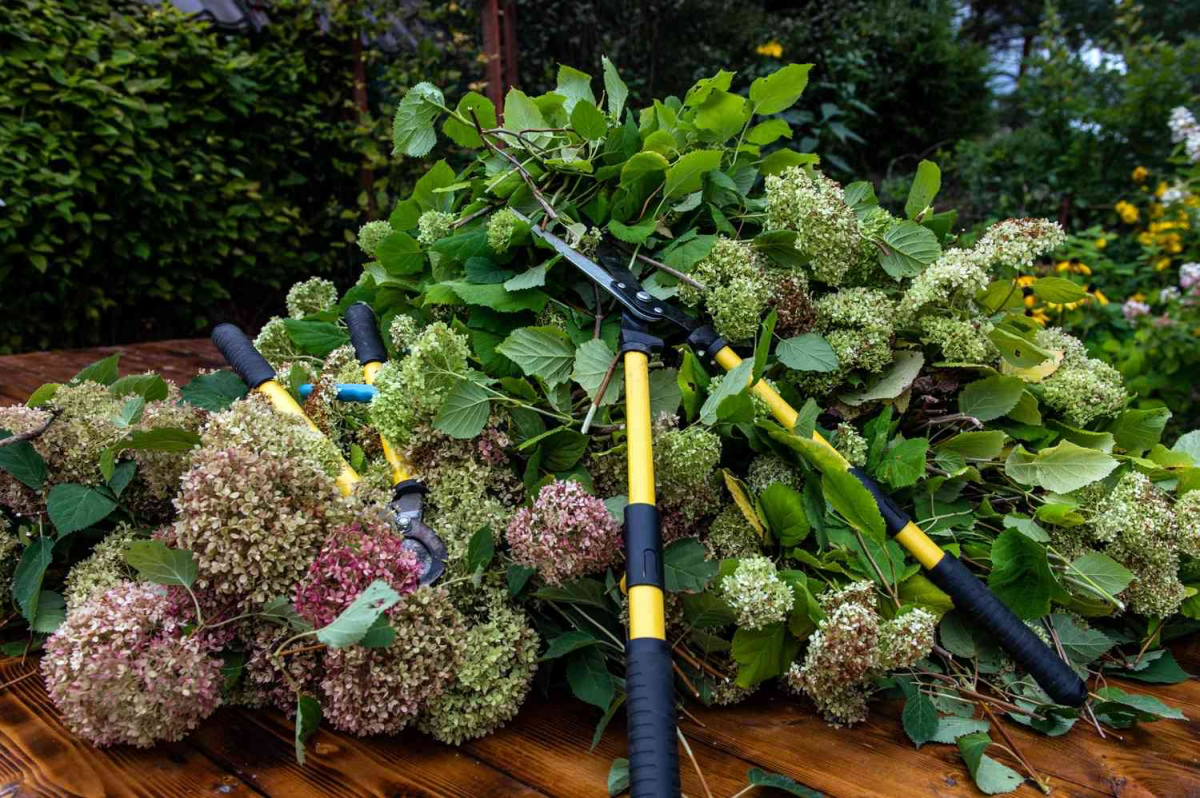
Pruning for Health (and Flowers!)
First, grab some clean, sharp pruners and cut off anything that’s obviously dead, broken, or heavily diseased. This stops the plant from wasting energy on lost causes.
But wait! Before you do any major pruning, you HAVE to know what kind of hydrangea you have. Cutting at the wrong time can mean no flowers next year. I’ll admit, I learned this the hard way years ago. I gave a gorgeous old Oakleaf a ‘tidy up’ in the spring and was rewarded with… exactly zero flowers that year. A painful lesson!
Here’s a super simple guide:
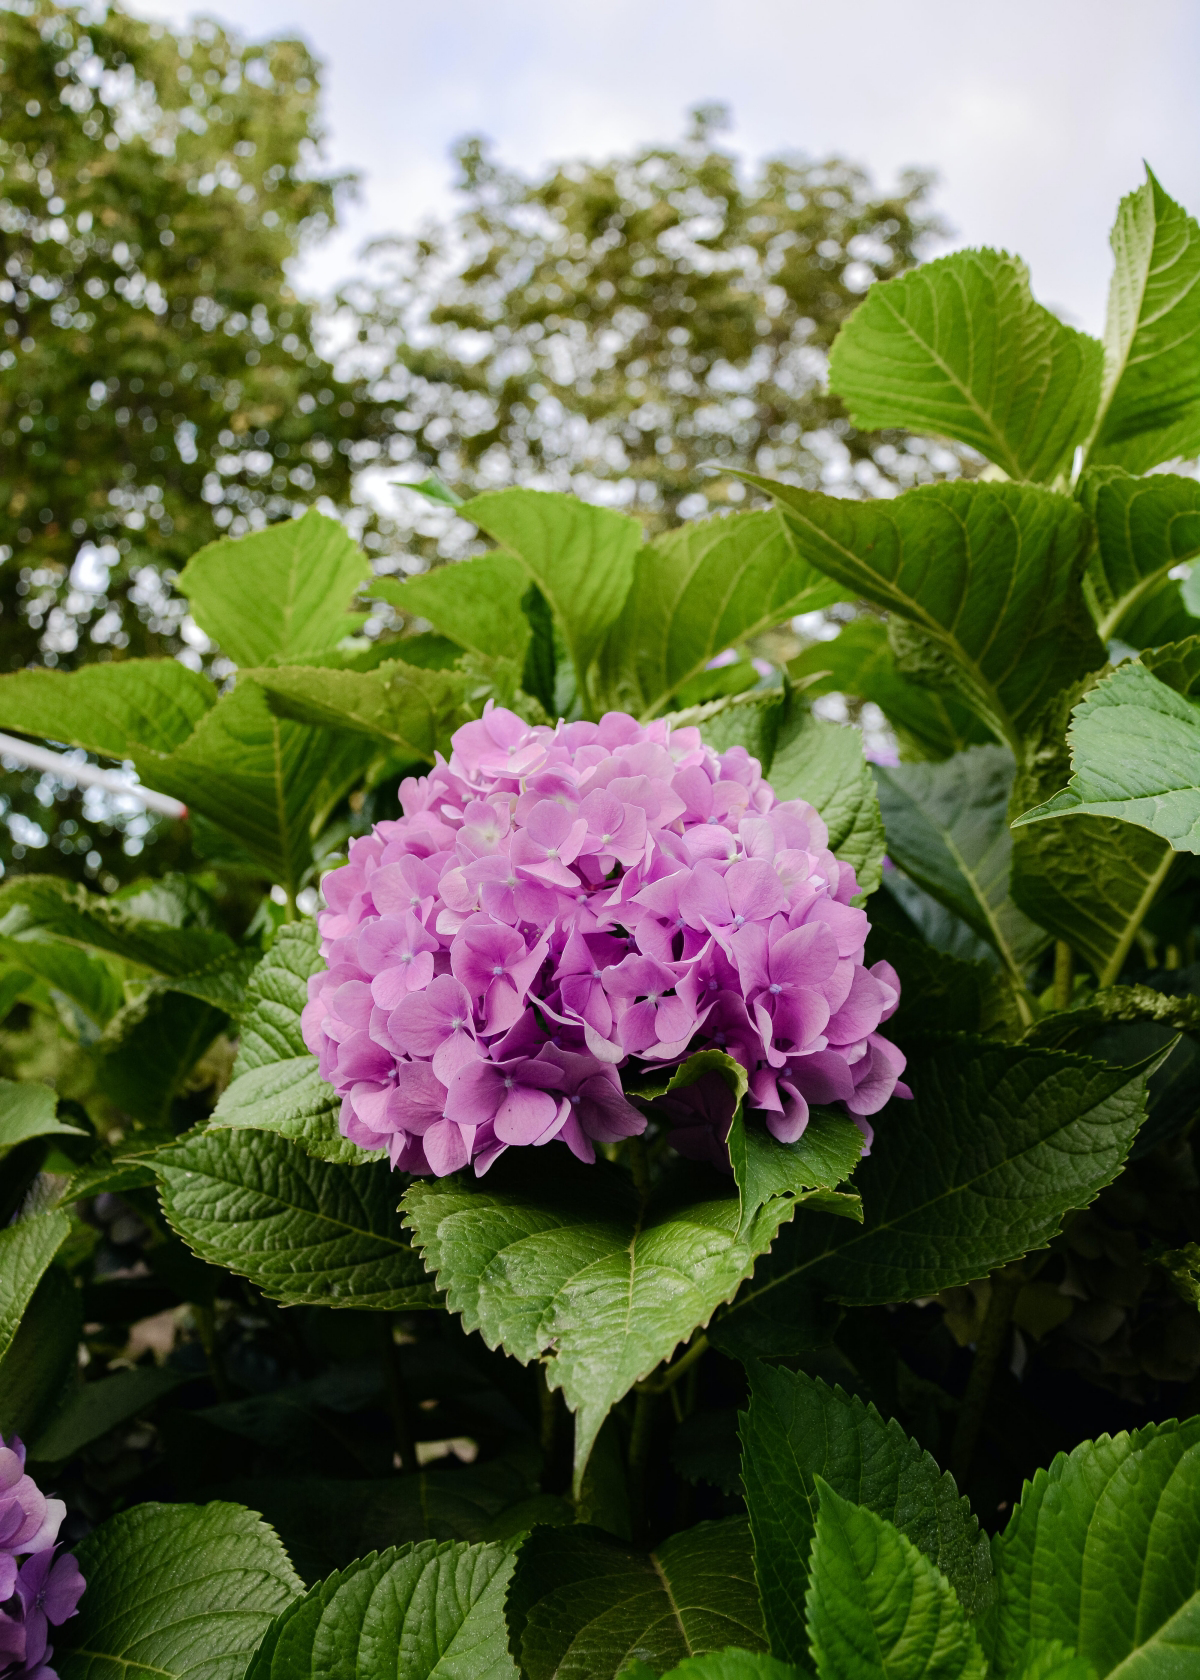
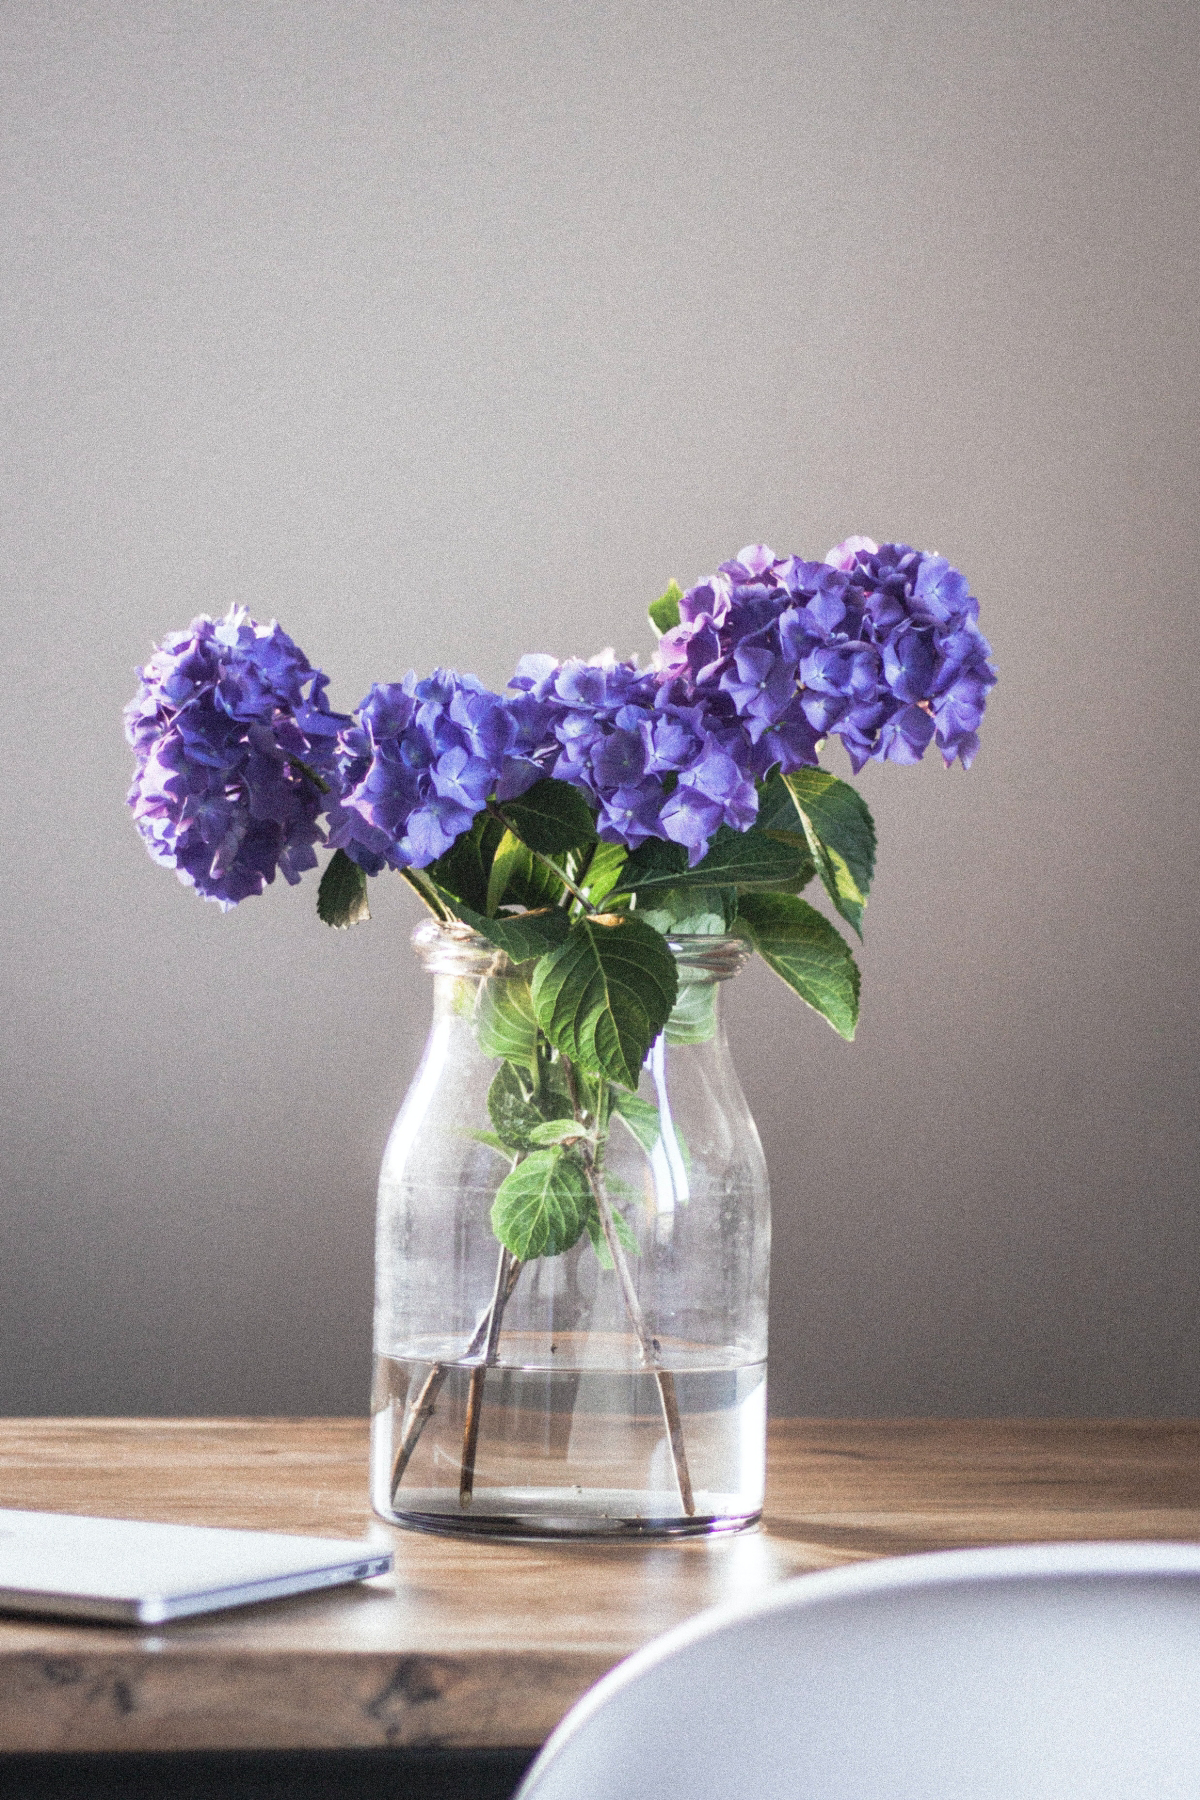
- Does it have big, round, classic puffball flowers, usually in blue, pink, or purple? That’s likely a Bigleaf or Mountain hydrangea. They bloom on last year’s growth (old wood). Only prune these right after they finish flowering in the summer. Don’t touch them in the fall or spring!
- Does it have cone-shaped flowers that often start white or green and age to pink? That’s a Panicle hydrangea. Or maybe it’s a Smooth hydrangea with huge white globes? Both of these bloom on this year’s growth (new wood). You can prune these in late winter or early spring before they start growing.
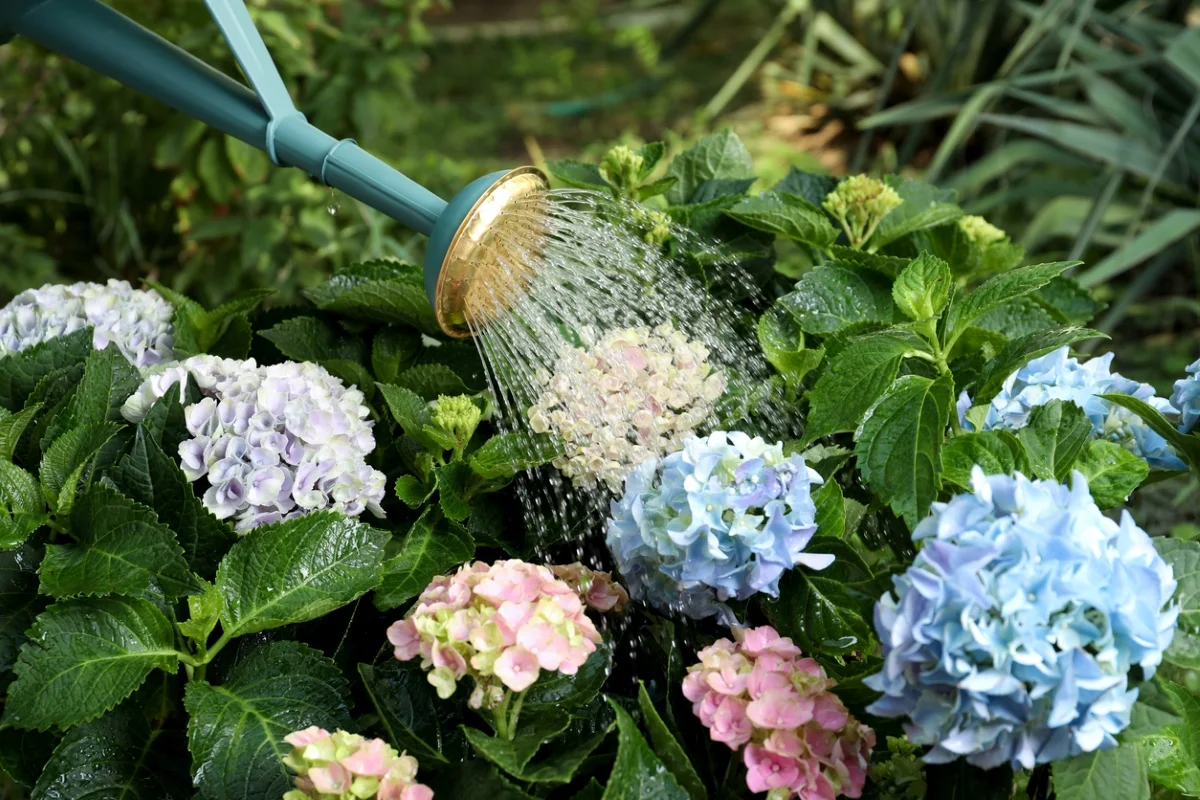
Watering the Right Way
The goal is long, deep watering that encourages deep roots. So what does ‘deep watering’ actually mean? For an established 4-foot shrub, I’m talking about a slow soak with around 5 gallons of water right at the base, once or twice a week during the hot season. This is way better than a light sprinkle every day, which just creates weak, shallow roots. Always water in the morning if you can. This lets the leaves dry before nightfall, which helps prevent those fungal spots.
To Feed or Not to Feed?
Whatever you do, don’t fertilize a wilting, stressed-out plant. It’s like trying to force-feed a sick person a five-course meal. The plant can’t use the nutrients, and the fertilizer salts can burn the already-struggling roots. Wait until the plant has perked up and is pushing out new, healthy growth before you even think about feeding it.
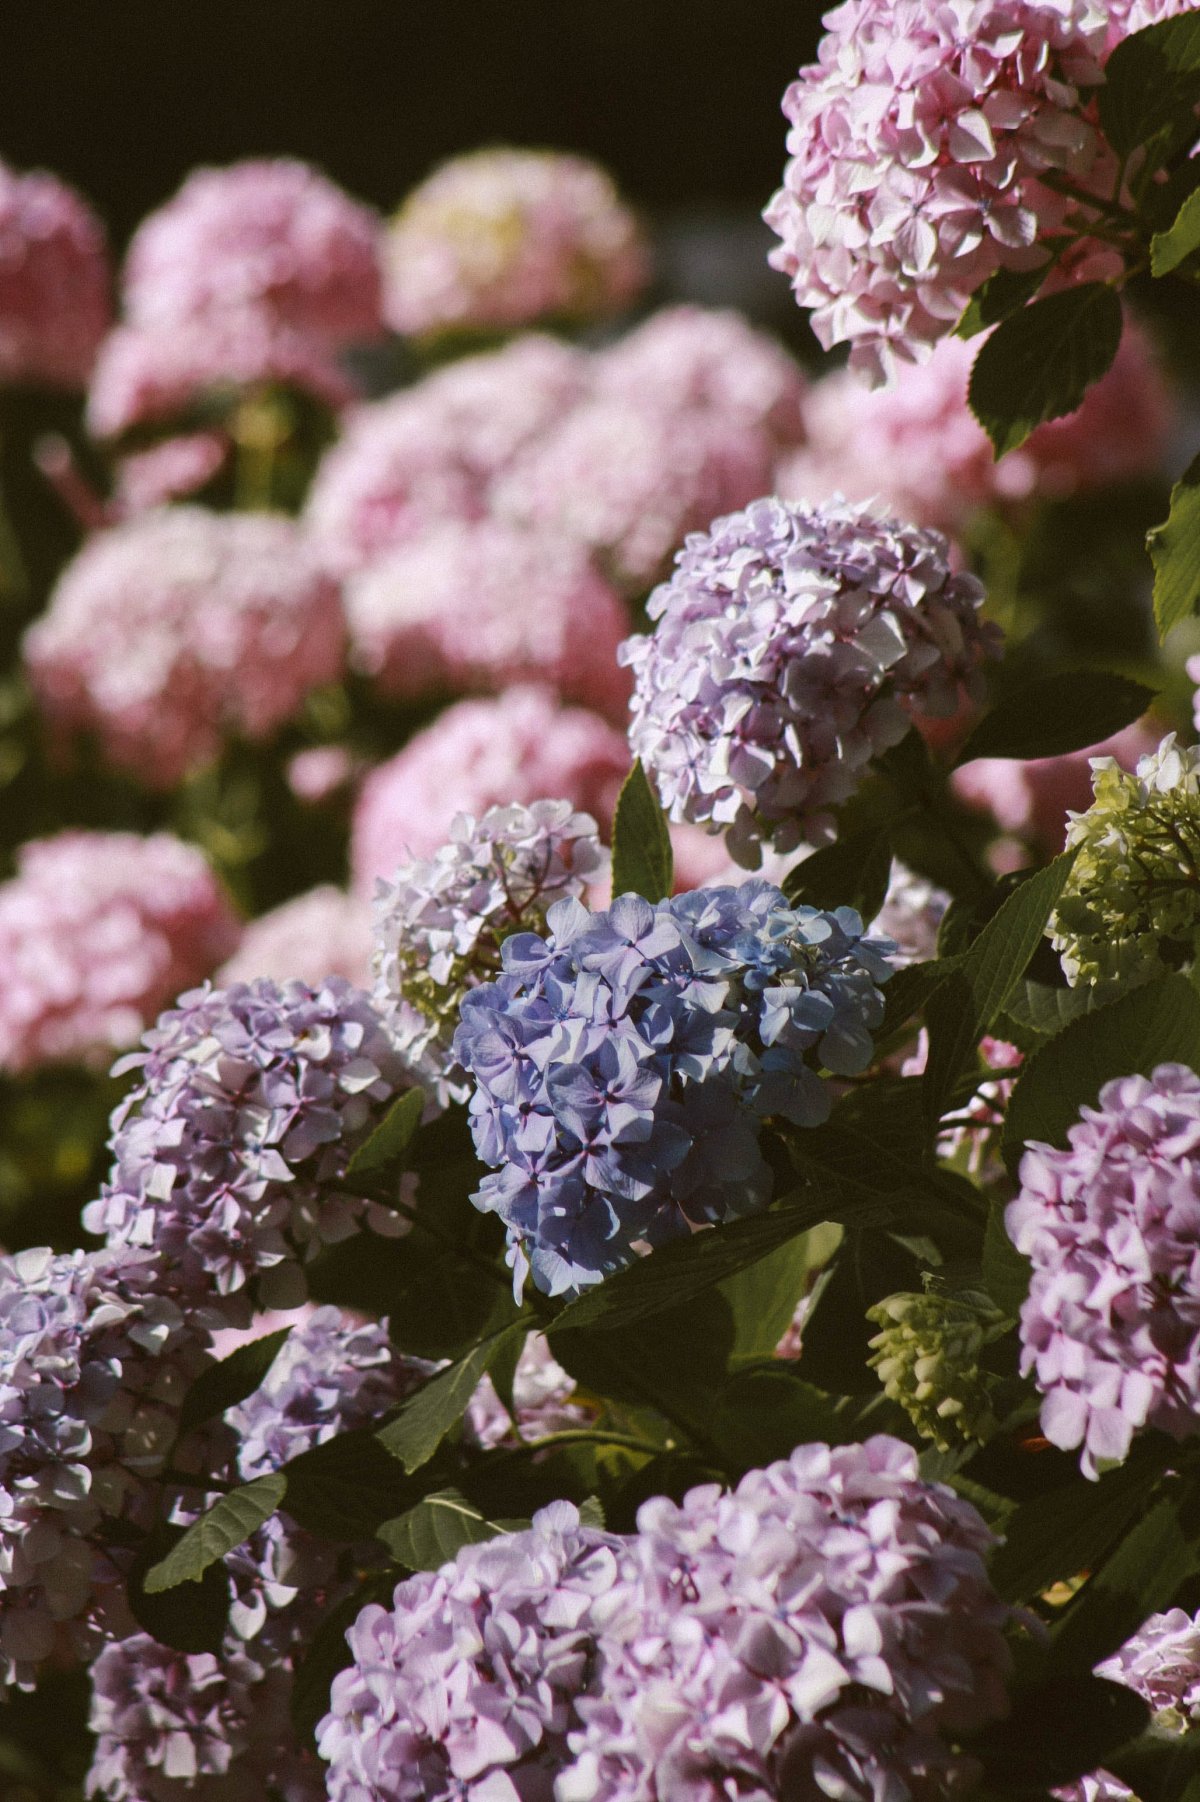
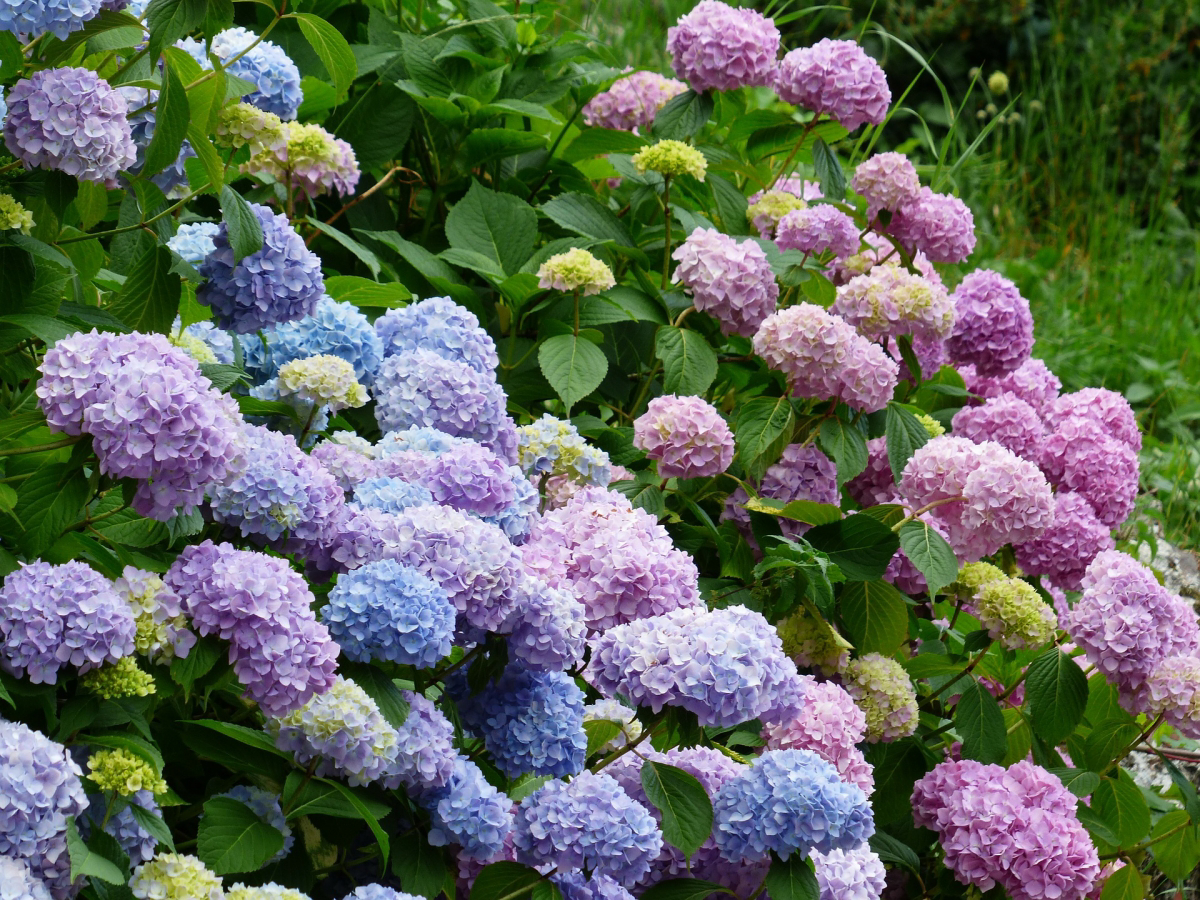
4. The Famous Color-Changing Trick
You’ve probably heard that you can change your hydrangea’s color. This only works for the Bigleaf and Mountain types (the puffballs!). It has nothing to do with plant food and everything to do with your soil’s pH.
Here’s how you can actually do it:
- Test Your Soil: First, you need to know your starting point. You can grab a simple soil pH test kit for about $10-$15 at any garden center or online. They’re super easy to use.
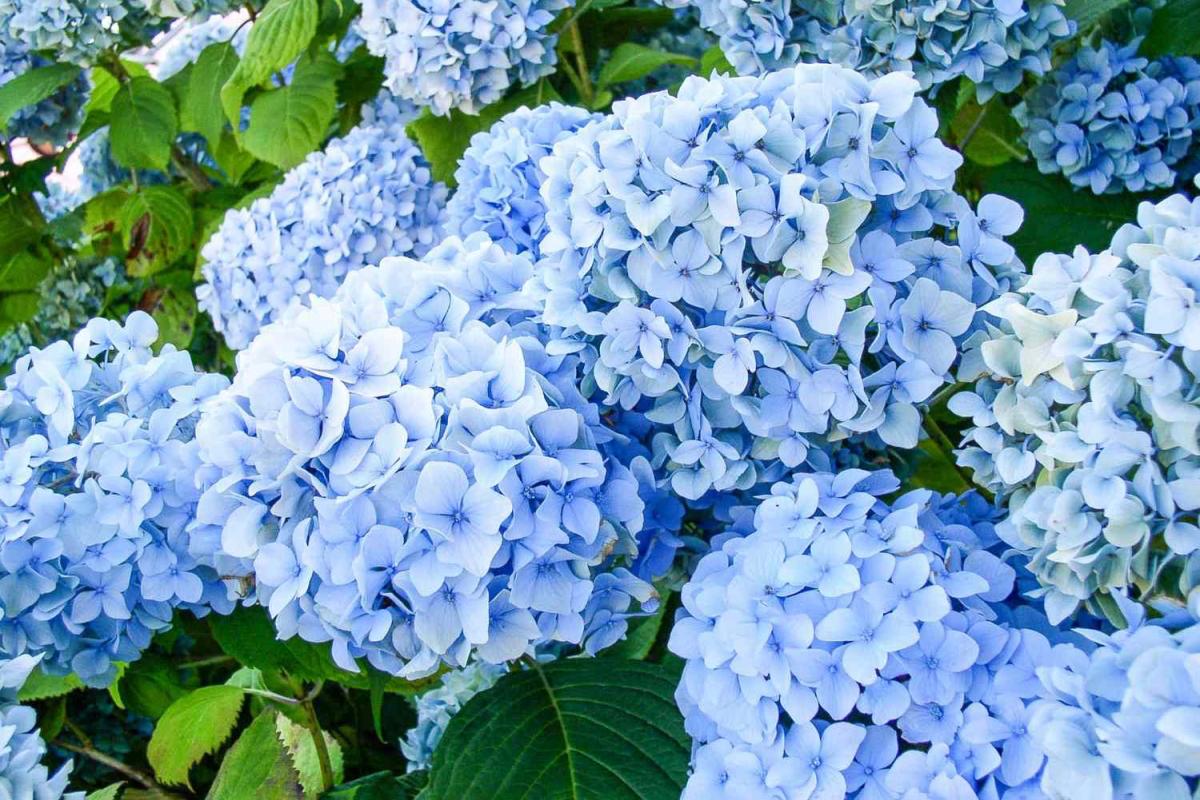
- For Blue Flowers (Acidic Soil): If you want blue blooms, you need acidic soil (pH below 6.0). If your soil is too alkaline, you can lower the pH by adding garden sulfur or aluminum sulfate. You can find these at garden centers; just follow the instructions on the bag for how much to use for your plant’s size.
- For Pink Flowers (Alkaline Soil): Want pink? You need alkaline soil (pH above 7.0). To raise the pH, you’ll want to add garden lime. Again, follow the package directions.
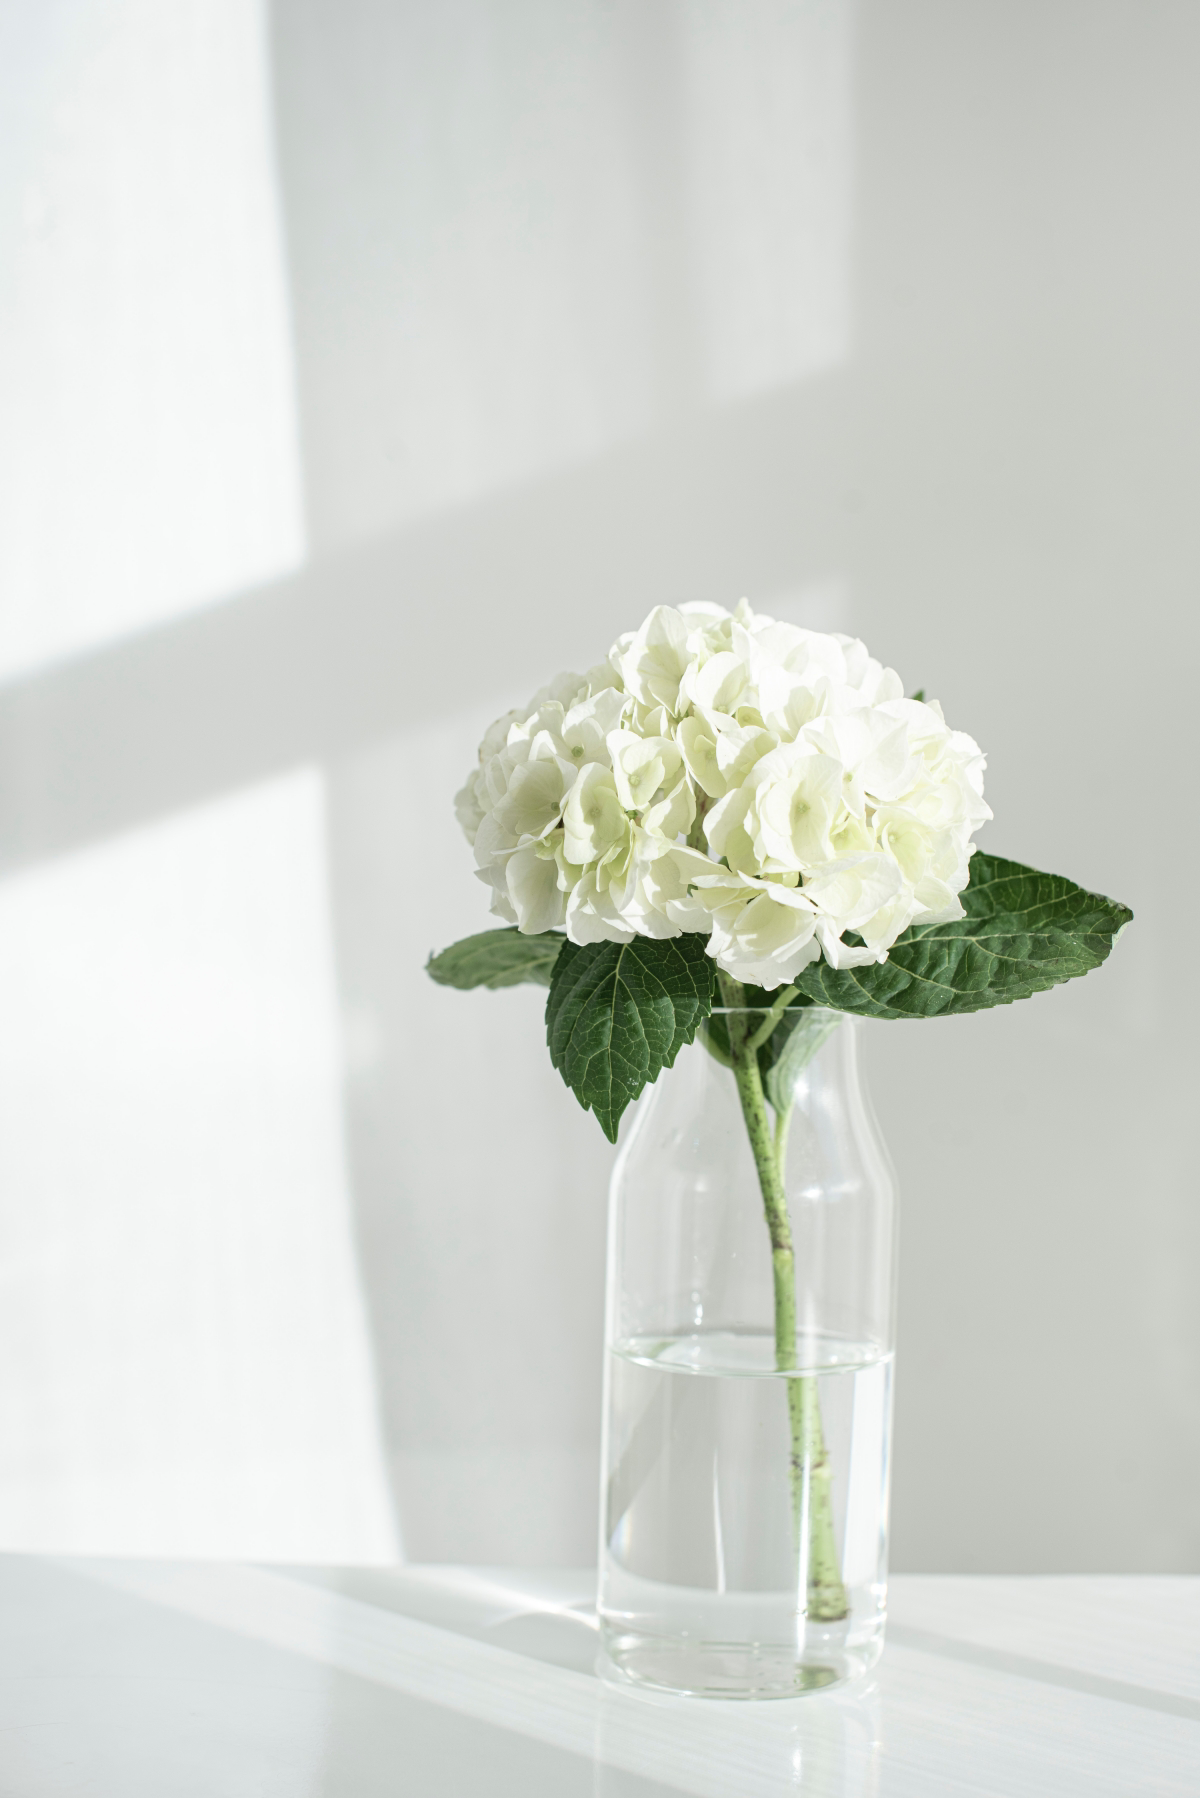
Heads up: this isn’t an overnight change! You’ll need to amend the soil and then wait for the next blooming season to see the results. Oh, and by the way, white hydrangeas will always be white. Their color is genetic and won’t change no matter what you do to the soil.
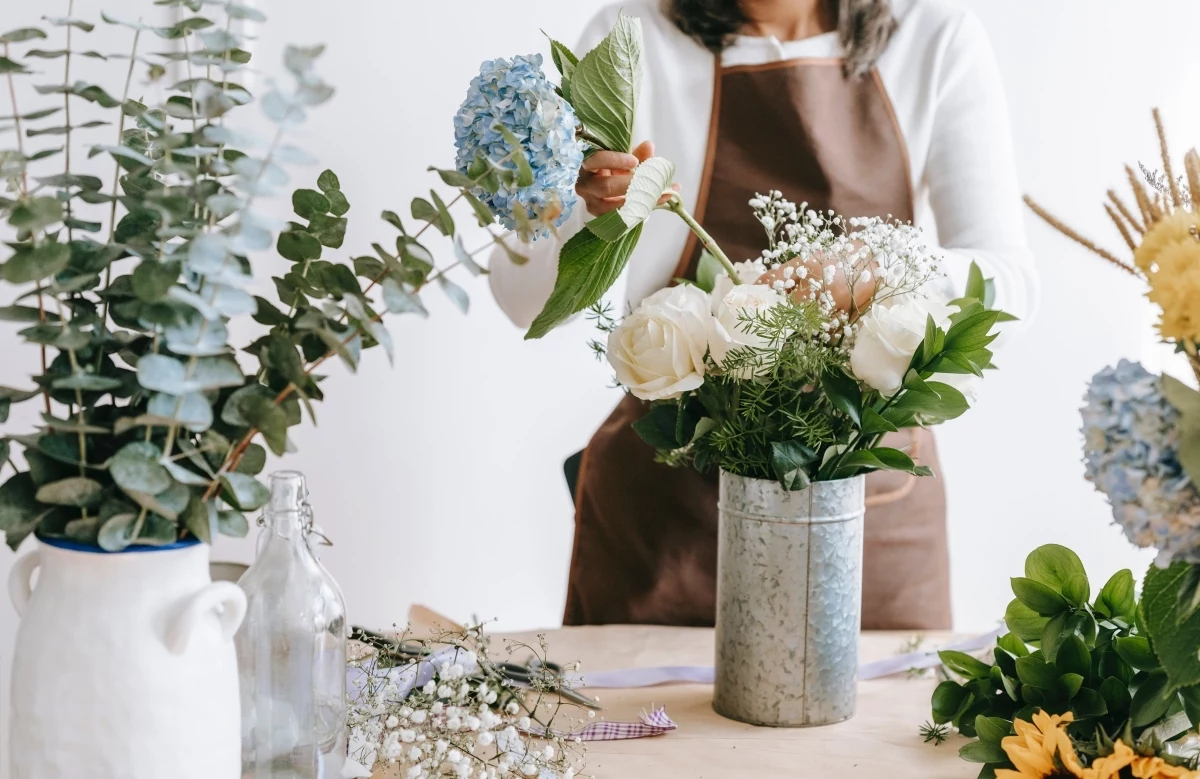
How to Revive Wilted Cut Hydrangeas in a Vase
Okay, let’s switch gears. What about that gorgeous bouquet that went limp just hours after you put it in water? It’s so frustrating! Here’s my go-to kit for saving them: sharp bypass pruners (the kind that slice like scissors, not the kind that crush), a coffee mug, and a little jar of alum from the spice aisle.
The ‘Hot Water’ Trick
This sounds crazy, but it’s a florist’s secret weapon. It works by forcing out the air bubbles that are clogging the stem.
1. Get a vase of cool water ready for the revived stems. 2. Boil some water and pour about an inch into a sturdy mug. 3. Take a wilted stem and cut about an inch off the bottom at a sharp angle. 4. Immediately dip the fresh-cut end into the hot water for about 30 seconds. You might even see tiny bubbles escape—that’s the air being forced out! 5. Quickly move the stem from the hot water into your vase of cool water. The stem is now clear and can drink like crazy. Within an hour or two, you should see the bloom start to perk up. It’s like magic.
The Alum Method
This is another great trick. Alum is a pickling spice, and it costs maybe $4 in the spice aisle at the grocery store. It works by making the water at the stem end more acidic, which helps with water uptake.
Just pour a little alum powder onto a plate. Re-cut the stem, and then dip the moist, fresh-cut end into the powder to give it a light coating. Place it directly into your vase. It’s less dramatic than the hot water dip but works great for initial conditioning.
The Full Submersion Emergency Rescue
If a flower head is severely wilted, this is your last-ditch effort. Fill a clean sink or a large basin with cool water and submerge the entire flower head, stem and all. Let it float for 30-45 minutes. The petals can actually absorb water directly. After its bath, take it out, give it a gentle shake, re-cut the stem using one of the methods above, and pop it back in a vase. It can save a bloom that looked destined for the compost bin.
A Final Word of Advice
Just a quick safety note: hydrangea leaves and buds can be mildly toxic to pets and people if they’re chewed on in large amounts. It’s rare for any serious issues to occur, but it’s best to be safe if you have curious pets or toddlers.
And finally, be realistic. Every gardener, no matter how experienced, loses a plant now and then. Sometimes a plant is simply too far gone, or it was just in the wrong spot for too long. Don’t see it as a failure. See it as a learning experience that makes you a better, more observant gardener for the next plant that comes along.
Galerie d’inspiration
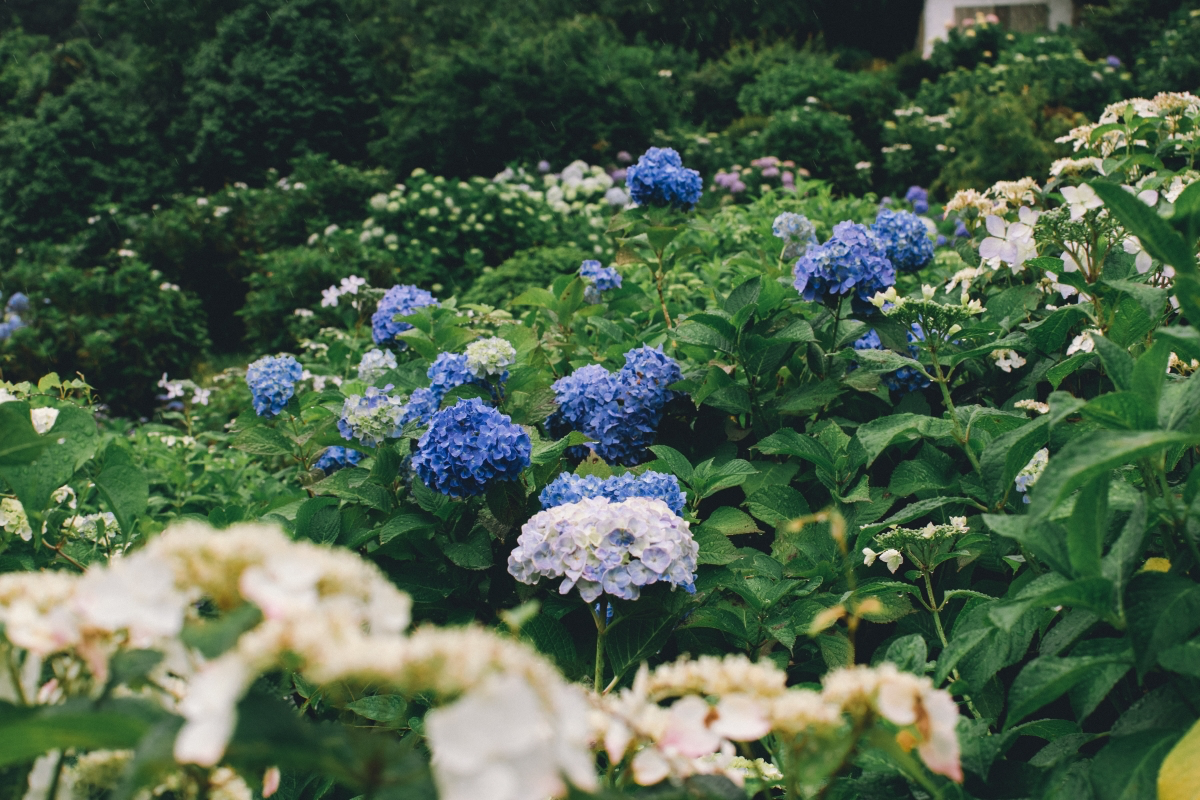
One of the best preventative measures against the daily wilt is a good layer of mulch. A 2-3 inch blanket of organic mulch, like pine bark or shredded leaves, over the root zone acts like a shield. It keeps the soil cool, dramatically slows down water evaporation, and suppresses weeds that compete for moisture. It’s a simple, once-a-season task that saves you from the daily panic.

- Enjoy long-lasting, papery blooms all year round.
- Create stunning, everlasting indoor arrangements.
- Capture the beauty of your garden at its peak.
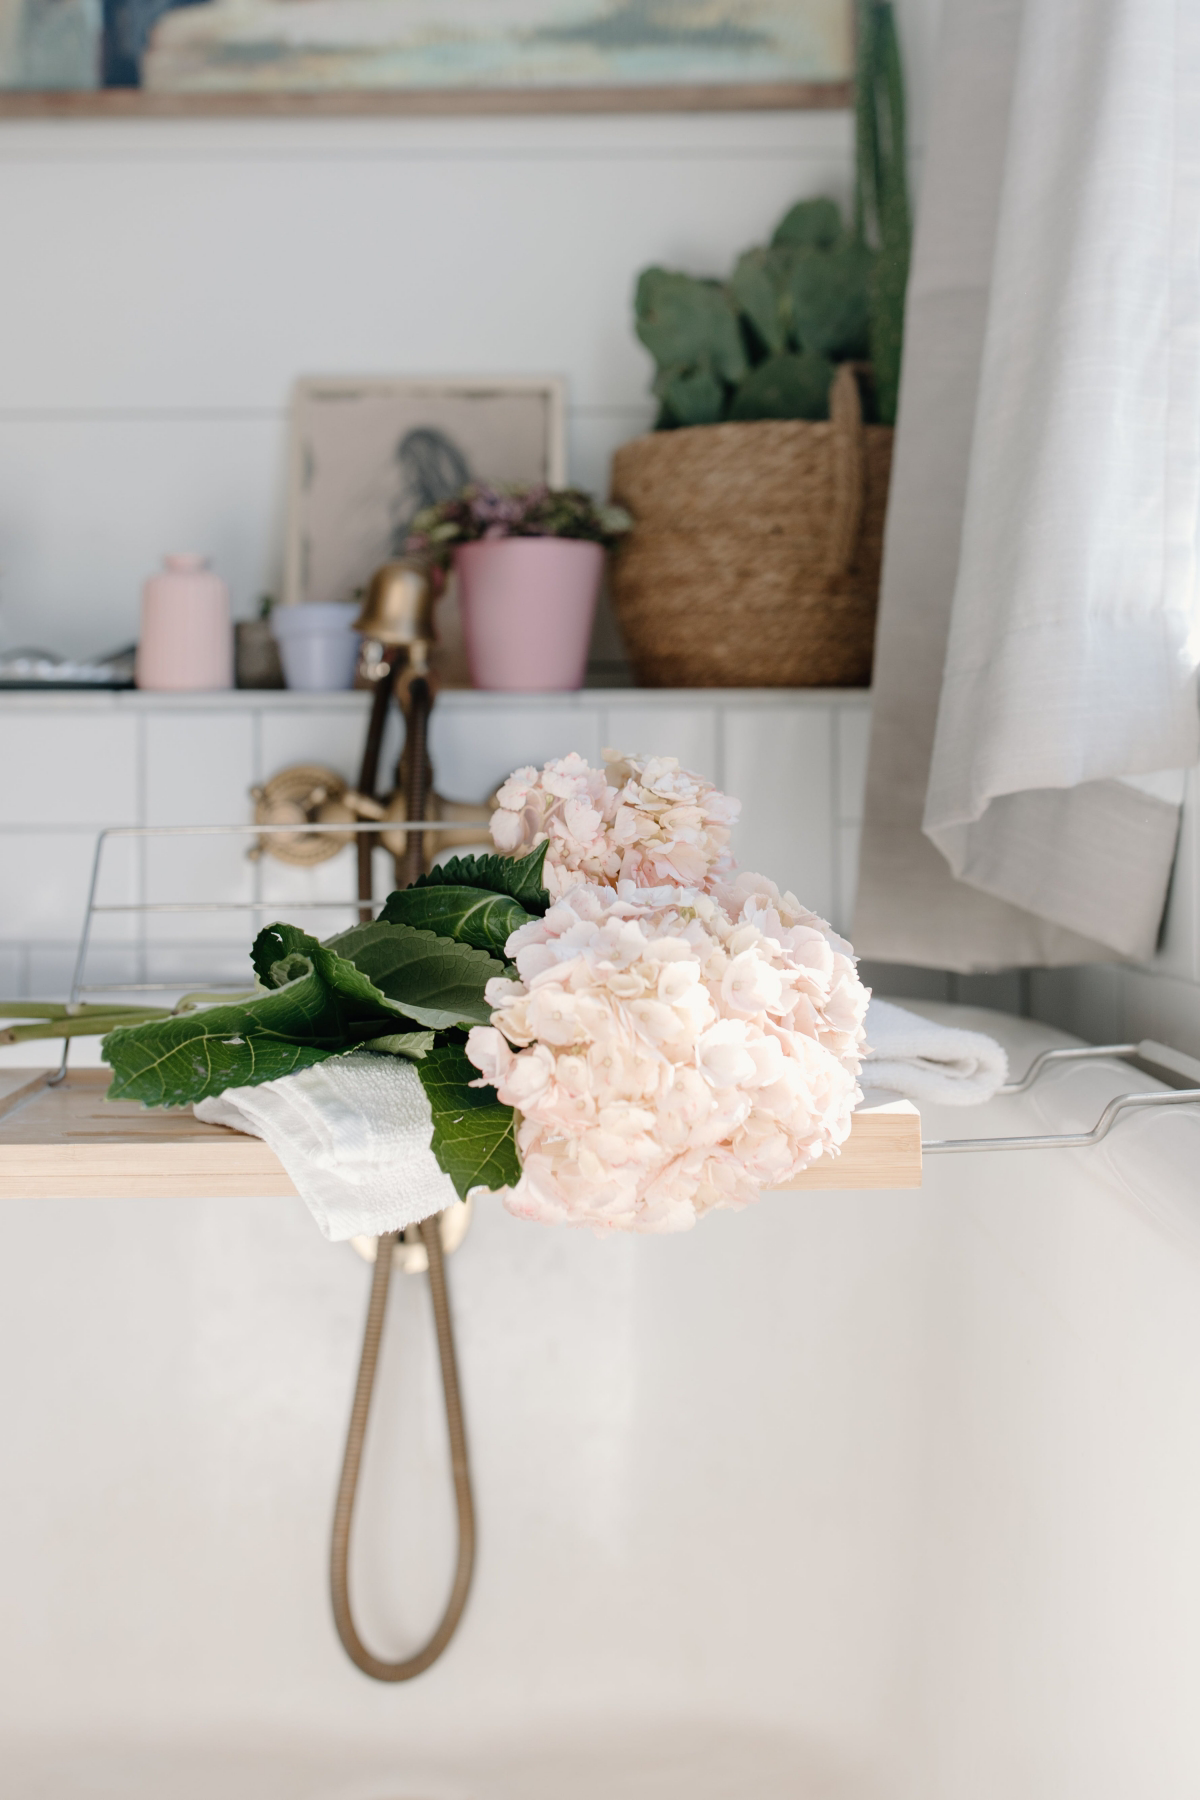
The secret? Don’t cut them when they’re fresh and soft. Wait until late summer when the flower heads start to feel slightly dry and papery to the touch, and their color deepens. Cut them with long stems, remove the leaves, and place them in an empty vase in a cool, dry place away from direct sunlight. They’ll dry perfectly on their own.
Important point: The most common pruning mistake leads to a lack of flowers, which can stress the plant. Know your type! Most bigleaf hydrangeas (macrophylla) and oakleaf varieties bloom on
In Japan, the hydrangea is associated with gratitude, apology, and heartfelt emotion. It’s a flower often given to express genuine feeling, as its abundant petals are seen to represent a heart overflowing.
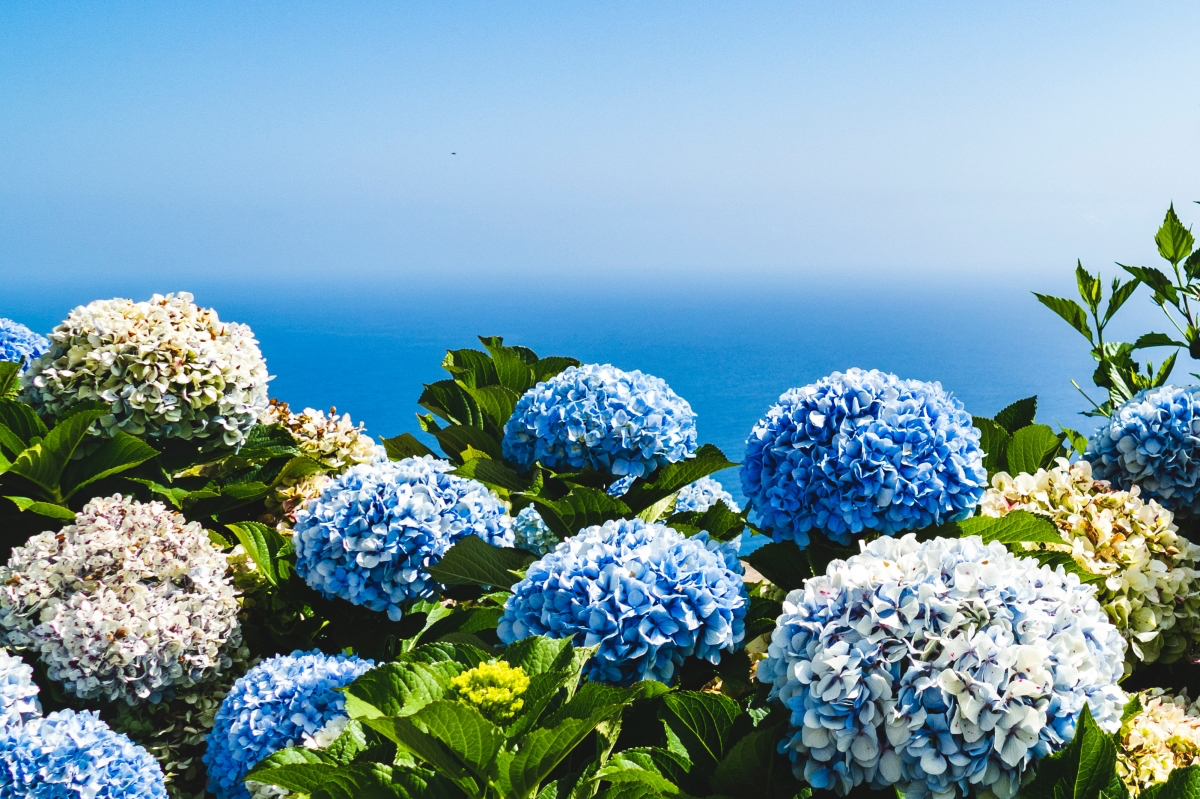
Tired of the daily water-watch? Some hydrangeas are simply tougher than others. If you’re looking for varieties that are more resilient to heat and less prone to dramatic wilting, consider these options:
- Panicle Hydrangeas (H. paniculata): Cultivars like ‘Limelight’ or ‘PeeGee’ thrive in full sun and are significantly more drought-tolerant once established.
- Oakleaf Hydrangeas (H. quercifolia): Native to the U.S., their deep root systems make them more resilient during dry spells.
Can you really change your hydrangea’s color?
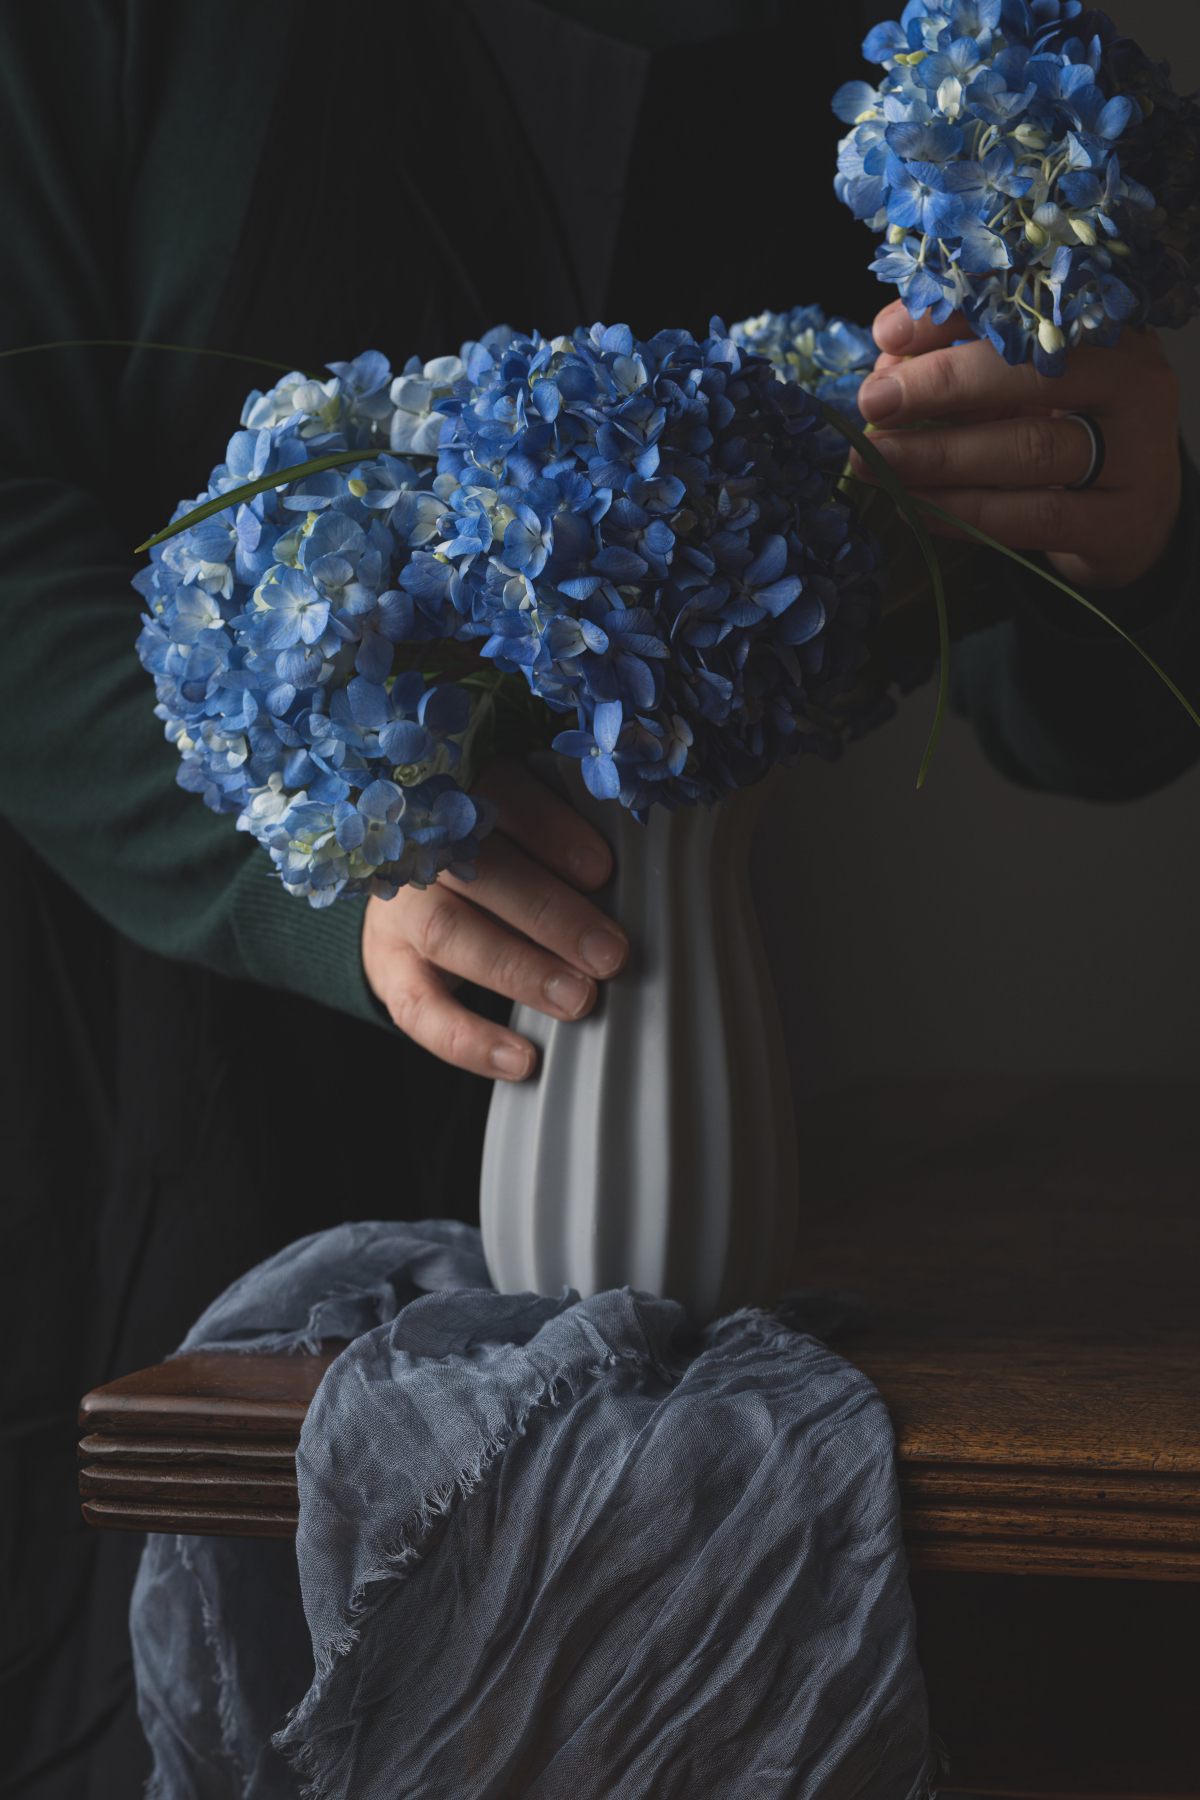
Absolutely, and it’s all about soil chemistry. The color of Bigleaf Hydrangeas (H. macrophylla) acts like a natural pH test. For deep blue flowers, the plant needs acidic soil (pH below 6.0) and available aluminum. You can encourage this by adding a soil acidifier like Espoma Soil Acidifier or garden sulfur. For vibrant pink or red blooms, the plant needs alkaline soil (pH above 7.0) which prevents it from absorbing aluminum. Adding garden lime will help raise the pH. Note that white hydrangeas, like the ‘Annabelle’ variety, won’t change color regardless of soil pH.
According to the U.S. Environmental Protection Agency, as much as 50% of the water we use outdoors is lost due to wind, evaporation, and runoff caused by inefficient watering methods.
For a water-guzzler like a hydrangea, this is significant. Instead of a sprinkler that wets the leaves (promoting fungal disease) and loses water to the air, switch to a soaker hose or a drip irrigation system. These methods deliver water slowly and directly to the root zone, ensuring every drop is used efficiently and keeping your plant hydrated for longer with less waste.
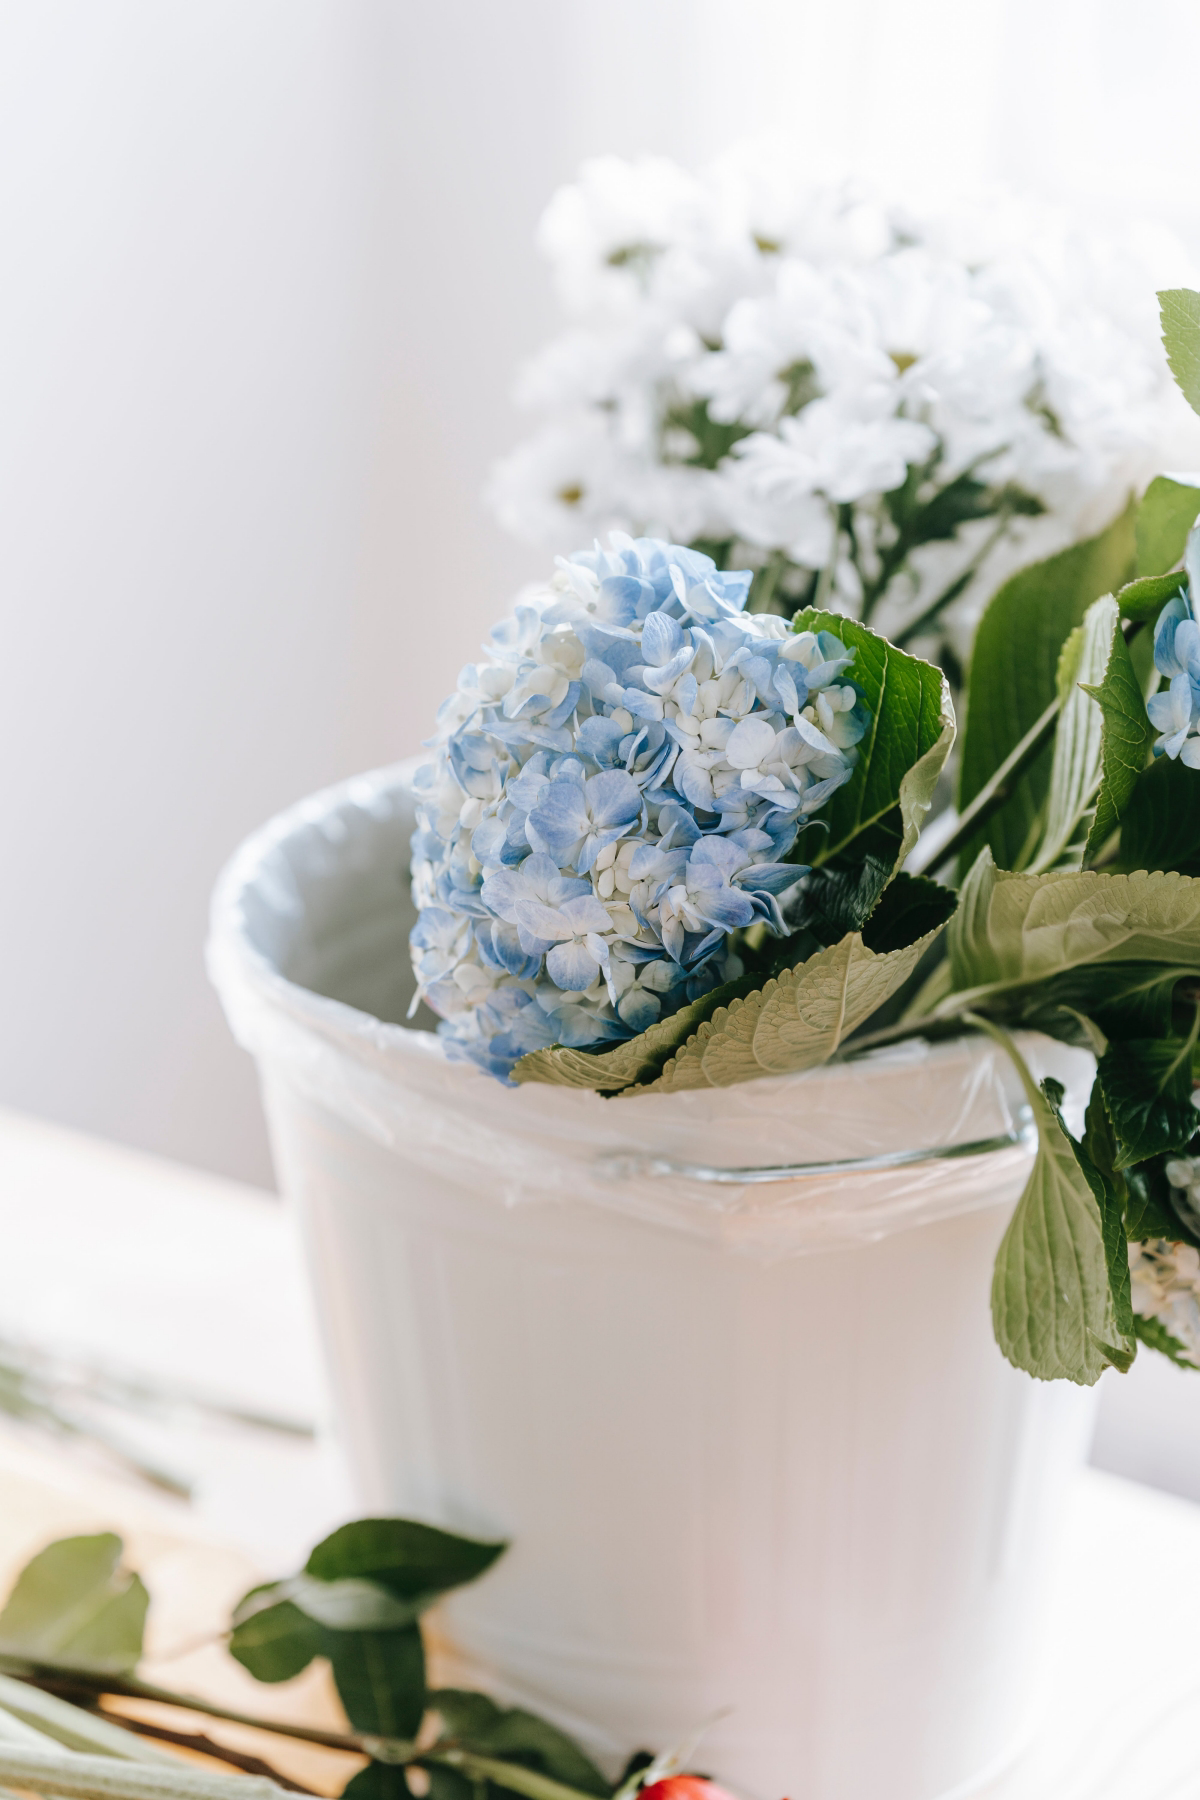
Terracotta Pots: They are porous, which allows for excellent air circulation to the roots. However, this same quality means water evaporates quickly through the pot’s walls, and they can dry out extremely fast on a hot day, making wilting a near certainty without constant vigilance.
Glazed Ceramic or Plastic Pots: These non-porous materials are champions of moisture retention. They hold water much longer, reducing the frequency of watering and providing a more stable environment for your hydrangea’s roots. For a thirsty plant, this is often the better choice.


