A Real-World Guide to Steel: What to Buy & How Not to Mess It Up
I’ve spent a lot of time with steel. I’ve cut it, welded it, bent it, and yes, definitely cursed at it a few times. One of my earliest lessons was learning the hard way that you can’t just grab any two pieces of metal and expect them to play nice. Trying to weld stainless to regular carbon steel without the right prep? You get a brittle, cracked disaster. That’s when it clicks: steel isn’t just one thing. It’s a huge family of materials, and each one has its own personality.
In this article
Honestly, you can stare at technical data sheets all day, but nothing beats the real-world feel of working with this stuff. The high-pitched scream of stainless steel hardening up because your tool is a little dull is a sound you won’t forget. It’s totally different from the clean, almost silent shearing of soft mild steel. This guide is built on that kind of on-the-floor experience—less about the textbook theory and more about how these metals actually behave when you try to make something with them.

We’re going to walk through the four main groups you’ll run into: Carbon Steel, Alloy Steel, Stainless Steel, and Tool Steel. My goal is to give you the practical info you need to pick the right material, sidestep common headaches, and understand why one shiny bar of steel can cost ten times more than another that looks exactly the same. This is the stuff that separates the good projects from the great ones.
1. Carbon Steel: The Everyday Workhorse
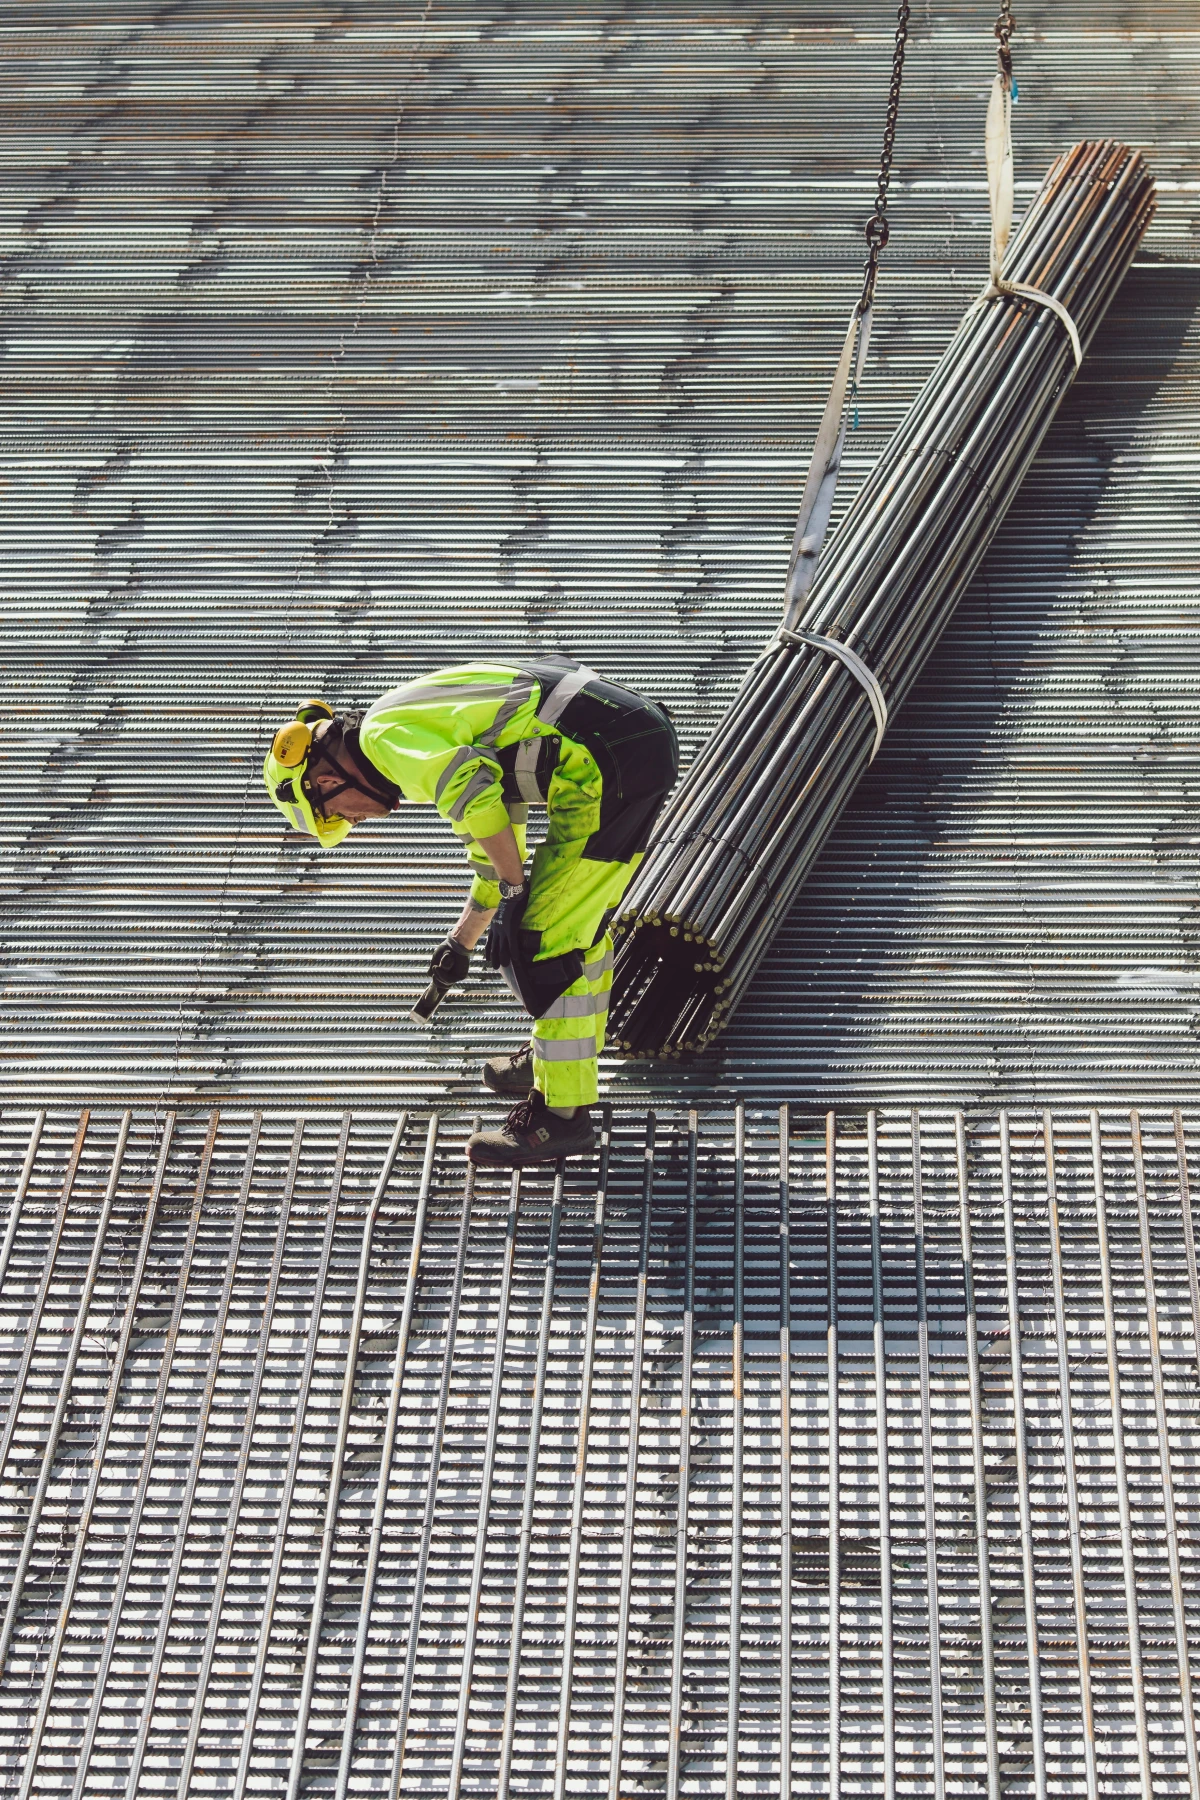
If you’ve ever picked up a piece of steel, chances are it was carbon steel. It accounts for the vast majority of all steel made, and for good reason: it’s a jack-of-all-trades, it’s relatively cheap, and it gets the job done. The name says it all—it’s basically just iron mixed with carbon. The amount of carbon is the main dial we turn to change how it behaves.
The more carbon you add, the harder and stronger the steel gets. The trade-off? It becomes more brittle and less willing to bend without breaking. We usually break them down into three buckets.
Beginner’s Best Bet: Start Simple!
Just starting out? Do yourself a favor and stick with Low-Carbon Steel, also known as Mild Steel. Look for grades like A36 or 1018. It’s cheap, incredibly forgiving, and you can cut, drill, and weld it with basic tools without much fuss. You can find it at most local steel yards or even some big-box hardware stores. Don’t overthink it at the beginning—this is your go-to material for learning.
The other types you’ll see are:
- Medium-Carbon Steel: This is the middle ground, with grades like 1045. It’s stronger and harder than mild steel, but also trickier to weld. The real advantage here is that it can be heat-treated to make it much tougher.
- High-Carbon Steel: Now you’re in specialist territory. With grades like 1095, this steel can get incredibly hard and hold a sharp edge, which is why it’s used for knives and tough springs. But that hardness makes it brittle if you don’t treat it just right.
Working with Carbon Steels: It’s All About Heat
You can’t treat these steels the same way. I’ve seen it happen: someone welds a bracket out of what they thought was mild steel, only to have it crack right beside the weld. A quick check showed it was actually medium-carbon steel, and they hadn’t preheated it to slow down the cooling process.
Good to know: The Spark Test
A super quick way to get a rough idea of what you’re holding is to touch it to a grinding wheel. Mild steel throws long, yellowish-orange sparks that travel in a straight line. High-carbon steel, on the other hand, creates a burst of bright, white sparks that are much shorter and bushier. It’s an old-school trick, but it really works.
When you weld medium-carbon steel, you have to preheat it. A few hundred degrees is often enough to prevent that super-fast cooling that creates brittle spots. For high-carbon steel, like when making a knife from 1095, heat control is everything. You heat it to a specific cherry-red color (around 1500°F), quench it in oil to make it hard, then temper it in an oven at a lower temperature (say, 400°F) to dial back the brittleness and add some toughness. It’s a true art form.

2. Alloy Steel: Performance on Demand
So, what happens when basic carbon steel just isn’t tough enough? That’s when you bring in the alloy steels. Think of it this way: carbon steel is a simple dough of flour and water. Alloy steel is like adding eggs for richness, sugar for browning, and yeast for rise. We add elements like chromium, nickel, and molybdenum to get specific results like extra hardness or the ability to withstand high temperatures.
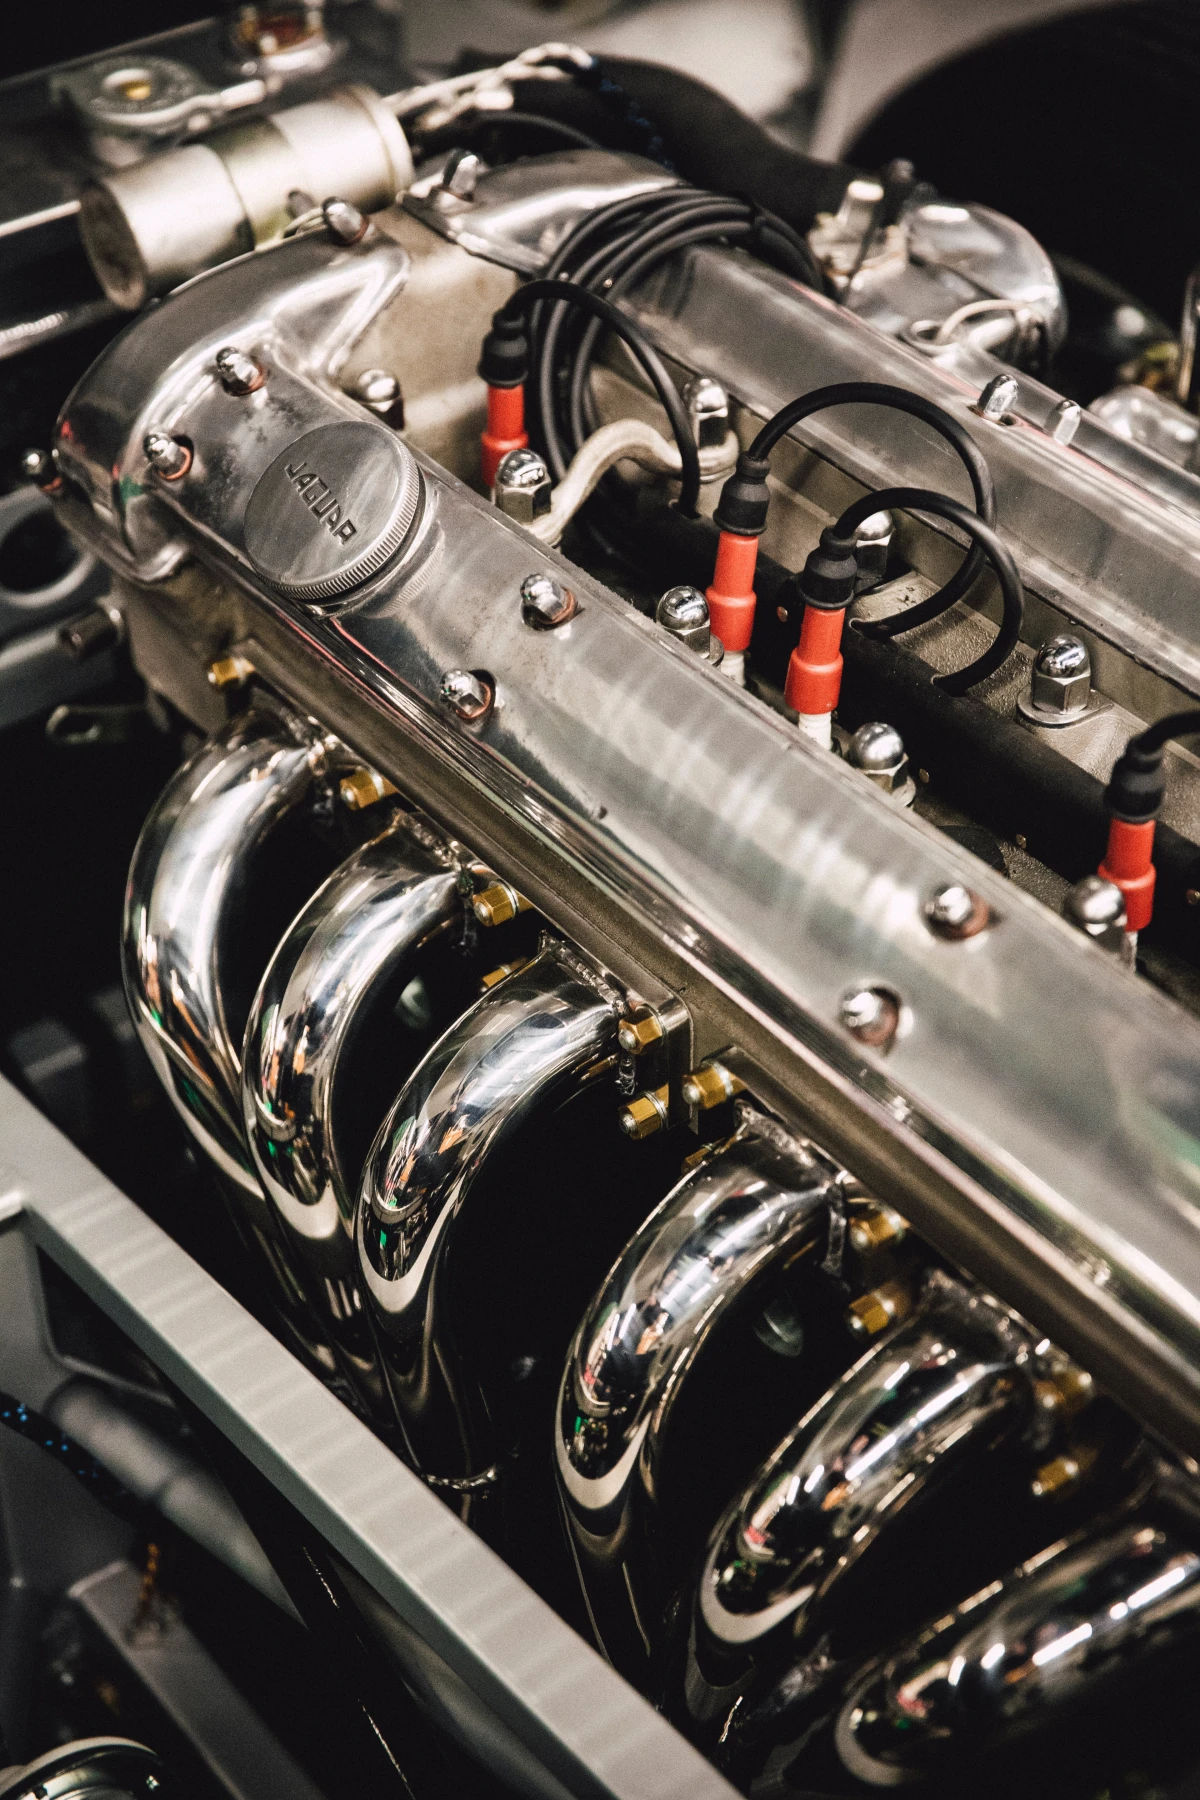
A classic example is 4140 Chrome-Moly steel. It’s a medium-carbon steel with chromium and molybdenum added, giving it a fantastic balance of strength and toughness once it’s heat-treated. You see it used in high-stress parts like automotive axles and hydraulic shafts.
The Real World of Alloy Steels
With alloy steels, heat treatment isn’t just an option—it’s the entire point. You buy them specifically for the properties you can unlock with heat. This is almost always done by a professional heat-treating shop with calibrated equipment. It’s not something you can easily do in a home garage.
Welding them is also a serious business. It requires careful preheating, specialized low-hydrogen welding rods, and often a slow, controlled cool-down under insulating blankets to prevent cracking. Machining them in their hardened state is a real challenge, too, requiring super-rigid machines and tough carbide cutting tools.
A Quick Tip on Buying: For a critical, high-stress project, pros will always ask for a Mill Test Report (MTR), which is a certificate from the steel mill confirming the exact chemical makeup. For a hobbyist or for most smaller jobs, you won’t need that. Buying from a reputable source like OnlineMetals.com or Speedy Metals is perfectly fine. They’ll list the exact alloy (e.g., 4140), and you can trust you’re getting what you paid for.
3. Stainless Steel: More Than Just a Pretty Face
Everyone knows stainless steel. It’s in our kitchens, our hospitals, and all over modern architecture. Its claim to fame is its ability to resist rust, but not all stainless is created equal, and working with it can be a real pain if you don’t know its quirks.

The magic ingredient is chromium (at least 10.5%). It creates an invisible, self-healing shield of chromium oxide on the surface that protects the iron from rust. The two most common families you’ll encounter are:
- 300 Series (like 304 and 316): This is the classic, non-magnetic stuff. 304 stainless is your standard for kitchen sinks and general use. If you need more corrosion resistance, especially against salt, you upgrade to 316 stainless, which has an extra ingredient (molybdenum) for protection.
- 400 Series (like 430 and 440C): These are magnetic and can be a bit more budget-friendly. Some, like 440C, have more carbon and can be hardened, which is why they’re perfect for high-quality knives and surgical tools.
The Challenges of Working with Stainless
Stainless has a reputation for being difficult. When you’re machining it, especially the 304 grade, it feels gummy and loves to “work-harden.” This means if your cutting tool rubs for even a second instead of cutting, the spot you were touching becomes incredibly hard. The trick is to use sharp tools, slow speeds, and a confident, steady feed rate. No pausing!
Welding it requires absolute cleanliness and a shielding gas like argon to protect the weld from the air. Using the wrong filler rod (like a carbon steel one) will create a weld that rusts immediately. You have to match the rod to the material, for example, using a 308L rod for 304 stainless.
Here’s a practical tip: If you’re building something for a dry environment, like a bookshelf bracket in Arizona, 304 stainless is perfect. But if you’re making that same bracket for a beach house in Florida, you absolutely must use 316. The salty air would cover 304 with ugly rust spots in no time. The 316 costs more upfront but saves you from a costly failure.
Heads up! When you cut or grind stainless steel, the dust and fumes can contain some nasty stuff (hexavalent chromium). Always work in a well-ventilated space and wear a good respirator. Seriously, protect your lungs.
4. Tool Steel: The Toughest of the Bunch
Tool steels are the elite special forces of the steel world. These are incredibly complex alloys designed for one thing: shaping other materials. They’re used to make the drill bits in your toolbox, the dies that stamp car doors, and anything else that needs extreme hardness and wear resistance.
They come in different series, like the A-series (for Air-hardening), D-series (for high wear-resistance), and S-series (for Shock-resistance). Each has a precise recipe of alloys to do a specific job.
Working with tool steel is an exercise in patience. You typically machine the part in its soft (annealed) state, then send it out to a professional service for the complex heat-treatment process. It’s not a DIY job. One young machinist I knew spent a week making a beautiful, intricate die from A2 tool steel. He got impatient during the final grinding, overheated one corner, and ruined the temper, making it soft. The whole piece was scrap. It’s a brutal lesson in taking your time.
Cost, Availability, and Final Thoughts
So, what does this all mean for your wallet? Let’s put it in perspective. If a one-foot bar of A36 mild steel costs you $5, you can expect the same size piece of medium-carbon 1045 to be around $12. A bar of 304 stainless might run you $18, and a piece of A2 tool steel could easily be $30 or more. These are just ballpark figures, but they show you how the price climbs with performance.
At the end of the day, there’s no single “best” steel. The best steel is the one that’s right for your job, your budget, and the tools you have. Using tool steel for a simple frame is a waste of money, and making a knife from mild steel will just leave you with a dull, useless tool. Understanding these basic differences is the key to making projects that work well and last a long time.
Your homework: Next time you’re at a hardware store, go look at the drill bits. Notice how the cheap, basic black oxide bits are for general use in wood and soft metal? Then look at the pricey, shiny silver cobalt bits designed for drilling into hard steel. That’s the difference between a simple carbon steel and a high-performance tool steel right there in your hand!
Inspirational Gallery with Photos
Don’t underestimate the importance of where you buy your steel. While big-box home improvement stores are convenient for small pieces, you’ll often pay a premium. For larger projects or better prices, find a local metal supplier. These places sell full-length stock (often 20 feet) and can cut it to your required size. You’ll not only save money but also get access to a much wider variety of profiles and alloys than you’d ever find elsewhere.
Steel is the world’s most recycled material, with a global recycling rate of over 60%. An old car frame can be reborn as a structural beam or a high-precision tool.
Drilling into stainless steel and only getting smoke and a screeching sound?
You’re likely work-hardening the material. Unlike mild steel, stainless hardens rapidly from the heat and pressure of drilling. The key is to use a sharp, high-quality cobalt (HSS-Co) or carbide drill bit, run your drill at a very low speed, and apply firm, constant pressure. Use plenty of cutting fluid like Tap Magic to keep things cool. If you let up on the pressure, the bit will just spin, glaze the surface, and make it nearly impossible to drill.
MIG (Gas Metal Arc Welding): Often called the ‘hot glue gun’ of welding. It’s fast, relatively easy to learn, and produces clean welds on thin to medium-thick steel. It’s perfect for projects where appearance matters.
Stick (Shielded Metal Arc Welding): A more rugged, all-weather process. It’s better for thicker, dirtier, or rusty metal and can be used outdoors in windy conditions where a MIG’s shielding gas would blow away. The learning curve is steeper, but it’s incredibly versatile.
For a beginner setting up a garage workshop, a 110V MIG welder like a Hobart Handler 140 is an excellent and forgiving starting point.
- A clean, crisp edge on your finished piece.
- Perfect fit-up for welding, with no gaps.
- No nasty, deep cuts on your hands.
The secret? Never skip deburring. After any cut with a grinder, saw, or shears, run a simple deburring tool or a hand file along every edge. It takes 30 seconds but is one of the biggest differences between amateur and professional-looking work.
A crucial safety tip often overlooked: Always grind sparks away from yourself, flammable materials, and other people. But also, direct them away from finished surfaces and glass. Those hot metal particles can embed themselves in windows, car paint, or even a finished project, creating tiny rust spots that are impossible to remove.
Before you fight rust, consider embracing it. Corten steel, also known as weathering steel, is a special alloy designed to develop a stable, rust-like protective layer when exposed to the elements. This ‘patina’ seals the surface, preventing deeper corrosion. You’ve seen it used in outdoor sculptures and architectural facades for its beautiful, earthy orange-brown finish that evolves over time. It’s a great choice for planters, garden edging, or any project where you want a natural, maintenance-free finish.
Ready for a first project after mastering A36 mild steel? Try building a small, industrial-style side table.
- Use 1-inch square tubing for the legs and frame. Its straight lines make for simple 90-degree cuts.
- Practice your welds on the inside corners where they’ll be less visible.
- For the top, you can use a piece of reclaimed wood or even a thicker sheet of steel for a full metal look.
- Finish the steel frame with a simple clear coat to prevent rust while showing off your welds.
- Store steel stock flat and off the ground, ideally on a rack, to prevent it from warping or collecting moisture.
- Wipe down raw steel with an acetone-soaked rag before you start working to remove the oily film from the mill. This ensures better welds and paint adhesion.
- Keep your welding and cutting areas separate to prevent grinding dust from contaminating your welding equipment.
A single drop of water can initiate the oxidation process on unprotected carbon steel. In a humid environment, a fine layer of surface rust can appear in just a few hours.
This is why most raw steel is shipped with a light coating of oil. For long-term storage in a home shop, a quick wipe-down with a corrosion inhibitor like Boeshield T-9 or even a light coat of WD-40 after cleaning can save you hours of sanding rust off later.


