Stop Ruining Your Canvas Shoes: Here’s How to Clean Them Like a Pro
I’ve spent more years than I can count working with shoes, from sweeping floors in a classic old-school cobbler shop to running my own restoration service. I can tell you, the single biggest tragedy in the footwear world is a good pair of canvas shoes destroyed by well-meaning but improper cleaning. People see a stain and immediately reach for the harshest chemicals or, even worse, the washing machine.
In this article
Honestly, it’s the fastest way to kill your shoes. I’m here to tell you to please, for the love of footwear, step away from the washer and dryer. Tossing your shoes in there is a death sentence for the glues that hold them together. The fabric warps, the colors bleed… it’s a mess. I once had to tell a guy his rare, limited-edition sneakers were basically unfixable after a spin cycle tore the soles clean off. He was devastated, and I don’t want that to be you.
My method—the one I teach anyone who works with me—is all about working with the shoe, not against it. It takes a little more time, sure, but your shoes will end up truly clean and last so much longer. It’s the difference between preserving your investment and throwing it away.
First, Know What You’re Working With
Before you even think about getting your shoes wet, you have to understand what they’re made of. It’s not just about the canvas itself; it’s about the hidden stuff that’s way more fragile.
It’s More Than Just Fabric
Canvas isn’t all the same. Some shoes, especially lighter, more casual styles, use a thinner canvas that’s breathable but also more delicate. Think about a classic pair of work shoes or skate shoes—that’s often a much heavier, tougher ‘duck canvas.’ You can feel the difference. A lighter canvas needs a softer touch, otherwise you risk stretching the fibers and permanently ruining the shoe’s shape. The goal is always to lift dirt out of the weave, not grind it in.
The Real Weak Spot: Glue
Here’s the most important lesson of the day: your shoes are held together by glue. In the industry, we call it cement. This adhesive is incredibly strong, but it has two mortal enemies: high heat and harsh chemicals. This is precisely why the washing machine is a no-go. The hot water softens the cement, and the tumbling motion rips the sole away from the upper. The dryer is even worse—it’s like putting them in an oven that melts their structural bonds. Proper cleaning is always done by hand with cool water to protect this crucial component.
The Dreaded Color Bleed
With white canvas, you worry about yellowing. But with colored canvas? The big risk is the color bleeding everywhere. Dyes can be fickle. Some are locked deep in the fibers, while others are just waiting for an excuse to run. Aggressive cleaners, especially anything with bleach, will strip those dyes and can stain the white rubber parts of your shoe for good.
Because of this, a spot test isn’t just a suggestion; it’s a mandatory first step. Seriously. Before you start scrubbing away, test your cleaning solution on a hidden spot, like the inside of the tongue. Dab a little on, wait a minute, and then press a white cloth against it. If any color comes off, your cleaner is too strong, and you’ll need to be extra careful.
Your Pro Cleaning Toolkit (on a Budget)
Good news: you don’t need a bunch of expensive, specialized gear. Getting set up for this costs less than a new pair of shoes, probably around $25 if you’re starting from scratch.
- A Couple of Soft-Bristle Brushes: You’ll want one larger one for the main surfaces and a small one (an old toothbrush works great) for getting into the seams. I prefer brushes with natural bristles like boar hair because they’re gentler than stiff nylon.
- A pH-Neutral Cleaner: This is key. A gentle soap cleans without causing damage. You can buy a specialized sneaker cleaner, but honestly, a simple bottle of Dr. Bronner’s castile soap works wonders. You can grab a small bottle for about $3-$4 that will last you forever. The magic formula is about one teaspoon of soap per two cups of cool water.
- Microfiber Cloths: Have at least two on hand. They’re super absorbent and won’t leave fuzz behind. A multi-pack at any big-box store is cheap and worth it.
- Cedar Shoe Trees: Okay, this is a small investment, usually $15-$25 a pair online or at stores like Target, but they are a total game-changer. They hold the shoe’s shape perfectly while you clean and, more importantly, the cedar absorbs moisture and odor as the shoes dry. If you’re on a tight budget, stuffing them with clean paper towels (no printed newspaper!) is a decent alternative.
- Painter’s Tape (Optional but smart): If your shoes have different materials, like a suede patch on the heel, you can use painter’s tape to mask off the delicate areas and keep them dry.
The Step-by-Step Hand-Washing Method
Alright, let’s get to it. Put on some tunes, lay out your tools, and plan for about 20-30 minutes of active cleaning per pair, plus a good long while for drying.
Step 1: Prep Work is Crucial
First things first, take out the laces and any removable insoles. You’ll clean those separately. You can hand-wash the laces in your soapy water or just toss them in a mesh bag with your next load of laundry.
If your shoes are caked in dry mud, take them outside and knock the soles together to get the big chunks off. No point turning that into mud soup later.
Now, use your dry brush to give the entire shoe a good brushing. This removes all the loose surface dirt and dust. Get into that little crevice where the fabric meets the sole—a lot of gunk hides there.
Step 2: The Spot Test (Don’t Skip It!)
Mix your cleaning solution—one teaspoon of soap in two cups of cool water. Now, do that spot test we talked about on the tongue. No color transfer? Awesome, you’re good to go.
Step 3: The Gentle Scrub
Dip your larger brush into the soapy water and tap it on the side of the bowl. You want it damp, not dripping wet. Over-saturating the canvas is a classic mistake that leads to water stains.
Start scrubbing the shoe in small, gentle circles. Work from the cleanest areas to the dirtiest to avoid spreading grime around. Let the foam and the bristles do the work; you don’t need to apply a ton of pressure. Switch to your smaller brush for the tricky spots around the eyelets and along the seams.
Step 4: Cleaning the Rubber Sidewalls
The rubber midsoles and toe caps can usually be cleaned with the same soapy solution. But for stubborn scuff marks, a magic eraser is your secret weapon. Just wet a corner of it and gently rub the scuffs away. Heads up! Be super careful not to let the magic eraser touch the canvas, as its texture is abrasive and can mess up the fabric’s color and finish.
Step 5: The “No-Rinse” Rinse
This is where people get it wrong. DO NOT hold your shoes under a running faucet. That will soak everything, weaken the glues, and undo all your hard work. Instead, you’ll do a wipe-down rinse.
Get a bowl of fresh, clean water. Dip your clean microfiber cloth in it, and then wring it out so it’s just barely damp. Carefully wipe down the entire shoe, removing all the soap suds. Rinse your cloth in the clean water frequently as you go. Leaving soap residue behind can attract more dirt later and cause yellowing on white canvas.
Step 6: The Art of Patient Drying
Patience is everything here. With the laces still out, stuff the shoes with your cedar shoe trees or clean, undyed paper towels to help absorb moisture from the inside and maintain the shape.
Place the shoes in a dry, well-ventilated spot away from direct sun or heat. A laundry room or near an open window is perfect. Never put them next to a radiator or in the sun—sunlight will make white canvas turn yellow, and direct heat will destroy the adhesives.
Expect them to take 24 to 48 hours to dry completely, depending on the humidity where you live. They have to be 100% bone dry before you wear them again. Wearing damp shoes is not only gross but can lead to mildew and stretch the fabric.
How to Handle Specific Stains
Sometimes you need to bring in the specialists. For tough stains, you’ll want to pre-treat them before you do the all-over cleaning.
- Grease or Oil: The enemy of water-based cleaning. As soon as it happens, bury the stain in cornstarch or talcum powder. Let it sit for at least an hour (overnight is better). The powder will pull the oil out of the fibers. Brush it all off, and then treat what’s left with a single drop of dish soap (yes, this is where Dawn comes in handy!) on your small brush. Dish soap is designed to cut grease, but it’s too harsh for the whole shoe, so use it only for this specific job.
- Grass Stains: These are basically dye stains. An oxygen-based cleaner (like an OxiClean paste) is your best bet. Mix the powder with a tiny bit of water to make a paste, apply it to the stain, and let it sit for about 30-60 minutes. The oxygen bubbles break down the pigment. Just be sure to spot-test this, as it can have a mild bleaching effect on some colors.
- Winter Salt Stains: Those ugly white lines are easy to fix. Mix a 50/50 solution of plain white vinegar and cool water. Dip a cloth in it and gently blot the stains away. The acid in the vinegar dissolves the salt. Follow up with a cloth dampened with plain water to remove any lingering vinegar smell.
- Yellowing on White Canvas: If your white shoes are looking a bit dingy, make a paste of baking soda and a little bit of hydrogen peroxide (it should look like toothpaste). Gently scrub this paste onto the yellowed areas. For an extra whitening boost, you can let them sit in the sun for an hour with the paste on. The UV rays react with the paste to help bleach the fabric. Once it’s dry, just brush the hardened paste off.
Bonus Tips from the Workbench
Quick 5-Minute Refresh
In a hurry? If you don’t have time for a full wash, just do a quick dry brush to remove surface dust and then clean the rubber sidewalls with a magic eraser. It makes a surprisingly huge difference and can get you by until you have time for a proper clean.
What About the Inside? (And the Smell!)
If your insoles don’t come out, you can still clean the footbed. Use the same baking soda and peroxide paste, scrub it gently with your small brush, and then wipe it out thoroughly with a damp cloth. To fight odors between cleanings, just sprinkle a little dry baking soda inside, let it sit overnight, and then dump it out in the morning. Easy.
A Final Word on Protection
Once your shoes are perfectly clean and dry, do yourself a favor and hit them with a fabric protector spray like Scotchgard or Crep Protect. It creates an invisible shield that repels water and stains. Just give them a light, even coat in a well-ventilated area and let it dry. This one simple step can easily double the time between cleanings.
At the end of the day, be realistic. A well-loved shoe will have some character. This process works wonders, but it’s about restoration, not a time machine. By caring for your shoes this way, you’ll keep them looking fantastic and serving you well for years. The before-and-after difference is so satisfying, you’ll wish you’d taken a picture.
Inspirational Gallery
Specialized Cleaner: A product like Jason Markk Premium Shoe Cleaner is pH-neutral and specifically formulated to be gentle on glues, fabrics, and dyes. It creates a controlled foam that lifts dirt without over-saturating the canvas.
DIY Solution: A mixture of warm water and a few drops of clear dish soap or OxiClean can be effective for general dirt. It’s budget-friendly but requires thorough rinsing to avoid residue that can attract more dirt or yellow the fabric.
For high-value or delicate shoes, the specialized cleaner is a worthwhile investment to protect the shoe’s structural integrity.
The global sneaker resale market is projected to reach $30 billion by 2030, transforming collectible footwear into a legitimate asset class.
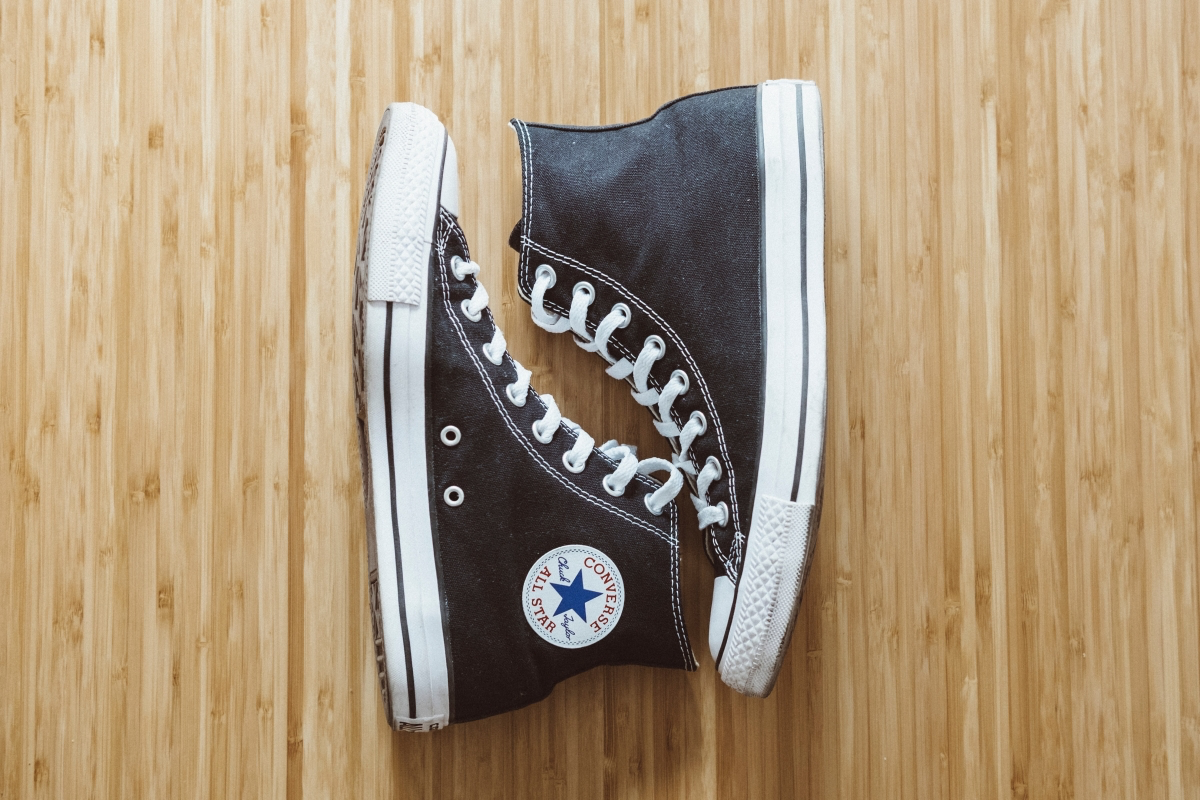
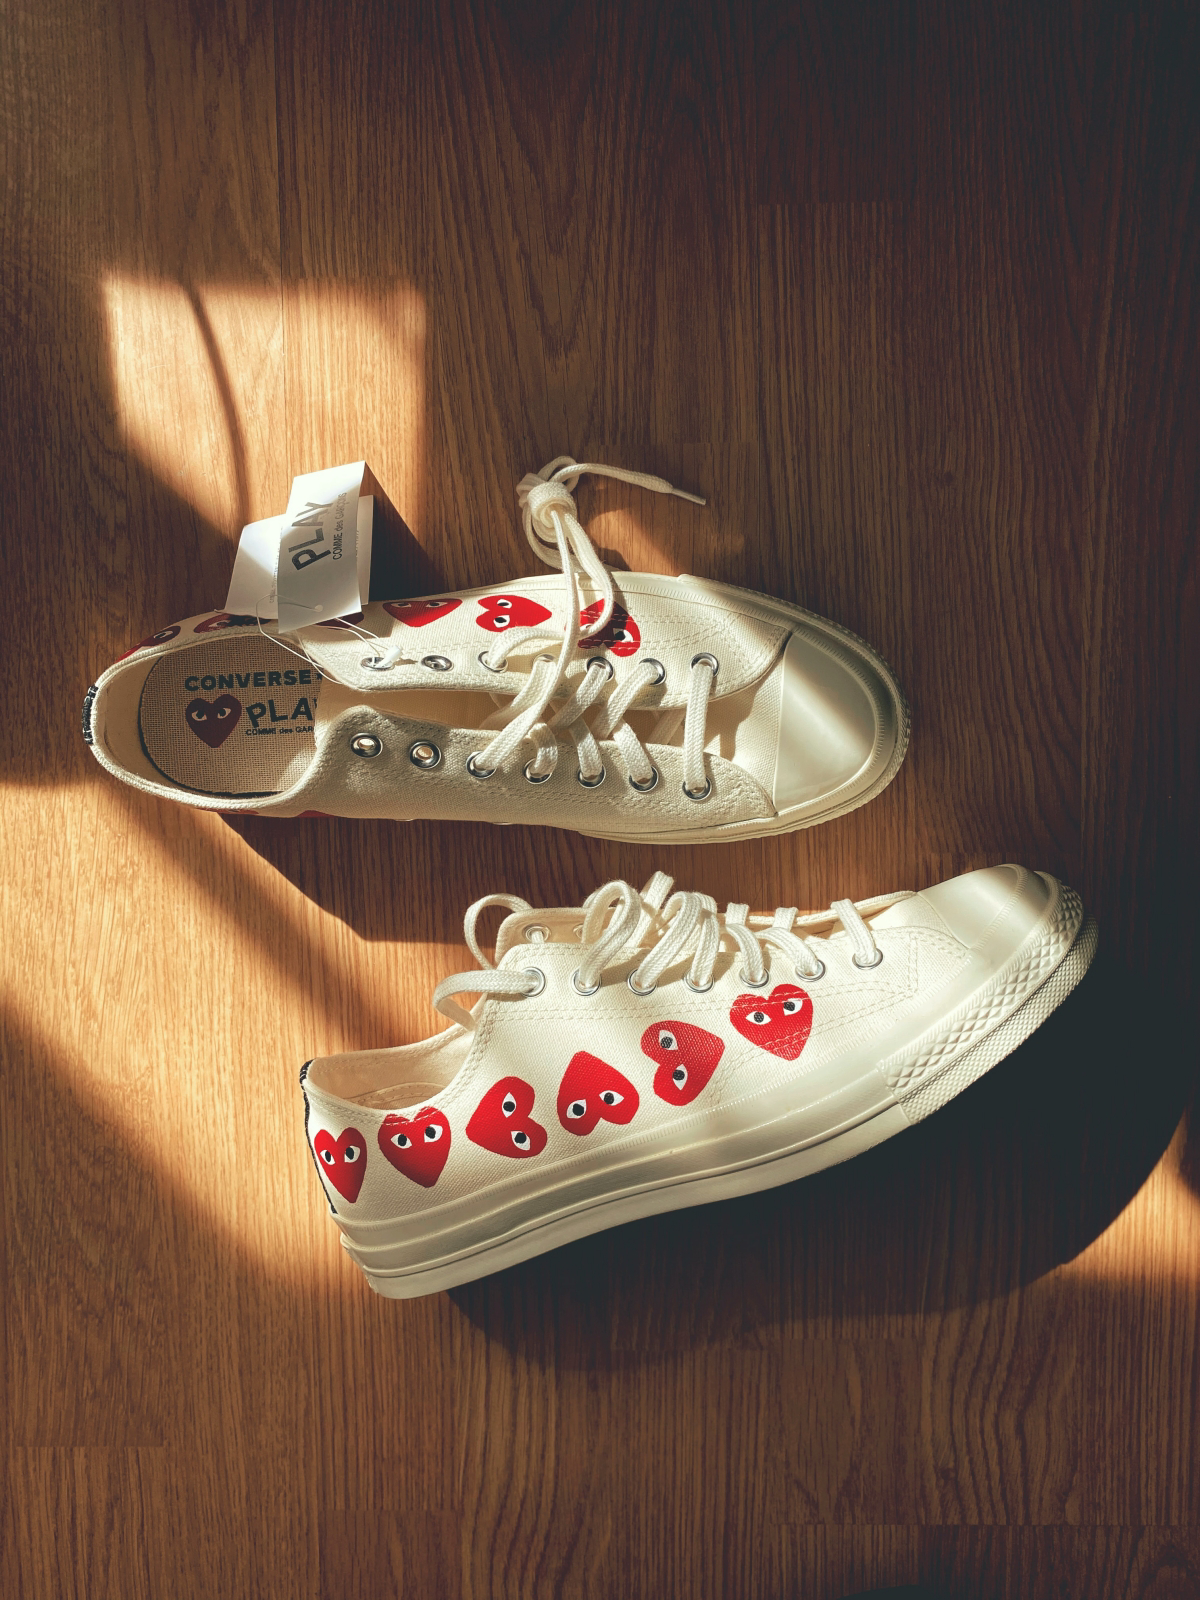
This boom isn’t just about unworn shoes. A pair’s condition is paramount to its value. Keeping your canvas sneakers—whether they’re limited-edition collaborations or just classic Converse Chuck 70s—in pristine condition isn’t just about looking good; it’s about preserving a potential investment.
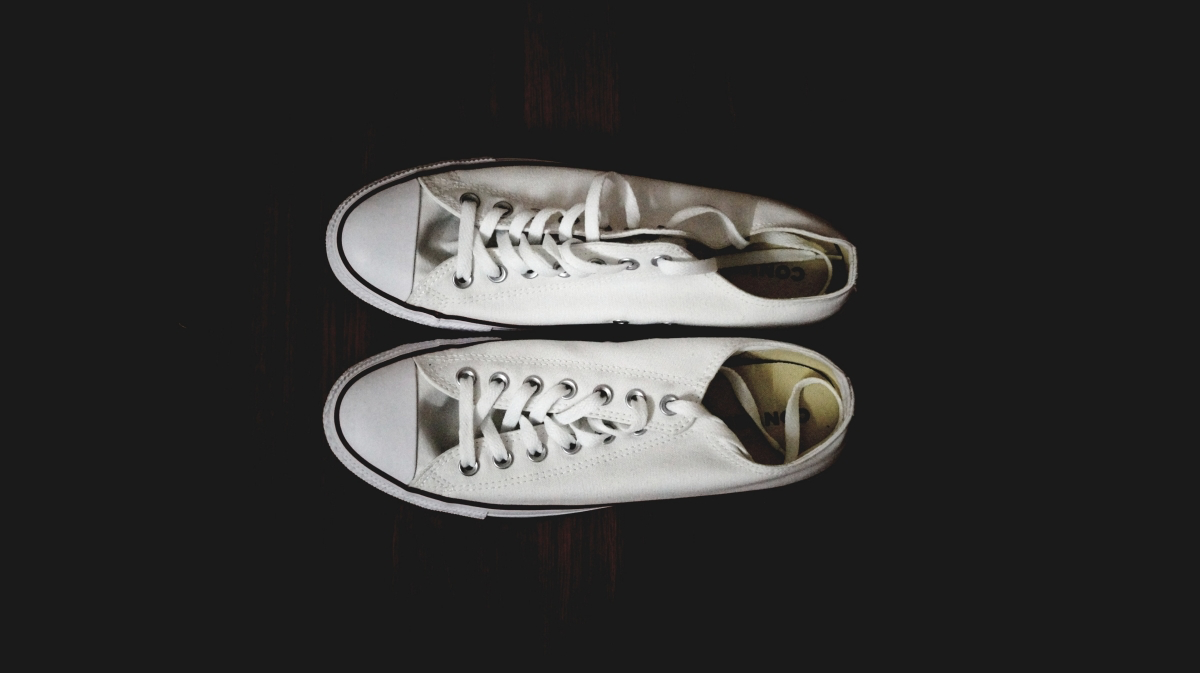
What about the yellowing that sometimes appears after cleaning white canvas shoes?
This is often caused by two things: detergent residue left in the fabric or the shoe drying too quickly in direct sunlight. To prevent it, ensure you’ve thoroughly blotted the shoe with a damp, clean cloth after scrubbing. Then, stuff the shoes with white paper towels (not newspaper, as the ink can transfer) and let them air-dry in a well-ventilated room, away from direct heat or sun.
- Revives the bright, clean look of the rubber.
- Removes scuffs that make shoes look old.
- Gets into the textured crevices where dirt hides.
The secret for pristine midsoles? A magic eraser. Lightly dampened, a product like Mr. Clean Magic Eraser works wonders on the rubber or synthetic parts of your shoe without the need for harsh chemicals. For tougher scuffs, a paste of baking soda and water applied with an old toothbrush does the trick.
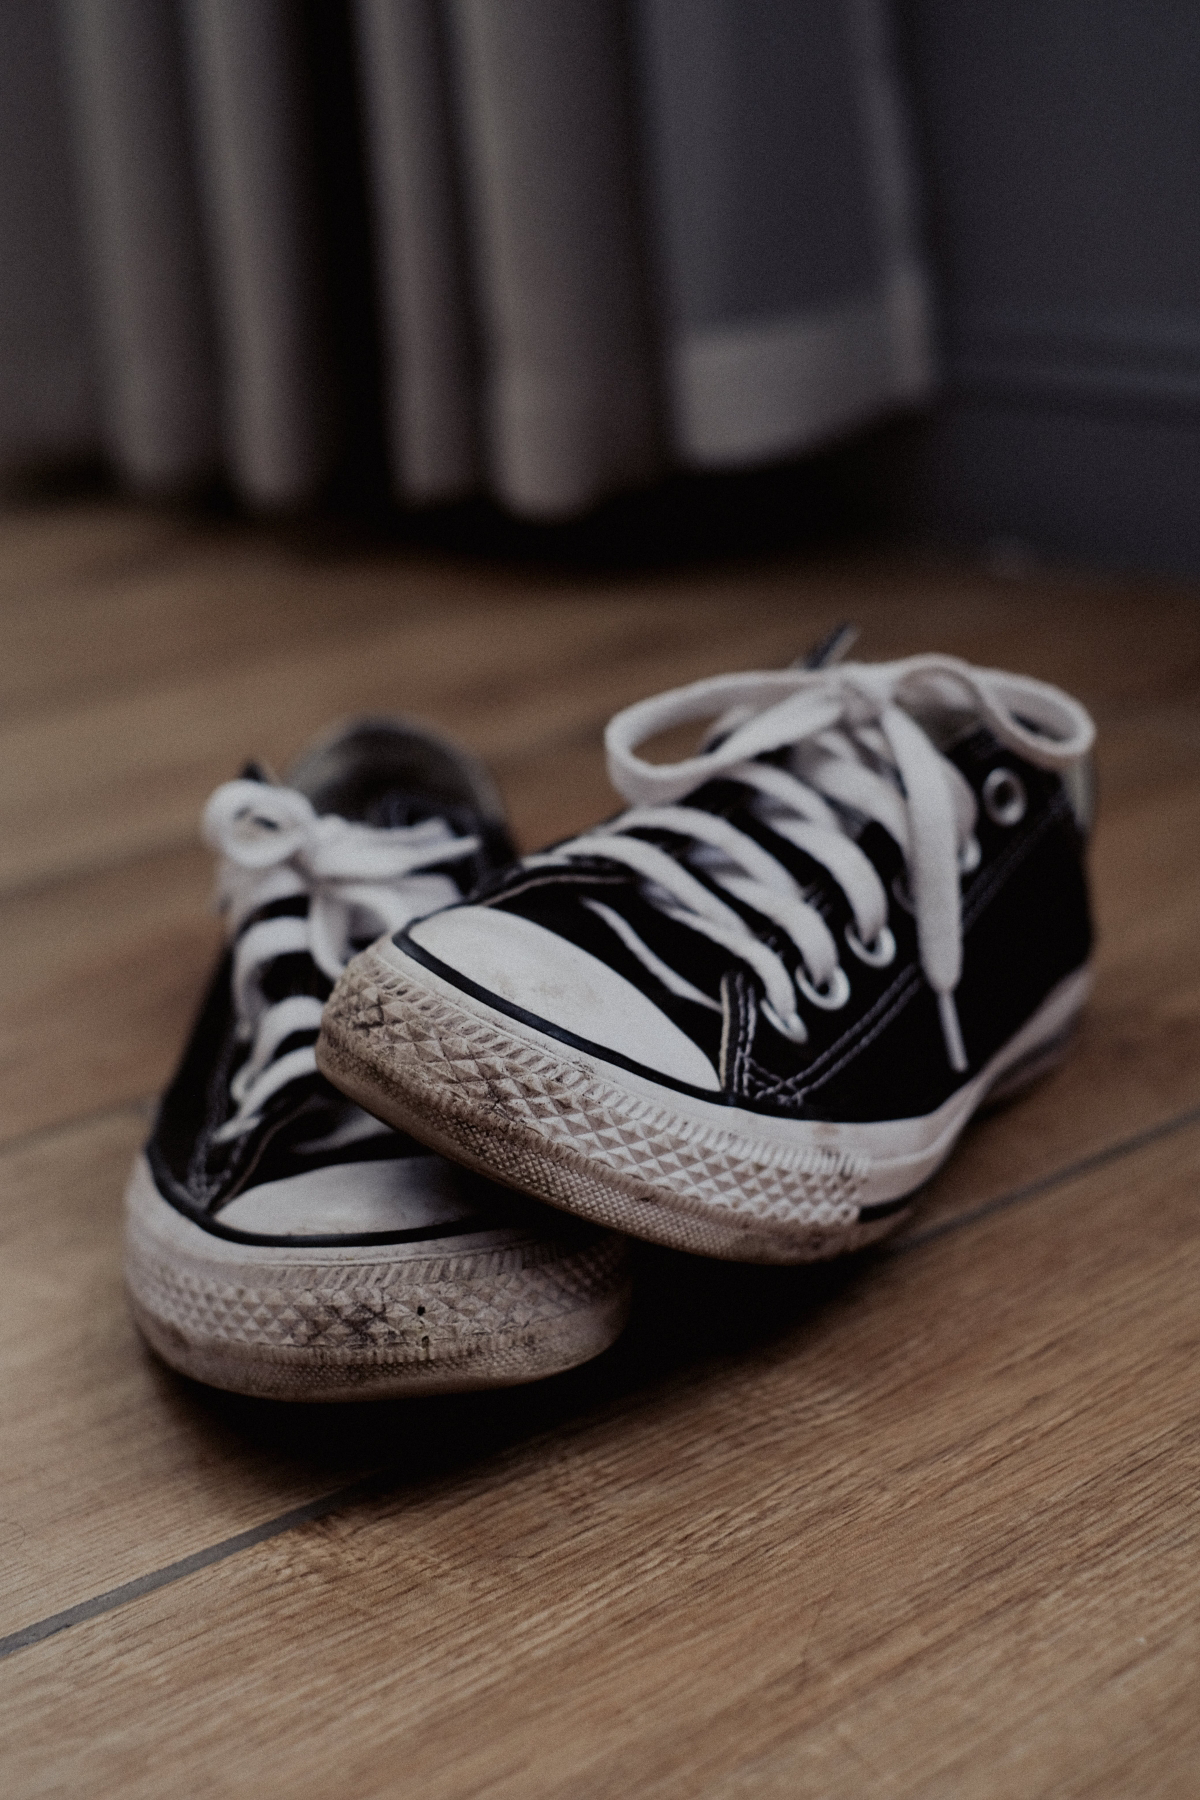
Don’t let perfect-looking canvas be ruined by dingy laces. Removing them is the first step. You can hand-wash them in a small bowl with a bit of detergent or, for an easier method, place them inside a small mesh laundry bag and toss them in with your next load of whites. They’ll come out looking brand new, providing that perfect finishing touch.
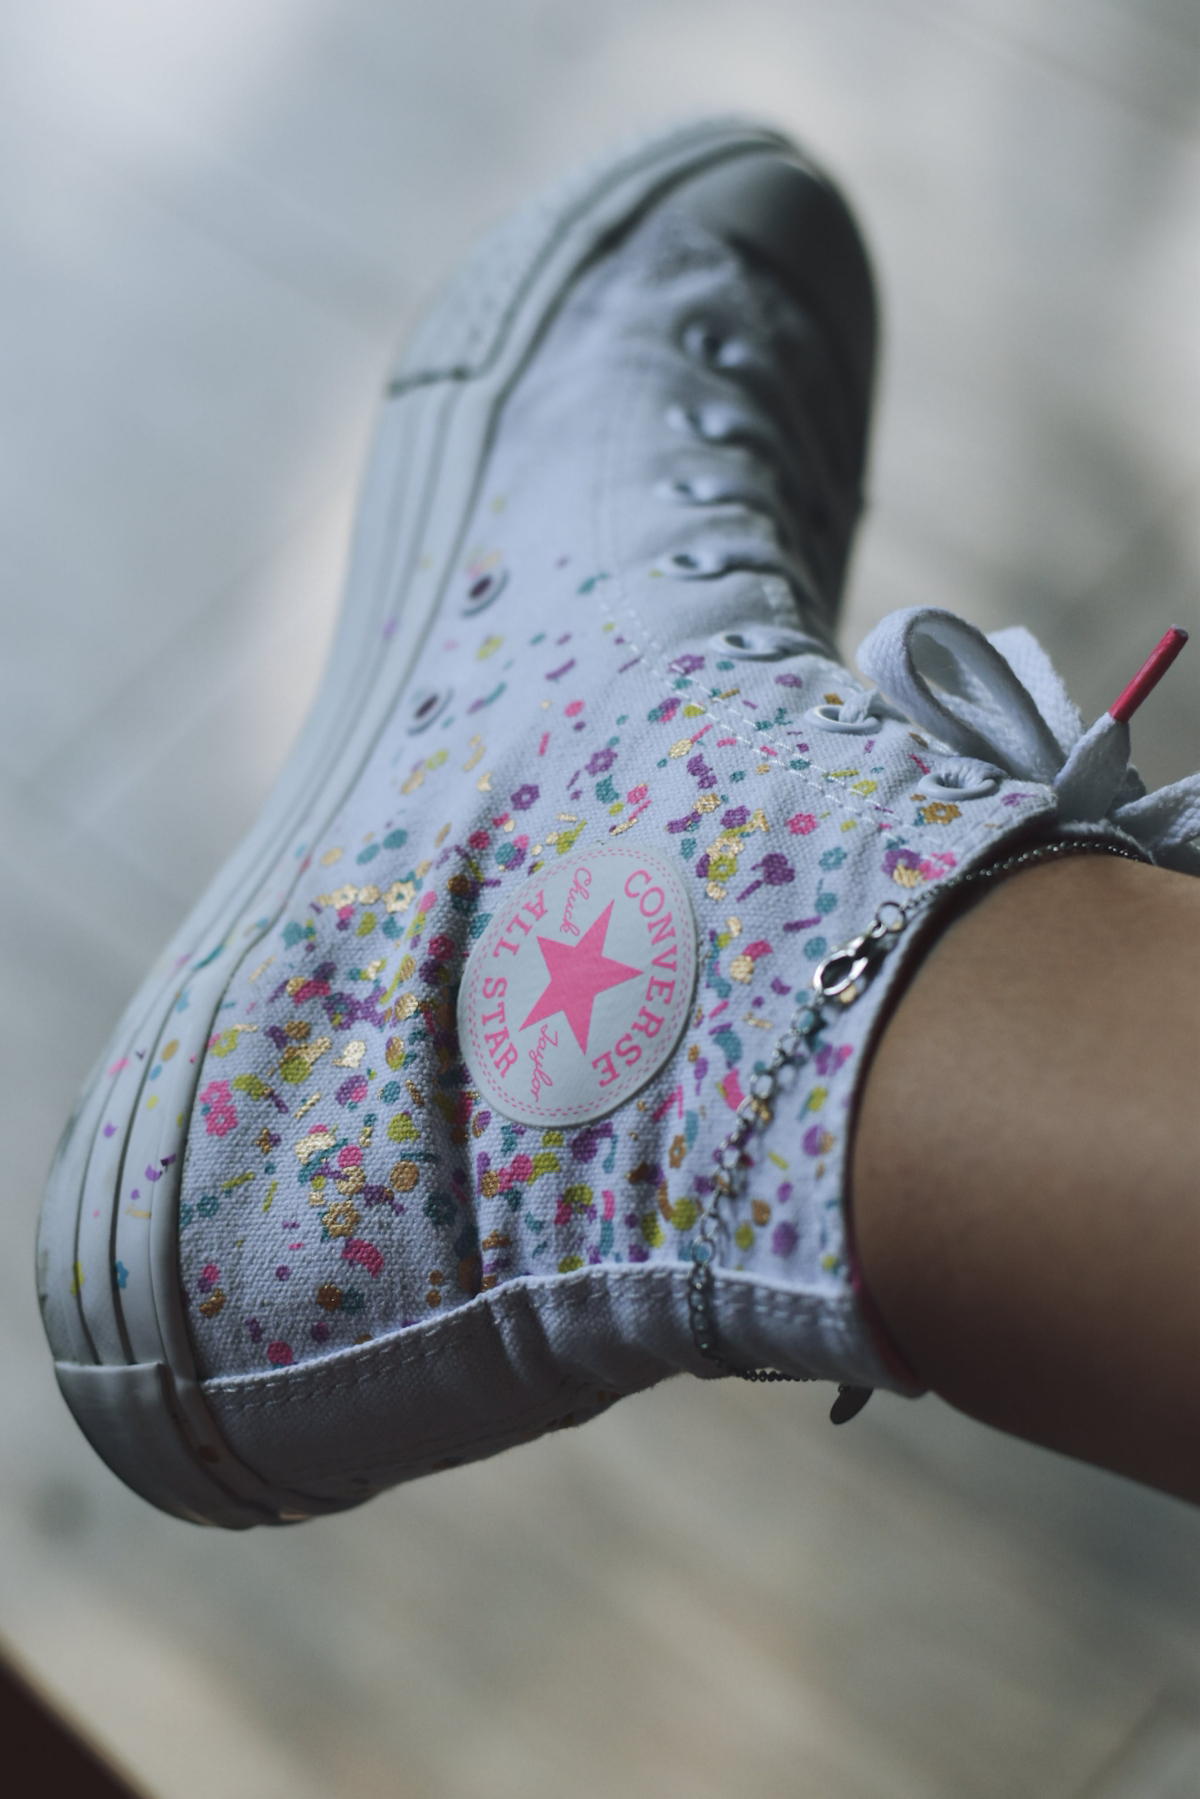
A crucial rule for colored canvas: always perform a spot test. Before you begin cleaning the whole shoe, apply a small amount of your cleaning solution to an inconspicuous area, like the inside of the tongue or the top inner heel. Wait a few minutes, then blot with a white cloth. If any color transfers to the cloth, your solution is too harsh and you risk fading the vibrant dyes.
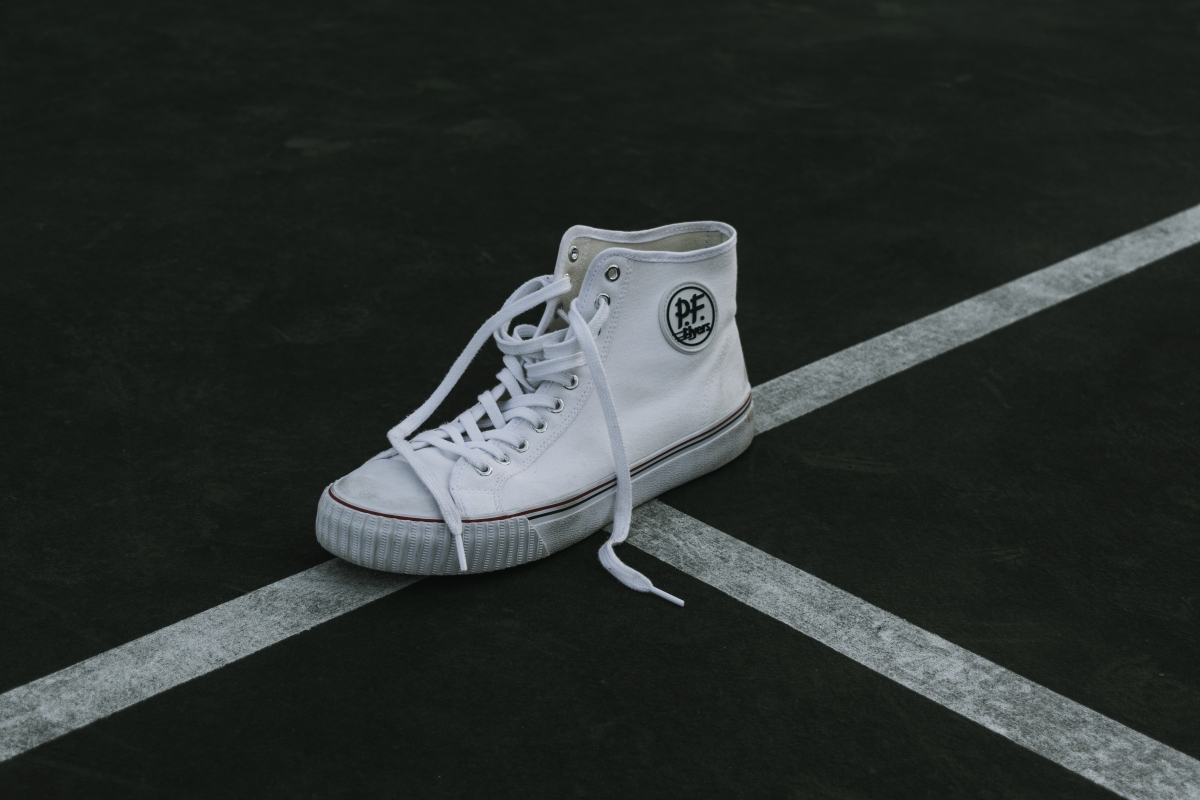
The original canvas plimsolls of the 19th century had no right or left foot, and their simple, cemented construction set the standard for decades.
Once your canvas shoes are perfectly clean and dry, the job isn’t quite done. The final professional step is protection. Applying a quality waterproofing spray like Crep Protect or Scotchgard Fabric Water Shield creates an invisible barrier. This barrier helps repel water and prevent future stains from setting in, making your next cleaning job significantly easier.
Fighting a dreaded grease or oil stain requires a different approach. Don’t add water, which will only spread the stain.
- First, immediately blot any excess oil with a paper towel.
- Generously cover the stain with cornstarch or talcum powder. Let it sit for at least an hour to absorb the grease.
- Brush the powder off, then proceed with the gentle cleaning method using a mild detergent solution.


