More Than a Wallpaper: The Real Story Behind Those Epic Space Photos
I’ve spent the better part of two decades staring at numbers. Seriously. My journey into the world of astronomical images didn’t start with a cool desktop background; it began with raw, monochrome data files spit out by telescopes. My job, as someone who bridges the gap between that data and art, is to translate those numbers into something that shows you the jaw-dropping beauty of our universe. It’s a mix of science, digital artistry, and a whole lot of patience.
In this article
Now, there’s absolutely nothing wrong with just wanting a gorgeous picture of space for your phone. But trust me, understanding what you’re actually looking at can completely change how you feel about it. This isn’t just a gallery of pretty pictures. Instead, I want to pull back the curtain and show you what goes into a truly great astronomical image. We’ll look at the science behind the colors, the secret techniques the pros use, and where you can find authentic, high-resolution files for yourself.
My goal? To help you find a space photo that isn’t just beautiful, but one that feels meaningful, too.
First Things First: What Are We Even Looking At?
Before you pick an image, it really helps to know what’s in the frame. People often throw around the term “galaxy wallpaper” for any colorful swirl, but honestly, most of the popular shots aren’t of entire galaxies at all. They’re usually of objects much, much closer to home—right inside our own Milky Way.
Nebulae: The Universe’s Paint Splatters
Nebulae are just enormous clouds of gas and dust hanging out in space, and they are easily some of the most vibrant and dynamic things we can photograph. They come in a few flavors, and their looks are tied directly to some cool physics.
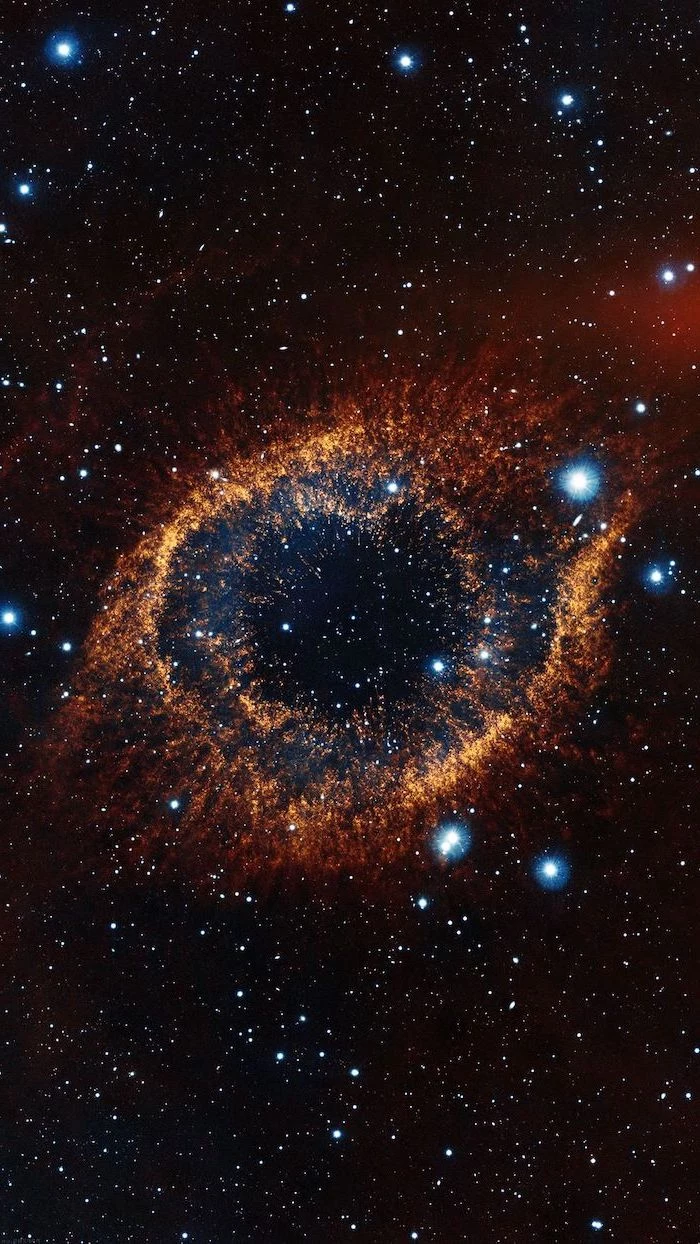
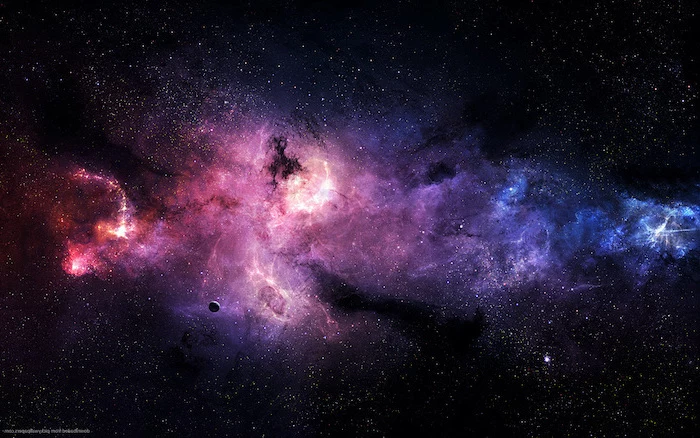
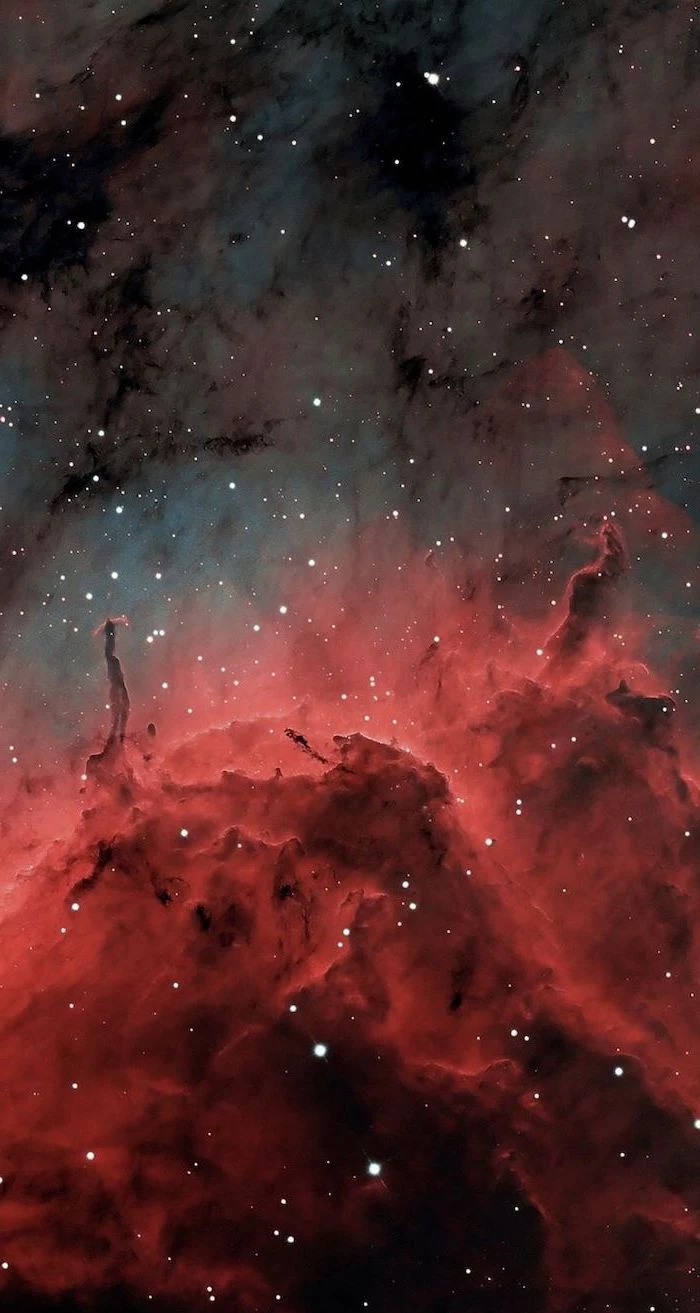
- Emission Nebulae: These are the rockstars. The bright, glowing, colorful clouds you see most often. They’re mostly hydrogen gas, lit up from the inside by hot, young stars. That energy makes the gas glow, or emit its own light. That signature reddish-pink color you see in so many images? That’s the specific fingerprint of hydrogen gas, a wavelength of light called Hydrogen-alpha. The color isn’t random; it’s a literal sign that stars are being born.
- Reflection Nebulae: These guys are a bit more ghostly. They don’t glow on their own; instead, they reflect the light from nearby stars. Because blue light scatters more easily than red light (the same reason our sky is blue!), these nebulae often have a stunning, ethereal blue haze. The Pleiades star cluster is a classic example, draped in this beautiful blue light.
- Dark Nebulae: These look like holes punched in the fabric of space. But they aren’t empty at all. They’re actually incredibly dense clouds of dust that are blocking the light from all the stars and glowing gas behind them. The famous Horsehead Nebula is one of these, appearing as a dark silhouette against a bright red background. They’re packed with the raw materials for future stars.
True Color vs. Mapped Color (This is a Big One!)
Okay, this is one of the most important things to get your head around. Very, very few of the space photos you see are “true color” in the sense of what your own eyes would see. Our eyes just aren’t sensitive enough to pick up the faint colors of deep space. Digital sensors, however, are another story.
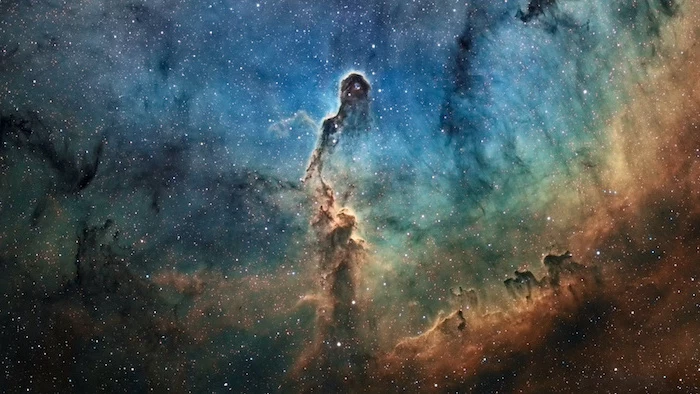
Many of the most breathtaking images from the big space telescopes are what we call “mapped-color” or “false-color.” But hang on, “false” doesn’t mean fake. It means that scientists have assigned visible colors (like red, green, and blue) to wavelengths of light that are totally invisible to the human eye. For example, they might capture data using filters that only let in light from sulfur, hydrogen, and oxygen. They then map those three signals to the red, green, and blue channels of a digital picture. The famous “Pillars of Creation” shot is a perfect example of this technique.
It’s a powerful tool for data visualization that lets scientists see the chemical makeup of a nebula. And it just so happens to be incredibly beautiful. So when you see a super vibrant, high-contrast image, you can bet it’s probably a mapped-color scientific photo, not just a simple snapshot.
Secrets from the Darkroom: How the Magic Happens
A single click of a telescope’s camera does NOT produce the masterpieces you see online. Not even close. Creating a high-quality astronomical image is a painstaking process that can take dozens, sometimes hundreds, of hours. I’ve personally ruined entire nights of precious data with simple processing mistakes. It teaches you to respect the craft, that’s for sure.
For example, for a recent project on the Orion Nebula region, I spent about 18 hours just capturing the data over three different nights. Then I spent another 25 hours on my computer processing it. It’s a labor of love.
Building the Image: It’s All About Stacking
We don’t take one super long picture. A single exposure of, say, 30 minutes would be a noisy, messy disaster, full of sensor glow and streaked with satellite trails. Instead, we take many, many shorter exposures—maybe hundreds of 5-minute shots. This can add up to a total exposure time of 10, 20, or even 50+ hours for a single object.
Then, we use specialized software to perfectly align every single one of those photos. The software then “stacks” them, averaging all the pixels. The random noise in each frame gets canceled out, while the faint, real signal from the nebula gets stronger and clearer. This is called improving the signal-to-noise ratio, and a high ratio is a hallmark of a great astrophoto.
The Unseen Work: Digital Housekeeping
Before we even get to stacking the main images (which we call “lights”), we have to take a bunch of boring-sounding calibration frames. This is the step most beginners skip, and it always shows. I learned this the hard way—my early images were covered in weird dust spots and uneven shadows I just couldn’t fix.
Here’s the simple breakdown:
- Dark Frames: Photos taken with the lens cap on. They capture the camera’s electronic noise.
- Flat Frames: Photos of a perfectly even light source. They map out dust spots and vignetting (dark corners).
- Bias Frames: Basically zero-second darks. They capture the camera’s baseline electronic pattern.
Think of it this way: Lights are your actual picture, Darks remove the camera’s internal heat noise, and Flats clean up the annoying dust spots and shadows. It’s digital housekeeping for your data, and it’s absolutely essential for a clean, professional result.
Post-Processing: Where the Art Comes In
After all that, we’re left with a clean but often very dim and underwhelming master file. Now the real fun begins. In programs like Photoshop or other dedicated astro-software, we carefully “stretch” the data to reveal all the faint details without making it look fake or overcooked. It’s a delicate dance.
To give you an idea, the initial stacked image often looks murky, maybe a bit green, with only the brightest stars visible. The magic is in using digital tools to gently pull out the faint wisps of the nebula, enhance the subtle color variations that are buried in the data, and sharpen the fine structures, all while keeping the blackness of space truly black. There’s a fine line between a powerful image and a gaudy, over-processed cartoon. Experience is what teaches you where that line is.
Location, Location, Location: A Tale of Two Skies
The night sky isn’t the same everywhere on Earth. What you can see—and photograph—depends entirely on which hemisphere you’re standing in.
North vs. South
From my spot in the Northern Hemisphere, my go-to targets for most of the year are icons like the Andromeda Galaxy and the vast nebulae in the Orion constellation. They’re stunning, and I’ve spent countless hours imaging them. But, to be frank, the Southern Hemisphere has some of the most spectacular celestial treasures.
A few years back, I collaborated on a project with a photographer based in Chile, and the data she could capture was just breathtaking. The Large and Small Magellanic Clouds—two entire dwarf galaxies that orbit our own—are brilliant naked-eye objects down there. And the Carina Nebula, another southern gem, is even larger and brighter than the famous Orion Nebula. When you see a mind-blowing shot of one of these, it’s a good bet it came from an observer in South America, Australia, or southern Africa.
The Battle Against Light Pollution
The single biggest factor in astrophotography is the darkness of the sky. We measure this on something called the Bortle Scale, from Class 1 (a perfect, pristine dark sky) to Class 9 (the middle of a major city). I do most of my work from a suburban backyard, which is about a Class 4 or 5. It’s a constant fight against stray light, and I have to use special filters to cut through the glow.
But the best images? Those come from true dark sites. I’ve taken my gear on trips to Bortle 1 locations where the Milky Way is so bright it can actually cast a faint shadow. You can get more good data in one hour there than in five hours from the suburbs. Curious about your own backyard? Just search online for a “light pollution map” and check your address. It can be a real eye-opener.
Let’s Get Practical: Finding and Using Great Images
Okay, so you don’t need to become an astrophotographer to enjoy this stuff. You just need to know where to look and what to look for.
Where to Find the Good Stuff
A quick web search for “galaxy wallpaper” will give you millions of results, but most are low-res, horribly compressed, or just digital art that has nothing to do with a real object. For the real deal, go to the source:
- Public Space Agency Archives: The major space agencies have incredible online libraries. Most of their images are in the public domain, and you can often download them as massive, uncompressed TIFF files. A TIFF is the gold standard for quality.
- Astronomy Picture of the Day Sites: There are a couple of famous daily websites, often run by universities in partnership with space agencies, that feature an amazing, curated image every single day. Their archives are a treasure trove for discovering incredible work from photographers all over the world.
- Independent Photographers: Many of the best astrophotographers have their own websites where they sell prints or digital downloads. You can find them by searching hashtags like
astrophotography or
deepsky on social media or by browsing astronomy forums. Buying from them directly supports their incredibly expensive and time-consuming work. Expect to pay around $15 to $30 for a high-res digital file, or anywhere from $75 to $500+ for a large, high-quality print.
Heads up! Be really wary of those free wallpaper aggregator sites. They often scrape images without permission and serve them up in low quality. Always try to find the original artist or source to get the best file and respect the creator.
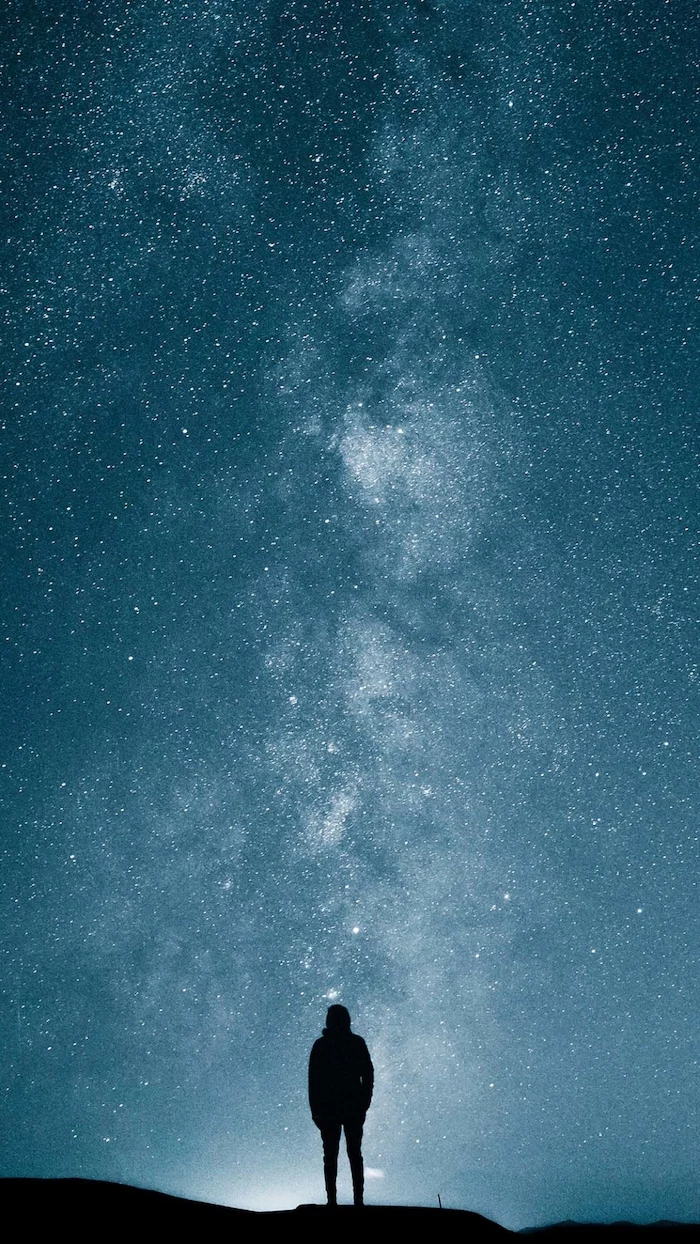
Choosing the Right File for Your Screen
Once you’ve found an image you love, a little technical know-how goes a long way.
- Resolution is Key: Make sure the image’s resolution is at least as high as your screen’s. A 4K monitor is 3840×2160 pixels. Using a smaller image will just look soft and fuzzy. It’s always better to shrink a big image than to stretch a small one.
- Aspect Ratio Matters: A desktop monitor is wide (landscape), while a phone is tall (portrait). A wide nebula photo will have to be cropped heavily to fit your phone. Look for images with a strong central subject that will still look good after being cropped.
- File Formats 101: While a TIFF is the best source file, you can’t usually set it as a wallpaper. For that, you want a high-quality PNG or JPEG. A PNG is “lossless,” meaning it doesn’t degrade in quality, making it an excellent choice. A JPEG is “lossy,” meaning it throws away some data to be smaller. If you use a JPEG, make sure it’s saved at the highest possible quality setting to avoid ugly blocky artifacts.
What If You Want to Try This Yourself?
Maybe seeing all this inspires you to point a camera at the sky. That’s awesome! But be warned: astrophotography is a challenging and deeply technical hobby. It’s also one of the most rewarding things I’ve ever done.
A Realistic Start
Most beginners think they need a giant, expensive telescope. Wrong. The most critical piece of gear for shooting nebulae and galaxies is the mount—the thing the telescope sits on. A good tracking mount that counteracts the Earth’s rotation is essential for long exposures, and a solid entry-level one starts around $1,500.
But you can start much, much simpler. In fact, you should! Here’s a great starter kit for capturing stunning, wide-angle shots of the Milky Way:
- An older, used DSLR camera (like a classic Canon or Nikon model, maybe ~$200 on the used market).
- A sturdy tripod that won’t wobble in the breeze (plan on ~$150).
- A fast, wide-angle lens (a popular manual-focus 14mm lens runs about ~$300).
For around $650, you can have a setup that will teach you the fundamentals: focusing in the dark, finding your way around the sky, and taking your first exposures. The lessons are priceless.
Quick Tip: A classic rookie mistake is aiming your shiny new camera at a tiny, faint galaxy on night one. You’ll just get frustrated. Start BIG. Aim for the brightest part of the Milky Way or the huge, bright Orion constellation. You’ll get much more rewarding results, much faster.
A Few Final Tips
Whether you’re downloading an image or taking one, a little care goes a long way.
Safety in the Dark
If you do go out shooting, your safety is number one. You’ll be in remote, dark places late at night. Always tell someone where you’re going and when you’ll be back. Dress WAY warmer than you think you need to—I learned that lesson the hard way after having to pack up a session because I was freezing. And please, use a red flashlight. A blast of white light will wreck your night vision for a good 20-30 minutes.
Protect Your Pixels
For those of you just downloading images, here’s a pro tip: Every single time you open, edit, and re-save a JPEG file, it loses quality. It’s called generational loss. If you need to crop or resize a wallpaper, always start from the highest-quality original file you have (the TIFF or PNG). Do all your edits, then save it once as your final version. This will keep your epic space photo from slowly turning into a blurry mess.
Finally, I’m a digital artist and photographer who loves this stuff. I work with and learn from folks in the scientific community, but I’m not a professional astrophysicist. The science here is based on my working knowledge as a practitioner. My passion lies in the craft of capturing and processing these images—a craft that sits right at the amazing intersection of technology and art.
Inspiration Gallery
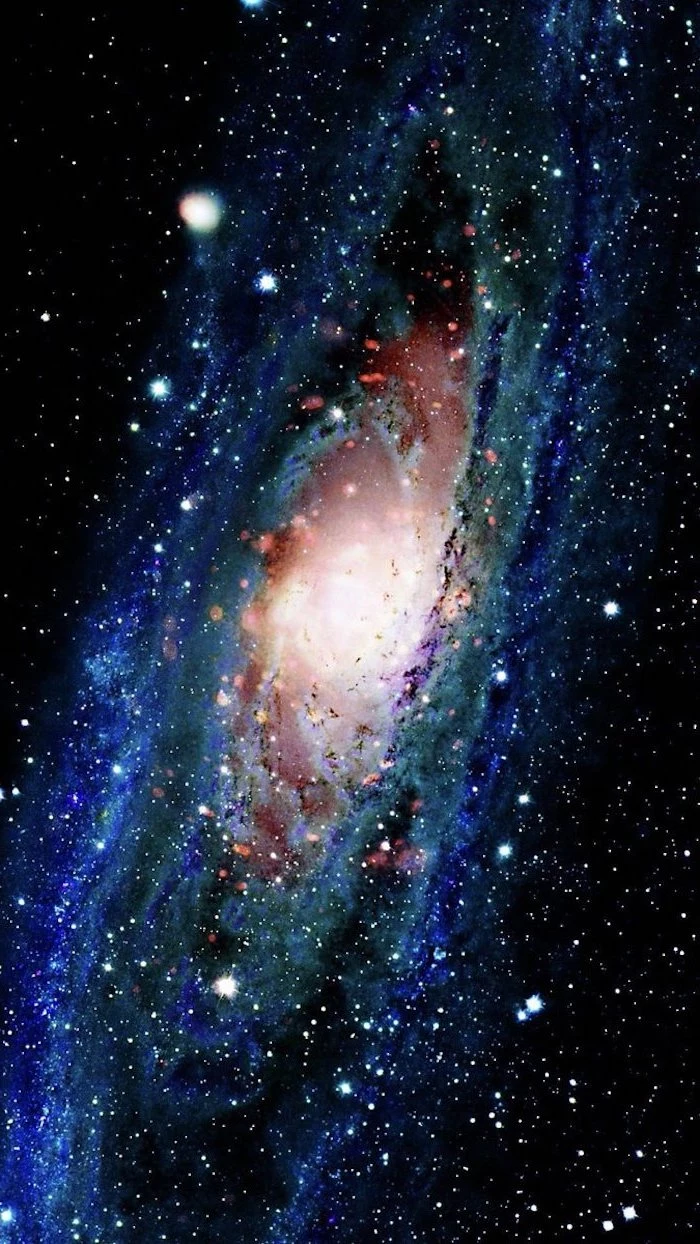
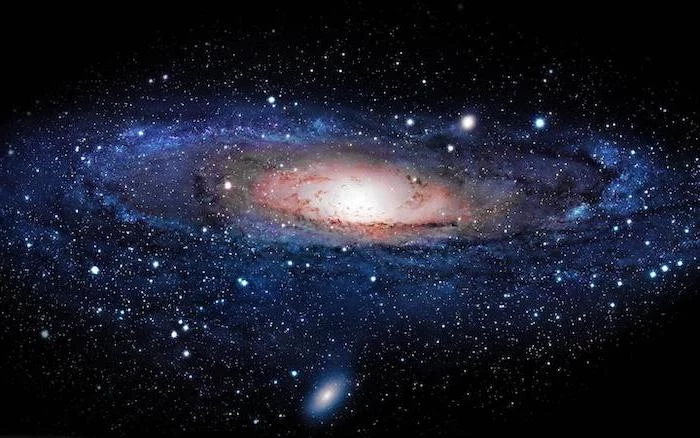
The light you see from the Andromeda Galaxy, our closest galactic neighbor, left on its journey 2.5 million years ago.
When you look at a photo of a distant galaxy, you’re not just seeing across space; you’re looking back in time. The image captures photons that have traveled for eons, offering a glimpse of the universe as it was, long before modern humans existed.
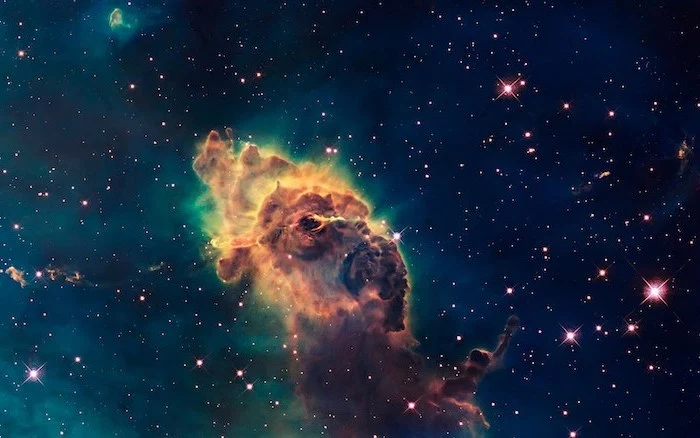
Hubble Palette: You’ll often see vibrant images with gold and cyan hues. This isn’t arbitrary. It’s a specific technique where light from sulfur atoms is mapped to red, hydrogen to green, and oxygen to blue. This ‘SHO’ palette reveals the detailed chemical structure of a nebula in a way our eyes never could.
Natural Color: This aims to approximate what the human eye might see. It uses standard Red, Green, and Blue filters to capture the object, resulting in the familiar pinkish-red tones of hydrogen gas and the blue sparkle of young star clusters.
Neither is more ‘real’—they are simply different ways of translating cosmic data into visual information.
What are those sharp, cross-shaped spikes on bright stars in photos from Webb or Hubble?
Those aren’t an actual feature of the star. They’re an optical artifact called ‘diffraction spikes,’ created by light bending around the support struts that hold the telescope’s secondary mirror. Far from being a flaw, these spikes have become an iconic and often beautiful signature of images from these powerful observatories.
- It pierces through cosmic dust to see what’s inside.
- It reveals the earliest galaxies forming at the dawn of time.
- It can analyze the atmospheres of planets hundreds of light-years away.
The secret? The James Webb Space Telescope’s powerful ability to see in infrared light, a spectrum invisible to the human eye but rich with cosmic information.
Ever notice faint, wispy clouds in an image that aren’t part of the main nebula? You might be looking at the Integrated Flux Nebula (IFN). Unlike nebulae lit by a single star, these ghostly structures are made of dust high above our galaxy’s plane, faintly illuminated by the combined light of all the stars in the Milky Way.
Want to find your own authentic, jaw-dropping space images? Forget generic image searches and go straight to the source. These public archives contain raw data and processed masterpieces, free for you to use.
- NASA’s APOD: The Astronomy Picture of the Day has been a daily dose of wonder since 1995.
- Hubble Heritage Site: A curated gallery of the Hubble Space Telescope’s most stunning images.
- ESA/Webb: The European Space Agency’s official gallery for the James Webb Space Telescope.
Important note: Those perfectly straight lines you sometimes see streaking across long-exposure space photos are rarely meteors. They are almost always the trails of satellites, particularly from large constellations like SpaceX’s Starlink. A real meteor trail is typically shorter, brighter, and often shows a brief flare or color change.
Before digital sensors, astronomers were artists. Galileo’s simple ink sketches of the Moon in 1610 were revolutionary, revealing mountains and craters that shattered the idea of perfect celestial spheres. These early drawings remind us that observing the universe has always been an act of human interpretation.
What are those inky black, spindly patches silhouetted against a bright nebula?
You’re likely looking at Bok globules. These are incredibly dense, cold cocoons of molecular gas and dust, so thick that they completely block all visible light from behind them. Inside these dark nurseries, the very earliest stages of star and planet formation are taking place.
- DeepSkyStacker: A freeware tool that aligns and ‘stacks’ dozens of individual light frames to reduce noise and enhance detail.
- PixInsight: Considered the gold standard for advanced processing, offering powerful tools for calibration, stretching, and color composition.
- Adobe Photoshop: Often the final step for professional processors, used for fine-tuning colors, contrast, and sharpness with precision layering and masking.
A single raw image from the Hubble Space Telescope can exceed 40 megabytes.
A final portrait of a galaxy or nebula isn’t just one shot. It’s a composite of dozens, sometimes hundreds, of these files taken through various filters. The total data for one image can easily run into many gigabytes before a single color adjustment is even made.
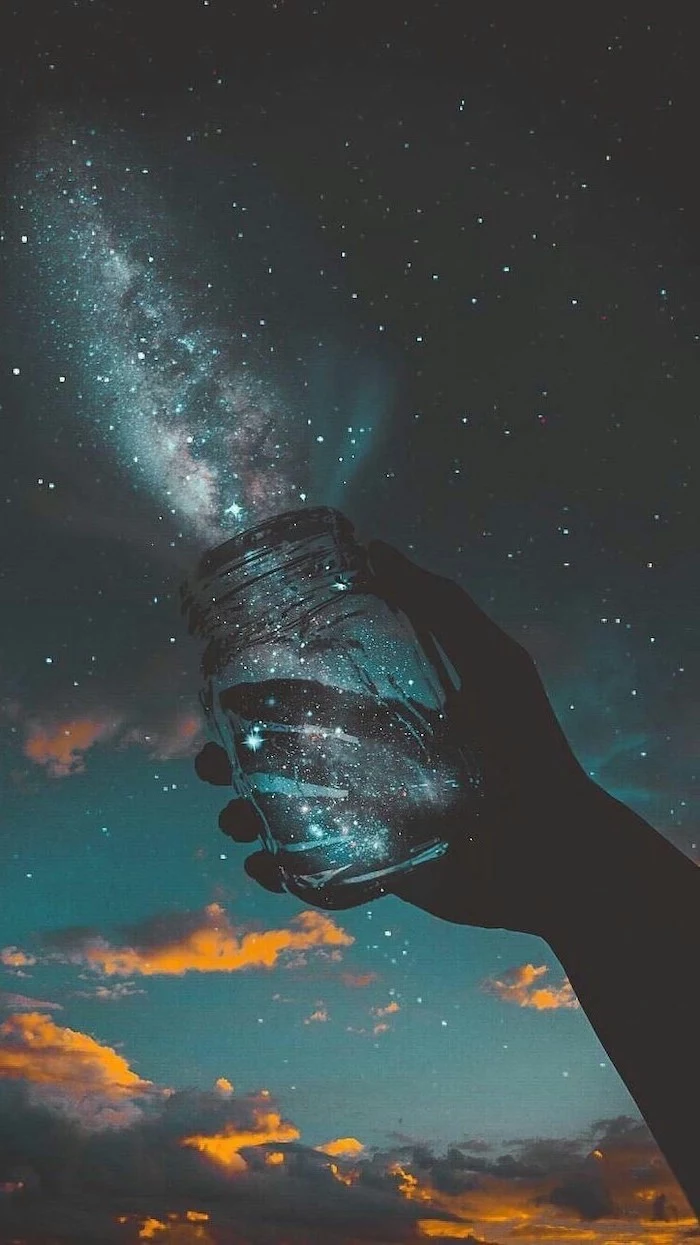
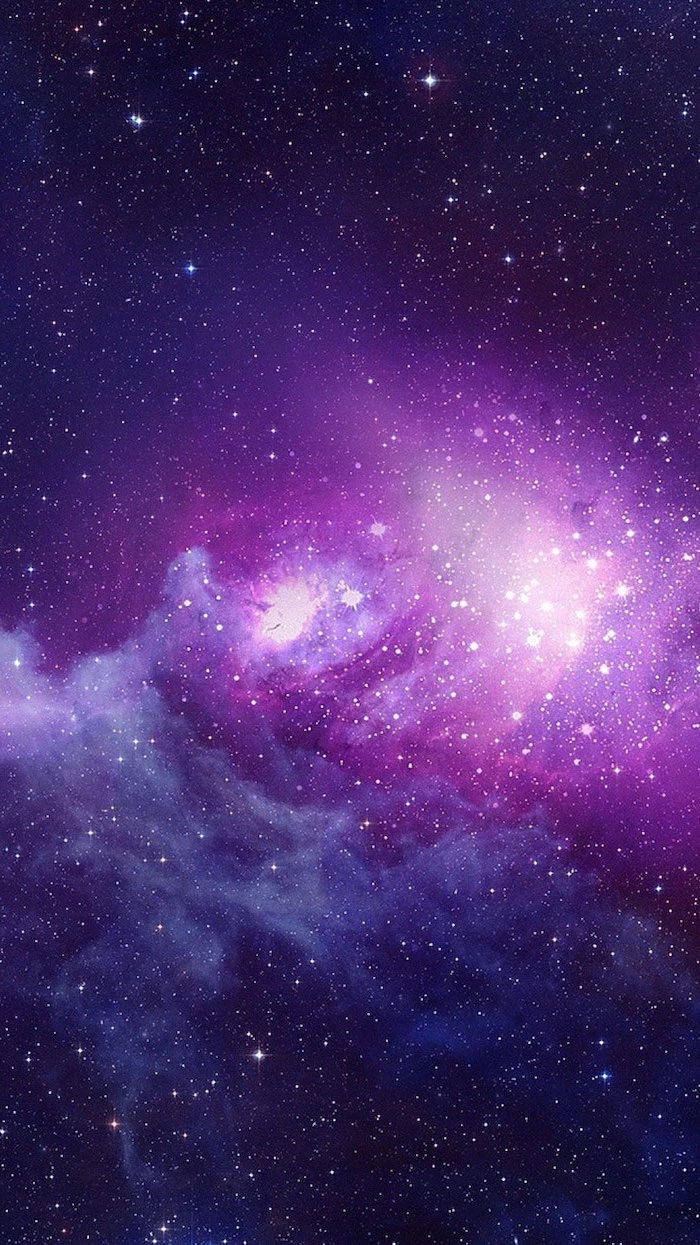
The next time you admire a space wallpaper, take a moment to consider light pollution. More than 80% of the world’s population lives under skies so bright that the Milky Way is invisible. These images are a powerful reminder of the profound, dark-sky beauty we are actively losing.
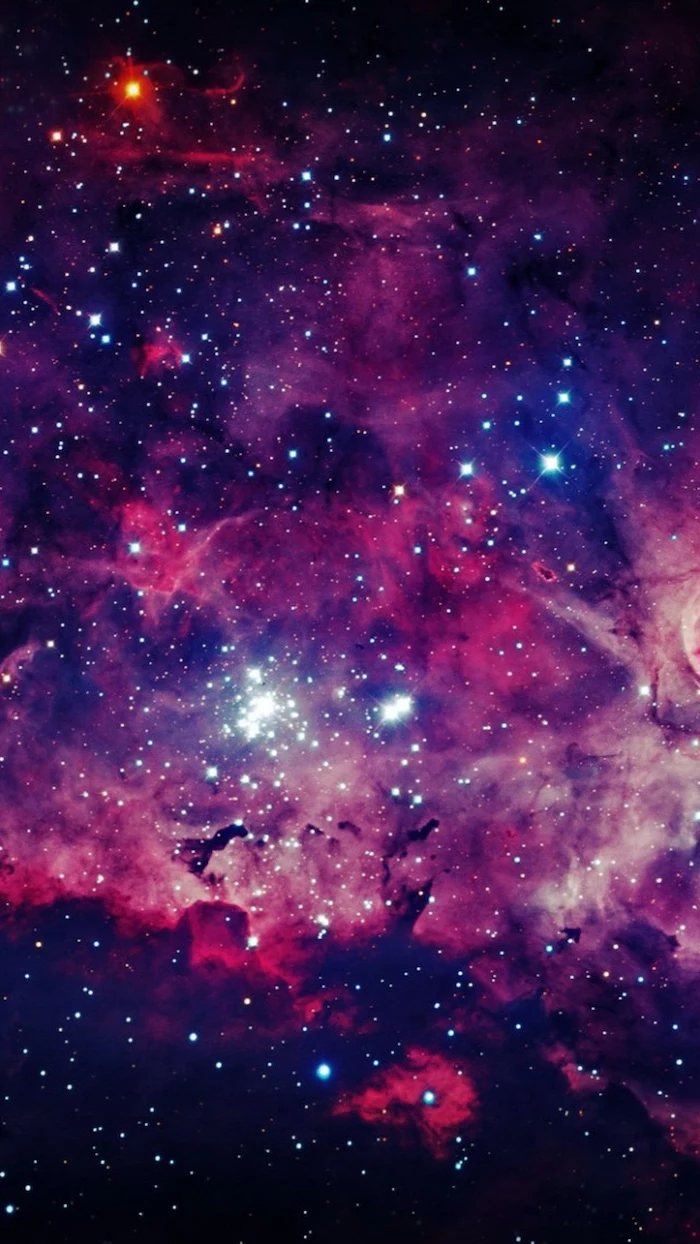
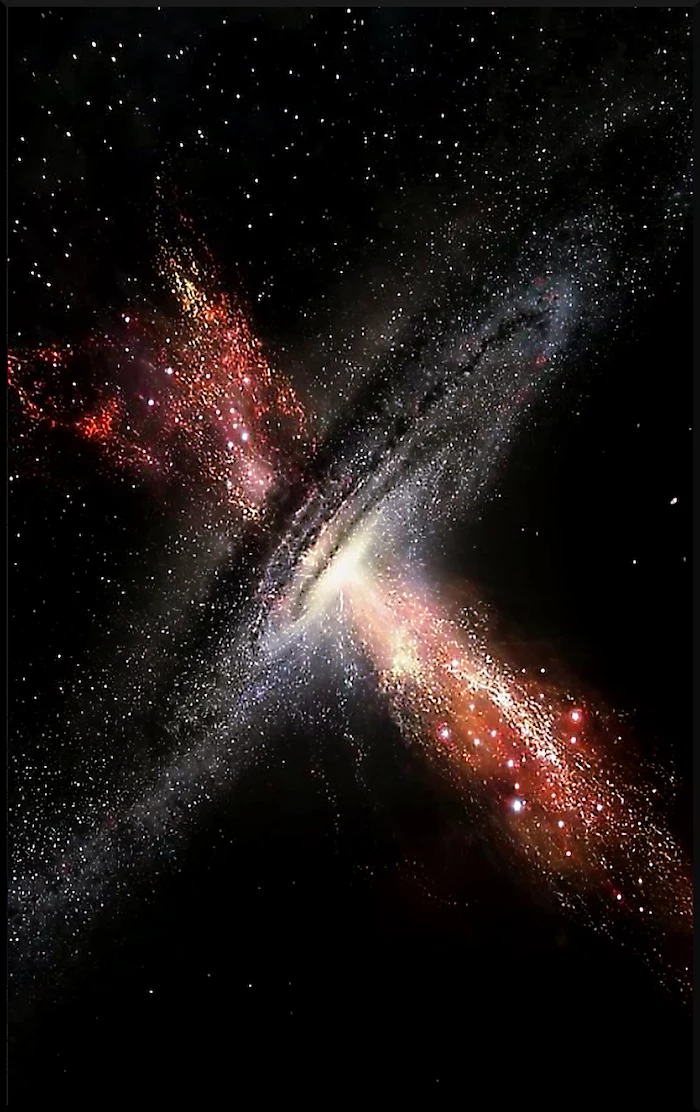
Chandra X-ray Data: Reveals the universe’s most violent phenomena. Usually color-coded in blues and purples, it shows superheated gas, matter swirling into black holes, and the explosive remnants of supernovae.
Spitzer Infrared Data: Pierces through dust to show what’s hidden. Often displayed in reds and oranges, it highlights cooler objects like stellar nurseries and planet-forming disks.
Many famous images are actually multi-observatory composites, blending these data sets with Hubble’s visible light to create a more complete picture.
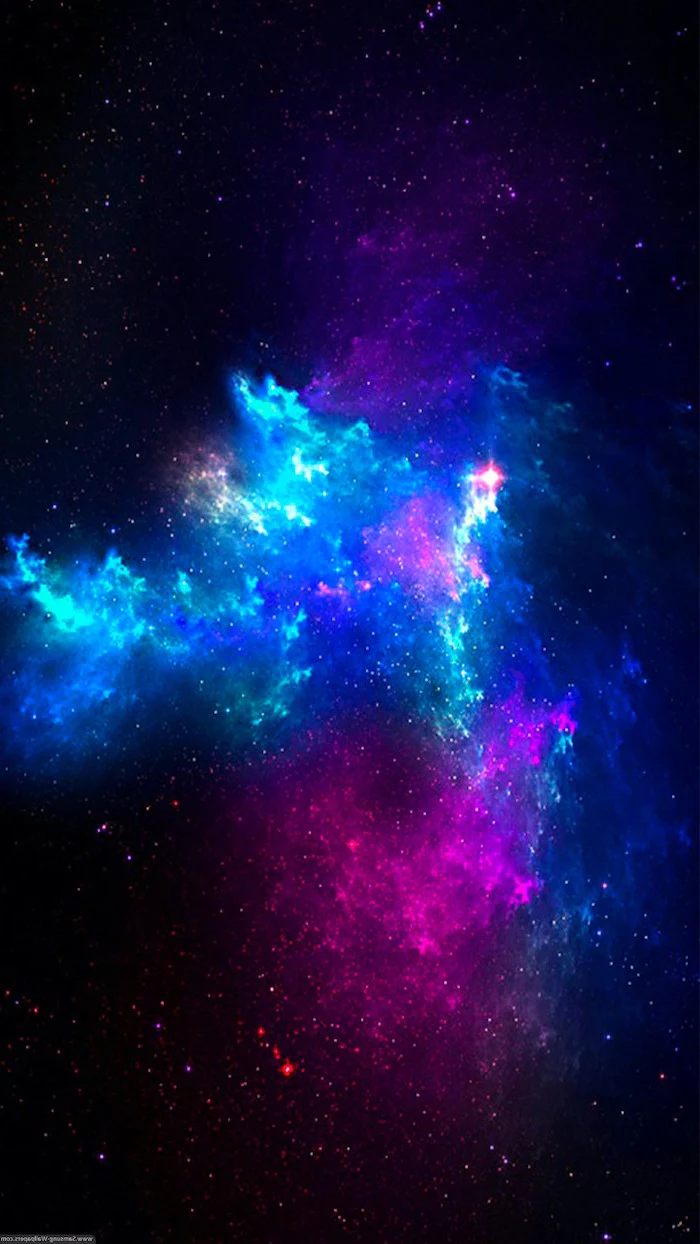
Not all space images come from billion-dollar telescopes. A growing community of amateur astrophotographers contributes stunning, scientifically valuable work. Using commercially available equipment like a Celestron or Sky-Watcher telescope and specialized cameras, they capture breathtaking portraits of the cosmos from their own backyards.
What’s the difference between a galaxy and a nebula?
It’s all about scale. A nebula is a cloud of gas and dust *within* a galaxy, often a place where new stars are born (like the Orion Nebula). A galaxy is a colossal, gravitationally bound system containing billions of stars, along with their own nebulae, star clusters, and planetary systems. Most vibrant ‘space wallpapers’ show nebulae, not entire galaxies.
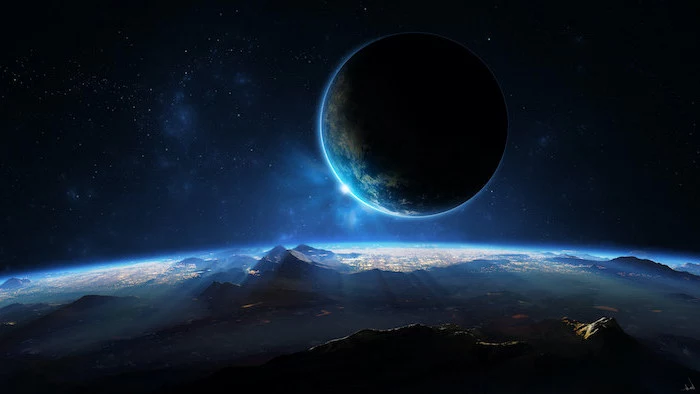
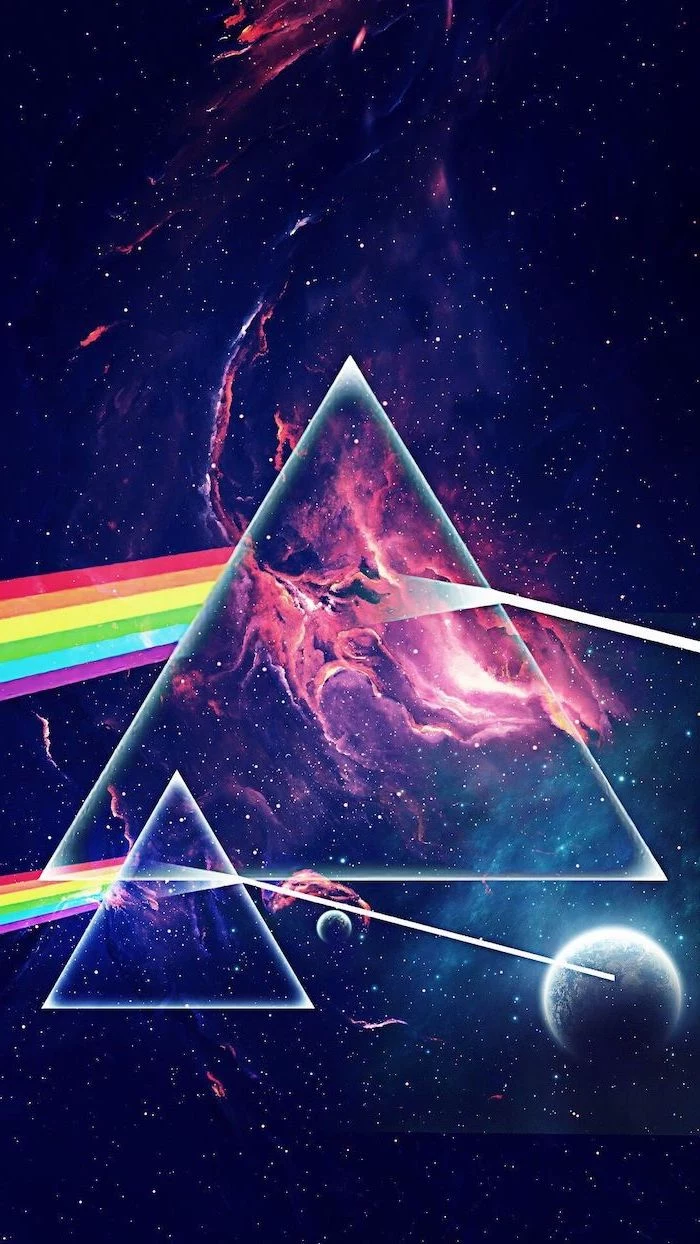
Artistic Composite: Often blends multiple, unrelated elements for dramatic effect—like showing Saturn next to the Pillars of Creation. The lighting, scale, and perspectives are physically impossible, creating a beautiful but fictional scene.
Authentic Astrophoto: A real photograph of a single celestial target. It’s often a mosaic of many images stitched together, but it represents a real object at a real moment in cosmic time.
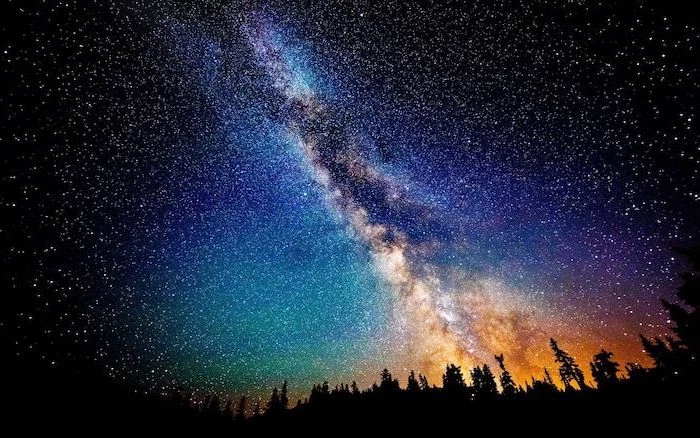
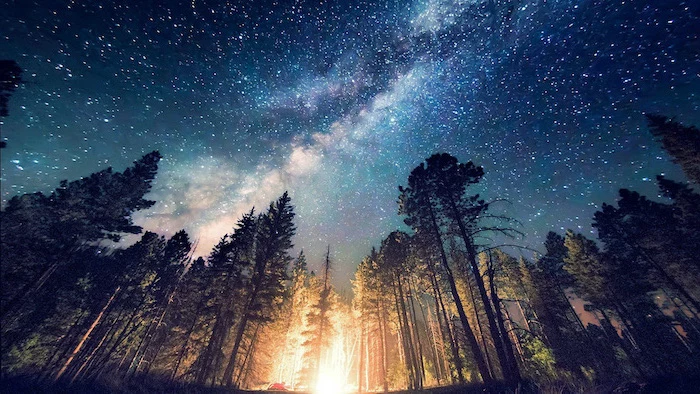
The famous ‘Pillars of Creation’ image is a perfect example of cosmic turmoil. The towering columns are dense pockets of gas and dust being sculpted and eroded by intense ultraviolet radiation from a cluster of massive, young stars located just out of the frame. It’s a portrait of creation and destruction happening simultaneously.
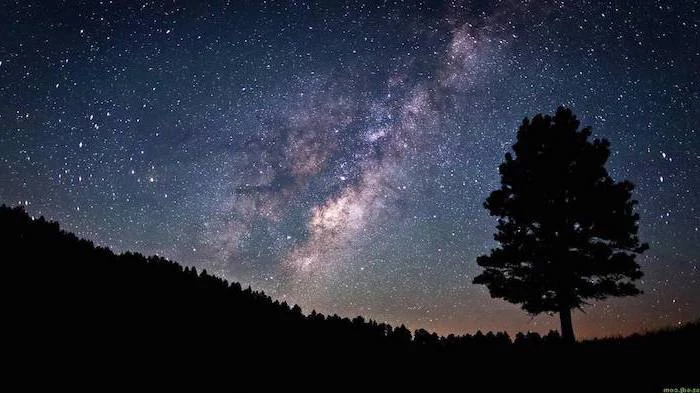
- It filters out the blurring effect of Earth’s atmosphere.
- It can observe targets for days on end without interruption.
- It captures wavelengths like UV and infrared that are blocked by our planet’s air.
These are the fundamental reasons why space telescopes like Hubble and Webb can produce images with a clarity and depth that ground-based observatories simply cannot match.
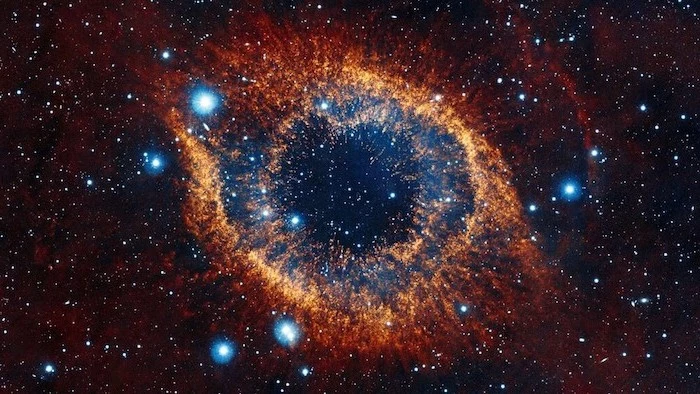
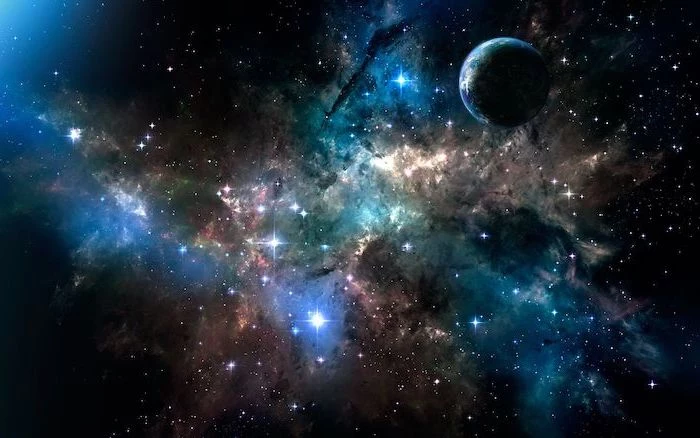
A key challenge: dynamic range. A nebula can have incredibly bright, dense star-forming cores right next to faint, ethereal wisps of gas. Capturing both in a single image requires advanced techniques, like blending very short exposures for the bright areas with extremely long exposures for the dim parts to create a single, perfectly detailed High Dynamic Range (HDR) master.
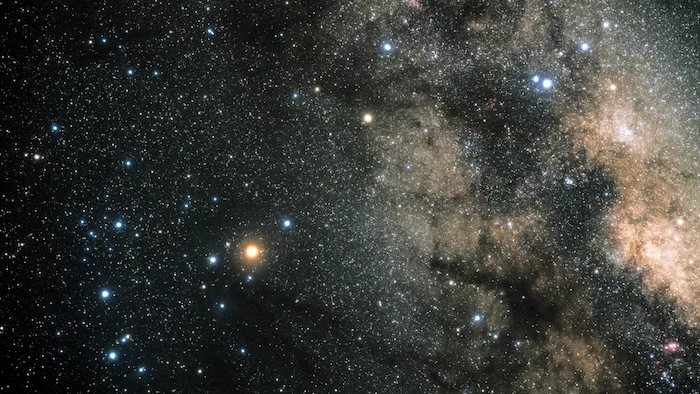
The Andromeda Galaxy is on a collision course with our own Milky Way, set to merge in about 4.5 billion years.
But don’t worry about cosmic traffic. The distances between individual stars are so vast that it’s exceedingly unlikely any will actually collide. Instead, the two star cities will pass through each other, eventually settling into a new, larger elliptical galaxy that some have nicknamed ‘Milkomeda’.
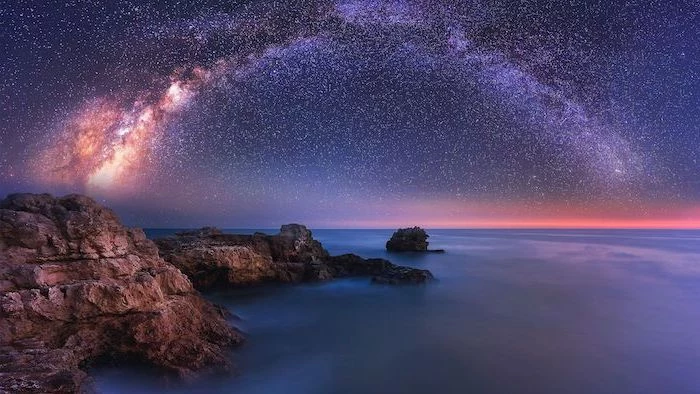
Want to try your hand at basic astrophotography? You don’t need a telescope to start. A simple DSLR or mirrorless camera on a sturdy tripod is enough to capture the Milky Way.
- Use a wide-angle lens with a low f-number (e.g., f/2.8).
- Set your focus manually to infinity.
- Experiment with 15-25 second exposures at a high ISO (1600-3200).
- Most importantly, find a location far from city lights!
The phrase ‘false color’ can be misleading. A better term is ‘representative color.’ When astronomers use a program like PixInsight to assign red, green, or blue to invisible wavelengths like hydrogen-alpha or sulfur-II, they are translating real, measured data into a language our eyes can understand, revealing hidden structures and chemical compositions.


