I’ve spent more than two decades making things with my hands, and my journey started where a lot of great projects do: in a dusty garage with a broken piece of furniture. Fixing that wobbly chair taught me something profound. There’s a deep, grounding satisfaction in creating or mending something yourself. It plugs you into a long line of people who shaped their world with nothing more than raw materials and a few good tools. It’s a kind of quiet, focused work that our fast-paced world often forgets.
So many of us are searching for a genuine creative outlet, something more than just a hobby to pass the time. A real craft is a skill you earn through patience, practice, and a whole lot of mistakes. It’s about learning to speak the language of your materials, respecting your tools, and seeing every failure as a lesson. This isn’t just a list of ideas; it’s a practical guide to three incredible crafts: pottery, woodworking, and calligraphy. I want to share what I’ve learned from the trenches—the real work, the tools you actually need to start, and how to stay safe while you do it.
Which Craft Is Right for You? A Quick Breakdown
Before we dive deep, let’s get a bird’s-eye view. People often ask me which craft they should try, and honestly, it depends on your budget, your space, and how much mess you’re willing to tolerate. Let’s break it down real quick.
Calligraphy & Lettering: This is your low-cost, small-space champion. You can get a fantastic starter kit for under $40. All you really need is a corner of a desk. As for the mess factor? It’s pretty minimal—maybe a small ink smudge here and there, but nothing a paper towel can’t handle. It’s the perfect choice if you live in an apartment or want a craft you can do almost anywhere.
Woodworking: This one sits in the middle. You can start with a basic hand-tool kit for around $150, but the sky’s the limit as you get more into it and start eyeing power tools. You’ll need at least a sturdy workbench in a garage, basement, or shed. The mess factor is significant; sawdust gets EVERYWHERE. It’s incredibly rewarding, but you need to be prepared for the cleanup.
Pottery & Clay: The startup cost here can vary wildly. You can dip your toes in with a $15 block of air-dry clay, or you can go all-in with studio access, which involves fees for classes, firing, and glazes. It demands a dedicated space that can get wet and dusty. And yes, the mess factor is high. We’re talking clay splatters and dust, which requires careful management.
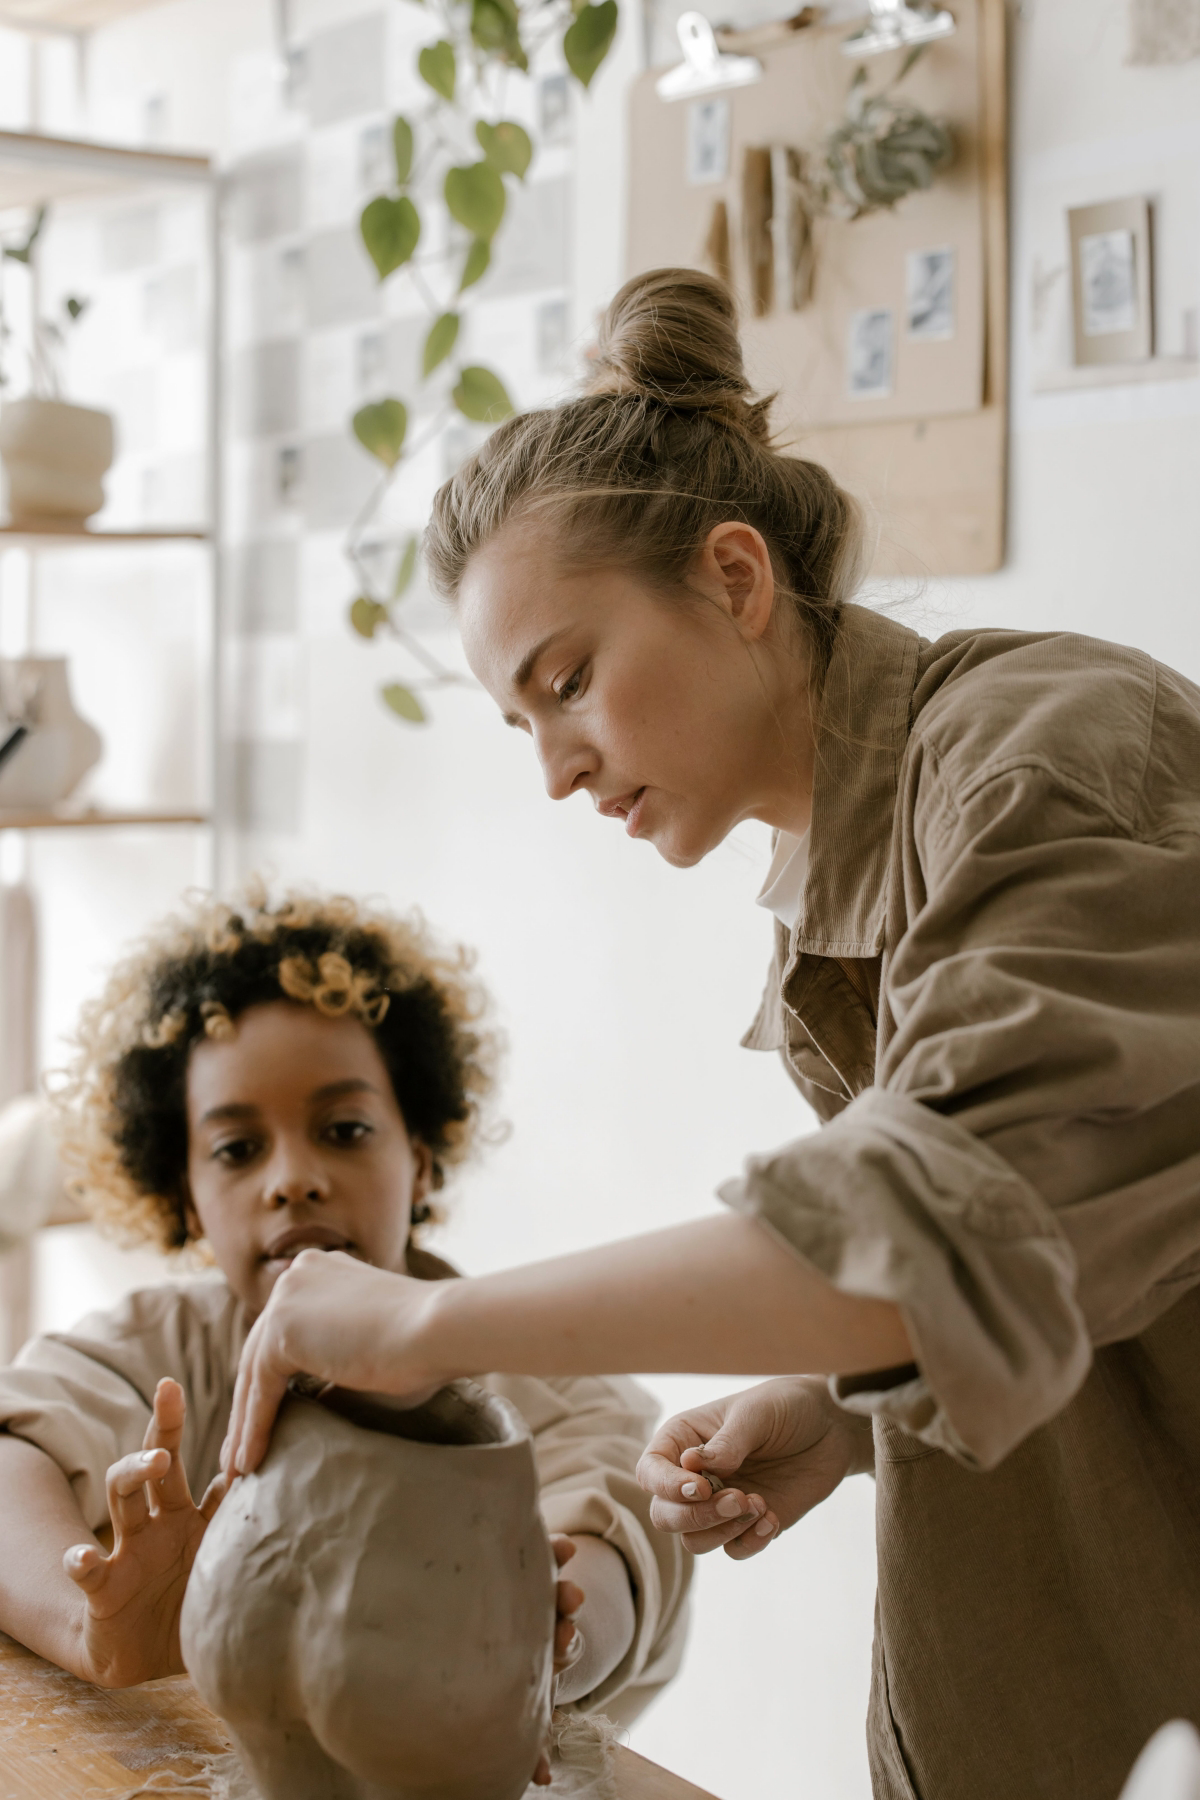
1. Working with Clay: From a Mud Puddle to a Masterpiece
My first time at a potter’s wheel was a lesson in humility. I walked into a community class, totally convinced I’d be crafting a perfect bowl in minutes. Instead, I made a spectacular mess. The clay flew off the wheel, not once, but twice. My third try slumped into a sad, watery pile. The seasoned pro running the class just smiled and said, “The clay knows when you’re in a hurry. You have to listen to it.” That was it. That was the most important thing I ever learned about pottery: it’s a partnership between you and the material.
The Science Behind the Fun
To get clay to do what you want, you have to understand what it is. At its heart, clay is just decomposed rock with tiny, flat particles. Water gets between these particles and lets them slide around, which is what makes clay so wonderfully workable, or ‘plastic’. When you shape clay, you’re really just lining up all those little particles.
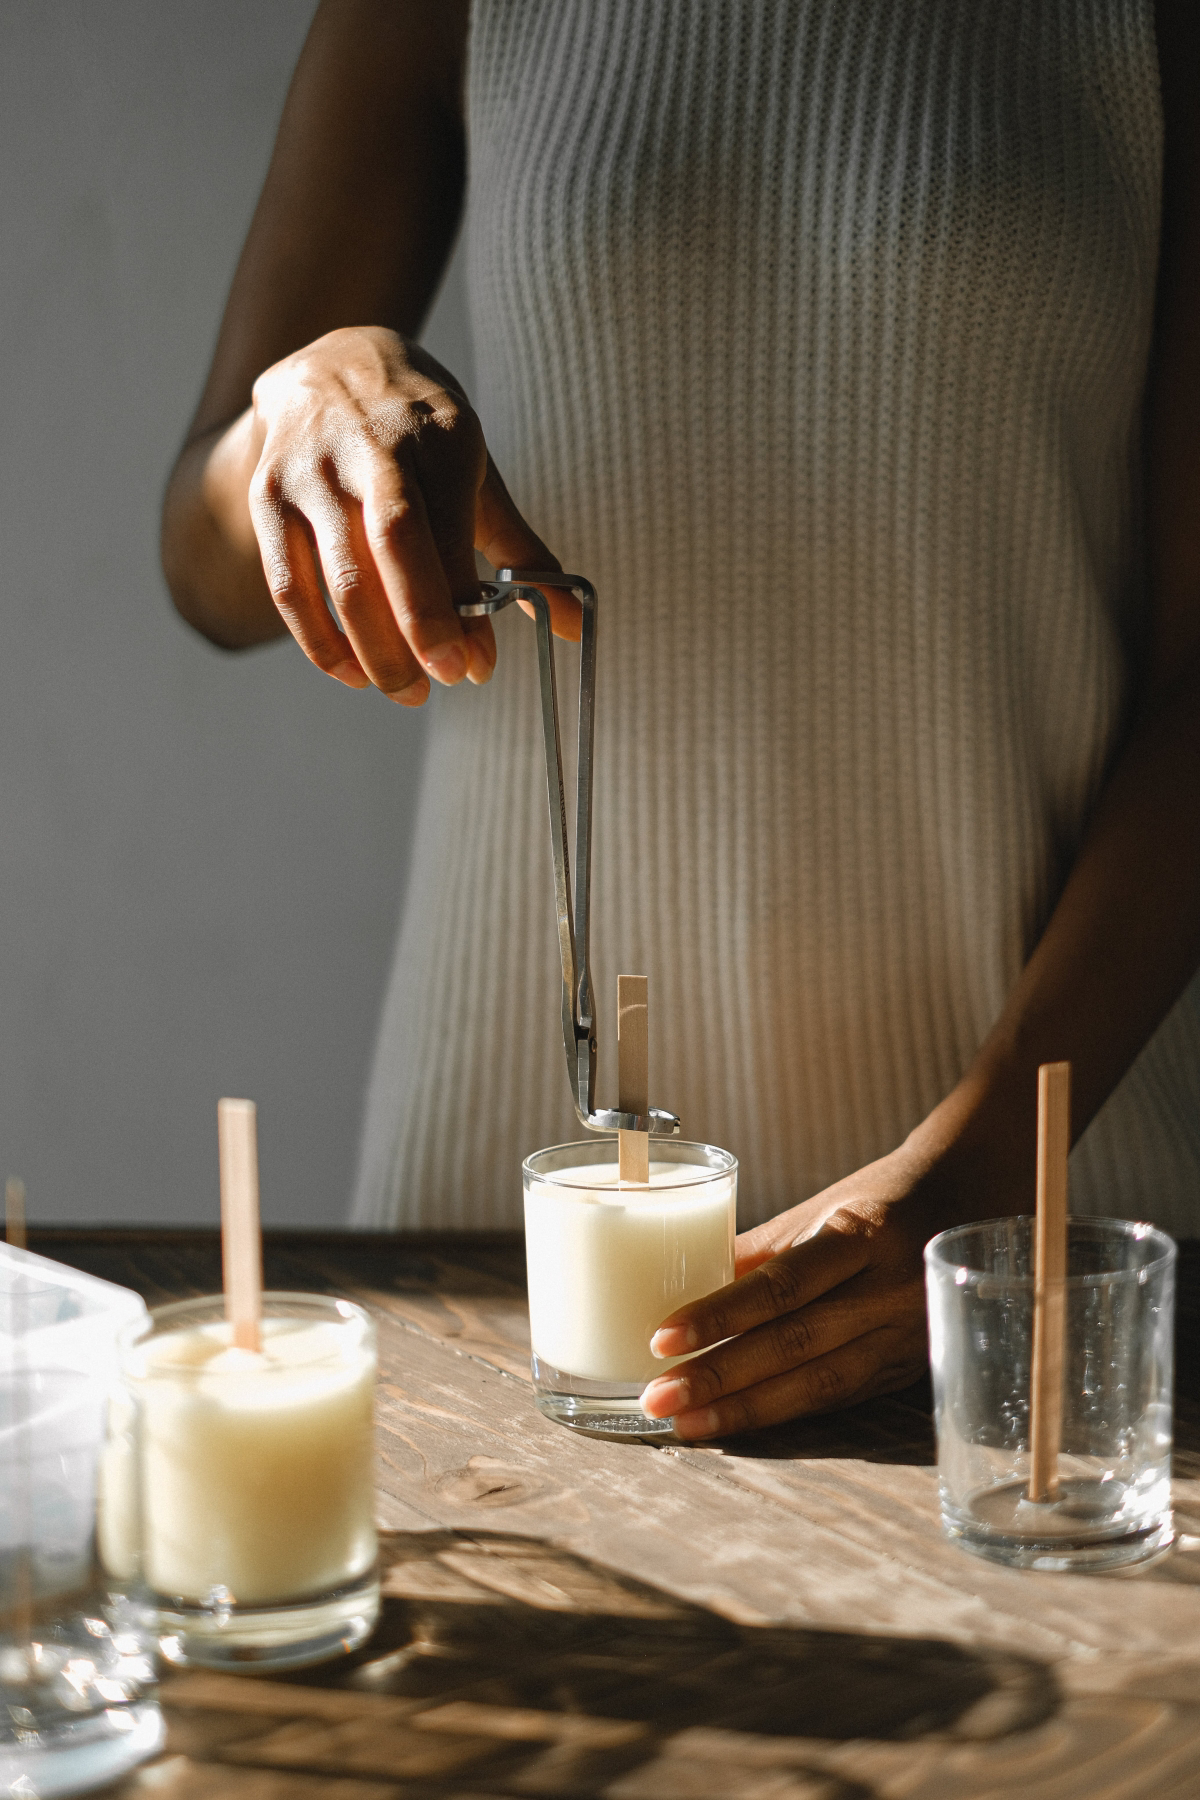
Then come the two most critical steps: drying and firing. As water evaporates, the clay shrinks, and if it shrinks too quickly, it cracks. This is why potters are so patient, often drying their pieces slowly under a sheet of plastic. The final magic happens in a kiln, a super-hot oven. Firing drives out the last bits of water and then, at temperatures soaring over 1800°F, the clay particles literally begin to melt and fuse together. This process, called vitrification, is what makes pottery hard and durable. Glaze is just a thin layer of glass that melts onto the surface in a second firing, making the piece waterproof and adding color.
Getting Started: Your First Steps with Clay
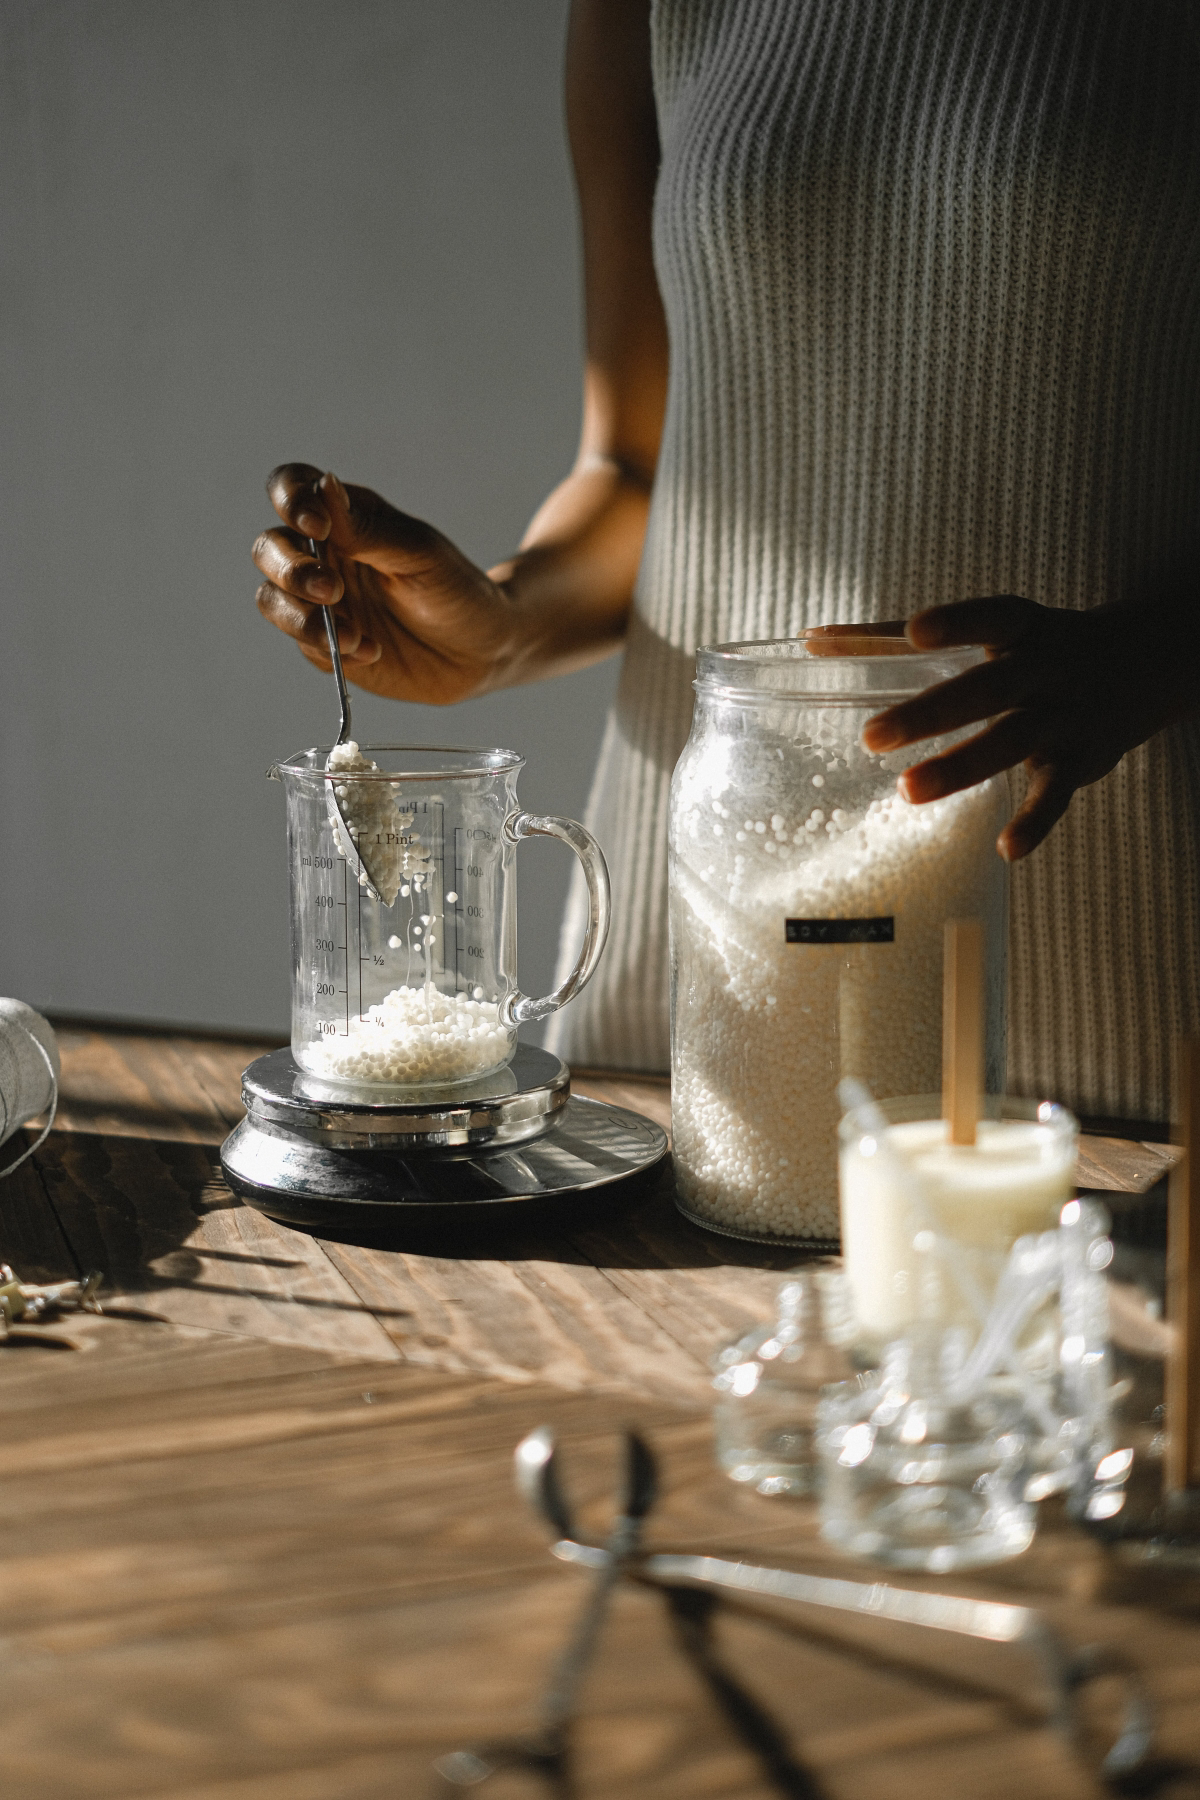
The Easiest Way In: Air-Dry Clay Heads up! You do NOT need a kiln that costs thousands of dollars to start. For anyone just wanting to try this out in their apartment, air-dry clay is a game-changer. You can pick up a block for about $10-$20 at any craft store like Michael’s or online. It feels a lot like regular clay but hardens on its own in a day or two. The trade-off? It’s not as strong and it’s not food-safe, so you won’t be making your morning coffee mug with it. But for making decorative objects, ornaments, or just getting a feel for the material, it’s absolutely perfect.
Hand-Building: The Original Method Hand-building is how pottery began, and it’s incredibly accessible. All you need is a bag of clay (a 25 lb bag of stoneware will run you $20-$40 at a supplier like Blick or a local pottery shop) and your hands. The three core techniques are:
Pinch Pots: Start with a ball of clay, press your thumb in the middle, and then gently pinch the walls as you rotate it. The goal is an even wall thickness—about a quarter-inch is perfect.
Coil Building: Roll out long ropes of clay and stack them, one on top of the other. The pro move here is to “score and slip”—scratch up the surfaces where the coils will meet and paint on a clay-and-water slurry called slip. This glues them together. Blend the coils smoothly, or your pot might just fall apart in the kiln.
Slab Building: Roll out flat slabs of clay, cut them into shapes, and join them together to make more geometric forms. Just like with coils, you have to score and slip every single joint. Trust me, I learned this the hard way when the bottom fell out of a mug because I got lazy.
Your First Project Challenge: Grab a fist-sized piece of clay (air-dry is fine!) and make a simple pinch pot in the next 30 minutes. Don’t worry about perfection; just feel the clay and create a small bowl. Congrats, you’re a potter!
Safety in the Studio (Don’t Skip This!)
A pottery studio can have some serious health risks if you aren’t careful. The biggest one is silica dust from dry clay, which is really bad for your lungs over time. The rule is simple: keep things clean and wet. Never, ever sweep dry clay dust. Always use a wet sponge or mop. And if you have to sand a dry piece, wear a properly fitted N95 respirator and do it outside or in a well-ventilated space. Also, be smart about glazes—stick to modern, commercially made glazes that are labeled non-toxic and lead-free, and never eat or drink while glazing.
2. Woodworking: A Conversation with Timber
I got into woodworking because I had to, but I fell in love with the material itself. Every species of wood has its own personality. Oak is strong, stubborn, and smells earthy. Pine is soft and fragrant, a joy to carve but easy to dent. Cherry deepens to a gorgeous, rich red as it ages. A good woodworker learns to read the grain, which tells you exactly how the wood wants to be worked. Going against the grain causes ugly tear-out; working with it produces a surface as smooth as glass. It’s a language you learn with your hands.
The One Rule of Woodworking
Wood is a natural, living material, and it is always moving. It absorbs and releases moisture from the air, expanding in the summer humidity and shrinking in the dry winter air. This movement happens across the grain, not along its length. This is the single most important thing to understand. If you build a tabletop and rigidly lock it in a frame, it will tear itself apart as the seasons change. This is why pros use techniques like floating panels and special joints that allow for this movement. Getting this right is the difference between an heirloom and a piece of firewood.
Hand Tools vs. Power Tools
Learning with hand tools first teaches you precision and gives you a true feel for the wood. From my experience, it makes you a much better woodworker when you eventually move on to power tools for their speed and efficiency.
Your First $150 Hand Tool Kit: You don’t need a giant shop to start. Here’s a solid, budget-friendly kit that will let you build a ton of great projects. You can find these at stores like Woodcraft or Rockler, or find decent options online.
A Japanese Pull Saw: A Ryoba-style saw is incredibly versatile and easier for beginners to control. (Approx. $40)
A Good Combination Square: For accurate marking and checking. Don’t cheap out here. (Approx. $25)
A Decent Chisel Set: A starter set of four is perfect for cleaning up joints. (Approx. $50 for a quality beginner set)
A Marking Knife: Way more accurate than a pencil for laying out cuts. (Approx. $15)
A quick tip: Most new chisels and planes aren’t truly sharp out of the box. Learning to sharpen your tools is a craft in itself, and it’s non-negotiable. I probably spend 20% of my time at the bench just keeping my edges razor-sharp.
When it comes to lumber, start simple. Pre-milled poplar or pine from a big-box store like Home Depot or Lowe’s is your best friend. It’s relatively inexpensive, usually around $5-$10 a board foot, and it’s ready to use without needing expensive milling machines.
A Healthy Respect for Power Tools
Power tools are amazing, but they are not toys. I once had a piece of wood kick back from my table saw. It shot past my head like a missile and punched a hole in the garage wall behind me. It was a terrifying reminder to never, ever get complacent. Always use the safety gear that comes with your tools, especially the riving knife on a table saw. Wear safety glasses and hearing protection, and always unplug a tool before changing the blade or bit.
Your First Project Challenge: Grab one board of pine, your new pull saw, and some wood glue. Your mission is to build a tiny, simple box. It doesn’t have to be perfect, but the process will teach you a ton about measuring, cutting, and assembly.
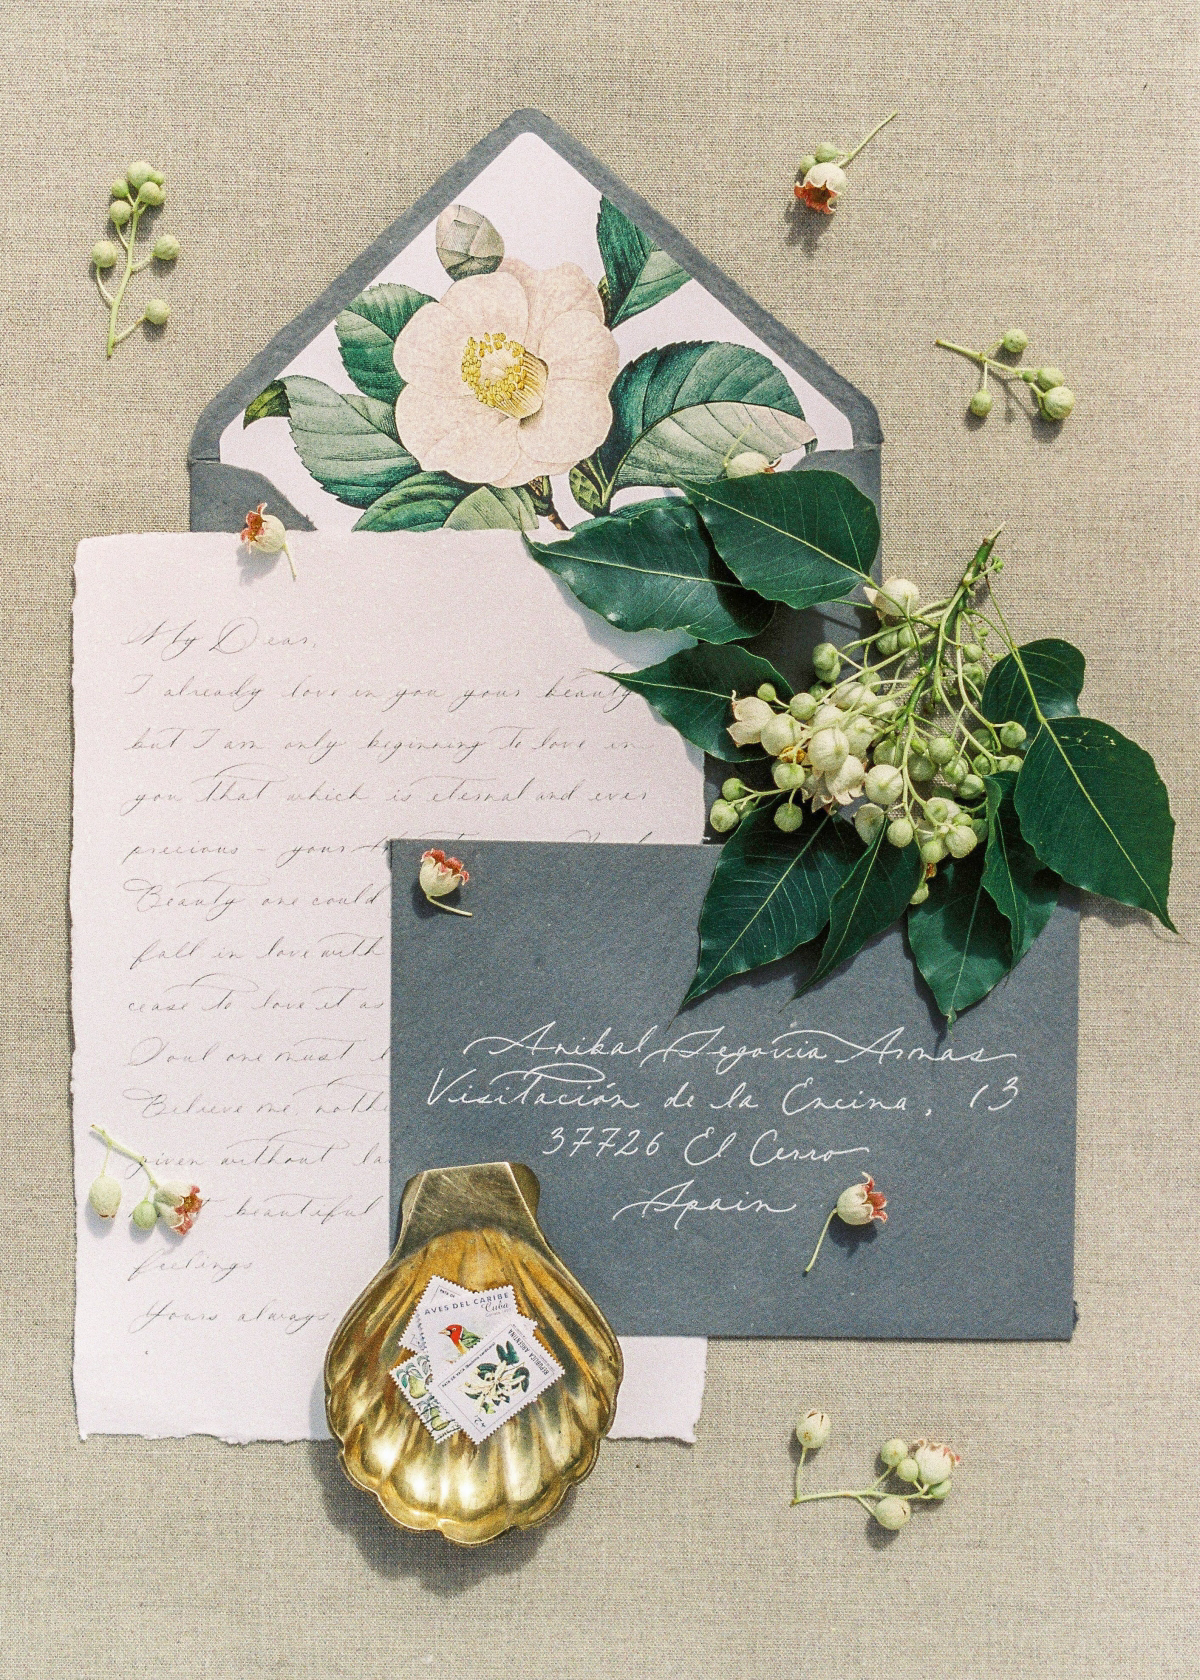
3. Calligraphy: The Art of the Elegant Line
My journey into lettering wasn’t as an artist, but as a tradesman. I learned from an old-school sign painter who taught me that letters are architecture. For the first few weeks, he wouldn’t even let me touch a brush. My job was to draw letters with a pencil, over and over, until their structure was burned into my brain. “You have to build the letter in your mind before you can build it on the sign,” he’d say. That discipline taught me that calligraphy isn’t just fancy handwriting; it’s a mindful practice of control, rhythm, and space.
How It Actually Works
At its core, traditional pointed-pen calligraphy is all about pressure and release. You use a flexible metal nib that fits into a holder. On a downstroke, you apply gentle pressure, the tines of the nib spread apart, and you get a beautiful thick line. On an upstroke, you use almost zero pressure, and the tines close to create a whisper-thin hairline. This contrast is what gives the script its life. The physics are simple, but training your hand to do it consistently takes thousands of repetitions.
The Beginner’s Perfect Starter Kit
Getting started here is incredibly easy and affordable. This is honestly the most accessible craft on the list.
Your Under-$40 Calligraphy Kit: You can get everything you need from a good art supply store or online from a specialist like John Neal Bookseller. Here’s the exact shopping list:
One Nikko G Nib: It’s a fantastic beginner nib—sturdy, smooth, and very forgiving.
One Oblique Pen Holder: This helps you get the correct angle for many scripts without killing your wrist. A simple plastic one is fine to start.
One Bottle of Sumi Ink: It’s a great all-purpose black ink that flows beautifully.
One Rhodia Dot Pad: This paper is super smooth, so your nib won’t catch, and the dots provide helpful guidelines without being distracting.
Success is all about the drills. When I teach workshops, we spend the first two hours just on the basic strokes—ovals, upstrokes, downstrokes. It can feel repetitive, but this is how you build the muscle memory required for graceful, consistent letters. Oh, and professionals always use guidelines. Always.
Your First Project Challenge: Set a timer for 20 minutes. Don’t try to write words or letters. Just fill a page with ovals and straight downstrokes. Focus on the rhythm of pressure and release. This is the most important exercise you will ever do.
Don’t Forget Ergonomics
While it’s not as overtly dangerous as woodworking, sitting hunched over for hours can lead to repetitive strain injuries. Seriously, take care of your body. Sit in a good chair, keep your feet on the floor, and use good lighting to avoid eye strain. Every 20 minutes or so, get up, stretch your hands and shoulders, and look at something far away to give your eyes a break.
A Final Thought on the Journey
Choosing a craft is a deeply personal thing. Whether you feel a pull toward the earthy scent of clay, the solid warmth of wood, or the graceful flow of ink, the path is surprisingly similar. It’s a road of slow learning, patient practice, and quiet accomplishment. You will get frustrated. You will make things that are, frankly, pretty bad. But every mistake is a teacher. The goal isn’t just to make a perfect object. The goal is to engage in a process that is honest and challenging, a process that connects your mind to your hands and, in doing so, connects you more deeply to yourself.
Galerie d’inspiration
Don’t underestimate the power of the first step. For woodworking, that often means getting comfortable with a handsaw. A quality Japanese pull saw, like a Ryoba, cuts on the pull stroke, giving you more control and a cleaner line than many Western saws. It’s an affordable, quiet, and surprisingly meditative way to start understanding how wood behaves.
Perfectly smooth, glossy paper isn’t always your friend in calligraphy.
A little bit of ‘tooth’ or texture helps the nib grip the page.
It prevents ink from pooling and gives you finer control over hairlines.
The secret? Look for paper designed for drawing or watercolor. A Rhodia pad is great for practice, but a sheet of Arches Hot Press paper will make your final piece feel like a work of art.
Wedging your clay is non-negotiable. It’s not just about removing air bubbles that can cause explosions in the kiln. This kneading process also aligns the clay particles, making the material more homogenous and plastic. The result is a stronger, more centered piece on the wheel and less risk of cracking as it dries. It’s the foundational ritual of every potter for a reason.
More than 80% of people who engage in a craft hobby report feeling happier and calmer.
This isn’t just a feeling; it’s neuroscience. The repetitive, focused motions involved in woodworking, pottery, or calligraphy can induce a flow state, reducing the stress hormone cortisol and boosting serotonin. It’s a form of active meditation that leaves you with something tangible at the end.
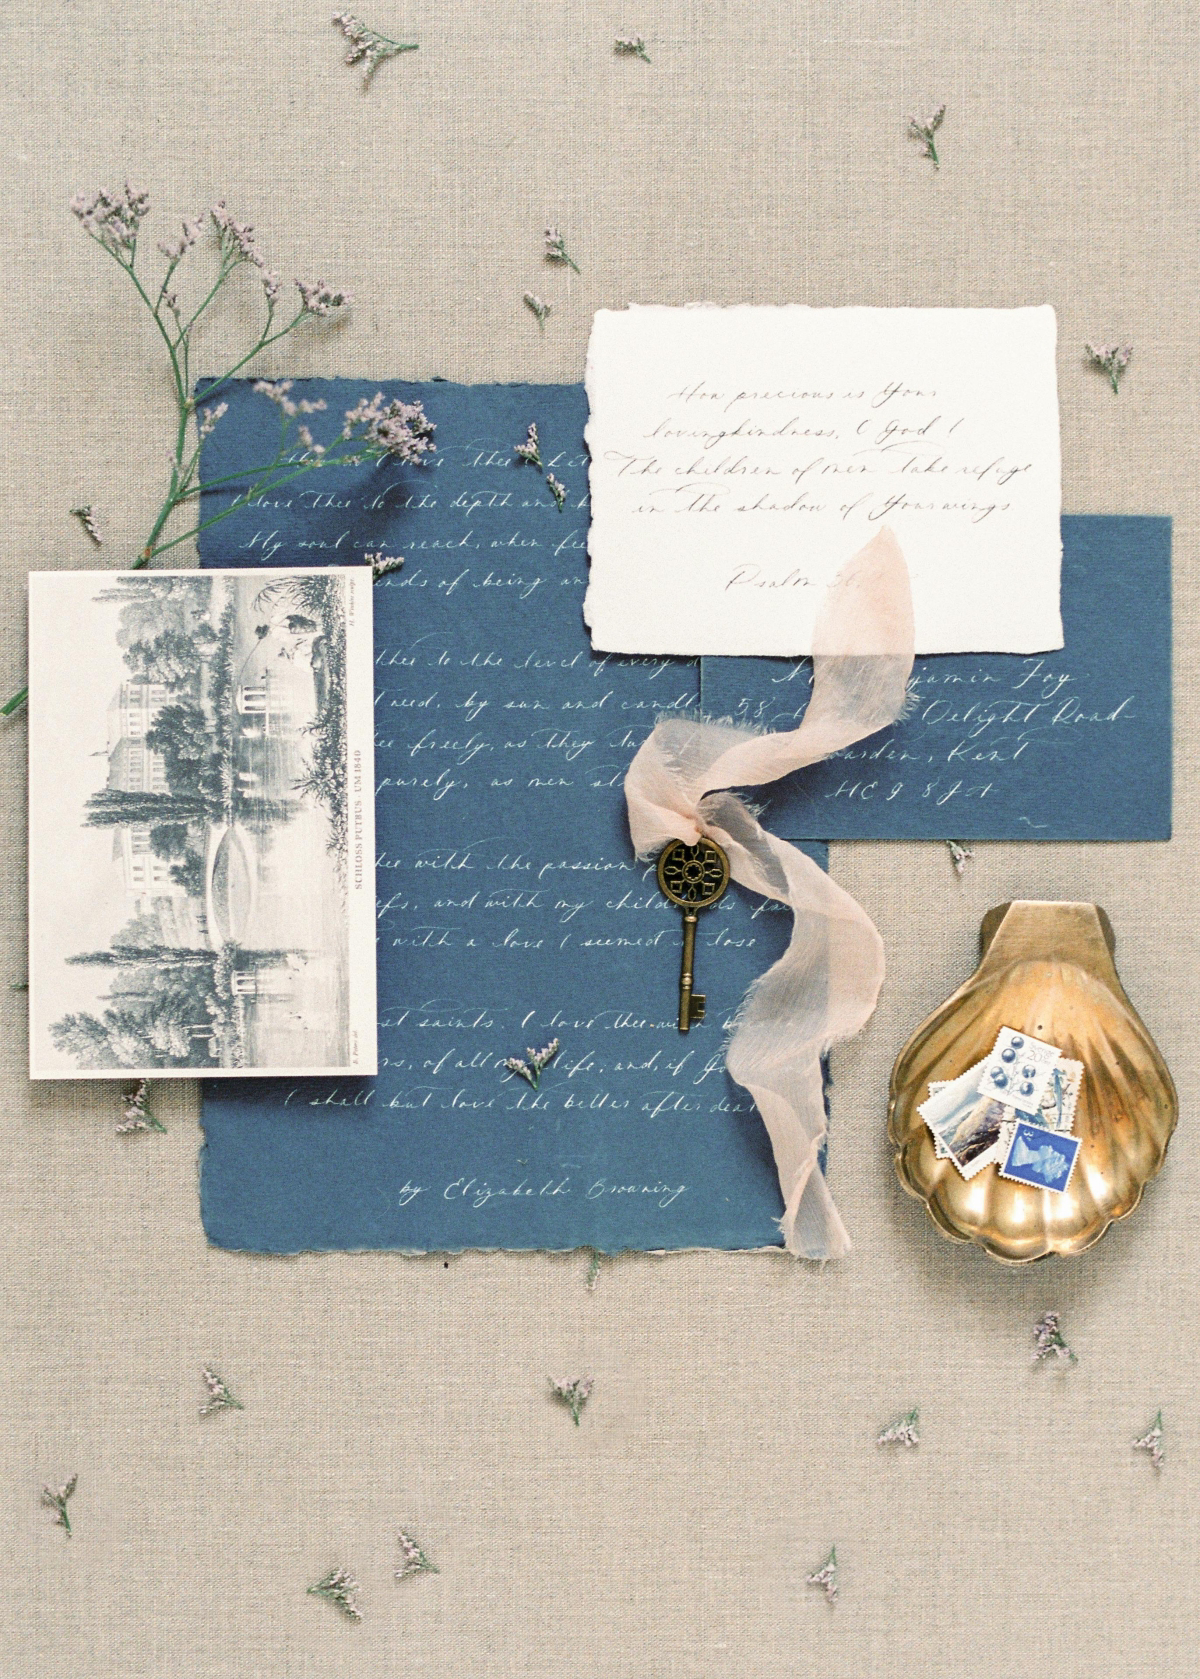
My ink keeps bleeding and feathering on the paper. What am I doing wrong?
This is almost always a paper problem, not an ink problem. Standard office copy paper is too absorbent. You need paper with ‘sizing’—a treatment that makes it less porous. For practice, try a HP Premium 32lb laserjet paper; it’s surprisingly good. For final pieces, dedicated calligraphy pads from brands like Clairefontaine or Tomoe River are a game-changer. The ink will sit right on top, staying crisp and sharp.
When starting with pottery, the sheer number of clay types can be overwhelming. Here’s a quick guide to what you’ll find in most studios:
Earthenware: A low-fire clay, it remains porous after firing. Think classic terracotta pots. It’s easy to work with but not ideal for functional dinnerware.
Stoneware: Fired at a higher temperature, this clay becomes vitrified—strong, dense, and waterproof. It’s the go-to for durable mugs, plates, and bowls. Look for a bag of B-Mix from Laguna for a forgiving, smooth body.
Porcelain: The most challenging. It’s incredibly smooth and becomes brilliantly white and translucent when fired, but it’s less forgiving on the wheel. Save this for when you’ve mastered the basics.
Natural Oil Finish: Think Tung oil or boiled linseed oil. These penetrate the wood, highlighting the grain and giving it a warm, natural, and matte feel. They are easy to apply and repair but offer less protection against water and scratches.
Film Finish: Polyurethane or lacquer. These create a hard, protective layer on top of the wood, offering excellent durability and water resistance. The trade-off is a more ‘plastic’ feel that can obscure the wood’s texture.
For a first project like a small box or a picture frame, a simple wipe-on oil finish is incredibly rewarding and hard to mess up.
“The feel of the tool in the hand is one of the most sensual and satisfying of all experiences.” – James Krenov, woodworker and author
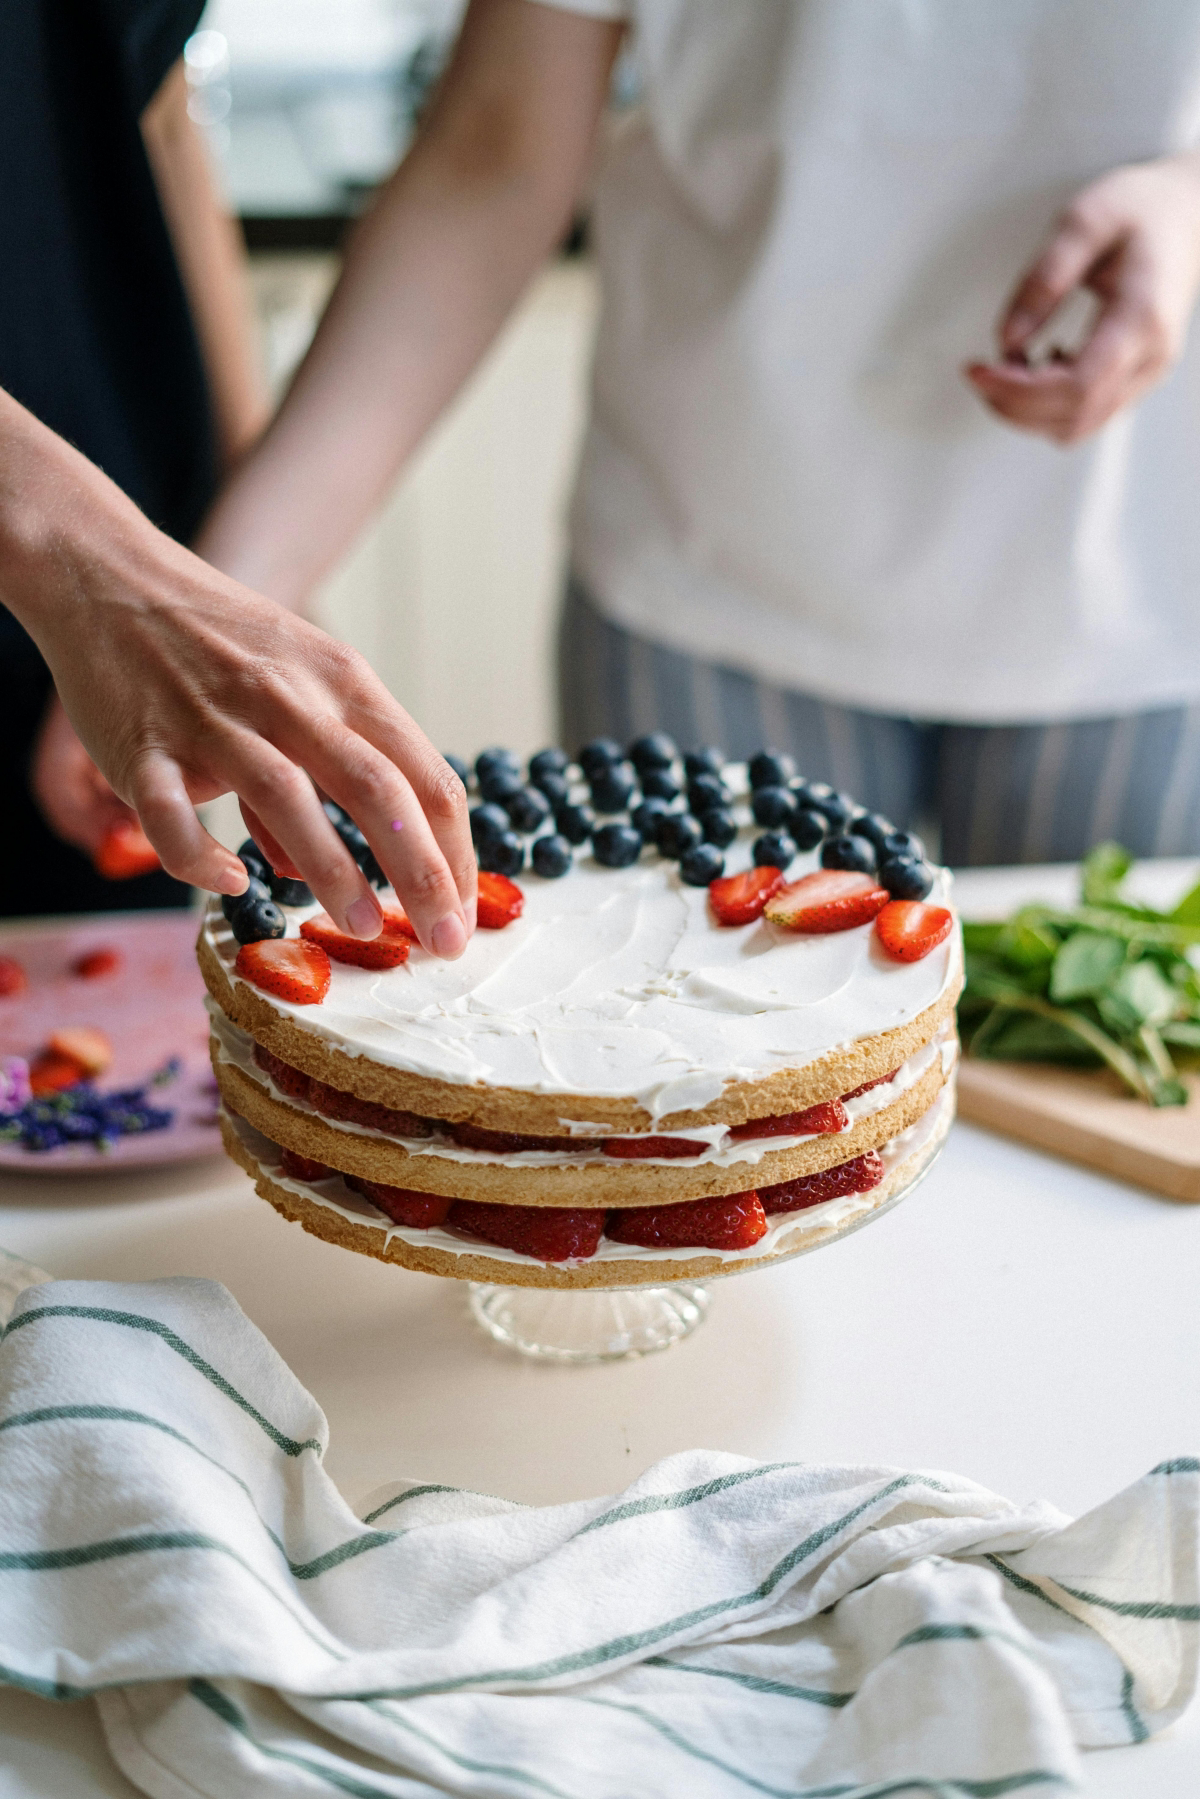
The ‘right’ first project is one you can finish. In woodworking, skip the wobbly table and start with a simple box. In pottery, forget the perfectly symmetrical vase and make a ‘pinch pot’ tumbler. In calligraphy, don’t tackle a full poem; just master the lowercase ‘a’. These small victories build the momentum you need to stick with a craft long-term.
A small, handheld block plane.
A reliable combination square.
Two or three high-quality clamps (you can never have too many!).
A tube of Titebond II wood glue.
These four items are the unsung heroes of a woodworking starter kit. Before you even think about power tools, these basics will let you cut straight, measure accurately, and join wood securely. Master these, and you’ve mastered the fundamentals.
Sumi Ink: A traditional Japanese ink made from soot, it comes in liquid or solid stick form. It provides rich, deep blacks and subtle shading possibilities, perfect for both calligraphy and brush painting. It’s water-based and generally easy to clean.
India Ink: Often contains shellac, which makes it waterproof and permanent once dry. This is great for work you might watercolor over, but it can ruin your nibs if it dries on them. Requires more diligent cleaning with a pen cleaner or ammonia solution.
For beginners, a bottle of Kuretake or Yasutomo liquid Sumi ink is a forgiving and high-quality starting point.
Can I really make money with these hobbies?
Absolutely, but start small. Don’t plan a full Etsy launch before you’ve honed your skills. A great entry point is a local craft fair or farmers’ market. For woodworkers, small items like cutting boards or coasters sell well. For potters, unique mugs are always popular. Calligraphers can offer personalized gift tags or place cards, especially around the holidays. It’s a fantastic way to fund your hobby and get valuable feedback.
The air in a woodshop has a scent you can’t bottle: the sharp, resinous perfume of freshly cut pine, the spicy sweetness of cherry, or the rich, almost chocolatey smell of walnut. It’s a sensory reward that connects you directly to the material. Each wood has its own character, not just in its grain, but in its scent and the way it feels under a sharp plane.
Did you know that traditional Japanese joinery, or ‘sashimono’, can create complex, interlocking furniture without a single nail or screw?
This ancient craft relies on incredibly precise cutting to create joints that hold together through tension and friction alone. While you don’t need to master it on day one, studying these techniques can inspire you to think about how two pieces of wood can meet in more elegant and stronger ways than just a simple butt joint.
It makes your finished pieces stronger and less likely to crack.
It saves money by reusing material you would have thrown away.
It keeps clay dust, which can be a health hazard, to a minimum.
The secret? Reclaiming your clay. Keep all your dry scraps and trimmings in a bucket. Cover them with water, let them slake down into a slurry, then pour it onto a plaster slab to dry to a workable consistency. It’s an essential part of a sustainable studio practice.
Common Mistake: The Death Grip. Many beginners hold their calligraphy pen with a white-knuckled grip, as if it’s a standard ballpoint. This creates shaky lines and prevents the nib from flexing properly. The key is to relax. Your hand should just be a guide; the real work comes from smooth, controlled movements of your entire arm, from shoulder to fingertip. Let the tool do the work.
Maria Konou combines her fine arts degree from Parsons School of Design with 15 years of hands-on crafting experience. She has taught workshops across the country and authored two bestselling DIY books. Maria believes in the transformative power of creating with your own hands and loves helping others discover their creative potential.
To provide the best experiences, we use technologies like cookies to store and/or access device information. Consenting to these technologies will allow us to process data such as browsing behavior or unique IDs on this site. Not consenting or withdrawing consent, may adversely affect certain features and functions.
Functional
Always active
The technical storage or access is strictly necessary for the legitimate purpose of enabling the use of a specific service explicitly requested by the subscriber or user, or for the sole purpose of carrying out the transmission of a communication over an electronic communications network.
Preferences
The technical storage or access is necessary for the legitimate purpose of storing preferences that are not requested by the subscriber or user.
Statistics
The technical storage or access that is used exclusively for statistical purposes.The technical storage or access that is used exclusively for anonymous statistical purposes. Without a subpoena, voluntary compliance on the part of your Internet Service Provider, or additional records from a third party, information stored or retrieved for this purpose alone cannot usually be used to identify you.
Marketing
The technical storage or access is required to create user profiles to send advertising, or to track the user on a website or across several websites for similar marketing purposes.