The Real-Deal Guide to Making Your Stainless Steel Sink Look Brand New
Let’s be honest, have you ever looked at your stainless steel sink and felt a little… disappointed? It gets cloudy, collects water spots, and those smudges seem to multiply out of nowhere. A lot of people think they just ended up with a low-quality sink, but that’s rarely the case. After years of seeing how the pros handle kitchen installations and clean-ups, I can tell you the secret isn’t in the sink itself—it’s in the technique.
In this article
- First, A Quick (and Important) Science Lesson
- The #1 Rule: Always Go With the Grain
- Your Pro-Level (But Super Simple) Toolkit
- The 60-Second Daily Habit
- The Weekly Deep Clean That Restores the Shine
- What About the Drain, Faucet, and That Metal Grid?
- Troubleshooting Common Sink Nightmares
- Things That Will Absolutely Ruin Your Sink
- Galerie d’inspiration
Properly caring for stainless steel isn’t about scrubbing for hours or using harsh, smelly chemicals. It’s about understanding what you’re working with. Once you get the hang of a few basic principles, keeping that sink looking great becomes second nature. This is the practical, no-fluff guide to getting it right.
First, A Quick (and Important) Science Lesson
Before you start cleaning, you gotta know what you’re up against. Stainless steel isn’t just a shiny metal; it’s an iron alloy that has a good amount of chromium in it. That chromium is the MVP here. When it hits the air, it forms a super thin, invisible protective layer over the steel. Think of it like a force field that stops the iron from rusting. So, our main job when cleaning is to protect and polish this layer, not strip it away.
Most kitchen sinks are what’s called 304-grade or 18/8 stainless steel, which just refers to the percentage of chromium and nickel inside. It’s the perfect blend of durability and cost for home kitchens. You might also hear people talk about the steel’s “gauge.” This is just its thickness, and here’s the slightly weird part: a lower number means thicker steel. A 16-gauge sink is a heavy-duty beast that resists dents and muffles sound, while an 18-gauge is a fantastic and common standard. Budget sinks might be 20 or 22-gauge. But no matter the thickness, the cleaning method is exactly the same.
The #1 Rule: Always Go With the Grain
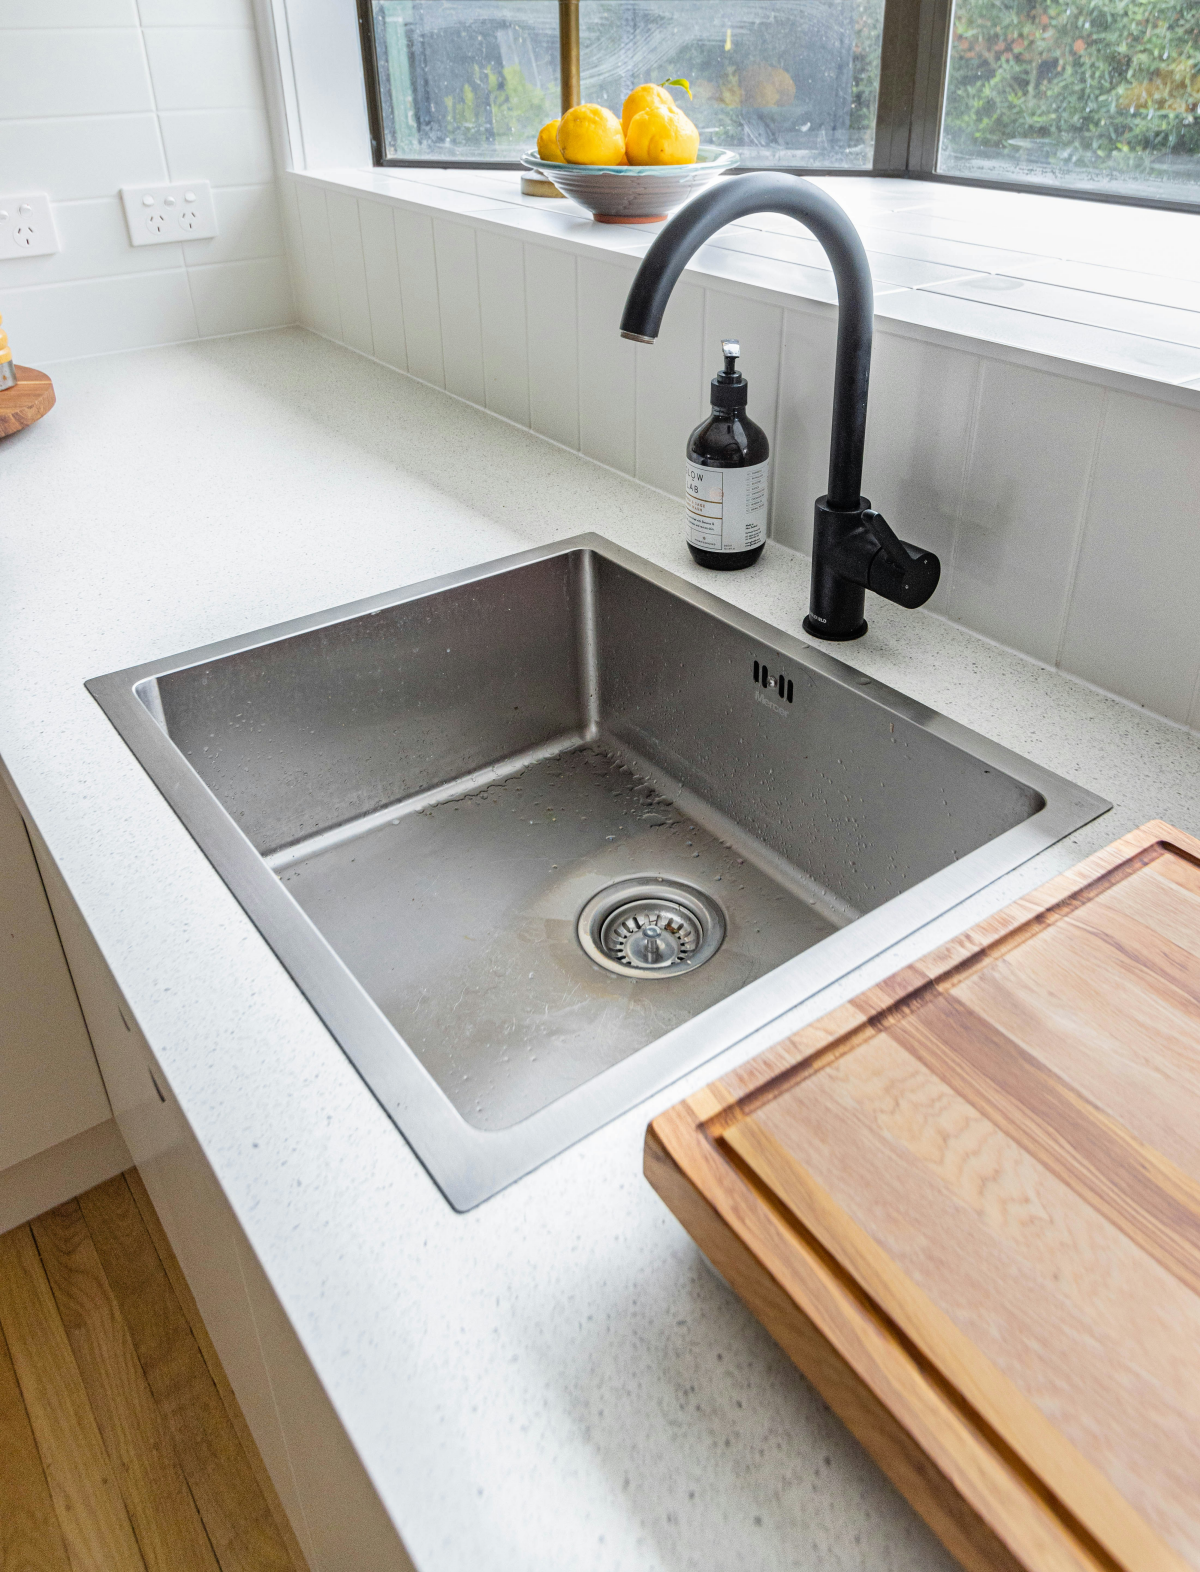
If you take away only one piece of advice today, let it be this: stainless steel has a grain. Seriously. Just like a piece of wood, the metal has very fine, faint lines from the manufacturing process. You absolutely have to clean and polish with these lines, not against them.
Wiping against the grain creates a web of tiny scratches that will dull the finish over time. Plus, dirt loves to get trapped in those little cross-scratches, making your job even harder later.
Quick tip: Can’t see the grain? Grab your phone, turn on the flashlight, and hold it at a low angle to the sink’s surface. The lines will pop right out. Check the direction on the bottom and on each of the four walls, as they can be different.
Your Pro-Level (But Super Simple) Toolkit
You really don’t need a cabinet full of fancy cleaners. The stuff that works best is probably already in your house or can be bought for cheap. Here’s what you need to have on hand.
- Microfiber Cloths: Don’t skip these. Get a decent pack of them (you can find a 12-pack for $10-$15 on Amazon or at Target). You’ll want one for cleaning and a completely separate, dry one for polishing. They grab everything and don’t leave lint behind.
- A Non-Scratch Sponge: One of those dual-sided sponges with a soft side and a non-scratch scrubby side is perfect. And please, whatever you do, NEVER use steel wool or a Brillo pad. They will absolutely shred your sink’s finish and leave behind tiny iron particles that will rust.
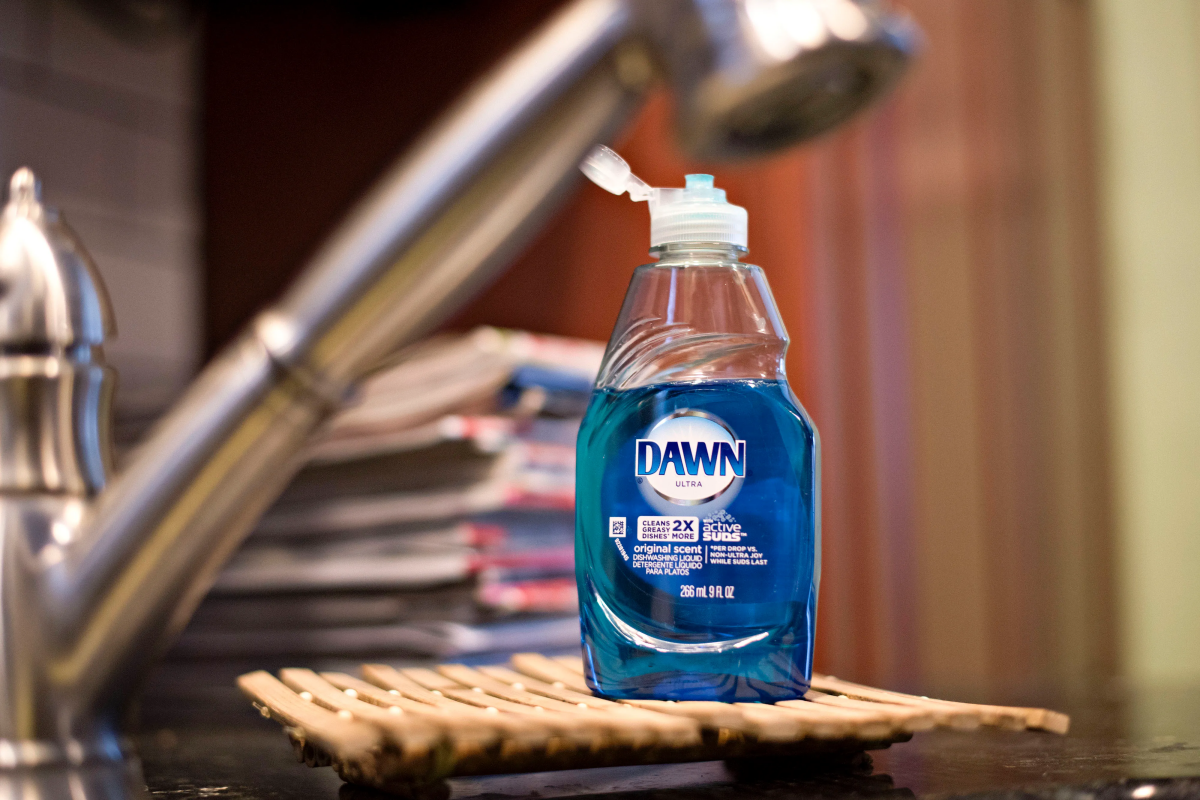
- Basic Dish Soap: Any brand you use for your dishes is fine. Its job is just to cut through daily grease and food bits.
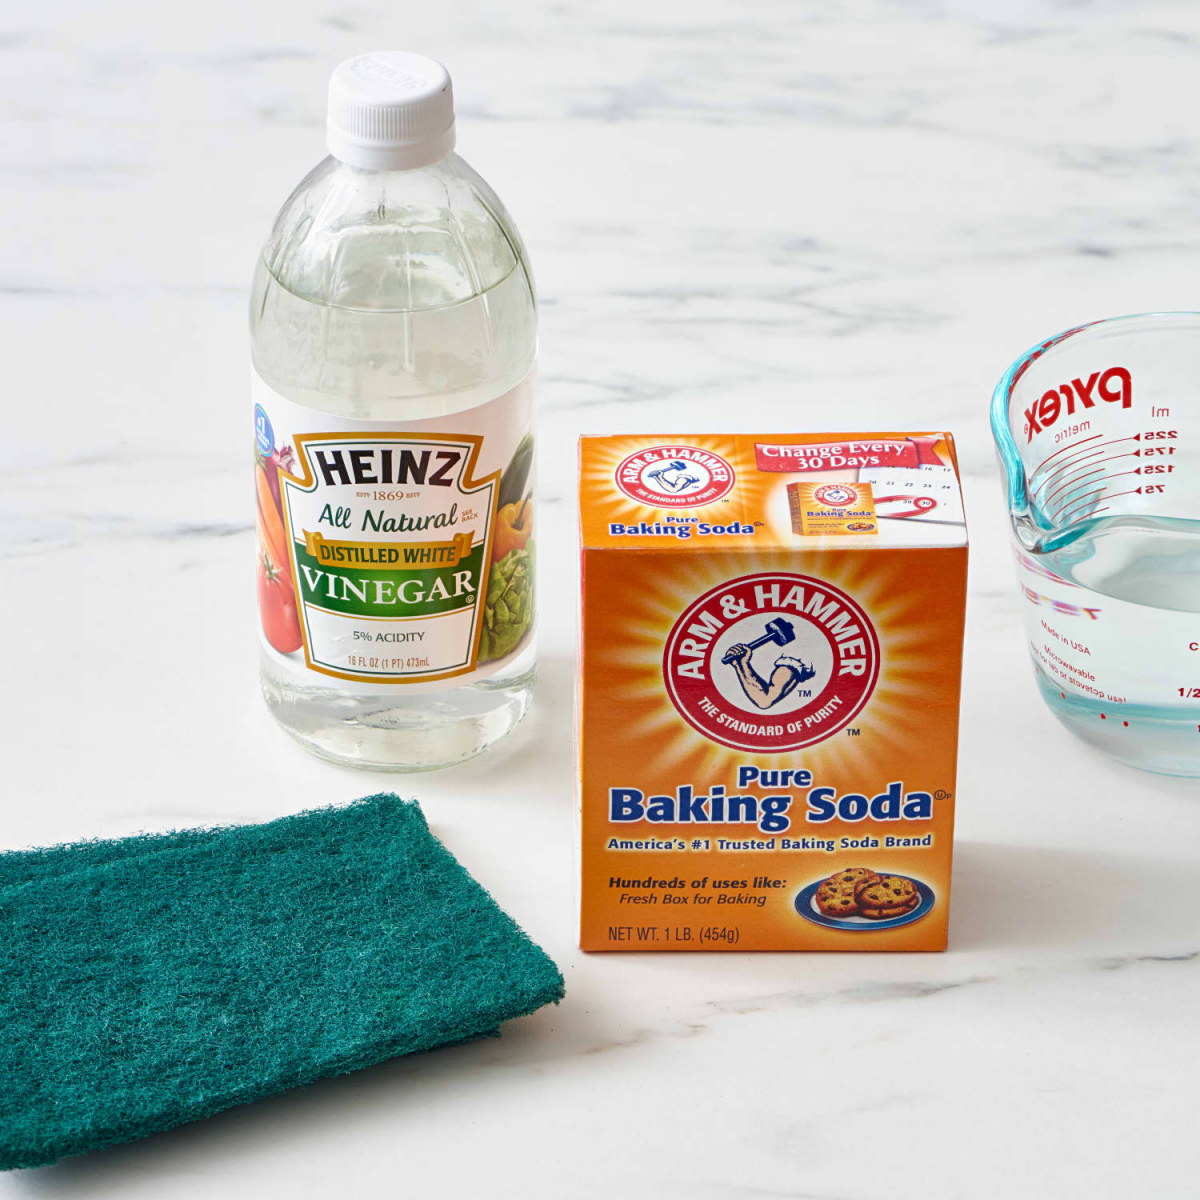
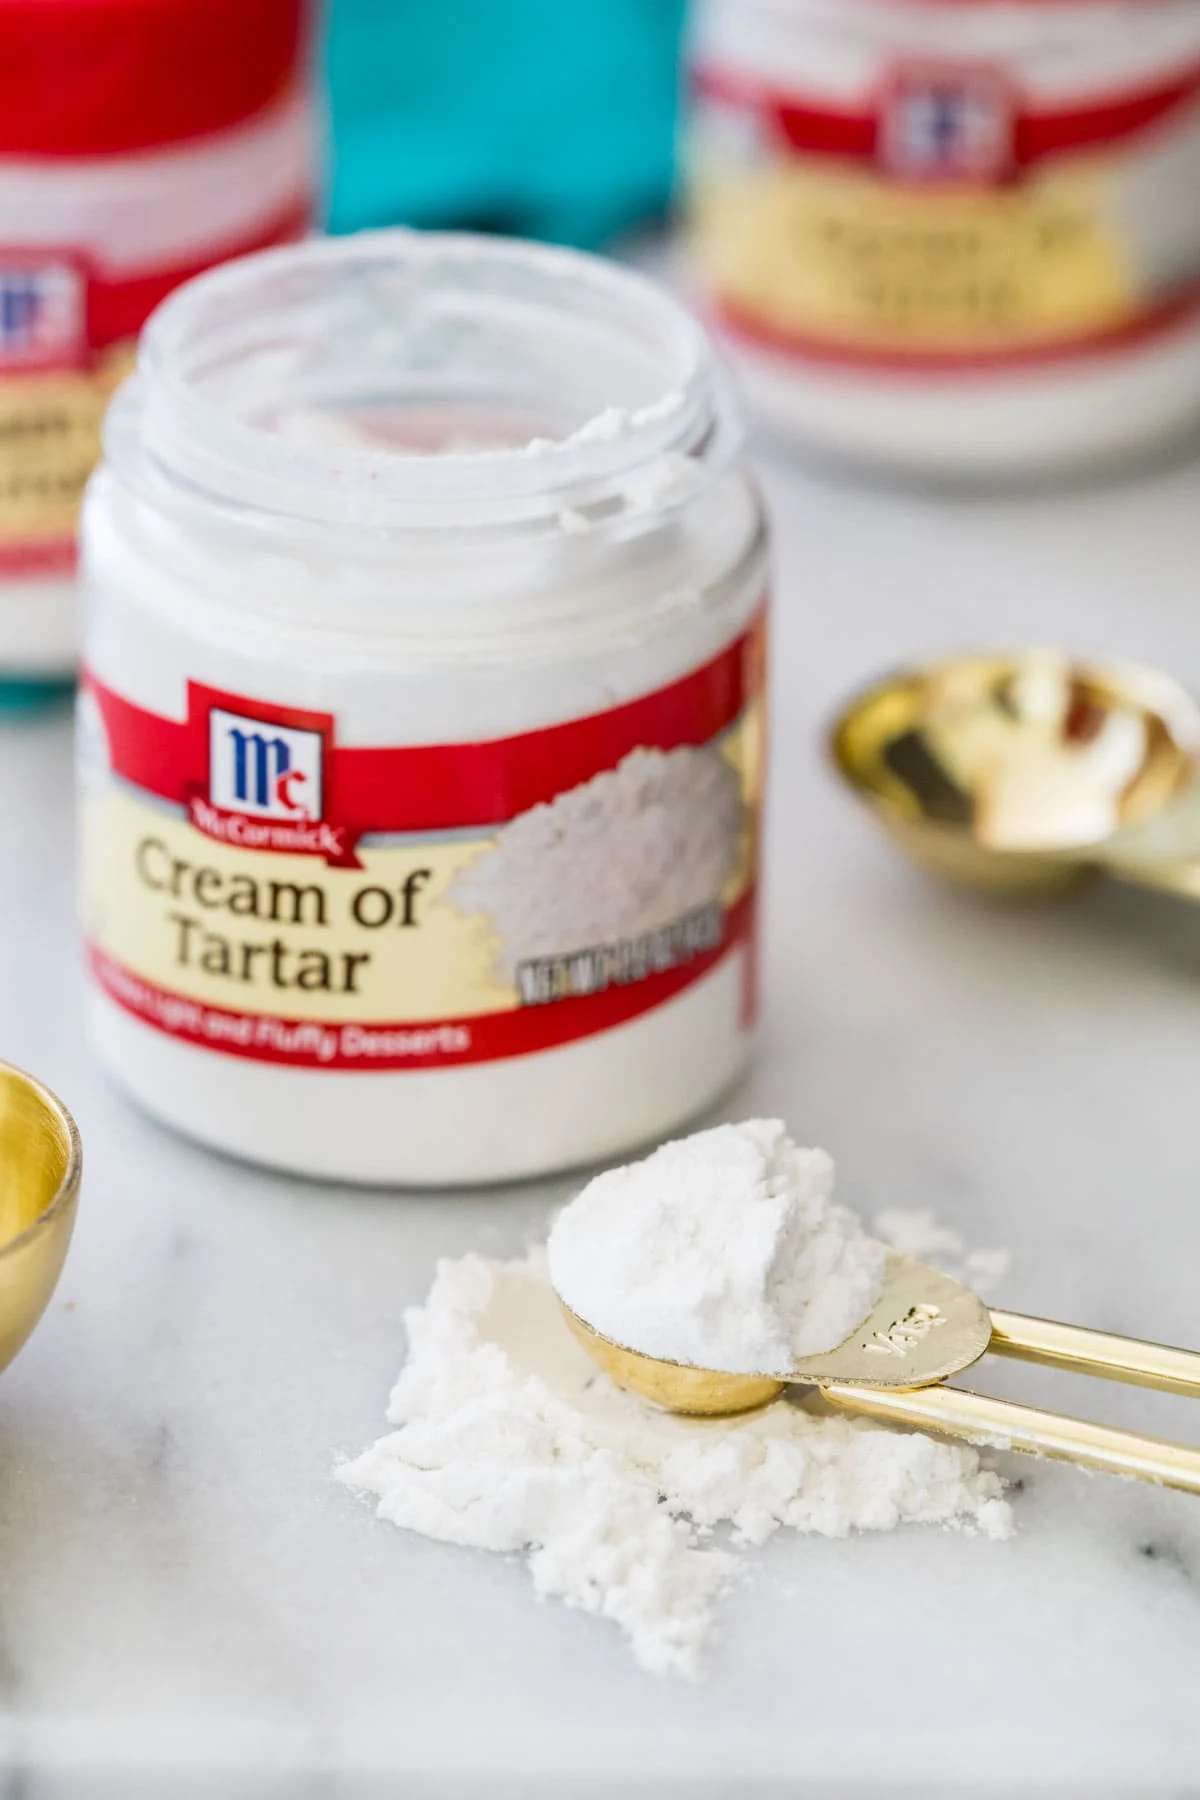
- Baking Soda: This is your best friend for a gentle, effective scrub. It’s a mild abrasive that lifts grime without scratching the steel. A box costs, what, a dollar?
- White Vinegar: The acid in vinegar is fantastic for dissolving the mineral deposits that cause those chalky water spots. Another super cheap staple.
- Food-Grade Mineral Oil: This is the secret weapon for that finishing touch. Some people suggest olive oil, but honestly, that’s a bad idea. Organic oils can go rancid, getting sticky and smelly over time. Food-grade mineral oil is totally inert, won’t spoil, and is food-safe. You can find it in the kitchen gadget aisle near the cutting boards for about $8-$12 a bottle, and one bottle will last you forever. By the way, baby oil is just mineral oil with fragrance added—it’s better to stick to the food-grade stuff for a food prep area.
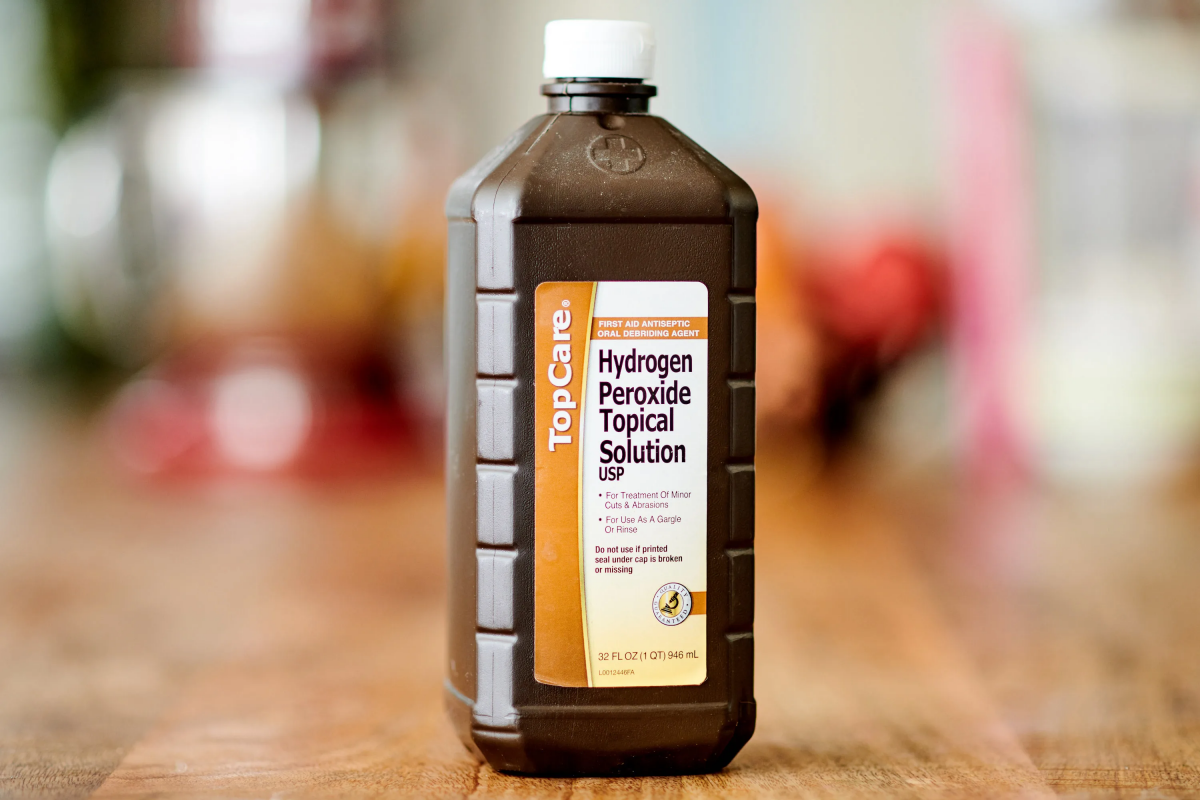
For the really tough jobs: It’s worth keeping a can of Bar Keepers Friend (the powdered version) under the sink. Its main ingredient is oxalic acid, which works wonders on rust spots and stubborn stains. You can find it in the cleaning aisle at most hardware or grocery stores. For day-to-day cleaning, you won’t need it, but for those once-in-a-while problems, it’s a lifesaver. Think of it this way: baking soda is for your weekly maintenance, while Bar Keepers Friend is the specialist you call in for emergencies like rust or deep-set stains.
The 60-Second Daily Habit
The best way to keep your sink looking amazing is to prevent buildup in the first place. This simple routine after you do the dishes makes a world of difference.
- Wipe: Give it a quick scrub with a soapy sponge.
- Rinse: Rinse all the soap away with hot water.
- Dry: This is the step everyone skips, but it’s the key to stopping water spots. Grab a dry microfiber cloth and wipe the whole sink down. Done.
A little hack to make this even faster? Keep a small squeegee under the sink. A few quick swipes will get 90% of the water out in about 10 seconds flat. Then just a quick pat with the cloth, and you’re good to go.
The Weekly Deep Clean That Restores the Shine
Once a week (or whenever the sink looks a bit sad), give it a proper deep clean. This whole process takes maybe 15 minutes and will bring back that showroom glow.

- Pre-Rinse: Get any dish racks or mats out of there and give the sink a good rinse with hot water.
- Get Scrubbing with Baking Soda: Sprinkle a generous amount of baking soda all over the damp sink. Using your non-scratch sponge, scrub the paste into the steel. Remember to always, always move in the direction of the grain!
- Attack the Tough Spots: See some hard water buildup? Spray some white vinegar directly onto the baking soda. It will fizz and bubble—that’s the reaction breaking down the mineral deposits for you. Let it sit for about 5-10 minutes.
- Rinse Like You Mean It: This is critical. You need to rinse every last bit of baking soda and vinegar away. Any residue left behind will look cloudy. Use your sink’s sprayer to get into all the corners and around the drain.
- Dry It Completely: Use a clean, dry microfiber cloth and get the sink bone dry. This preps the surface for the final, game-changing step.
- Polish with Mineral Oil: This is where the magic happens. Put about a teaspoon of mineral oil on a fresh microfiber cloth and buff it into the steel, working with the grain. Use long, even strokes. The oil evens out the finish and creates a barrier that makes water bead up and roll away. Wipe off any excess. You’re not aiming for greasy, just a deep, healthy satin glow. The difference between the before and after is huge!

What About the Drain, Faucet, and That Metal Grid?
Oh yeah, the sink itself is only part of the battle. Here’s how to handle the accessories.
- The Metal Grid: Those things get so grimy. The easiest solution? If it fits, pop it into the dishwasher once a week. If not, use your baking soda paste and a small brush to scrub it down in the sink before you do your deep clean.
- The Drain and Disposal Flange: Gunk loves to build up on that rubber flange. Pull back the flaps and use an old toothbrush with some baking soda paste to scrub away the grime. A little vinegar and baking soda poured down the drain will also help deodorize it with a satisfying fizz.
- The Faucet: For most finishes (brushed nickel, chrome), a cloth dampened with a 50/50 mix of water and vinegar works great to remove water spots. Just spray, let it sit for a minute, and wipe dry.

Troubleshooting Common Sink Nightmares
Even with good care, stuff happens. Here’s how to fix it.
Problem: Stubborn, Chalky Hard Water Stains
The Fix: For really bad buildup, soak a few paper towels in white vinegar and lay them directly over the stains. Let them sit for about 20-30 minutes. This gives the acid time to work. Remove the towels, give it a light scrub, and rinse thoroughly. Heads up! If you have a natural stone countertop like marble, be very careful not to let the vinegar drip or sit on it, as the acid can etch the stone.
Problem: Little Orange Rust Spots
First, take a deep breath. Your sink itself isn’t rusting. Those spots are almost always caused by outside iron particles. Usually, it’s from leaving a cast iron pan, a can, or a cheap metal scouring pad in the wet sink.
The Fix: Make a paste of Bar Keepers Friend and a little water. Apply it to the rust spot and gently scrub with the grain using a soft sponge. The rust should dissolve in under a minute. Rinse it away completely, and the spot will be gone. As long as you don’t leave any other metal items in the sink, it won’t come back.
Problem: Scratches
This is the big one, so let’s be real. Your sink is a workspace. It’s going to get scratched. Over time, these fine scratches blend together to create a unique finish or patina. That’s normal.
For Light Scuffs: A good deep clean and polish with mineral oil often makes minor scuffs nearly invisible.
For Deeper Scratches: You can’t easily remove a scratch you can feel with your fingernail. While there are stainless steel scratch removal kits out there, they are incredibly aggressive. They basically work by sanding the area down. If you don’t do it perfectly, you can easily leave a massive, obvious dull spot that looks way worse than the scratch. To be frank, my professional advice for a deep gouge is usually to learn to live with it. Trying to fix it yourself is a huge gamble.
Things That Will Absolutely Ruin Your Sink
I’ve seen people make some costly mistakes. Please, never use these on your sink.
- Chlorine Bleach: This is the cardinal sin. Bleach and cleaners with chlorides (check the label!) will destroy that protective chromium layer, causing permanent pitting and corrosion. Don’t grab a bleach-based “whitening” spray or toilet bowl cleaner in a pinch—it can wreck your sink in minutes.
- Abrasive Scouring Pads: To say it one more time: no steel wool, Brillo, or harsh green scrubbies. You’re just scratching the finish to bits.
- Oven Cleaner: The chemicals in oven cleaner are way too harsh and will stain and discolor your sink permanently.
- Leaving Wet Things in the Sink: Don’t leave wet sponges, cloths, or rubber mats sitting in the sink for hours. Trapping water against the surface can cause dark, discolored spots that are a pain to remove. Let it breathe!
At the end of the day, a stainless steel sink is an incredibly durable and forgiving part of your kitchen. If you develop that quick “wipe, rinse, dry” habit and give it a deep clean once a week, you’ll be in great shape. Embrace the patina that comes with a well-loved, well-used kitchen, and your sink will look fantastic for years to come. Just a final thought: these methods are for standard, brushed-finish stainless steel. If you have a fancy mirror-polish, colored, or composite sink, check the manufacturer’s specific instructions first!
Galerie d’inspiration
A costly mistake: Never use steel wool or abrasive scouring pads on your stainless steel sink. While they seem like a good idea for tough stains, they will scratch the surface, permanently ruining the finish and creating tiny crevices where rust and bacteria can form. If you need extra scrubbing power, opt for a non-abrasive sponge or a specialized microfiber cloth designed for metal, like those from E-Cloth, which clean effectively with just water.


