Don’t Fear the Blank Wall: A Guide to Creating a Living Room with Soul
You know, I’ve walked into thousands of homes over the years. I’ve been a designer, a consultant, and sometimes just the person you call when you need a level and a drill. And the first thing that tells me about a home isn’t the sofa or the rug. It’s the walls.
In this article
Blank walls can feel so temporary, like no one has really committed to the space yet. But walls that are thoughtfully put together? They tell a story. They give a room weight and personality. Honestly, they’re what turn a simple box into a real home.
A lot of people are just plain scared to put a hole in the wall. They worry about getting the placement wrong, choosing the wrong art, or just making a mess. This guide is here to change all that. We’re not talking about following fleeting trends. This is about understanding the basic building blocks—composition, materials, and placement—that the pros use every day. My goal is to pass that practical knowledge on to you, so you can stop seeing your walls as a problem and start seeing them as an opportunity.
First Things First: Understand Your Canvas
Before you even think about hanging a single picture, you have to get to know your wall. Seriously. Treating all walls the same is the number one mistake I see people make. A brick wall and a sheet of drywall are two completely different animals, and knowing what you’re working with is critical for a good-looking—and safe—result.
The Lowdown on Wall Types
Most modern homes use drywall. It’s a plaster panel sandwiched between two sheets of paper. It’s cheap and easy to put up, but it has almost zero strength on its own. The real muscle comes from the wooden or metal studs behind it, which are usually spaced 16 or 24 inches apart. If you try to hang anything heavier than a small poster on just the drywall, the anchor will eventually pull right out, leaving you with a gaping hole. Trust me on this.
If you’re in an older home, you might have lath and plaster walls. These are made of thin wooden strips (lath) nailed to the studs, with layers of plaster troweled over them. These walls are much thicker, more durable, and a bit better at blocking sound. The downside? They can be a pain to drill into. A simple nail isn’t going to cut it. The upside is that plaster can sometimes hold a screw for lighter items without an anchor, but I still recommend finding a stud for anything you care about.
Then you have the big guns: brick or concrete walls, which you’ll often find in lofts, basements, or industrial-style spaces. These are your strongest canvases, but they demand special tools. You absolutely need a hammer drill and masonry bits to make a hole. Trying to use a standard drill will just burn out the motor and get you nowhere.
Quick tip: Not sure what you have? Just knock on it. Drywall sounds hollow between the studs. Plaster gives a dull, solid thud. Brick and concrete? Well, they feel and sound like a rock. You can also try pushing a thumbtack into an inconspicuous spot. It’ll slide right into drywall but stop dead against plaster or masonry.
Your Hardware Store Cheat Sheet
Okay, so you know your wall type. What do you actually buy? Staring at that aisle in Home Depot can be intimidating, so here’s a simple breakdown:
- For Drywall (under 10 lbs): Simple self-drilling plastic anchors are your best friend. They look like a big, coarse screw and are super easy to install. A pack will run you about $5 to $10.
- For Drywall (10-50 lbs): Don’t mess around. You need something more robust, like a toggle bolt or a heavy-duty screw-in anchor. These spread the weight out behind the drywall. This is not the place to cheap out.
- For Plaster: A regular drill might struggle. I recommend using a carbide-tipped drill bit to get a clean hole, then using a plastic wall plug or anchor designed for plaster.
- For Brick or Concrete: This is non-negotiable—you need a hammer drill. You can usually rent one for about $40 a day. Pair it with some tough masonry screws (like the blue ones you often see) or lead wall plugs for a rock-solid hold.

Finding a Secure Anchor Point (The Stud)
The most important skill you can learn is how to find a stud. A stud finder is a good investment, but cheap electronic ones can be unreliable. I often use a magnetic one that detects the metal screws in the studs.
The old-school knock test works, too. Listen for the sound to go from hollow to solid. And here’s a pro hack: once you find one stud, the next one is almost always 16 inches away to the left or right. Measure it out and test that spot first. It’s way faster than scanning the whole wall!
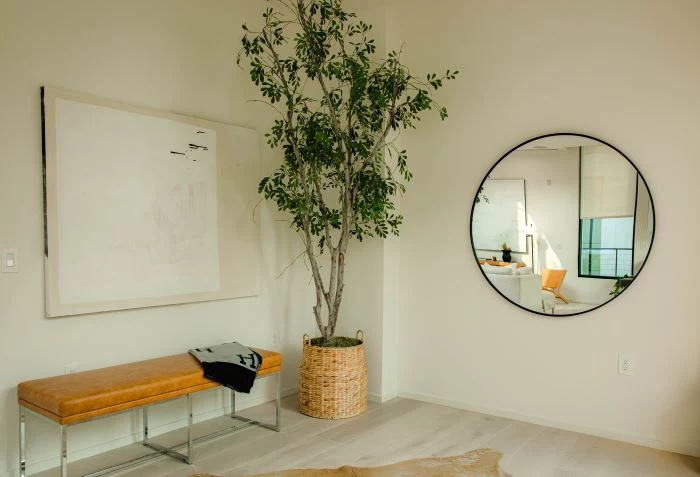
A little horror story from the field: I once got a call to fix a disaster. A client had hung a massive, gorgeous antique mirror over their fireplace. It was close to 100 pounds. They used two heavy-duty drywall anchors, thinking it was enough. It held for a year. Then, one humid day, the anchors pulled right through the drywall. The mirror crashed down, shattering on the hearth and ruining the frame. The whole mess could have been avoided by finding the studs and using a couple of long screws. A few extra minutes of prep saves a lot of heartbreak (and money).
The Art of the Hang: How to Compose Your Wall
Hanging stuff on your walls feels like an art, but there’s a lot of science to it. Curators and designers use a few key principles to make things look balanced and intentional. And you don’t need a fancy degree to use them—just a tape measure and a bit of patience.
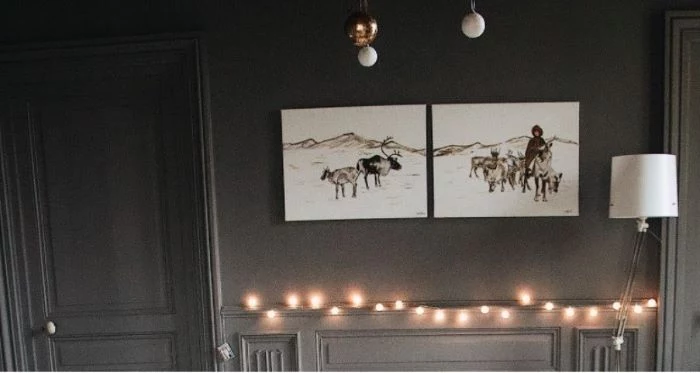
The 57-Inch Rule
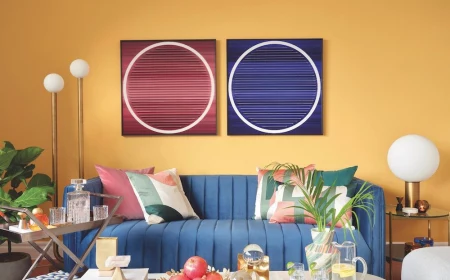
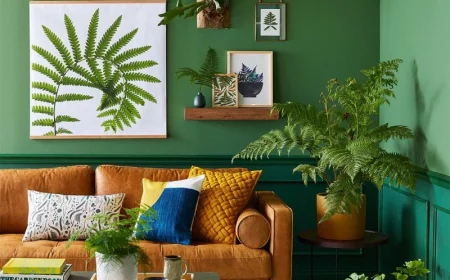
The single most common mistake is hanging art too high. Art should relate to people, not the ceiling. The gallery standard is to hang a single piece of art so its center is 57 to 60 inches from the floor. Why? Because that’s the average human eye level. It’s a design trick that ensures you’re looking directly at the art, connecting with it instead of craning your neck up at it. If you’re hanging something above a sofa, a good rule of thumb is to leave 6-8 inches of space between the top of the sofa and the bottom of the frame. This makes them feel connected, not like they’re floating away from each other.
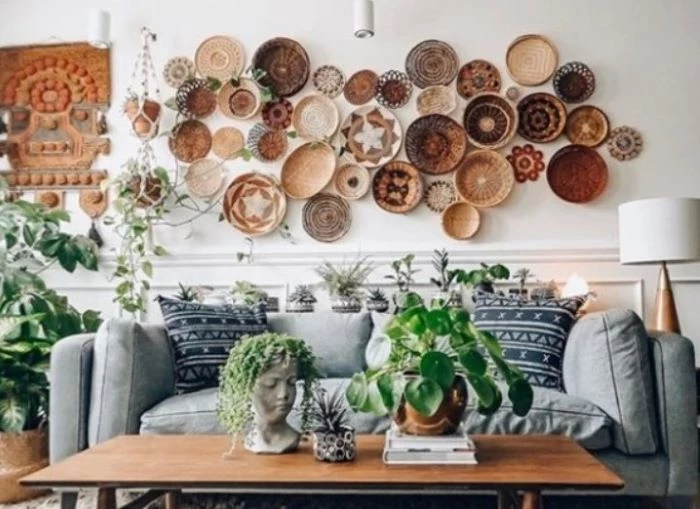
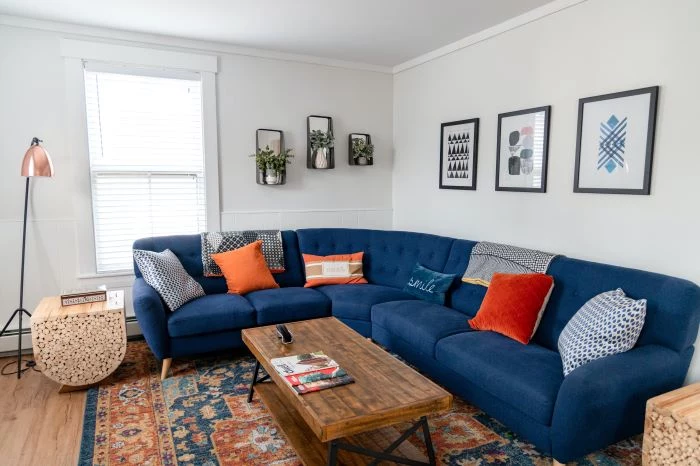
How to Create a Killer Gallery Wall
A gallery wall can seem daunting, but the paper template method is a total game-changer. It takes a little more time upfront, but it guarantees a perfect result without turning your wall into Swiss cheese.
- Gather your pieces. Mix it up! Don’t just use photos. Throw in small mirrors, textile art, or interesting objects.
- Lay it all out on the floor. Use your floor as a practice canvas. Arrange everything until you find a composition you love. Start with your biggest piece (your anchor) slightly off-center to create more dynamic energy.
- Keep spacing consistent. This is key. A tight, consistent gap of 2-3 inches between every frame looks clean and professional. Random spacing just looks messy.
- Trace and tape. Trace each frame onto kraft paper or newspaper and cut out the shapes. Tape these templates to the wall with painter’s tape. Now you can live with it for a bit and make adjustments without making a single hole.
- Mark and hang. Once you’re happy, mark the nail spot on each paper template. Drill or hammer right through the paper, then just tear it away and hang your piece.
Be real with yourself, though. This isn’t a 20-minute job. Block out a full afternoon, put on some music, and enjoy the process. It’s a project!
Don’t Forget the Frame
A good frame protects and enhances your art; it shouldn’t compete with it. A quality frame can make a simple $20 print look like a million bucks, while a cheap one can do the opposite. When you’re choosing a mat (the paper border), always make sure it’s acid-free. This prevents that yellowing you see on old pictures and keeps your art from touching the glass, which can trap moisture and cause damage.
What If I’m a Renter? (Or Just Don’t Want Holes)
I get it. Not everyone can or wants to drill into their walls. The good news is, you have options.
Adhesive strips (like the ones from Command) are fantastic, but you have to follow the rules. First, always clean the wall surface with a bit of rubbing alcohol to remove any oils or dust. Second, respect the weight limits RELIGIOUSLY. If the package says 16 pounds, it means 15.9 pounds, not 17. Pushing the limit is just asking for a crash in the middle of the night.
Another great, often overlooked option is a picture rail. Some older apartments still have them—it’s a thin strip of molding running along the top of the wall. You can hang art from it with special hooks and wire, allowing for infinite adjustment with zero wall damage.
What If I’m Broke? (Or Just Thrifty)
Great taste doesn’t have to cost a fortune. Seriously.
- Go big for cheap: Look into engineering prints from a place like Staples. You can get a huge 3×4 foot black-and-white print for just a few dollars.
- Frame the unexpected: A beautiful piece of fabric, a swatch of cool wallpaper, or even a collection of pretty tea towels can look amazing when framed.
- Thrift and spray: Hit up your local thrift store for a bunch of mismatched frames in different shapes and sizes. A couple of cans of spray paint in a single, unifying color (like black, white, or gold) will make them look like a cohesive, custom collection.
Oh, and one last thing. Know when to call for backup. Listen, if your piece is super heavy (I’m talking 75 pounds or more), incredibly valuable, or you’re trying to hang it in a tricky spot like over a staircase… just call a handyman. It’s worth the $100-$150 to have it done right and to sleep well at night. Your walls will thank you.