Picking a Living Room Paint Color? A Pro Painter Spills the Secrets
After more than two decades with a brush in my hand, I can tell you one thing for sure: every single paint job starts with the same question. A homeowner walks up, holding a tiny, one-inch paint chip, and asks, “What do you think of this color?”
In this article
- First Thing’s First: Let’s Talk About Light
- The Only Way to Test Paint Like a Pro
- Your Game Plan: Budget, Timeline, and Shopping List
- Choosing Your Vibe: From Safe Neutrals to Bold Statements
- Let’s Talk Finish: A Quick Guide to Paint Sheen
- The 80/20 Rule: Pro-Level Application
- When Should You Just Call a Professional?
- Inspiration Gallery
And I always tell them the truth. The color on that little square is only about 10% of the story. The real magic—or disaster—happens when that color meets the light and walls in your actual home. Choosing a living room color isn’t about what’s trendy; it’s about creating a specific feeling. It’s a technical craft that blends light, surface, and the paint finish itself.
I’ve seen gorgeous, expensive paints fall completely flat in the wrong room. And I’ve seen budget-friendly paint absolutely transform a space because it was chosen and applied with a little bit of insider knowledge. This is the stuff I’ve learned from thousands of hours on job sites, not from a design magazine. So let’s get into it.
First Thing’s First: Let’s Talk About Light
Before you even dream of colors, you have to become a student of the light in your living room. Honestly, this is the biggest mistake people make. They pick a color under the harsh fluorescent lights of a hardware store and are shocked when it looks totally different at home. It always does.
Light Reflectance Value (LRV): Your New Best Friend
Good to know: Every paint can has a Light Reflectance Value (LRV) on it, usually on the back or bottom. It’s a number from 0 (think pure black) to 100 (pure white). It simply tells you how much light the color will bounce back into the room. A high LRV makes a room feel brighter and bigger. A low LRV absorbs light, creating a cozier, more intimate vibe (or, if you’re not careful, a cave).
For a small living room with maybe one window, I’d almost never go with a color below an LRV of 40—it would just eat up all that precious light. On the other hand, in a huge room blasted with sun, a color with an LRV of 85 or more can create a painful glare. You’d feel like you need sunglasses inside! A safe starting point for most living rooms is a mid-range LRV, somewhere between 50 and 65.
Where Your Windows Face Matters. A Lot.
The type of light your room gets is just as crucial. The direction your windows face completely changes the color temperature of the sunlight. I learned this the hard way on an early job. The client wanted a sophisticated, cool gray. On the chip, it was perfect. But in their north-facing apartment, the cool natural light turned that gray into a depressing, icy blue. We had to repaint with a much warmer gray to counteract the light.
- North-Facing Rooms: The light here is indirect and consistently cool. It tends to pull out blue or green undertones in paint. To avoid a chilly feel, you can either lean into it with moody, deep colors like charcoal or navy, or you can fight it with colors that have warm undertones (think creamy whites or warm beiges, often called ‘greiges’).
- South-Facing Rooms: These are the easiest rooms to paint! They get bright, warm light all day, which makes most colors look fantastic. You can get away with cooler colors here without them feeling sterile.
- East-Facing Rooms: You get bright, warm light in the morning, which becomes cooler and shadowed in the afternoon. A color has to look good in both settings, so testing is key.
- West-Facing Rooms: The light is a bit dim in the morning but turns into a very warm, intense golden hour in the afternoon. That evening light can make beiges look screamingly yellow. A neutral with some cool undertones can help balance things out.
The Only Way to Test Paint Like a Pro
Please, I’m begging you, never test paint by painting a little patch directly on your existing wall. The old color will mess with your perception of the new one. Always do it this way instead:
Get a few sample pots of your top choices. Grab a couple of large white poster boards from any craft or dollar store. Paint two full coats of your sample color onto each board. Once they’re dry, you have pure, portable samples. Move them around the room throughout the day. Tape one near the window, put one in the darkest corner. Look at them in the morning, at noon, and at night with your lamps on. It’s the only way to know for sure, and this one step has saved my clients from so many expensive repainting jobs.
Your Game Plan: Budget, Timeline, and Shopping List
Okay, before we get into the fun part, let’s be realistic about what this project actually involves. People always underestimate the time and money required.
The Reality Check: Time & Money
- Time: Don’t try to cram this into one afternoon. For an average-sized living room, plan for a full weekend. Seriously. Day 1 is for prep—clearing the room, cleaning walls, patching holes, and taping. This will take a solid 4-6 hours if you do it right. Day 2 is for the actual painting, which includes waiting 2-4 hours for the first coat to dry before you apply the second.
- Cost: For a DIY job on a standard living room, you should budget between $150 and $250. This covers high-quality paint and all the necessary supplies. If you decide to hire a pro, you’re looking at anywhere from $500 to $2,000+, depending on the size of the room and how much wall repair is needed.
The Pro’s Shopping List (Don’t Skimp Here!)
Your tools make a huge difference. Here’s what you’ll actually need from a place like Home Depot or your local paint store:
- Quality Paint Brush: Get a good 2.5-inch angled brush for cutting in edges. It’s worth the $15-$25 investment.
- Roller & Covers: A 9-inch roller frame and a pack of 3/8-inch nap roller covers ($10-$15) are perfect for smooth walls.
- Canvas Drop Cloth: A 9×12 foot canvas drop cloth is about $25. DO NOT buy plastic. Paint spills on plastic stay wet, creating a slippery mess you will inevitably track through the house. Canvas absorbs spills.
- The Prep Kit: Spackle for filling holes, a putty knife, fine-grit sandpaper, and a roll of painter’s tape. You’ll also want a paintable acrylic caulk and a caulk gun to fill gaps around trim—this is a secret to a super clean finish.
How much paint do I need? A quick rule of thumb is to calculate the room’s perimeter in feet, multiply by the ceiling height, and then divide by 400. That’s a rough gallon estimate per coat. And always, always buy a little extra for future touch-ups.
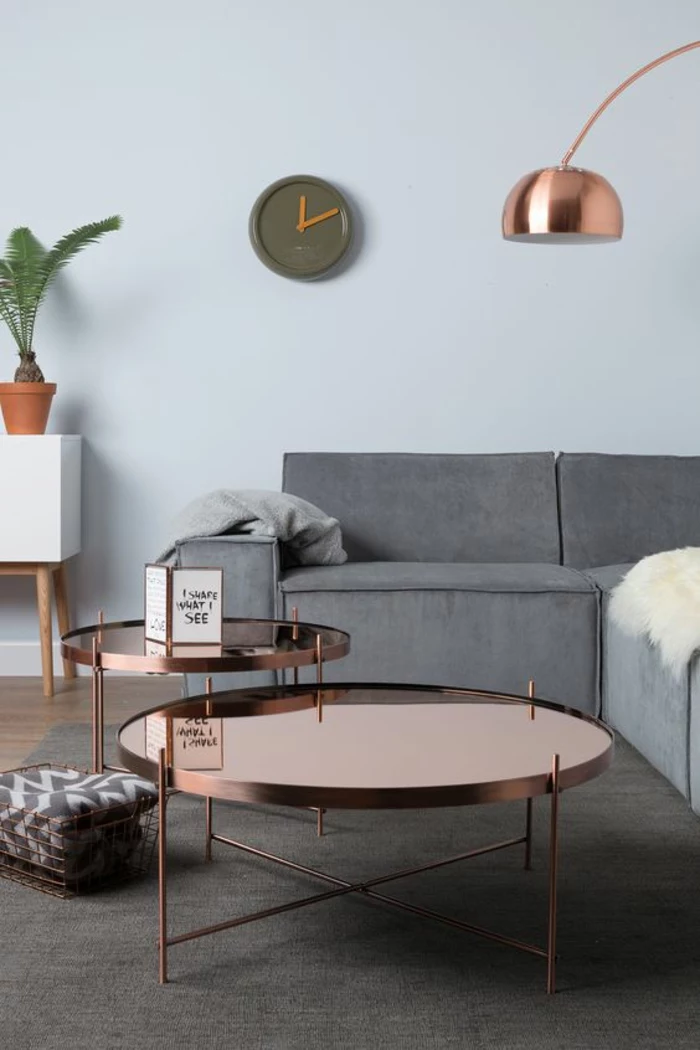
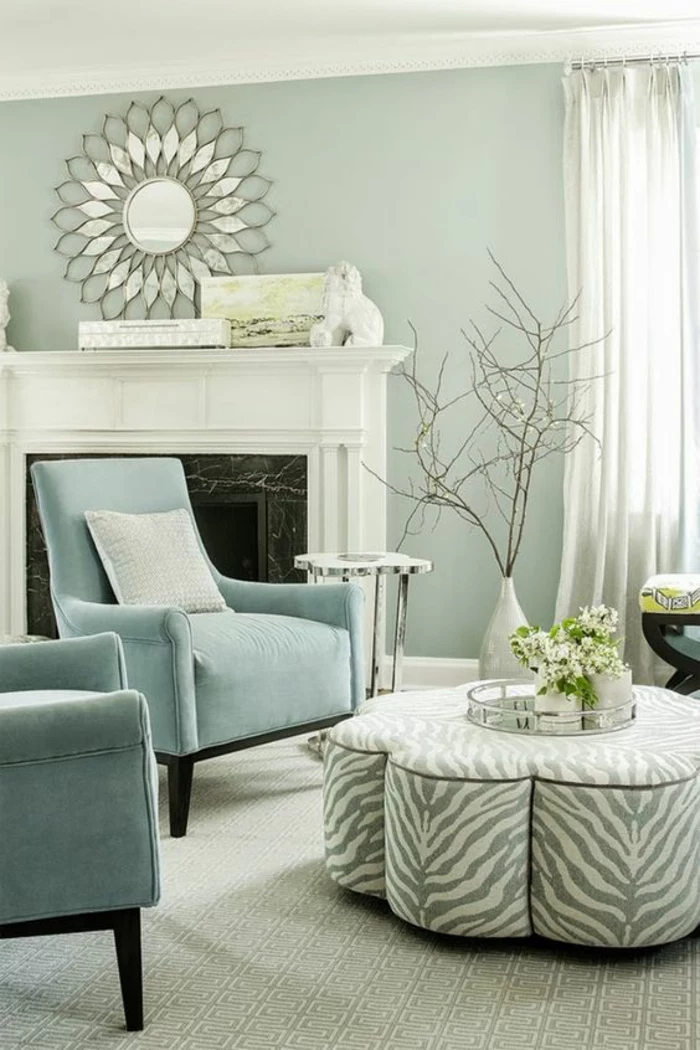
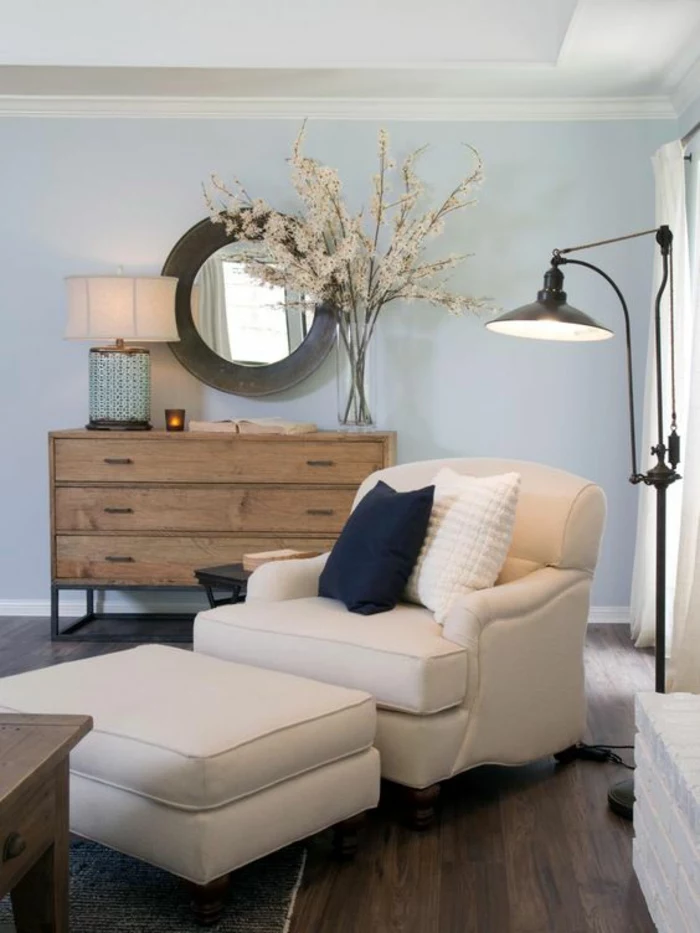
Choosing Your Vibe: From Safe Neutrals to Bold Statements
Once you understand your light and have a plan, you can finally explore color families. The key is to think about the mood you want to create.
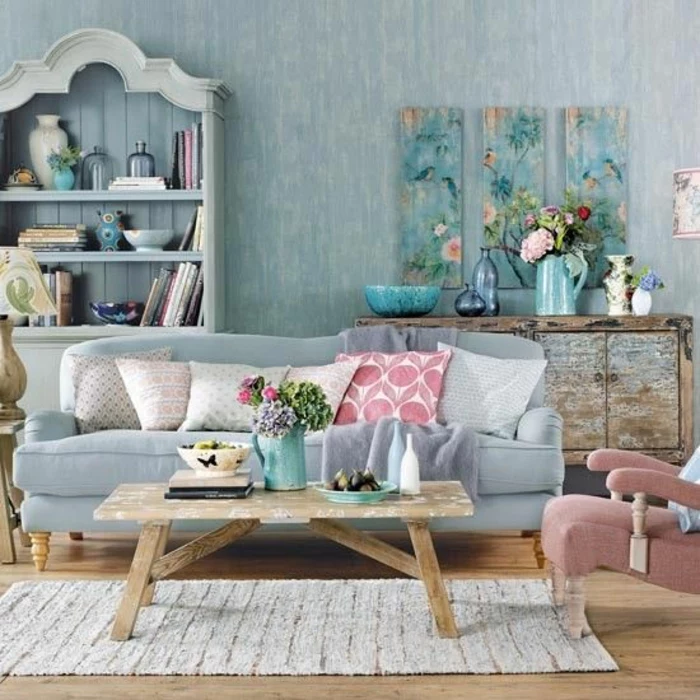
The Reliable Neutrals: Not as Boring as You Think
Neutrals are popular because they’re flexible and create a calm backdrop. But the secret is all in the undertones.
- Whites: A crisp, pure white feels modern and stark, like an art gallery. A white with a creamy, yellow undertone feels much warmer and more traditional. My favorite for a sophisticated look is a white with just a hint of a gray undertone.
- Grays: You have to respect a gray’s undertones. A cool gray has blue or purple hints, while a warm gray (the famous “greige”) has beige or brown undertones. To be frank, greiges are way more forgiving and work well in almost any light. A classic greige that perfectly balances warm and cool is one of the most requested colors for a reason.
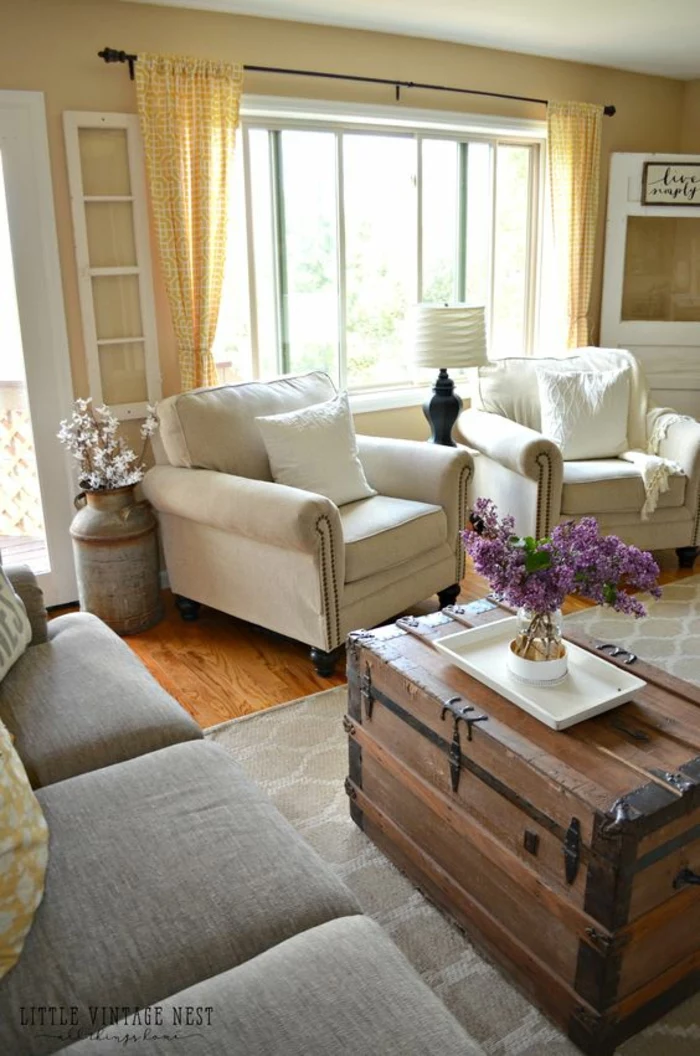
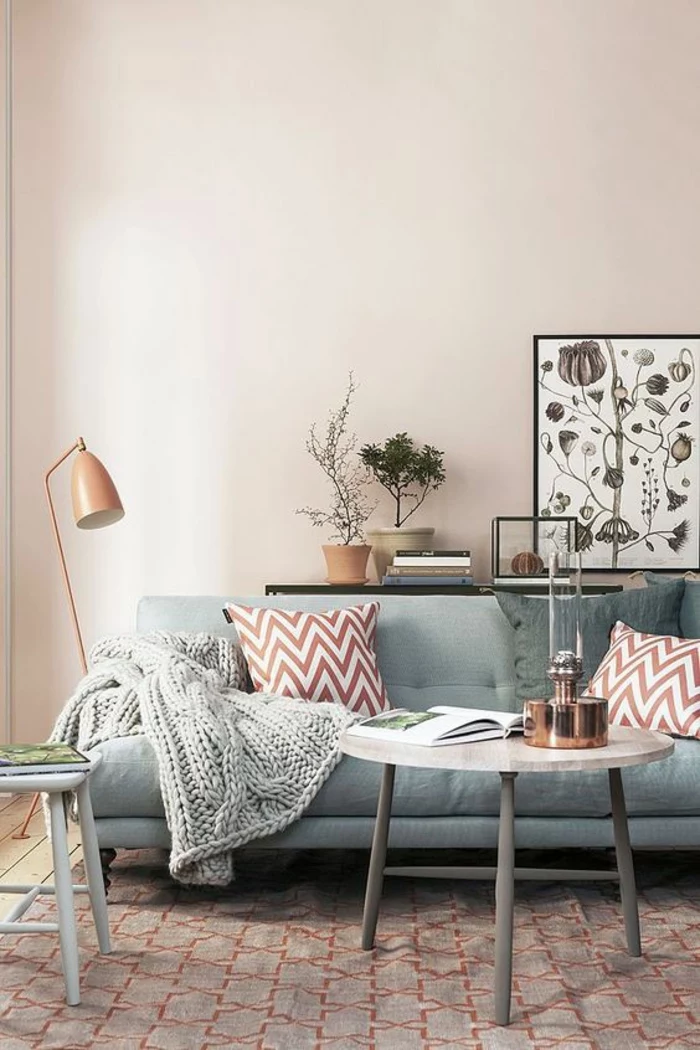
- Beiges: Beige is back! But today’s beiges are less yellow and more complex, with soft pinkish or grayish undertones that feel earthy and warm. They are fantastic for making a space feel inviting.
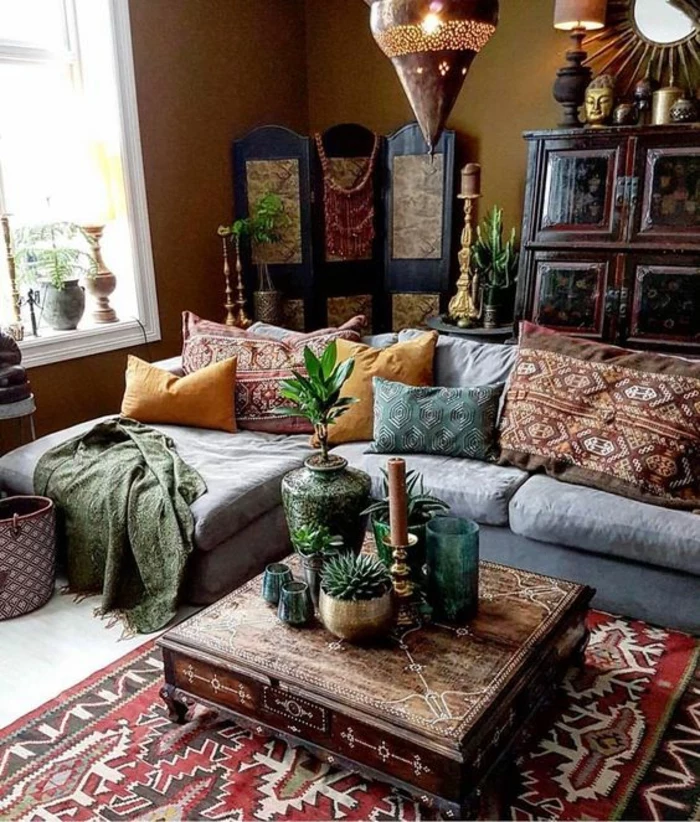
Working with Deep, Moody Colors
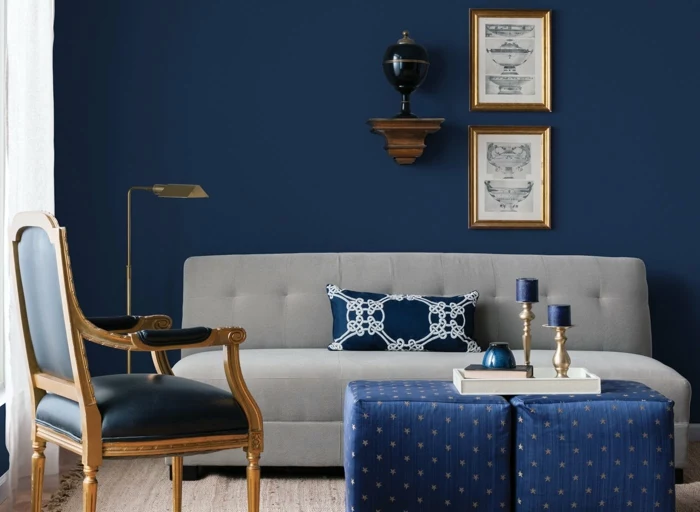
I love it when a client is brave enough for a deep navy, charcoal, or forest green. These colors feel incredibly sophisticated. But a heads-up: they are not forgiving.

Dark colors will magnify every single bump and flaw on your wall, so your prep work needs to be flawless. They also require more skill to apply. If you’re going dark, follow these rules:
- Always Use a Tinted Primer. Don’t even try to cover a white wall with a deep red or blue paint. You’ll be painting five coats. Go to the paint counter and say, “I need a gallon of primer tinted to go under this deep navy blue.” They’ll mix it to a medium gray, which will drastically cut down on the number of coats you need.
- Commit to an Extra Coat. Even with tinted primer, plan on at least three coats of your final color for that deep, luxurious finish.
- Choose Your Sheen Wisely. We’ll get more into this below, but a flat or matte finish looks amazing with dark colors… until you try to clean it. For a living room, I strongly recommend an eggshell or satin finish for much-needed durability.
Let’s Talk Finish: A Quick Guide to Paint Sheen
The sheen is the finish of your paint, and it’s a trade-off between looks and durability. There’s no table for this in the real world, just a conversation about how you live.
Matte (or Flat)
This finish has zero shine, which is fantastic for hiding wall imperfections. The downside? It’s the least durable and is basically impossible to clean without leaving a mark. I only use this for ceilings or super formal, low-traffic living rooms.
Eggshell
Just like its name, this has a very subtle, soft luster. It’s more washable than matte and is probably the most popular choice for living rooms. It offers a great balance between hiding flaws and being reasonably durable.
Satin
Satin has a smooth, velvety sheen that’s a step up from eggshell in terms of reflectiveness. It’s very durable and easy to clean, making it my go-to recommendation for most family living rooms. The slight shine also makes colors appear a bit richer.

Semi-Gloss
This one is noticeably shiny and tough as nails. Because it’s so reflective, it highlights every little imperfection on a wall. For that reason, I almost exclusively use it for trim, doors, and cabinets—never for the main walls.
The 80/20 Rule: Pro-Level Application
I tell every new painter on my crew that painting is 80% preparation and only 20% application. Do not skip the prep. After you’ve moved and covered everything, here’s what to do:
- Wash the Walls: Use a mild detergent or a TSP substitute to clean off all the dust and grime. Paint needs a clean surface to stick to.
- Spackle and Sand: Fill every nail hole and crack. Overfill it just a bit. When it’s dry, sand it perfectly smooth. Quick tip: Close your eyes and run your hand over the patch. If you can feel it, you’ll definitely see it once it’s painted.
- Caulk the Gaps: Use paintable caulk to fill the seams between your walls and trim. This little step is a hallmark of a professional job.
- Final Wipe-Down: After sanding, vacuum the walls with a brush attachment and wipe them down with a damp cloth to remove every last speck of dust.
A serious safety warning: If your home was built before the late 1970s, it might have lead-based paint. Do not sand or scrape anything without testing first. You can get a lead test kit at the hardware store. If it’s positive, I strongly advise hiring a certified firm. It’s not worth the health risk.

When you’re ready to paint, use your high-quality brush to “cut in” a 2-3 inch border along the ceiling, corners, and trim. Only cut in one wall at a time. You need to roll the main part of the wall while the cut-in paint is still wet to avoid ugly “lap marks.” Roll the paint in a large ‘W’ pattern to distribute it evenly, then fill it in with parallel strokes. Two coats is the professional standard for a beautiful, lasting finish.
When Should You Just Call a Professional?
Look, I’m all for an ambitious DIYer. But sometimes, calling in a pro is the smarter move.
You should strongly consider it if you have super high ceilings that require scaffolding, if your walls need a ton of repair work, or if you have a confirmed lead paint issue. And honestly? If you just don’t have the time to do it right. A pro crew can get a job done in a fraction of the time it would take most homeowners.
Choosing a living room color is a huge part of making a house feel like your home. By understanding the dance between light, color, and finish, you’re not just painting a room—you’re designing it. Take your time, do the prep, and trust the process. You’ve got this.
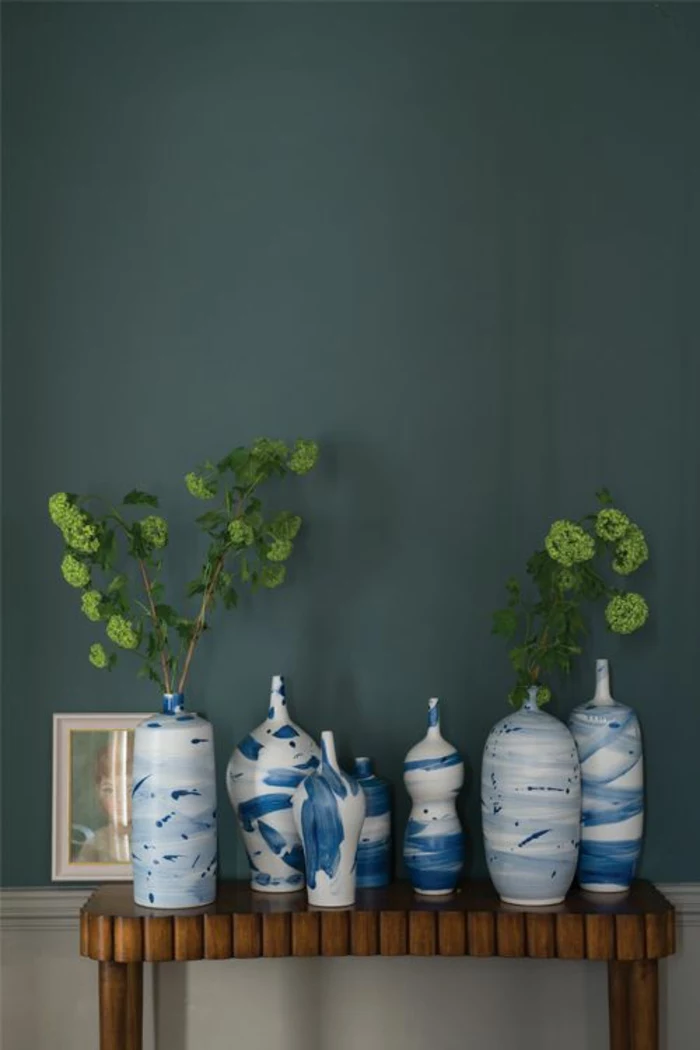
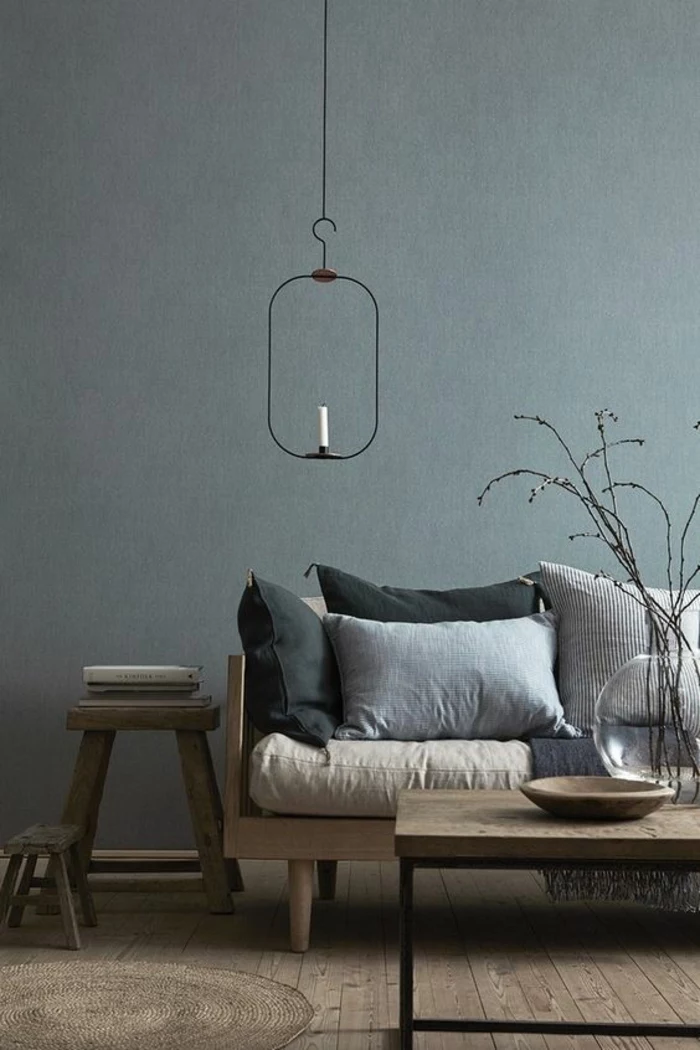
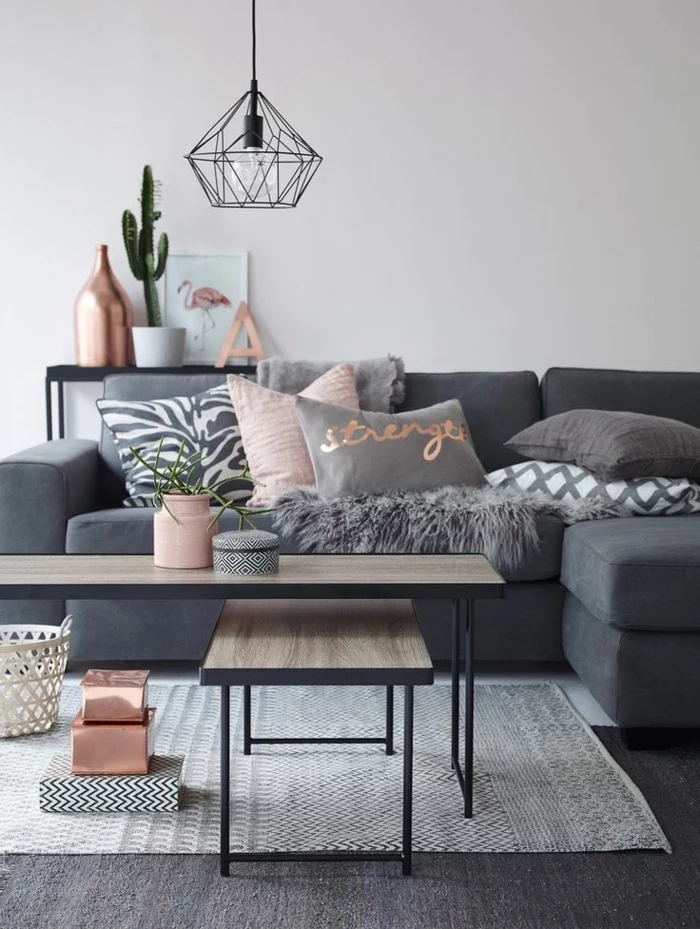
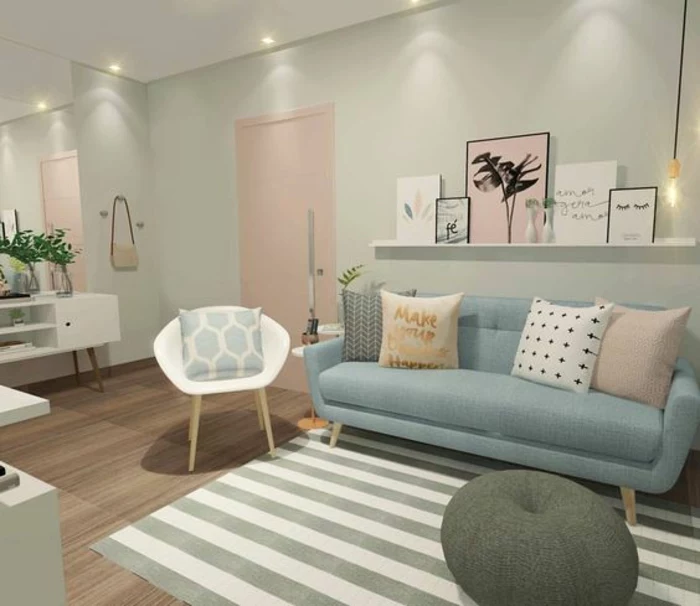
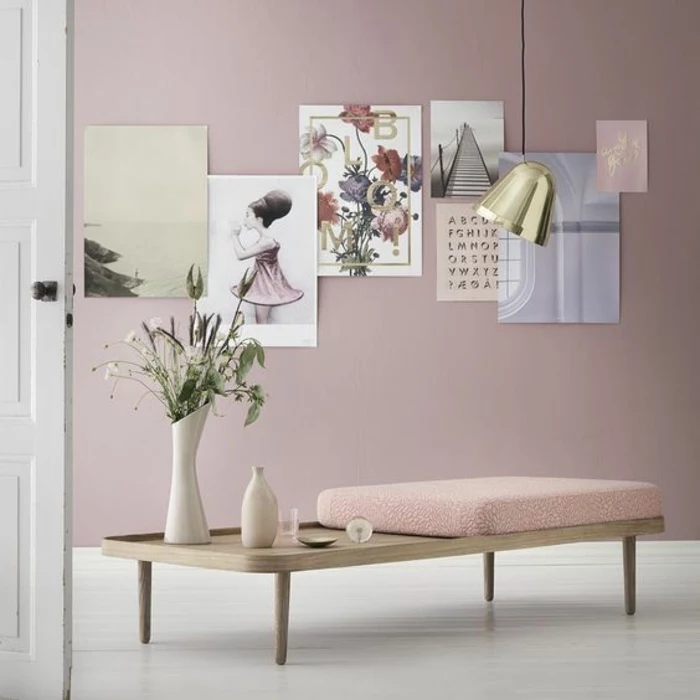
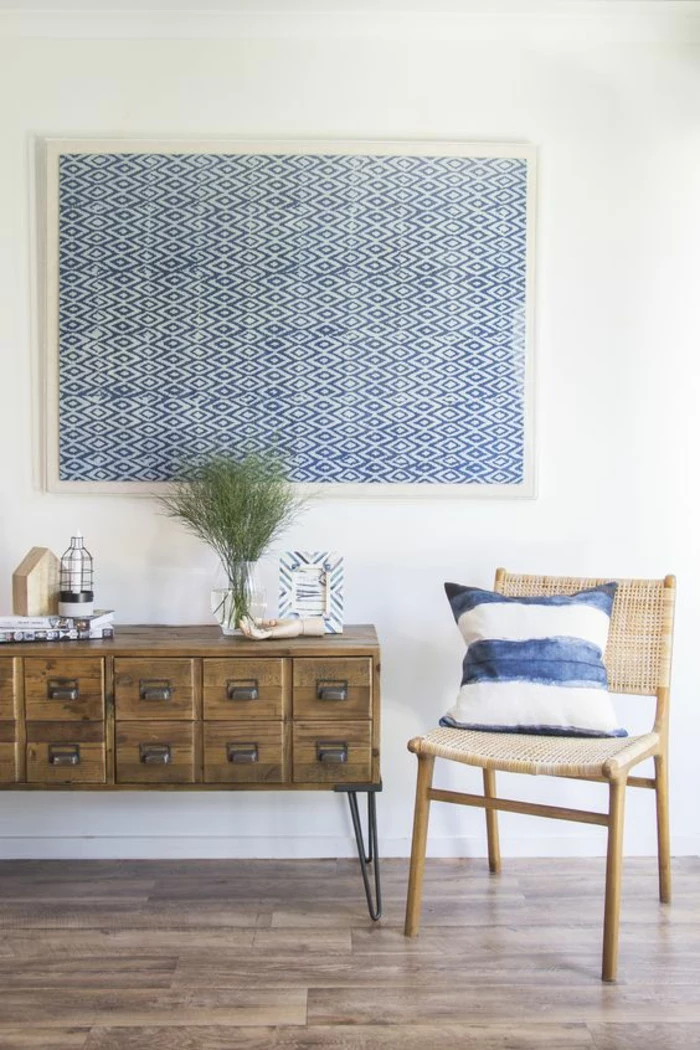
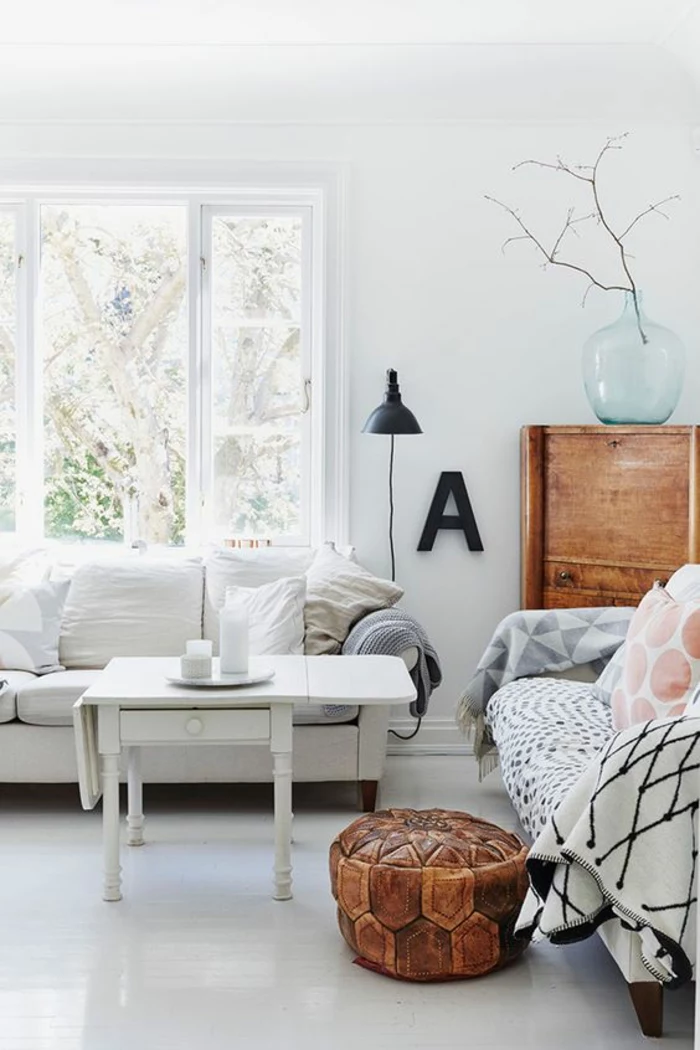
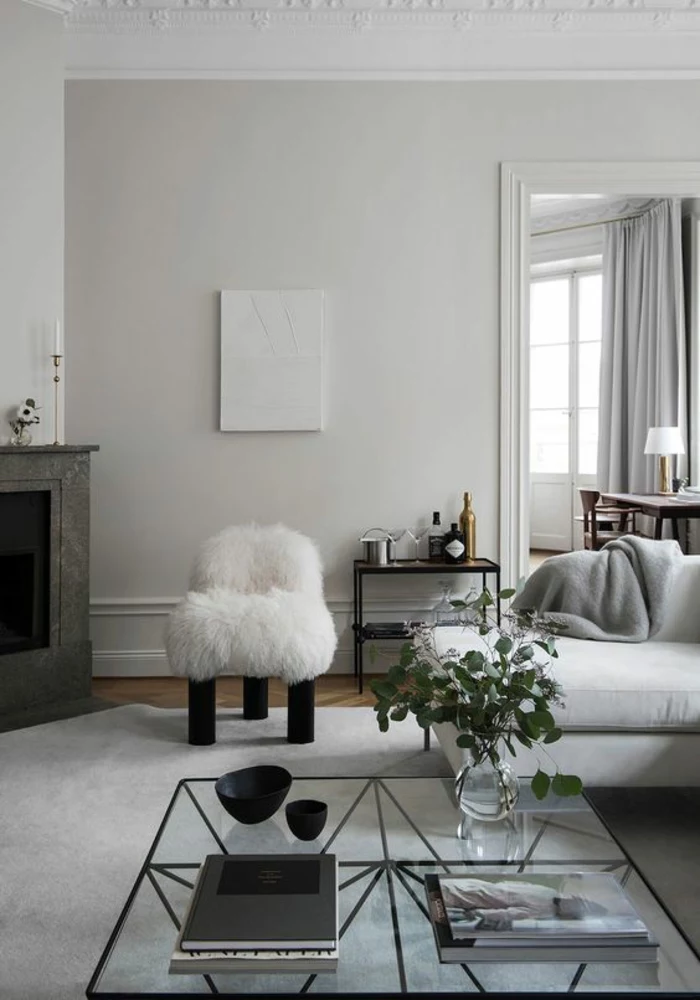
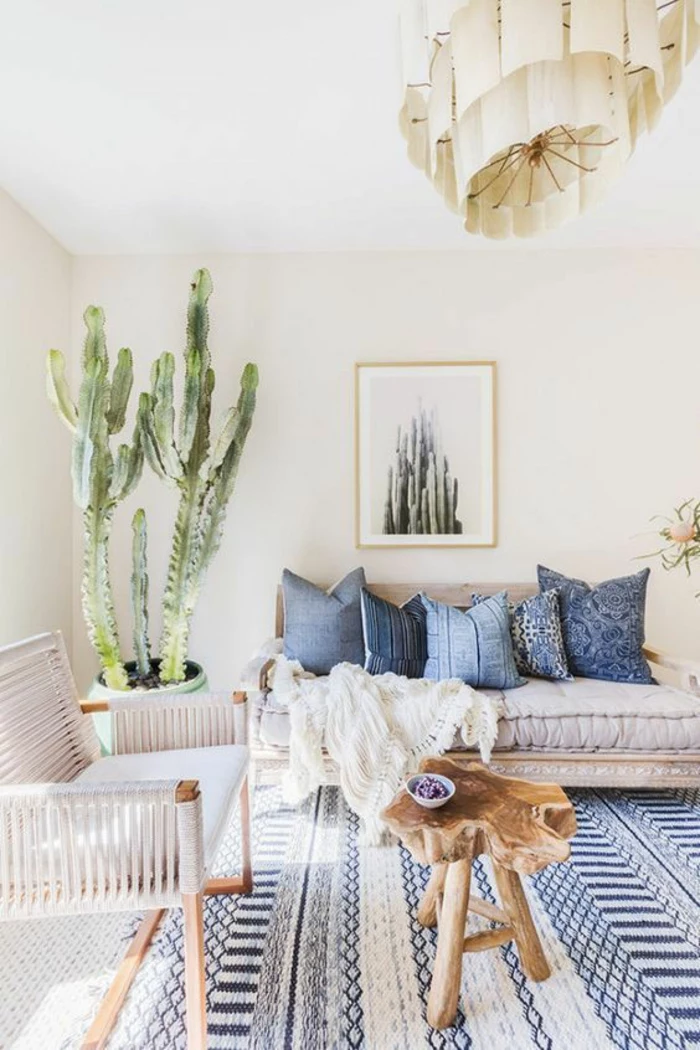
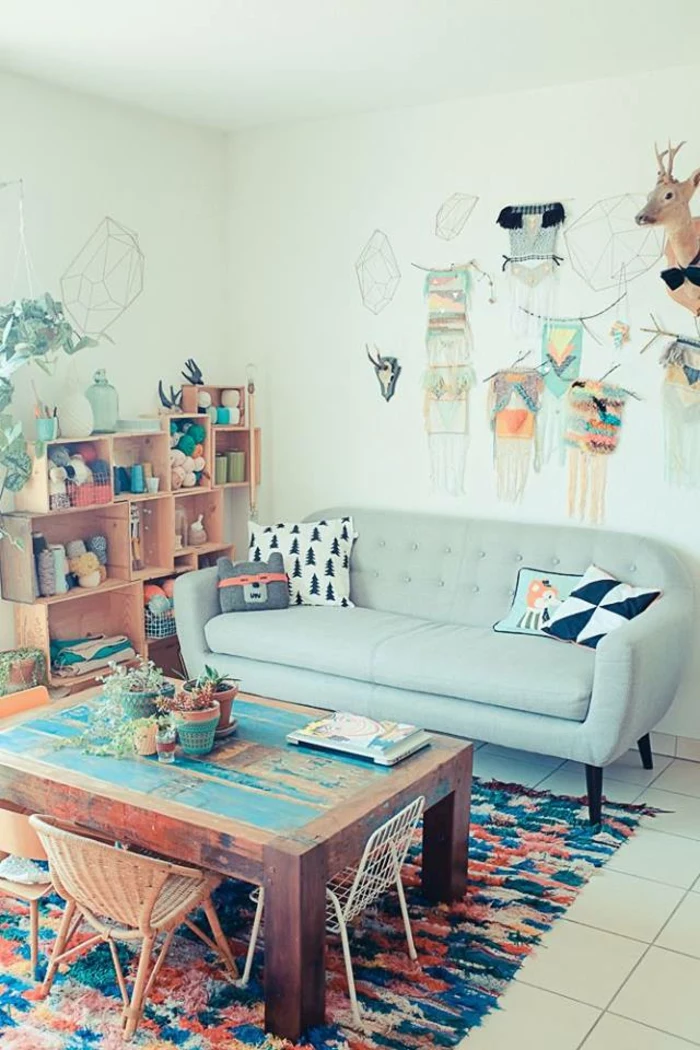
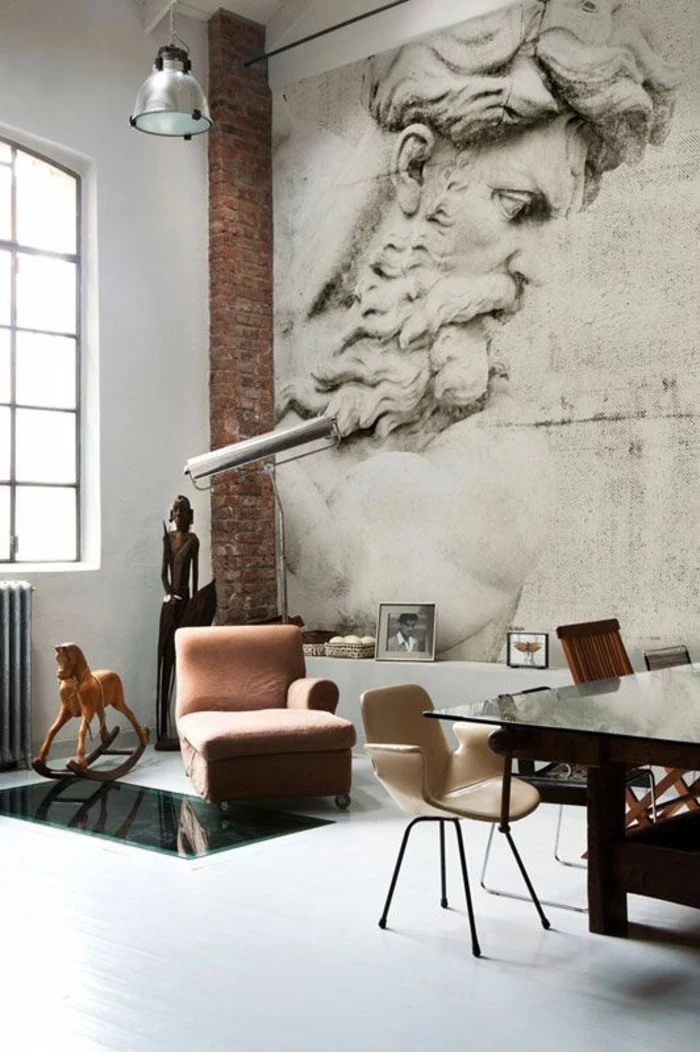
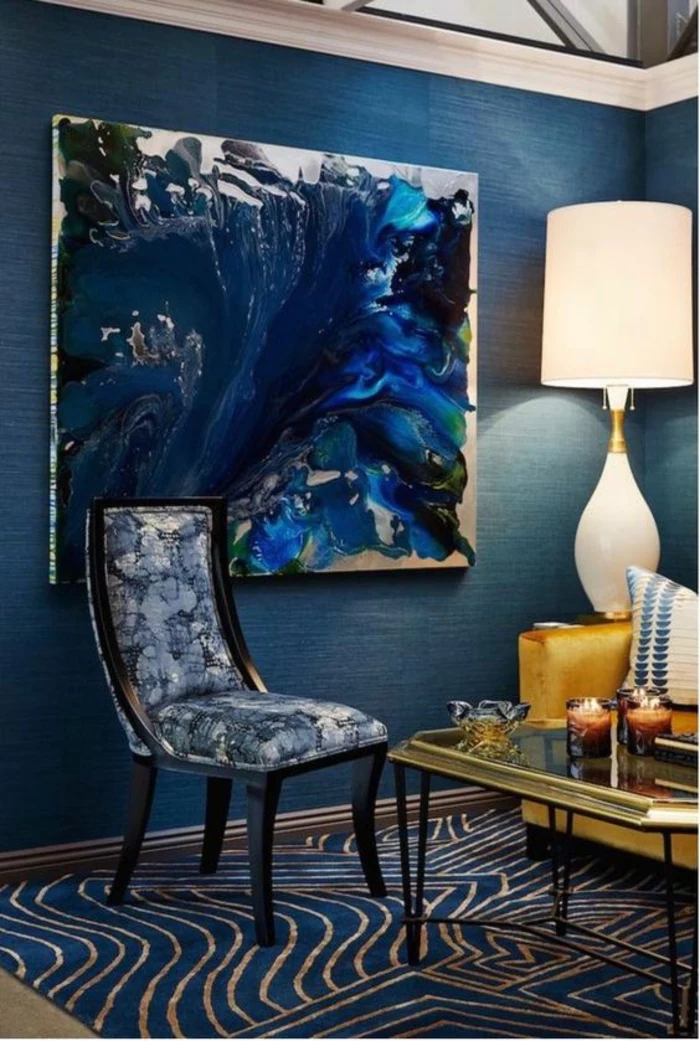
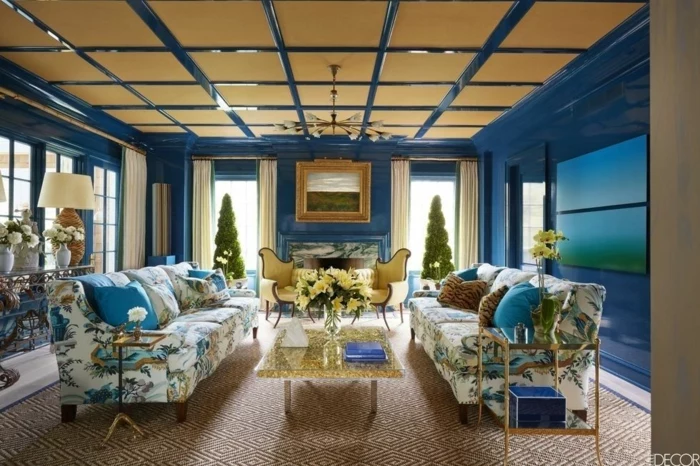
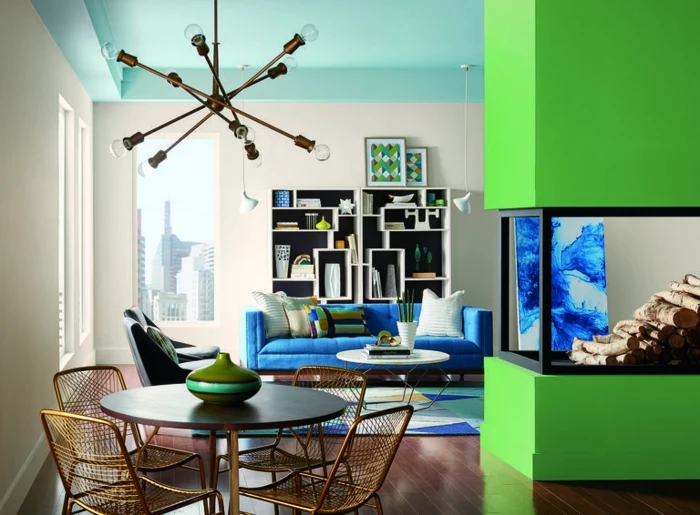
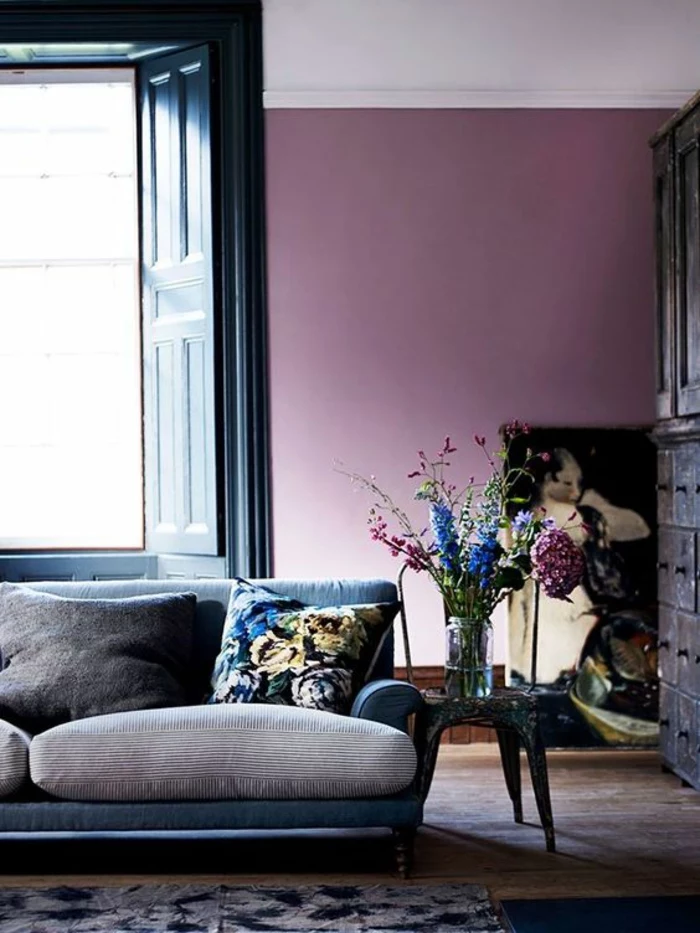
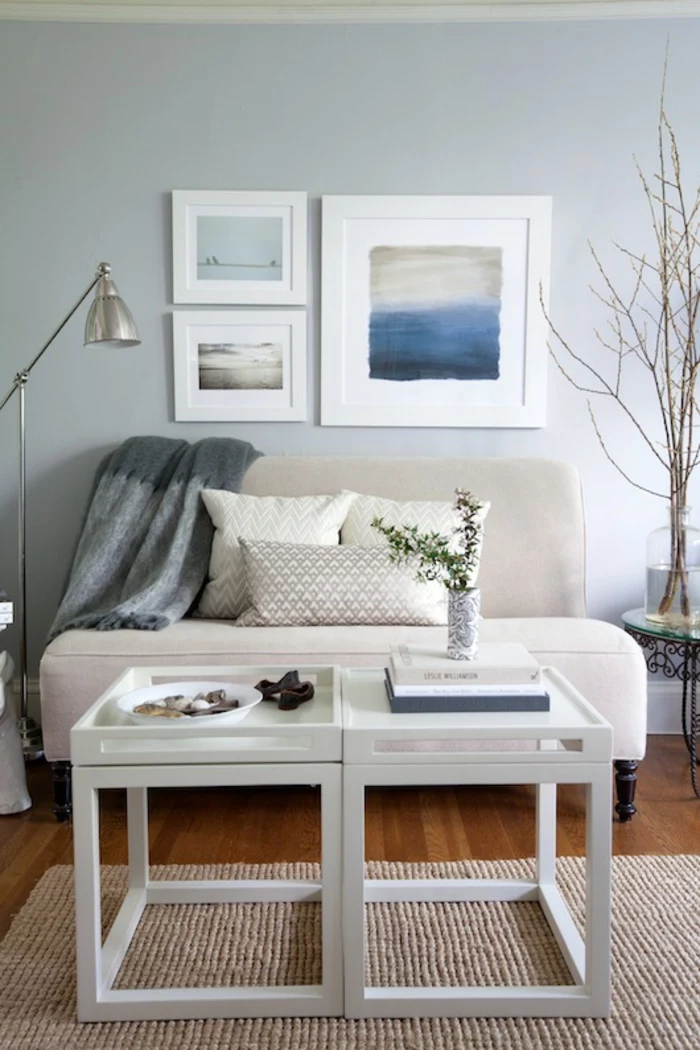
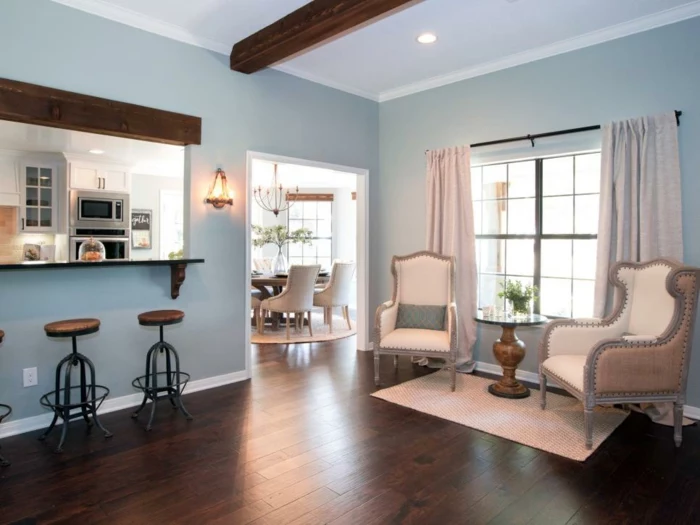
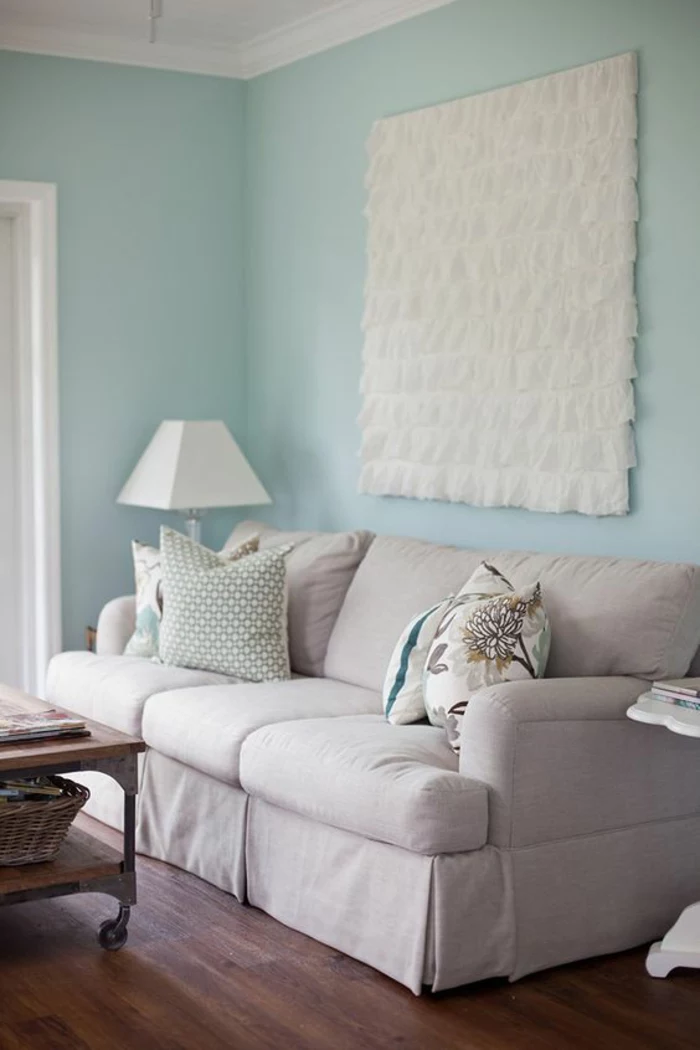
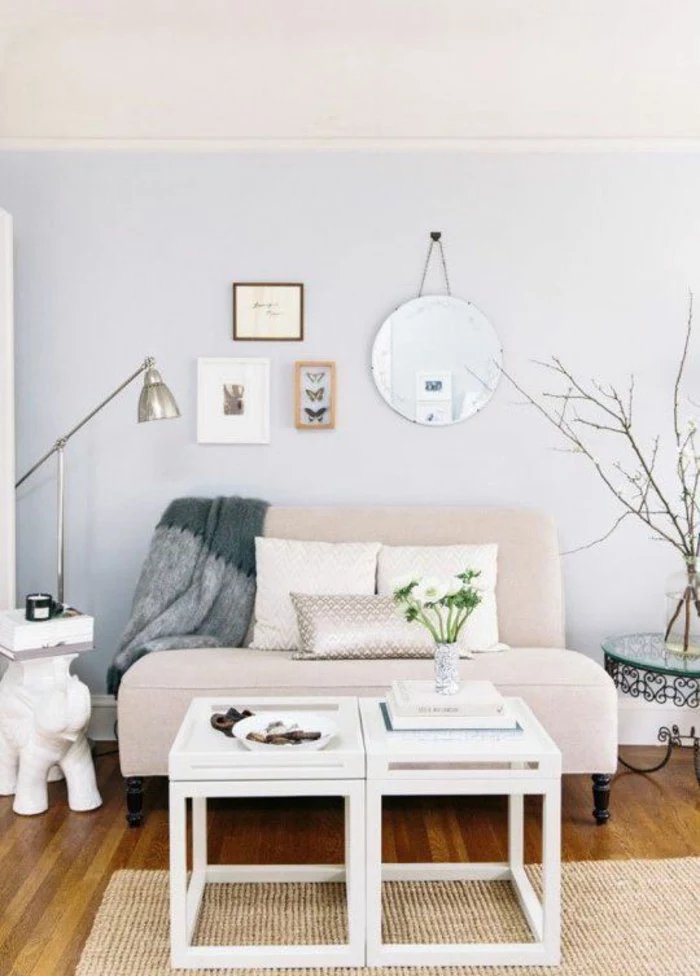
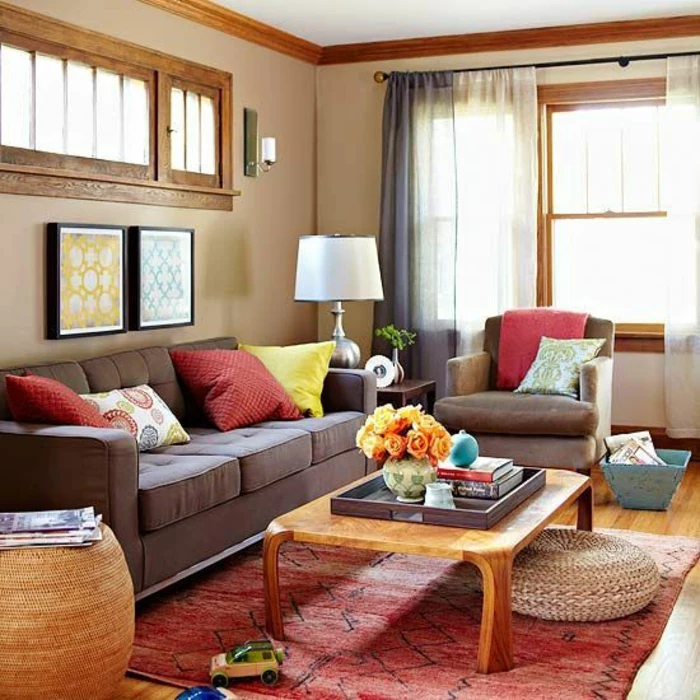
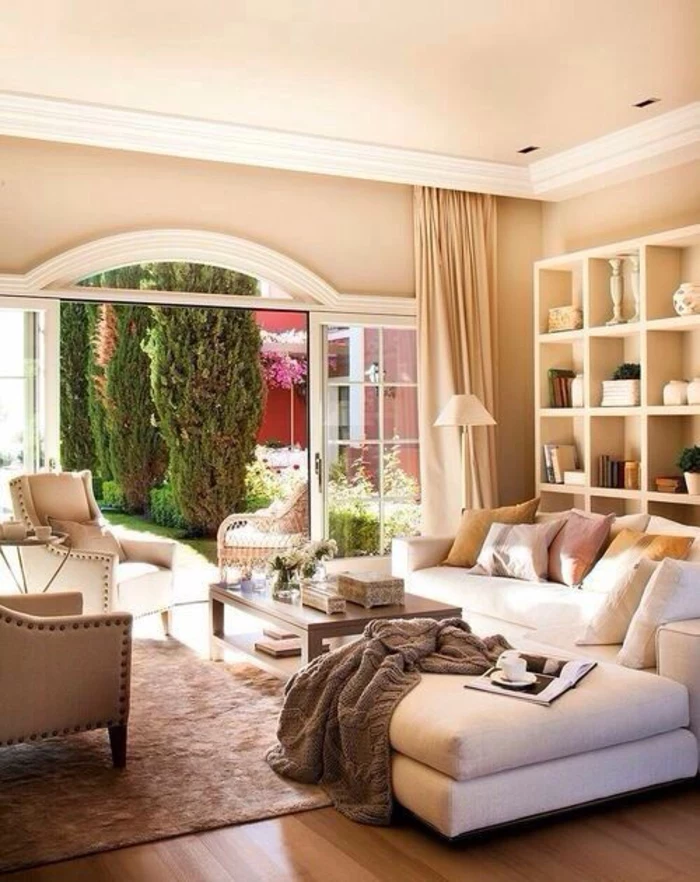
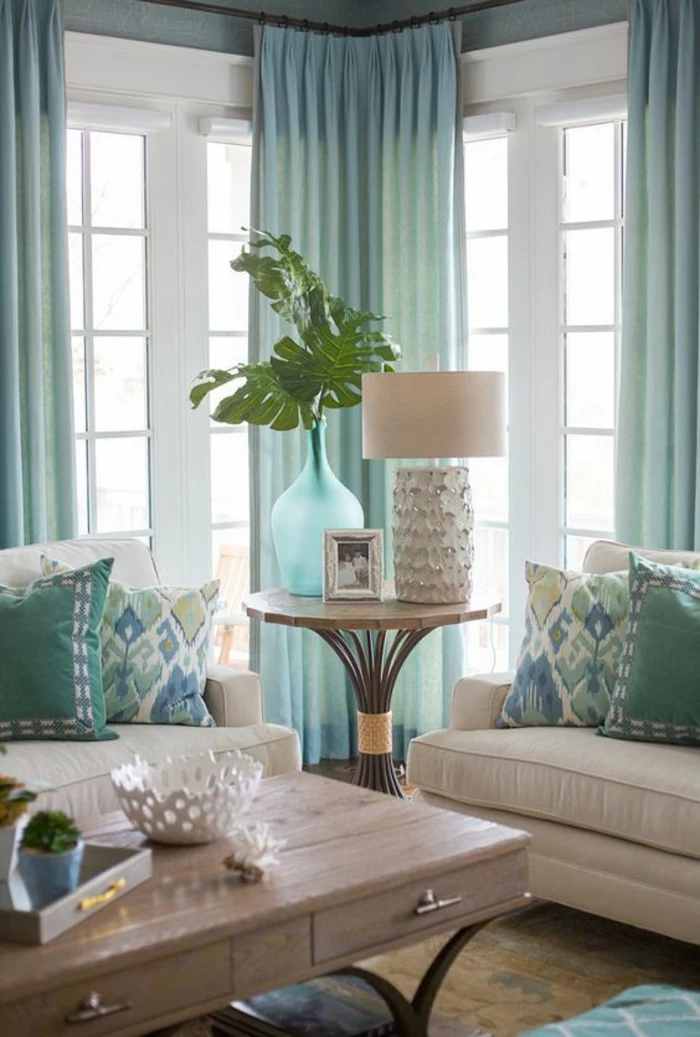
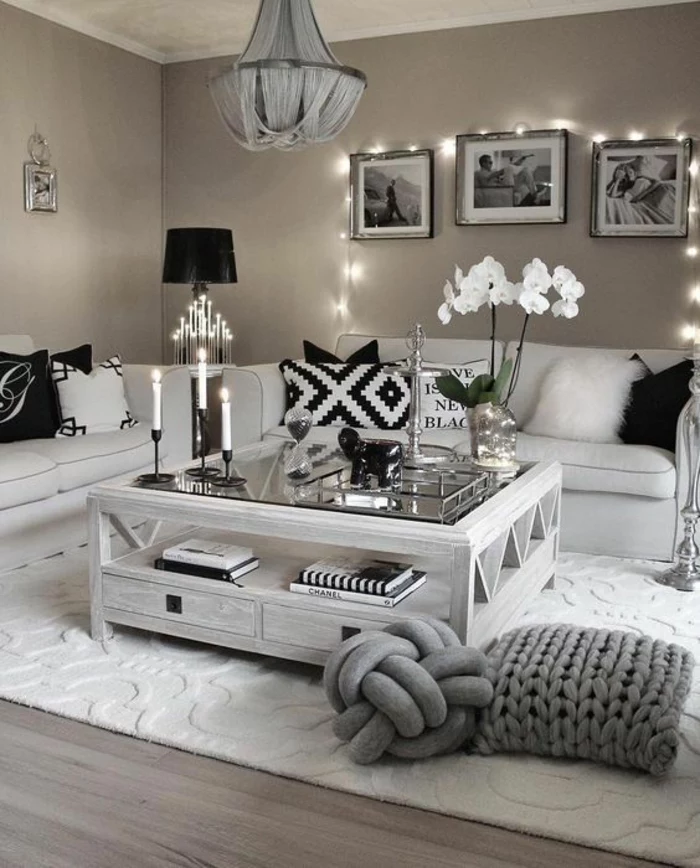
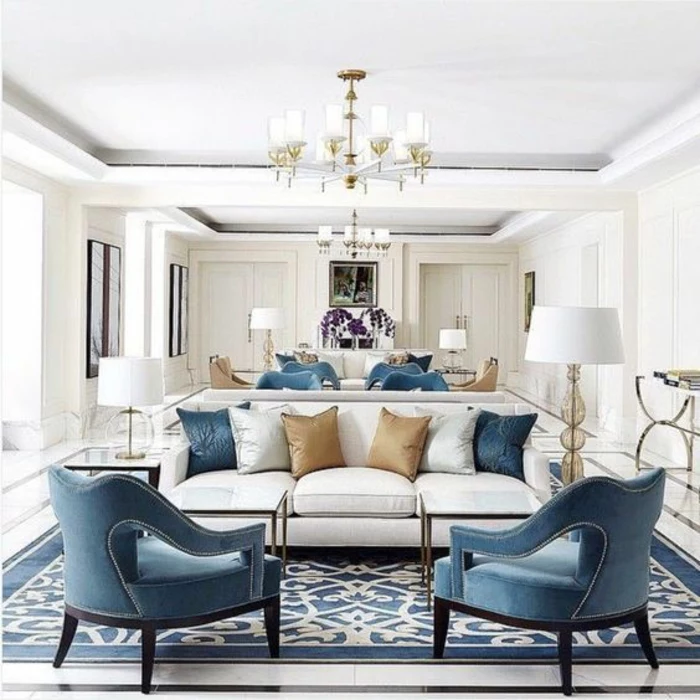
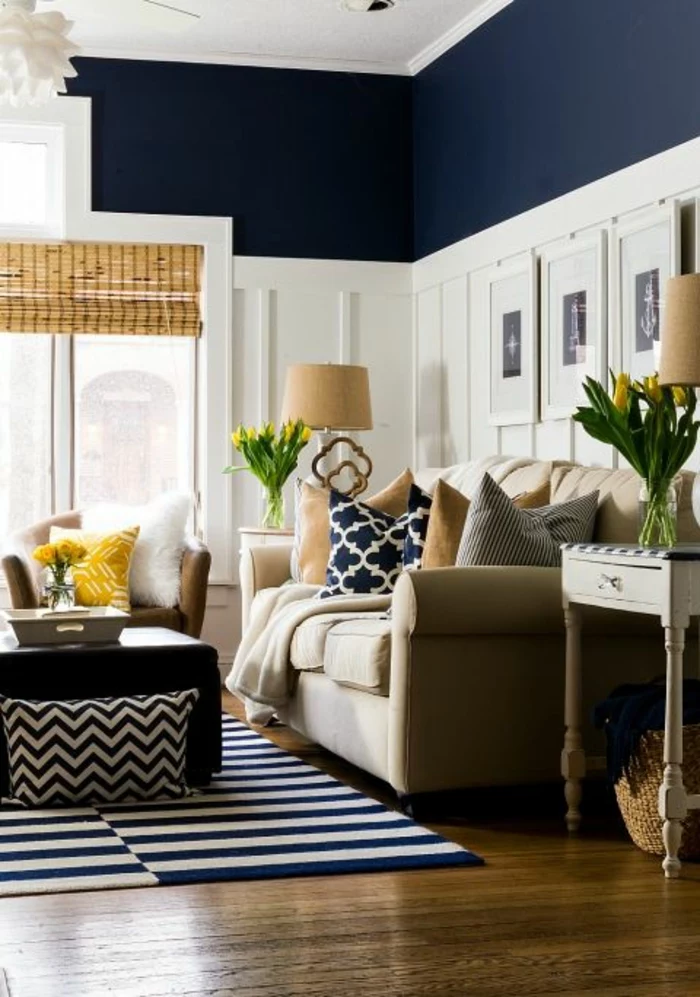
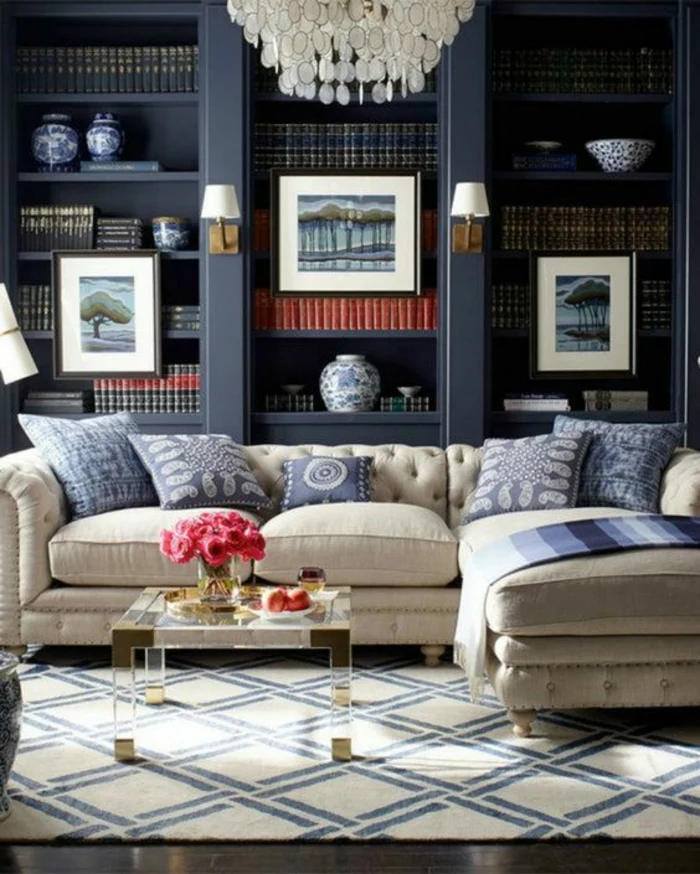
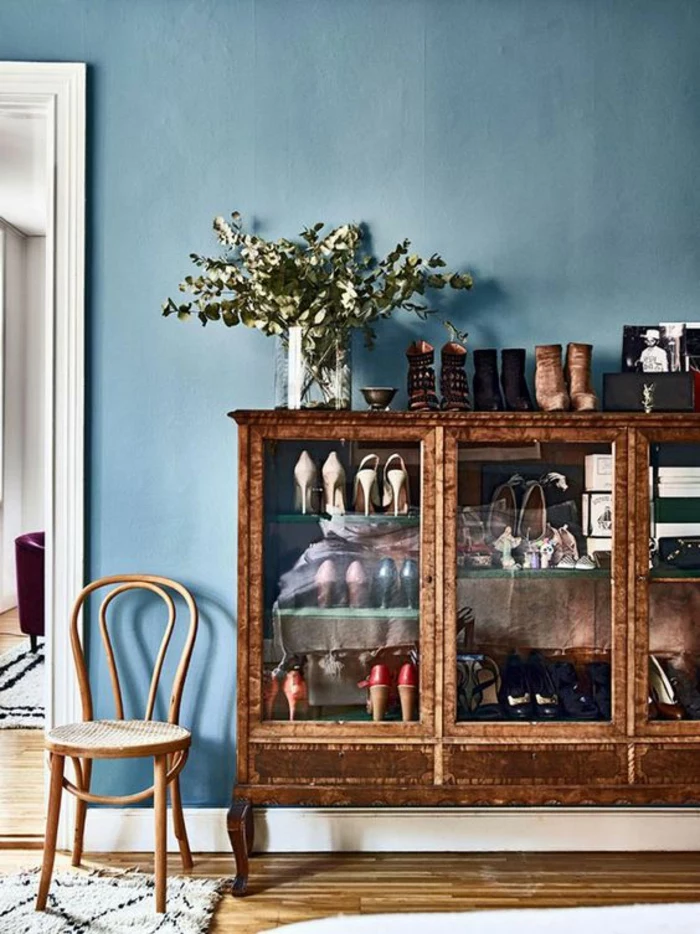
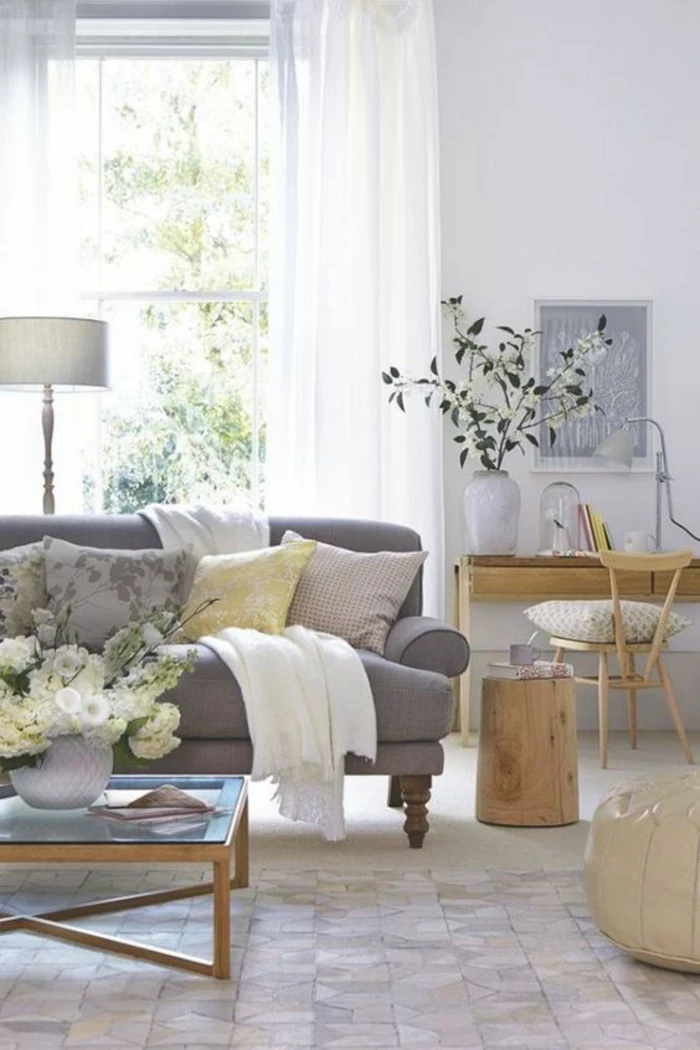
Inspiration Gallery
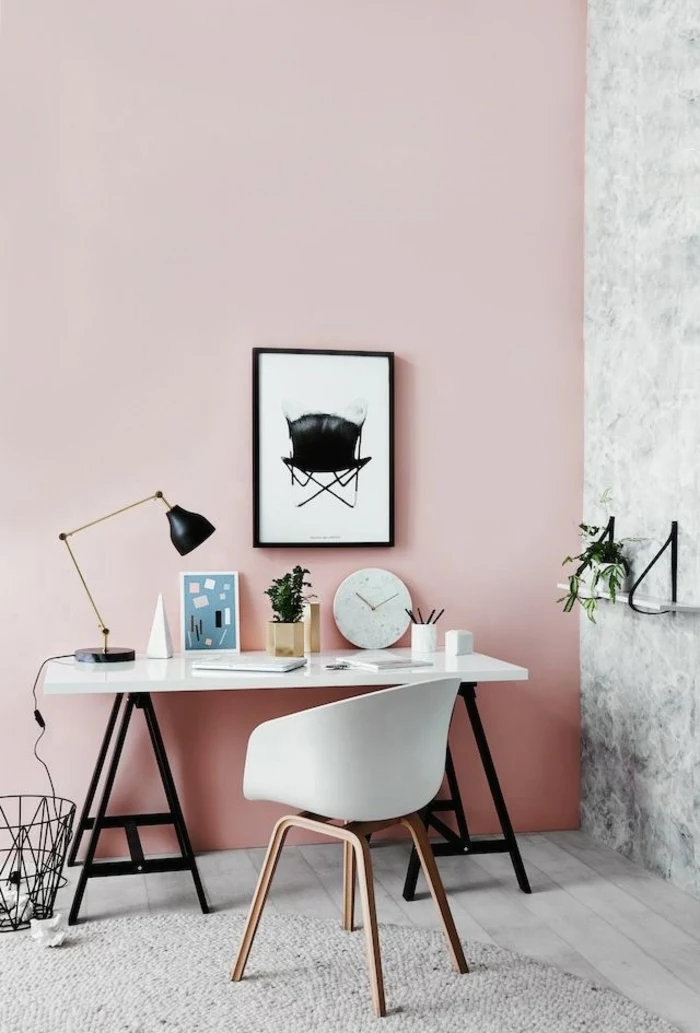
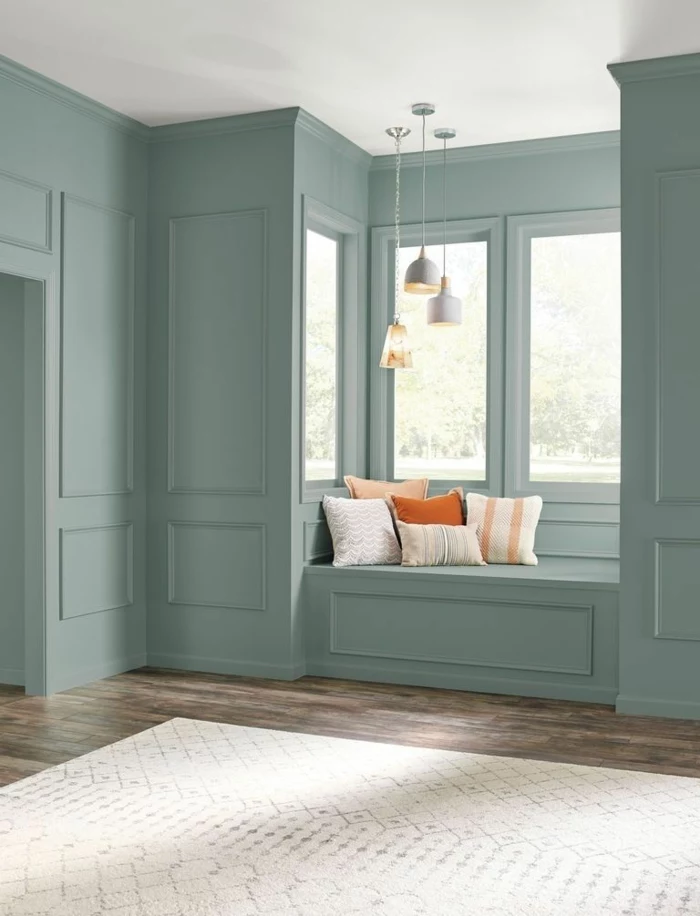
Don’t underestimate the power of undertones, especially in neutral paints. That perfect “greige” in the store can look strangely purple on your wall because of a violet undertone clashing with your warm-toned floors. Always check the color strip: the darkest shade at the bottom will reveal the true color family—be it blue, green, yellow, or pink—that secretly defines your chosen light neutral.
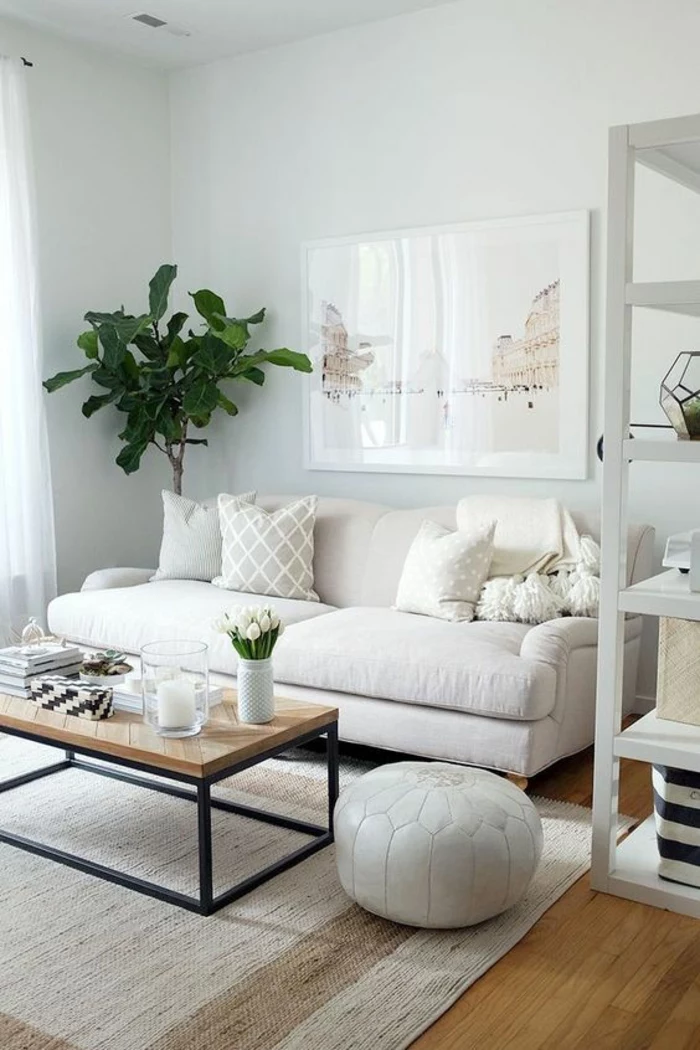
- Buy sample pots, not just chips. Paint at least a 2×2 foot square on your wall.
- Paint two coats to see the true color depth.
- Place your test squares on different walls—one that gets direct light and one that’s often in shadow.
- Observe them in the morning, afternoon, and at night with your lamps on.
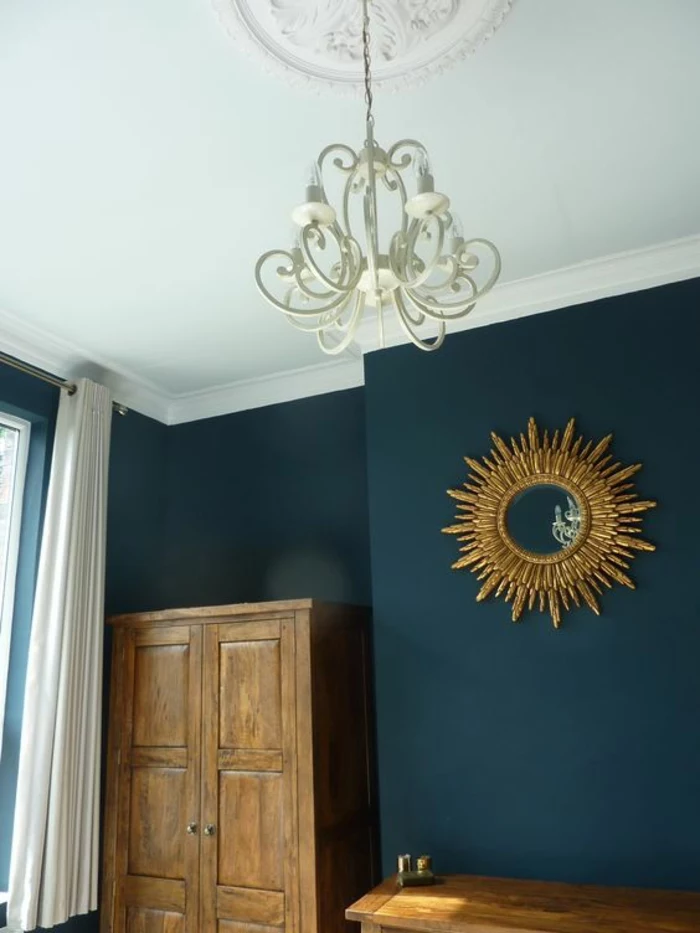
Consider the fifth wall: your ceiling. Painting it brilliant white is standard, but not always best. A ceiling painted a few shades lighter than the walls can make the room feel taller. For a bold, cozy statement, painting the ceiling the same color as the walls—especially with deep jewel tones like Farrow & Ball’s ‘Hague Blue’—creates an incredibly chic, immersive experience.

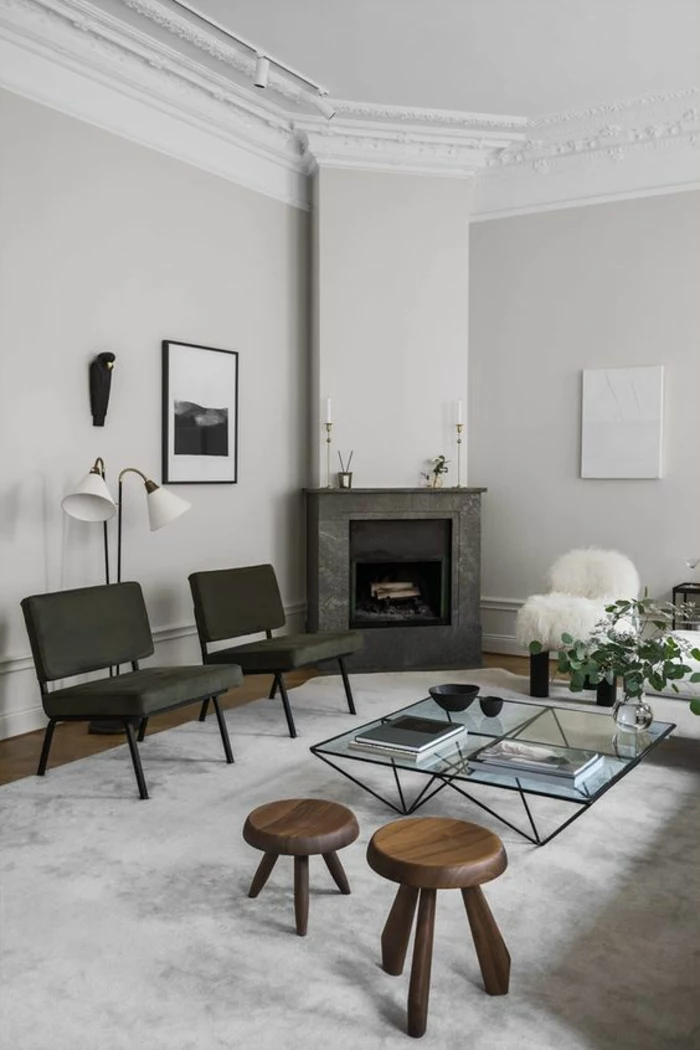
Color is a power which directly influences the soul.
This quote from artist Wassily Kandinsky is the core of paint selection. You’re not just covering a wall; you’re crafting an emotional atmosphere. Greens can be calming, yellows energizing, and deep blues introspective. Think about the feeling you want your living room to evoke before you even consider a specific shade.
The finish of your paint is just as important as the color. It affects durability, light reflection, and the ability to hide imperfections.
- Matte/Flat: Offers a modern, velvety look that hides flaws well. Best for low-traffic areas as it’s harder to clean.
- Eggshell/Satin: The most popular choices for living rooms. They provide a soft glow, are much more durable, and are easier to wipe down than matte finishes.
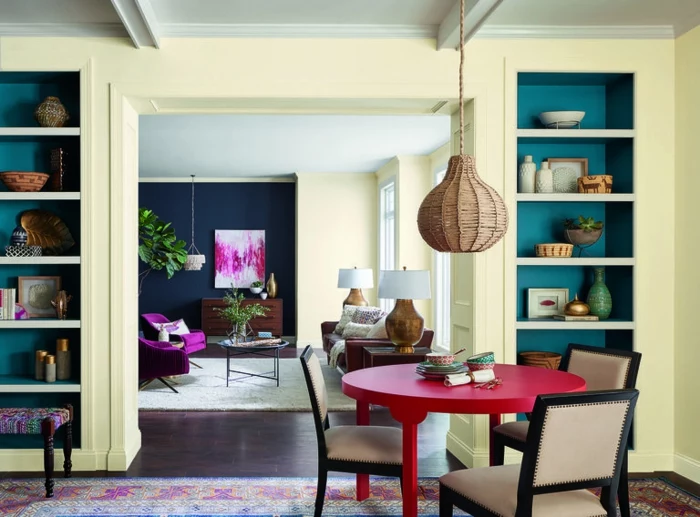
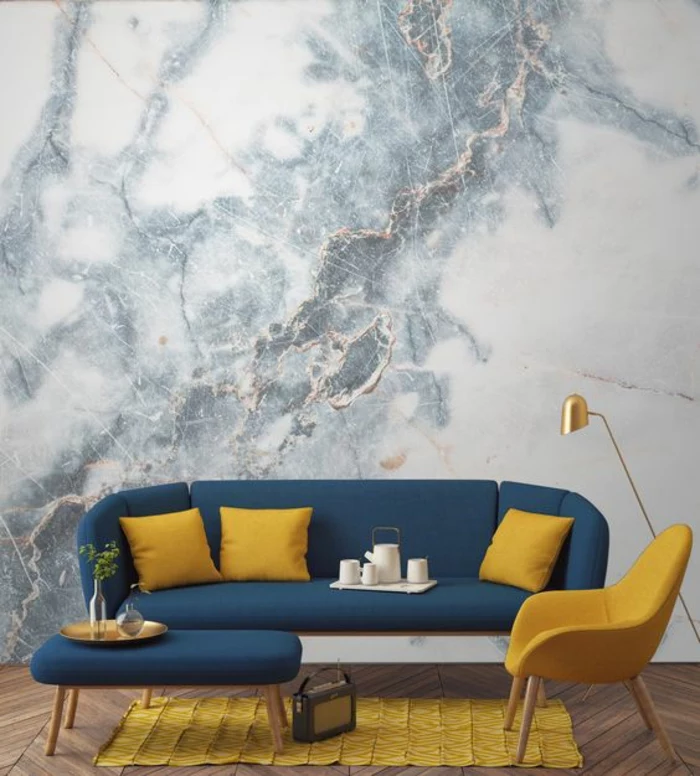
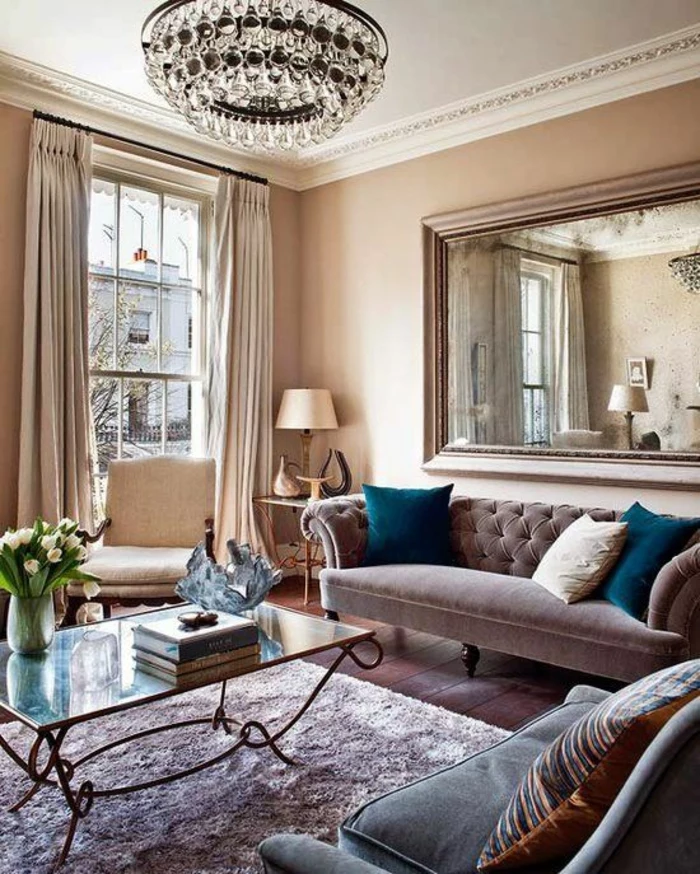
What is the 60-30-10 rule and how does it apply to paint?
It’s a classic design principle for creating a balanced color scheme. 60% of the room should be your dominant color—this is typically your wall paint. 30% is a secondary color, found in furniture, curtains, or an accent wall. 10% is your accent color, used for small decorative items like throw pillows, art, or lamps. It’s a foolproof way to ensure your chosen wall color feels integrated, not overwhelming.
High-End Paint: A brand like Farrow & Ball is known for its incredible depth of color, achieved with rich, complex pigments. The finish is uniquely chalky and sophisticated.
Quality Store Paint: A premium line like Benjamin Moore’s ‘Aura’ or Sherwin-Williams’ ‘Emerald’ offers excellent coverage, durability, and a huge range of precisely mixed colors.
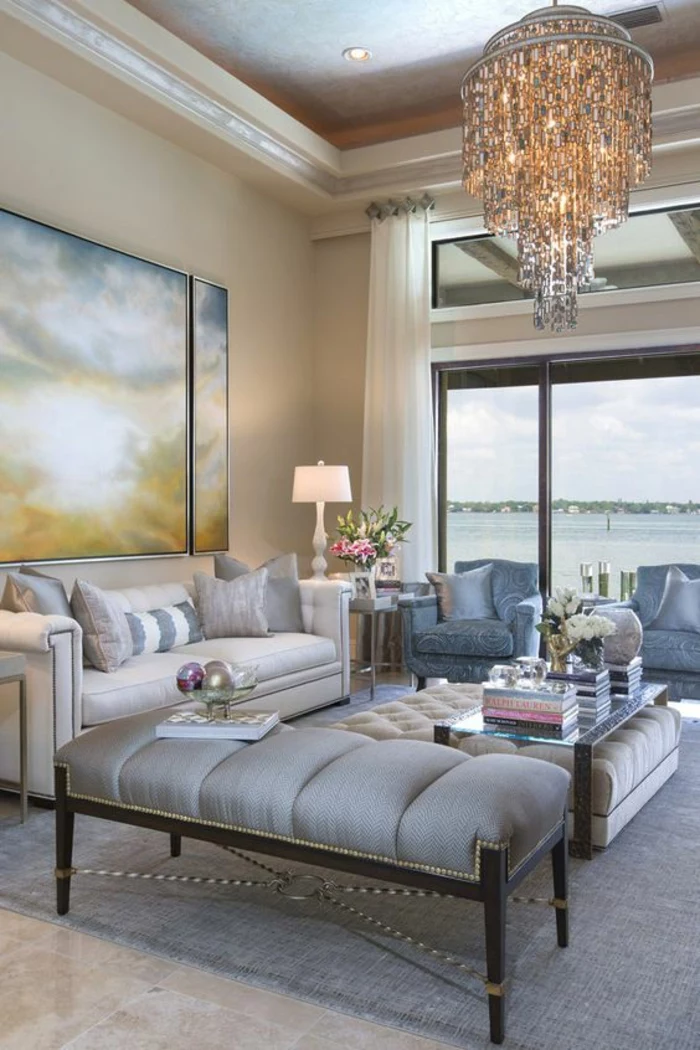
For a room with dramatic light, the nuanced pigments of a high-end brand can be worth it. For most situations, a top-tier paint from a major brand delivers a fantastic, lasting result.


The average 12×12 foot room with an 8-foot ceiling requires just under one gallon of paint for two coats on the walls.
This is a baseline. Always buy a little extra, especially if you’re using a dark or vibrant color which may require a third coat for even coverage. Having leftover paint from the same batch is also essential for future touch-ups, as colors can vary slightly between cans.
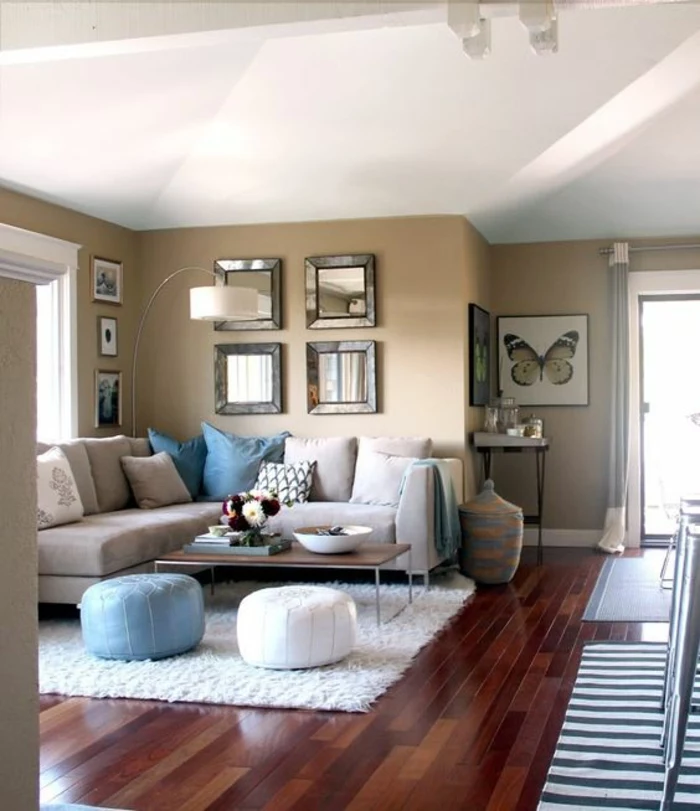
- It can make a large room feel more intimate.
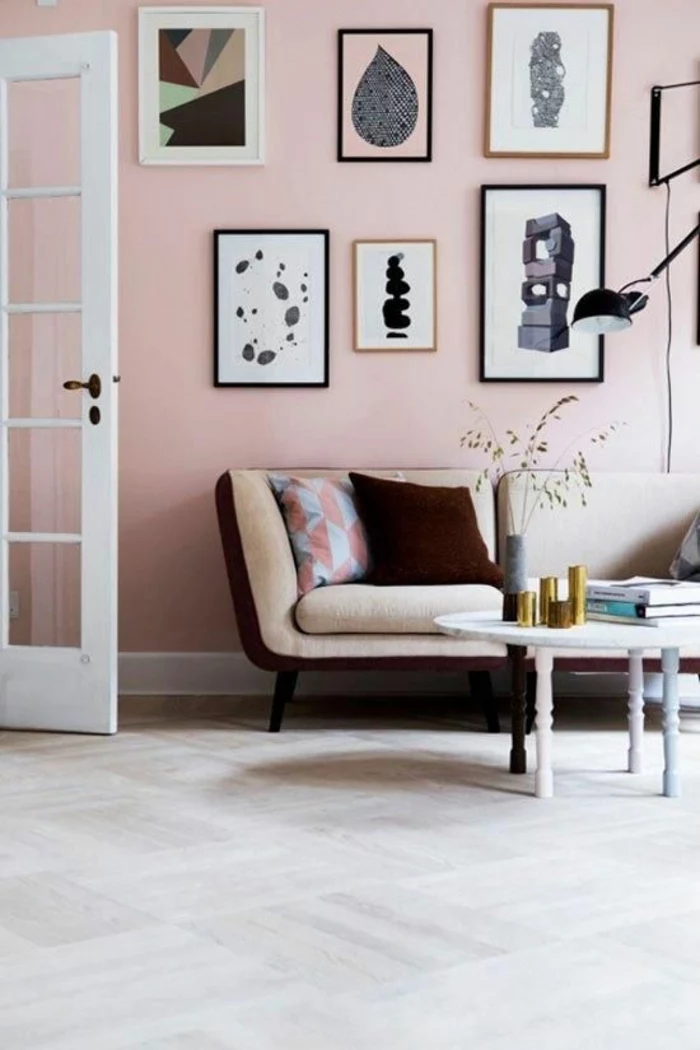
- It provides a perfect backdrop for a gallery wall or a statement piece of furniture.
- It adds architectural interest to a room without any standout features.
The secret? A well-chosen accent wall. Don’t just pick a random wall; choose the one your eye is naturally drawn to when you enter the room, often the one behind the sofa or fireplace.

Choosing a white paint is surprisingly complex. A pure, gallery-style white like Benjamin Moore’s ‘Chantilly Lace’ has almost no undertones and feels crisp and modern. A slightly warmer white, like their famous ‘Simply White,’ has a touch of yellow, making it feel more inviting and less stark, especially in rooms with less natural light. Always compare your white swatches against your trim and furniture.
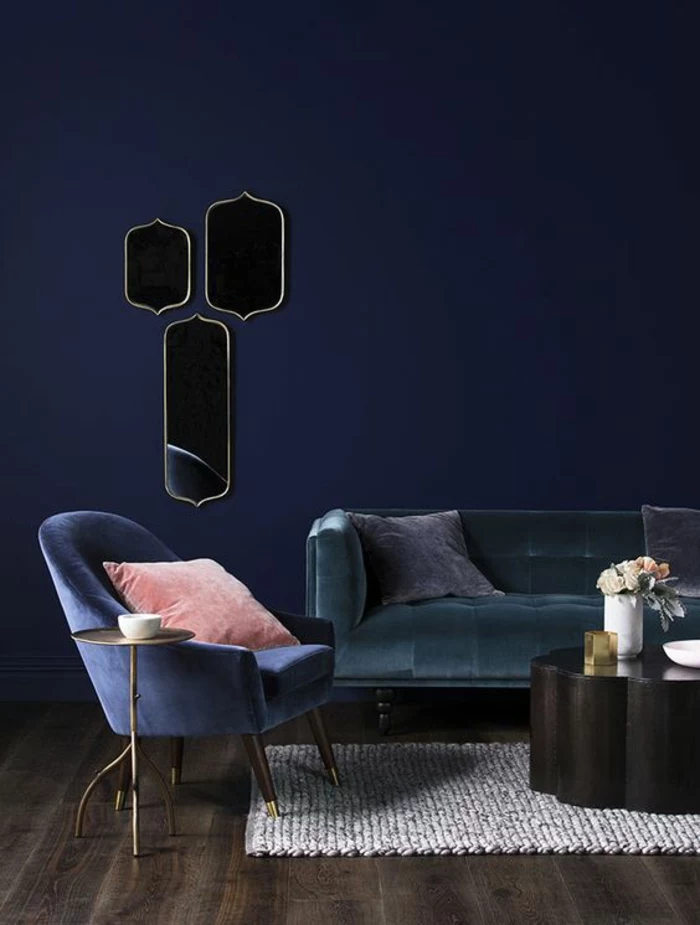
Can you use a dark, moody color in a small living room?
Absolutely! The old rule about dark colors making a room feel small is only half-true. In a small, light-starved room, a deep color like charcoal gray or navy can actually blur the corners and create an illusion of depth. The key is to embrace the coziness. Pair it with good artificial lighting, reflective surfaces like mirrors, and lighter-colored furniture to create a sophisticated, jewel-box effect.
If you’re feeling overwhelmed by color, start by looking at what you already own and love. The perfect color palette for your living room might be hiding in your favorite rug, a piece of art, or even the pattern on a throw pillow. Use a color-matching app like Pantone Connect or your paint store’s tool to pull specific shades from an image of the item. This ensures your new wall color will harmonize with your existing decor from day one.

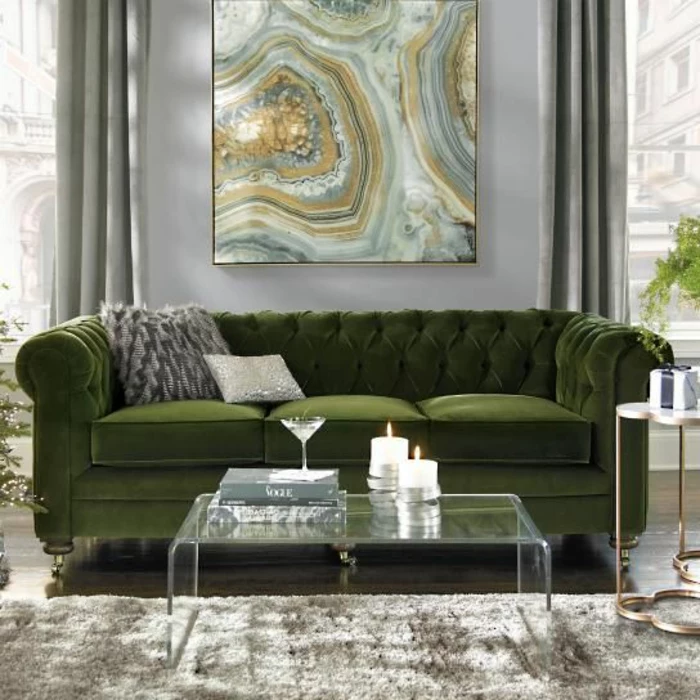
A 2018 study by the University of Sussex confirmed that participants in a ‘green’ room reported lower heart rates and felt more relaxed than those in rooms of other colors.
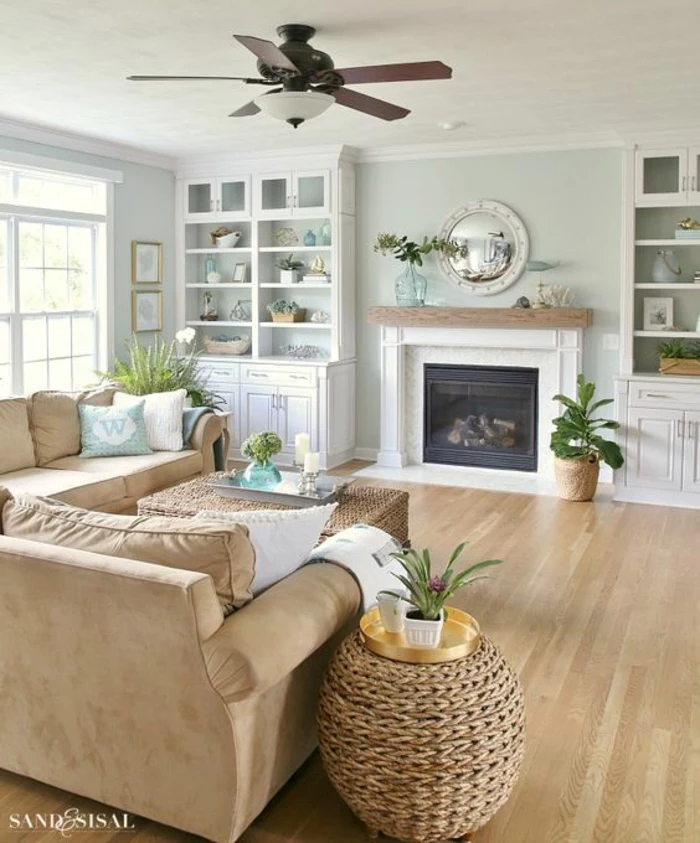
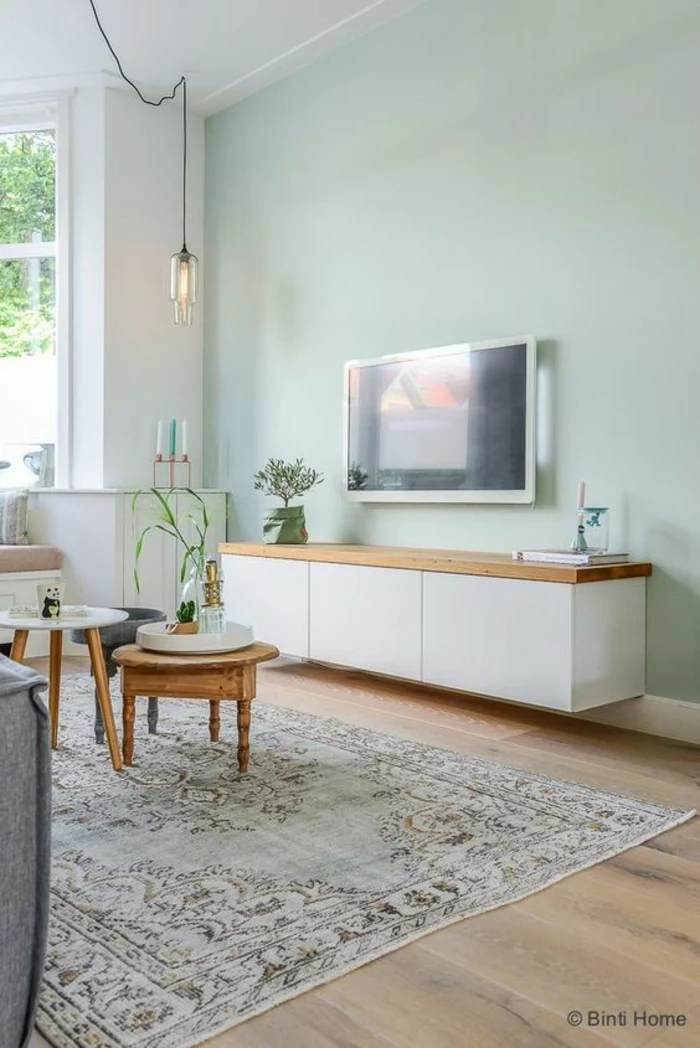
This is why shades of green, from soft sage to deep forest green, are a perennial favorite for living rooms. If you want to create a space that feels like a calm retreat, a color like ‘October Mist’ by Benjamin Moore or ‘Caldon Green’ by Valspar can physically and psychologically ground the room.

A common mistake: painting swatches directly on your current wall color. The old color will influence how you perceive the new one. Instead, paint your large sample squares onto white poster board. You can then move these boards around the room to see how the color looks against your sofa, your flooring, and on different walls, without the old paint interfering.
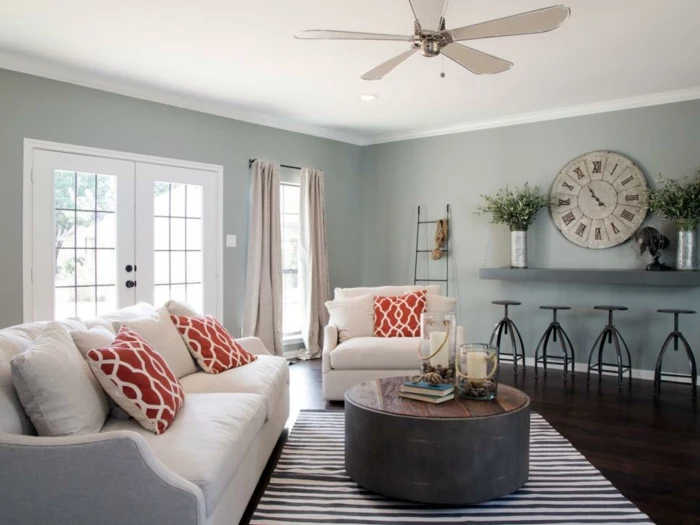
South-Facing Light: This light is bright and warm. It can make warm colors seem too intense. Cool colors like blues and cool grays (e.g., Sherwin-Williams ‘Serious Gray’) will feel balanced and refreshing.
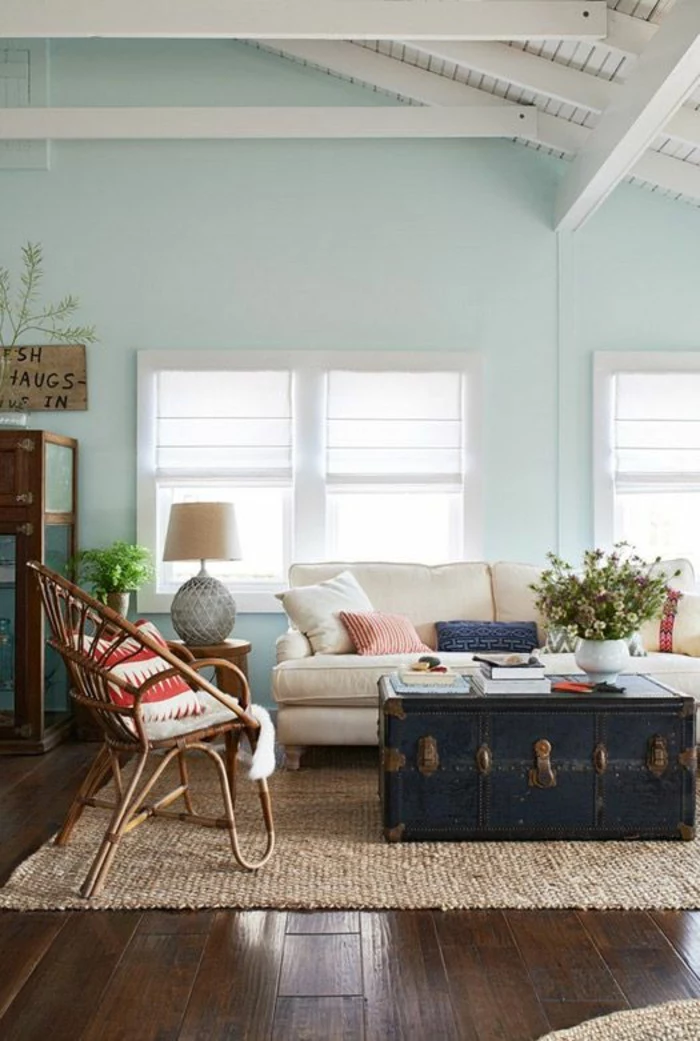
North-Facing Light: This light is indirect, cool, and can cast a bluish tint. To avoid a chilly feel, opt for warmer colors. A creamy white, a warm beige, or even a soft blush pink will thrive here.

To ensure a professional finish, don’t skimp on prep work. Cleaning your walls is non-negotiable. Use a solution of Trisodium Phosphate (TSP) or a simple degreasing cleaner to remove dust, grime, and oils that can prevent paint from adhering properly. A clean surface is the foundation of a paint job that will look great and last for years.
- It draws the eye upward, making ceilings feel higher.
- It creates a seamless, modern look by eliminating a harsh line between wall and trim.
- It simplifies the painting process—no tedious ‘cutting in’ required!
What’s this simple trick? Painting your trim, walls, and even interior doors all the same color. This technique, called color drenching, works beautifully with soft neutrals for a serene vibe or bold colors for a dramatic statement.
Look beyond the walls for color inspiration. If your living room has a beautiful view of a garden or forest, consider bringing those natural greens or earthy browns inside. If you live in a city, the grays of the surrounding architecture or the deep blue of the twilight sky could inspire a sophisticated urban palette. Your wall color can be a bridge between your indoor space and the world just outside your window.
Thinking about longevity? A satin or semi-gloss finish is far more durable and scrubbable than a matte finish. If you have children, pets, or your living room is a high-traffic zone (like an open-plan space), choosing a slightly glossier sheen will make cleaning scuffs and marks much easier, extending the life of your paint job.
For a drastic color change, a primer is not optional. It’s essential.
Going from a dark color to a light one? A high-hide primer will stop the old color from bleeding through, saving you from applying three or four coats of your expensive new paint. Going from light to a deep, saturated color? A tinted gray primer will help the new color achieve its true richness in fewer coats. Brands like KILZ or Zinsser offer primers for every scenario.

Create a sense of flow in your home by using a cohesive color palette. You don’t have to use the same color everywhere. Instead, choose a color for your living room, then use lighter or darker shades of that same color in adjacent hallways or rooms. Or, use your living room’s accent color as the main wall color in a smaller, connecting space like a study nook.

Should my paint color match my wood floors?
It should complement them, not match them. Pay attention to the undertones in your wood stain. Oak floors often have yellow or orange undertones, which pair beautifully with cool blues and greens. Cherry or mahogany floors have red undertones, which are stunning next to earthy greens or muted blues. Placing a paint chip directly on the floor is a great way to see if the tones fight or harmonize.

The modern choice: Zero-VOC paints. Volatile Organic Compounds (VOCs) are solvents released into the air that can impact air quality. Many major brands now offer Zero-VOC or Low-VOC options. Boutique brands like Clare or Backdrop have built their entire business on it, delivering paint right to your door in eco-friendly packaging, proving you don’t have to sacrifice health for style.
If you’re scared of committing to a bold color on all four walls, try a creative application.
- Paint a

A final check before you commit: Look at your color sample next to your sofa fabric, a curtain panel, and your area rug. The wall color is the backdrop that needs to unite all these elements. A color that looks great on its own might clash horribly with the specific weave or pattern of your textiles. This simple step can save you from a very costly mistake.