Forget the Store: How to Craft a Mardi Gras Mask That Actually Looks Amazing
Every year around Carnival time, I get the same questions. People walk past the beautiful, intricate masks in the French Quarter shops and get that creative spark. They want to make their own. And I get it—I’ve been crafting these things in my own little studio for over two decades, and the smell of drying paste and paint is basically the official scent of the season for me.
In this article
Making a mask is more than just a craft project; it’s like creating your own ticket to the party. It’s a piece of history, a way to transform yourself, and honestly, it’s just a ton of fun. But it does take a little know-how. So, I’m going to walk you through everything I’ve learned, from the super simple to the more impressive techniques. We’ll make something you’ll be genuinely proud to wear on the parade route.
First Things First: Picking Your Base Material
Before you even think about a single feather or rhinestone, you have to choose your foundation. This is the most important decision you’ll make, because it dictates the mask’s shape, weight, and how long it’ll last. I’ve tried just about everything, and they all have their pros and cons.

So, how do you choose? It really comes down to three things: your budget, your timeline, and your skill level.
- For the Patient Crafter on a Budget: Go with papier-mâché. It’s the classic for a reason. It costs next to nothing, but it does require a few days of drying time.
- For a High-End, Comfortable Fit: Leather is your best bet. It creates a flexible, warm, and custom-molded mask that feels incredible to wear. It’s a bit more of an investment, around $15-$30, and takes some practice.
- For the Crafter in a Hurry: Modern thermoplastics are your friend. They’re fast and precise, but they are the priciest option and require a heat gun.
Papier-Mâché: The Traditional Workhorse
This is the OG mask-making material. It’s surprisingly strong, lightweight, and super affordable. You’re essentially making a composite by layering strips of paper in a binder (aka glue). As it dries, it becomes a hard, rigid shell.
Now, the details matter. For paper, use something absorbent like unprinted newspaper or brown kraft paper. Whatever you do, don’t use glossy magazine pages—the clay coating on them repels the paste. And here’s a pro tip: ALWAYS tear your paper into strips, don’t cut it. Tearing creates a soft, feathered edge that blends seamlessly, while a cut edge leaves a hard line you’ll see on the finished mask.
For the paste, a simple mix of one part flour to four parts water, boiled until thick, works fine. For something more durable and mold-resistant (a real issue in humid climates!), I’d go with a thinned-out PVA glue like Elmer’s Glue-All, which you can get for about $5.
Leather: The Old-World Technique
Leather masks just feel different—they’re warmer and they form to your skin. This style has its roots in the classic Italian theatrical traditions. You’ll want to find some vegetable-tanned leather, usually in a 4 to 6-ounce weight. A 12×12 inch piece, which is plenty for one mask, will probably run you between $15 and $25 at a craft or leather supply store.
The magic happens when you soak this leather in lukewarm water. It becomes incredibly pliable, allowing you to press and mold it over a form (or your own face!). As it dries, it holds that shape permanently. It definitely takes a bit of a feel to get right, but the results are worth it.
Modern Thermoplastics: For Speed and Precision
In my studio, we sometimes turn to materials like Worbla or Fosshape for complex custom jobs. These are plastic sheets that become soft and moldable when you hit them with a heat gun. You can form them in minutes, and once they cool, they’re rock-solid. A thermoplastic mask can be ready for painting in under an hour, while a papier-mâché one needs days.
The trade-off? The cost. A small sheet can be $20-$30, and you need a heat gun. Plus, some people feel it lacks the organic, handmade charm of the other materials.
Let’s Build! Professional Steps for a Flawless Mask
The pros build masks in stages. Don’t rush it. I learned the hard way once that a poorly prepped form can make you destroy your own sculpture just to get the mask off. Patience is key.
Step 1: Create Your Form (The Positive)
Your mask is only as good as the form it’s built on. For custom work, the experts use oil-based, sulfur-free modeling clay to sculpt a face. But for home projects, a simple Styrofoam wig head from a craft store works great. You can easily add clay to it to build up a bigger nose or a stronger brow.
Want a perfect fit? Make a cast of your own face. It sounds intimidating, but it’s not. Heads up! Slather your face, and especially your eyebrows, with a thick layer of Vaseline. Seriously, don’t skip this. A disposable shower cap to protect your hairline is also a smart move. Then, just lay plaster gauze strips (you can get them at any craft store for about $8) over your face, leaving your nostrils clear. After three or four layers, just relax for about 15 minutes while it hardens. Voila, a perfect replica of your face to work on.
Step 2: Building the Papier-Mâché Shell
This is the methodical, almost therapeutic, part.
- Prep the Form. Cover your plaster or plastic form with a release agent like plastic wrap or a thin layer of Vaseline so the mask doesn’t get stuck.
- First Layer is Key. Dip a paper strip in your paste, squeeze off the excess, and lay it on the form. Smooth out every single air bubble. This first layer captures all the detail.
- Build Strength. Add at least four to five more layers for a sturdy mask. A great trick is to alternate the direction of the paper strips with each layer, like you’re making plywood. This makes it incredibly strong.
- Drying is CRUCIAL. Let the mask dry completely. If you trap moisture inside, it will warp or even grow mold. In a humid place, this could be a full 24 hours. If you live in a dry climate, it might be dry in 8 hours. Pointing a small fan at it will always speed things up.
- Release and Refine. Once it’s bone-dry (it will feel hard and sound hollow when you tap it), carefully pop it off the form. Trim the rough edges with sharp scissors and sand them smooth. I like to line the inside edge with a strip of soft moleskin for extra comfort.

A Little Regional Flavor
Not all Mardi Gras masks are the same. The styles you see in New Orleans are world’s apart from what you’d find in other celebrations, and understanding why is pretty cool.
New Orleans vs. Venice
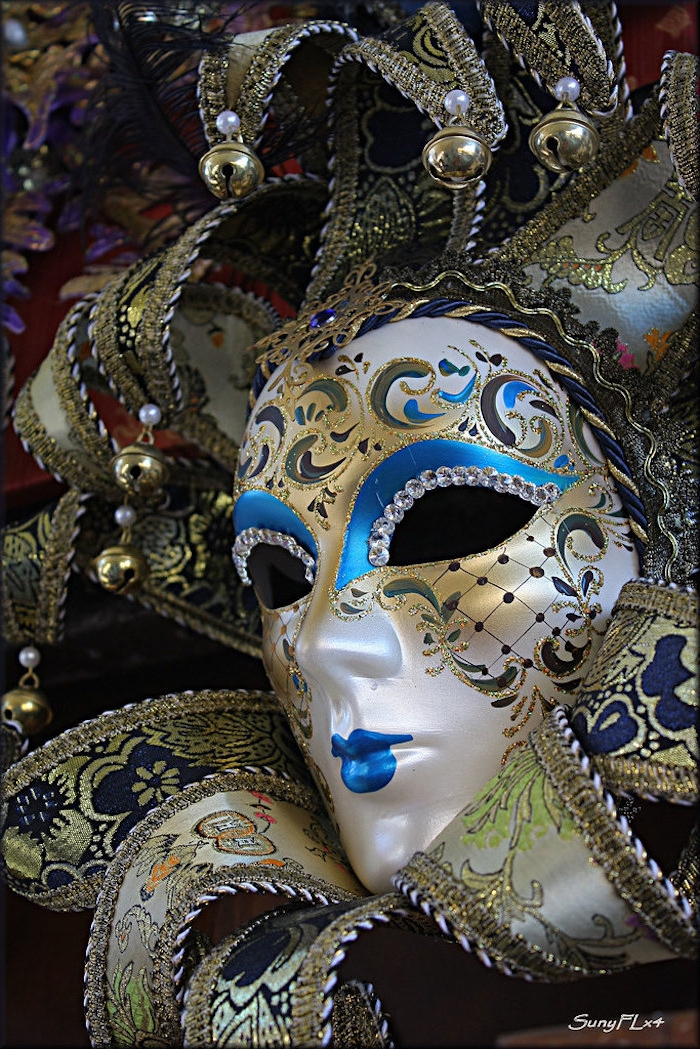
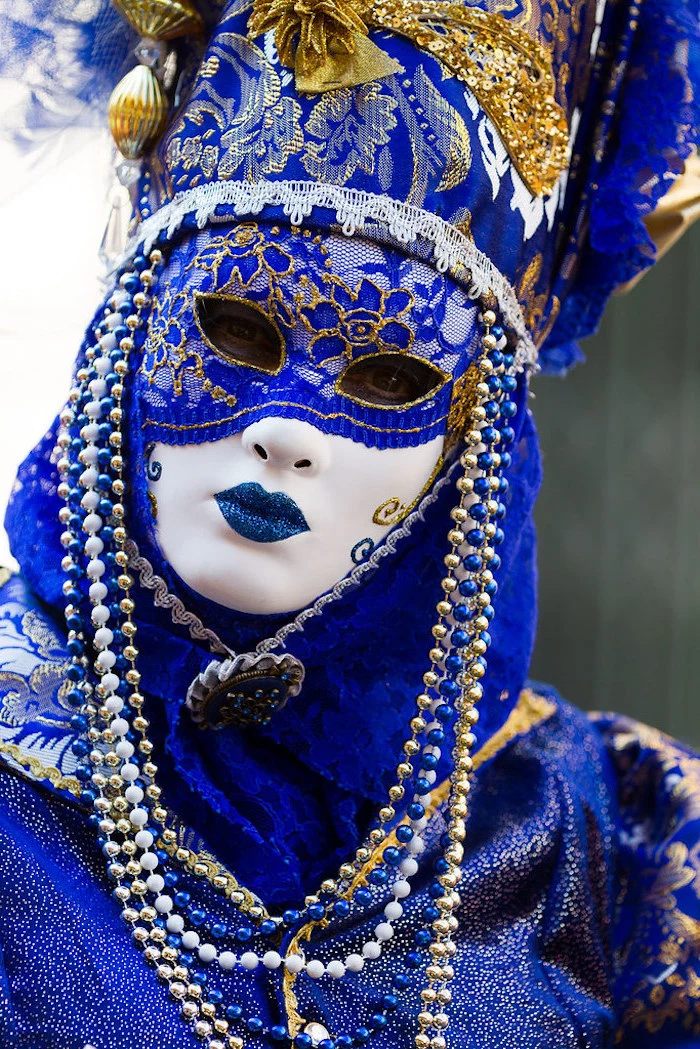
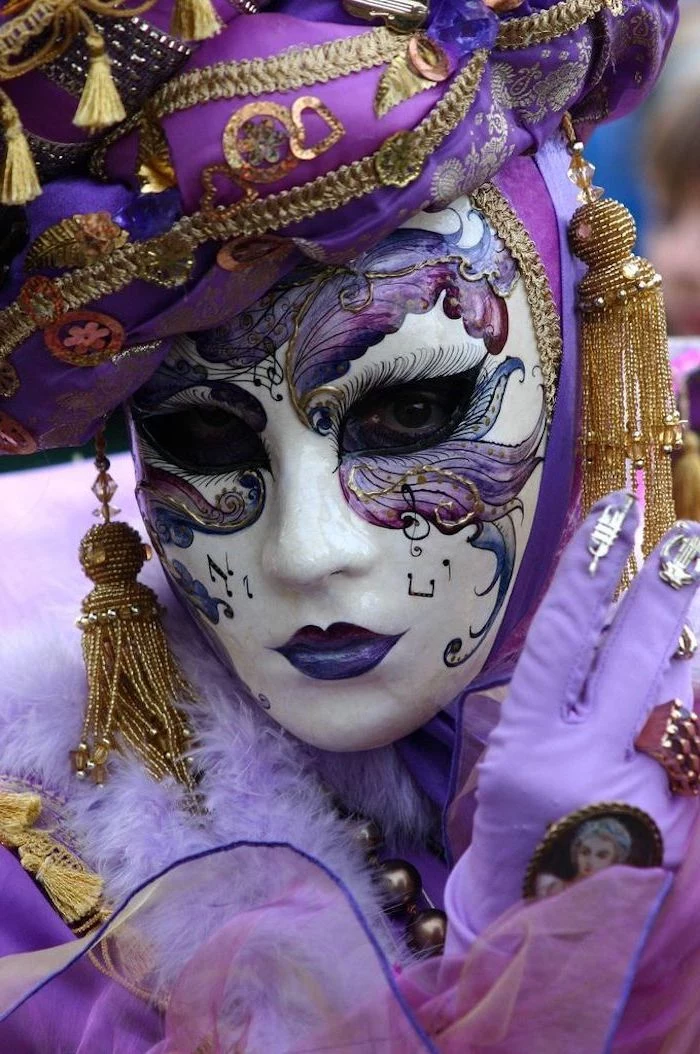
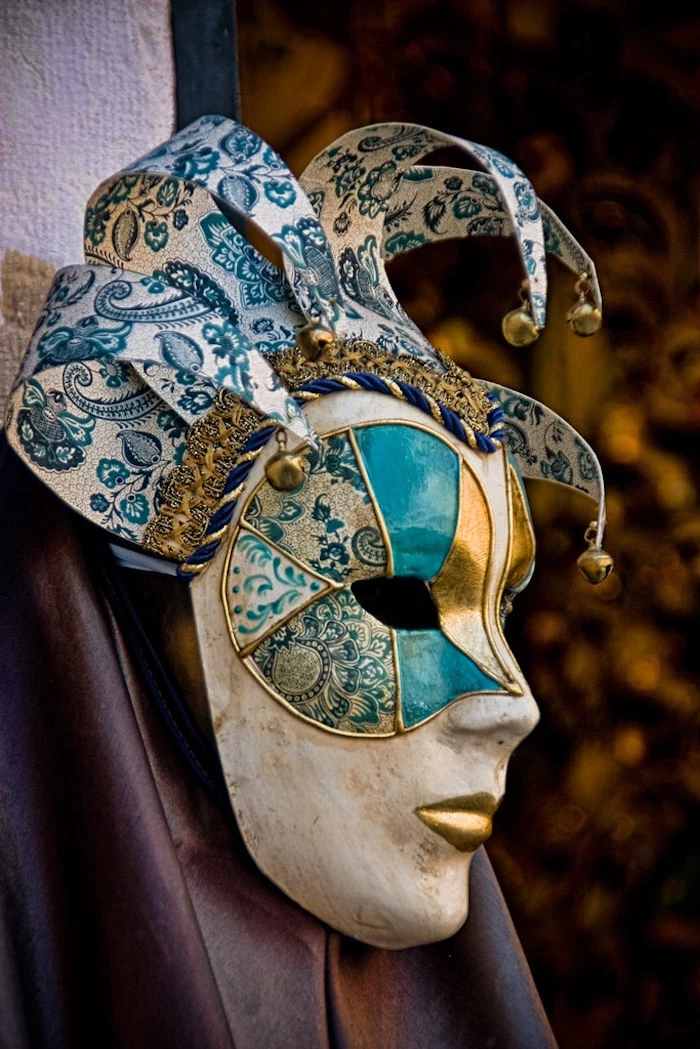
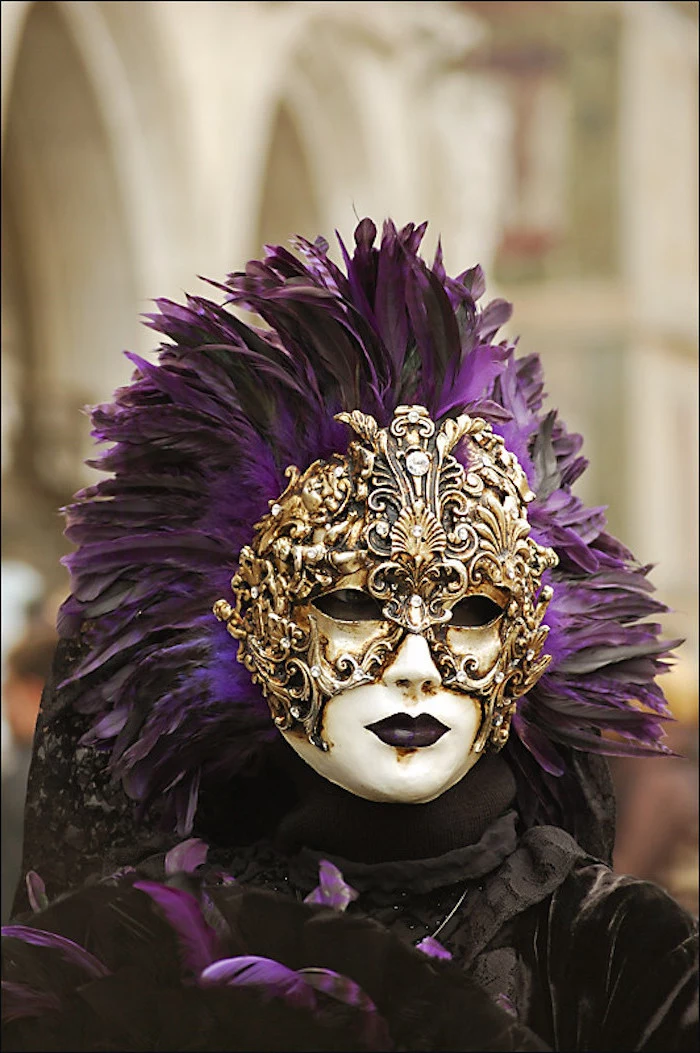
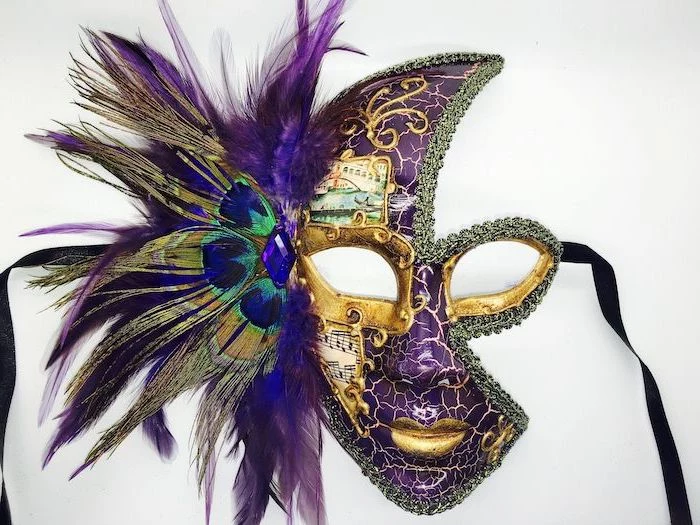
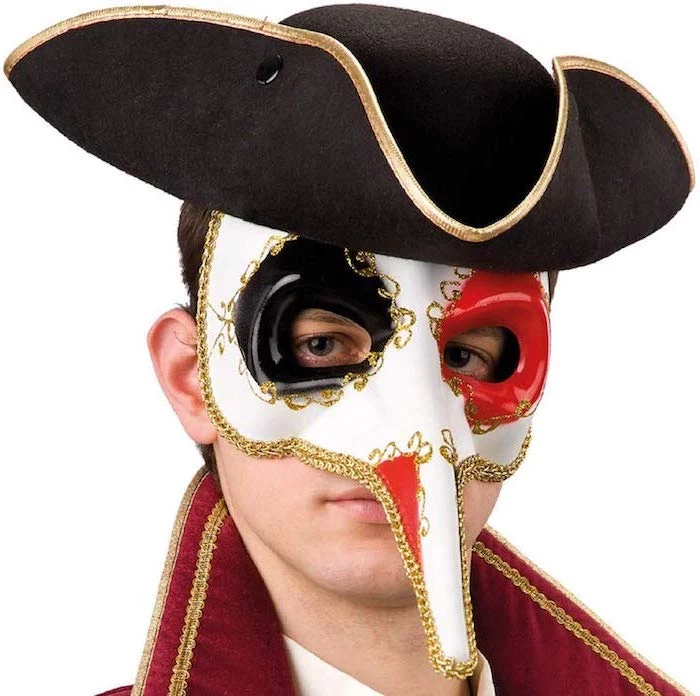
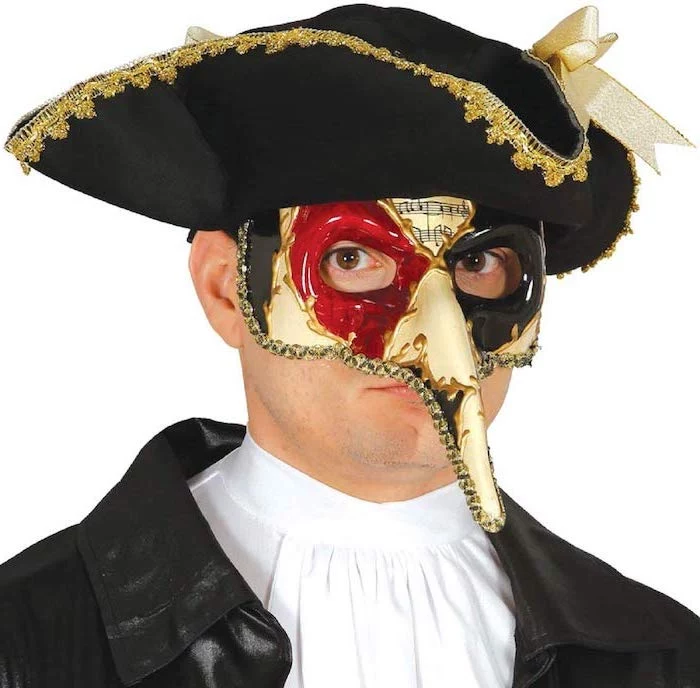
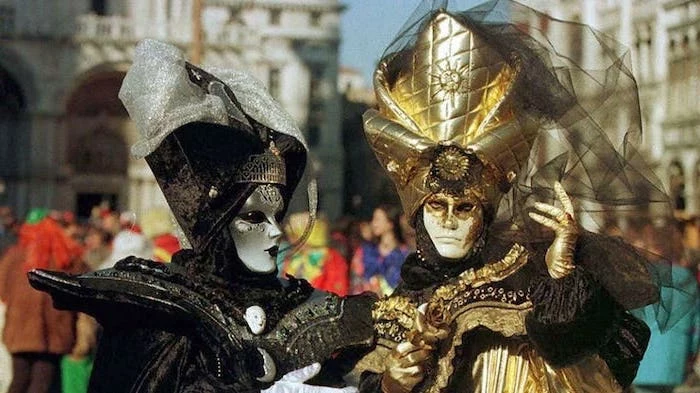
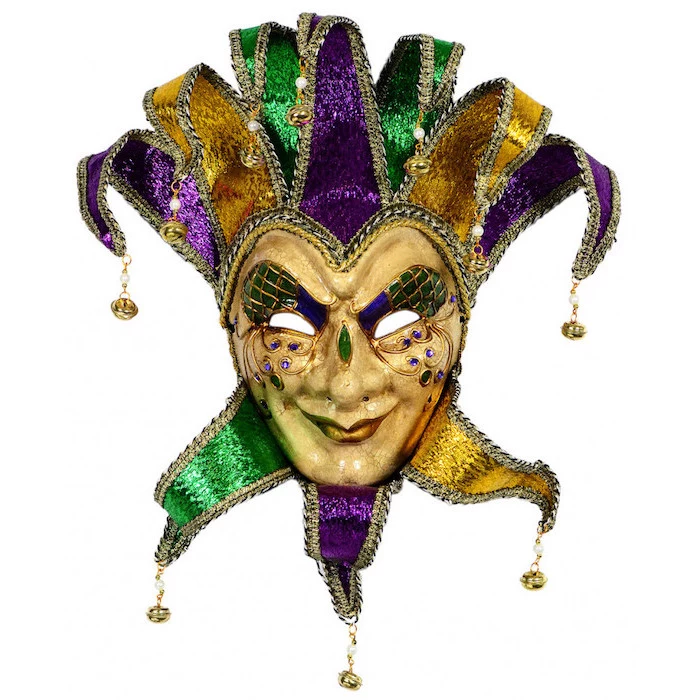
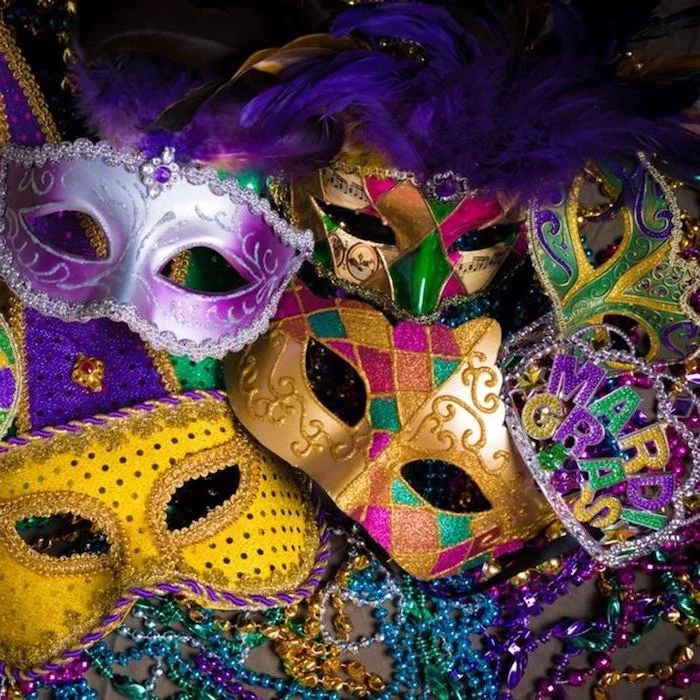
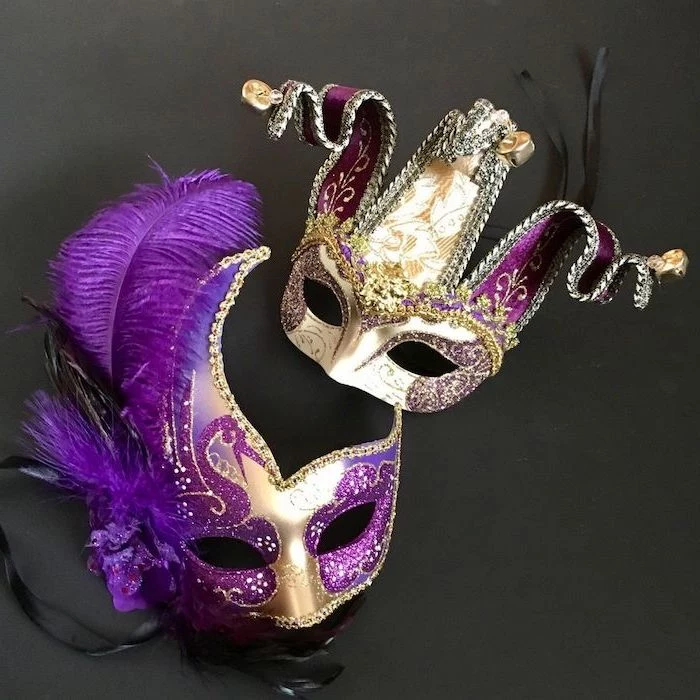
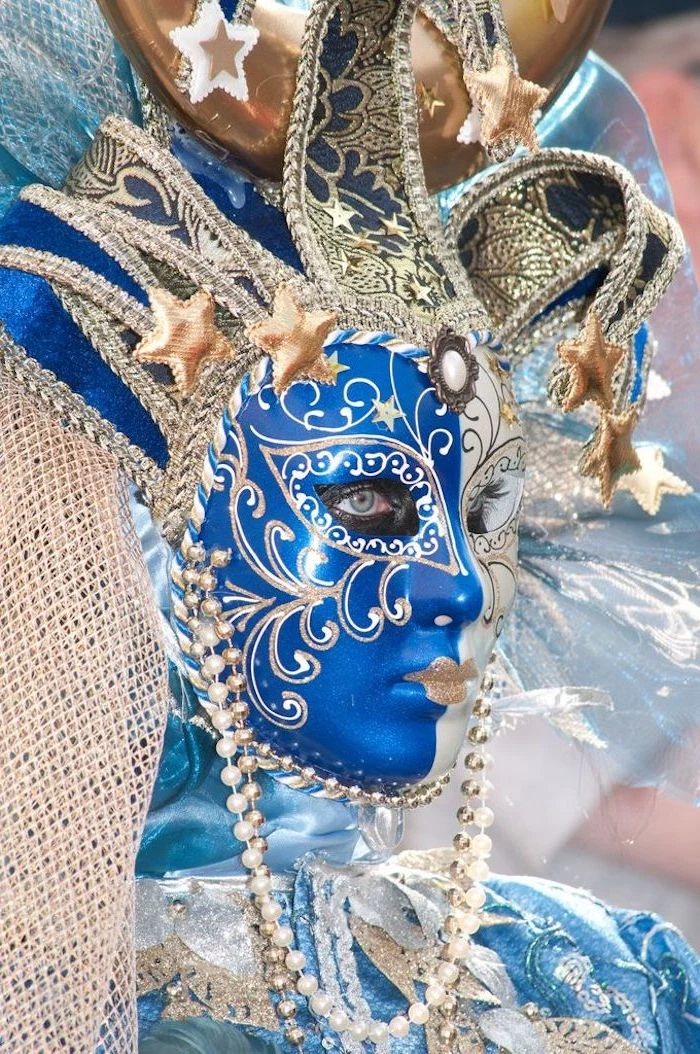
People often compare New Orleans masks to those from Venice, Italy. Venetian masks are often very specific characters from history and theater—think of the long-nosed plague doctor. They’re typically refined, with a heavy focus on elegant painting and gilding.
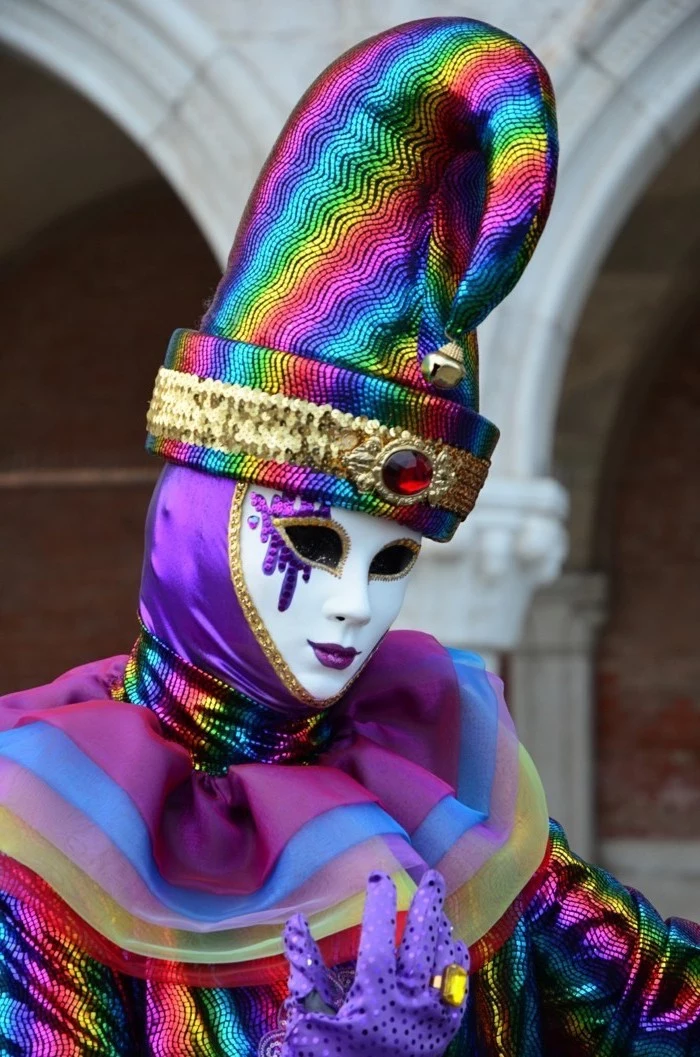
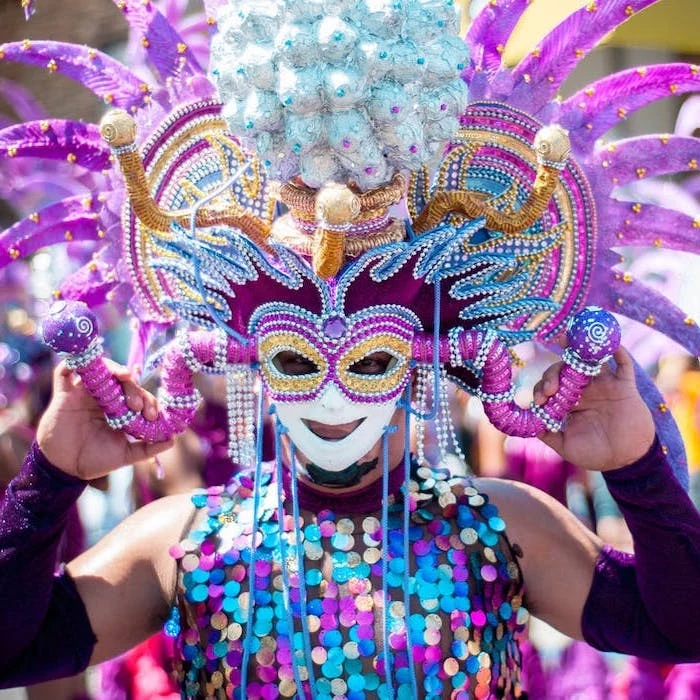
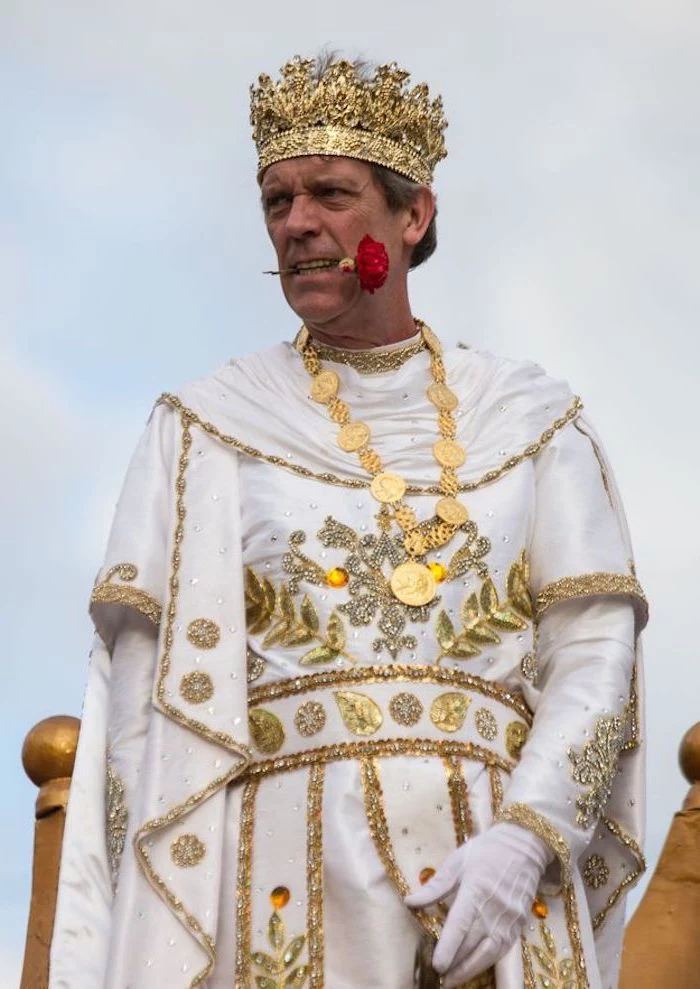
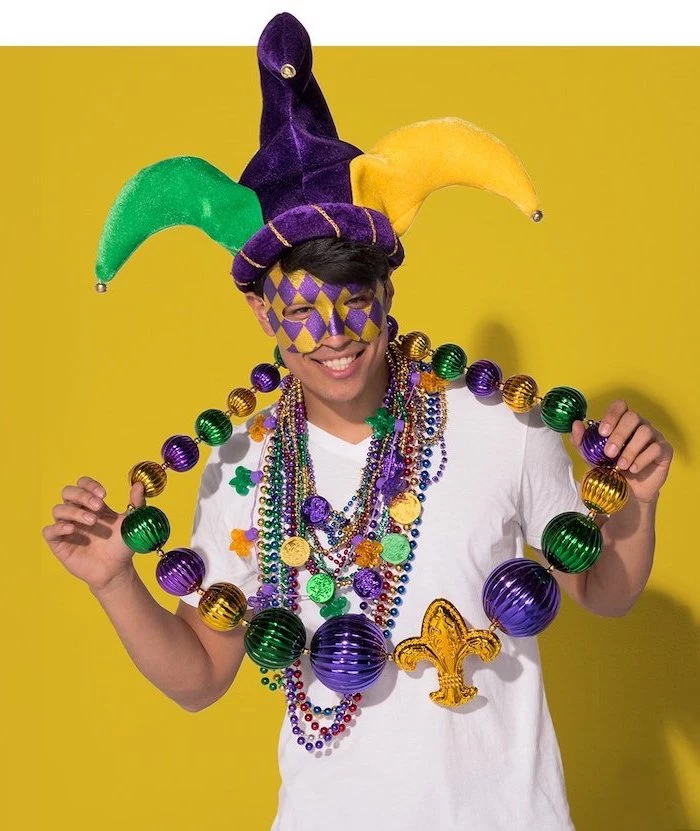
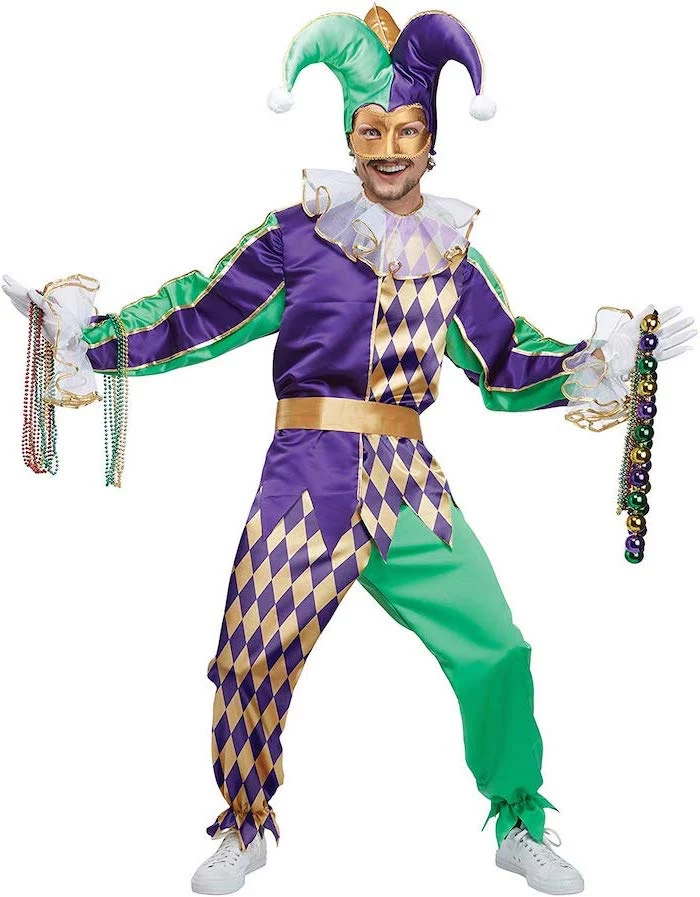
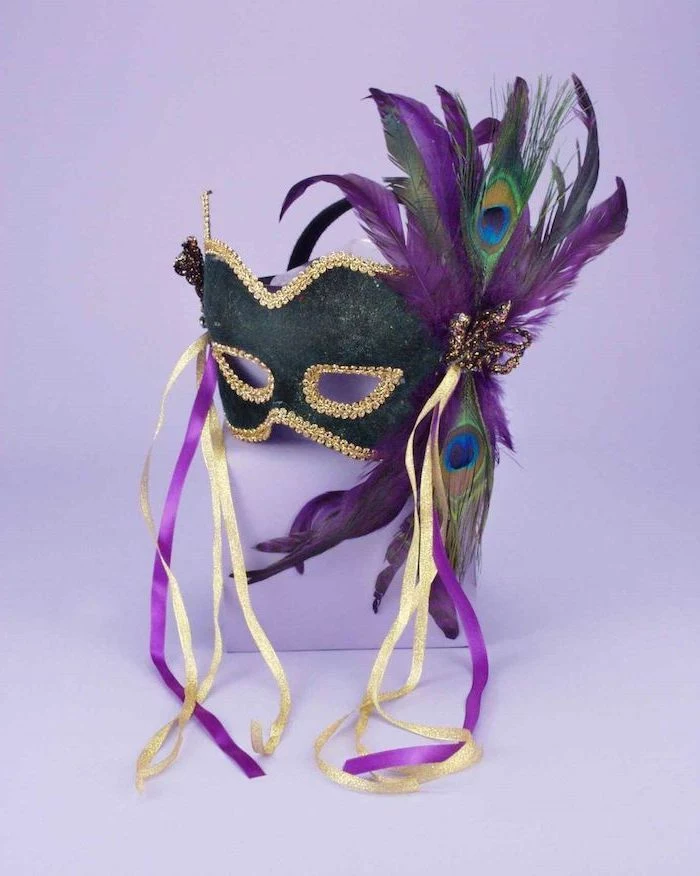
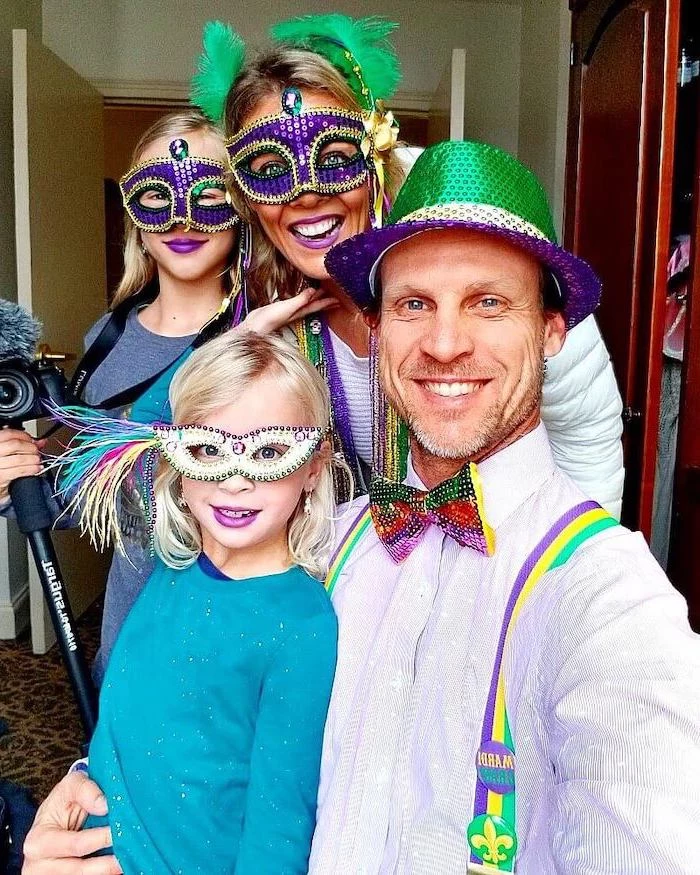
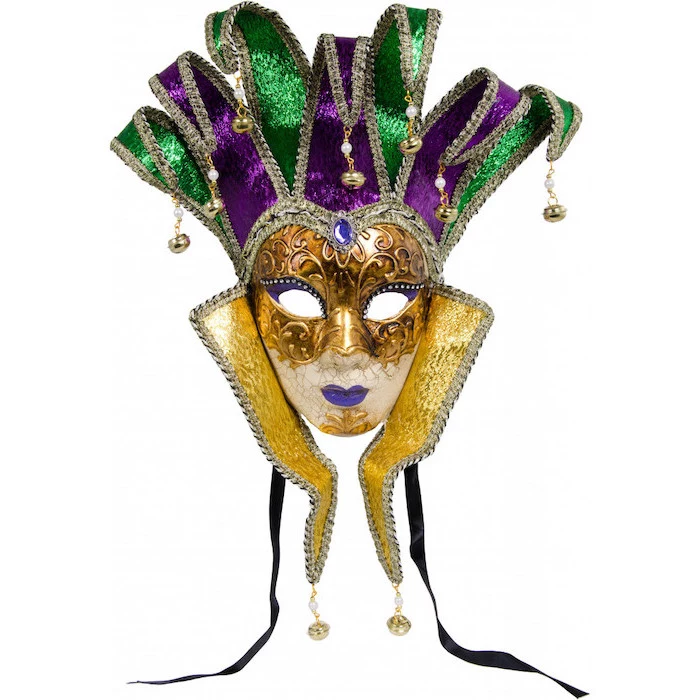
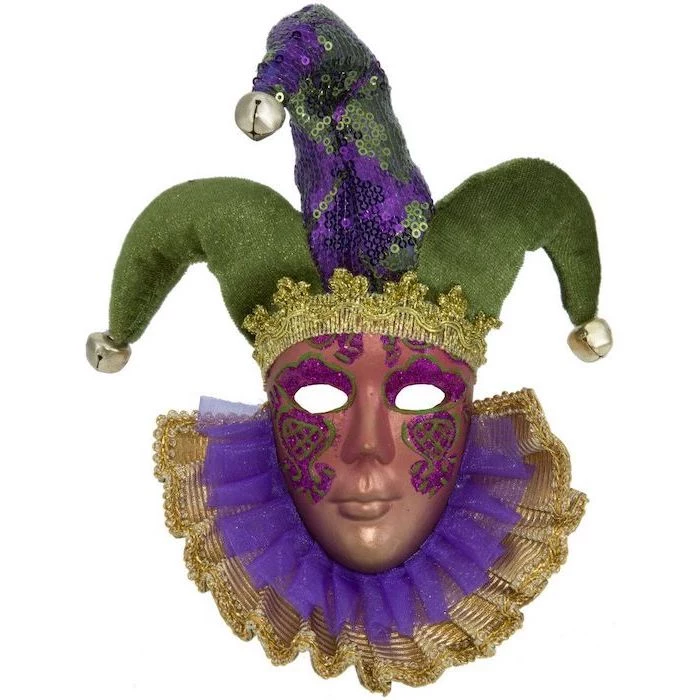
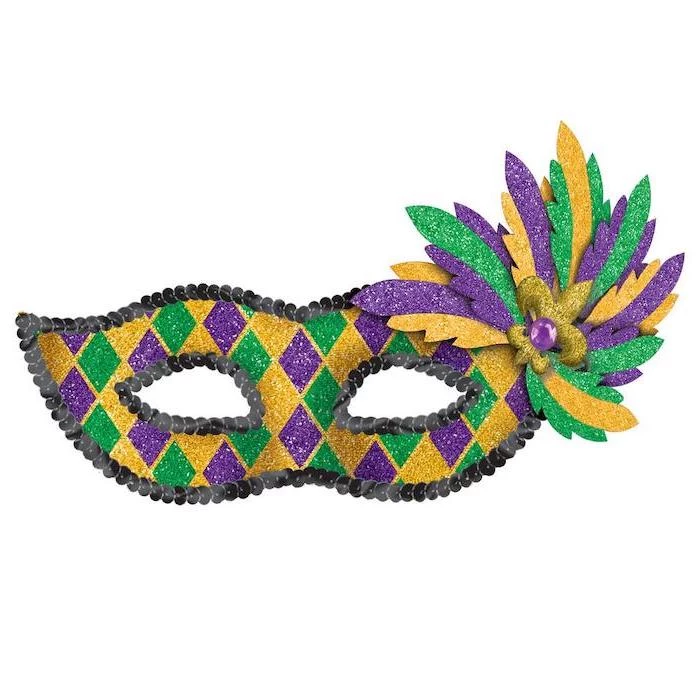
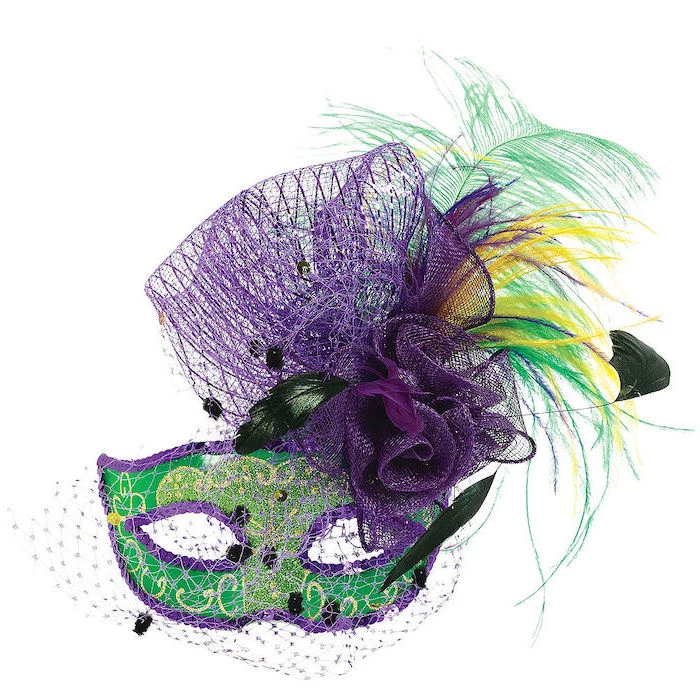
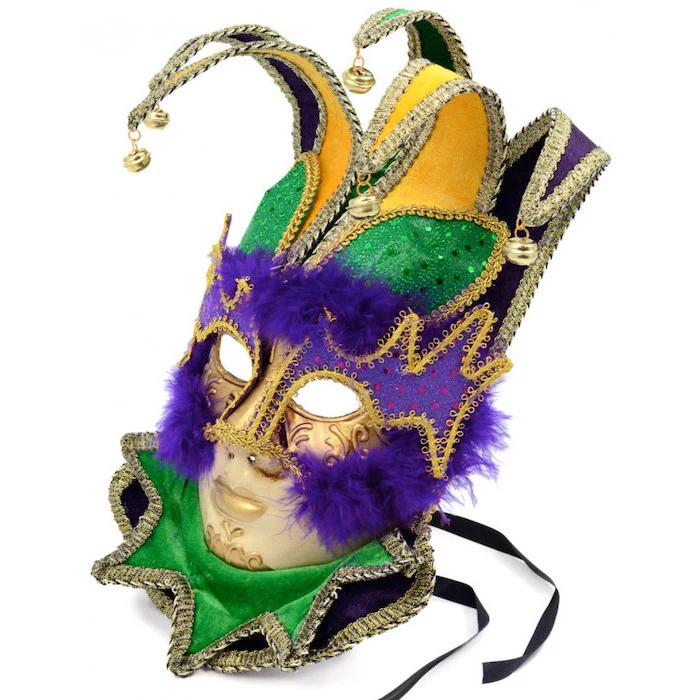
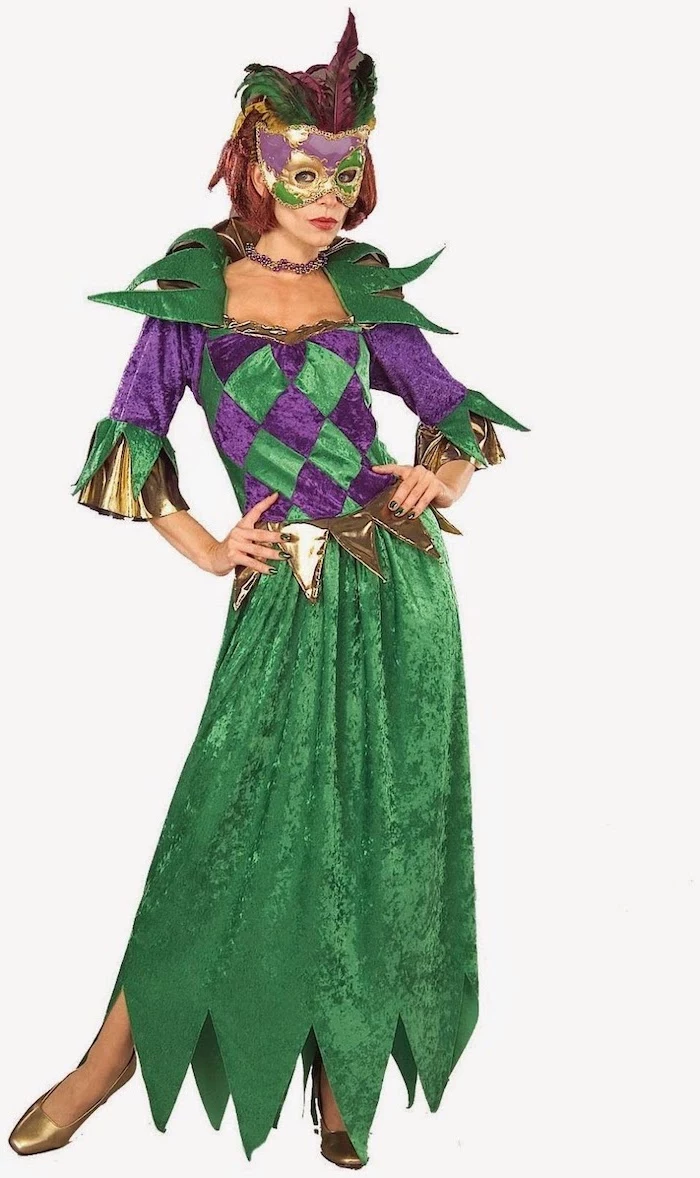
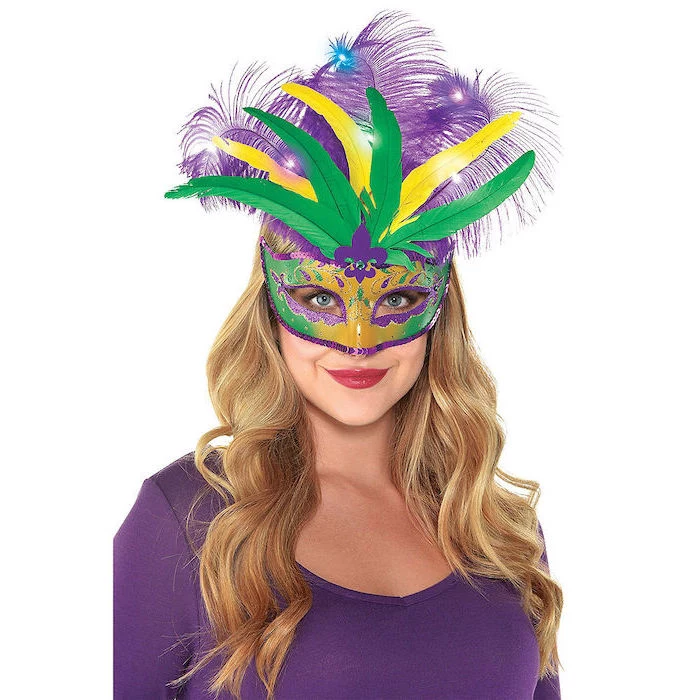
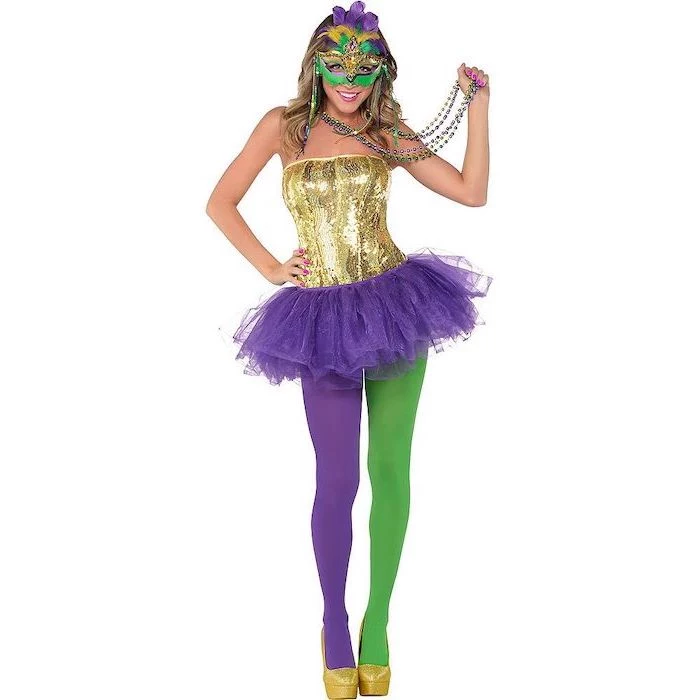
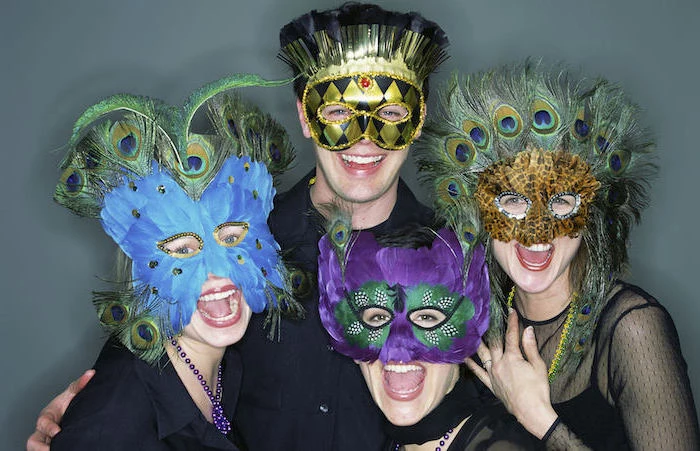
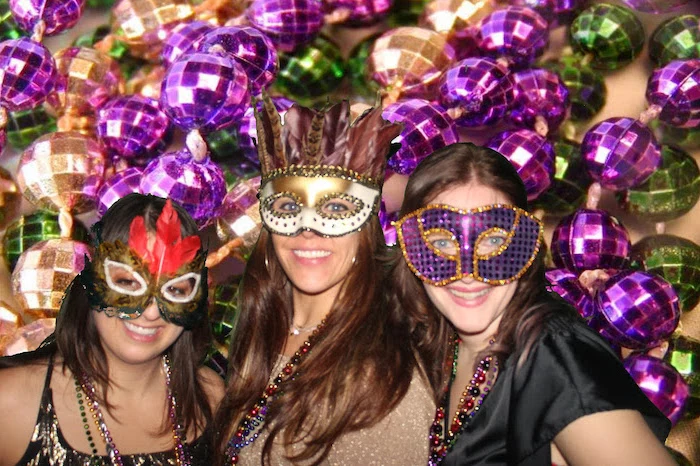
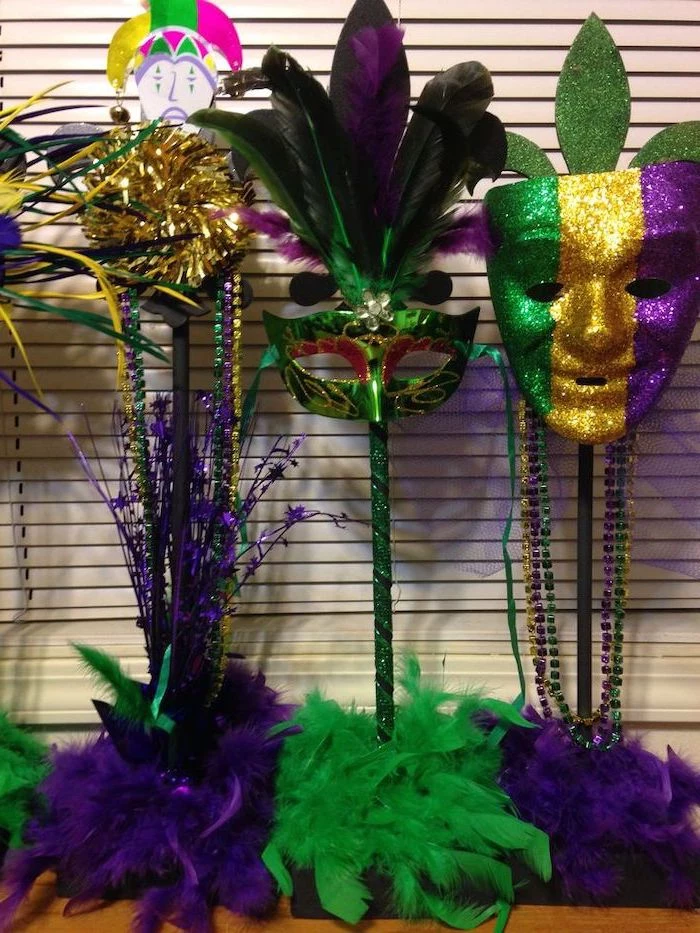
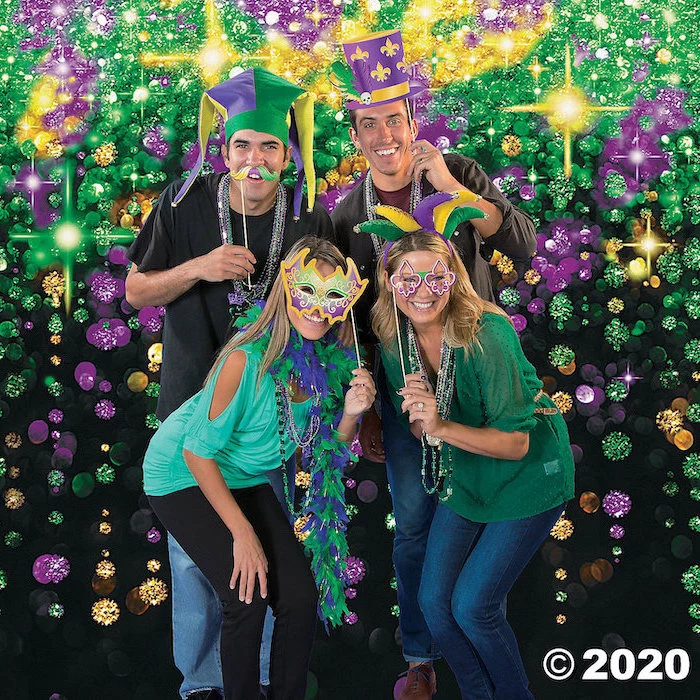
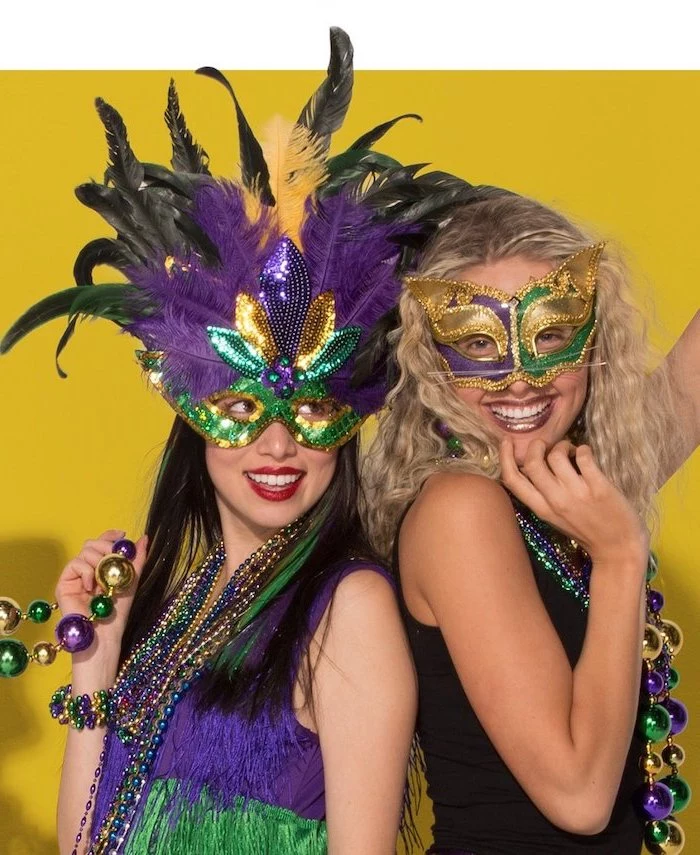
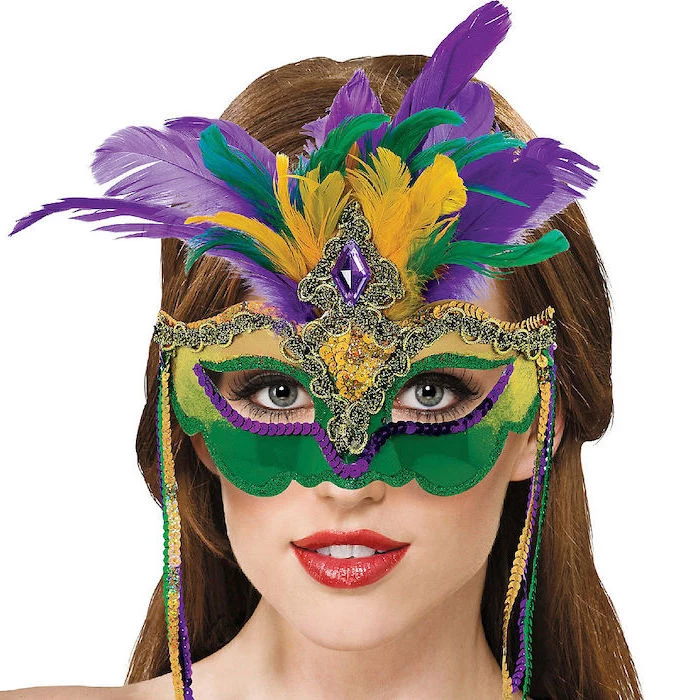
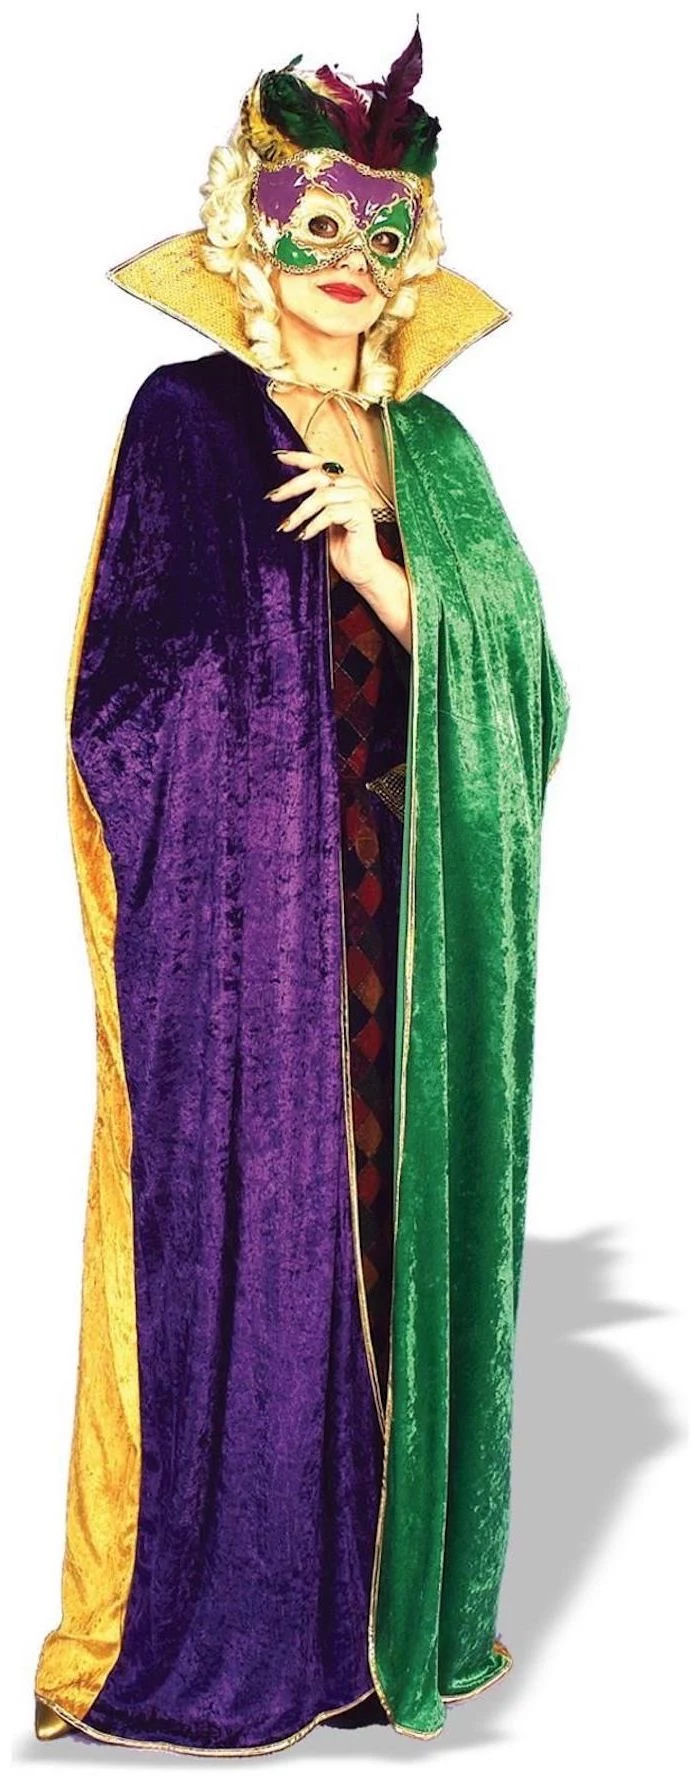
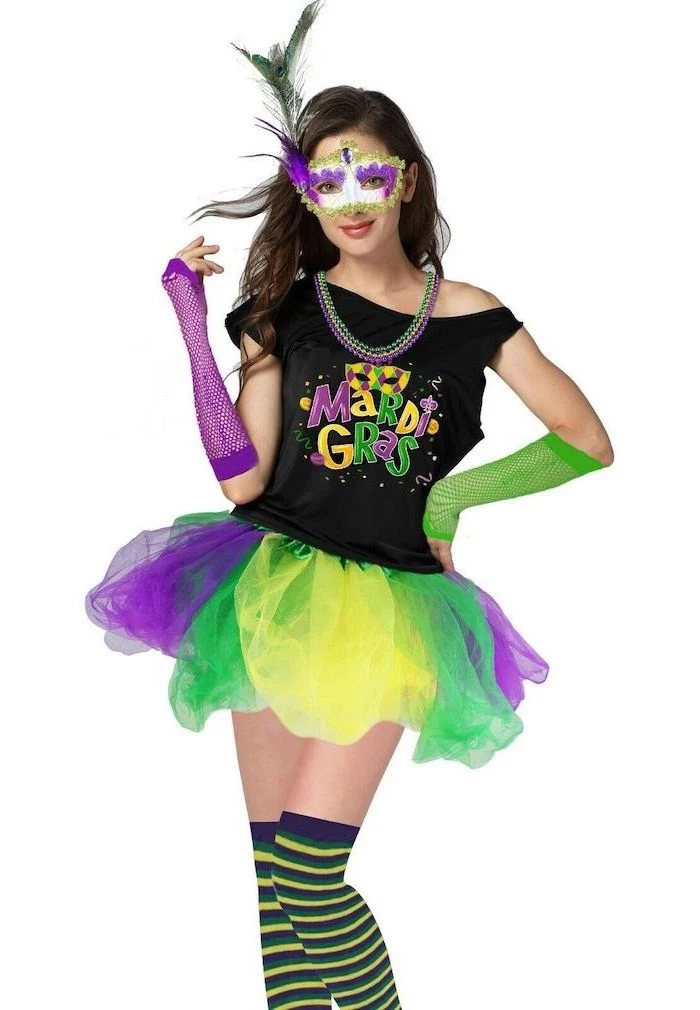
New Orleans masks? They are all about pure, loud, joyful celebration. They’re less about a single character and more about spectacle. Think feathers, sequins, and a whole lot of glitter. The designs are often tied to the themes of the Krewes (the social clubs that put on the parades), using the iconic colors of purple, green, and gold.
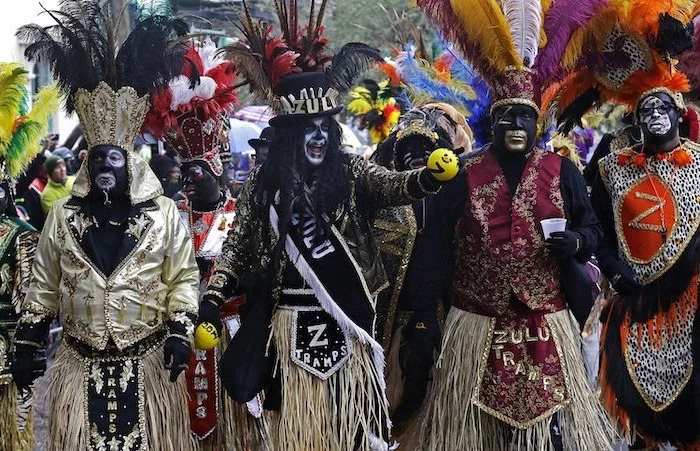
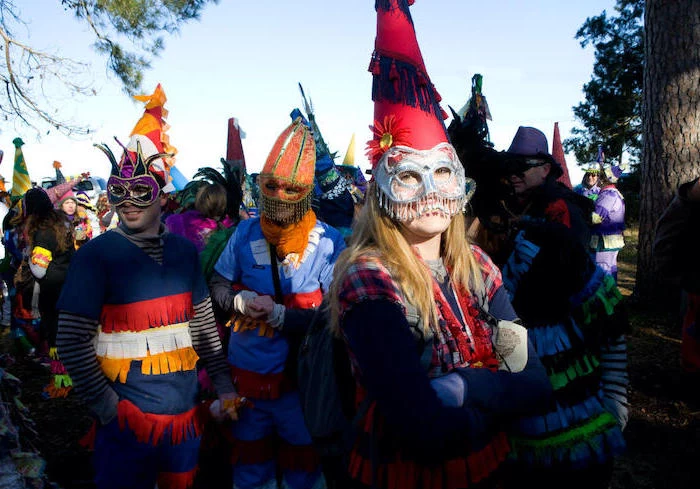
The Cajun Courir de Mardi Gras
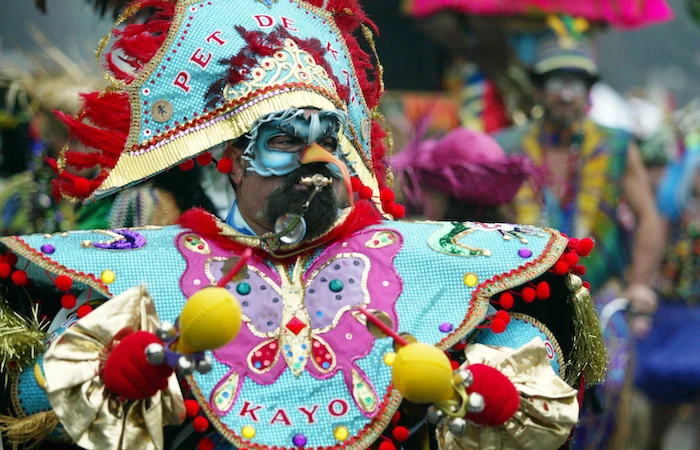
Head out to the rural parts of Louisiana, and you’ll find a totally different tradition called the Courir de Mardi Gras. These masks aren’t meant to be pretty; they’re meant to be strange, intimidating, and a little bit scary. They’re often made of simple wire screen painted with grotesque faces and attached to a tall, conical hat called a capuchon. It’s a wild, chaotic tradition that feels a world away from the polished parades of the city.
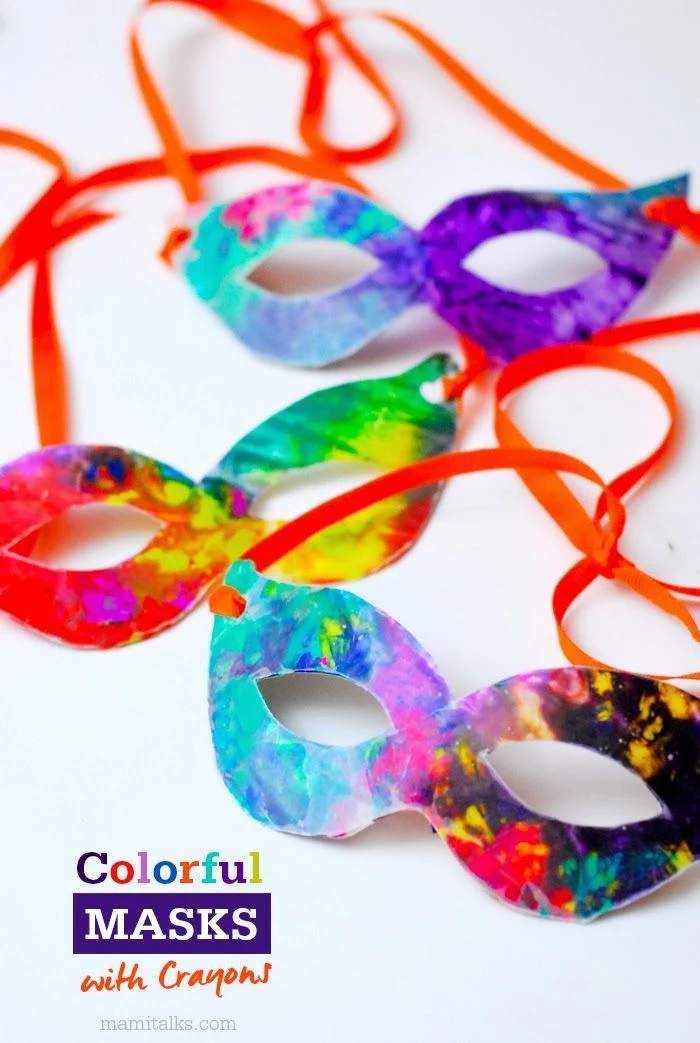
Practical Projects You Can Actually Do at Home
You don’t need a fancy studio. Here are a couple of projects that anyone can tackle.
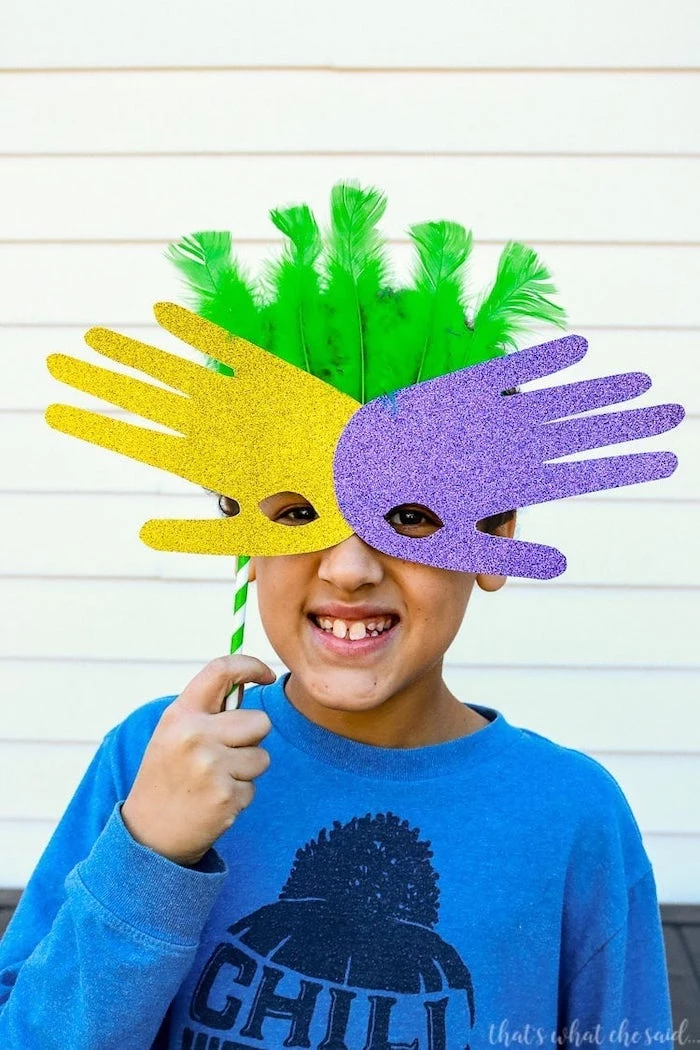
Project 1: The Decorated Blank (Perfect for Beginners)
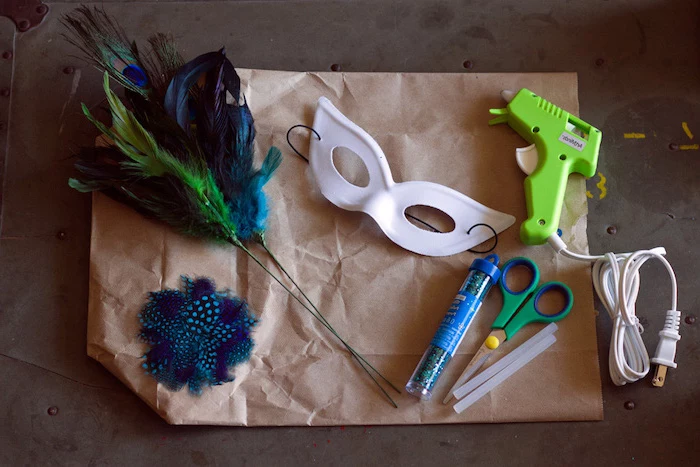
This is the fastest path to a custom mask. Start with a pre-made blank from a craft store like Michael’s or Hobby Lobby. I’d suggest the thicker, pulp-paper ones over the flimsy plastic versions, as paint and glue stick to them much better.
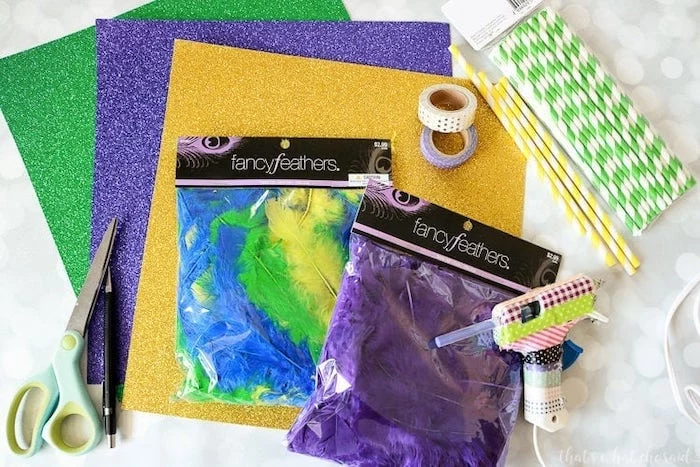
What You’ll Need (The Shopping List):
- Mask blank ($3 – $7)
- Gesso primer (a small bottle is about $5)
- Acrylic paints (a basic set is $10 – $15)
- Adhesive (Gem-Tac for rhinestones, hot glue for bigger stuff – about $5)
- Decorations! (Feathers, gems, glitter, trim – budget $10-$20 here)
- Paintbrushes
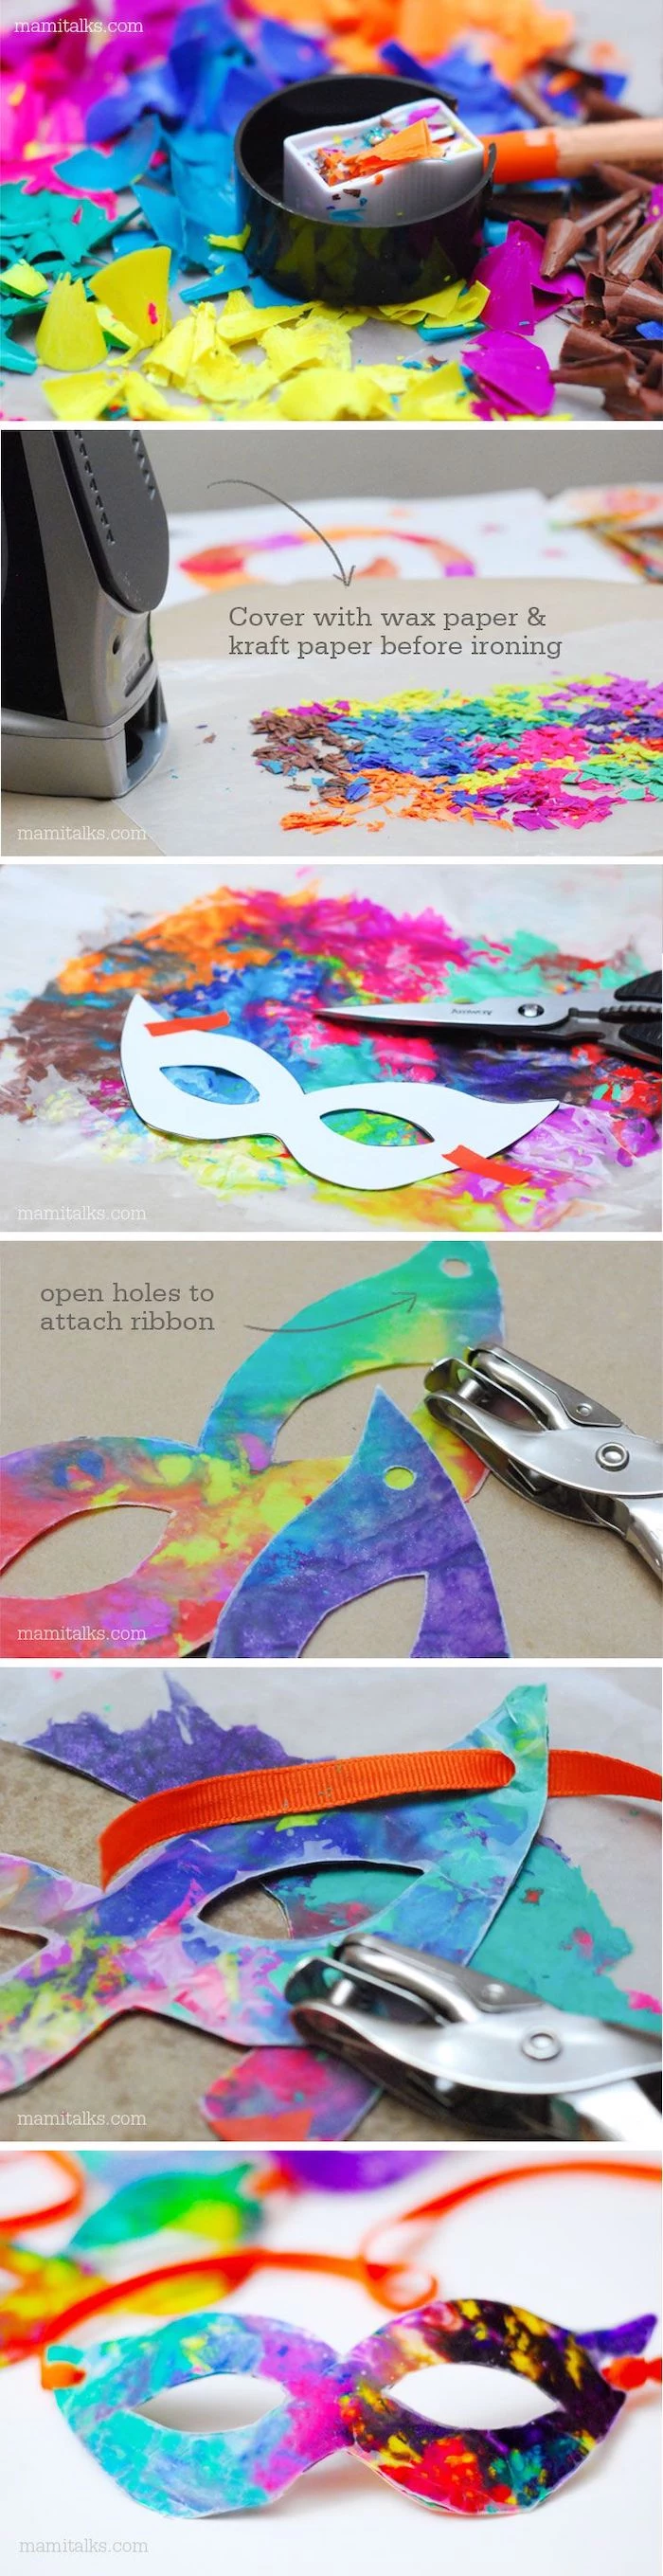
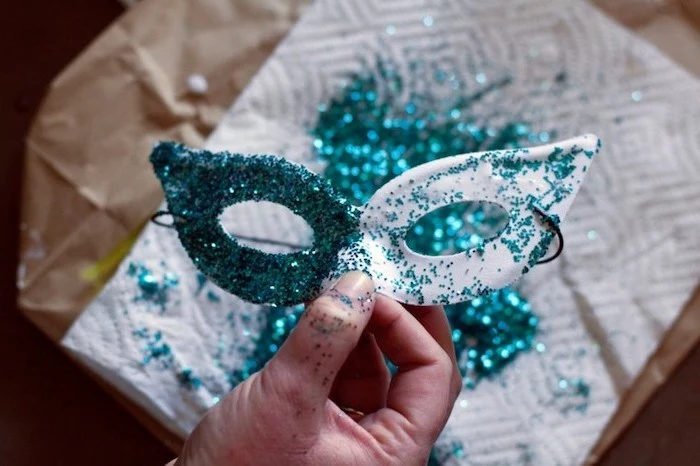
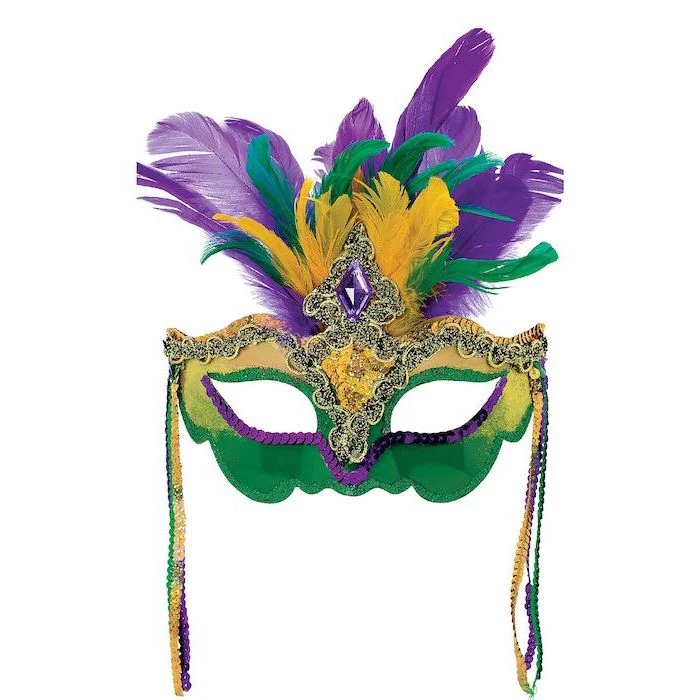
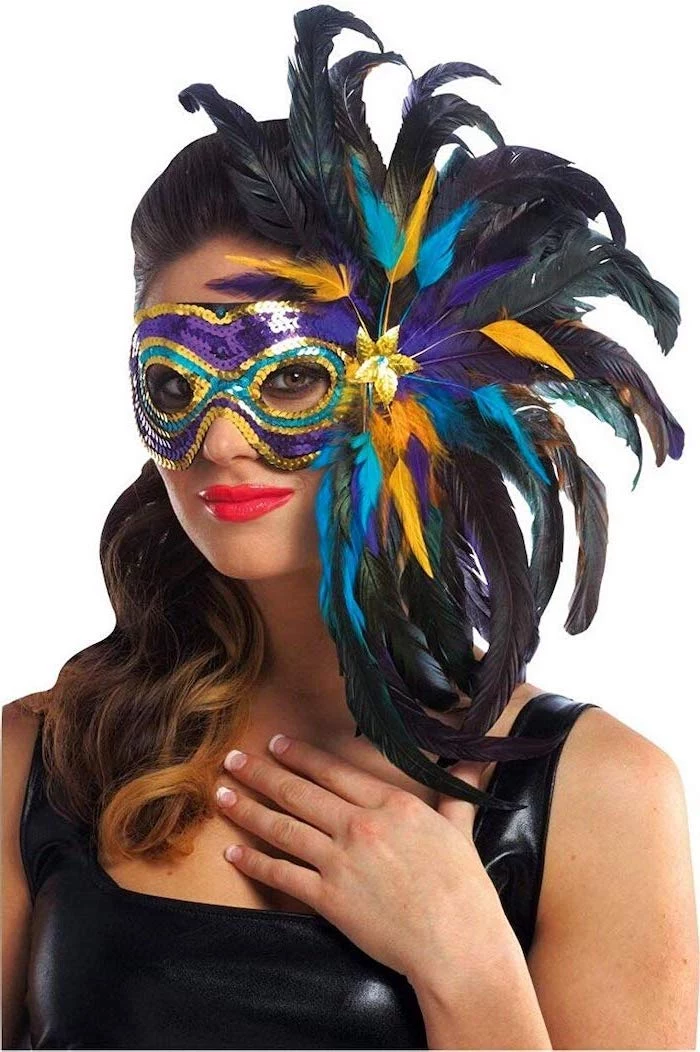
First, and this is important, prime the mask with a layer of gesso. This gives the paint something to grip. A common beginner mistake is to paint directly on the blank, which almost always leads to the paint flaking off later. Once the gesso is dry, paint your base colors. Then, lay out your decorations before you glue anything down. A quick tip for feathers: start with a base of fluffy, smaller feathers to hide the messy stems of the larger, showier plumes you’ll add on top.

Parade Emergency? In a real pinch, grab a blank, a can of spray paint, and a hot glue gun. Spray the mask, glue on some feathers and ribbon. You can be parade-ready in 30 minutes for under $20.
Project 2: The Wet-Molded Leather Mask (Intermediate)
This project will give you a super comfortable, form-fitting mask that looks incredibly professional.
What You’ll Need:
- A 12×12 inch piece of 4-6 oz vegetable-tanned leather (~$15-$25)
- A very sharp craft knife
- Paper for your template
- A bowl of lukewarm water
- Leather dyes or acrylic paints
- Leather sealer (like Acrylic Resolene, about $10)
- Ribbon or elastic
First, draw a domino mask shape on paper and test it on your face for size. Trace it onto your leather and cut it out with a sharp knife. Then, submerge the leather in lukewarm water for a minute or so until it’s flexible. Lay it over your face (or your plaster form) and use your fingers to press it firmly around your nose and brows. Let it air dry completely. It’ll get stiff and hold its shape.
By the way, if you mess up the molding, don’t panic! The great thing about veg-tan leather is that you can just re-soak it and try again. Once it’s dry, you can dye or paint it. To attach the ribbons, a proper leather punch is best, but honestly, a hammer and a sharp nail over a block of scrap wood works just fine in a pinch.
Safety, Comfort, and Last-Minute Checks
A mask you can’t wear is just a wall hanging. Comfort is just as important as how it looks.
Stay Safe in Your Workspace
Please, protect yourself. When you’re sanding anything—plaster, dried papier-mâché—wear a real N95 respirator. A simple paper dust mask won’t cut it. If you’re using spray paints or sealants, work in a well-ventilated area, ideally with a fan pointing out a window to pull fumes away from you. And be careful with that hot glue gun. I’ve got a permanent little scar on my thumb that serves as a constant reminder to pay attention.
Designing for an Actual Human Face
Before you glue on all your fancy decorations, put the mask on. Can you see properly? Can you see your feet? Float riders have visibility rules for a reason—it’s a safety issue. If the eye holes are too small, carefully enlarge them with a small file or craft knife. Also, make sure you can breathe easily. A long parade can get hot, and you don’t want to feel claustrophobic. A simple ribbon tie is classic, but for a heavier mask, a sturdy elastic band will save you a headache.
Making your own mask is so rewarding. You’re not just crafting; you’re taking part in a long, vibrant tradition. So take your time, have fun with it, and create something that’s uniquely you.
Inspiration Gallery


Don’t just choose colors randomly! The traditional Mardi Gras trio has deep meaning. Purple represents justice, green stands for faith, and gold symbolizes power. Weaving these three into your design connects your mask to a tradition dating back to 1872.
- For securing heavy jewels or filigree: E6000 Industrial Strength Adhesive is your best friend. A little goes a long way.
- For attaching feathers or light trim: A hot glue gun offers a quick, strong bond.
- For sealing glitter and paint: A clear coat of Mod Podge (Gloss or Matte) will prevent shedding and add durability.
The single most overlooked step: Sealing your final design. A light spray of clear acrylic sealer, like Krylon Crystal Clear, not only protects your paint and glitter from humidity and accidental smudges but also gives it a professional, finished sheen. Don’t skip this!
In 17th-century Venice, mask-makers, or ‘mascherari,’ held their own respected guild with its own set of laws. Their craft was considered an art form on par with painting or sculpture.
Beyond the simple half-mask, consider classic Venetian forms for inspiration. Each tells a different story:
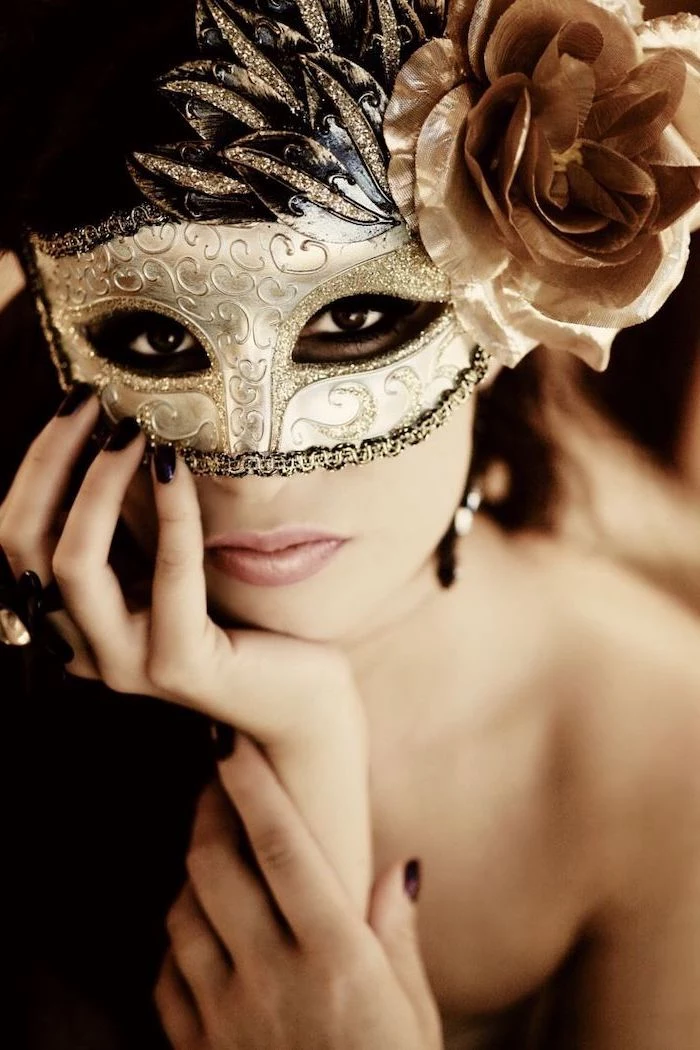
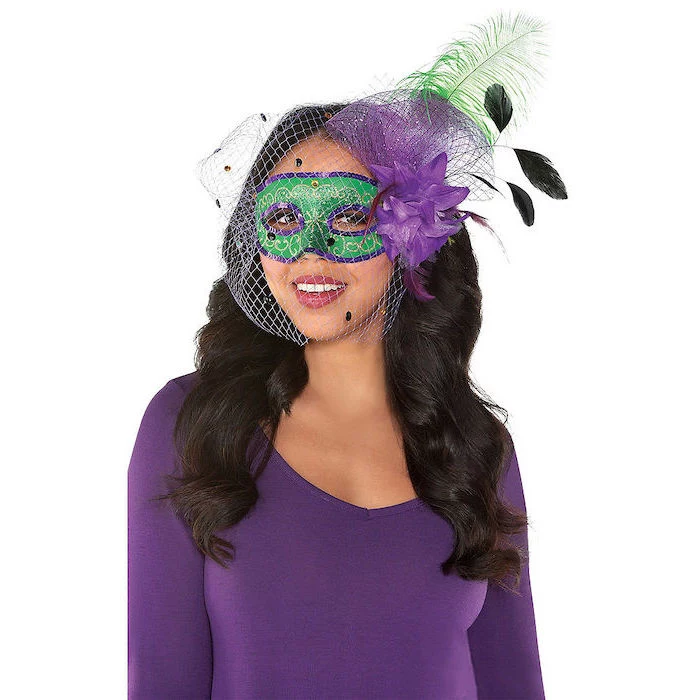
- Columbina: The quintessential half-mask, often highly decorated, covering the eyes, cheeks, and nose.
- Bauta: A full-face mask with a prominent chin line, designed to allow the wearer to eat and drink without removing it.
- Volto (Larva): A simple, often stark white full-face mask, traditionally worn with a tricorn hat and cloak.

How do I stop my mask from chafing my face after an hour?
Comfort is key for a long parade day. The secret is lining the inside edges. Glue a thin strip of soft felt, moleskin (found in the foot care aisle!), or smooth velvet along the browline and across the bridge of the nose. This small detail makes a world of difference.

Ribbon Ties: Offer a classic, romantic look and are highly adjustable. Best for lighter masks made of papier-mâché or craft foam. Downside: they can slip in fine hair.
Dowel Handle: Adds a touch of drama and elegance, allowing you to hold the mask. Ideal for heavier, more elaborate designs or for those who don’t want to mess up their hair. It frees you to reveal your face at will.
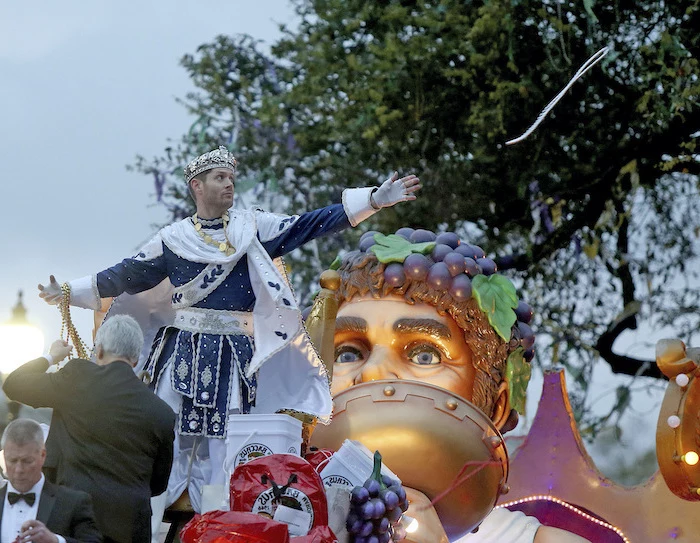
Fact: It’s estimated that over 1,000 tons of beads are thrown from floats in New Orleans each year.
That spirit of joyful excess should inspire your design! Don’t be shy with embellishments. Think layers: a base of glitter, topped with sequins, crowned with rhinestones. More is more when it comes to Carnival.

- It perfectly molds to the unique contours of your face.
- It’s breathable and surprisingly comfortable to wear for hours.
- It develops a beautiful, rich patina over time.
The secret? A high-quality vegetable-tanned leather base. It’s an investment, but it creates a true heirloom piece.
For ultimate opulence, nothing beats genuine gold leaf. Applying it is a meditative process. You paint on a thin layer of adhesive ‘size,’ wait for it to become tacky, then gently press on the delicate, tissue-thin sheets of gold. When you brush away the excess with a soft mop brush, the reveal is breathtaking—a gilded, crackled surface that looks like it came straight from a Venetian palace.
“A mask tells us more than a face.” – Oscar Wilde

My papier-mâché is taking forever to dry! How can I speed it up?
Patience is a virtue, but sometimes you’re on a deadline. To accelerate drying, place your mask in a well-ventilated area, preferably with a fan blowing gently over it. You can also use a hairdryer on a low, cool setting. Avoid high heat, which can cause the layers to warp or crack.
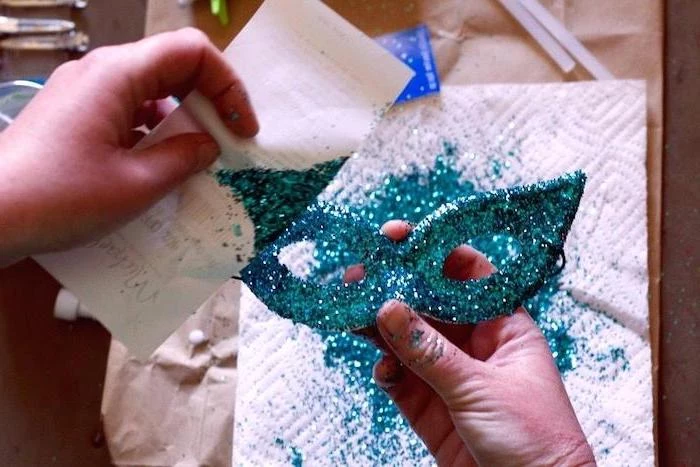
Fine Glitter: Creates a smooth, almost metallic sheen. It’s perfect for covering large areas with a uniform sparkle. Use a product like Martha Stewart Crafts Fine Glitter for an elegant, shimmering finish.
Chunky Glitter: Provides bold texture and catches the light in dramatic flashes. Use it as an accent on borders or to create focal points. It’s less about coverage and more about statement.
For a pro look, combine both: a fine glitter base with chunky glitter accents.
Want an antique or mysterious look? Try the ‘distressing’ technique. After your base paint is dry, water down some black or dark brown acrylic paint until it’s a thin wash. Brush it over the mask, paying special attention to crevices, then immediately wipe most of it off with a soft cloth. The dark paint will remain in the recesses, creating instant age and depth.
Common Mistake: Cutting the eye holes based on your form or a template *before* trying it on. Always hold the blank mask up to your face and use a pencil to mark the exact inner and outer corners of your eyes. Cut small holes first, then gradually enlarge them until the fit and visibility are perfect. Remember: you can always make a hole bigger, but you can’t make it smaller!
Feathers add movement and drama. Explore different types for varied effects:
- Ostrich Plumes: For soft, elegant, and sweeping gestures.
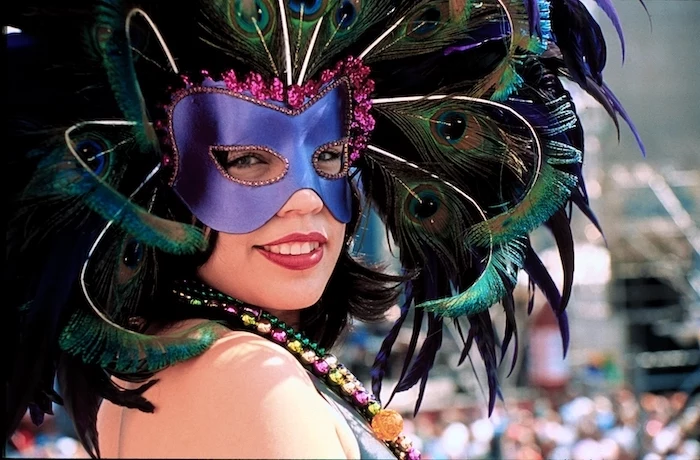
- Peacock Feathers: For their iconic ‘eye’ and iridescent jewel tones of green and blue.
- Pheasant Feathers: For their beautiful, natural patterns and pointed shape.
- Marabou: For a soft, fluffy trim around the edges of your mask.
Think beyond the craft store. Scour thrift shops for old, broken costume jewelry. A single orphaned earring can become a stunning central medallion. A piece of a beaded necklace can be repurposed as an ornate trim. These unique finds ensure your mask is truly one-of-a-kind and add a layer of history to your creation.
- Store it in a sturdy box, away from direct sunlight to prevent colors from fading.
- Pad it with acid-free tissue paper to support its shape and protect delicate feathers.
- Place a silica gel packet (the kind found in new shoe boxes) in the box to absorb any moisture.
Over 70% of the world’s ‘eco-glitter’ is produced by the UK company Ronald Britton Ltd under the name Bioglitter®, using eucalyptus cellulose instead of plastic.
Yes, you can sparkle sustainably! Look for biodegradable glitter made from plant-based materials. It performs just like traditional polyester glitter but breaks down naturally. Brands like ‘Today Glitter’ or products labeled with ‘Bioglitter®’ are great options for a guilt-free shimmer.

Go beyond traditional themes by incorporating steampunk elements. Think clock gears, metallic filigree, copper wire, and aged brass tones alongside the classic purple, green, and gold. It’s a fantastic way to blend historical fantasy with the festive spirit of Carnival, creating a mask that is both intricate and unexpected.
Is it a good idea to incorporate LED lights?
Absolutely, for a modern ‘wow’ factor! Use ‘fairy’ or ‘firefly’ string lights with a tiny, concealable battery pack. These flexible copper-wire strands are easy to weave through filigree or attach to the back of feathers with a hot glue gun. They add a magical glow, especially for nighttime parades and parties. Just be sure to secure the battery pack firmly to the inside of the mask or run the wire down your back.
One final check before you leave for the parade: Hold your mask and tilt your head side to side, then nod up and down. Does anything feel loose? Is the weight distributed evenly? Most importantly, is your peripheral vision clear enough to navigate a crowd safely? A quick adjustment now can save you a headache later.
- Create intricate, raised patterns with a 3D effect.
- Achieve sharp, detailed edges that are impossible with papier-mâché.
The secret? A heat gun and a sheet of a thermoplastic like Worbla or Thibra. When heated, the plastic becomes moldable like clay, hardening into a durable, lightweight form as it cools.
Don’t have fancy filigree? Raid your pantry! Dried pasta shapes like rotini or ditalini, or even lentils and beans, can be glued onto your mask before painting. Once coated in a metallic spray paint like Rust-Oleum’s ‘Bright Coat,’ they create surprisingly ornate and complex-looking textures for just a few cents.
“The moment you put on a mask, you are liberated from yourself.” – French Quarter Artisan