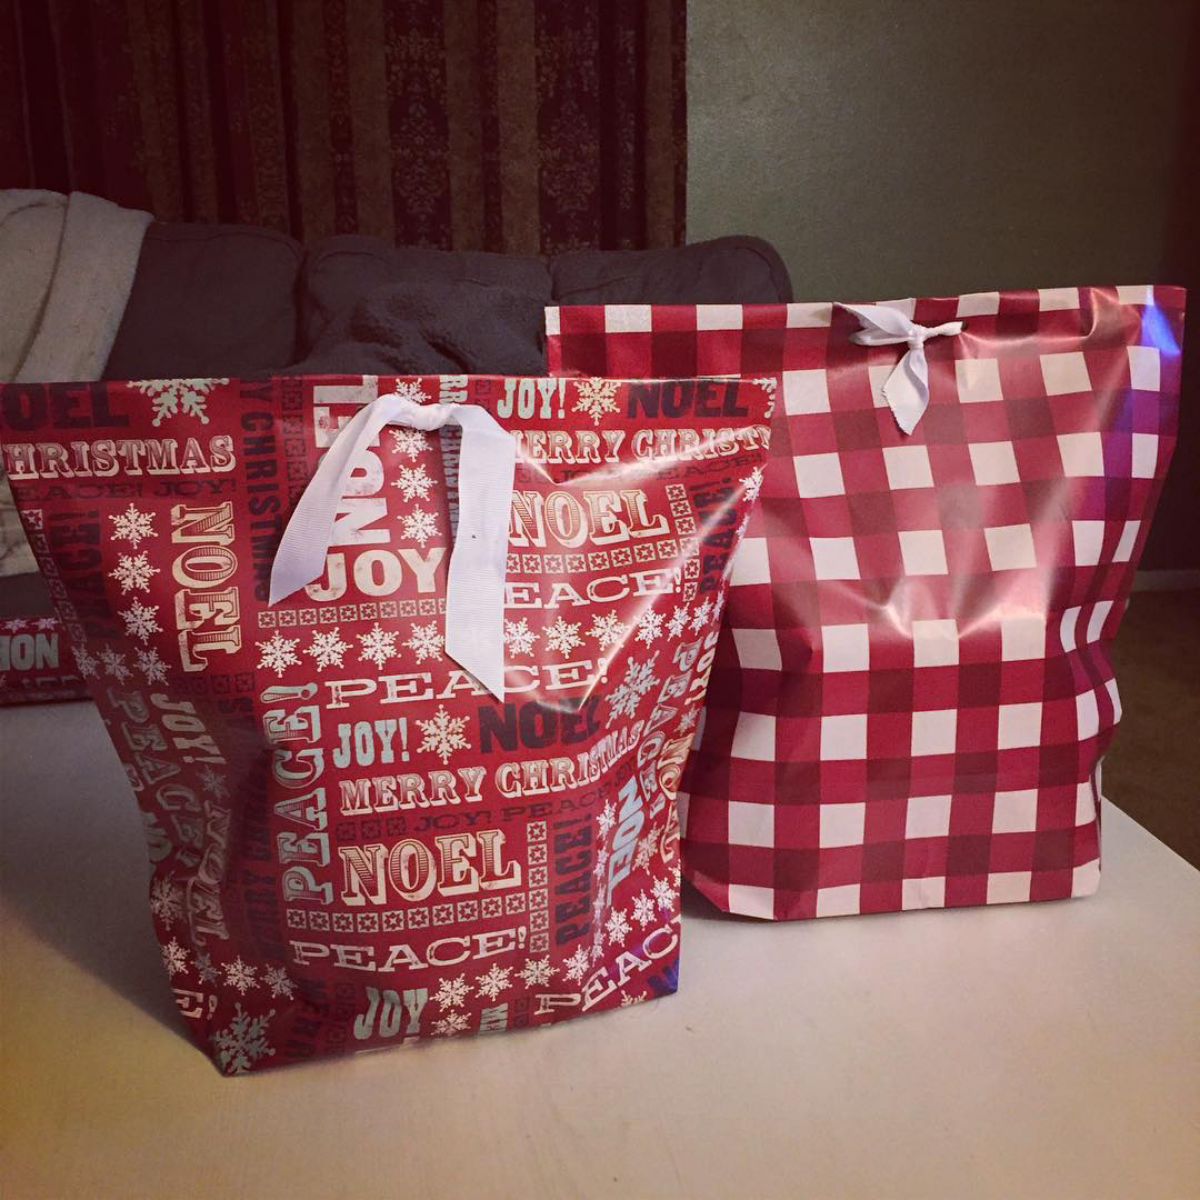
Forget Store-Bought: How to Make a Gift Bag That’s Actually Strong & Beautiful
I used to work in high-end retail, and presentation was everything. We couldn’t just drop a gorgeous item into some flimsy plastic bag. But more often than not, we just didn’t have the right-sized box. That’s when we had to get creative and transform a simple roll of wrapping paper into a slick, sturdy gift bag. This wasn’t just a party trick; it was a non-negotiable skill that broadcasted care and quality.
In this article
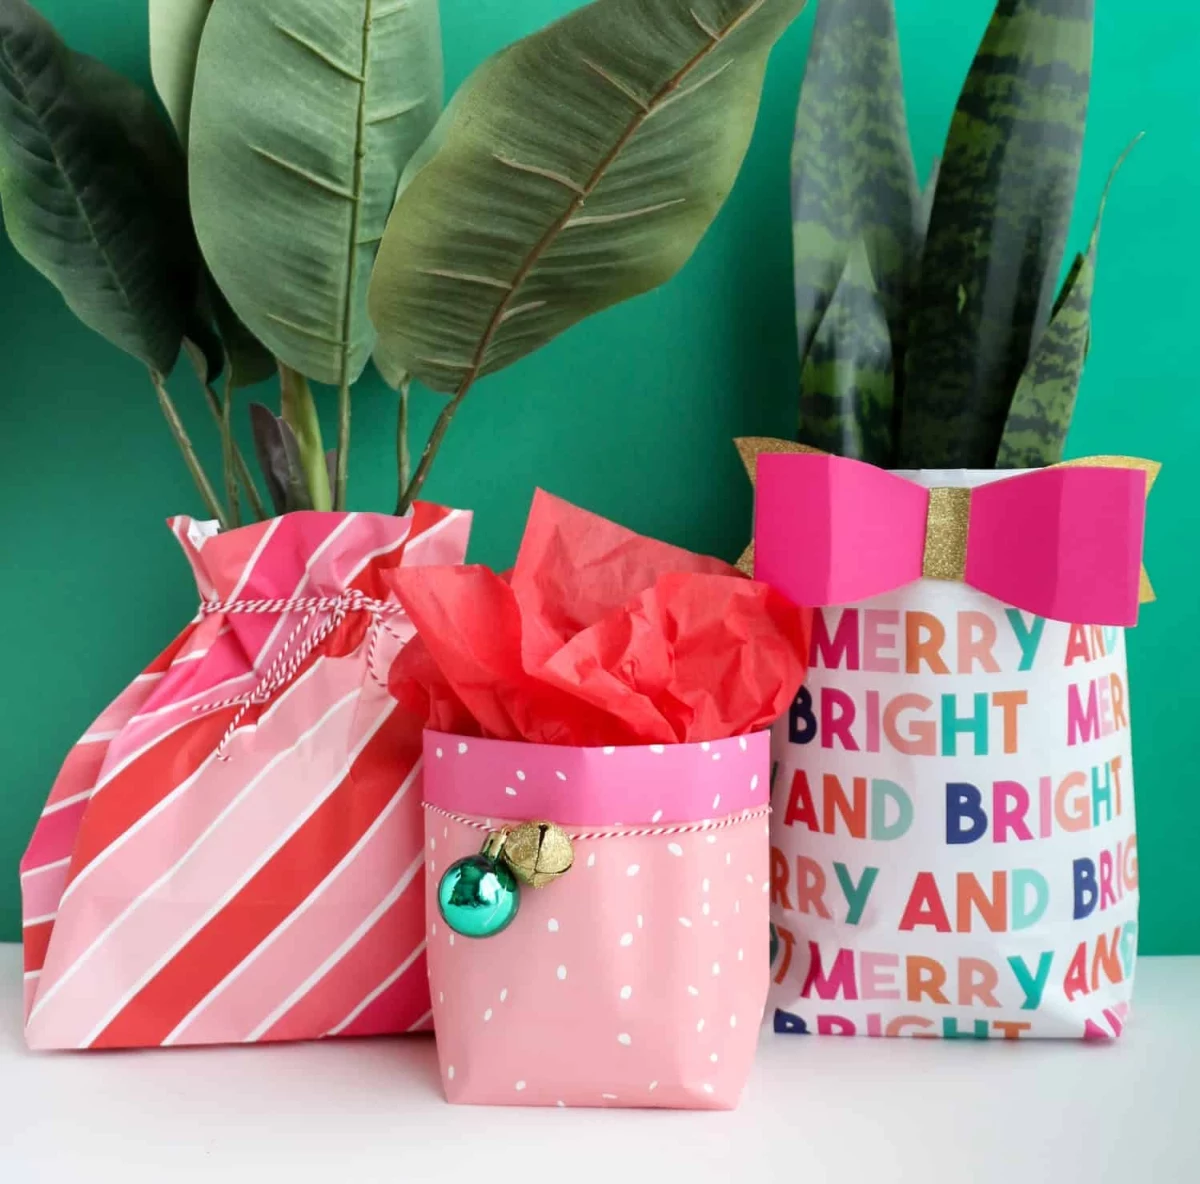
Honestly, making your own gift bag is so much more than just a clever workaround. It’s about creating the perfect container for any gift, adding a handmade touch that people genuinely notice. And yeah, it’s a fantastic way to use up that half-roll of paper you’ve had stashed away. My goal here is to show you how to do it the right way—so your bag is not just pretty, but strong enough to actually do its job.
First Things First: It’s All About the Paper
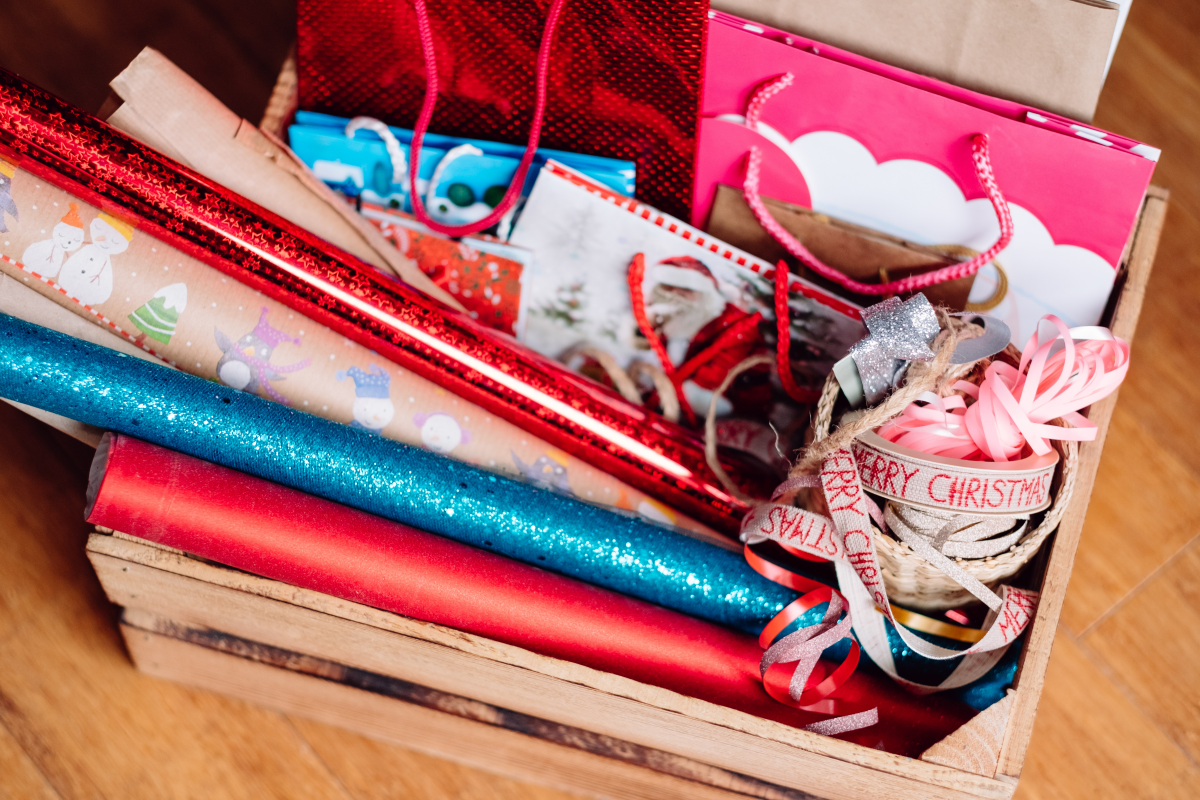
Before you even think about folding, let’s talk paper. The success of your bag hinges almost completely on choosing the right material, and I’m not just talking about a nice pattern. It’s about the physics of the paper itself.
The most important detail is paper weight, measured in Grams per Square Meter (GSM). Think of it as paper density. That super cheap, thin wrapping paper from the discount bin? It’s usually around 50-60 GSM. It looks fine on a box, but it tears if you look at it wrong and has zero structural integrity for a bag.
For a reliable gift bag, you need paper that’s at least 80 GSM, but my sweet spot is in the 90-110 GSM range. This gives you durability without being so thick that it cracks when you fold it. Higher-end paper will often list the GSM on the packaging. If not, just use your hands. Does it feel substantial? Does it make a crisp sound? If it feels like tissue paper, leave it on the shelf.
A Quick Guide to Paper Types:
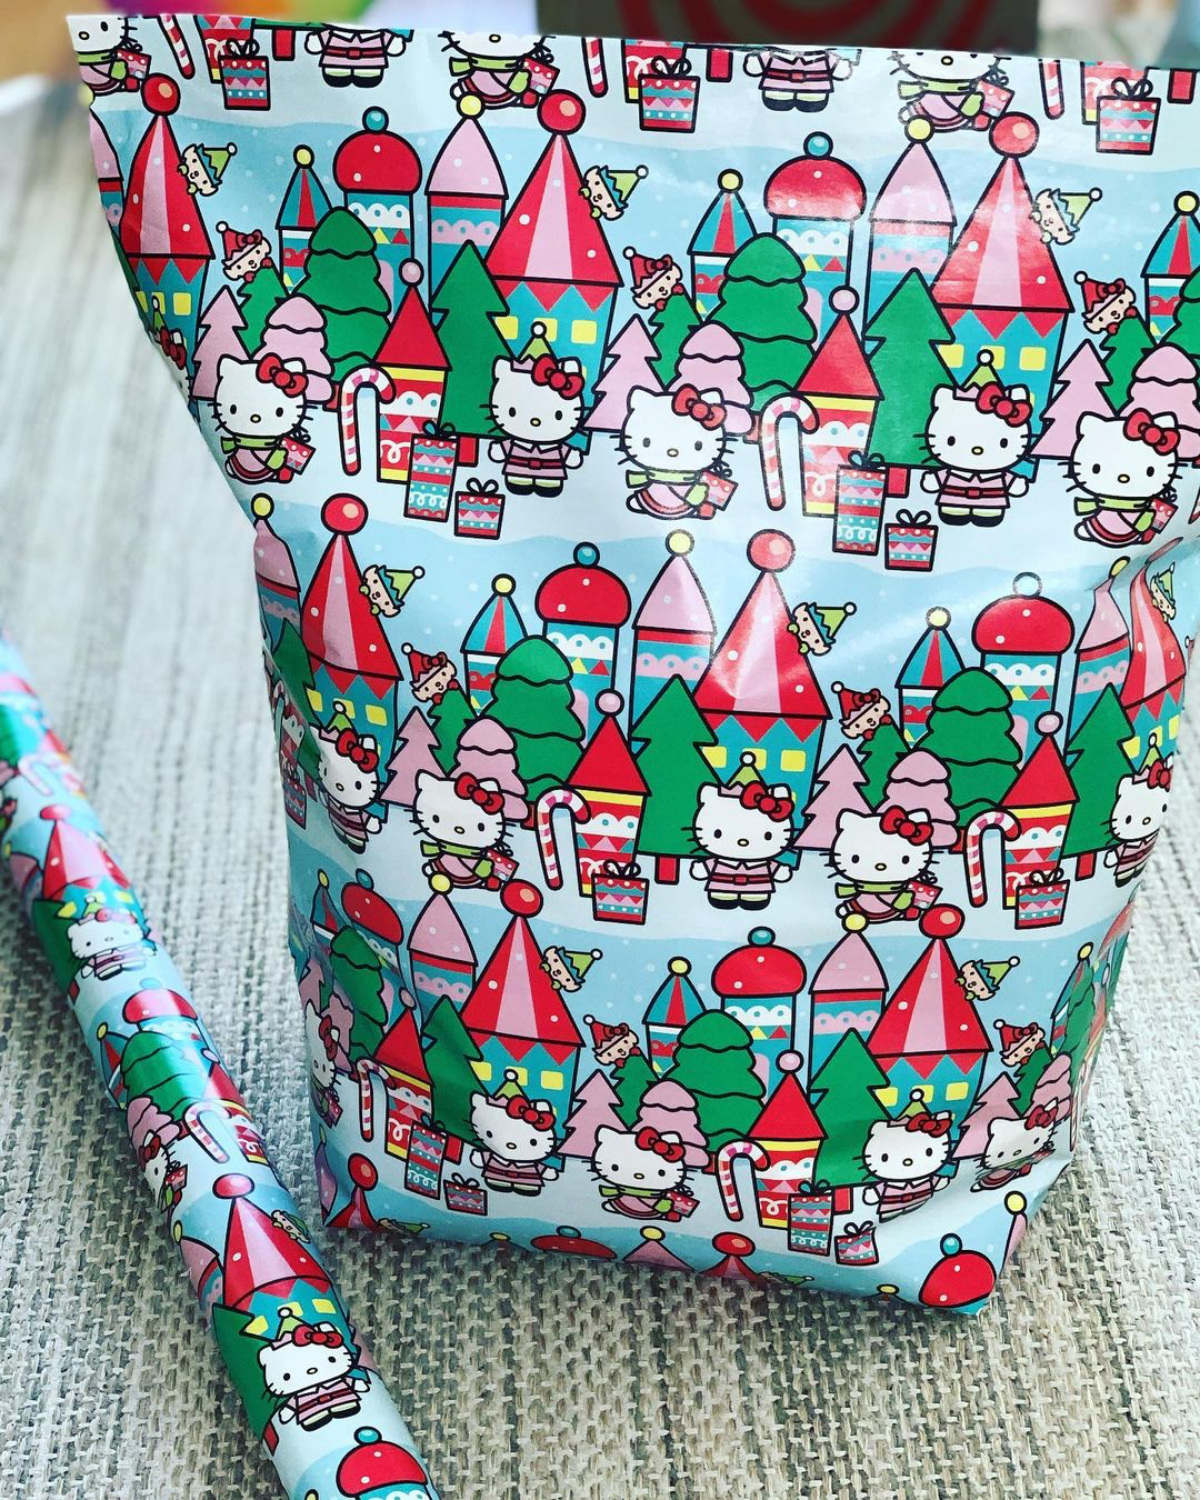
- Standard Wrapping Paper (60-70 GSM): This is your typical, thin gift wrap. Best For: Practicing your folds or for very lightweight, non-fragile items. Heads Up: It tears easily, especially at the handle points. I’d avoid this for anything with heft.
- Kraft Paper (80-100 GSM): This is the sturdy, brown paper bag material. It’s a workhorse! Best For: Heavy or awkwardly shaped gifts. You can find it in brown, black, white, and other colors at most craft stores. Heads Up: The look is more rustic, but you can dress it up with nice ribbon.
- High-Quality Art Paper (90-120 GSM): This is the good stuff. Think of the single sheets of gorgeous, patterned paper you find at art supply stores like Michaels, Blick Art Materials, or online paper shops. Best For: Creating a truly luxurious, custom bag. Heads Up: Glossy or foil-coated versions look amazing but can crack on sharp folds. You must score these before folding (more on that later).
The Right Tools for the Job (Budget vs. Pro)
You can technically make a bag with just scissors and some tape. But if you want that crisp, professional finish, the right tools make a world of difference. Here’s a breakdown of what you need, with options for any budget.
The Budget-Friendly Kit (Under $10):
- Scissors: A sharp pair you already own will do the trick.
- Folding Tool: The back of a butter knife or the edge of a plastic ruler works surprisingly well to get a sharp crease.
- Adhesive: A good quality glue stick or some clean-looking double-sided tape. You can grab a roll for about $5.
The ‘I’m Taking This Seriously’ Kit (Around $40-$50):
- Cutting Tool: For perfectly straight edges, nothing beats a rotary cutter and a self-healing mat (around $25 for a combo set). A simple craft knife is a great alternative.
- Folding Tool: A real bone folder ($5-$10) is a game-changer. It’s a dull-edged tool that presses a perfect crease without tearing or leaving a shiny mark on the paper.
- Adhesive: Professionals use double-sided tape for invisible seams. A tape runner or roller (about $10) is even better for applying a thin, consistent line of adhesive, especially for the bag’s base.
- Essentials: A metal ruler, a pencil, and a standard hole punch.
Let’s Build a Bag: The Step-by-Step Method
Alright, let’s get to it. For your first attempt, set aside about 30 minutes. Once you get the hang of it, you’ll be whipping these out in 15 minutes flat. To make this real, go grab the gift you want to wrap. Measure its height, width, and depth right now. Let’s do this!
For our example, let’s say we’re making a bag that’s 10 inches tall, 8 inches wide, and 4 inches deep.
Step 1: Measure and Cut Your Paper
Getting this first cut right is everything. Use this formula with your gift’s measurements:
Paper Width = (2 x Bag Width) + (2 x Bag Depth) + a 2-inch overlap
Our example: (2 x 8″) + (2 x 4″) + 2″ = 26 inches wide.
Paper Height = (Bag Height) + (Half of Bag Depth) + a 2-inch top hem
Our example: 10″ + (4″ / 2) + 2″ = 14 inches tall.
So, we need a 26″ x 14″ rectangle. Lay your paper pattern-side down. Measure carefully, mark your corners lightly, and use your cutter or knife for a clean, straight cut.
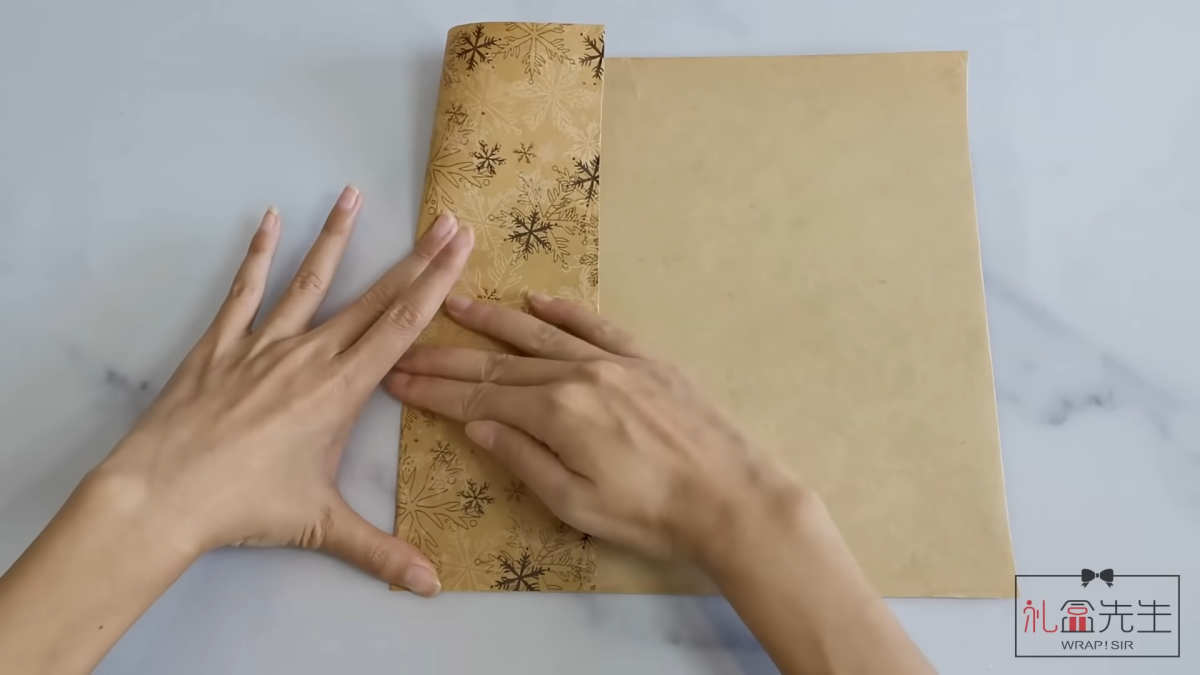
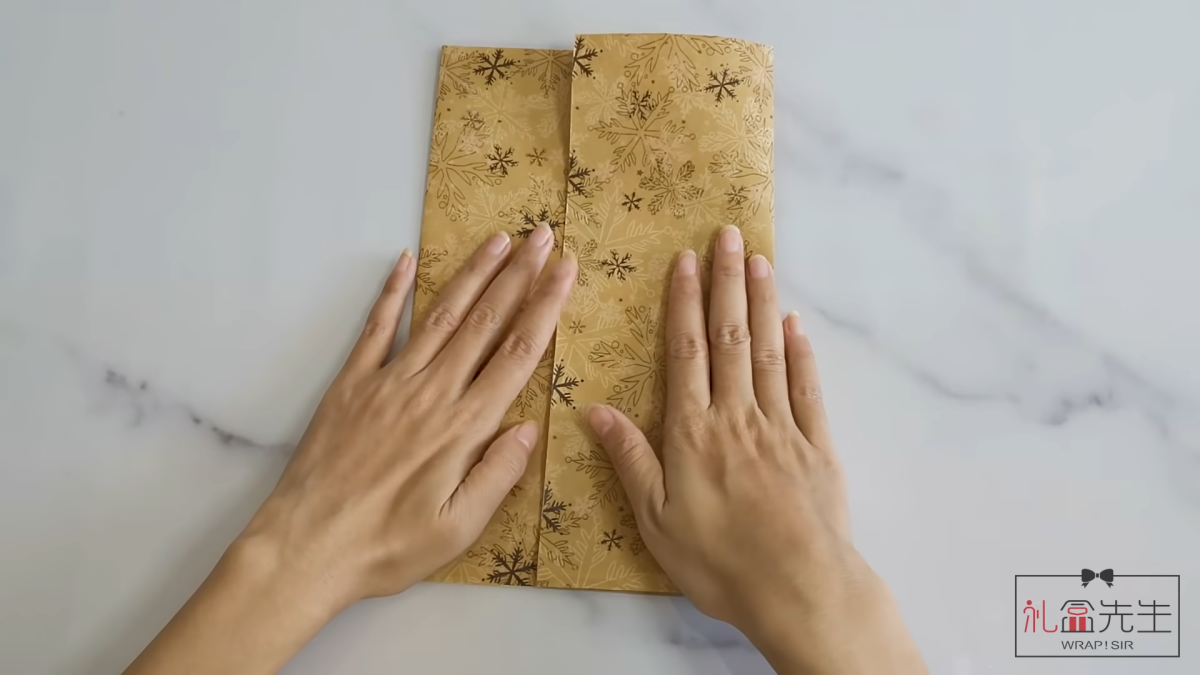
Step 2: Form the Main Tube
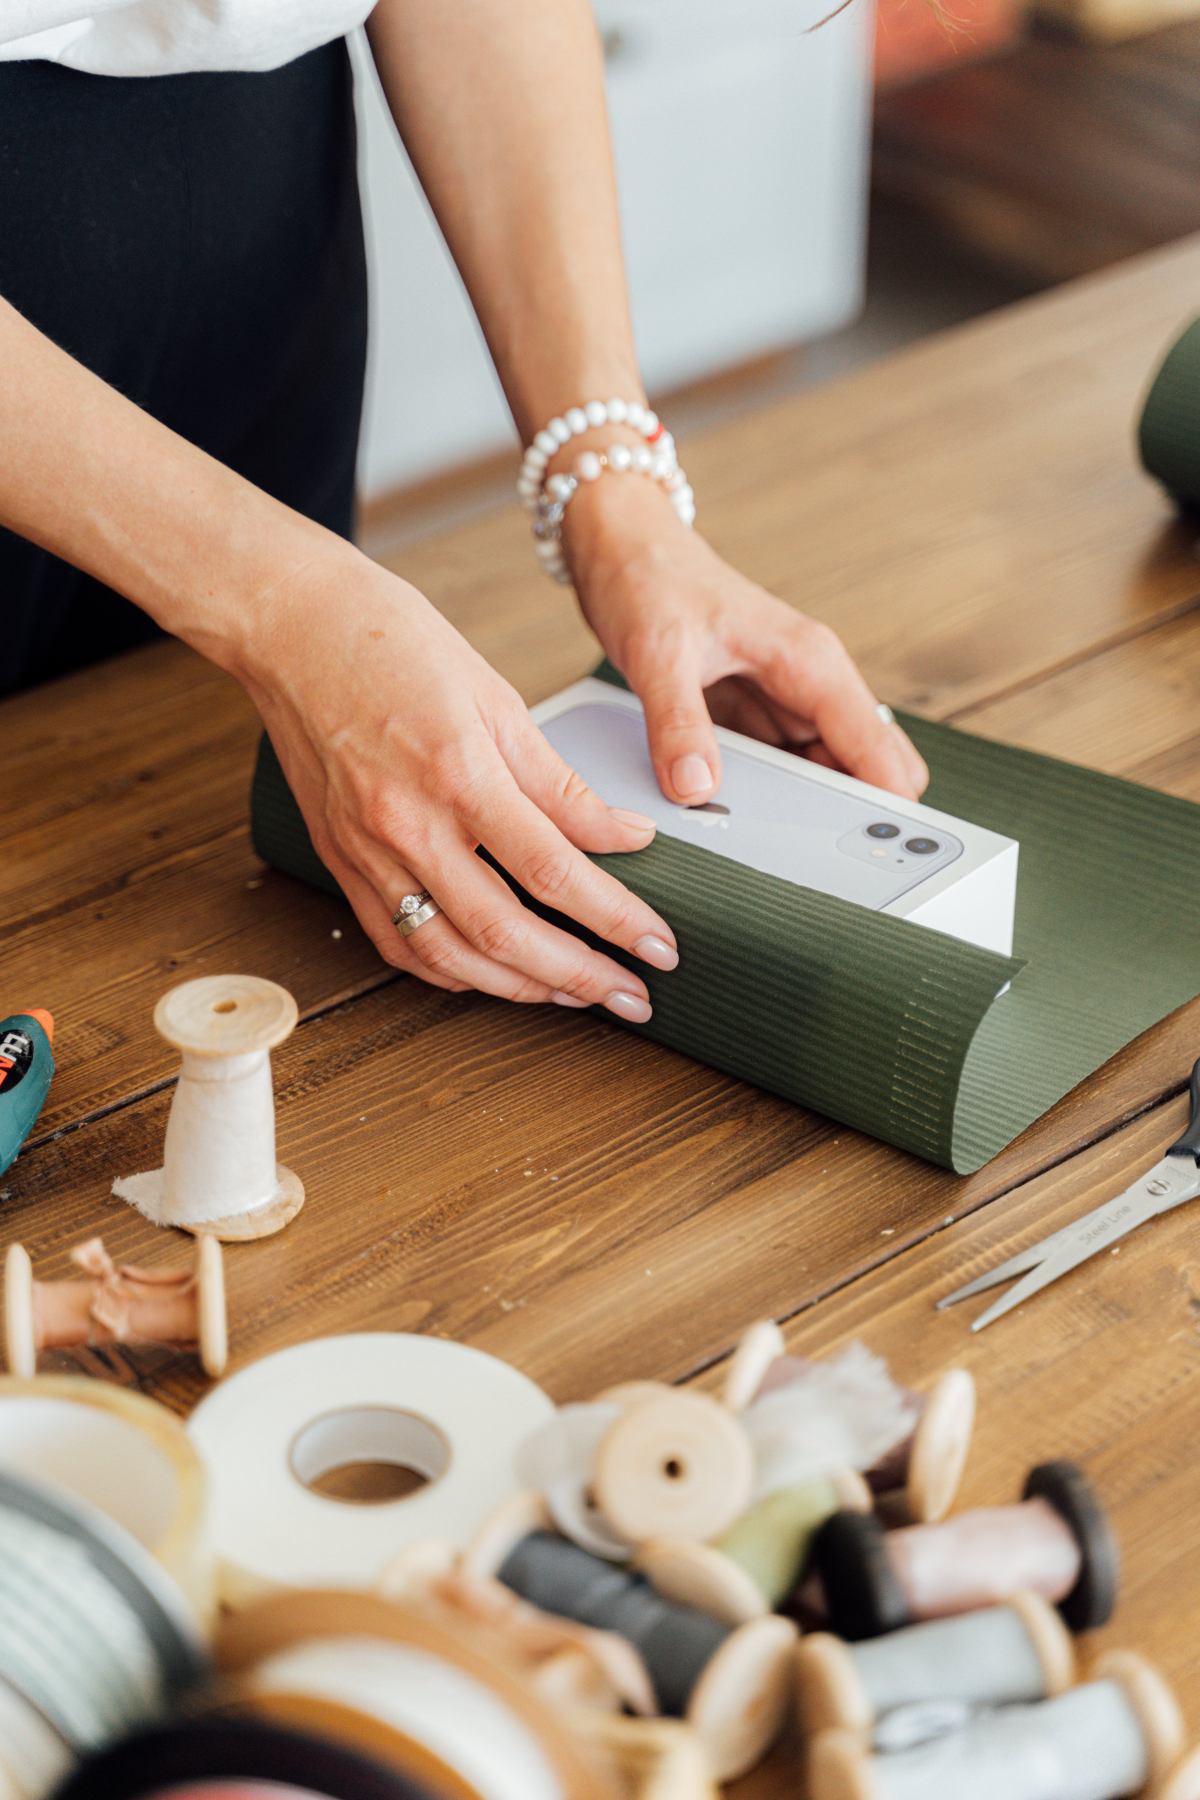
Lay your cut paper pattern-side down. Fold the long edges in so they overlap in the middle by about an inch. This seam will be the back of your bag. Run a strip of double-sided tape along the edge of the bottom flap and press the top flap over it. Run your bone folder (or butter knife) over the seam to get a good, strong bond. You should now have a flat paper tube.
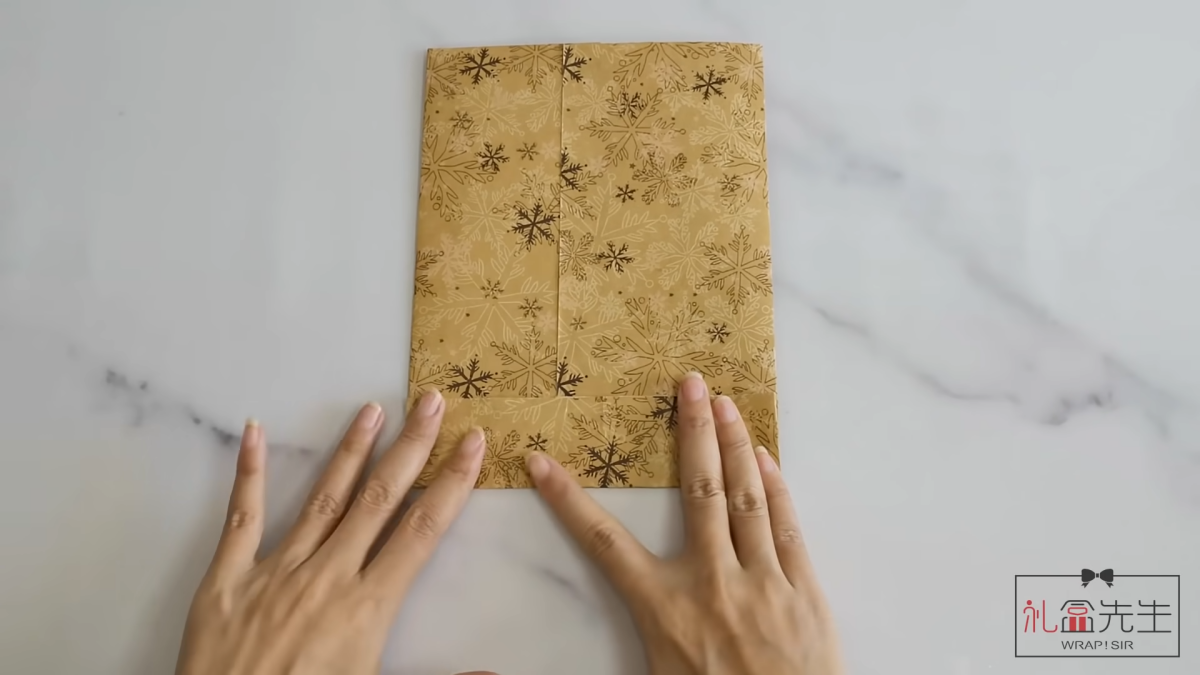
Step 3: Create the Base
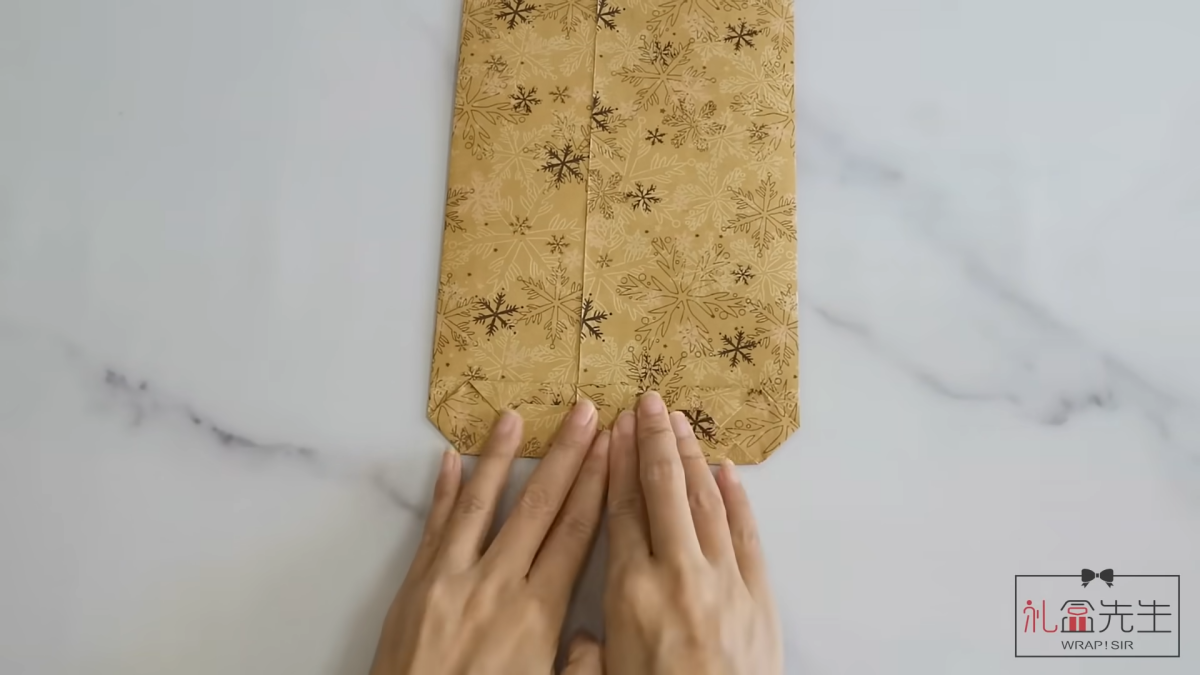
Okay, deep breath. This is the trickiest part, but I promise it’s simple once it clicks. At one end of your tube, fold up the bottom edge. The height of this fold should be half of your bag’s depth. For our 4-inch deep bag, that’s a 2-inch fold. Crease it firmly.
Now, open up that section you just folded. It’ll look kind of hollow. Gently press the center down so it flattens into a diamond shape with two triangular wings. This is the famous ‘diamond fold’.
(Quick tip: If you’re struggling to visualize this, pause here and search “paper bag diamond fold” on YouTube. Seeing it done once will make it click forever!)
To close the bottom, fold the top point of the diamond down past the center line. Then, fold the bottom point up to generously overlap the top one. This overlap is key for strength. Secure both flaps with plenty of double-sided tape. The base should feel solid.
Step 4: Reinforce the Base (Don’t Skip This!)
For any gift heavier than a pair of socks, you need to reinforce the base. Cut a piece of cardstock (a piece from a cereal box is perfect) to fit the bag’s bottom. For our 8″ x 4″ bag, I’d cut a 7.75″ x 3.75″ piece. The slightly smaller size lets it slide in easily. A pro move is to stick a few pieces of double-sided tape on the cardstock before placing it, so it doesn’t shift around.
Step 5: Define the Bag’s Shape
Stand the bag up. Using the corners of the diamond base as your guide, fold in the sides of the bag to create side creases running all the way to the top. Press these folds sharply. This is what allows the bag to expand and collapse neatly, just like a store-bought one.
Step 6: Finish the Top Edge
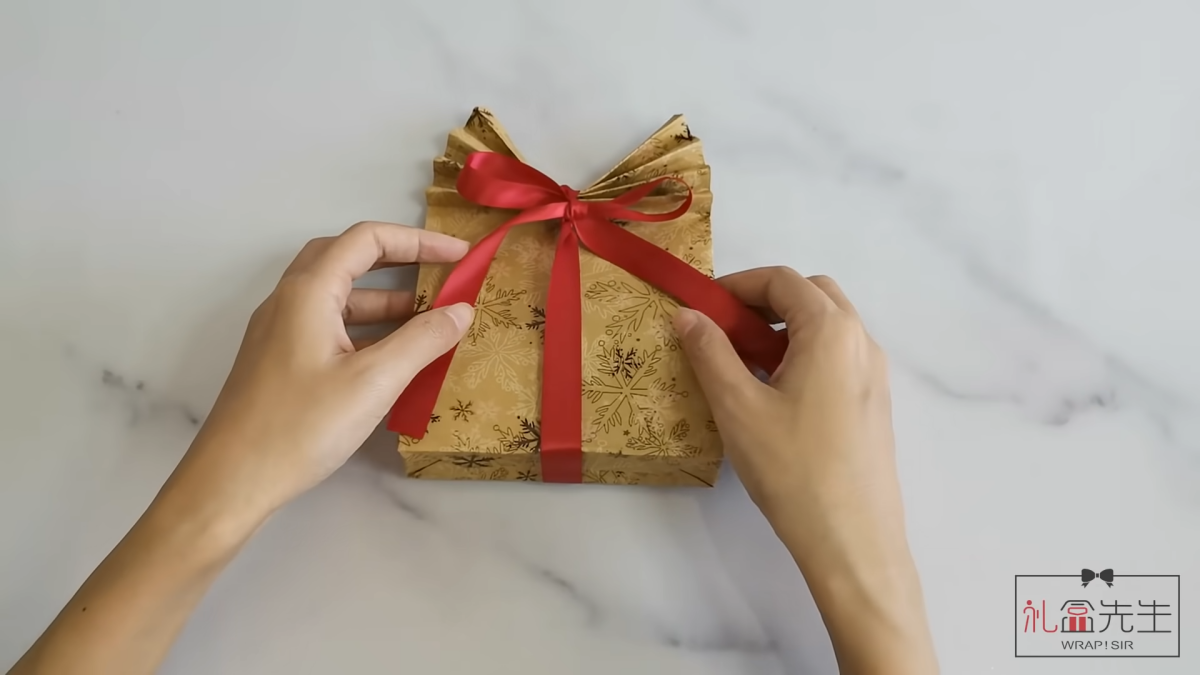
A raw edge at the top looks amateur and tears easily. Fold the top 2 inches of the bag inward, all the way around the opening. Make this crease extra sharp. This creates a clean hem and, more importantly, doubles the paper thickness where the handles will go, preventing them from ripping out.
Step 7: Add the Handles
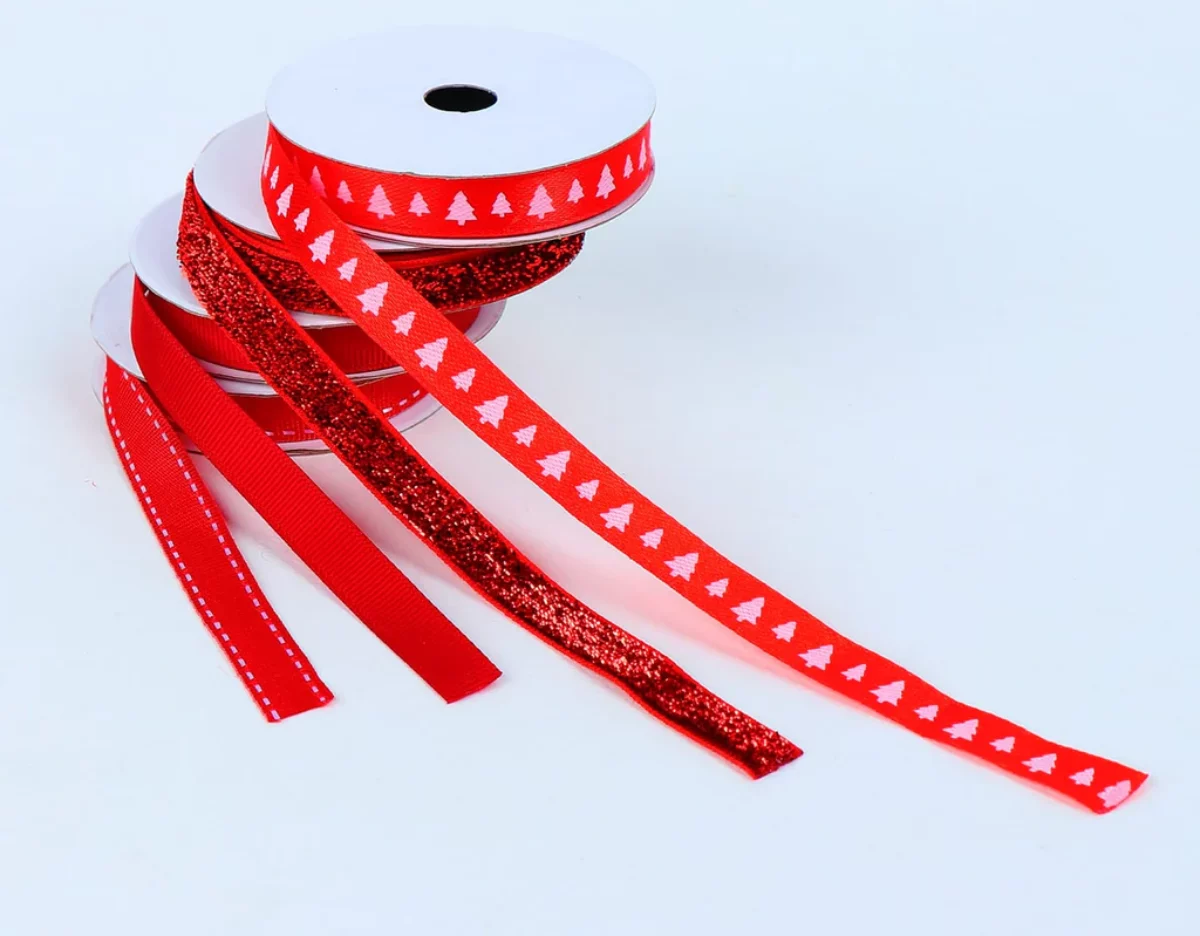
Grosgrain ribbon is my absolute favorite for handles—it’s ribbed, incredibly strong, and doesn’t stretch. Punch two holes on each side of the bag, about 3 inches apart and centered, making sure you punch through the folded-over hem.
Cut two equal lengths of ribbon. Thread one piece from the outside-in on one side, and then from the inside-out through the other hole. Tie a thick knot on the inside. Repeat on the other side. For extra security, I like to put a tiny piece of clear tape over the knots inside the bag to guarantee they can’t pull through.
Troubleshooting & Pro Tips
Quick Win Challenge: Before you use your expensive paper, grab a sheet of regular printer paper and make a tiny bag for something small, like your TV remote. It’s a zero-risk way to learn the folds and build confidence.
- Problem: My paper is cracking on the folds!
Solution: You’re likely using a thick, coated paper. Before you fold, you need to score it. Just lay a ruler along the fold line and run your bone folder or the back of a knife along it to create a guided channel for a clean fold. - Problem: The bottom isn’t flat!
Solution: Your diamond fold was probably asymmetrical. Take your time and make sure the points of the diamond are even and the flaps overlap neatly. Precision is your friend here. - Problem: The handles ripped out!
Solution: This means the gift was too heavy, the paper too thin, or you skipped the top hem. Always fold the top hem! For heavy items, you can also glue a little square of cardstock on the inside of the bag where the holes are punched for super-strength.
Time-Saving Hack: If you’re making a bunch of these for party favors, set up an assembly line. Cut all the paper pieces first. Then form all the tubes. Then do all the bases. It’s SO much faster than making them one by one.

Finally, a quick word on safety. A rotary cutter or craft knife is seriously sharp. Always use a cutting mat, cut away from your body, and keep your other hand far away from the blade’s path. With a little practice, you’ll be able to create stunning bags that are as thoughtful and unique as the gifts they hold.
Galerie d’inspiration
Satin Ribbon Handles: For a touch of luxury, a wide (1.5-inch) double-faced satin ribbon offers a soft, elegant grip. Best for lighter gifts like apparel or books, as the ribbon can stretch or crease with too much weight.
Jute Twine Handles: For a rustic or heavy-duty option, twisted jute twine is unbeatable. It’s incredibly strong and adds a nice textural contrast. Thread two or three strands together for a thicker, more comfortable handle that can easily support a bottle of wine or a heavy candle.
The choice sets the tone: satin whispers elegance, while jute declares sturdiness.
- Prevents the handle holes from tearing out.
- Distributes the weight of heavy items evenly.
- Gives the base a crisp, professional-looking flat surface.
The secret? A simple reinforcement technique. Cut a piece of thin cardboard or heavy cardstock to fit the bottom of your finished bag. For the handles, glue a matching strip of cardstock along the inside top edge before you punch the holes. It’s an invisible detail that makes all the difference in durability.
According to Stanford University, if every American family wrapped just 3 presents in re-used materials, it would save enough paper to cover 45,000 football fields.
This is where your half-used roll of wrapping paper becomes a quiet hero. Crafting a gift bag isn’t just a creative outlet; it’s a direct action against waste. By using what you already have or choosing sturdy, reusable Kraft paper, you’re contributing to a more mindful tradition of giving.
Looking for a no-tape, no-glue, and completely reusable wrapping method?
Discover Furoshiki, the Japanese art of wrapping gifts in fabric. A simple square of cloth—a vintage silk scarf, a remnant of decorative cotton, or a purpose-made Furoshiki cloth from a brand like Wrappr—can be folded and tied to elegantly conceal any object. The fabric becomes part of the gift itself, a beautiful and sustainable gesture that eliminates waste entirely.
The sensory difference: A store-bought bag is disposable. A handmade bag is an experience. The recipient immediately feels the substantial weight of the 100 GSM paper, hears the crisp rustle, and sees the personal touch in the fold and ribbon choice. It transforms the act of giving from a transaction into a memorable moment.