Pumpkin Carving Secrets: How to Pick, Carve, and Keep Your Creation Fresh
I’ve carved more pumpkins than I can count. Honestly, it probably runs into the hundreds by now. Like a lot of people, I started out as a kid with a wobbly spoon and a knife that was way too dull, making a lopsided mess. But over the years, I’ve picked up a few tricks of the trade, even worked with growers to understand what makes a pumpkin truly great for carving. It’s more than just hacking holes in a gourd; it’s a real seasonal craft.
In this article
This isn’t about those mind-blowing, hyper-realistic sculptures you see online. This is about nailing the fundamentals. We’re going to cover how to pick a winner at the patch, what tools actually work (hint: not the flimsy ones in those kits), and the secret to making your masterpiece last way longer than a couple of days. So, let’s get our hands a little dirty and do this right.

The Foundation: Choosing the Perfect Pumpkin
Your carving is only ever as good as the pumpkin you start with. Picking a bad one is just setting yourself up for frustration. You might end up with one that has a woody, thick wall that fights you every step of the way, or worse, one that rots on your porch before the trick-or-treaters even show up. I’ve learned to look for a few key things that signal a great canvas.
First off, think about the type. The giant pumpkins bred for competitions are mostly water and have thin, weak walls—not ideal. And those cute little sugar pumpkins for pies? They’re usually way too dense and tough to carve. You’re looking for the classic carving pumpkin, often called a field pumpkin. It has a great shape, walls that aren’t too thick, and a solid structure. Some varieties are even bred specifically for Halloween, with deep orange color and pronounced ribs. Oh, and if you want to try etching or shading, look for a smooth-skinned white pumpkin; they’re perfect for that detailed work.
When you’re at the patch, give it a quick check-up. Give the pumpkin a firm thump. It should sound nice and hollow, like a drum. A dull thud often means the walls are too thick. Next, look for a flat bottom so it sits stable. A wobbly pumpkin is a nightmare to carve safely. Check the stem—it should be firm and green. A dry, brittle stem means it was picked a while ago and is already losing moisture. And please, whatever you do, never lift a pumpkin by its stem! I’ve seen it happen dozens of times: the stem snaps, and the pumpkin smashes on the ground. Always lift from the bottom.
Finally, inspect the skin. Roll it over and check for soft spots, bruises, or any mold, especially on the bottom where moisture gathers. A tiny blemish is usually fine—you can just work your design around it. But any widespread softness is a total deal-breaker. That one’s already on its way out.
The Real Toolkit: Moving Beyond the Basics
Those little orange-handled tool kits you can grab for $5 at the grocery store are fine for simple faces, especially with kids. But if you want more control and cleaner results, it’s time for an upgrade. And the good news? You don’t need to spend a ton of money. Many of the best tools might already be in your kitchen or garage.
Here’s a quick breakdown of what you might want, from budget to pro:
- Budget-Friendly Kit (Under $10): You’ve already got this! A sturdy metal ice cream scoop, a big metal spoon, a sharp paring knife, and some toothpicks. It’s simple, but it works.
- Mid-Range Kit ($15-$25): This is where you’d buy a dedicated “pro” carving set from a craft store like Michaels or online. The key is the small, serrated saws. They give you way more control for curves and details than a straight knife.
- The Enthusiast’s Kit ($30+): For this, you’d add a few specialty items. My absolute favorite is a clay loop tool, which you can get from any art supply store for under $10. It’s used for pottery and is amazing for scraping the inside walls perfectly smooth. For etching, wood carving gouges or linoleum cutters are fantastic.
For transferring your pattern, you can tape it on and use a poker tool to make a connect-the-dots outline. But a lesser-known trick I love for detailed work is using carbon transfer paper from an art store. You just place it between your pattern and the pumpkin, trace the design, and it leaves a perfect, easy-to-follow line.
Prepping Your Canvas: The Right Way to Gut and Clean
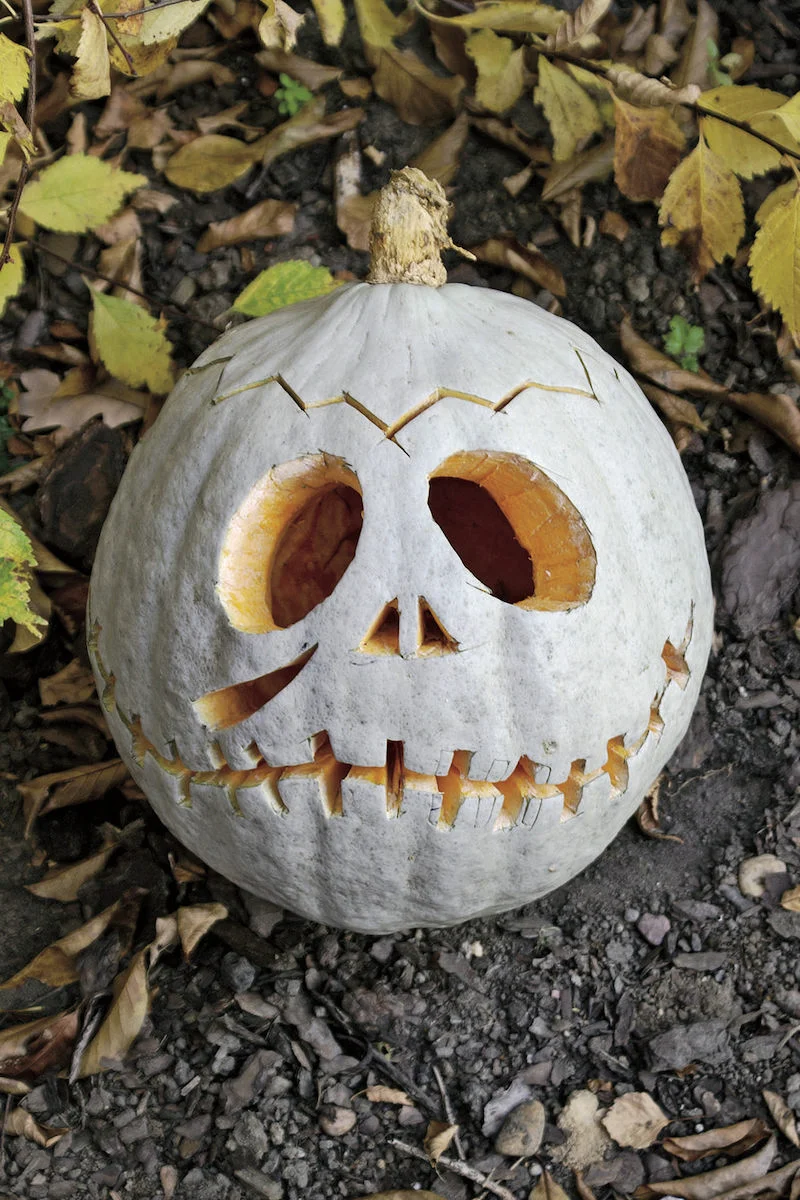
Alright, before you make a single cut, you have to prep your pumpkin. This part is messy but so important. Plan for about 30 minutes just for gutting and cleaning. First, lay down some newspaper—trust me, it makes cleanup a thousand times easier. When you cut the lid, don’t cut straight down! If you do, the lid will just fall inside. Angle your blade toward the center at about 45 degrees. This creates a cone-shaped top that will sit perfectly in place. A quick tip: cut a small V-shaped notch in the lid and pumpkin so you can line it up easily every time.
Now for the guts. Use that metal ice cream scoop or a big spoon to get all the seeds and stringy stuff out. But don’t stop there. You need to scrape the inner walls until they’re about one inch thick. A thinner wall is easier to carve and lets more light through, while a thicker wall is better for sculpted, 3D designs.
By the way, DON’T throw those seeds away! Here’s a super quick way to make a delicious snack:
- Rinse the seeds in a colander to get the gunk off.
- Pat them completely dry with a paper towel. This is the secret to getting them crispy.
- Toss them in a bowl with a little olive oil and salt (or any seasonings you like—cinnamon sugar is great too!).
- Spread them on a baking sheet and roast at 300°F (150°C) for about 20-30 minutes, or until golden and crunchy.
Once the pumpkin is clean and scraped, wipe down the inside with a cloth or paper towel. You want it as dry as possible to discourage mold. Now you’re ready to get creative.
Carving Techniques for Every Skill Level
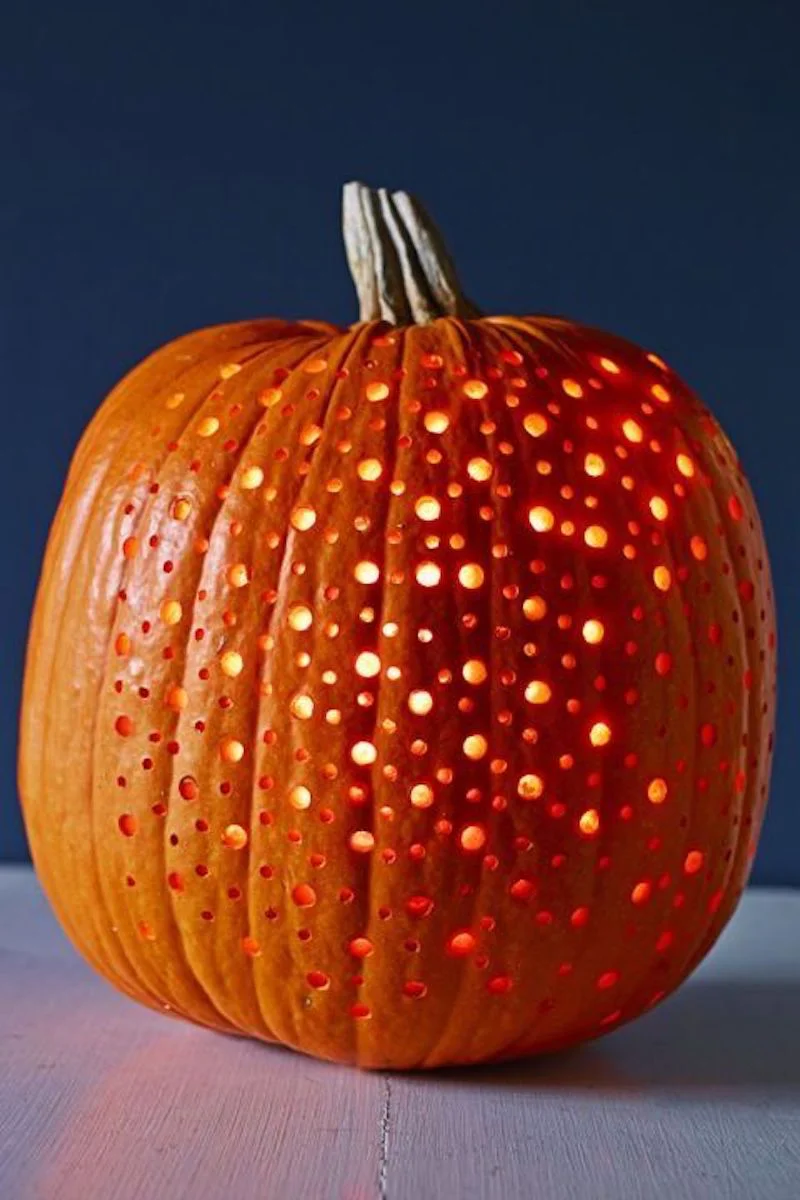
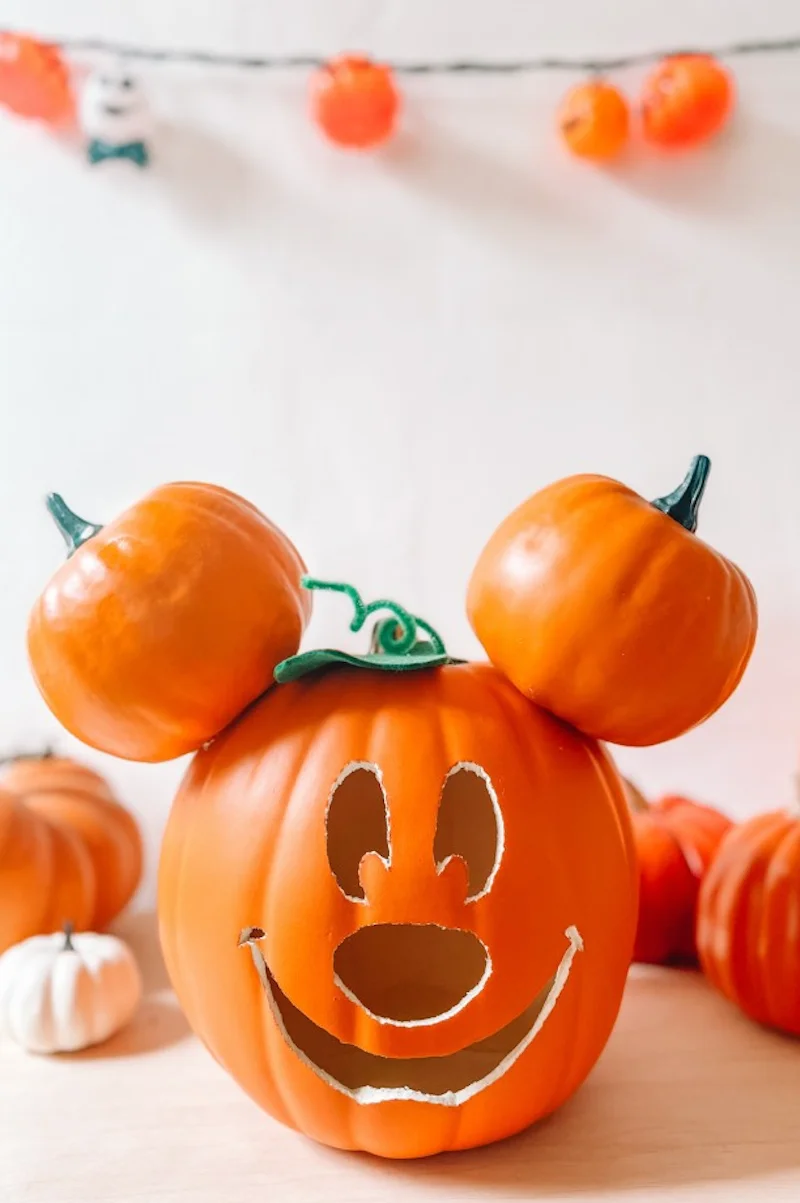
How you carve depends on your design. For beginners, think big and bold. Large, simple shapes often have a bigger impact than tiny details that get lost. A fun trick is to use metal cookie cutters. Just place one on the pumpkin and gently tap it with a rubber mallet to punch out a perfect shape. A power drill with different bit sizes is also great for creating cool patterns of glowing dots.
For more traditional carving, remember this one rule: carve the details in the middle of your design first. The pumpkin is strongest when it’s fully intact. If you cut out a huge mouth first, the whole thing might flex or bend when you try to carve the delicate eyes. Use a gentle sawing motion and let the tool do the work. For sharp corners, it’s better to pull the blade out and re-insert it at a new angle rather than trying to twist it.
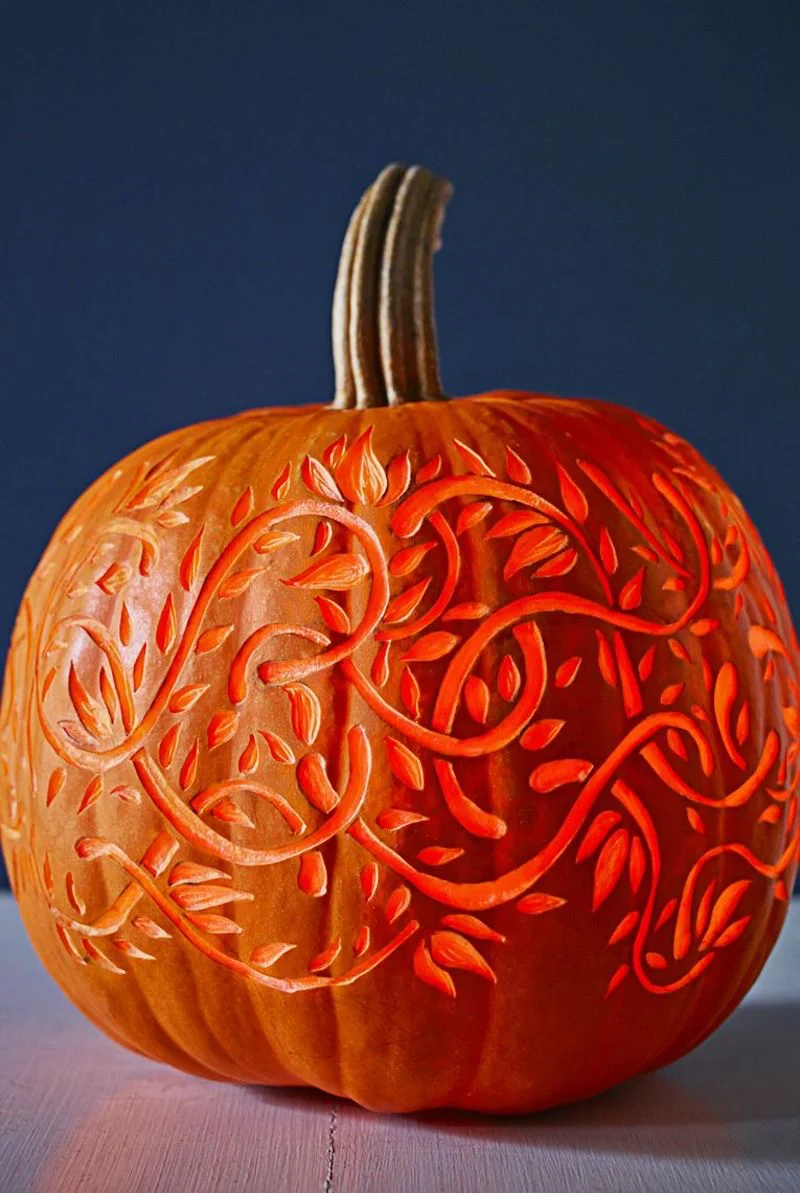
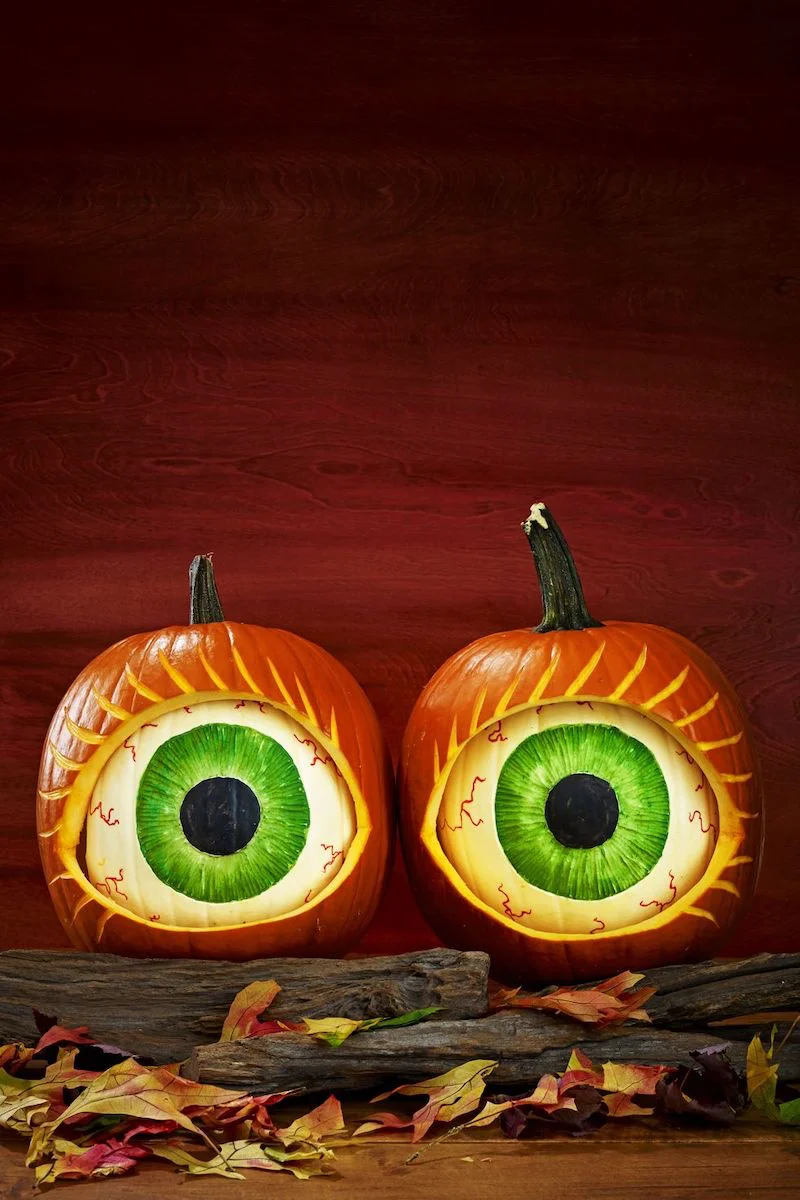
And if you’re feeling advanced, you can try shading. This is where you only scrape off the outer orange skin, revealing the lighter flesh underneath. When you light the pumpkin, these etched areas will have a beautiful, soft glow. This is where those clay loops and linoleum cutters really shine.
Heads up! What if you mess up? If a piece breaks off by accident, don’t panic. You can usually stick it right back on with a couple of strategically placed toothpicks. If a delicate area collapses inward, try pinning a small piece of scrap pumpkin to the inside wall behind it as a brace. Problem solved.
The Secret to Making Your Pumpkin Last
Nothing is sadder than watching your hard work shrivel and rot in two days. The enemies are dehydration and mold. I once skipped the preservation step in a humid climate, and my pumpkin was a fuzzy, collapsed mess in 48 hours. Don’t be like me!
I’ve tried all the folk remedies, and here’s the two-step process that actually works wonders. It can easily add a week or more to your pumpkin’s life.
Step 1: The Disinfecting Bath. After you’re done carving, you need to kill all the surface microbes. Mix one tablespoon of household bleach in about a quart of water. Put it in a spray bottle and thoroughly spritz the entire pumpkin—inside, outside, and every single cut edge. Let it sit for a minute, then pat it dry. (Safety first: please wear gloves and do this in a well-ventilated area, away from kids and pets.)
Step 2: Seal the Edges. Now, you have to stop it from drying out. The best way to do this is to seal the cut edges with a thin layer of petroleum jelly. Use your finger or a cotton swab to apply it to all the places you carved. This locks the moisture in. Some people use vegetable oil, but I find it can go rancid after a day or two.
For daily care, a quick spritz with the bleach water each day will keep mold from returning. If it looks a little droopy, you can even soak it face-down in cold water for an hour to rehydrate it. Just be sure to pat it dry afterward.
Lighting It Up Safely
The final touch is the glow. A classic tea light candle gives that traditional flicker, but honestly, it’s a bit of a liability. The heat from a candle actually cooks the pumpkin from the inside, speeding up decay. Not to mention, it’s a fire hazard.

To be frank, the best and safest option these days is a battery-powered LED light. You can find them everywhere for a few bucks, and many even have a realistic flicker effect. They produce zero heat, last for hours, and there’s absolutely no fire risk. For me, the peace of mind is totally worth it.
In the end, pumpkin carving is all about having fun and getting into the spirit of the season. Don’t be intimidated by what you see online. Every single expert started with a crooked smile. Just grab a good pumpkin, use these tips, and enjoy the process. You’ll get better with every single one you carve.
Inspiration:

Ready to graduate from the flimsy kit tools? For cleaner cuts and better control, invest in a quality wood or lino-carving set. Brands like Warren Cutlery offer professional-grade pumpkin carving tools with sturdy handles and sharp, interchangeable blades that glide through pumpkin walls instead of tearing them. It’s the single biggest upgrade you can make to your carving game.
- Scrape the inside walls until they are about one inch thick. This makes carving easier and allows more light to shine through.
- Use an ice cream scoop or a large metal spoon; they are sturdier and more effective than the scoops in kits.
- Wipe the interior dry with a paper towel to slow down the growth of mold.
The secret to crisp edges that last: Once you’ve finished carving, apply a thin layer of petroleum jelly (like Vaseline) to all the cut surfaces. This creates a barrier that locks in moisture and prevents the delicate edges from drying out and shriveling up so quickly.
Transferring a pattern perfectly is easier than you think. First, tape your printed design firmly onto the flattest area of the pumpkin. Then, use a simple tool to bring it to life:
- Use a poker tool (or even a large nail) to punch small holes along the lines of your design, right through the paper into the pumpkin’s skin.
- Once you remove the paper, you’ll have a perfect connect-the-dots guide for carving.

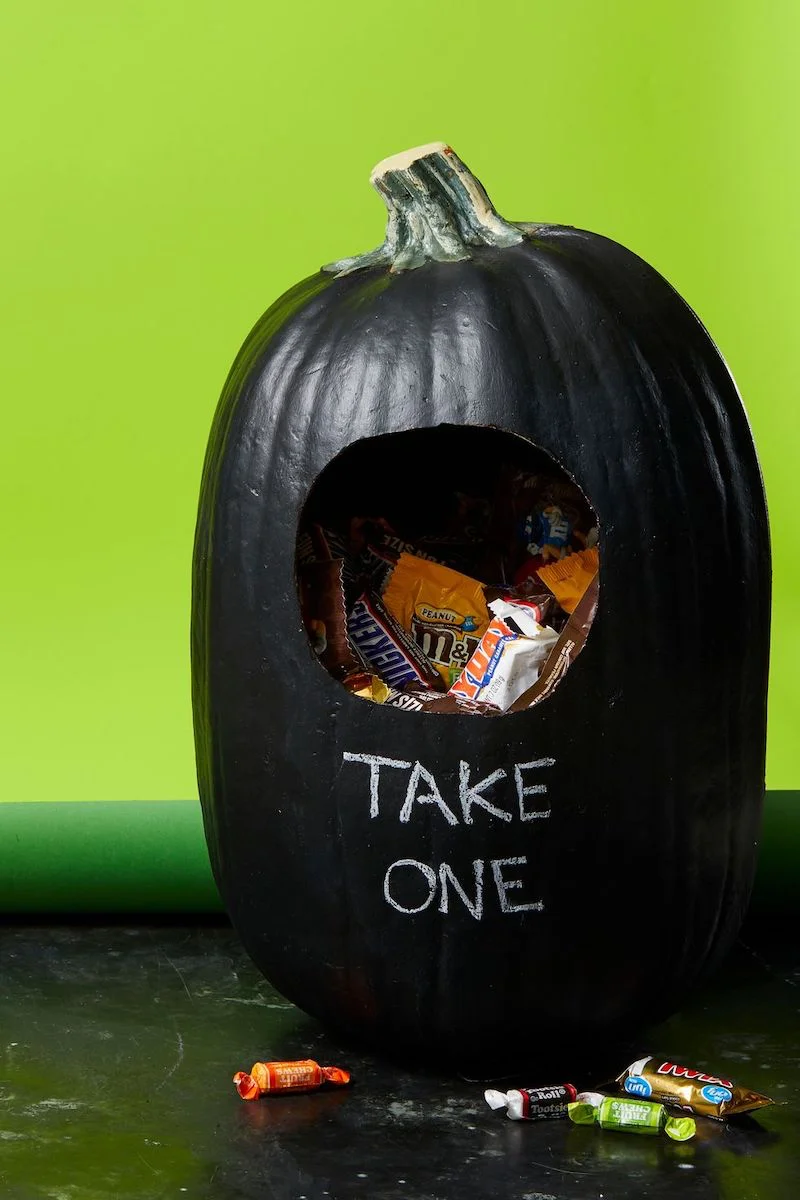
Don’t just toss those pumpkin guts! What about the seeds?
Rinse them thoroughly in a colander to remove all the stringy pulp. Pat them dry, then toss with a little olive oil and your favorite seasonings—sea salt, paprika, or even cinnamon sugar work great. Roast them on a baking sheet at 300°F (150°C) for about 30-40 minutes, or until golden and crispy, for a delicious seasonal snack.

Traditional Tealight: Offers that classic, flickering flame and nostalgic scent. However, it’s a fire hazard, can scorch the pumpkin lid, and blows out easily.
LED Puck Light: Safer, brighter, and often comes with a remote or timer function. Battery-powered options from brands like Energizer or generic puck lights are perfect for worry-free, long-lasting illumination.
For peace of mind and a brighter glow, LED is the modern winner.
According to the U.S. Department of Energy, over 1.3 billion pounds of pumpkins are thrown into landfills each year, contributing to methane emissions.
Instead of trashing your pumpkin after Halloween, give it back to the earth. If it’s unpainted and free of wax, chop it up and add it to your compost pile. Many local farms or community gardens also accept pumpkin donations for animal feed or composting.
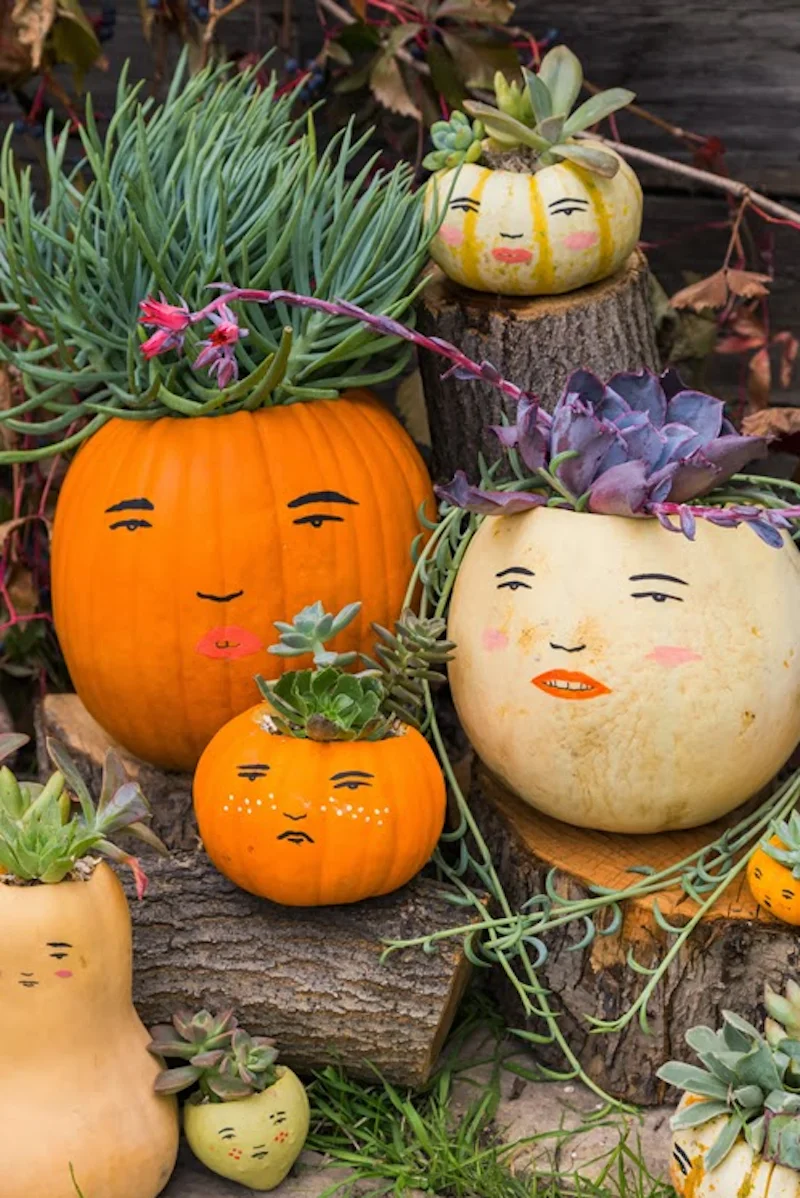
- Creates stunning, three-dimensional portraits.
- Allows for subtle shading and intricate detail.
- The pumpkin lasts much longer since the skin isn’t fully punctured.
The secret? Etching instead of carving. Use a clay loop tool or a linoleum cutter to scrape away just the outer orange skin, revealing the lighter flesh underneath without cutting all the way through.
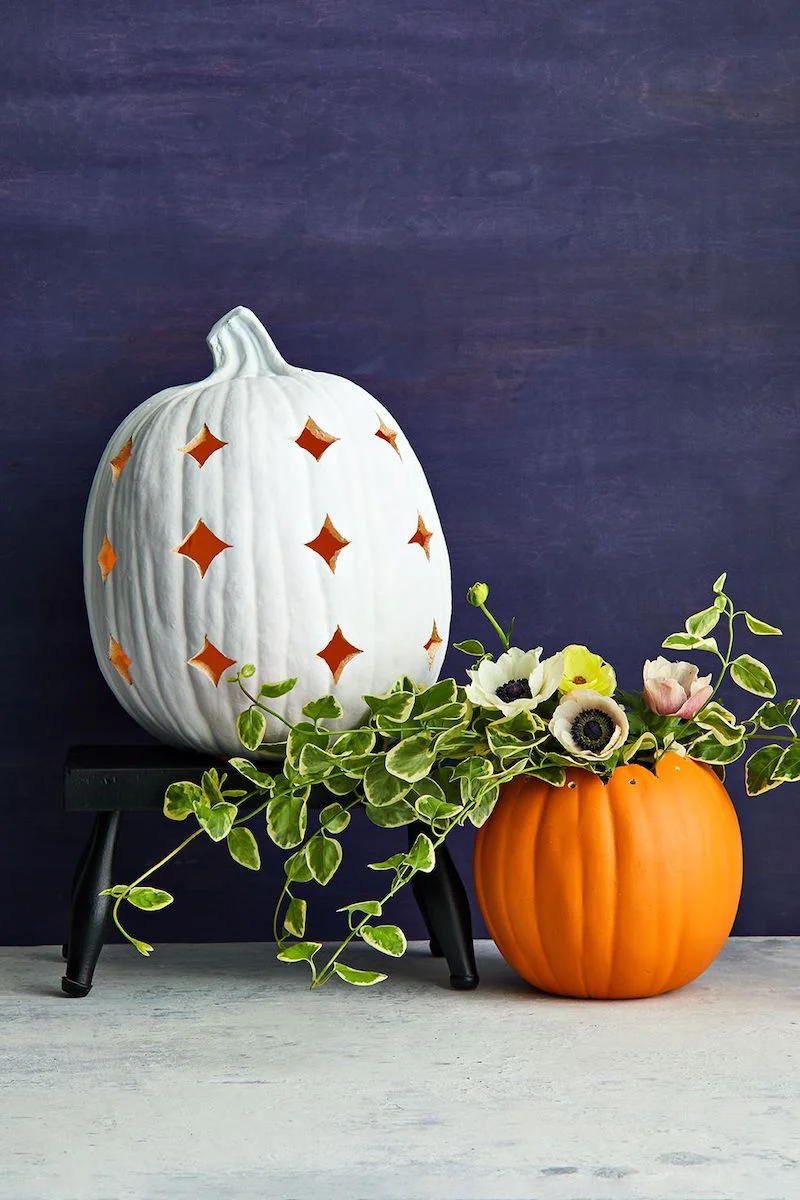
For a chic, no-mess alternative, grab a white ‘Lumina’ pumpkin and a set of Posca paint pens. Their smooth, even skin is the perfect canvas for drawing intricate mandalas, elegant calligraphy, or bold graphic patterns. It’s all the style with none of the slime.
- Let adults handle any sharp knives or power tools.
- Provide kids with safer options, like specialized pumpkin saws with blunt ends, or let them take charge of scooping the guts and drawing the design.
- Always carve on a stable, well-lit surface, and cut away from your body.
Real Pumpkin: Offers an authentic, traditional experience and a wonderful smell. The downside is its short lifespan and the mess.
Craft Pumpkin: Reusable year after year, lightweight, and won’t rot. Brands like Funkins or Ashland from Michaels offer realistic-looking options that are perfect for intricate designs you want to keep.
For a lasting keepsake, go with foam. For the classic fall experience, nothing beats the real thing.

Help, my masterpiece is growing fuzzy mold! Can I save it?
You can try a temporary fix. Create a bleach solution with 1 tablespoon of bleach per quart of water. Spray it onto the affected areas (inside and out) and wipe away the mold. This can buy you a couple more days, but once decay sets in, the clock is ticking.
A common mistake is cutting a straight, circular lid: It will inevitably fall inside the pumpkin as it shrinks. Instead, always cut the lid at a 45-degree angle, creating a cone-shaped plug that will rest securely on the rim, even after a few days.
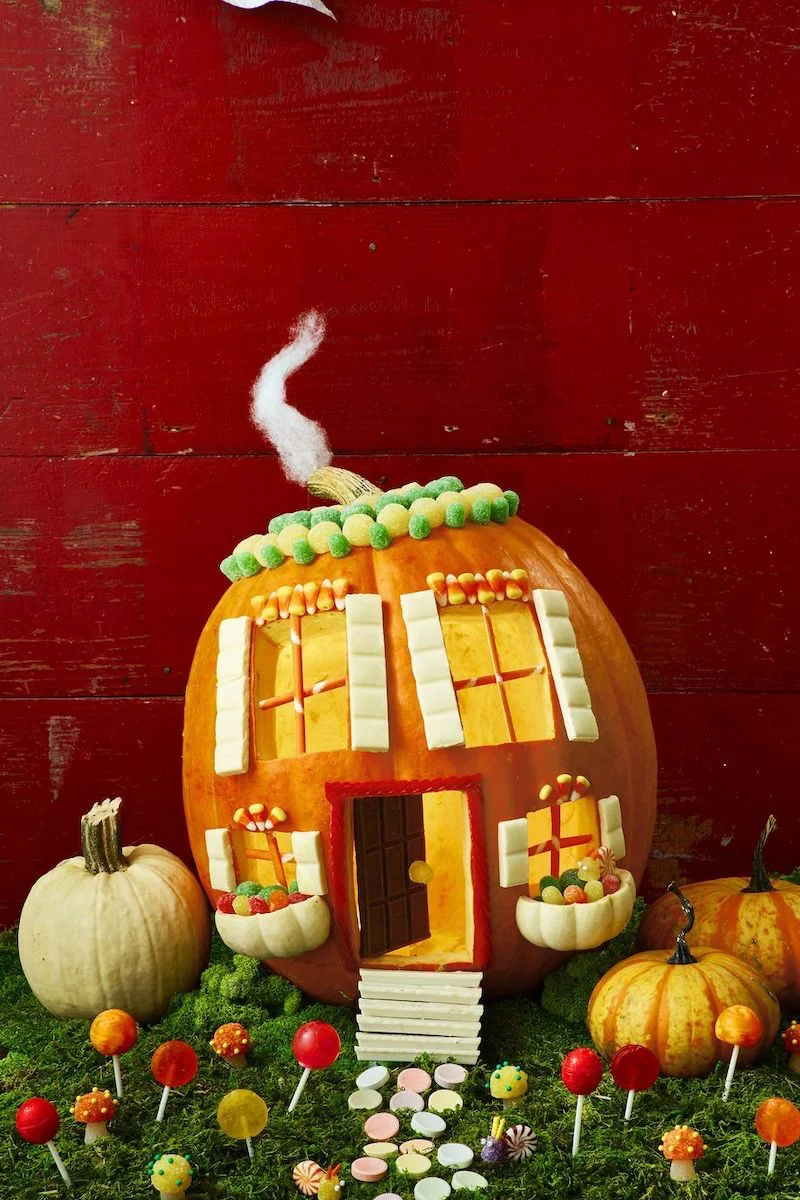
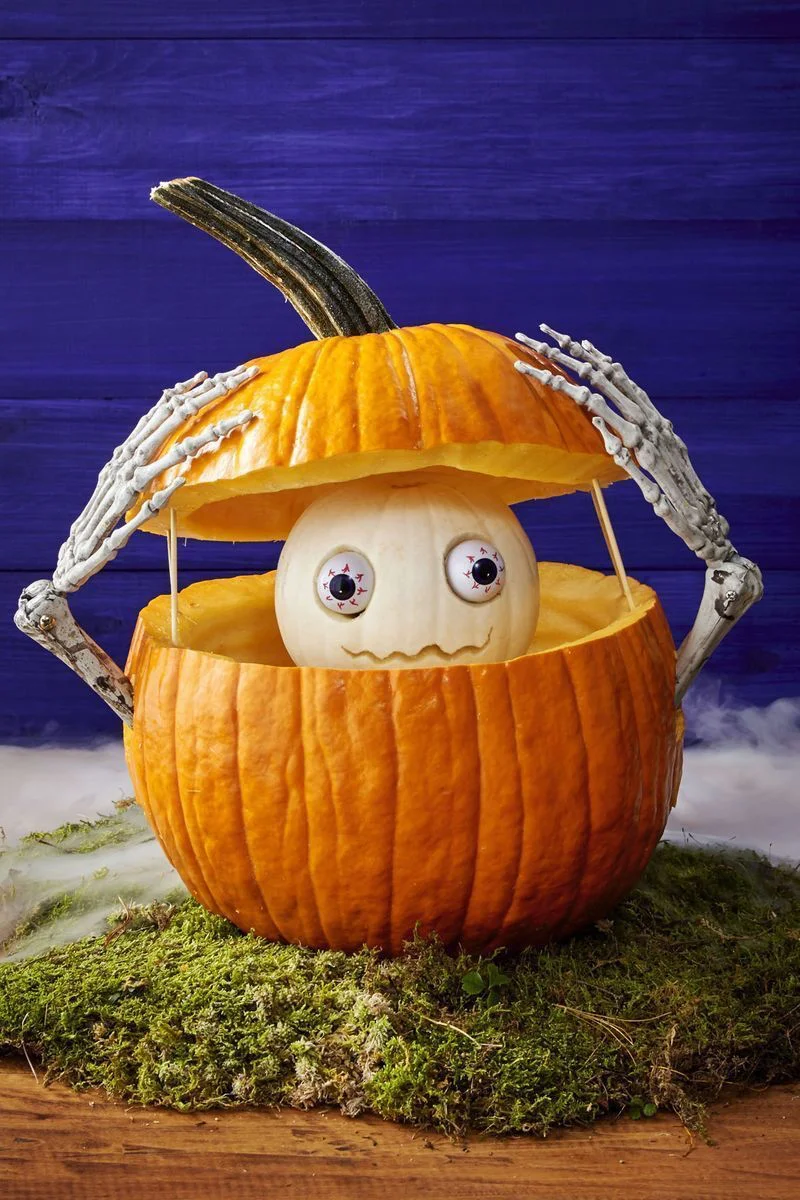
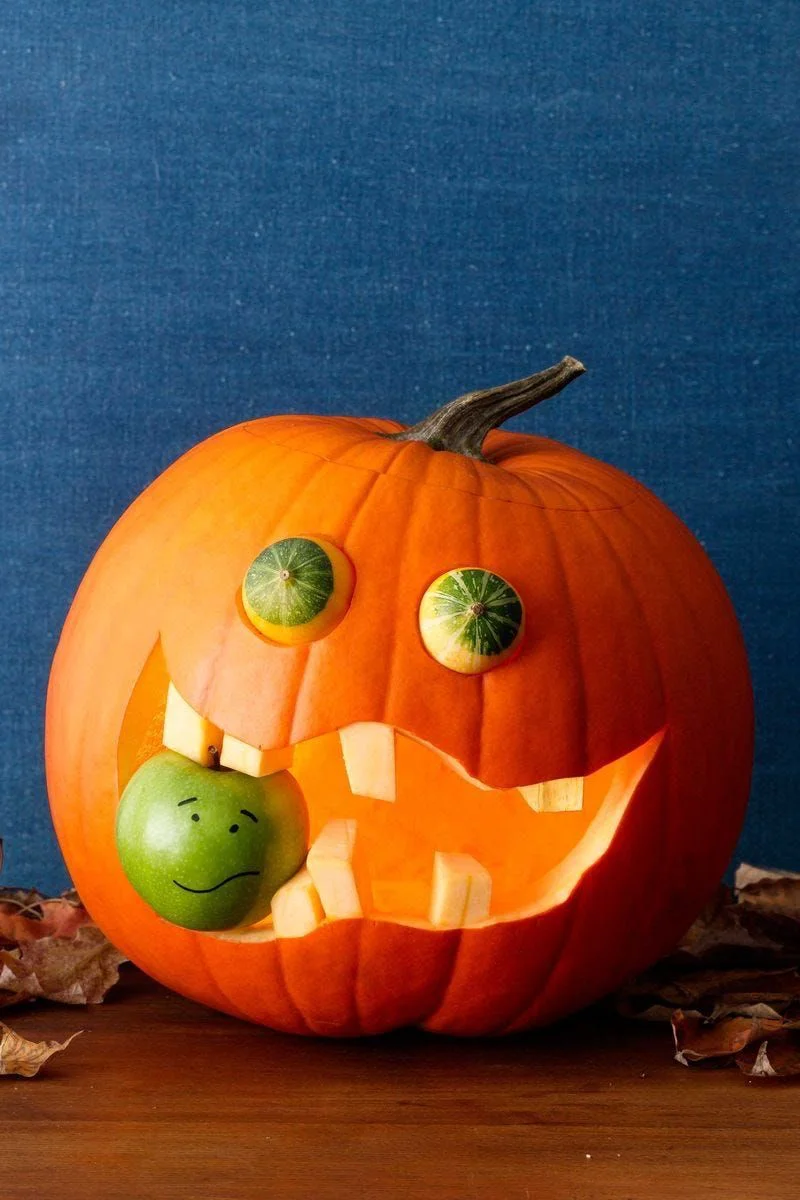
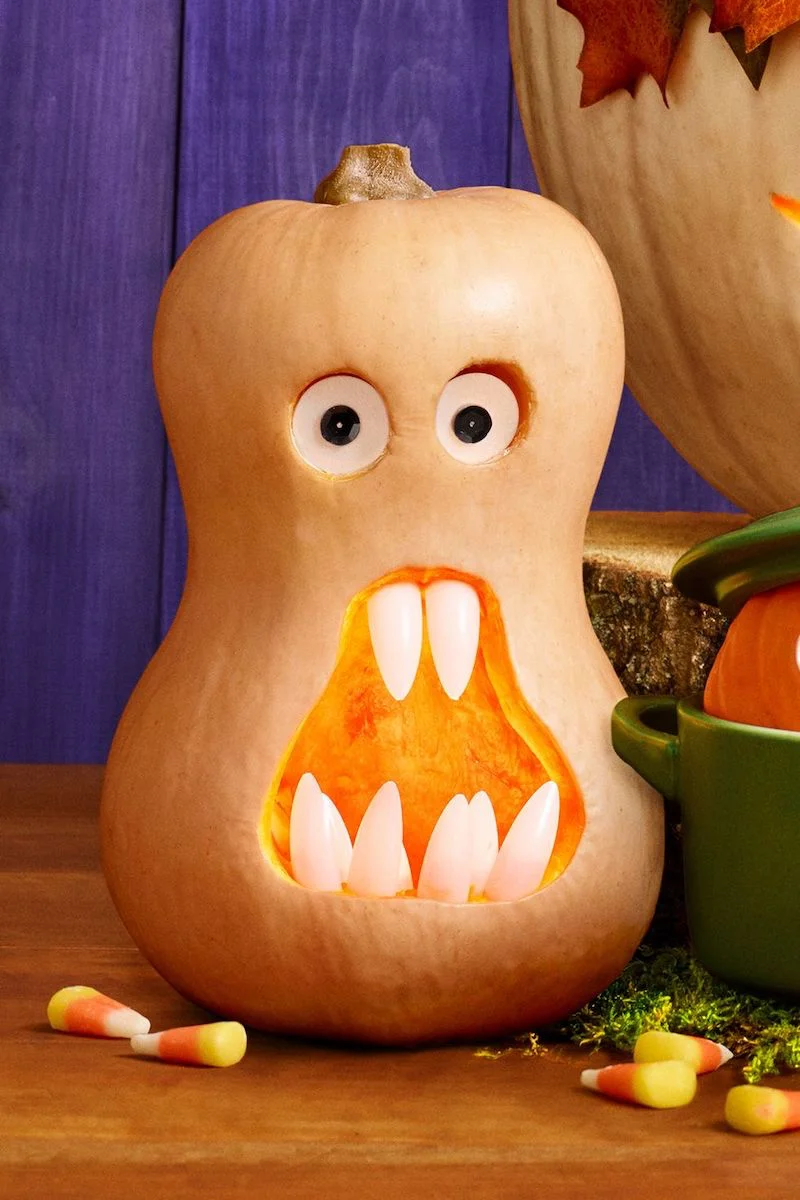
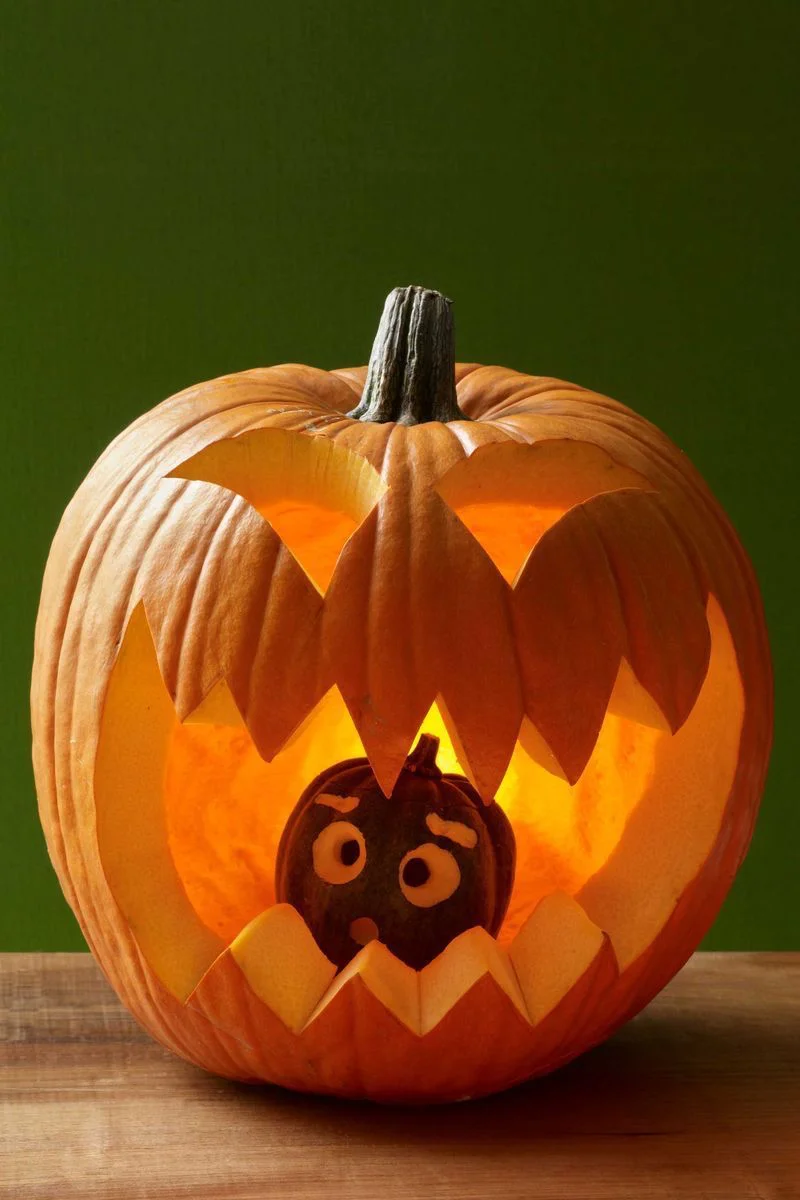
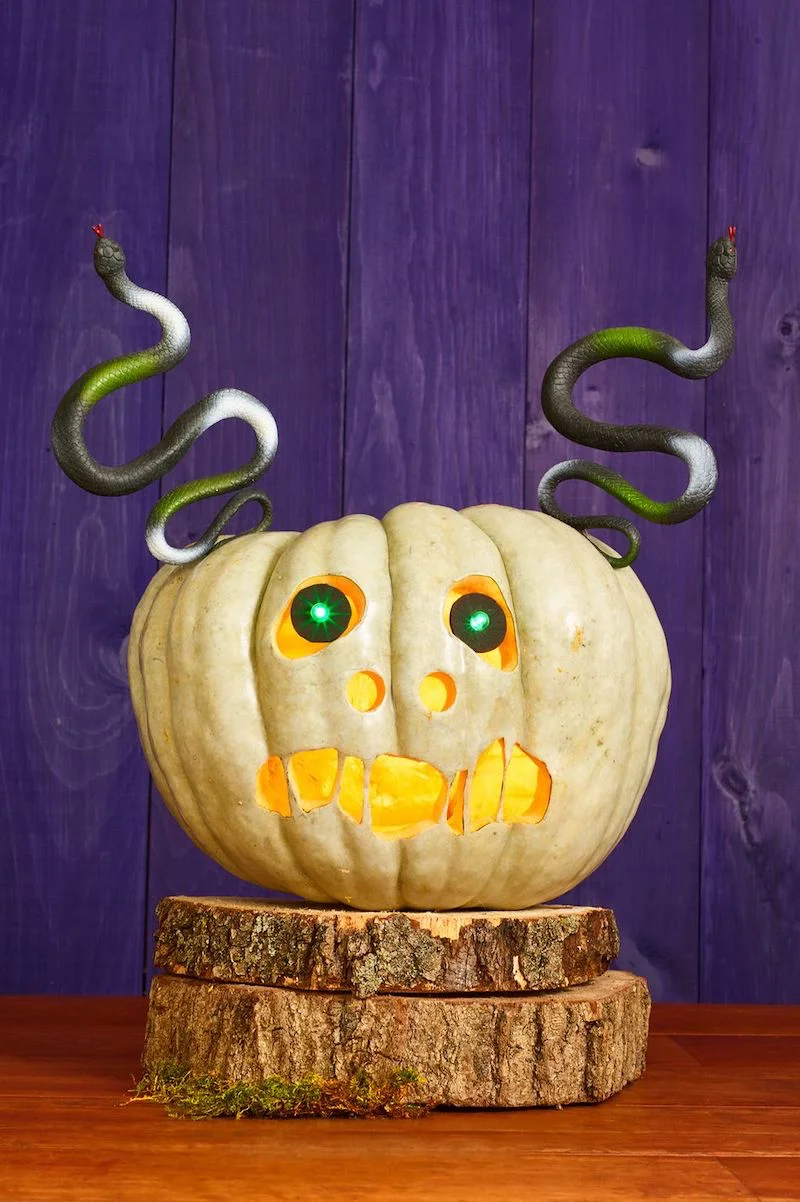
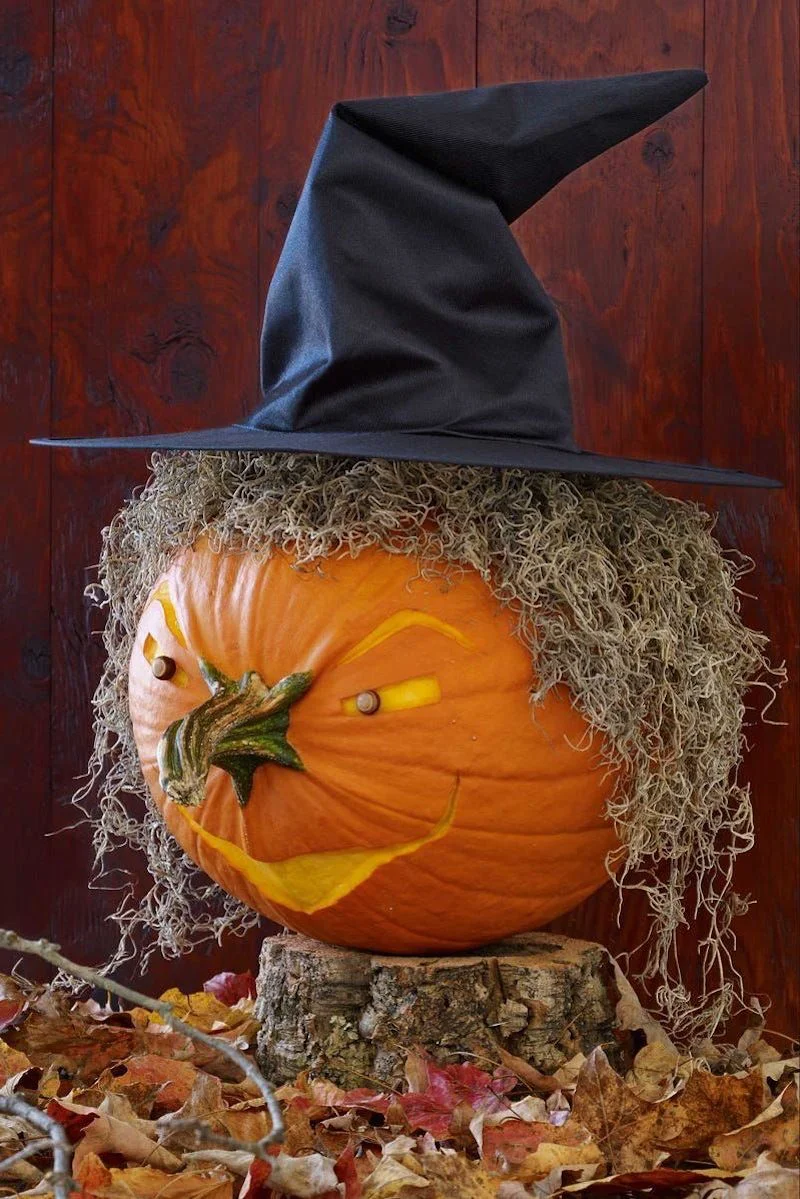
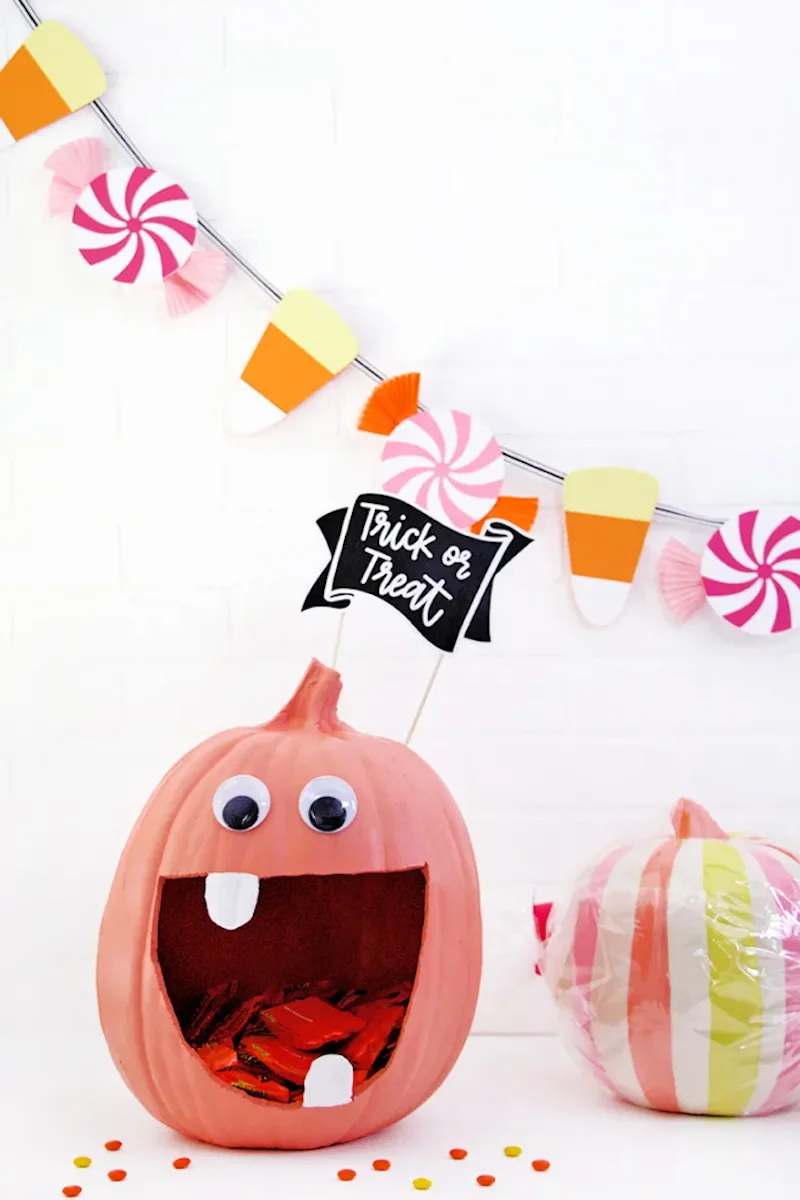
Bring your pumpkin character to life with accessories. A simple design can become hilarious or spooky with just a few additions. Think about:
- Using twigs or pipe cleaners for arms and legs.
- Adding a small hat, a pair of old sunglasses, or a bow.
- Sticking Mr. Potato Head parts into the pumpkin for a silly, kid-friendly look.
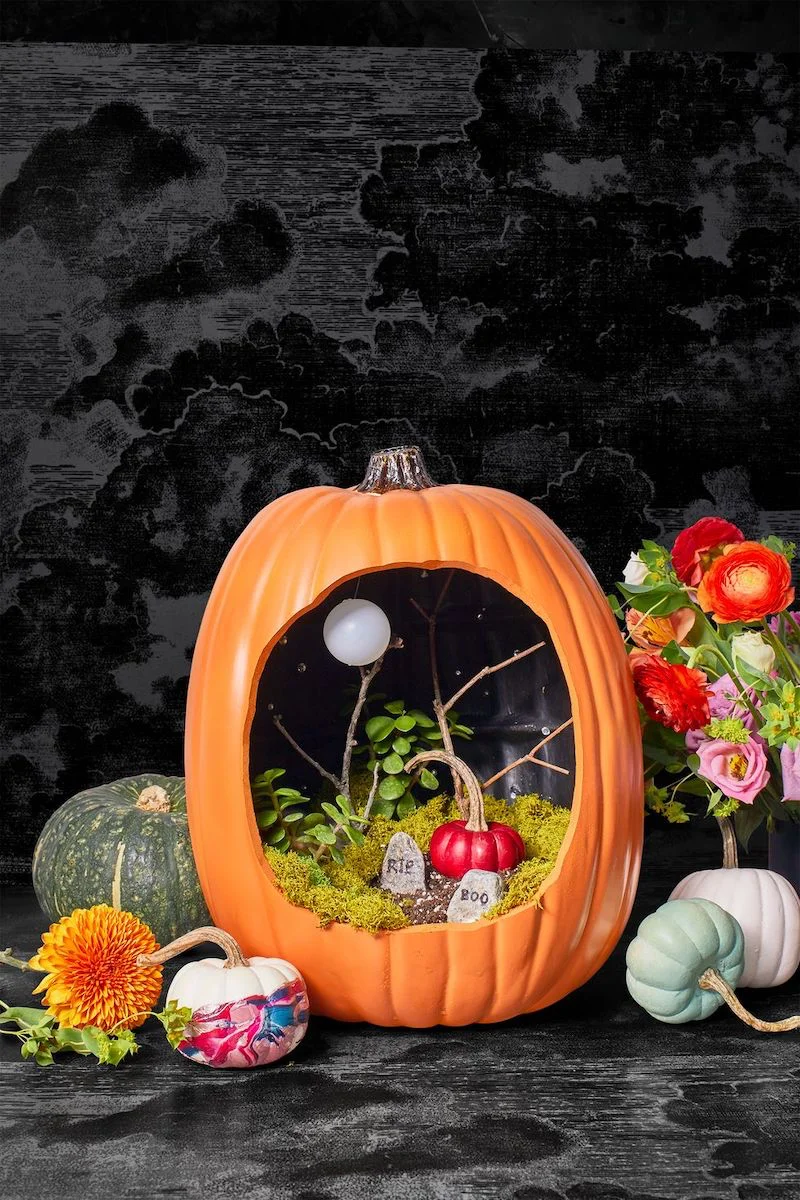
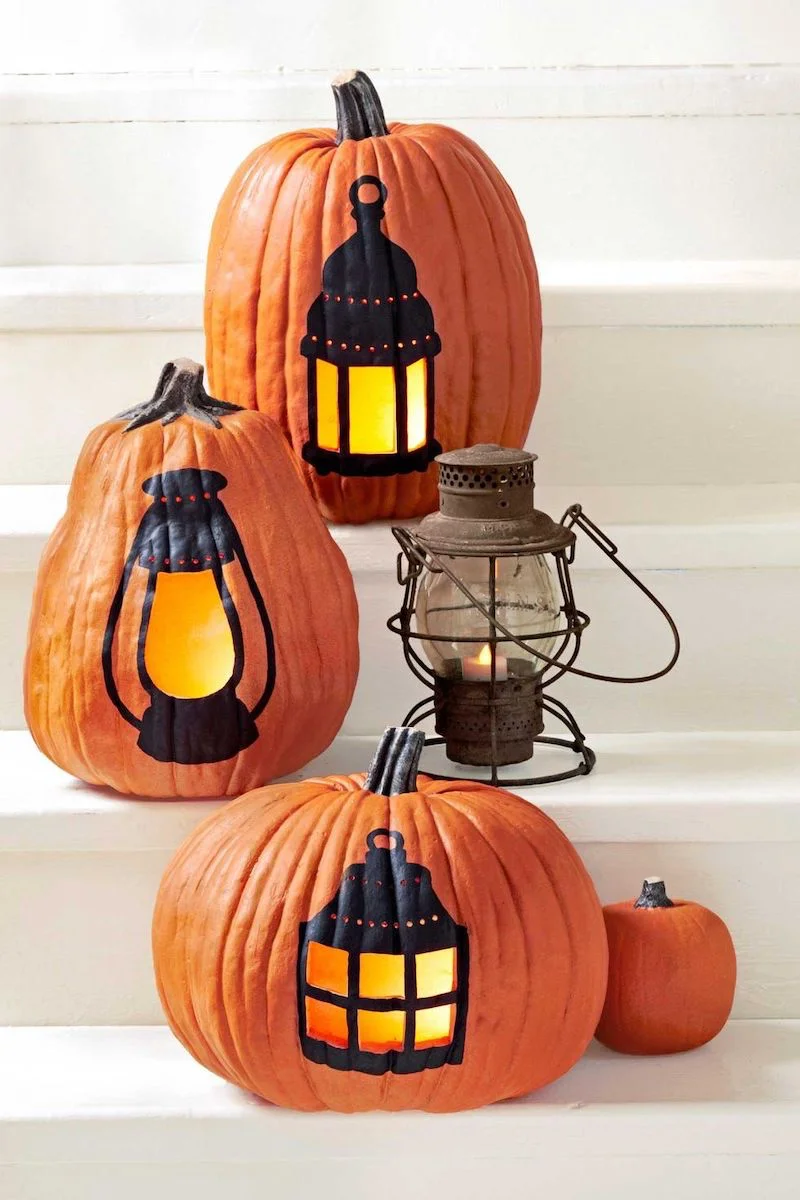
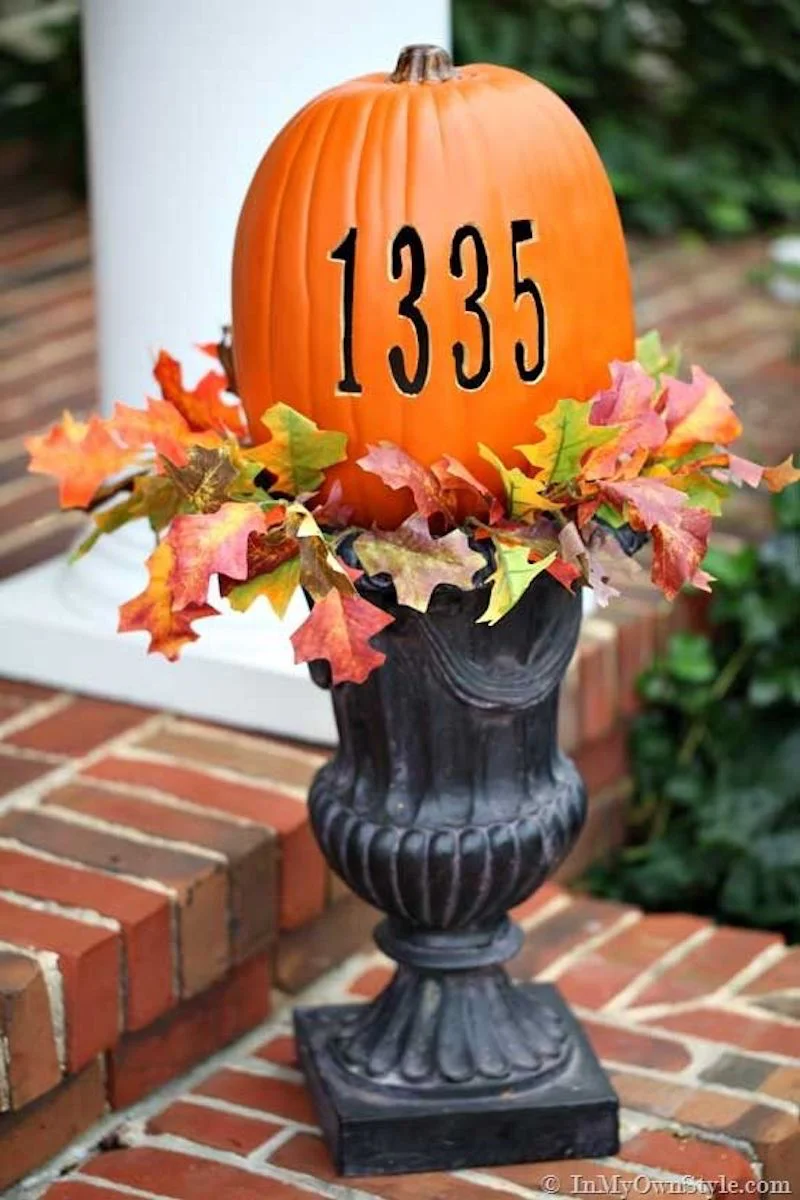
Don’t feel locked into carving a face. Modern pumpkins often feature geometric patterns, chevrons, polka dots, or even your house number. Using a drill with different-sized bits is a quick way to create beautiful, light-filled patterns that feel contemporary and cool.

- Allows you to shave, etch, and carve with incredible precision.
- Perfect for detailed lettering or complex, shaded designs.
- Saves your hands and wrists from strenuous work.
The tool behind the magic? A rotary tool like a Dremel. With its various engraving and sanding bits, you can achieve professional-level results that are impossible with manual saws.
Some pumpkins, like the ‘Knuckle Head’ variety, are naturally covered in bumpy, green warts.
Don’t pass these