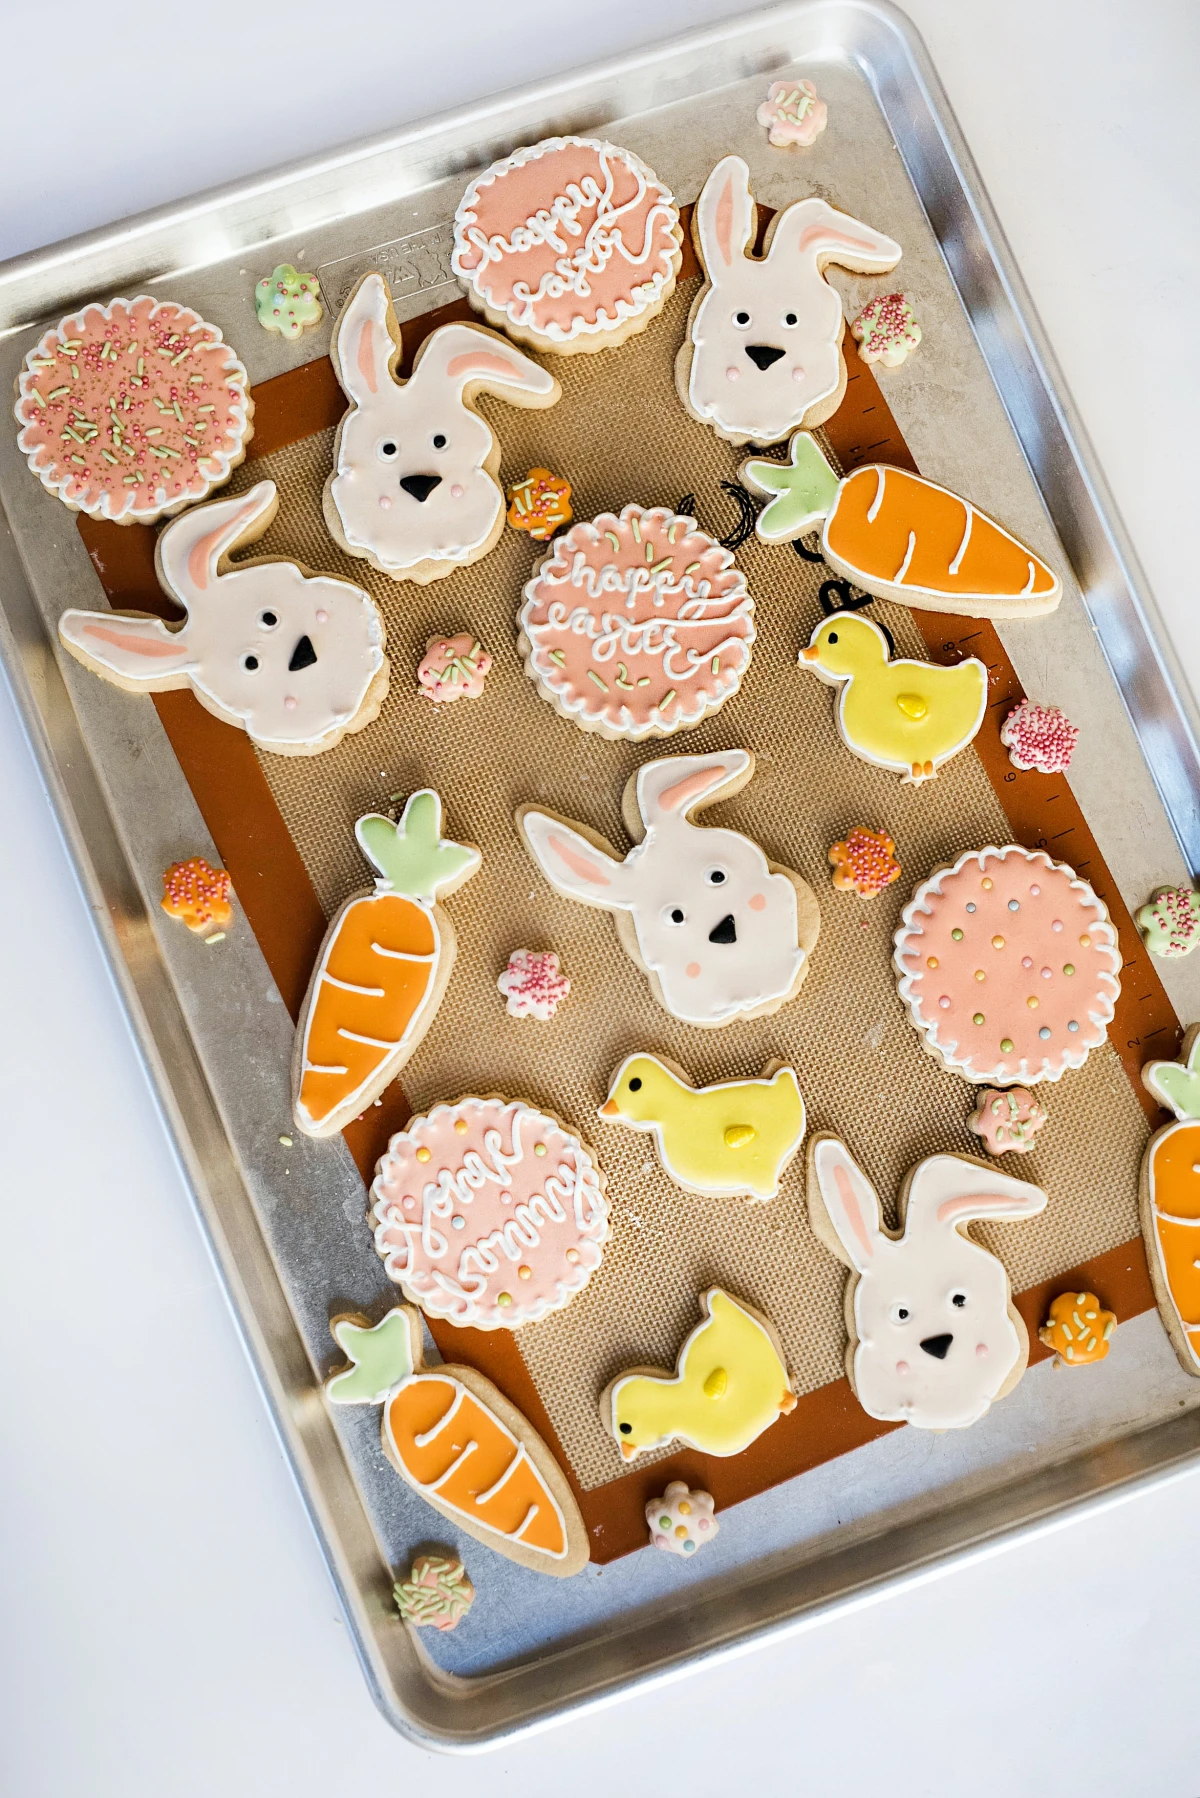
Ditch the Cheap Stuff: How to Craft Easter Decor That Actually Lasts
Tired of Flimsy Holiday Decor? Let’s Make Something Real.
For years, my holiday bins were filled with store-bought decorations. You know the kind—they look cute on the shelf but are so flimsy they barely survive one season. After wrestling with yet another poorly made wreath for a client, I had an epiphany: why not use my professional skills to make my own decor? The kind of stuff that doesn’t just look good, but feels good to bring out year after year, gathering memories along the way.
In this article
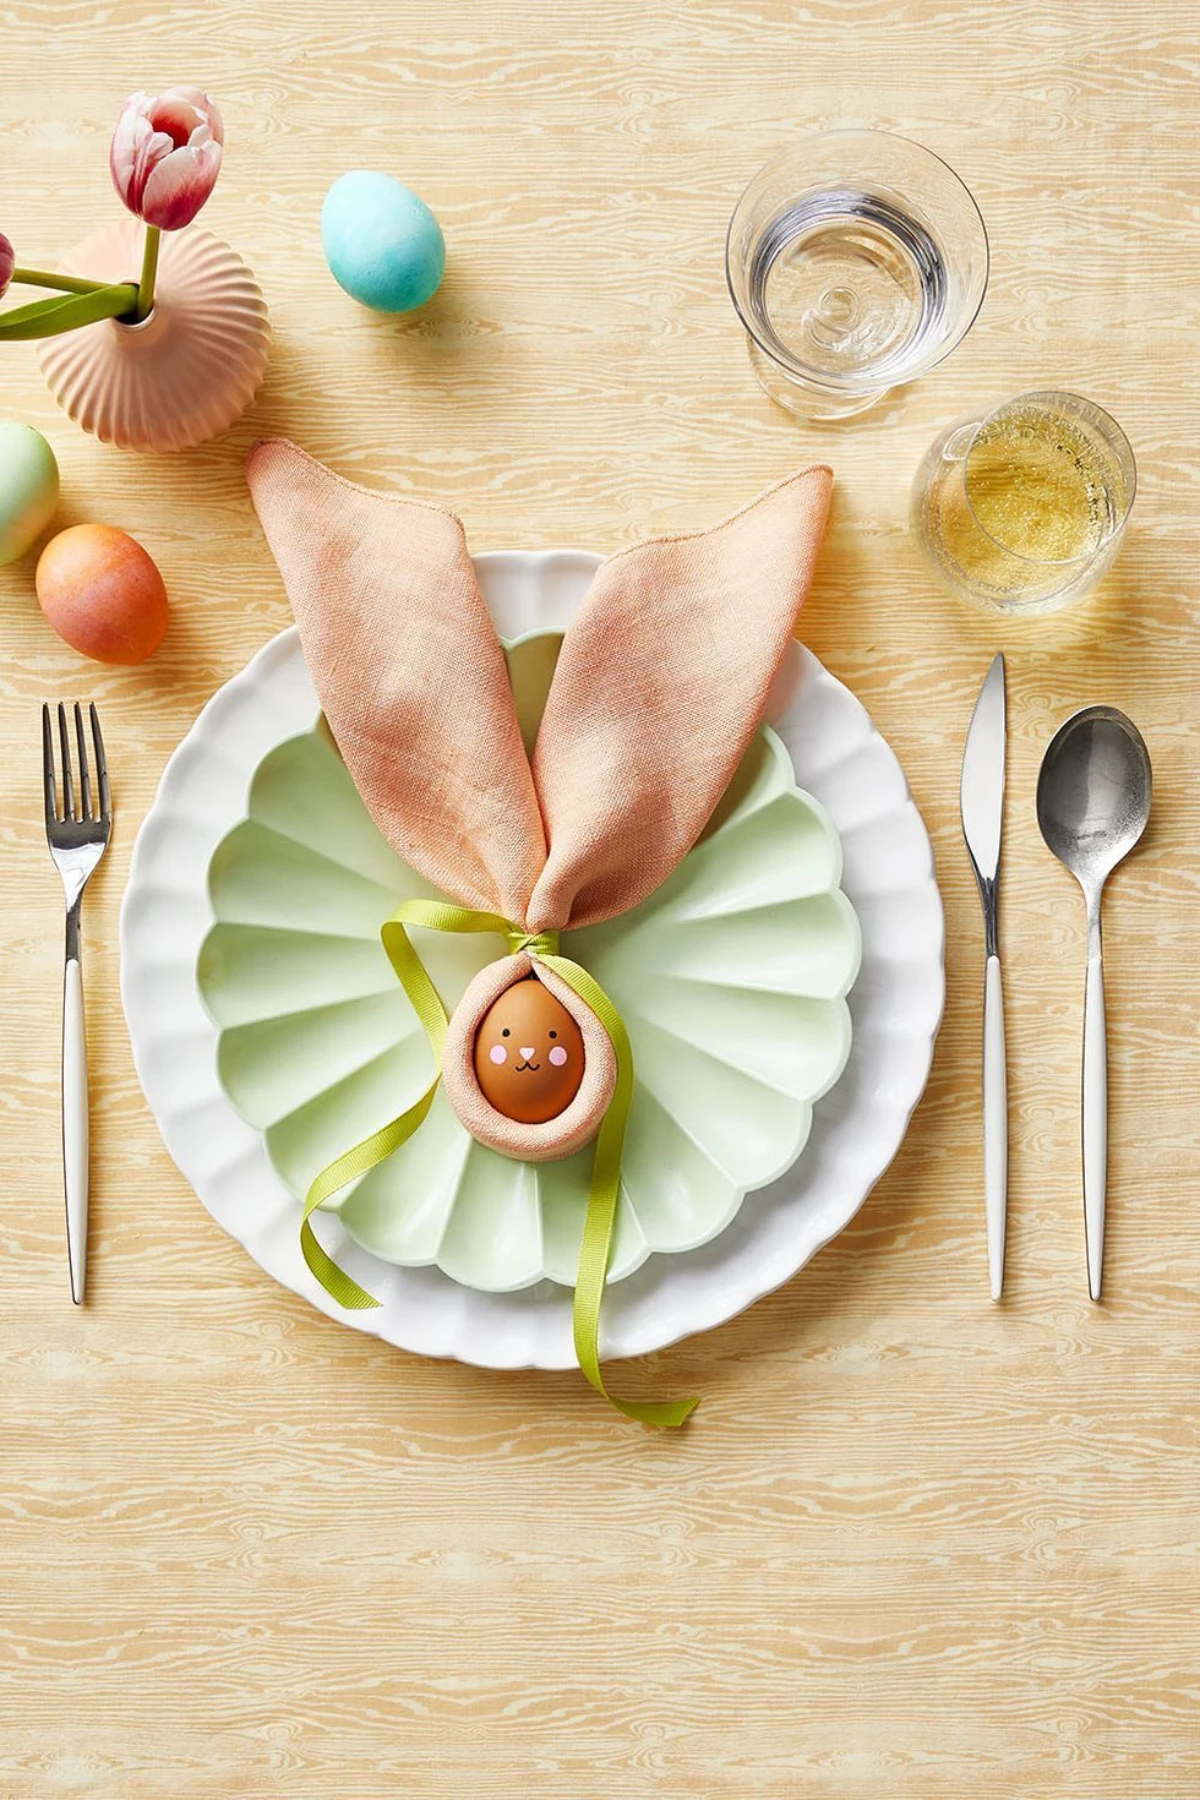
So, this isn’t a guide for quick, kid-friendly paper plate bunnies (though those have their place!). This is for anyone who wants to create beautiful, lasting Easter decorations that feel more like handmade treasures than homemade crafts. We’ll dive into the right materials—and why they matter so much—and I’ll share the pro techniques that make all the difference. Honestly, putting a little extra care into your work is what turns a simple project into a family heirloom.

It All Starts with Good Materials
Before we even think about cutting or sewing, let’s talk supplies. This is the foundation of everything. Using cheap, flimsy materials is a one-way ticket to frustration and a decoration that falls apart by next year. Trust me, I learned the hard way at craft markets that investing in quality supplies saves a ton of time and makes your finished piece look ten times better.
Choosing Fabric That Won’t Let You Down
For any project involving fabric, like garlands or little stuffed figures, your choice of cloth is critical. Here’s a quick rundown of my favorites:
- Cotton Broadcloth: This is my workhorse fabric. It has a tight, plain weave that doesn’t fray much, it’s a dream to sew, and it holds a press perfectly. Look for a medium weight (around 4 ounces per square yard) in a fun spring pattern. It’s ideal for stuffed projects like the carrot garland we’re about to make.
- Linen: Oh, I love the rustic, elegant texture of linen. It’s incredibly strong, but it does wrinkle if you look at it sideways. A great compromise is a linen-cotton blend. You get that gorgeous texture with way less fuss.
- Felt (The Good Kind!): Please, step away from the thin, shiny craft felt sold in 50-cent sheets. It pills, tears, and just looks… cheap. What you want is a wool or wool-blend felt. You can find it at most fabric stores like Jo-Ann or online on sites like Etsy. It might seem pricey at $15-$25 a yard, but it’s thick, soft, and so durable. Best of all, you can cut it and leave the edges raw without a single worry about fraying.
Beyond the Fabric: Paper, Glue, and Yarn
When a project calls for paper, weight is everything. Standard printer paper is just too thin. You’ll want to use cardstock that’s at least 65 lb, but for things that need to stand up on their own, like place cards, I always go for 80 lb or heavier. And for glue? A simple glue stick won’t cut it for decor that needs to last. Always have a good quality craft glue (Aleene’s Tacky Glue is a classic for a reason) and a hot glue gun in your arsenal. The glue gun is a must for projects like our wreath.
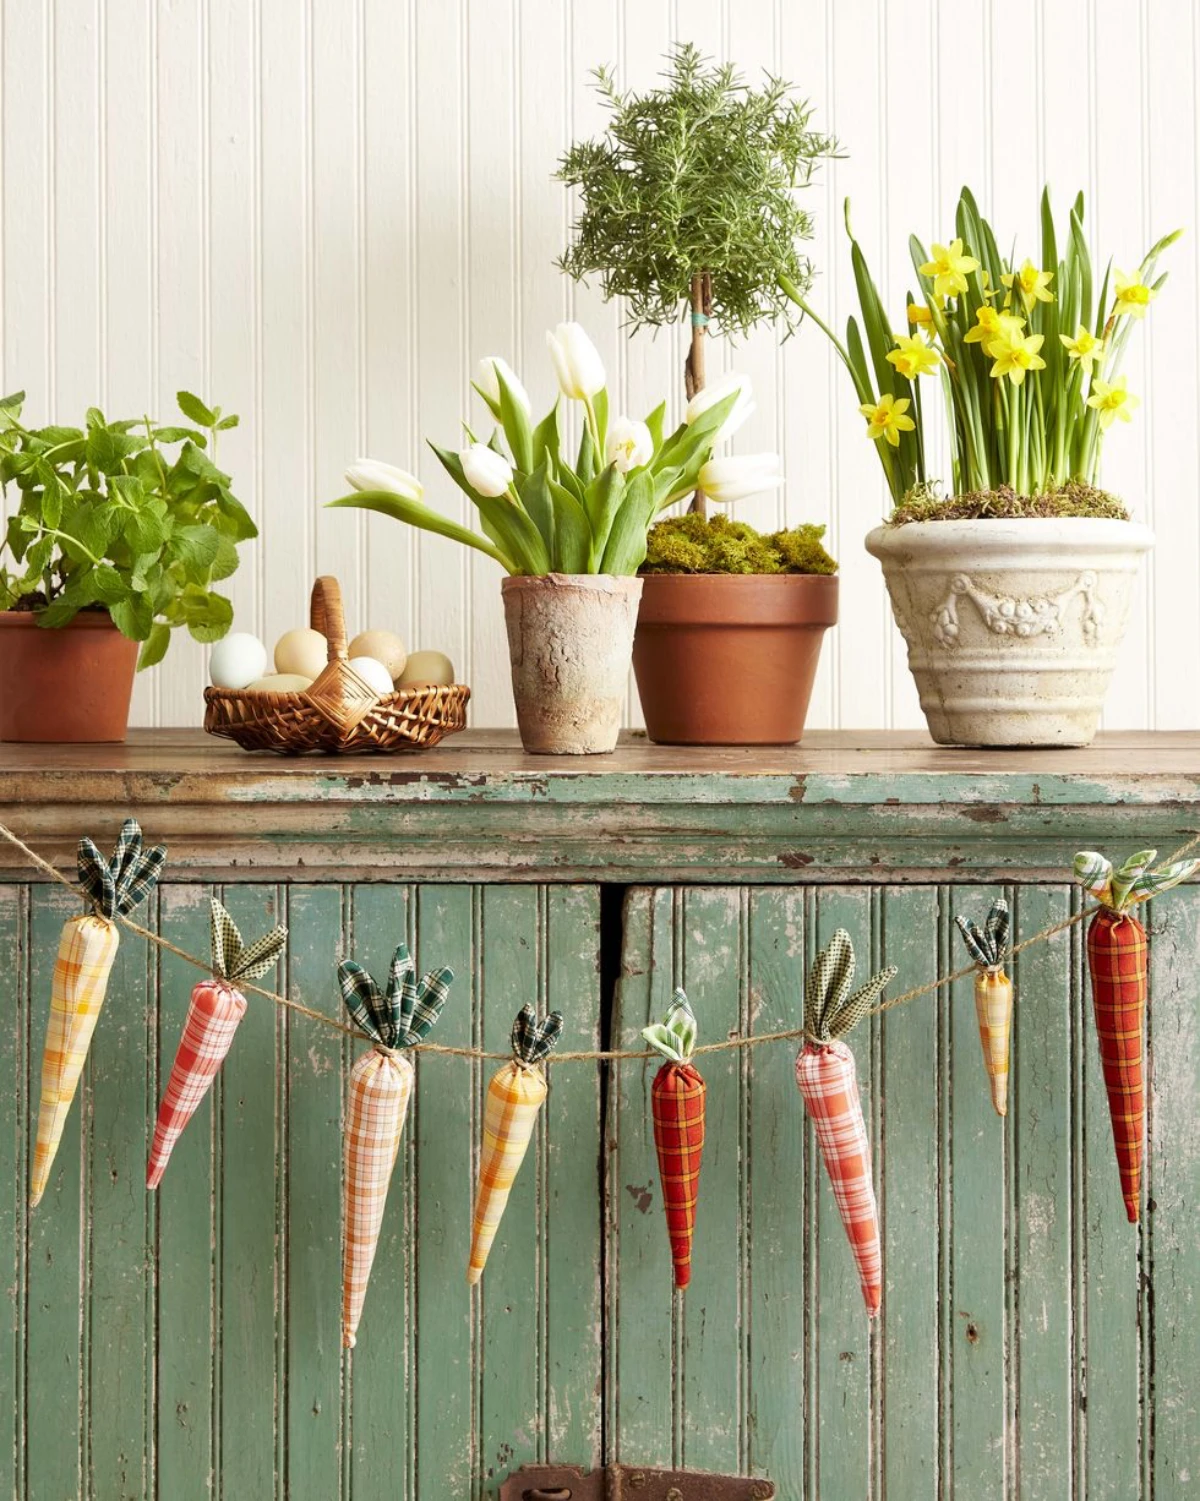
Project 1: The Timeless Fabric Carrot Garland
A fabric carrot garland is such a charming, classic piece. Done right, it can hang over your mantel for decades. Let’s elevate this simple folk-art project with a few pro touches.
How to Get That Perfect Carrot Shape
Here’s a little textile science for you. To get a smooth, perfectly shaped carrot without lumps, you need to understand fabric grain. Cutting your fabric on the bias (a 45-degree angle to the weave) gives it a slight stretch. For a stuffed shape like a carrot, that little bit of give allows the fabric to curve beautifully around the filling without puckering. It’s a small detail that makes a huge difference.

Step-by-Step to a Professional Finish
- Make a Reusable Template: Don’t just wing it. Create a template from thick cardstock or a plastic sheet. I find a tall, narrow triangle about 7 inches high and 3 inches wide at the base is a great size. Give the top edge a slight curve for a more realistic look.
- Cut Your Fabric: Grab your orange fabric—a cotton calico with a tiny print is wonderful for this. A half-yard piece, which you can get for $5-$8, is more than enough for a full garland. Iron it flat, fold it with right sides together, and pin your template. A rotary cutter and mat give you crisp, clean edges, which is a lifesaver if you’re making a bunch.
- Sew for Strength: With your sewing machine, use a medium stitch length (around 2.5 mm). This stronger stitch stops the stuffing from poking through later. Sew the two long sides of the triangle, leaving the top open. And always backstitch at the start and end! If you’re sewing by hand, a backstitch is your best friend—it’s way more durable than a simple running stitch.
- The Secret to Lump-Free Stuffing: Turn the carrot right-side out and use a chopstick to gently poke the point out. Now for the stuffing. I use polyester fiberfill, which you can get a giant bag of for about $10. The absolute key is to pull the fiberfill apart into small, fluffy clouds before stuffing. A common mistake is trying to shove in big wads, which is what creates lumps. Add small bits at a time, starting at the point. Quick tip: A hemostat (a locking clamp tool you can find in the craft or even fishing section of stores) is amazing for gripping stuffing and placing it precisely.
- Finishing the Top: For a rustic carrot top, I love using green raffia or jute twine. Cut a few 6-inch strands, fold them into a loop, and tuck them inside the opening after folding the raw fabric edges in about ½ inch. Hand-sew the top closed with a needle and thread using a tight whipstitch.
- Putting It All Together: For a 6-foot garland, you’ll probably want around 9-11 carrots. String them onto a sturdy piece of jute twine, spacing them about 4-5 inches apart. You can either tie them on individually or use a large darning needle to thread the twine right through the tops.
Heads up! This is a pretty safe project, but be mindful of sharp needles and rotary cutters. For longevity, store the garland by loosely wrapping it around a piece of cardboard and keeping it in a sealed bin to protect it from dust.
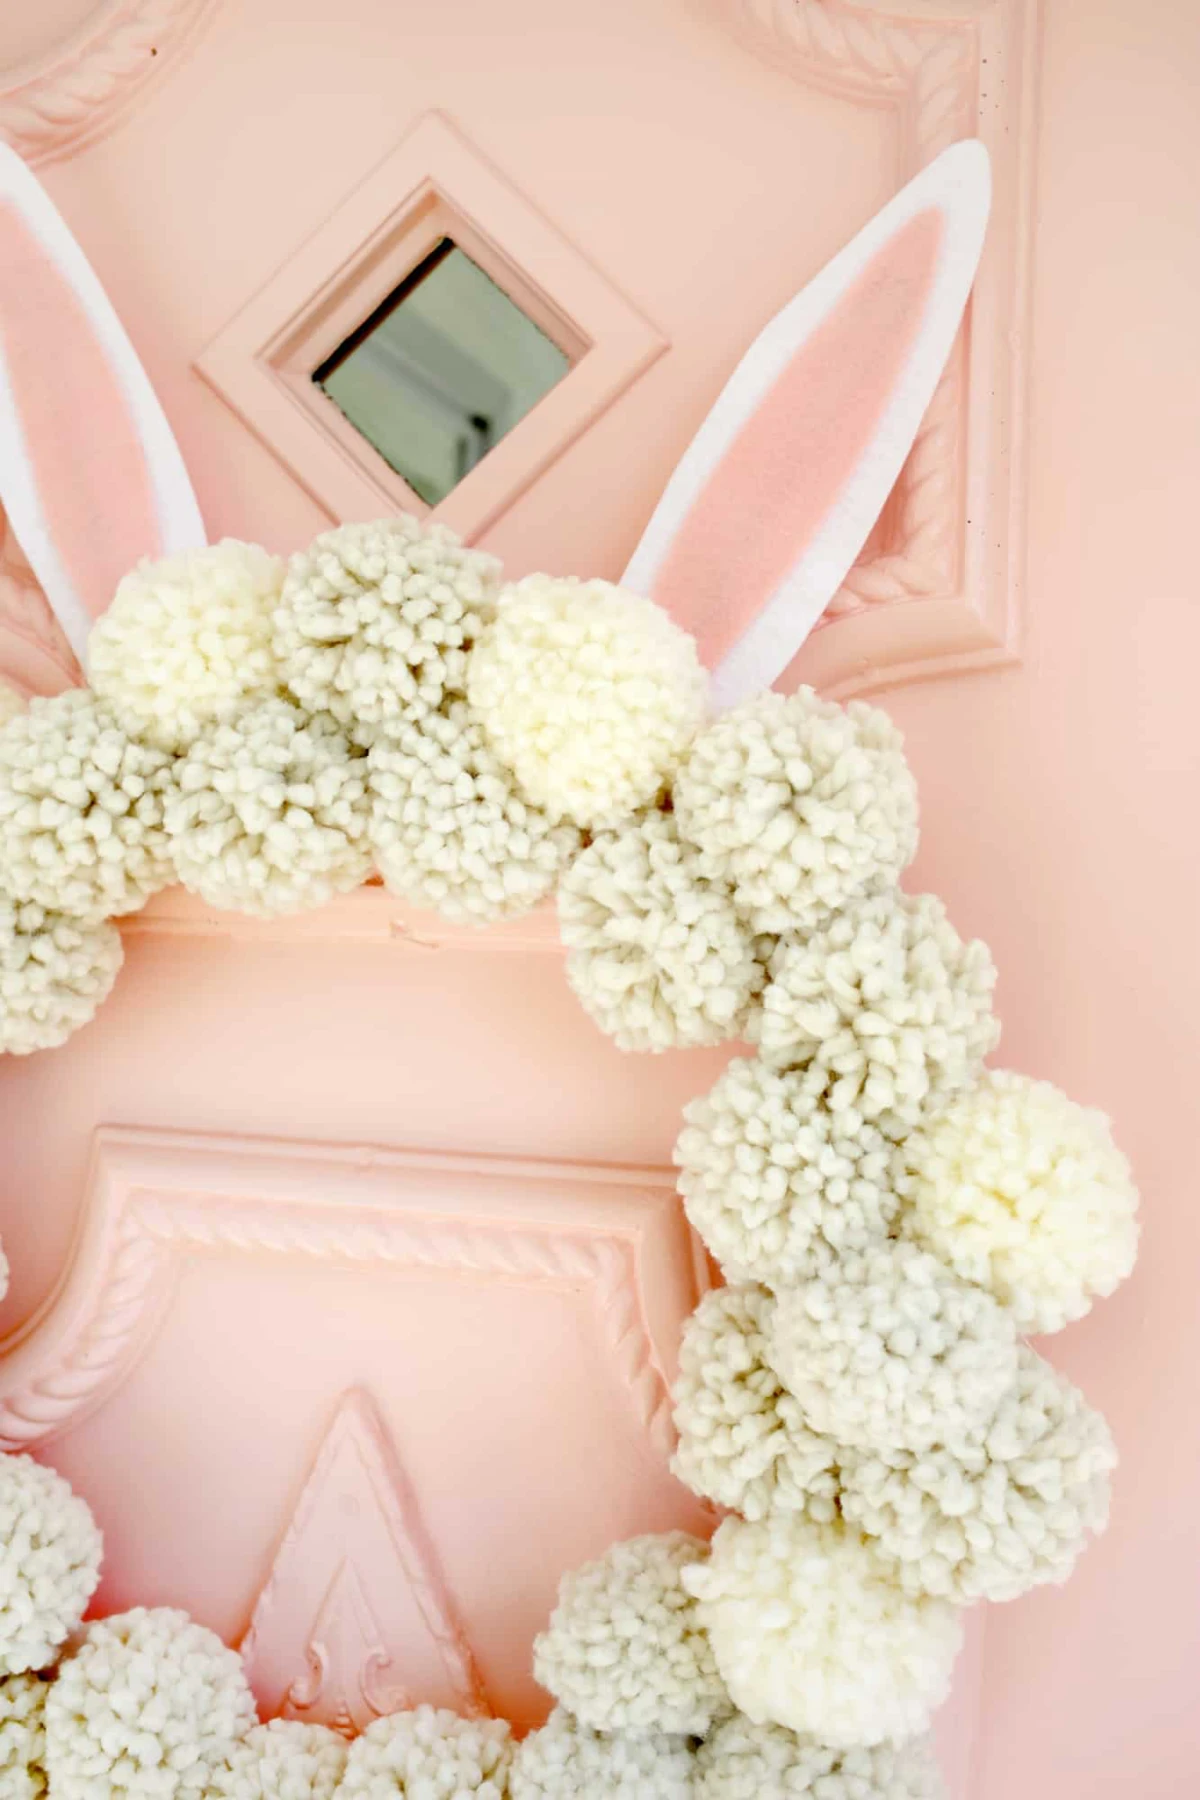
Project 2: The Full and Fluffy Pom-Pom Bunny Wreath
A bunny wreath on the front door is pure joy. But the common mistake is using sparse, floppy pom-poms on a weak base. We’re going to build a dense, gorgeous wreath that looks substantial and holds its shape year after year.
The Making of a Perfect Pom-Pom
The secret to a dense, perfectly round pom-pom is simple: wrap way more yarn than you think you need, and then give it an aggressive trim. When you pack the yarn tightly and then cut the loops, the strands push against each other to create that full, spherical shape. A 100% wool yarn will give you a beautiful, fuzzy look, but a quality bulky acrylic yarn is a fantastic, budget-friendly option. You’ll be surprised—plan on needing at least 2-3 large skeins (around 600-800 yards total) for a full, 12-inch wreath. This will run you about $20-$30.
Building Your Bunny Wreath
Ready for this? It’s a fun weekend project. Plan for about 3-4 hours from start to finish once you get the hang of making the pom-poms.
- Choose Your Base: Skip the styrofoam forms for this one. A 12-inch or 14-inch wire wreath form from a craft store (usually under $5) is the way to go. The wireframe gives you something sturdy to tie the pom-poms onto directly.
- Make Your Pom-Poms (Lots of Them!): You’ll need about 25-30 pom-poms for a dense look. A plastic pom-pom maker is a non-negotiable tool here. They cost about $8 for a multi-size pack and will save your sanity. A 2.5-inch maker is a great size for this project. Just wrap the yarn around and around each arm until it’s super full, close it, and cut. Don’t trim the two long pieces of yarn you use to tie the pom-pom together—you’ll use these to attach it to the wreath!
- Attach the Pom-Poms: Using those long ties, securely knot each pom-pom onto the wireframe. Work your way around, nestling them close together to hide the frame completely. Mix them up and fluff them as you go to create a full, seamless look.
- Create the Bunny Ears: Now for the signature touch. Cut two long ear shapes from a piece of sturdy white felt (the good wool-blend kind!). To give them shape, you can either hot glue a piece of floral wire to the back or cut a slightly smaller inner-ear piece from pink felt and glue it on top.
- Final Assembly: Attach the ears to the top of the wreath. The easiest way is to use a generous amount of hot glue to secure the base of each ear to the back of the wreath frame and pom-poms. For the tail, just make one more pom-pom (maybe a slightly larger one!) and glue it to the bottom. And you’re done! A beautiful, high-end-looking wreath that you made yourself.
Inspiration:
Looking for inspiration beyond the usual pastel palette?
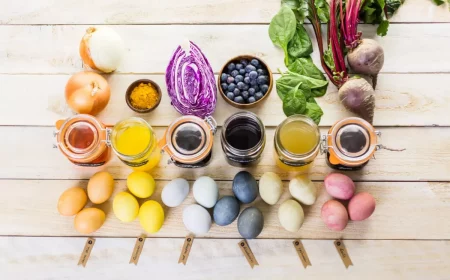
Explore the sophisticated art of Ukrainian Pysanky. These are not simply dyed eggs; they are intricate masterpieces created using a wax-resist (batik) method, where traditional folk motifs and symbols are drawn onto the egg with beeswax. Each color and symbol carries a deep meaning, representing wishes for protection, fertility, or prosperity. While mastering the traditional technique takes practice, you can draw inspiration from their geometric patterns and rich, earthy color schemes. Using fine-tipped paint pens on wooden eggs can evoke a similar feel, creating a set of decorations that are not only beautiful but also steeped in cultural history.
More than 90% of damage to stored seasonal decorations is caused by improper packing and extreme temperature fluctuations in attics or basements.
Your beautiful, handmade treasures deserve better. To ensure they emerge pristine next spring, wrap each item individually in acid-free tissue paper, which prevents color transfer and material degradation. Avoid plastic bags that can trap moisture and cause mildew. Instead, opt for sturdy, archival-quality boxes. Clearly label each box so you can find your decor easily, and store it in a climate-controlled space, like a closet or under a bed, to protect it for years to come.
For a vibrant, modern finish: High-quality acrylic craft paints, like those from DecoArt or FolkArt, are your best bet. They offer a huge range of colors, dry quickly to a durable, slightly plastic finish, and are easy to seal with a clear varnish for extra protection.
For a rustic, heirloom feel: Try milk paint. It soaks into unfinished wood rather than sitting on top, creating a rich, matte finish that naturally self-levels. It can be distressed easily for a vintage look and is completely non-toxic. Brands like Old Fashioned Milk Paint offer authentic, mix-it-yourself powders for a truly traditional experience.