Forget the Kits: Your Ultimate Guide to Dyeing Eggs with Natural Colors
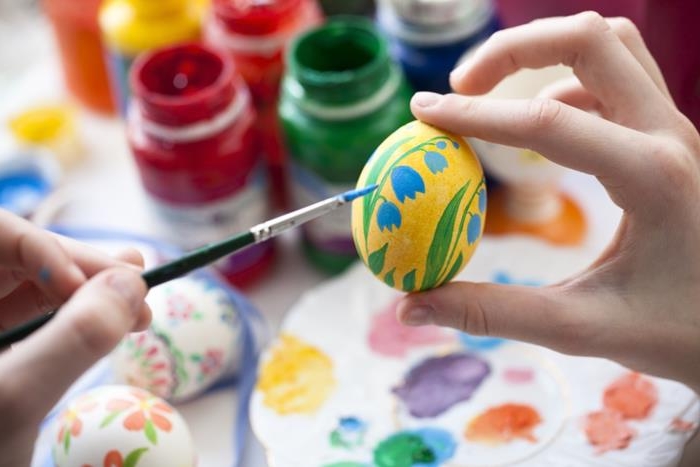
I’ve been coloring eggs for as long as I can remember. My first lessons didn’t come from fizzy tablets but from a pot of simmering onion skins on my grandmother’s stove. The whole kitchen would fill with this earthy, savory smell, and the eggs? They’d emerge a beautiful, mottled brown. That process taught me that coloring eggs is so much more than a holiday activity. It’s a real craft, a blend of science, tradition, and a bit of patience that connects us to the seasons and the people before us.
In this article
Over the years, I’ve moved from that kitchen to my own workshop, taught classes, and learned from other artisans. I’ve seen what works, what fails spectacularly, and why. So, this guide isn’t a list of trendy decorating ideas you’ll see for one season and forget. It’s the foundational knowledge I’ve gathered. We’ll cover everything from prepping the perfect egg to understanding natural dyes and even trying some timeless patterning techniques. My goal is to give you the skills to go way beyond the store-bought kit and create something genuinely special.
The Big Question First: For Eating or For Keeps?
Before we even touch an egg, you need to decide its destiny. Will these be beautiful, edible treats for a holiday meal, or are you creating lasting decorations? This choice determines whether you hard-boil them or blow them out.
- Hard-Boiled Eggs: These are for eating. They’re dyed, displayed for a bit, and then enjoyed. Just remember, they are perishable! Treat them like any other hard-boiled egg—keep them in the fridge and eat them within a week.
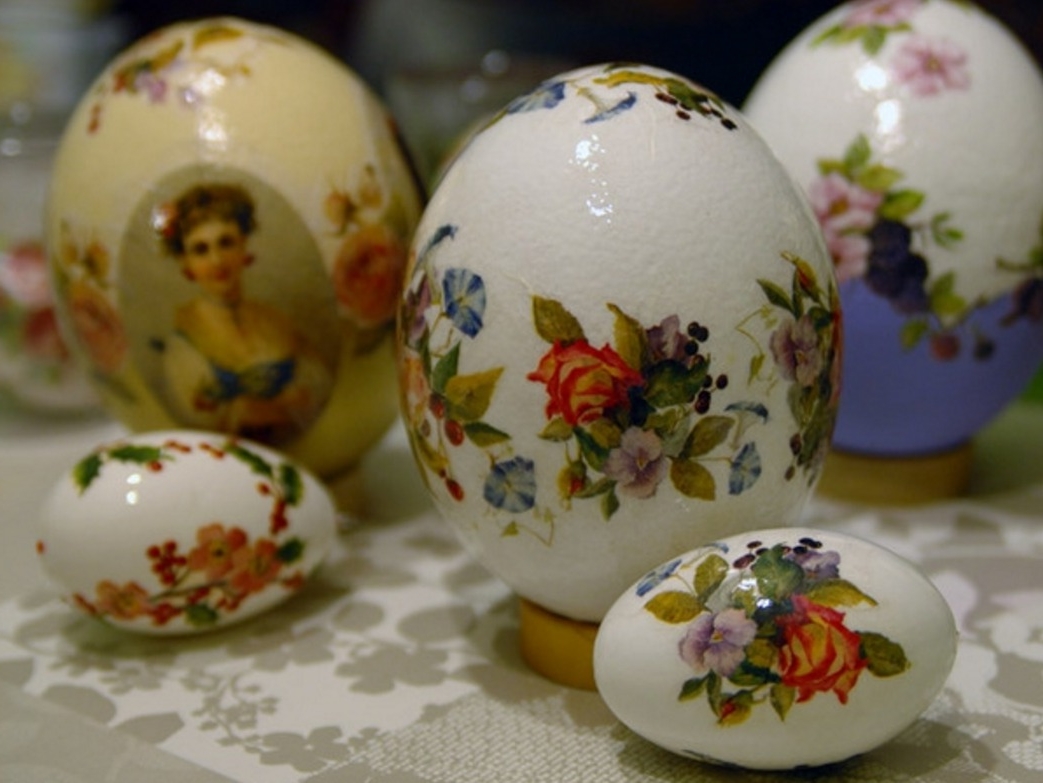
- Blown-Out Eggs: These are for decorations that can last for years. By removing the insides, you’re left with a clean, hollow shell that’s perfect for more intricate, non-food-safe designs. This is the way to go if you want to create family heirlooms.
How to Blow Out an Egg (For Art That Lasts)
It sounds tricky, but it’s surprisingly simple once you get the hang of it. You’ll need a large pin or a thumbtack and a wooden skewer.

- First, wash and dry your raw egg. Use the thumbtack to gently poke a small hole in the narrow end of the egg.
- Flip it over and make a slightly larger hole in the wide end. Wiggle the pin around a bit to break up the yolk membrane inside.
- Hold the egg over a bowl, put your mouth over the small hole, and blow firmly. The egg’s contents will come out of the larger hole. It might take a few good puffs!
- Once it’s empty, rinse the shell carefully by letting a little water run into the large hole, shake it gently, and blow it out again. Let it dry completely before you start decorating.
The Perfect Hard-Boil (If You Plan to Eat Them)
Cracked eggs are the enemy of a clean dye job. Cracks let the dye seep in, making the shell blotchy and coloring the egg white. The secret to preventing cracks is avoiding any sudden temperature changes.
Here’s the method that has never failed me:
- Place your eggs in a single layer in a saucepan. Don’t crowd them!
- Cover the eggs with cool water, so it’s about one inch above them. Starting with cool water lets the eggs heat up slowly.
- Put the pan on the stove and bring it to a rolling boil.
- The moment it hits a full boil, turn off the heat, slap a lid on the pan, and just let the eggs sit in the hot water for about 12 minutes. This cooks them perfectly without turning the yolks chalky.
- Carefully move the eggs to a bowl of cold water and let them cool completely before you handle them for dyeing.
Creating a Flawless Canvas
Whether your egg is boiled or blown, the oils from your hands can leave invisible smudges that resist dye. To get an even, vibrant color, you have to prep the surface. Just before dyeing, gently wipe each egg with a cloth dipped in white vinegar. The vinegar does two things: it cleans off any residue and it ever-so-slightly etches the shell, which helps the dye grab on much more effectively.
The Magic of Color: How Egg Dyeing Actually Works
A little kitchen science makes you a better dyer. An eggshell is mostly calcium carbonate, which is a base on the pH scale. Most food-safe dyes, whether from a kit or a vegetable, are acid dyes. See where this is going? They need an acidic environment to work their magic. That’s why vinegar is our best friend in this process.
When you add vinegar (acetic acid) to your dye bath, it lowers the pH and helps the dye molecules form a strong chemical bond with the shell. A warmer dye bath can speed this up, which is why simmering eggs in dye is so effective. But heads up! For some techniques, like using wax, you’ll need to let your dye cool down completely.
So, if your colors are ever looking pale and sad, the first thing to check is your acid level. A little more vinegar often does the trick.

Diving Into Natural Dyes
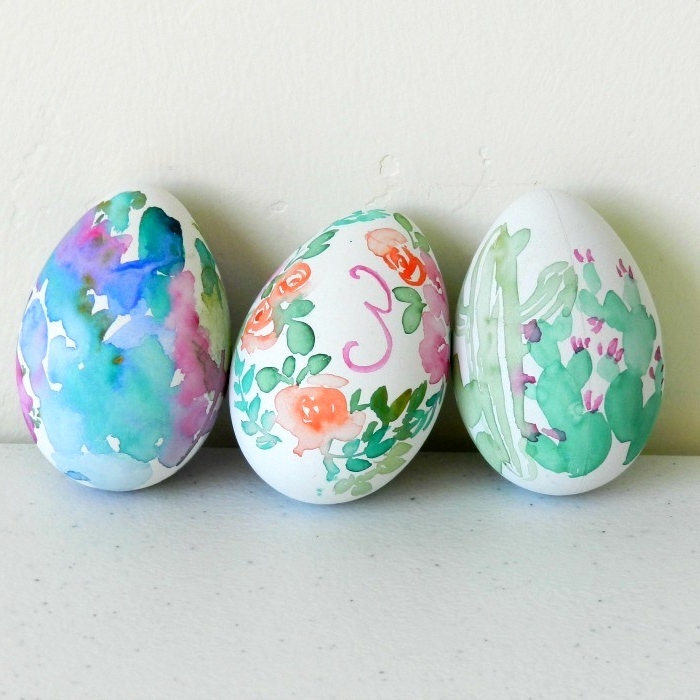
Using natural dyes is a truly rewarding process. The colors are often softer, more complex, and carry the story of where they came from. Part of the fun is their unpredictability—the exact shade you get can depend on your water, the plant itself, and the egg you’re using. I always tell my students to embrace it. Each egg is a unique little experiment.
A critical safety note: Always use non-reactive pots for making dyes. I’m talking about your standard stainless steel or enamel-coated pots. Steer clear of aluminum and copper, as they can react with the dyes, change the colors in weird ways, and potentially leach metals. No, thank you.
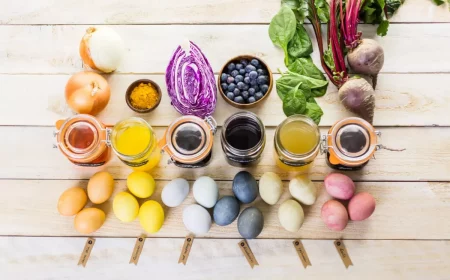
Reliable Natural Dye Recipes
These are my go-to, tried-and-true dye sources. They’re consistent and give beautiful results. The standard ratio is about one tablespoon of white vinegar for every cup of strained dye liquid. Add the vinegar right before you put the eggs in.

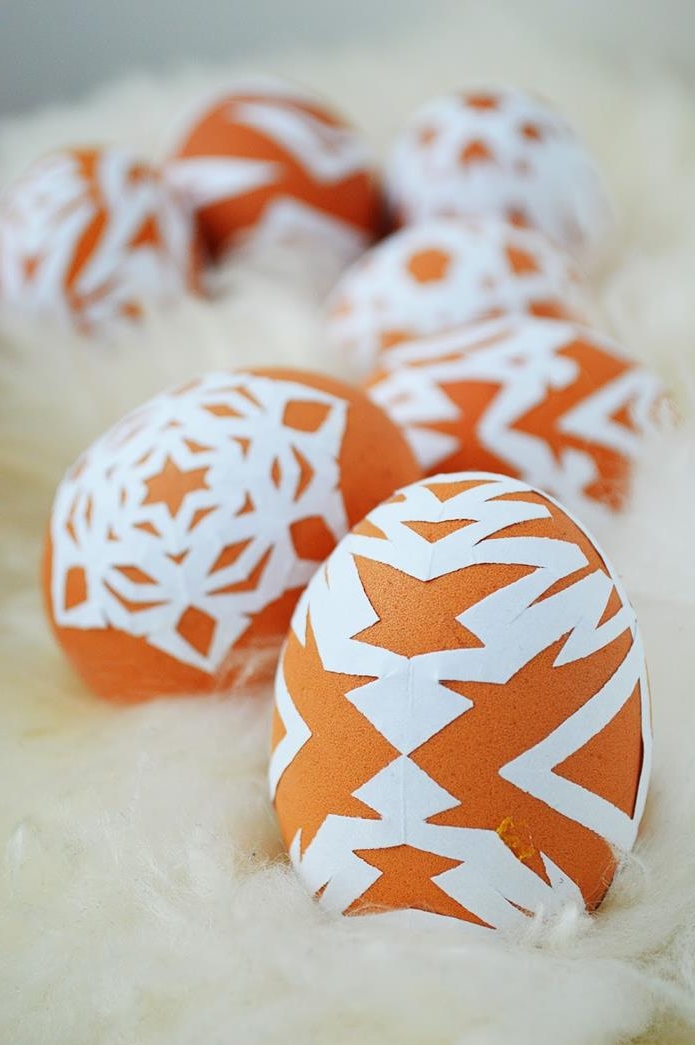
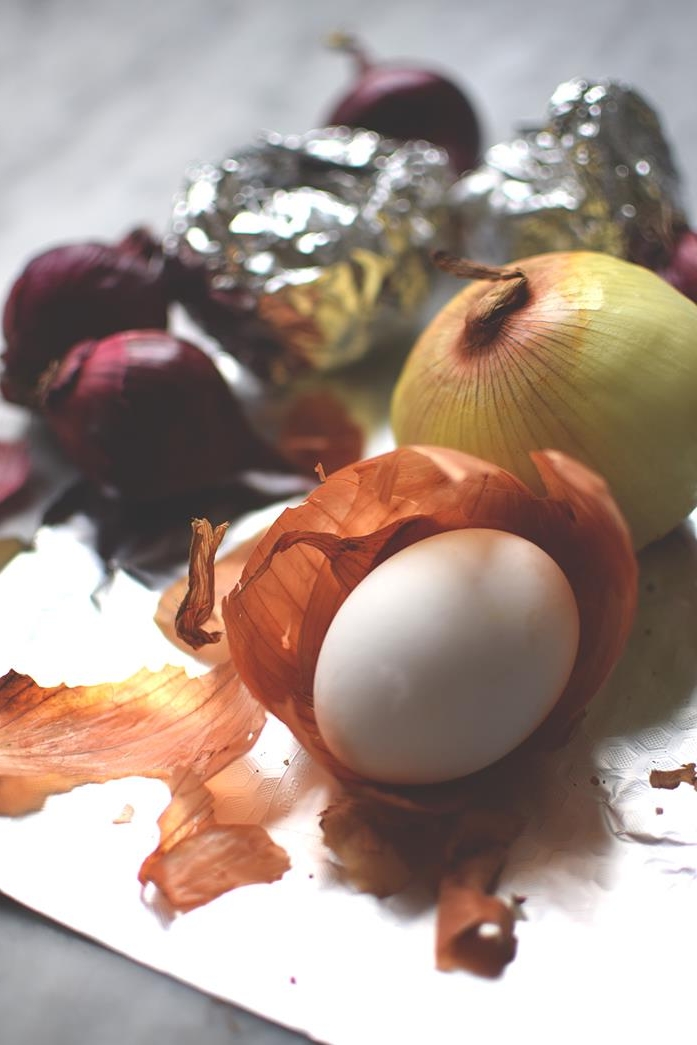
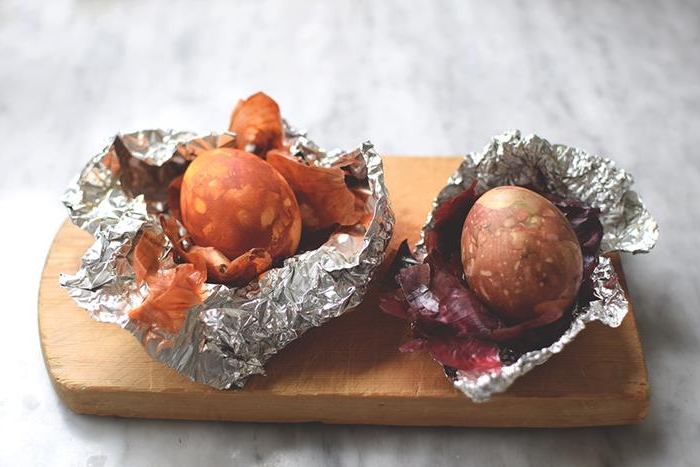
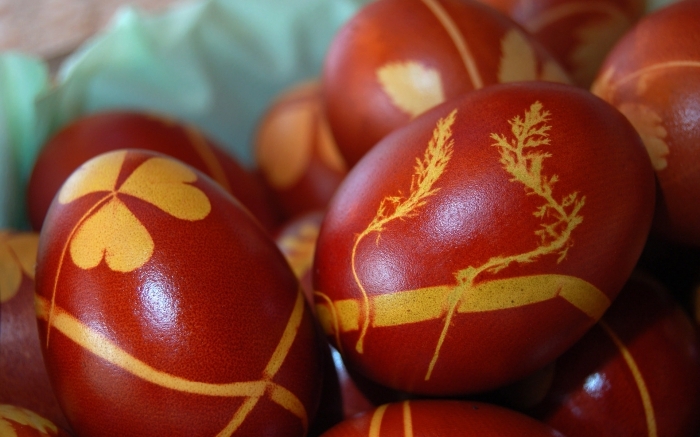
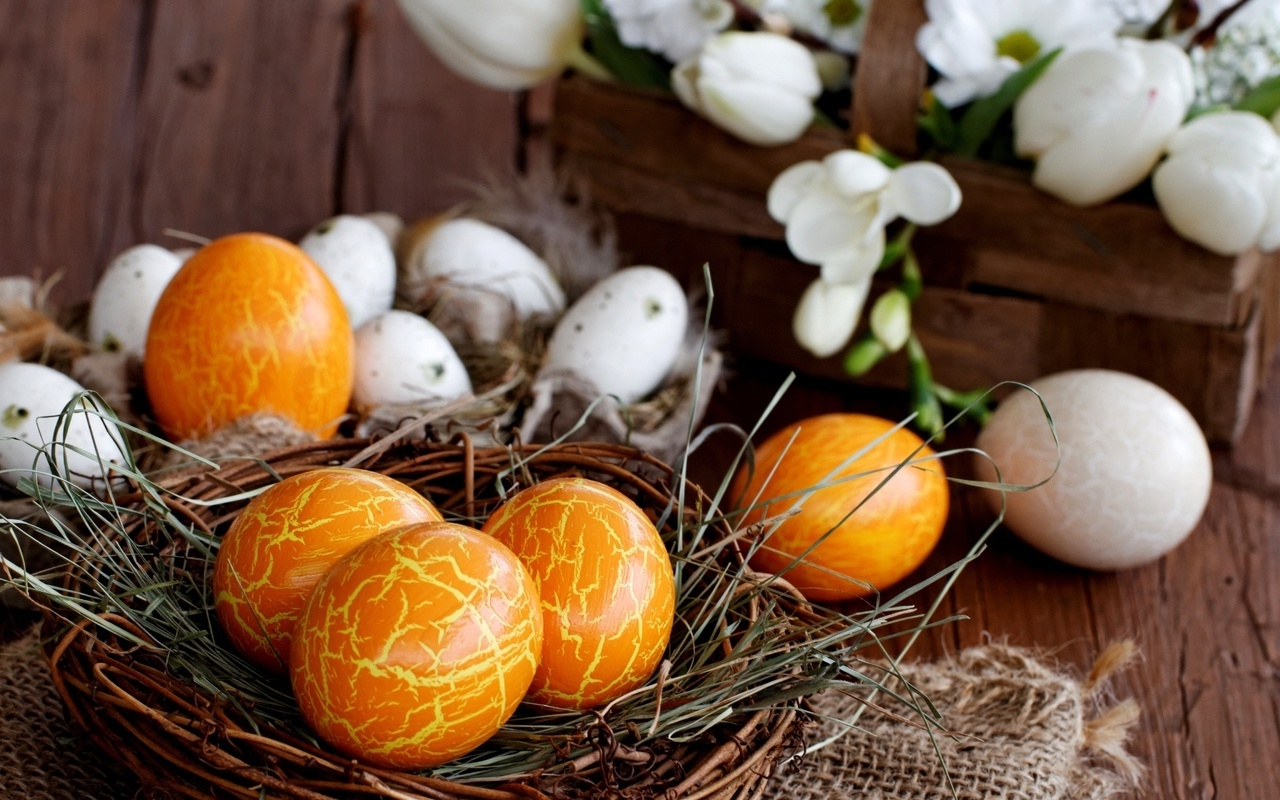
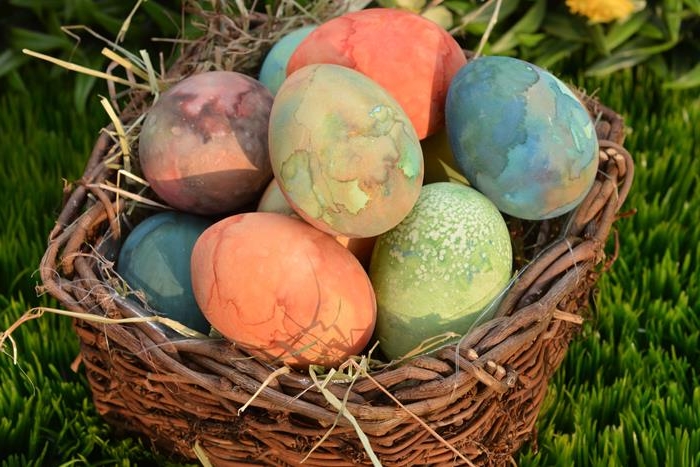
- Gold & Russet from Yellow Onion Skins: My absolute favorite, and it’s basically free! The papery outer skins from 6-8 yellow onions are enough for a quart of dye. Simmer the skins in four cups of water for at least 30 minutes. Strain the liquid, add your vinegar, and you’re set. Simmering eggs in this for 10 minutes gives a lovely golden-orange, while an overnight soak in the fridge results in a deep, earthy brown.
- Lavender & Green from Red Onion Skins: Surprise! Red onion skins don’t make red dye. They often create a beautiful, dusty lavender on white eggs. And on brown eggs? I’ve gotten some stunning mossy greens. The process is the same as with yellow onion skins.
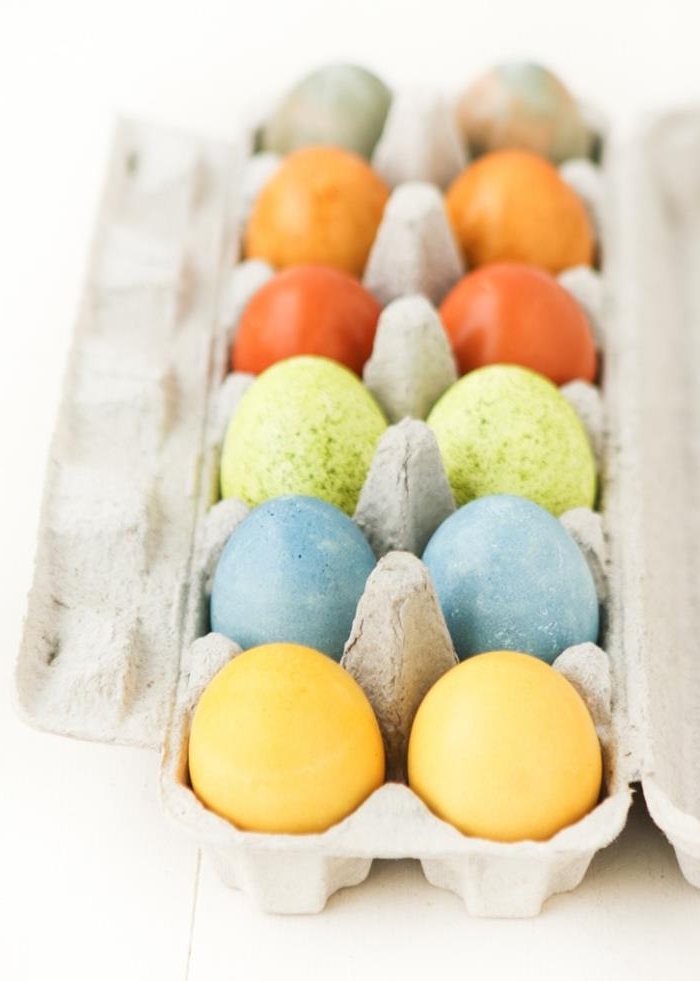
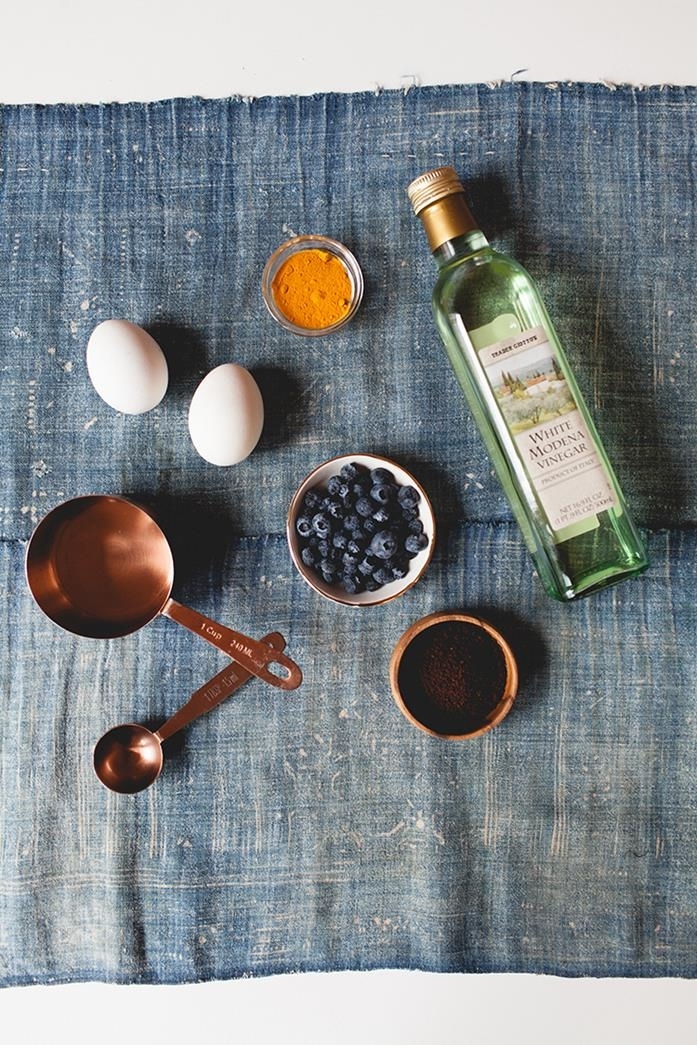
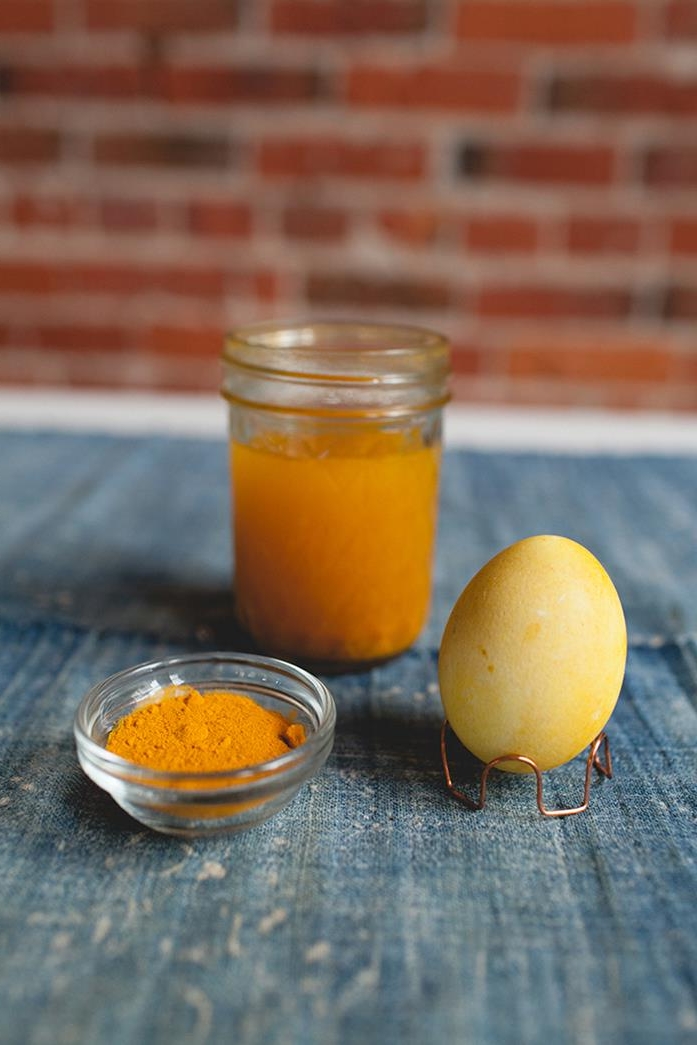
- Bright Yellow from Turmeric: For a true sunshine yellow, turmeric is the champ. But be warned: it stains EVERYTHING. I once ruined a brand-new dish towel and my countertop for a week. Now, I always lay down newspaper and wear gloves. Just add 2-3 tablespoons of ground turmeric to two cups of water, simmer for 10 minutes, and strain it through a coffee filter. A 30-minute soak is usually plenty for a brilliant yellow.
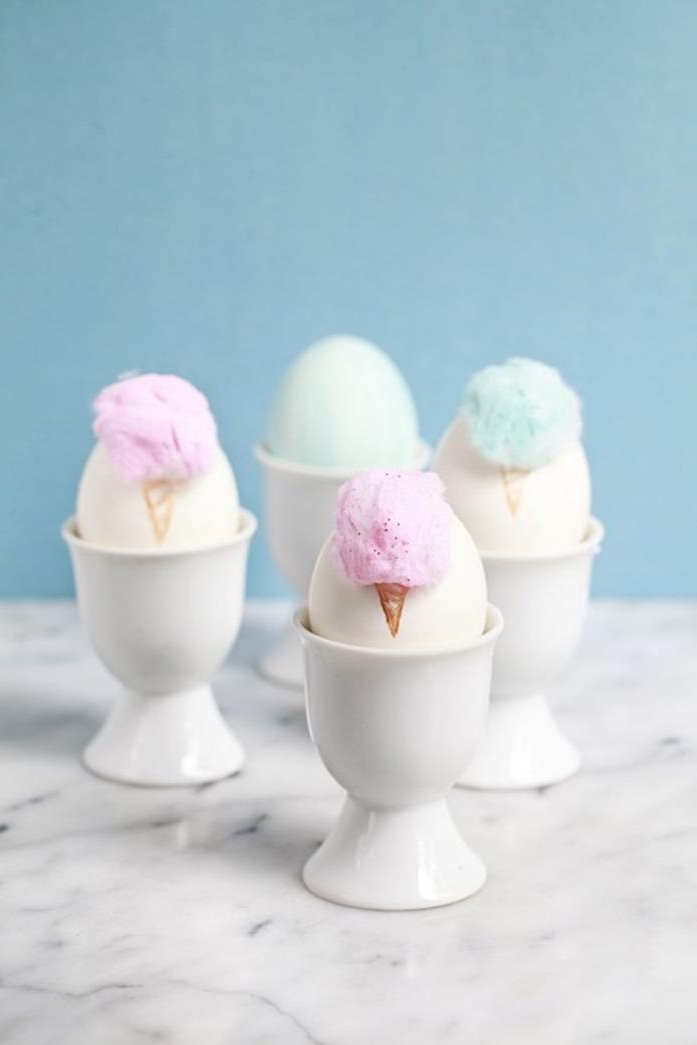
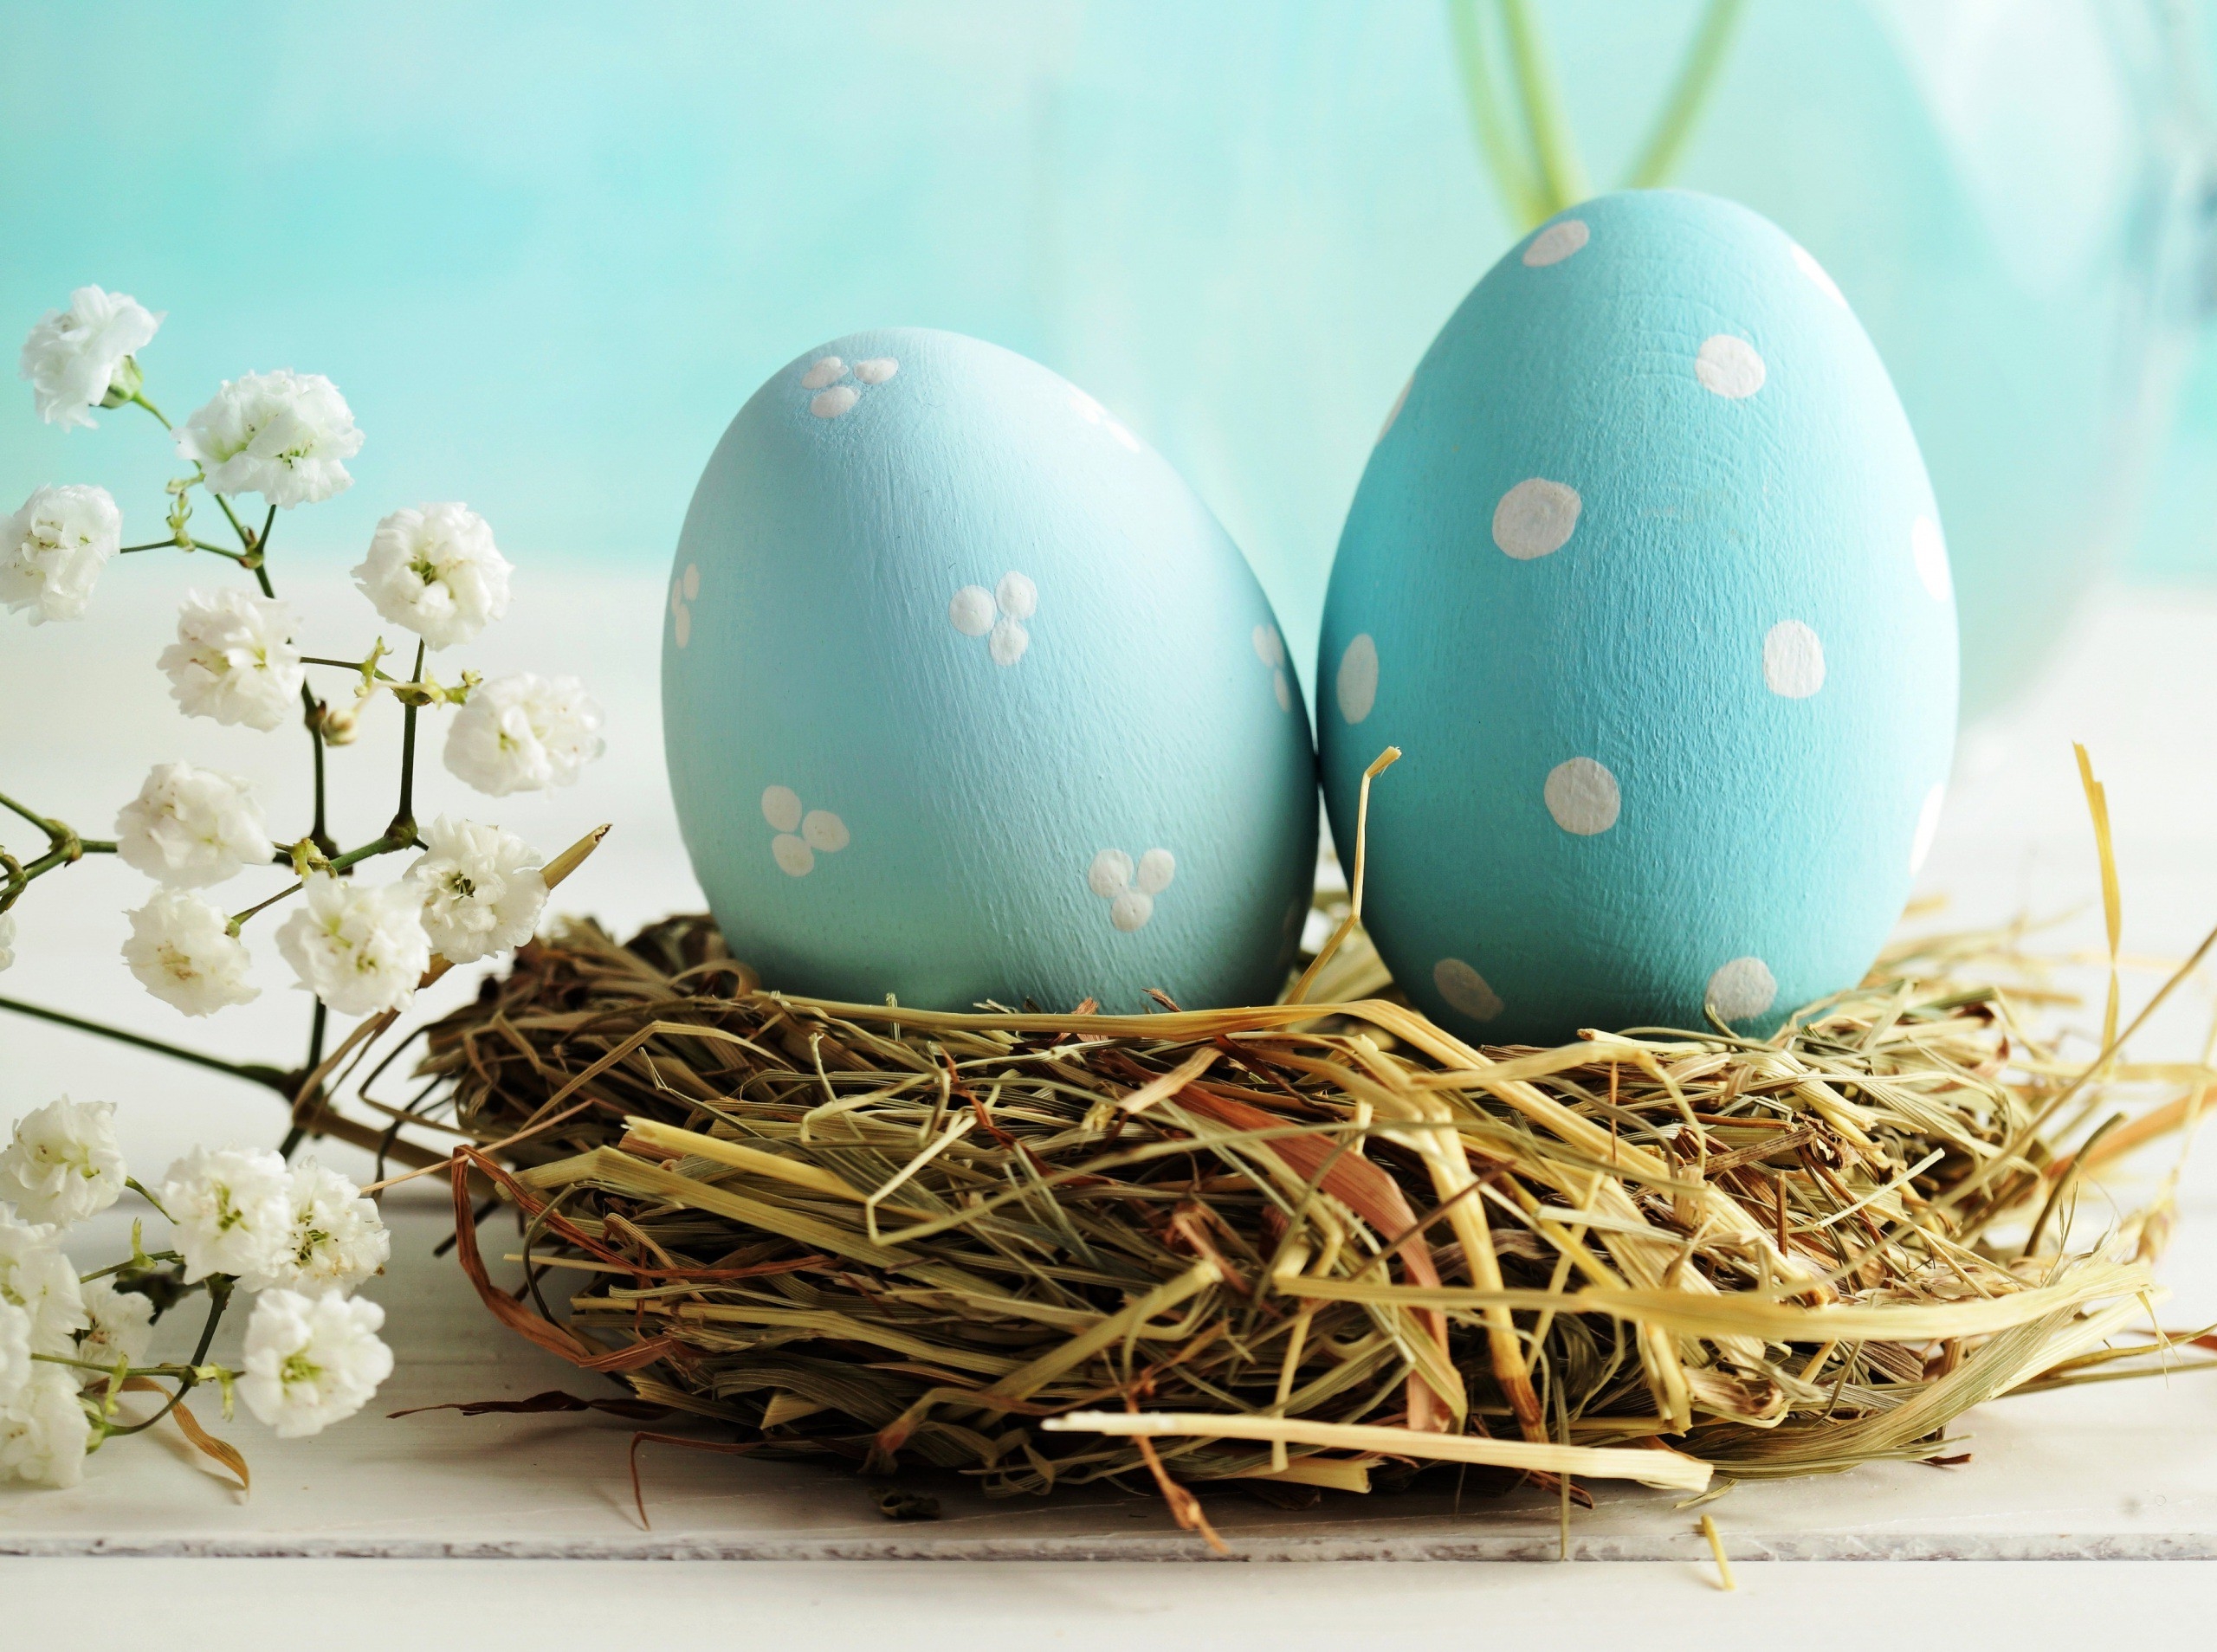
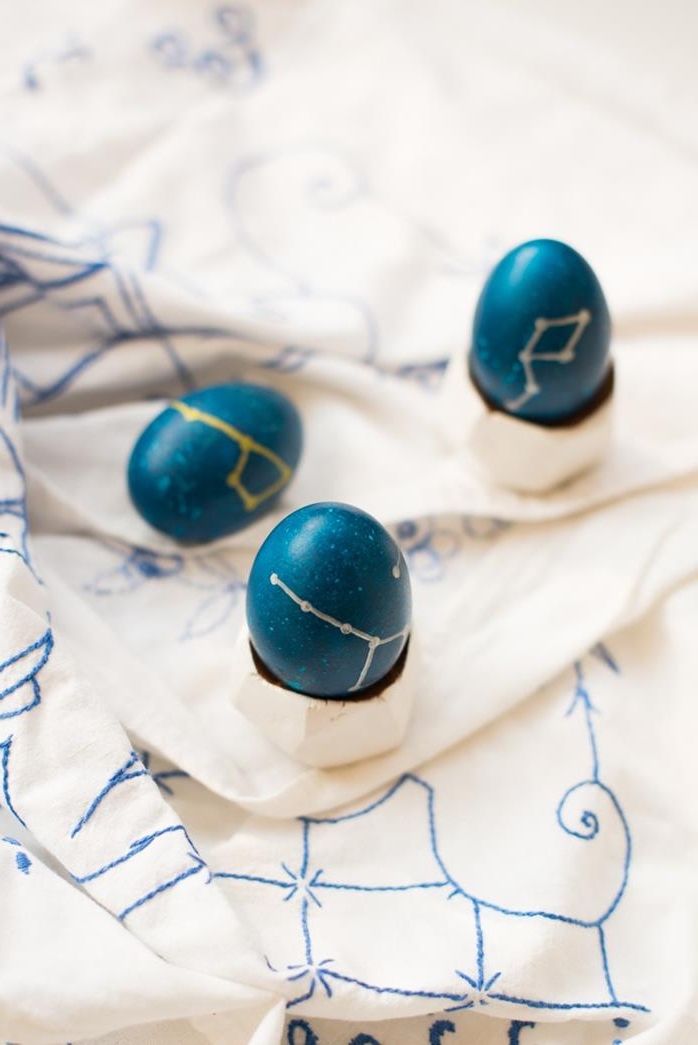
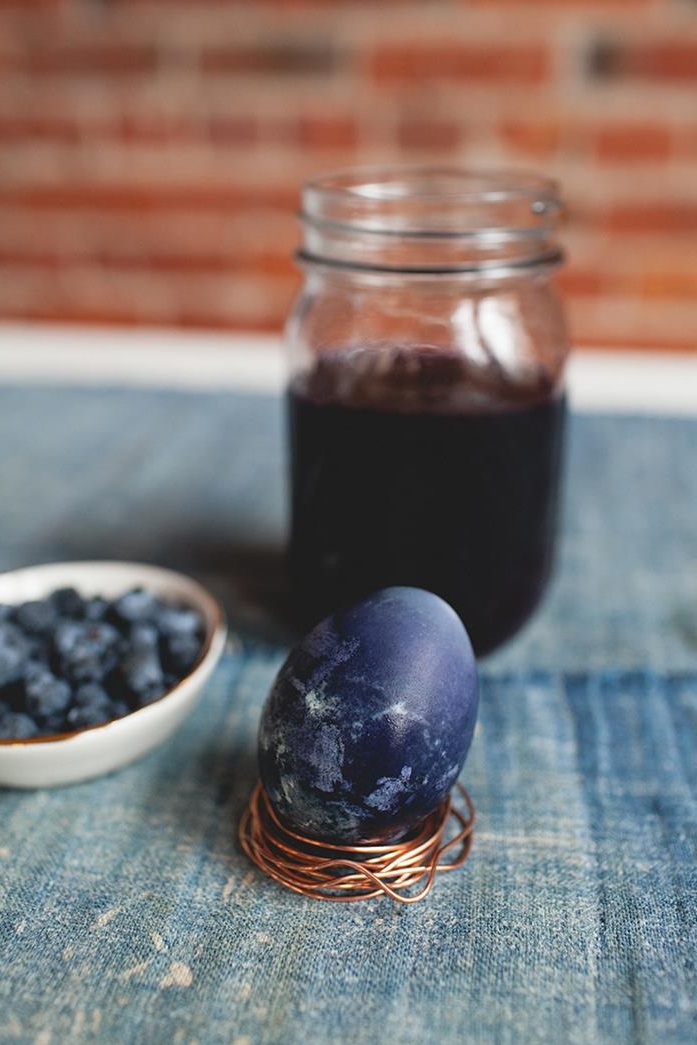
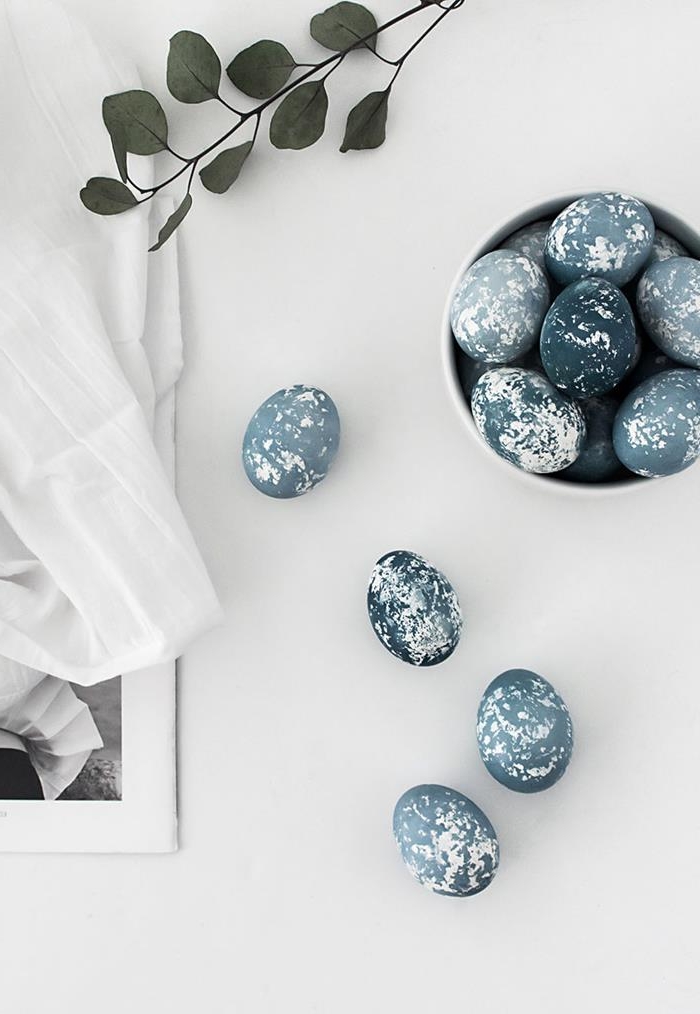
- Blue & Teal from Red Cabbage: This one feels like a magic trick. A head of red cabbage creates a brilliant blue dye. Chop half a head, cover it with four cups of water, and simmer for 30-45 minutes. The water will look purple, but don’t panic. Strain it, add your vinegar, and watch as a white egg turns a beautiful sky blue. An overnight soak can even produce a deep navy. (Lesser-known trick: add a tiny pinch of baking soda to a cup of the dye to shift the pH and get a lovely teal green instead).
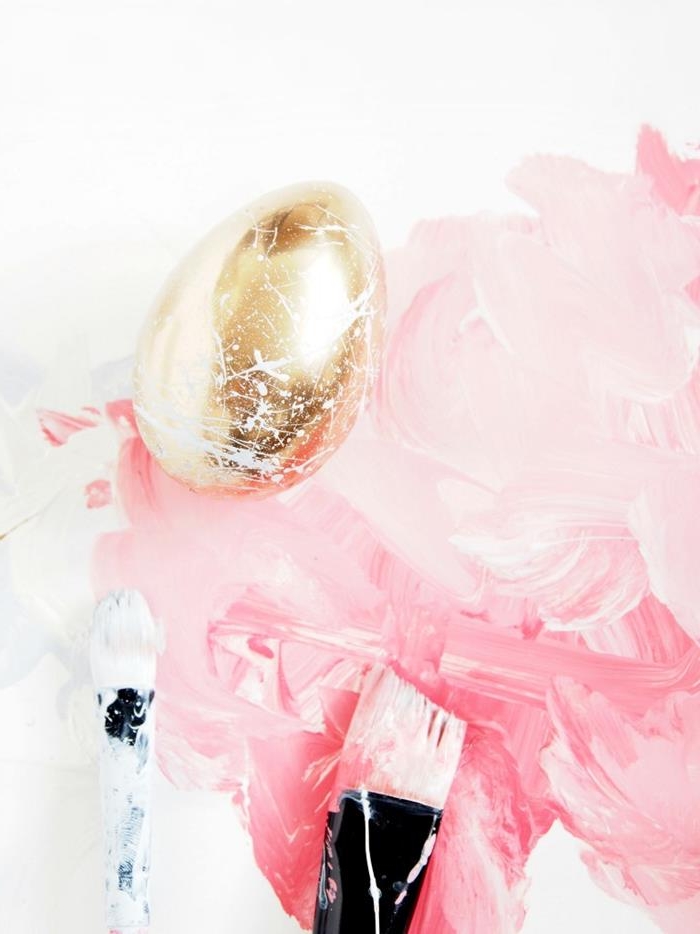
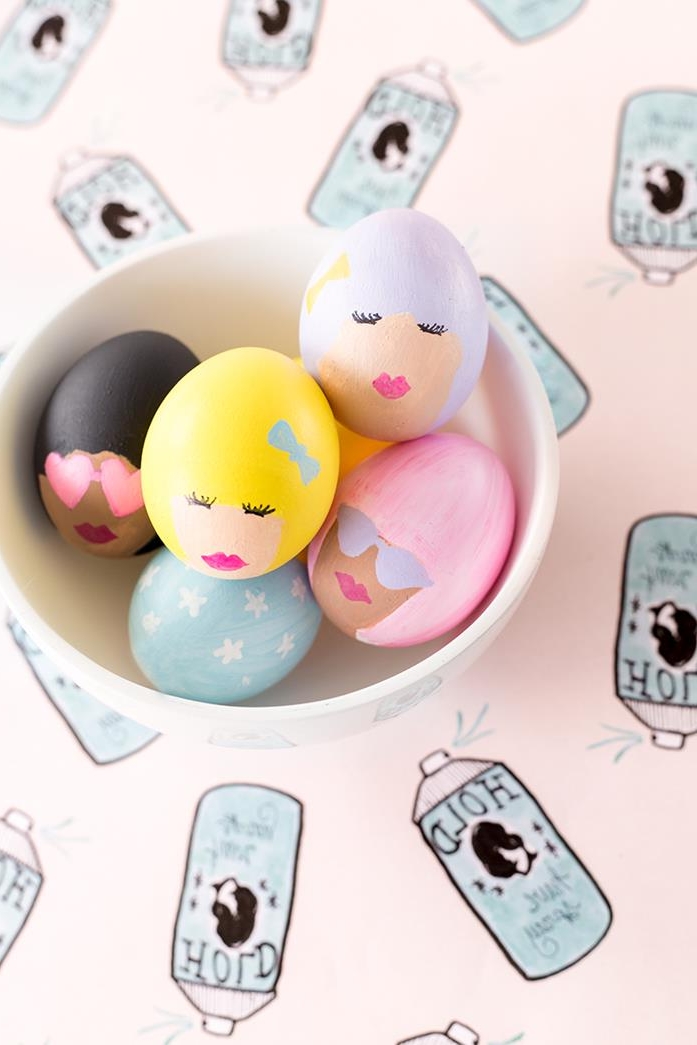
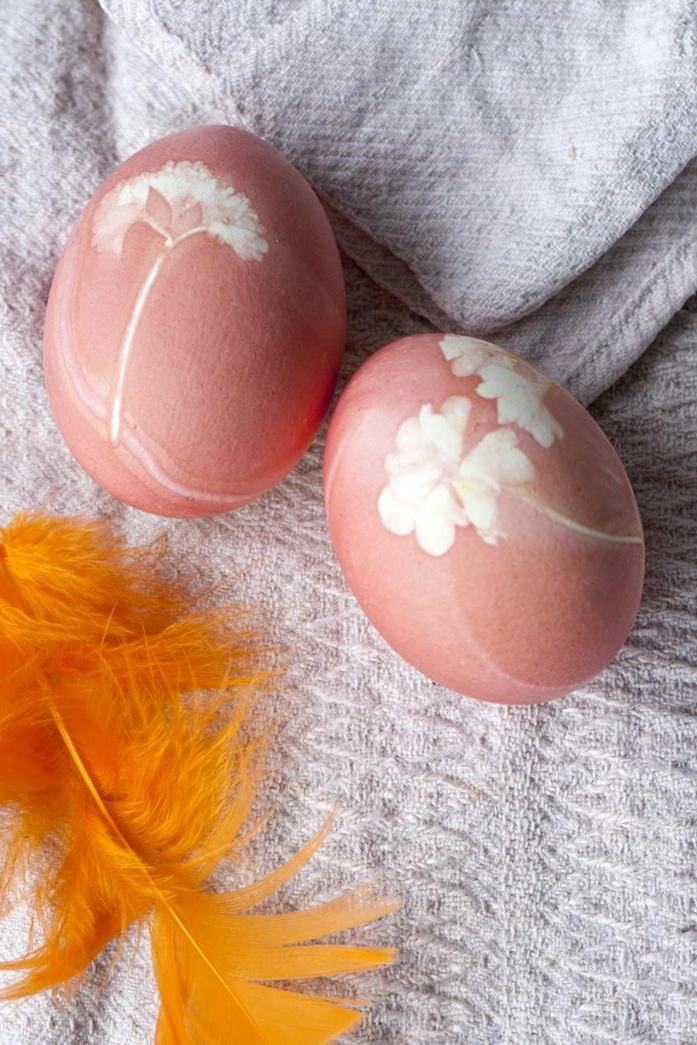
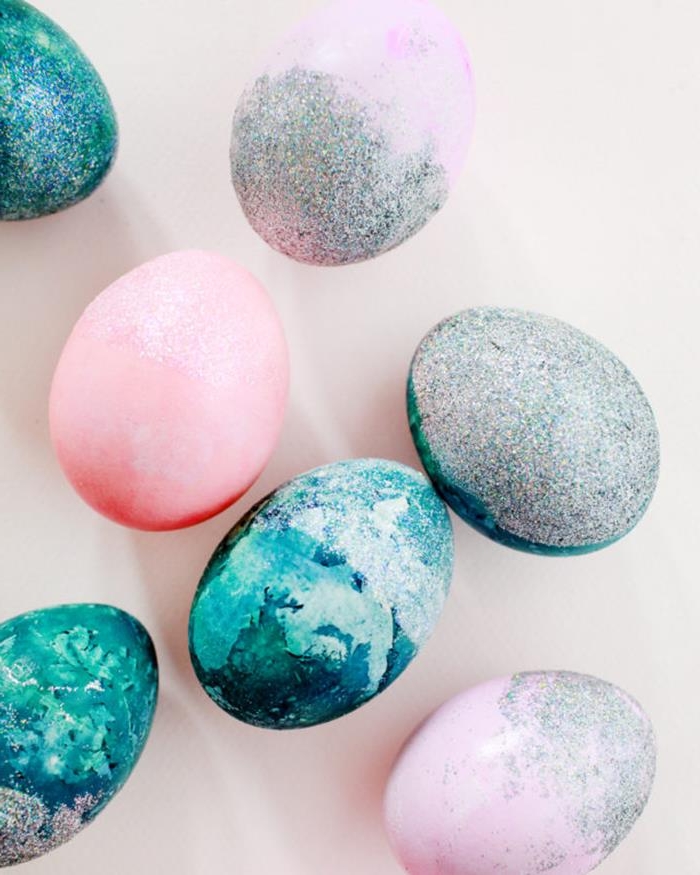
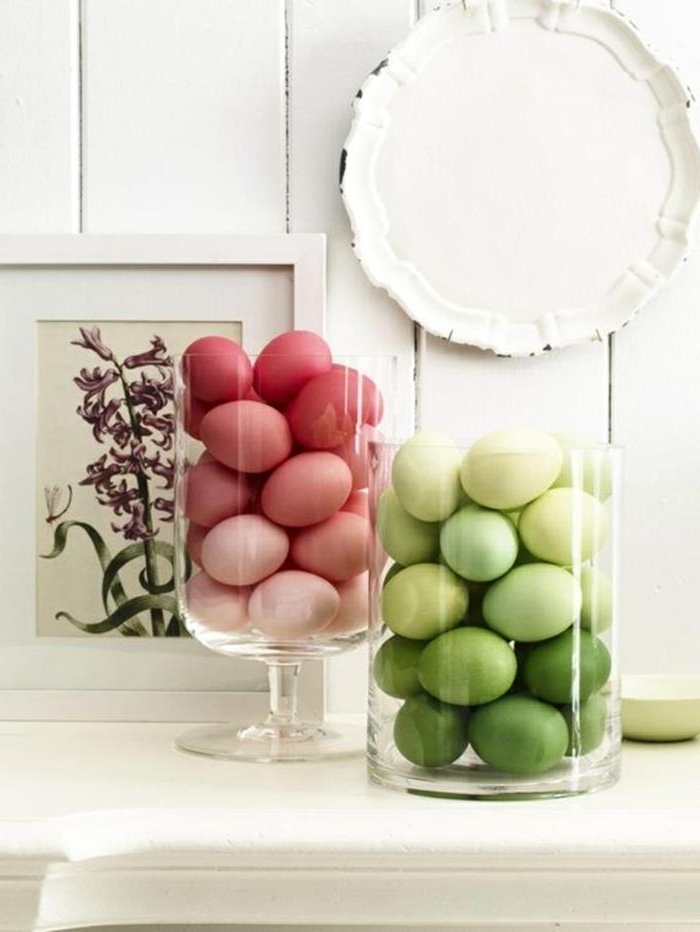
- Pink from Beets: Getting a true red from natural dyes is tough, but beets will give you a lovely range of pinks. Use one large, chopped raw beet or a can of sliced beets with its juice. Simmer with two cups of water for 30 minutes. Expect shades from pale rose to a deeper magenta, depending on how long you soak them.
Timeless Techniques for Pattern and Texture
Once you’ve nailed solid colors, you can start playing with patterns. These methods are ancient and rely on a simple idea: block part of the shell from the dye to create a design.
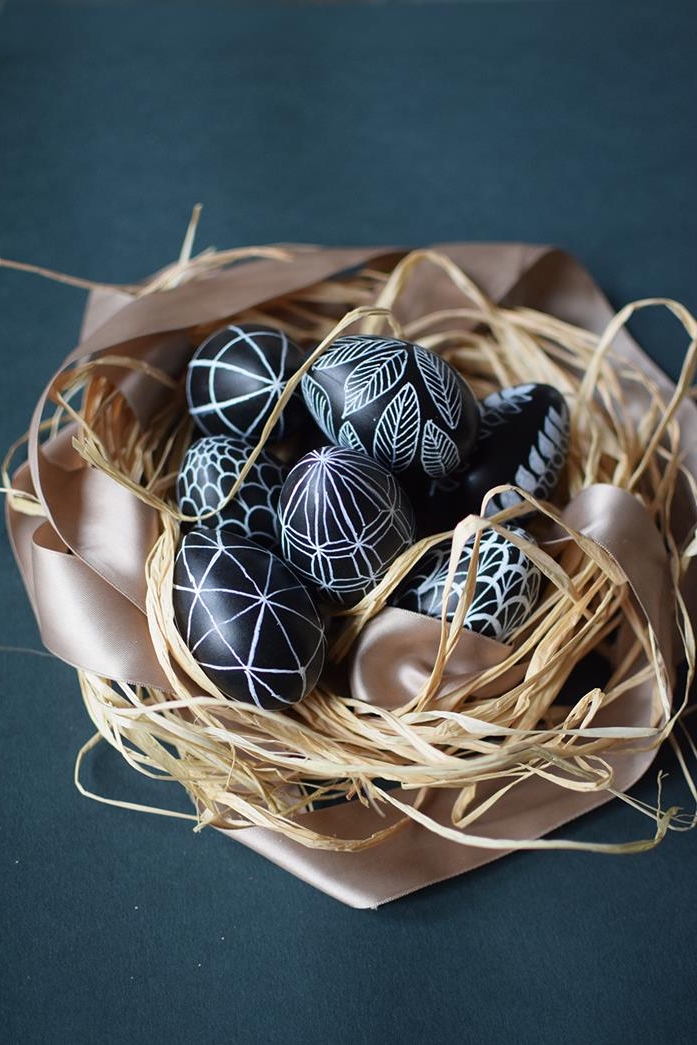
Wax-Resist (The Batik Method)
This is my favorite way to make intricate designs. You draw on the egg with melted wax, which protects the shell underneath from the dye. It’s a layered process that creates incredible results.
- The Tools: For super fine lines, you can use a special tool called a kistka, which you can find online on Etsy or at larger craft stores for about $5-$10. But honestly, for beginners, a straight pin pushed into a pencil eraser works great. Just dip the pinhead in melted beeswax and draw with it.
- The Process: The golden rule is to work from light to dark colors. Start with a clean, white egg. Draw your first designs with wax—these areas will stay white. Dye the egg in your lightest color (like yellow). Let it dry completely. Then, draw more wax designs on the yellow parts—these areas will stay yellow. Now, dye the whole egg in a darker color, like blue. The design possibilities are endless.
- The Big Reveal: Once you’re done dyeing, you have to remove the wax. The traditional method is to carefully hold the egg near the side of a candle flame (not in it!) to melt the wax, wiping it away with a paper towel as it melts. This is deeply satisfying, but BE CAREFUL. A much safer option, especially if kids are helping, is to use a hairdryer on a low setting. It melts the wax just as well without the risk of a flame.
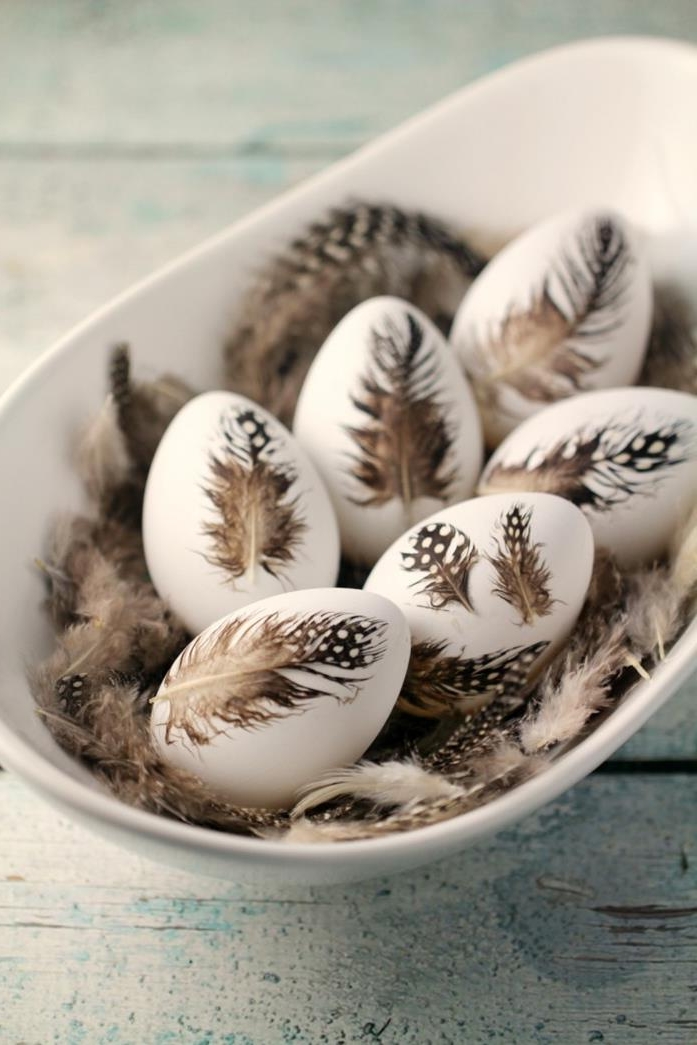
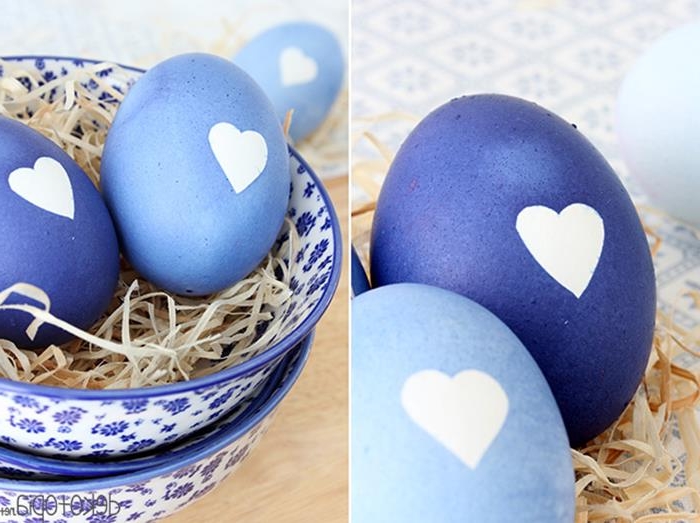
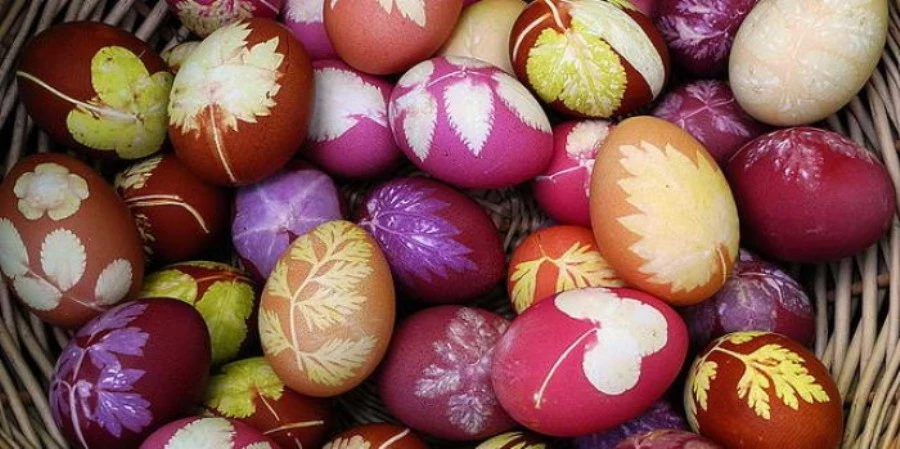
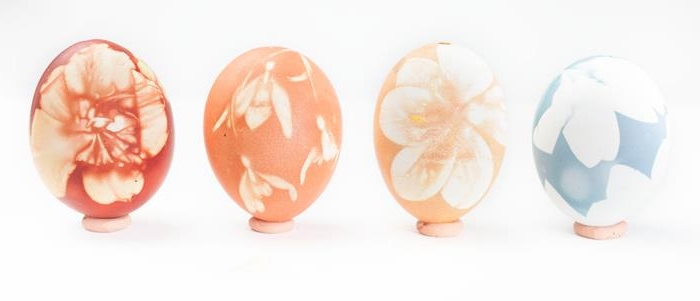
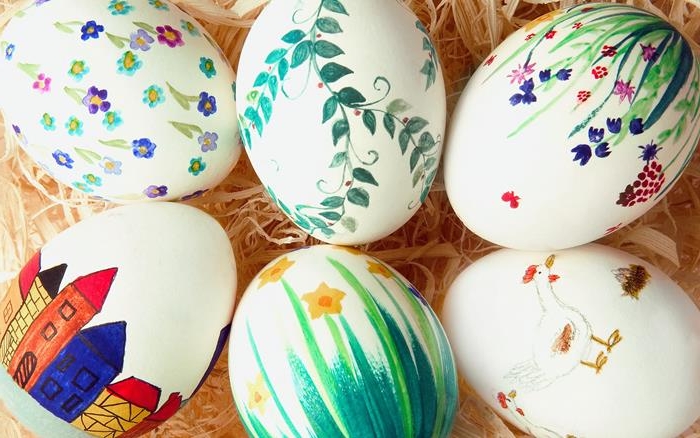
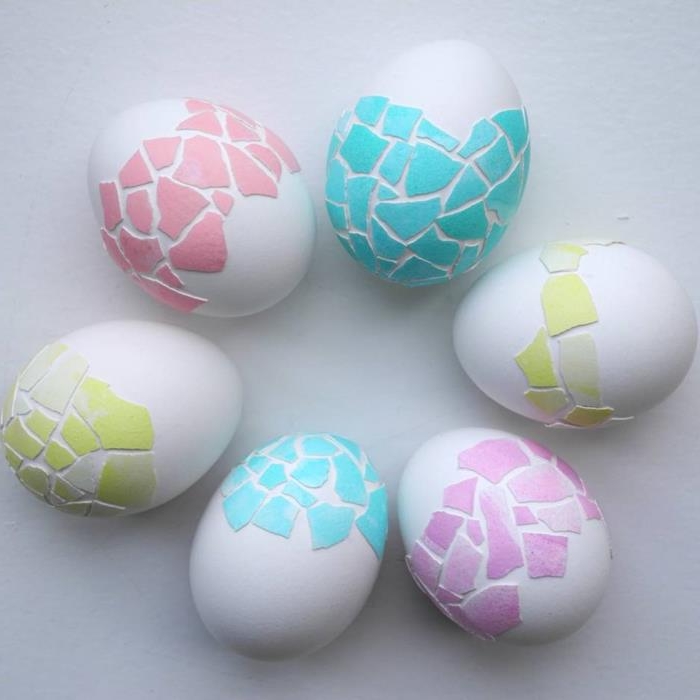
Resist with Leaves and Flowers
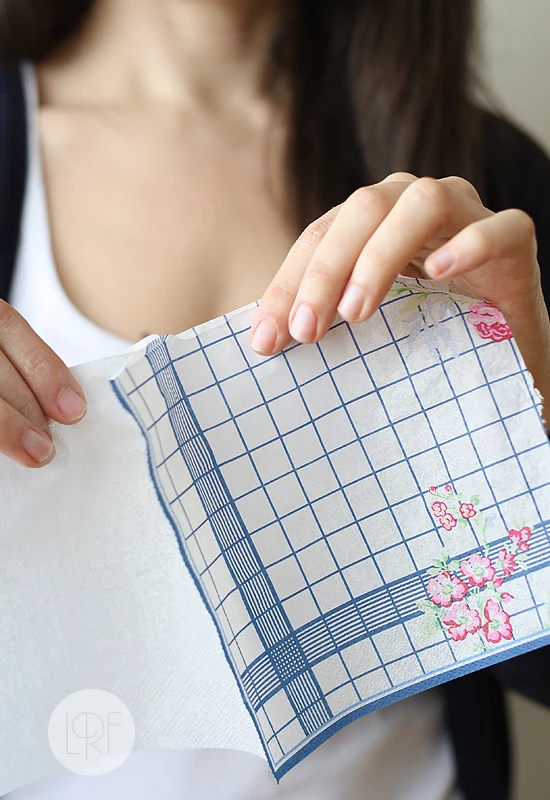
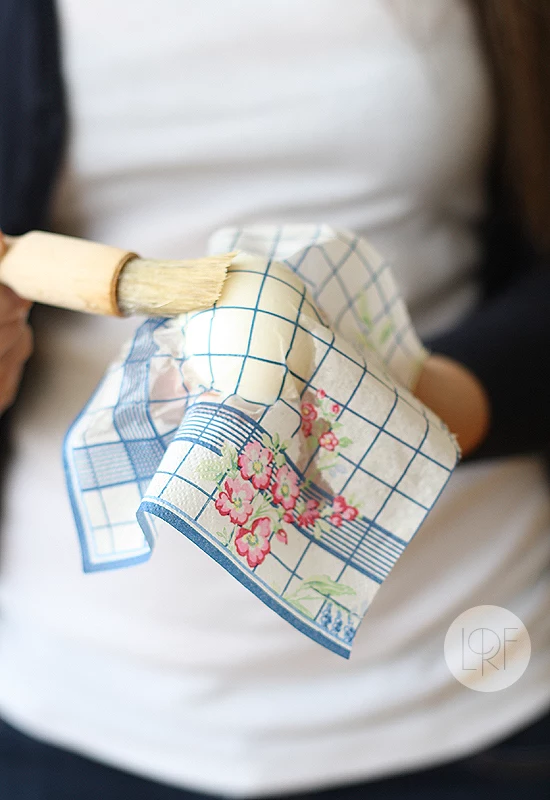
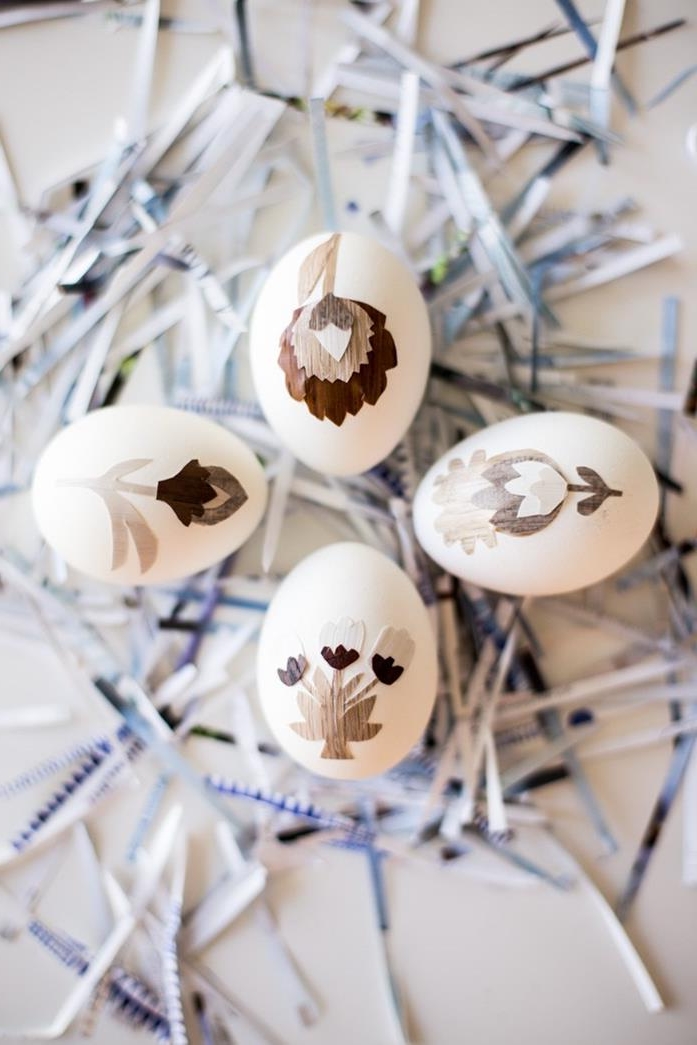
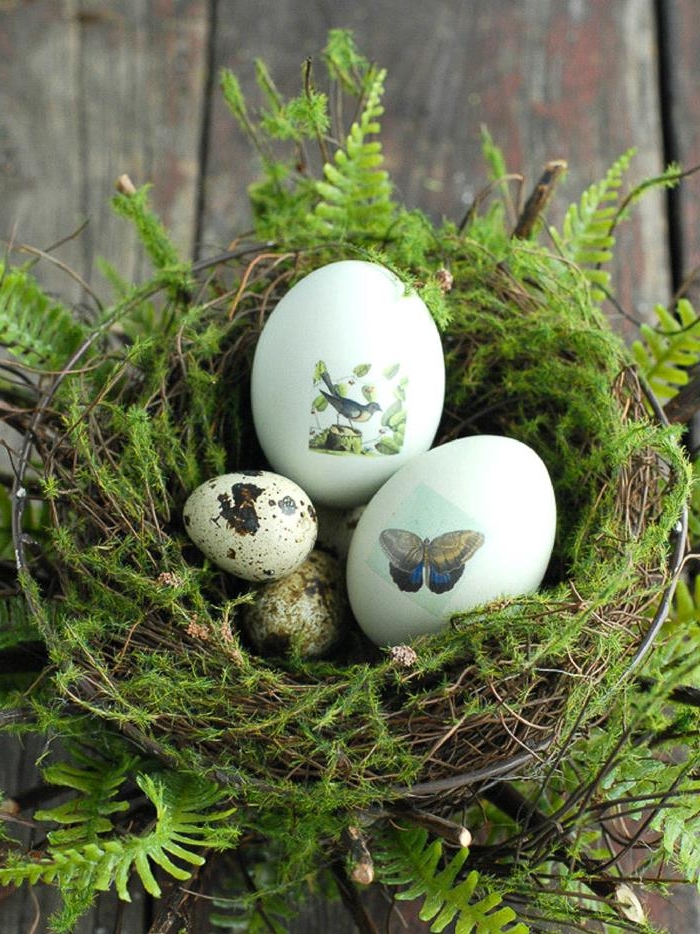
You can create gorgeous, delicate patterns using small leaves, ferns, and flowers. Parsley and cilantro leaves work beautifully.
- Place a leaf on your egg.
- Carefully stretch a small square of old nylon stocking over the leaf and egg, pulling it super tight. This is crucial for a sharp image—my first attempt was a blurry mess because it wasn’t tight enough!
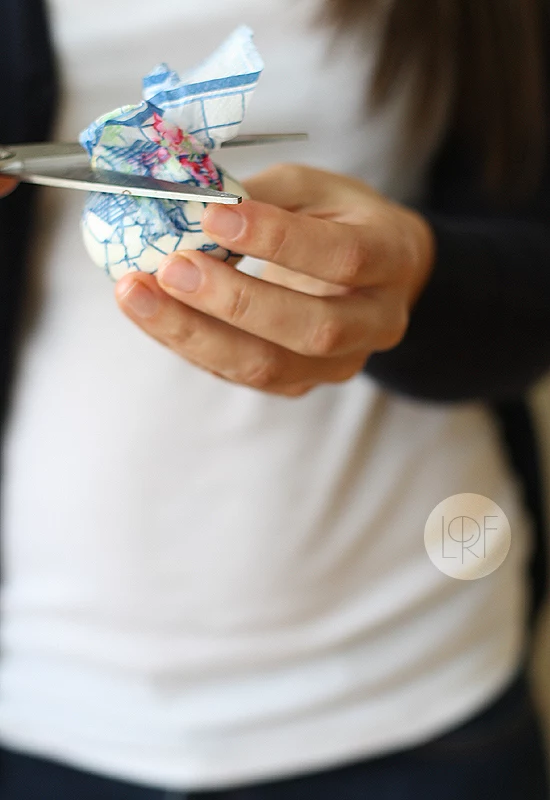
- Secure the stocking on the back with a twist tie and dye the egg as usual.
- Once it’s dyed and dry, just snip the stocking off and peel away the leaf to reveal the beautiful silhouette underneath.
A Note on Decorative-Only Finishes
Some decorating techniques are purely for show and use materials that are NOT food-safe. If you go this route, you absolutely must use blown-out eggs.
My rule is simple: if it didn’t come from the kitchen, the egg is for display only. Don’t eat it.
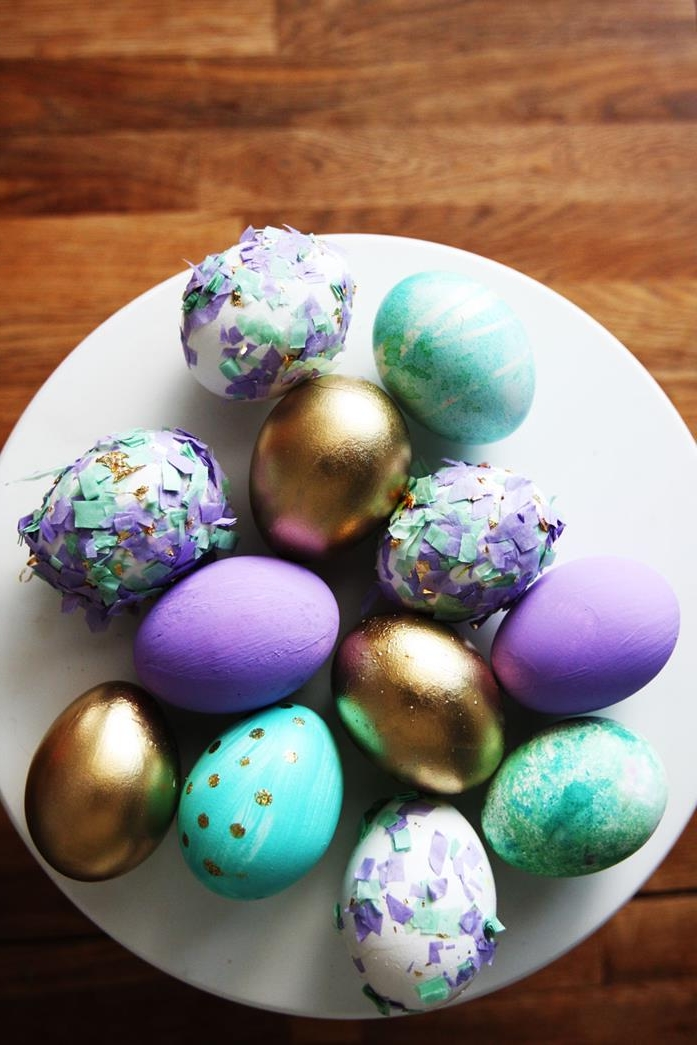
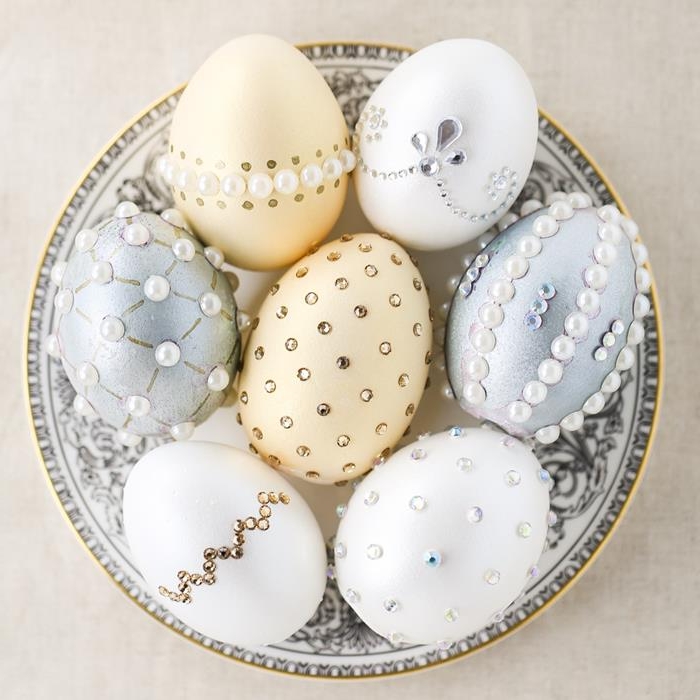
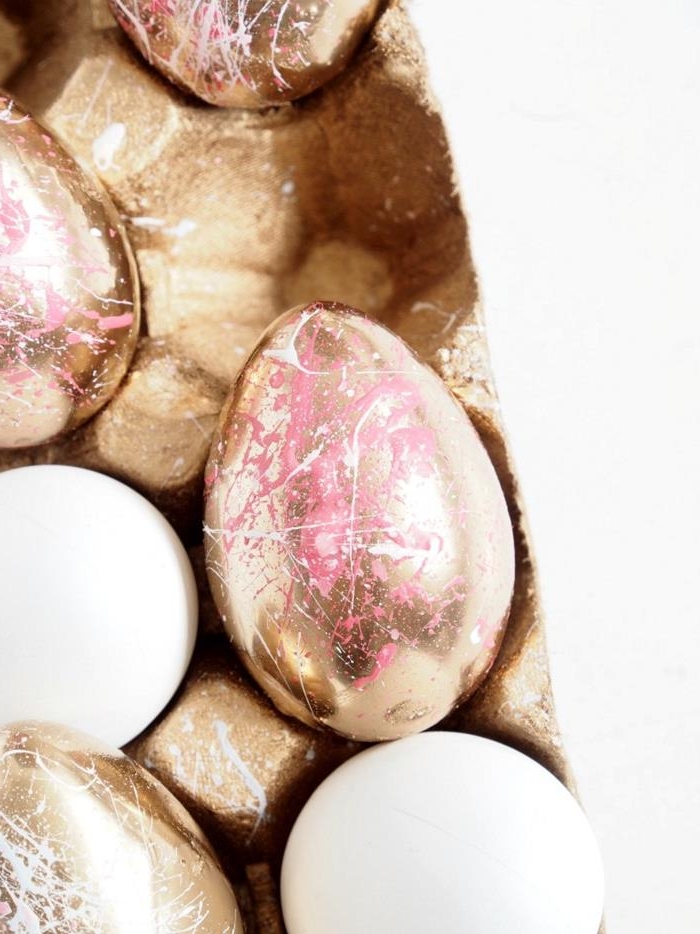
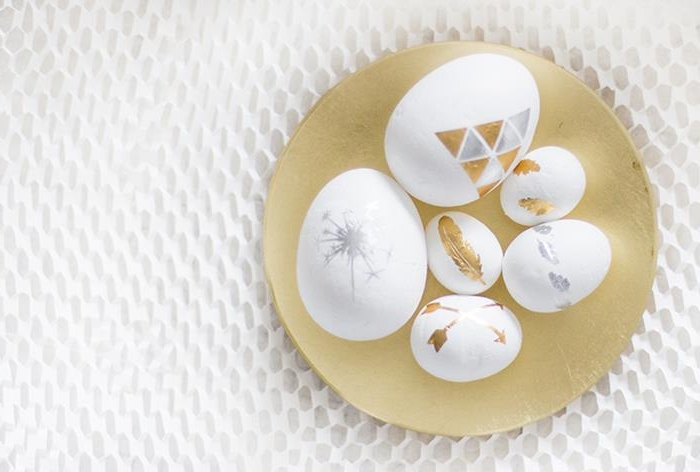
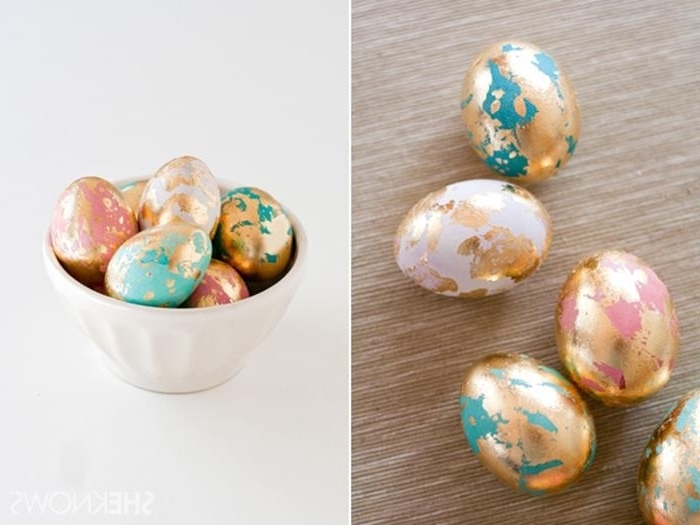
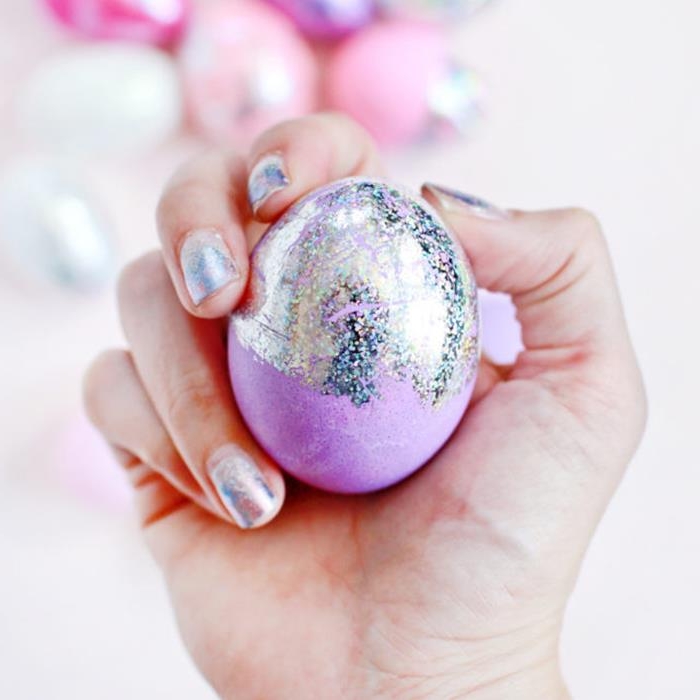
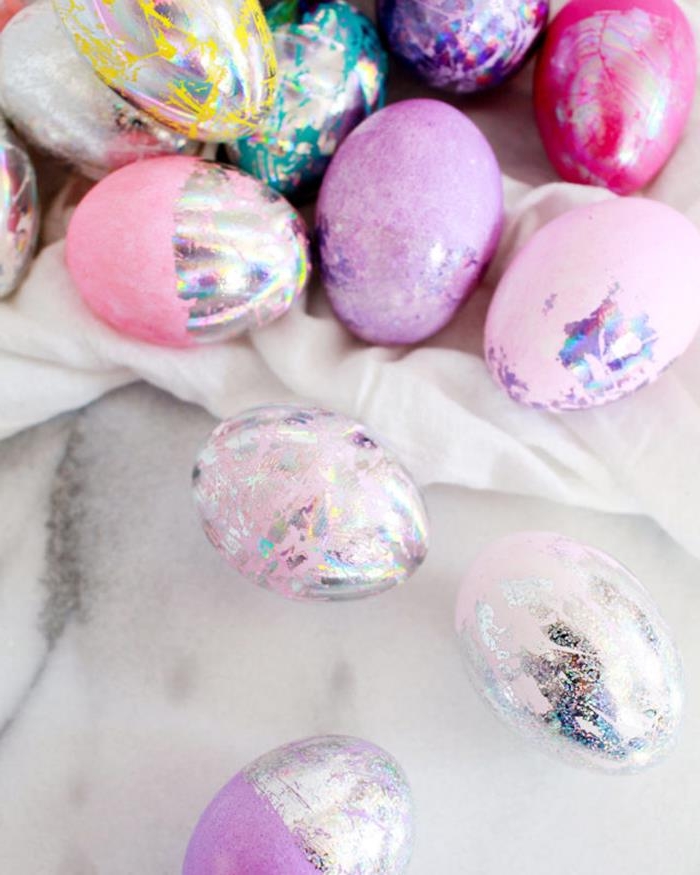
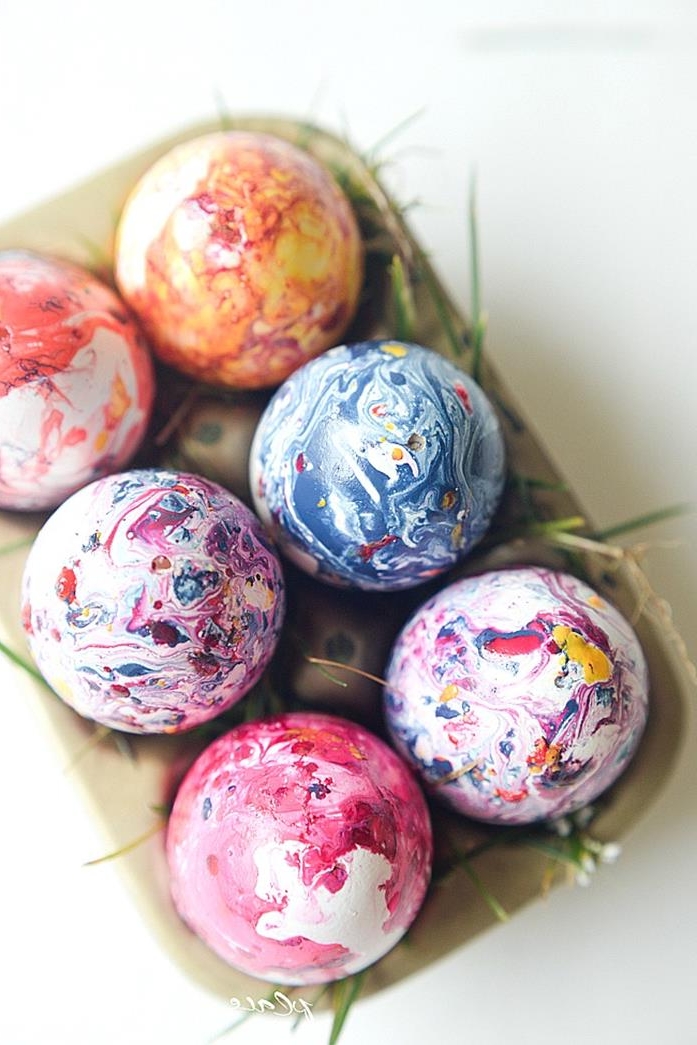
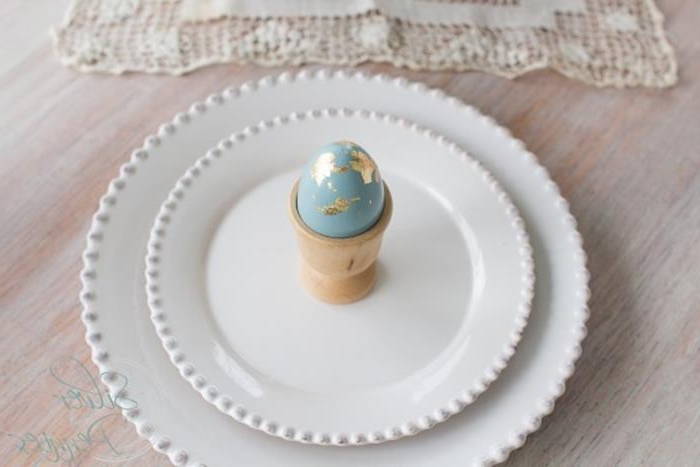
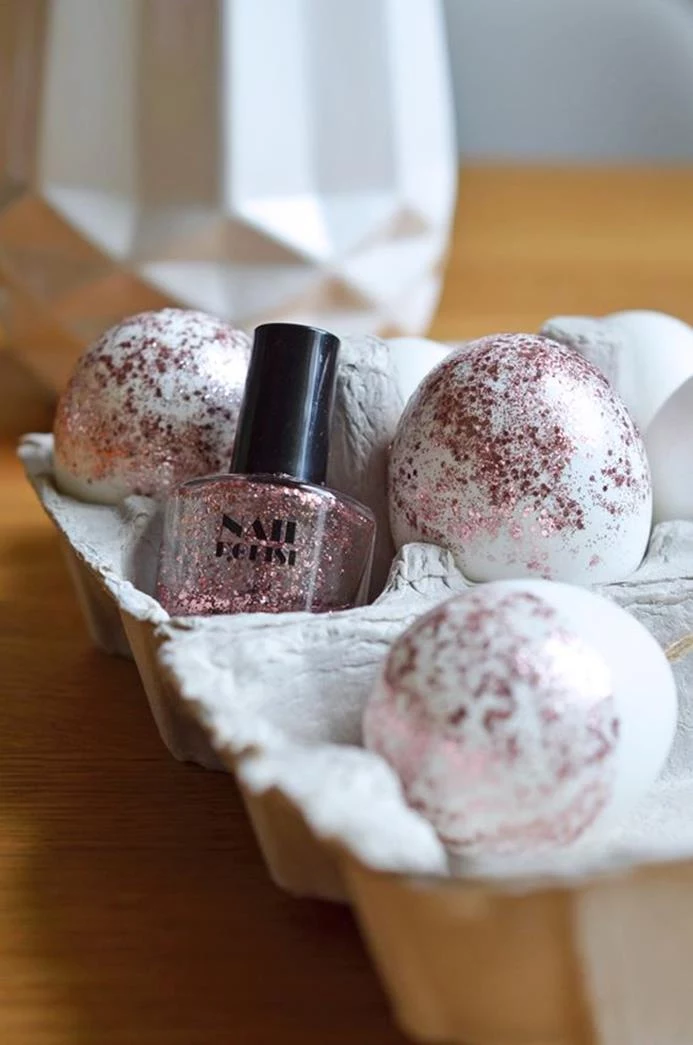
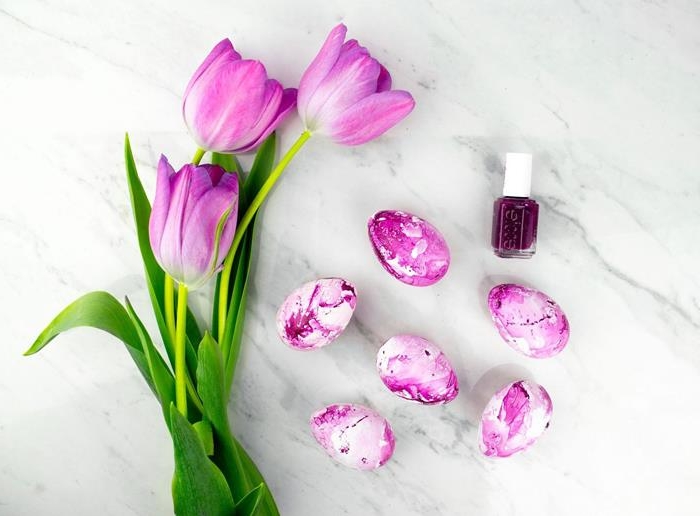
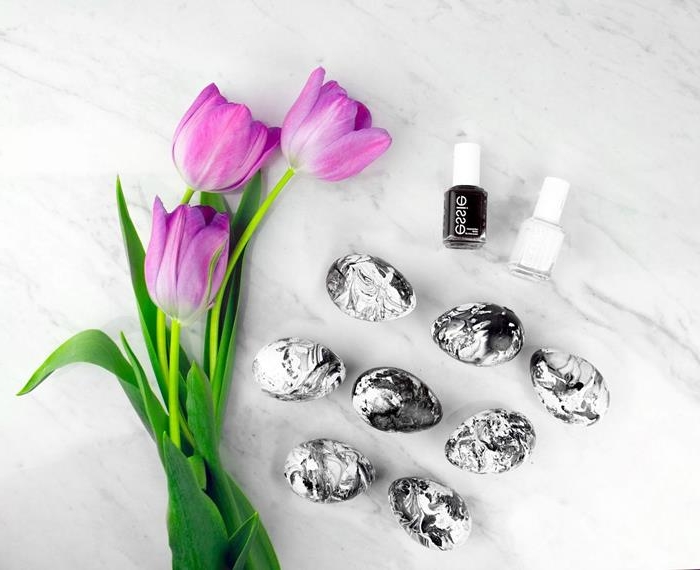
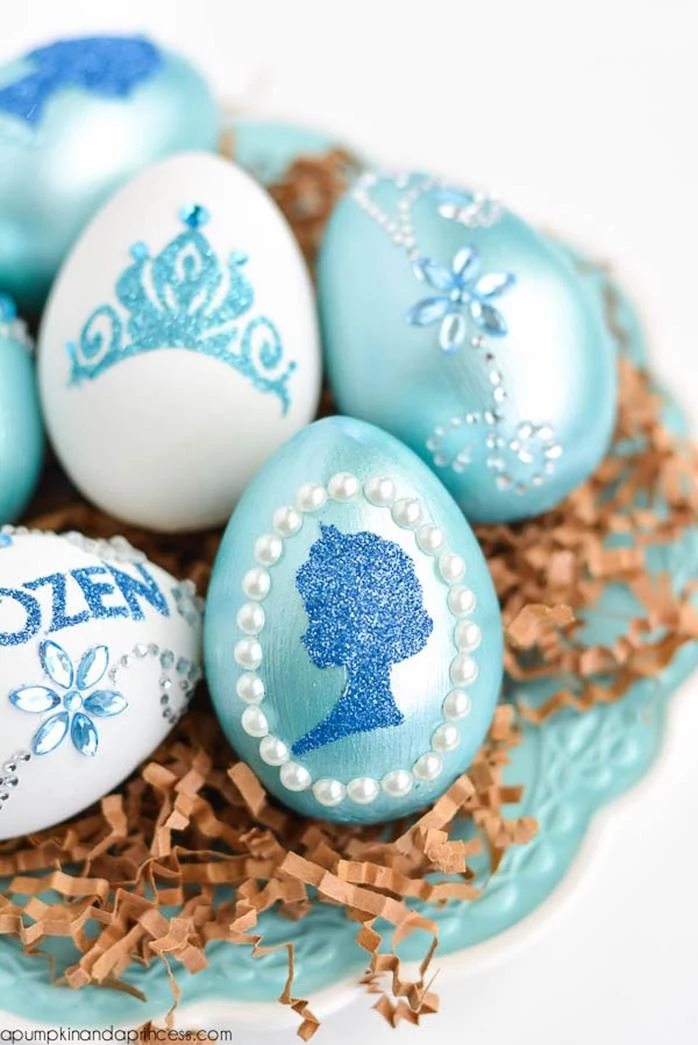
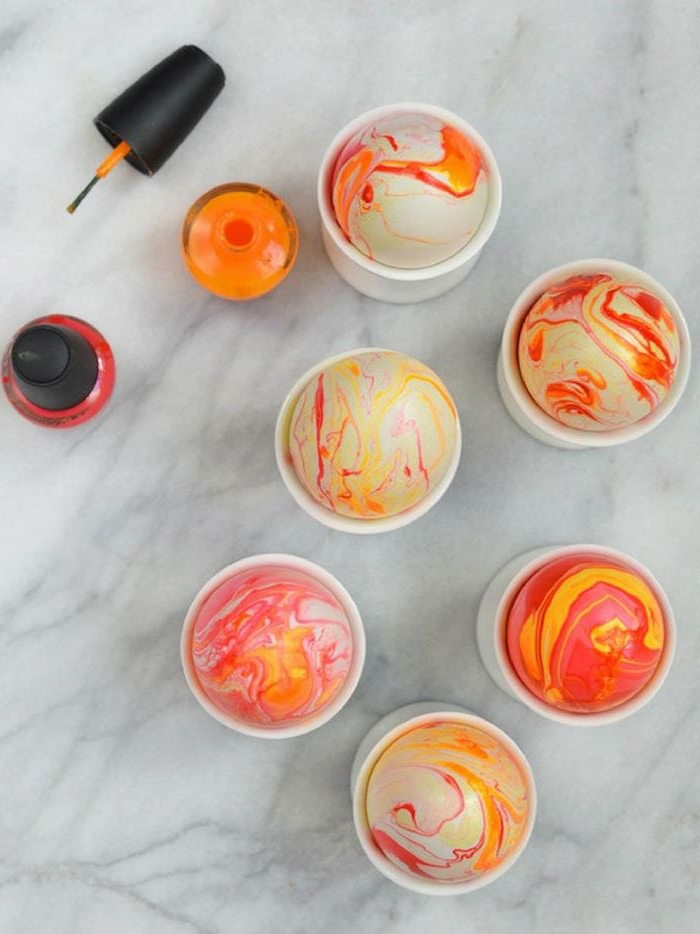
Things like gold leaf (which requires a special adhesive) or marbling with nail polish create stunning effects but are firmly in the “look, don’t eat” category. They’re perfect for those hollow shells you want to keep forever.
Troubleshooting Common Problems
Even with years of practice, things can go sideways. Here are the most common issues and how to fix them.
- Problem: My eggs cracked while boiling!
Cause: Almost always temperature shock. Cold eggs + hot water = cracks.
Solution: Start with room-temperature eggs and cover them with cool water before you even turn on the stove. - Problem: The color is all splotchy and uneven.
Cause: Oils from your hands.
Solution: Don’t skip the pre-dye vinegar wipe-down! It makes a huge difference. Also, give the dye bath a gentle stir every so often while the eggs are soaking. - Problem: My colors are really pale.
Cause: A weak dye bath or not enough soaking time.
Solution: For natural dyes, let them simmer longer to get a more concentrated color. For all dyes, simply increase the soaking time. For deep, rich colors, an overnight soak in the fridge is your best bet. Quick tip: If you have very hard water, it can sometimes interfere with the dye. Try a batch with distilled water and see if your colors pop more. - Problem: The wax melted off in the dye bath!
Cause: The dye was too hot.
Solution: For any wax-resist technique, the dye bath must be cool or room temperature. Hot liquid will melt your beautiful design right off.
Storing & Displaying Your Masterpieces
You did it! Now what? If you used hard-boiled eggs, store them in the refrigerator and eat them within a week. For your blown-out, decorative eggs, you can store them safely in an egg carton. To display them, you can arrange them in a beautiful bowl, or thread a fine ribbon through the holes and hang them from some budding branches for a stunning centerpiece.
Dyeing eggs is a craft that rewards patience. It teaches you to work with natural materials and embrace the little imperfections that make each one unique. So take these techniques, start with the basics, and don’t be afraid to experiment. Each egg is a small canvas, and honestly, the process is just as beautiful as the result.
Inspirational Gallery


Don’t discard your kitchen scraps! Some of the most beautiful dyes come from unexpected sources. Simmering yellow onion skins creates a rich, earthy terracotta; avocado pits and skins produce a delicate dusty rose; and leftover red cabbage can yield a spectrum of blues and lavenders.

Did you know? The vibrant yellow from turmeric is one of the quickest dyes to set. A potent powder like McCormick’s can stain an eggshell a brilliant sun-yellow in under 30 minutes.
Why did my purple cabbage dye turn my eggs blue?
It’s all about chemistry! Red cabbage contains a pigment called anthocyanin, which is a natural pH indicator. In the neutral water, it appears purple, but once you add acidic white vinegar to help the color bind to the eggshell, the pH drops and the dye shifts to a stunning range of blues. It’s a fun science experiment in your kitchen.


White Eggs vs. Brown Eggs: For true, vibrant colors like yellow (turmeric) or pink (beets), always start with a white egg. The clean canvas allows the dye to shine.
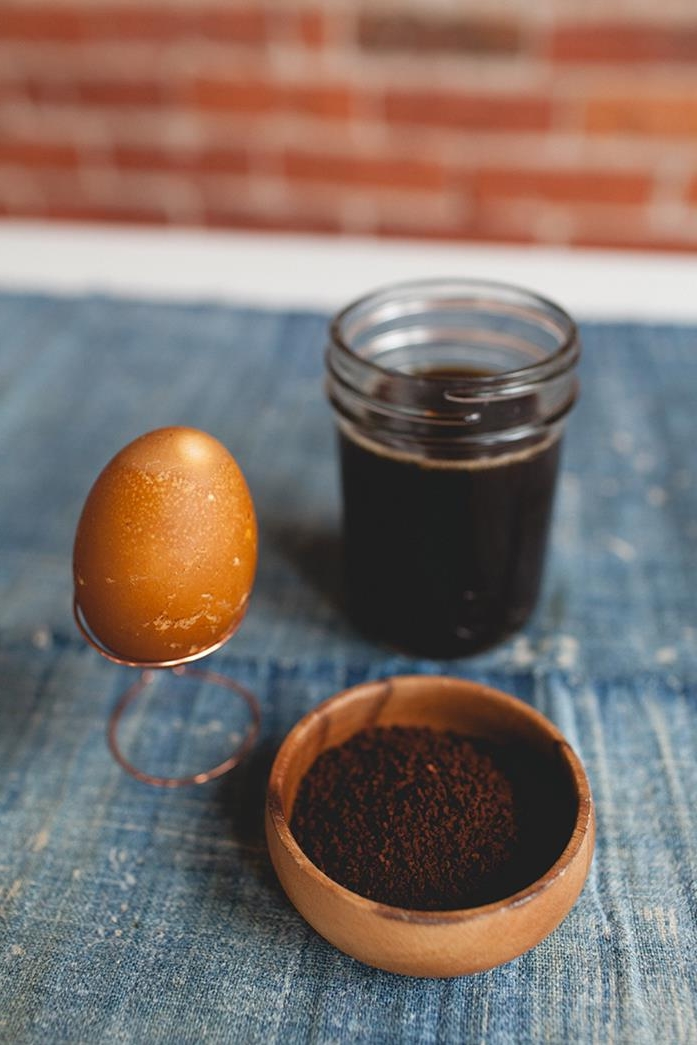
Brown Eggs: These are perfect for creating deep, earthy, and muted tones. A brown egg dyed in onion skins will be a rich mahogany, while one dyed in coffee will turn a beautiful dark chocolate color.

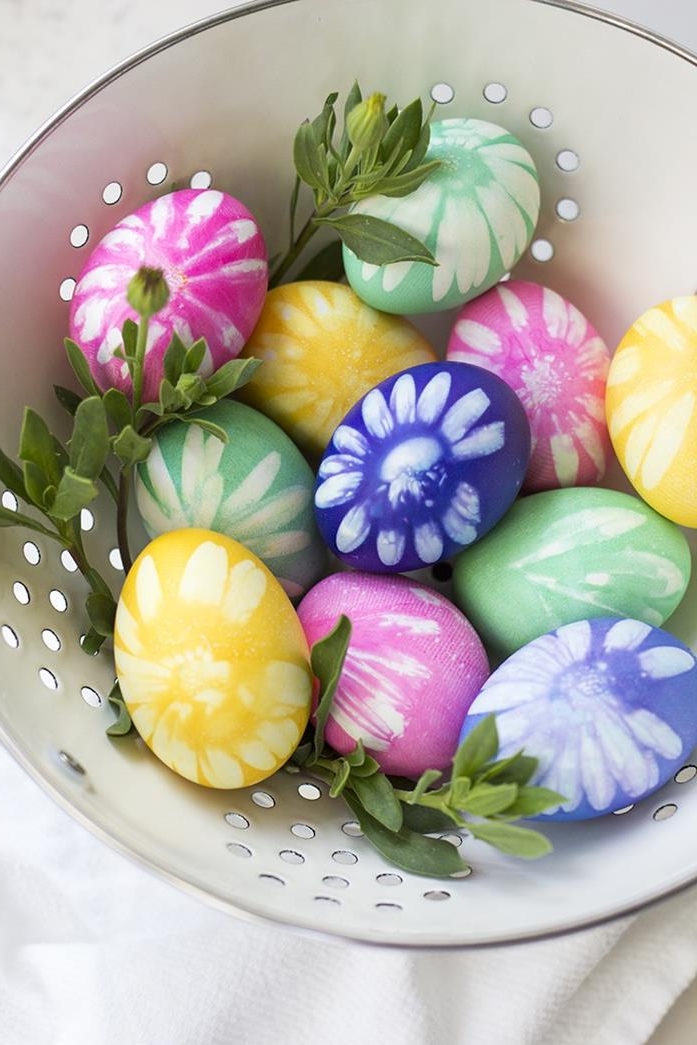
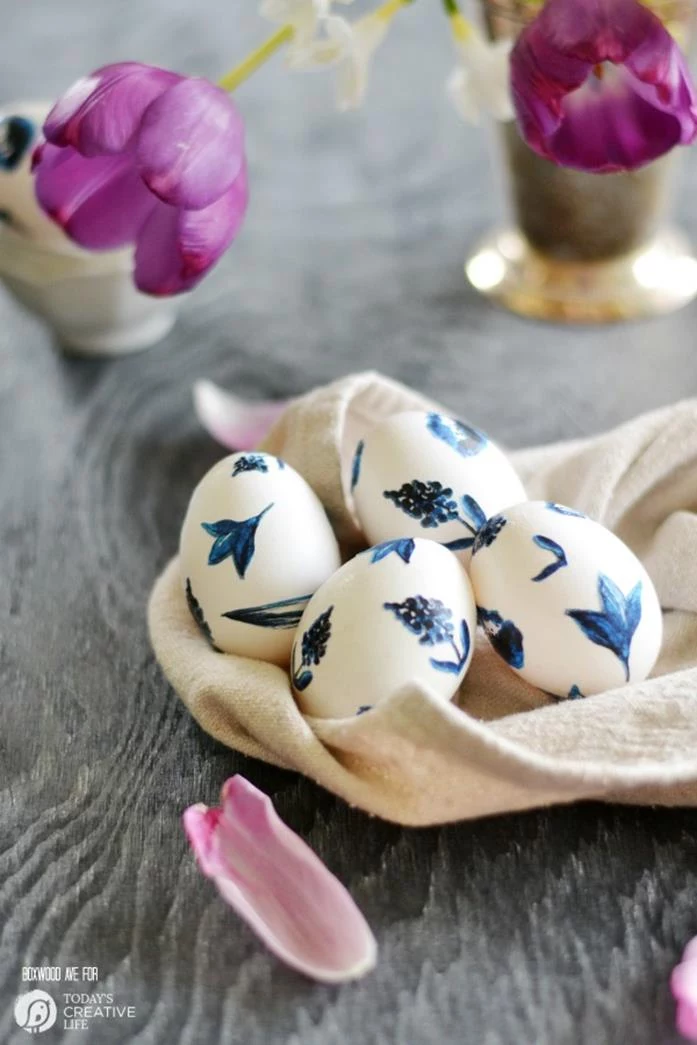
For patterns with a natural touch, raid your garden or park. Place a small fern, a clover, or a flat flower petal against the egg. Carefully stretch a piece of an old nylon stocking over it, pulling it taut and securing it with a twist tie at the back. When you dip it in the dye, the plant will create a perfect silhouette.


- Achieve a deep, glossy finish.
- Protect the delicate natural color.
- Give your eggs a subtle, healthy sheen.
The secret? After your eggs are completely dry, place a tiny drop of olive or vegetable oil on a paper towel and gently buff each one. A little goes a long way!


The essential mordant: A fancy word for a substance that helps the dye stick to the eggshell. For almost all natural dyes, the best and most accessible mordant is simple white vinegar. A tablespoon or two per cup of dye liquid is usually all you need to transform a pale wash into a vibrant color.
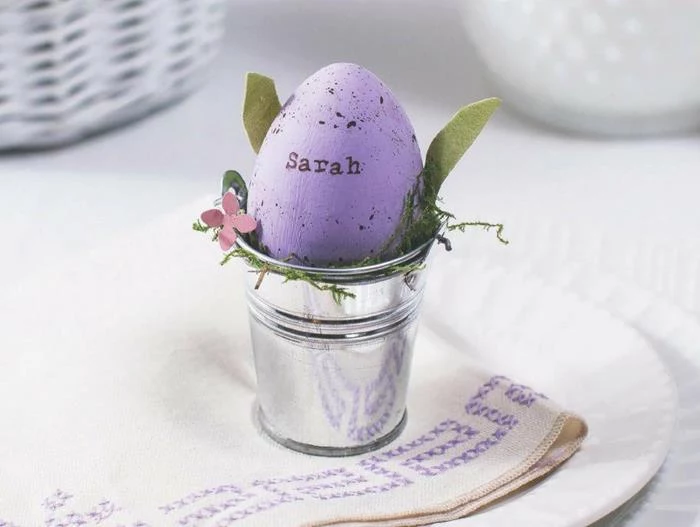
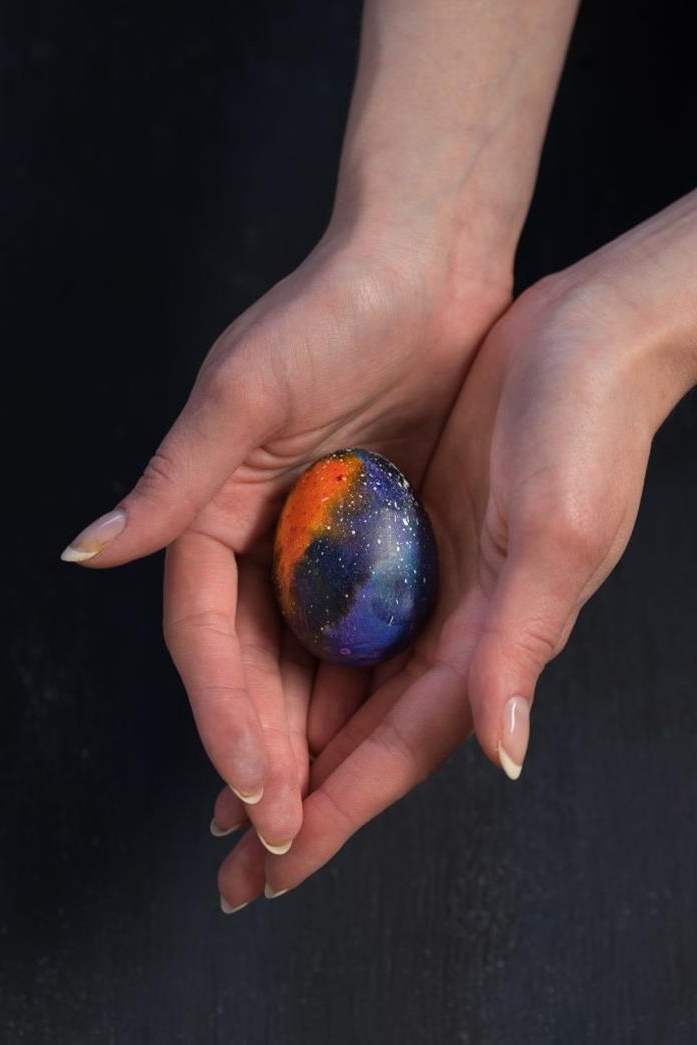
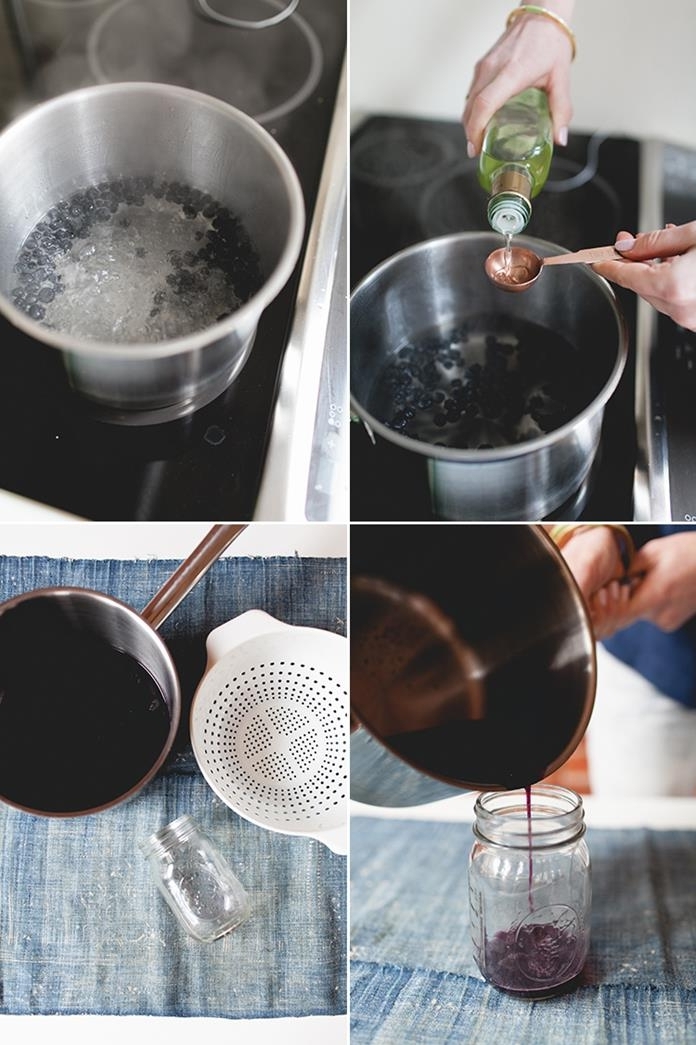
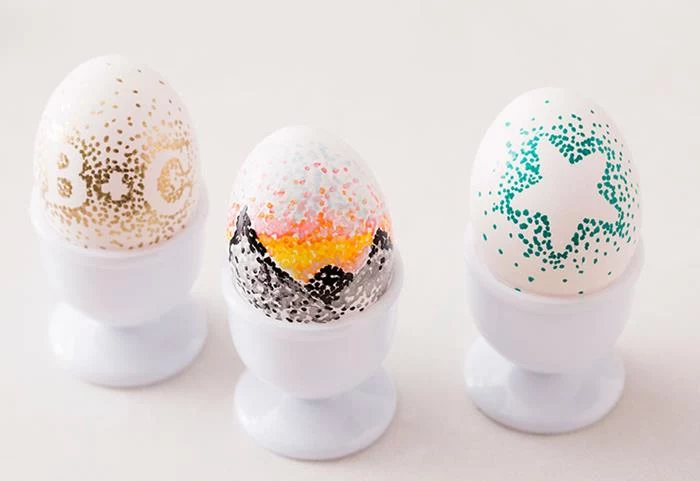
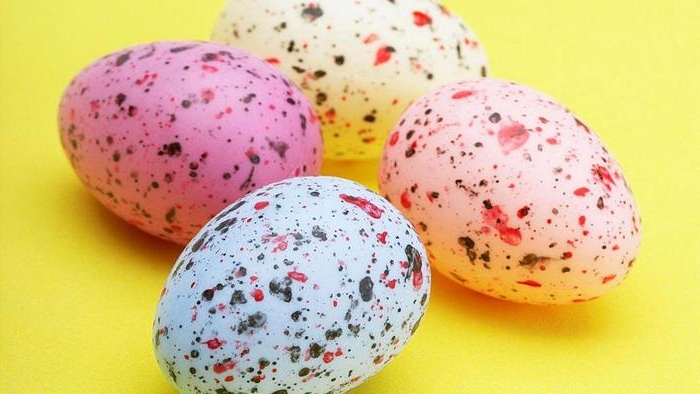
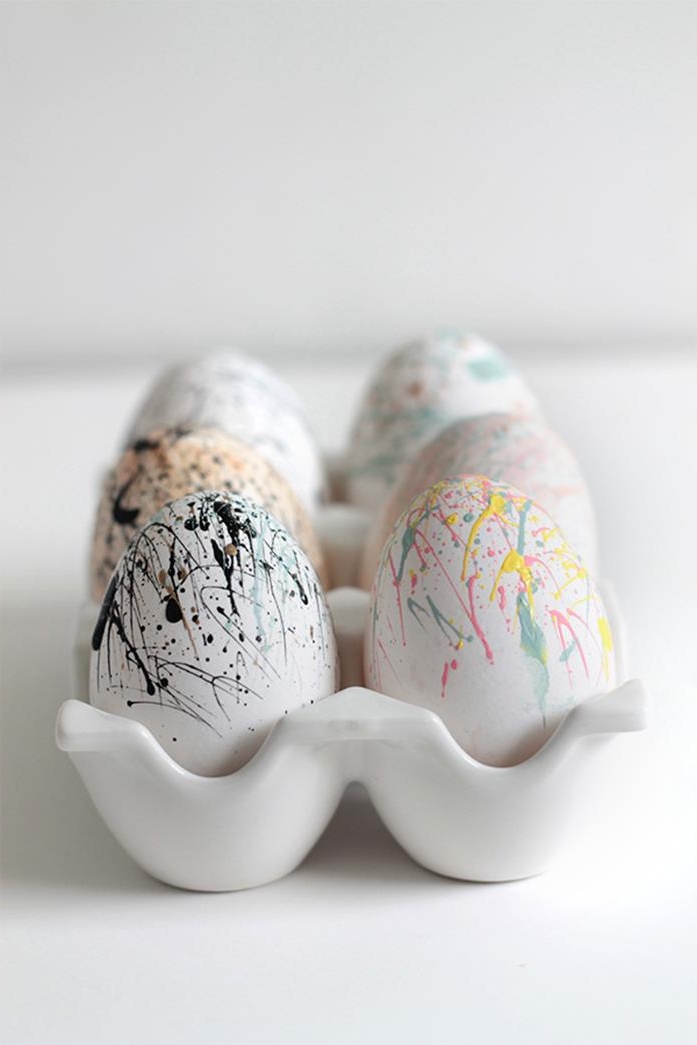
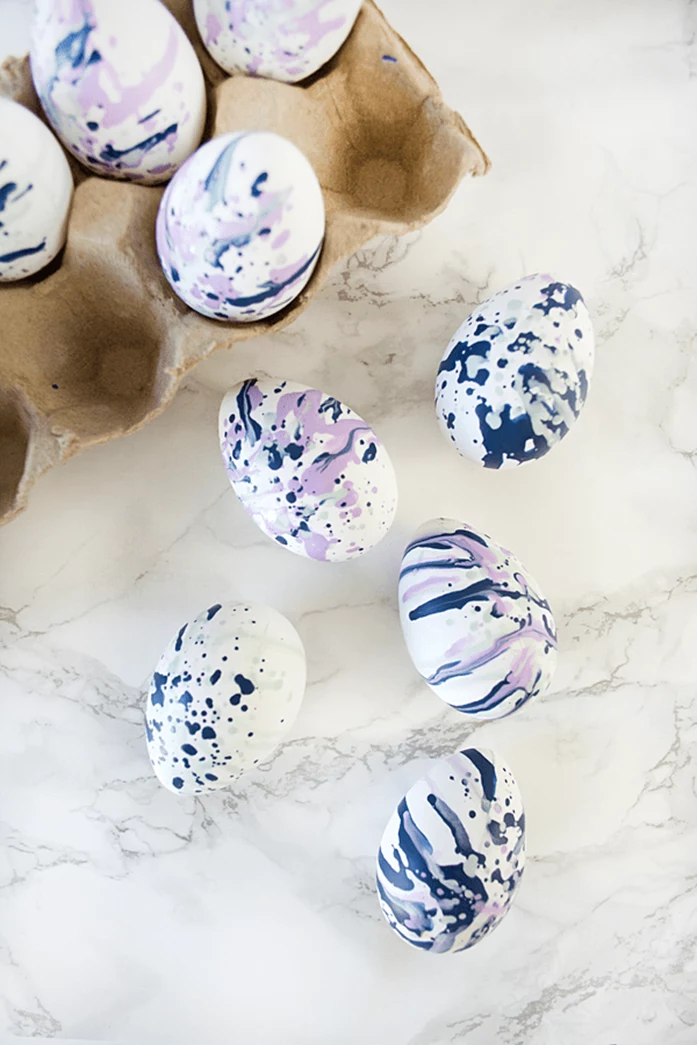
For an artistic, speckled look, dip an old, stiff-bristled toothbrush into a small bowl of dark, concentrated dye (like coffee or blueberry). Hold the brush over your already-dyed egg and gently run your thumb over the bristles to flick tiny droplets of color onto the shell. Let it dry completely for a beautiful, modern effect.


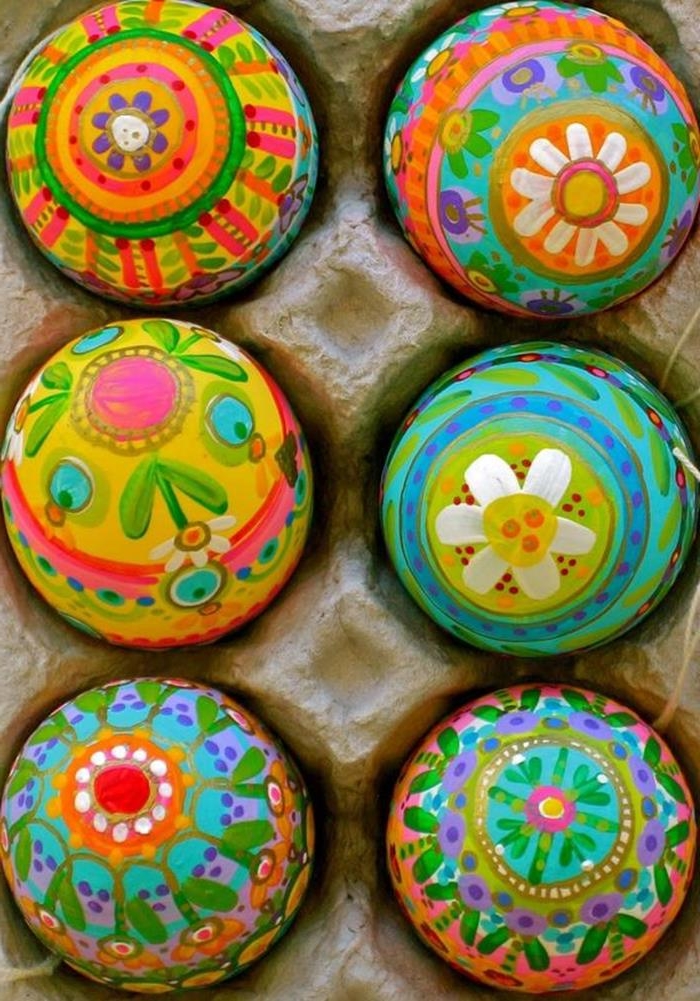
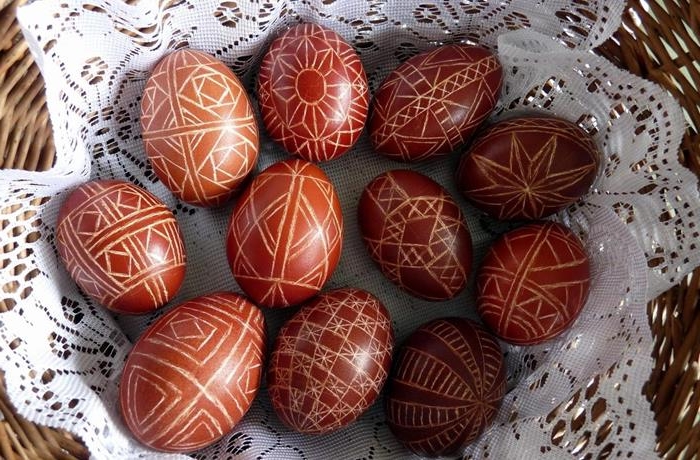
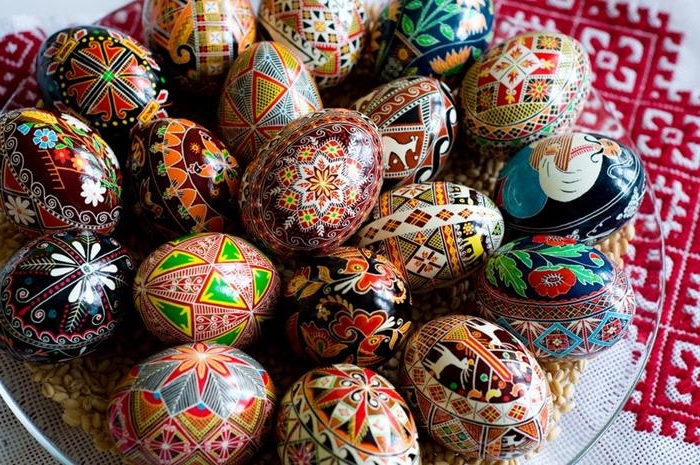
The Ukrainian art of Pysanky involves writing intricate designs on eggs with beeswax using a special stylus called a ‘kistka’. Each symbol and color has a specific meaning, turning the egg into a story of wishes for health, love, and prosperity.
While you may not have a kistka, you can try a simpler version of this wax-resist technique by drawing on your egg with a simple white crayon before dipping it in the dye. The wax will repel the color, leaving your design behind.

Looking for a true, vibrant red?
It’s one of the trickiest colors to achieve naturally from kitchen scraps. While beets often promise red, they tend to yield a brownish-pink. For a real red, you’ll need to look to historical dye materials like powdered madder root or cochineal, which can be purchased from specialty online craft suppliers or natural dye shops.
The waiting is part of the magic. The quiet hum of the simmering pot, the earthy smell of onions or the spicy scent of turmeric filling the air. This process isn’t about instant results; it’s a slow, sensory craft that connects you to the ingredients and builds anticipation for the final, beautiful reveal.

- A stainless steel or enamel pot (avoid aluminum, which can react with the dyes).
- A slotted spoon for gently lowering and retrieving eggs.
- Glass jars for cold-dyeing in the fridge.
- A fine-mesh strainer to create clear dye liquid from your botanicals.


Common Mistake: Dyeing different colors in the same pot without washing it. If you dye with turmeric and then try to dye with red cabbage in the same pot, you’re not going to get blue—you’re going to get a murky greenish-brown. Always use a clean pot for each new color batch to keep your hues pure and bright.
A single head of red cabbage can produce a whole palette of colors.
It’s true! After creating your standard blue dye (with vinegar), try this: take a separate small bowl of the dye and stir in a tiny pinch of baking soda. The alkaline powder will shift the pH and magically turn the dye from blue to a vibrant teal or seafoam green.
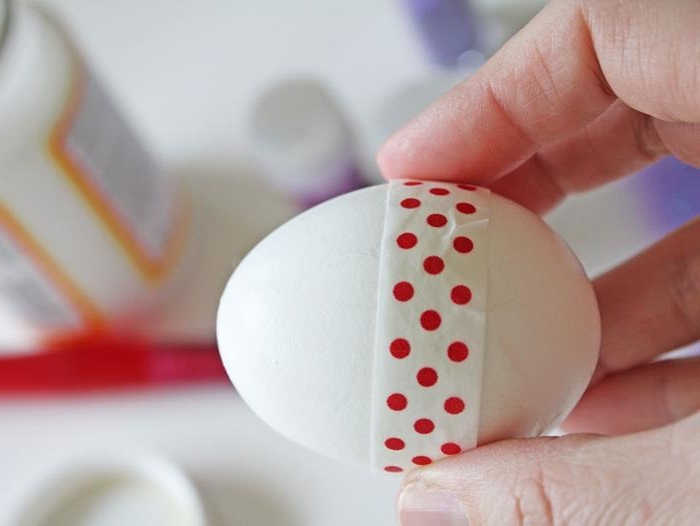
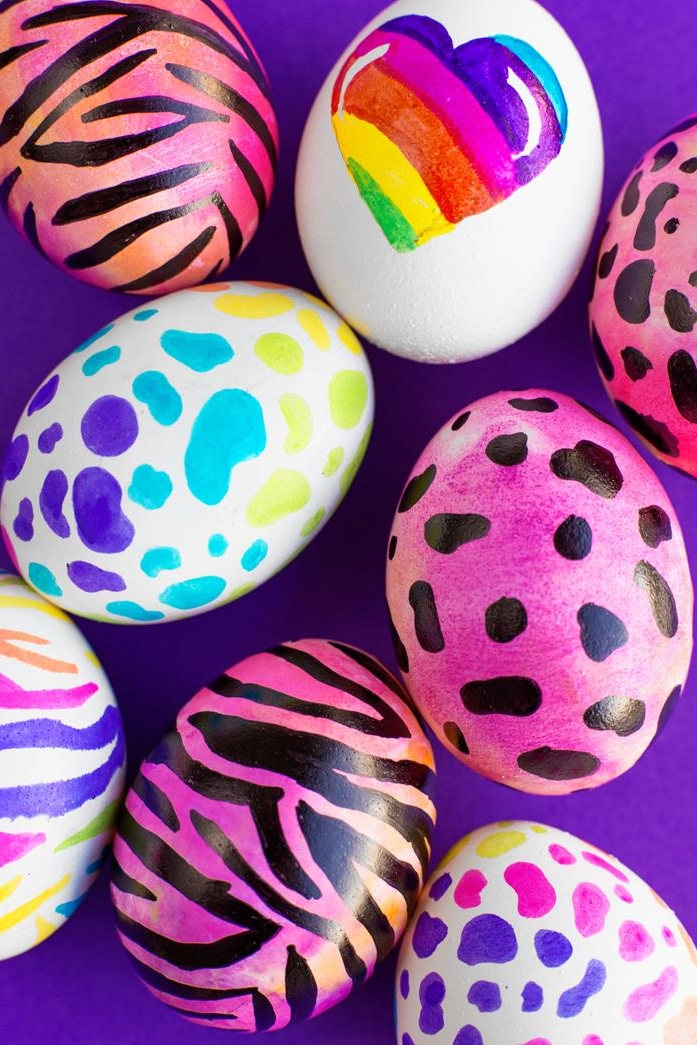
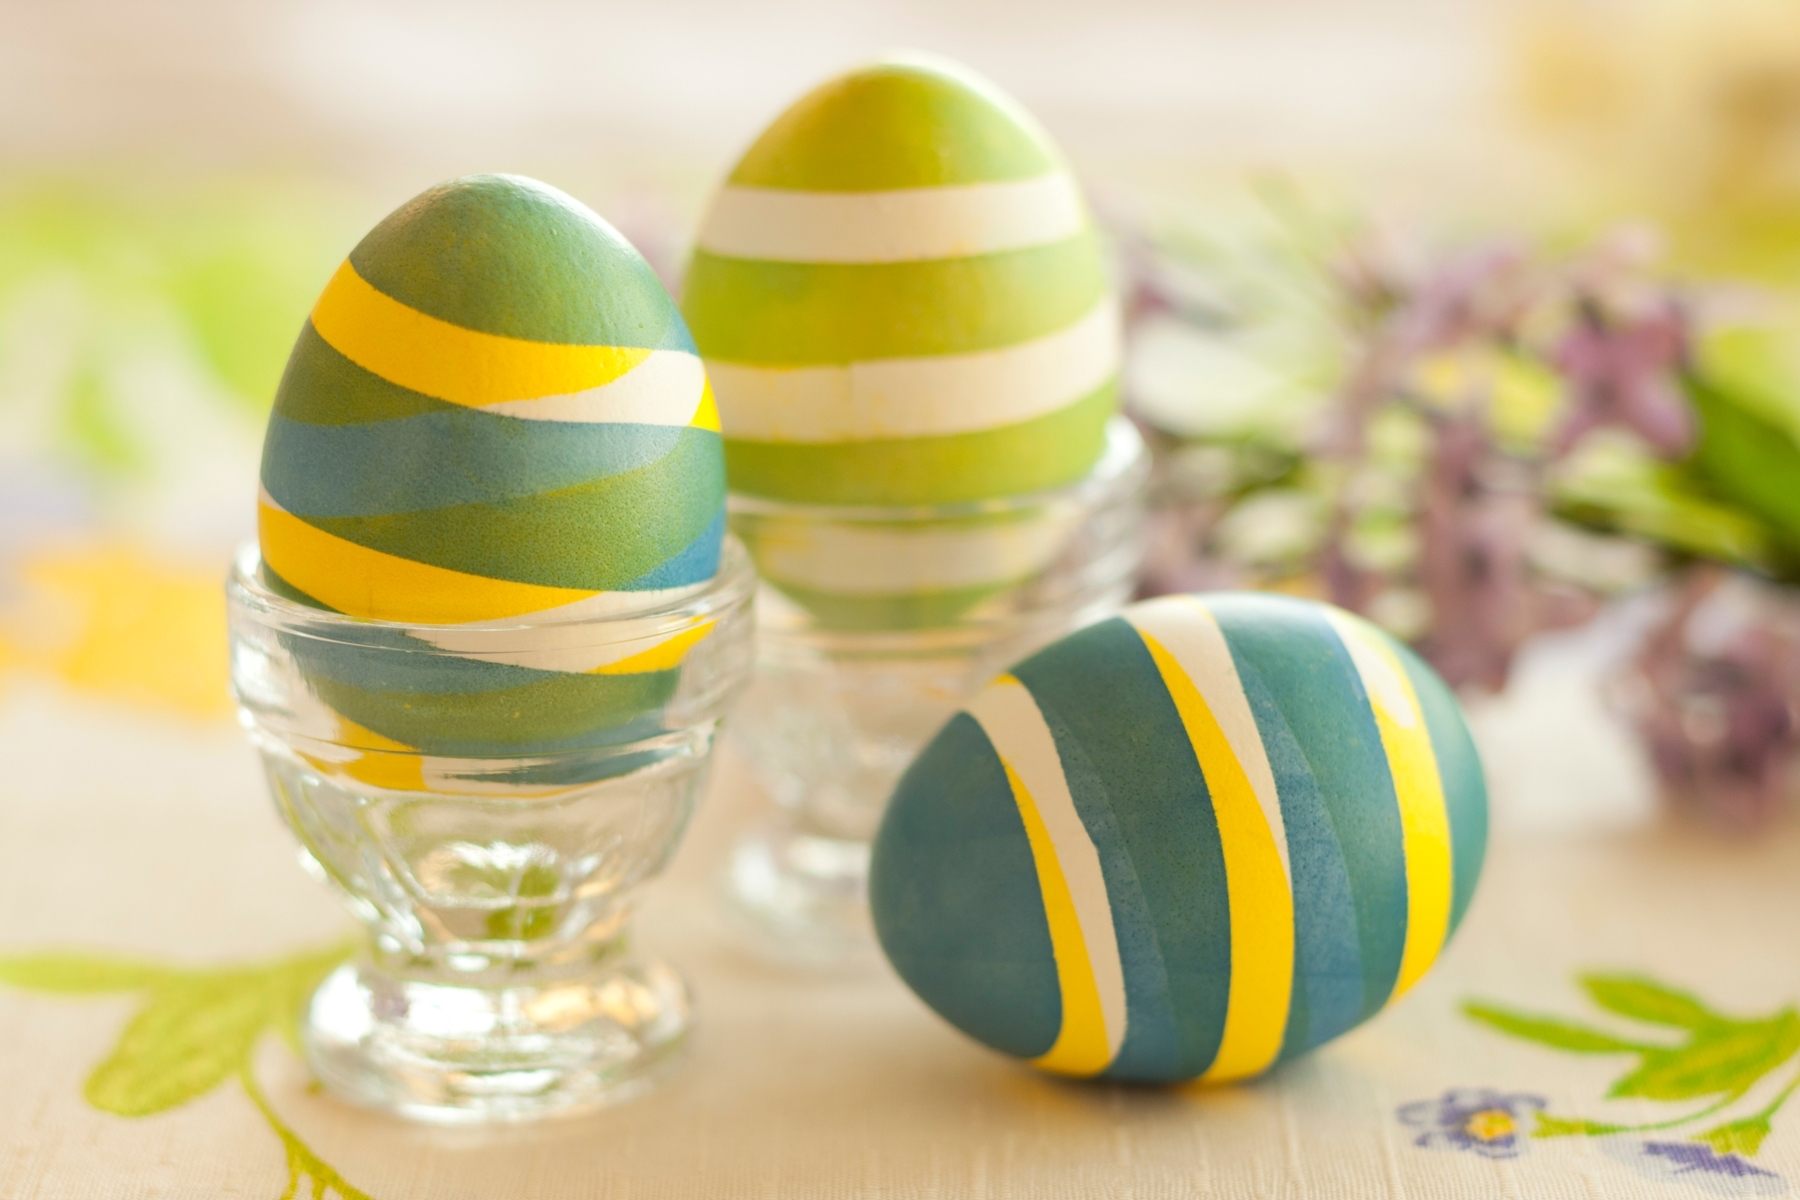
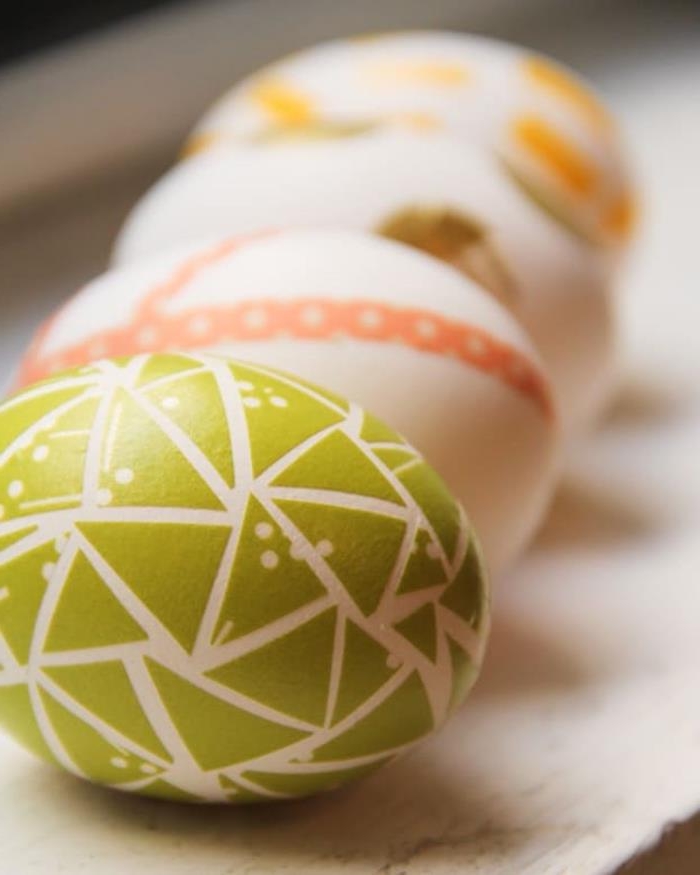
To create crisp lines or geometric patterns, try using rubber bands. Stretch a few thin rubber bands around your raw egg in a grid or random pattern. The areas covered by the bands will remain white, creating a striking contrast with the dyed sections.

Patience is key for intensity. For the deepest, most saturated colors, skip the hot-dyeing method. Instead, let your eggs cool completely and then submerge them in the dye liquid in a glass jar. Place the jar in the refrigerator and leave it for at least 8 hours, or even overnight. The long, slow soak results in an unparalleled depth of color.


Once your beautiful project is complete, don’t just throw the dye materials in the trash. Used onion skins, coffee grounds, avocado pits, and cabbage leaves are all fantastic additions to your compost bin, making this a truly zero-waste craft from start to finish.
The oldest decorated eggshell ever found is a 60,000-year-old engraved ostrich egg from Diepkloof Rock Shelter in South Africa.


Hot Dyeing: Simmering the eggs directly in the dye pot. This method is faster and infuses the color quickly.
Cold Dyeing: Soaking cooled, hard-boiled eggs in cooled dye liquid in the fridge. This takes much longer but often results in more even, saturated, and deeper colors.
For beginners, hot dyeing is great. For artisans seeking richness, cold dyeing is the gold standard.


For a subtle, elegant sheen that isn’t oily, try silk. After your eggs are dyed and dry, gently rub them with a small piece of scrap silk fabric. The natural fibers will burnish the shell’s surface, giving it a soft, polished luster that catches the light beautifully.

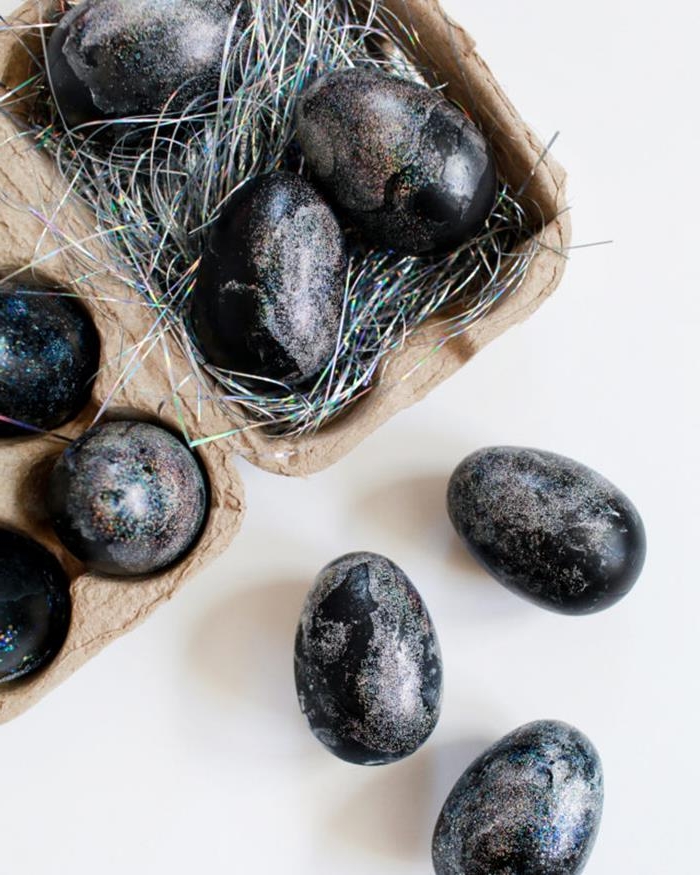
Can I get a true black dye naturally?
Yes, but it requires a two-step process. First, dye your egg a very deep, dark blue or brown using red cabbage or black tea. Then, prepare an iron solution by soaking a piece of rusty iron (like old nails) in vinegar for a few days. Briefly dip your dyed egg into this iron water; the chemical reaction will instantly shift the color to a deep, dramatic black.

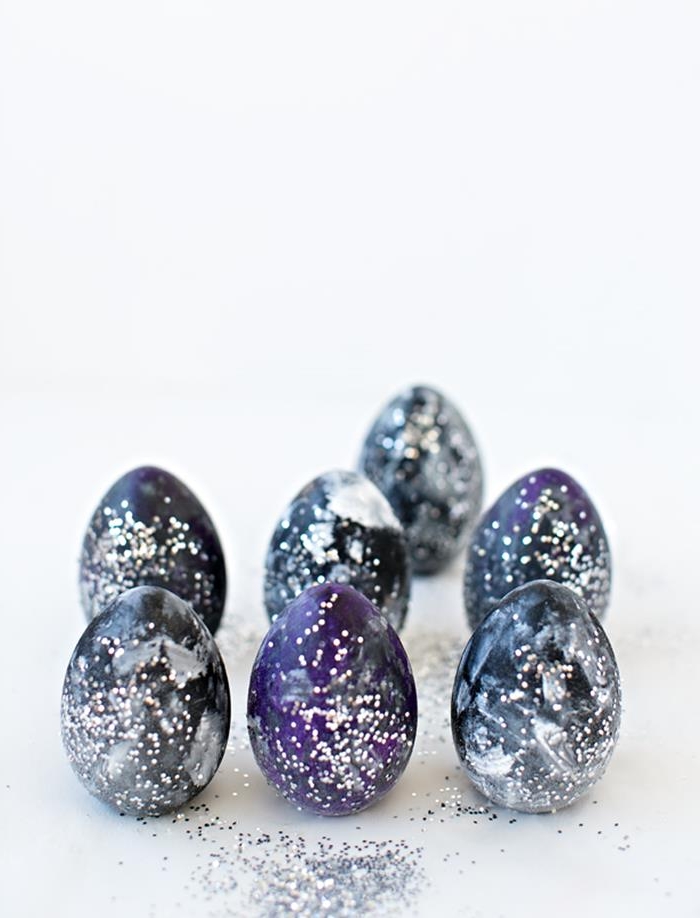
- Create intricate golden swirls.
- Write a name or date that shines.
- Add delicate metallic dots and details.
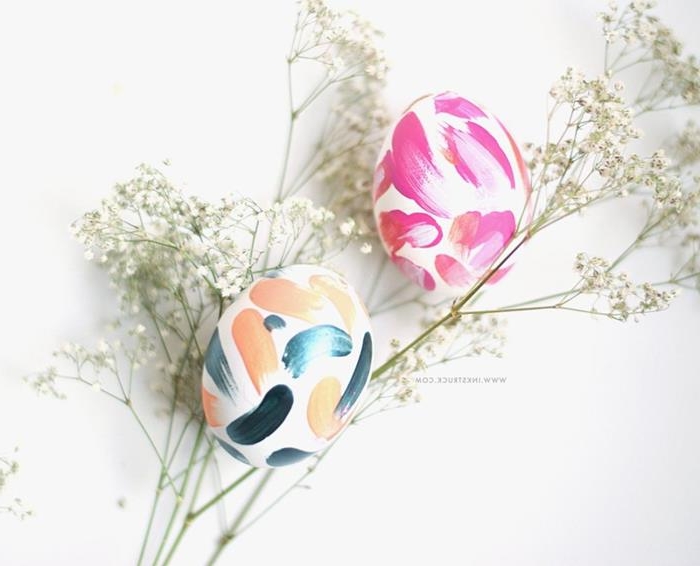
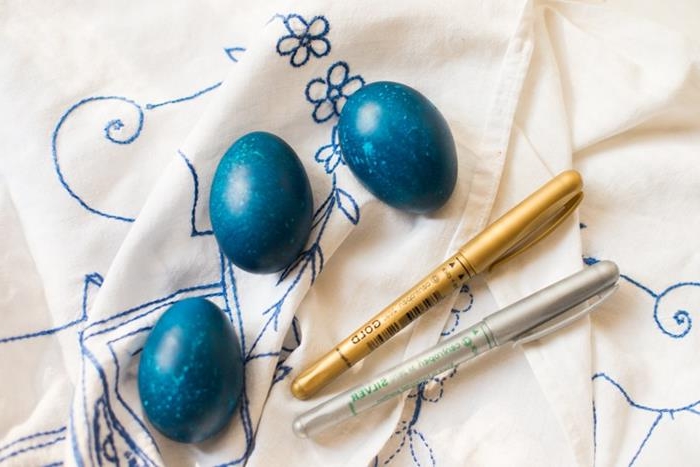
The trick? A Sakura Pen-Touch Extra Fine Point paint marker in gold. Once the egg is dyed and completely dry, this tool gives you precise control for adding elegant, opaque metallic touches that elevate your creation.

Foraging for Dyes: If you have access to a safe, unsprayed area, you can find dye materials for free. Dandelions create a soft yellow, while fallen black walnut hulls produce a rich, dark brown. Always be 100% sure of your plant identification before using.


Some natural dyes, like those from red cabbage and blueberries, are ‘fugitive,’ meaning they can fade over time, especially when exposed to direct sunlight. Store your decorative eggs away from windows to preserve their color for years to come.
To create a marbled effect, add a tablespoon of olive oil to your dye bath and stir it gently just before adding the egg. The oil will create a film on the water’s surface, and as you dip the egg, the oil will block the dye in random patterns, leaving a beautiful, web-like design on the shell.