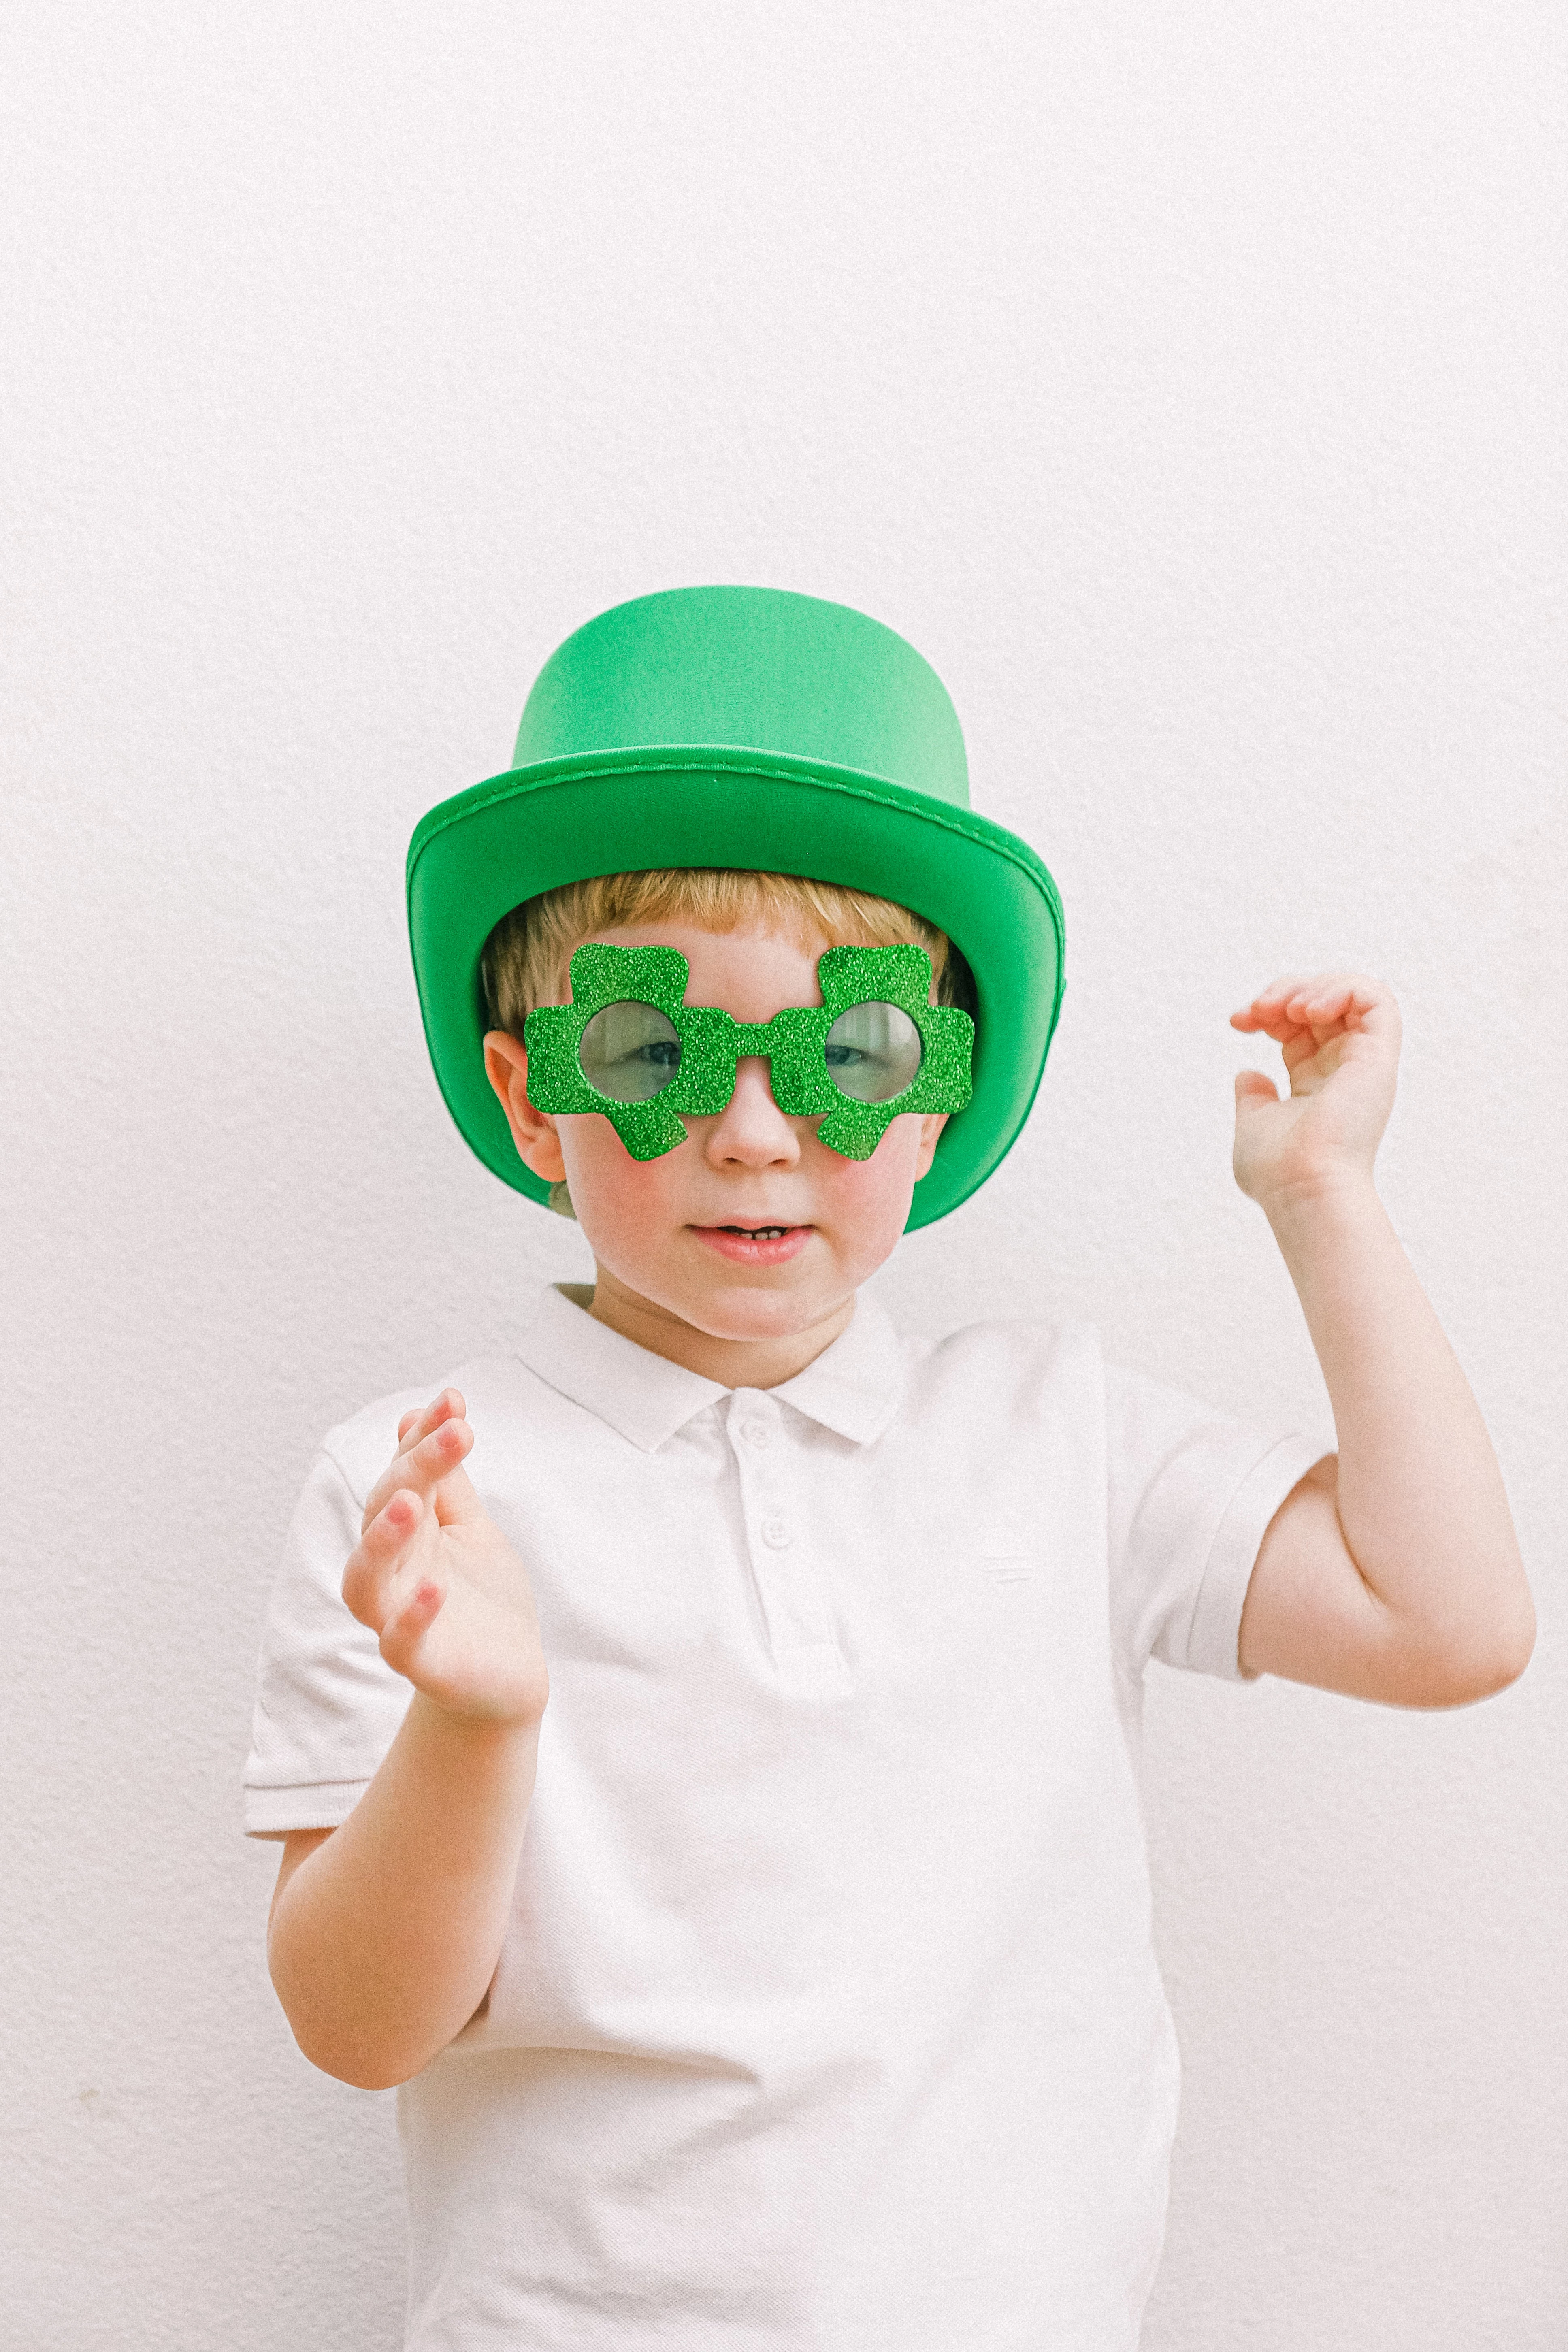
My No-Stress Guide to Awesome St. Patrick’s Day Crafts for Kids
After years of leading kids’ workshops and wrangling paint in early childhood classrooms, I’ve seen firsthand how a simple craft project can light up a child’s world. It’s so much more than just a way to kill an afternoon; it’s a quiet, powerful engine for learning. They’re building fine motor skills, learning to follow steps, and, best of all, getting to hold a little piece of their own imagination in their hands. And honestly, with all its bright colors and fun symbols, St. Patrick’s Day is the perfect excuse to break out the art supplies.
In this article
But I’ve also seen the other side. The parental stress over glitter-bombed kitchens and the kiddo meltdowns when a project turns into a soggy, gluey mess. The internet is flooded with picture-perfect crafts that conveniently leave out the messy reality. They don’t tell you that a certain glue won’t hold googly eyes, or that you need to let the paint dry completely before the next step. It’s frustrating.
So, this guide is different. It’s built from my experience managing twenty kids with glue-covered fingers all at once. It’s all about setting you and your child up for a fun, successful crafting session. We’re going beyond just ideas—we’re talking about the right materials, the techniques that actually work, and how to embrace the beautiful, imperfect chaos of it all.
First Things First: Setting Up for Success
Before you even whisper the word “glitter,” a little prep work can save you a world of headaches. I always call this “setting the stage.” A calm, prepared environment is the key to preventing most crafting disasters. Think of it like a chef getting all their ingredients ready before they start cooking. It just makes everything go smoother.
First, pick your spot. The kitchen table is a classic, but you’ve got to protect it. My secret weapon is an old vinyl tablecloth, the kind you can get for under $10 at Target or Walmart. It’s reusable, wipes clean in seconds, and creates a “yes” space where you aren’t constantly saying “be careful!” A few layers of newspaper or a flattened cardboard box also work in a pinch. And for the kid? An old, oversized t-shirt is the perfect smock. It’s a signal that it’s okay to get a little messy.
Next, and this is a big one, gather all your supplies before you call your child over. I learned this the hard way, trust me. Trying to find the orange paper for a leprechaun’s beard while a group of four-year-olds waits with sticky fingers is a recipe for chaos. Now, I use trays. A simple baking sheet or a plastic cafeteria-style tray for each kid holds all their stuff: pre-cut paper, a little pot of paint, a brush, and a glue stick. It gives them a sense of ownership and, more importantly, contains the mess.
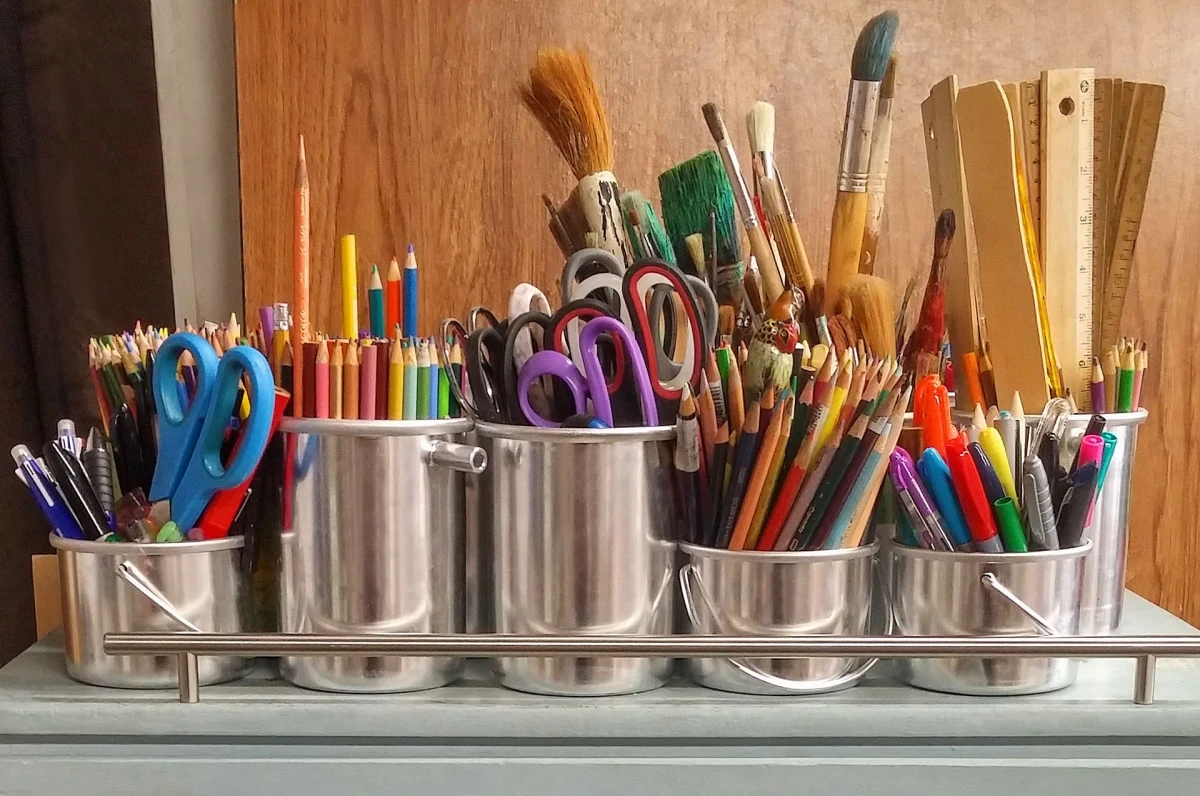
Choosing Your Supplies: A Pro’s Guide to the Craft Aisle
You don’t need to spend a fortune on supplies, but choosing the right tool for the job can be the difference between a happy kid and a frustrated one. Some budget craft supplies are great, but others, frankly, aren’t worth the savings. Here’s my rundown.
Paints
For little kids (ages 2-6), your best friend is washable tempera paint. It’s non-toxic, thick enough for small hands to control, and—most importantly—it actually washes out of clothes. For bigger kids (7+), you might step it up to acrylic paint for projects like painting rocks or wood. Acrylics are way more vibrant and permanent, but be warned: once it’s dry on fabric, it’s there for good. Smocks are a must!
The Right Glue for the Job
This is where so many projects fall apart, literally. It’s worth knowing what to use and when.
- Glue Sticks: These are perfect for paper-on-paper projects. Simple, low-mess, and great for little hands. A multi-pack costs just a few dollars.
- White Liquid PVA Glue: This is your all-purpose workhorse. Think classic Elmer’s School Glue. For anything heavier than paper—like pom-poms, yarn, or googly eyes—you need this stronger bond. A big bottle is about $3 and will last forever. Pro-tip: Teach your kid the “a dot, not a lot” rule to avoid glue puddles that take ages to dry.
- Hot Glue Gun: This is for adults only. The bonds are instant and super strong, which is great for assembly, but the tip can cause serious burns. Use it to reinforce projects after the kids are done.
Paper and Cardstock
The weight of your paper really matters. Flimsy construction paper is fine for cutting, but it will curl up and disintegrate if you get it too wet with paint. For any painting project, I recommend using a heavier paper like cardstock or even watercolor paper. It can handle the moisture without falling apart. Oh, and never underestimate the power of a simple paper plate. They’re sturdy, cheap, and their round shape is a fantastic base for all sorts of masks and characters.
Crafts for Little Hands (Ages 2-4)
At this age, it’s all about the process, not a perfect product. The goal is a happy kid with paint-smeared hands, not a museum-quality shamrock.
1. Shamrock Potato Stamping
This is a timeless classic for a reason. That moment a child lifts the potato and sees the shape they made is pure magic.
Estimated Time: 20-30 minutes (including adult prep)
Approximate Cost: Under $5 if you already have paint.
You’ll need a medium potato, a knife (for you!), green washable tempera paint, a paper plate for the paint, and some cardstock. For the prep, an adult will cut the potato in half and carefully carve a simple shamrock shape into it. A raised shape is much easier for toddlers to stamp with. Pour a small, shallow pool of green paint onto the paper plate—if it’s too deep, they’ll dip the whole potato and make a huge mess. Then, just let them stamp away! It’s all about experimenting.
2. Fingerprint Rainbow Pot of Gold
This is a fantastic craft for color recognition and for developing that all-important pincer grasp. Plus, kids love getting their fingers in paint.
Estimated Time: 15-20 minutes
Approximate Cost: Under $5 if you have paint.
First, an adult draws a simple pot shape at the end of a piece of white cardstock. Then, squeeze out dabs of rainbow-colored paint onto a paper plate. The best tip I ever learned is to have your child use a different finger for each color. This simple trick prevents all the paints from turning into a brownish blob. Guide them to make an arc of red fingerprints, then orange, yellow, and so on. For the “gold,” let them use a thumb to make yellow dots in the pot. Gold glitter glue works great here, too!
Crafts for Developing Skills (Ages 5-7)
Kids in this age range are ready for more complex projects. They can follow a few steps and have better control over scissors and glue, leading to a huge sense of accomplishment.
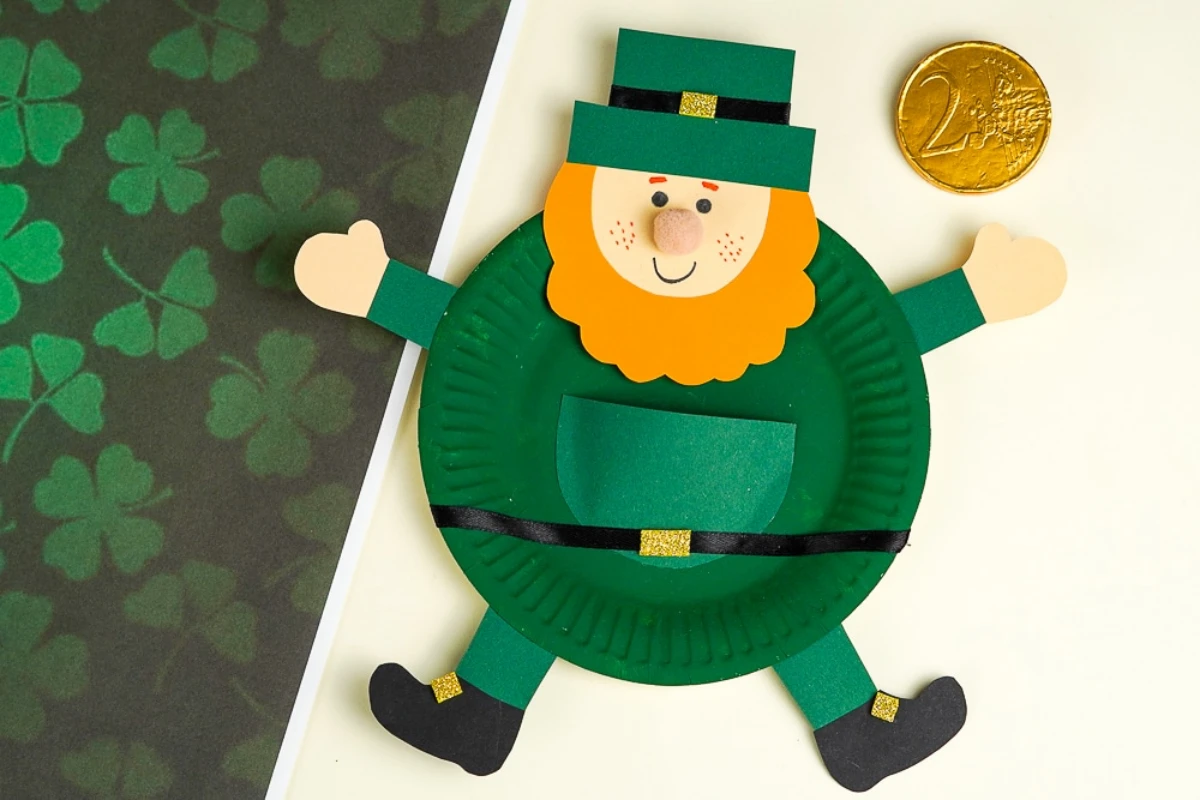
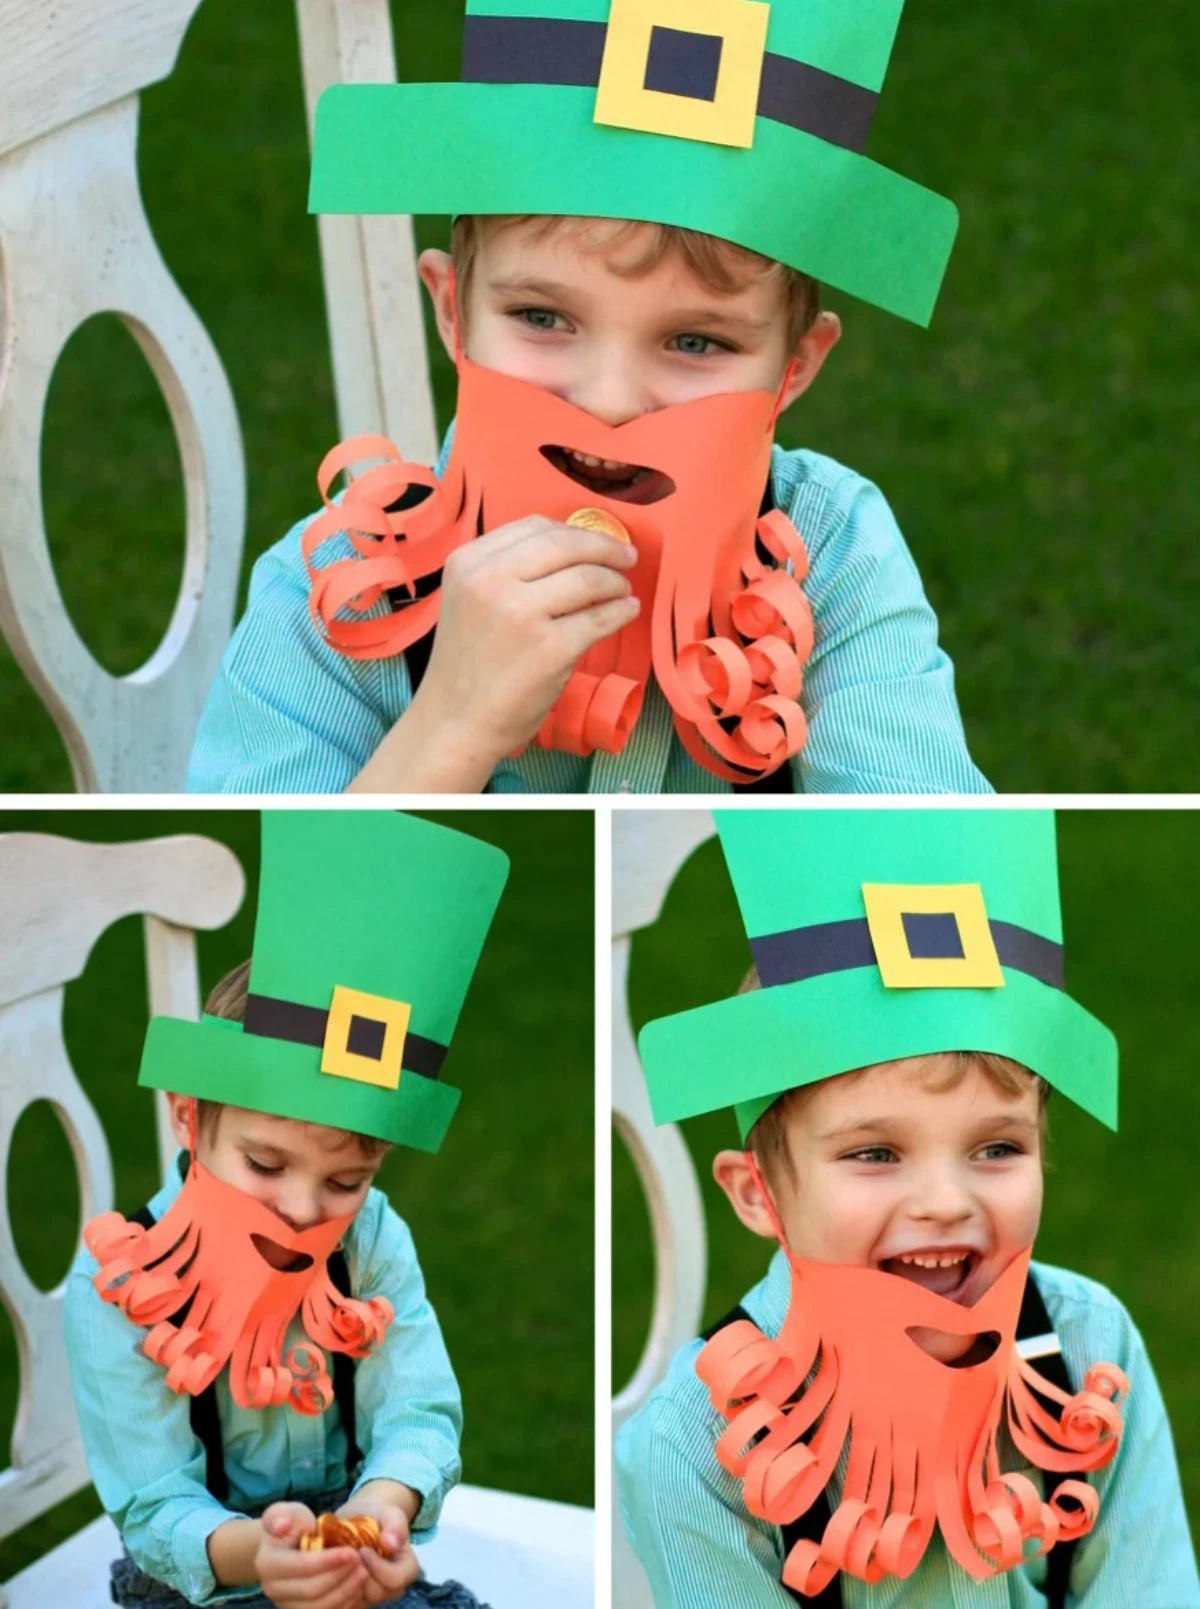
3. Paper Plate Leprechaun Mask
This project combines painting, cutting, and gluing, and the end result is something they can actually play with.
Estimated Time: 45 minutes of active crafting, plus at least 30-60 minutes of drying time.
Approximate Cost: Around $5-$7, depending on the supplies you have.
Start by having your child paint a paper plate with skin-toned paint. Here’s a critical step: you MUST let the paint dry completely. Seriously, give it a solid 30-60 minutes. Go have a snack! If you rush it, the hat will get soggy and the whole thing will be a flop. While it dries, cut out a green hat, an orange paper-strip beard, and other features. Once dry, let your child glue everything on. To attach the handle, a stapler is your best friend—it’s much more secure than glue. Staple a large craft stick to the bottom, and you’ve got a mask!
Quick Tip: If the hat is too floppy, glue a piece of a cereal box to the back of the plate for extra support before attaching the hat.
4. Baked Salt Dough Shamrocks
This is part science experiment, part sensory play, and creates a lasting ornament they can be super proud of.
Estimated Time: This is a weekend project! About 30 mins prep, 2-3 hours baking, plus cooling and painting time.
Approximate Cost: Under $10 for a huge batch, mainly for flour and salt.
Heads up, this is not a quick craft, which is why I love to make the dough and shape the ornaments on a Saturday, then paint them on Sunday. The recipe is simple: 2 cups all-purpose flour, 1 cup table salt, and about 1 cup of warm water. Mix the flour and salt first, then slowly add the water until you get a smooth, pliable dough. Knead it for a few minutes, then let your child roll it out and use cookie cutters or shape shamrocks by hand. Use a straw to poke a hole for hanging. An adult then bakes them on a parchment-lined sheet at a low 250°F (120°C) for about 2-3 hours, until they’re hard and dry. Once they’re completely cool, they’re ready to be painted with acrylics.
Advanced Crafts for Older Kids (Ages 8+)
Older kids are ready for projects that require more precision and patience, and the payoff is a seriously impressive final product.
5. Woven Paper Shamrocks
Paper weaving is a fantastic activity for building concentration and dexterity. The final result looks so cool and textured.
Estimated Time: 30-45 minutes
Approximate Cost: Under $3. It’s just paper!
You’ll need light green and dark green cardstock. Cut three heart shapes from the light green paper. Fold one heart in half and make parallel cuts from the fold toward the edge, stopping about a half-inch from the side. Unfold it—you’ve just made a tiny loom! Now, weave strips of the dark green paper through the slits, alternating an over-under pattern. Repeat for all three hearts, then glue them together in a shamrock shape. It’s a beautifully simple concept with a stunning result.
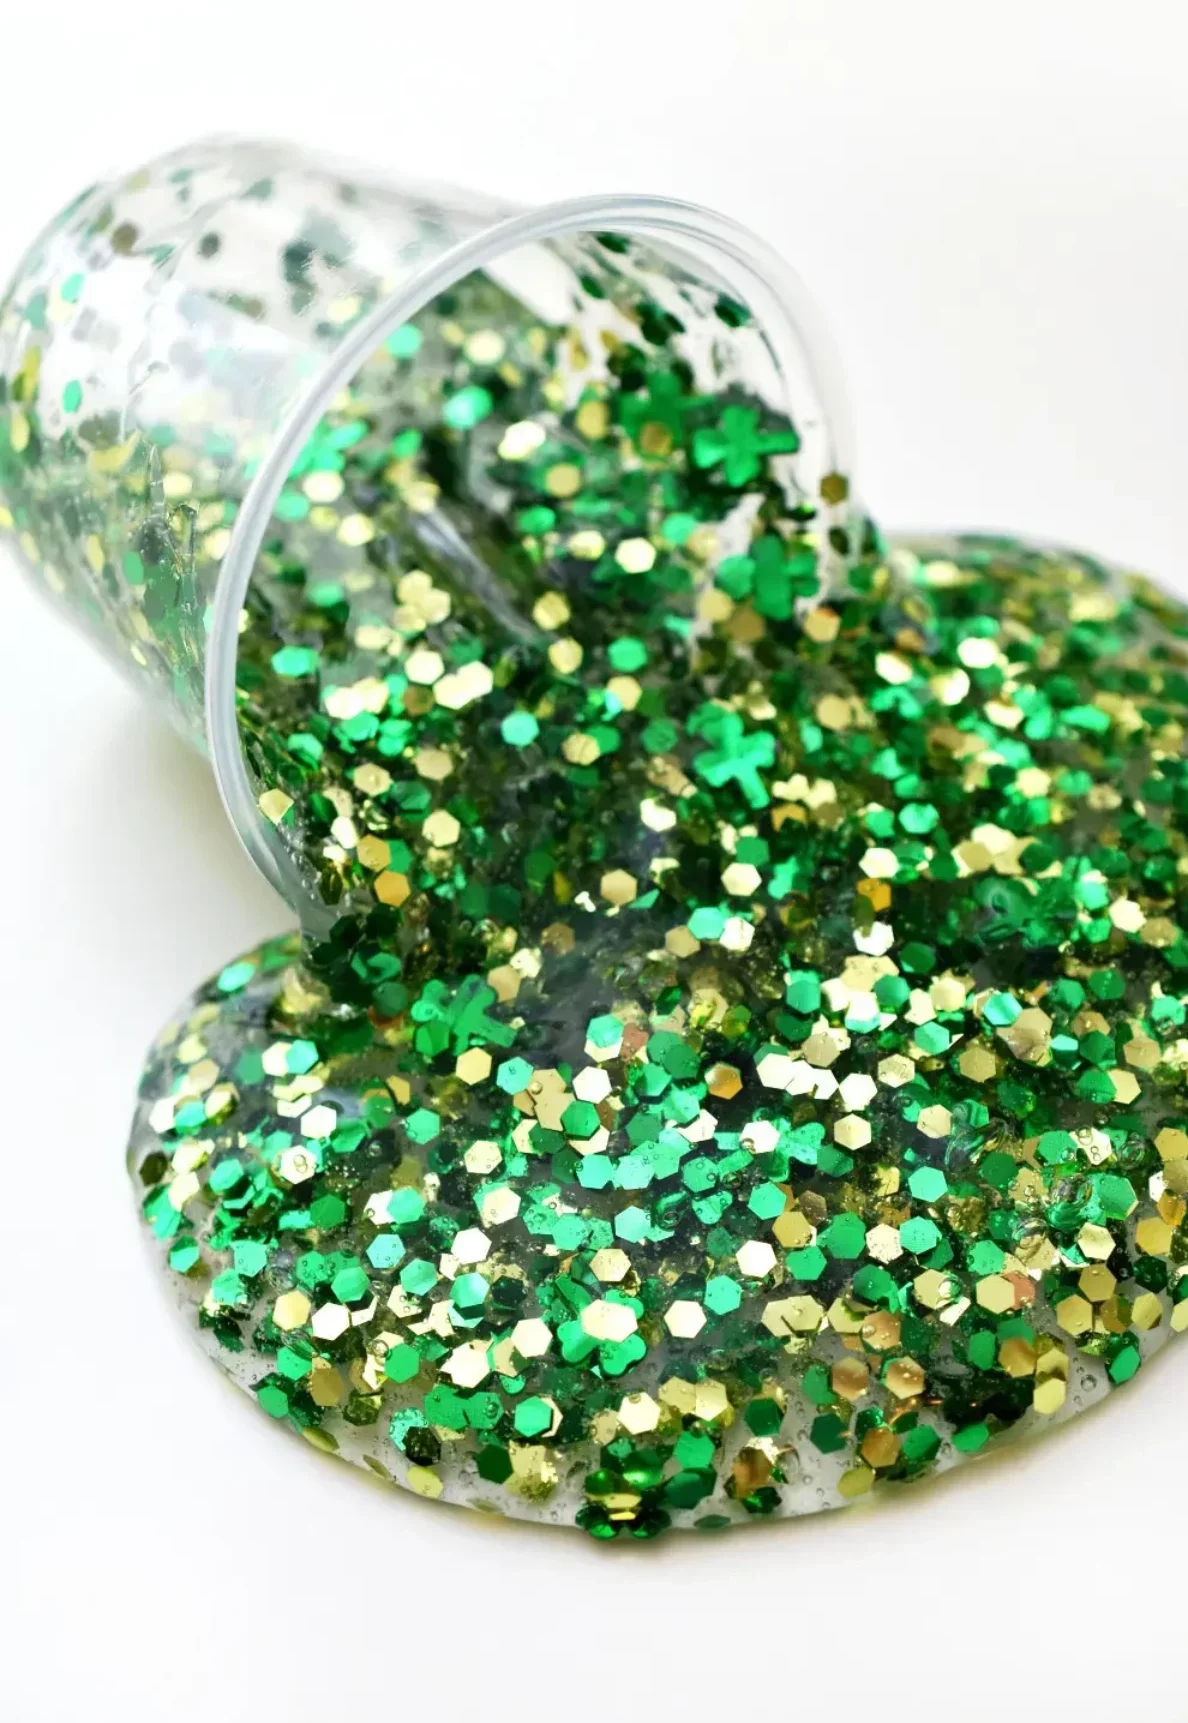
6. A Safer, Kid-Friendly Slime
Slime is pure science magic. This recipe skips the harsh stuff and uses contact lens solution as the activator, which is much safer for kids to handle.
Estimated Time: 15 minutes
Approximate Cost: About $10-$15, as the glue and contact solution are the main expenses.
In a bowl, mix 1/2 cup of clear or white PVA glue with 1/2 cup of water. Stir in 1/2 teaspoon of baking soda, then add your green food coloring and glitter. The final, magic ingredient is 1 tablespoon of contact lens solution (Good to know: it MUST contain boric acid and sodium borate to work). Stir continuously, and you’ll see it instantly start to form a blob. Once it’s too hard to stir, knead it with your hands until it’s smooth and stretchy.
Troubleshooting Slime: Is it a sticky mess? Just add a few more drops of the contact solution and knead it in. Is it too stiff? You probably added too much activator, but you can try kneading in a bit of lotion to soften it. And here’s a lesser-known trick: If it just isn’t coming together, let it sit for 5 minutes. Sometimes the chemical reaction needs a moment to catch up!
The Aftermath: My Favorite Cleanup Hacks
Okay, the fun is over, and now there’s a mess. Don’t panic! Here are a couple of my go-to tricks.
- For Glitter: Don’t even try a wet cloth; it just makes a sparkly paste. The best tool is a lint roller. It picks up every last speck from tables, floors, and clothes.
- For Dried Glue Puddles: If you find a dried-on blob of white school glue on your table, just lay a warm, damp cloth over it for five minutes. It will soften the glue right up, and you can peel it or wipe it away easily.
- For Paint: For washable paint spills, a baby wipe is your best friend for immediate cleanup on hands and most surfaces.
At the end of the day, the goal isn’t a flawless leprechaun mask or a perfectly symmetrical shamrock. The real prize is the time you spent together, the little chat you had while the paint dried, and the proud look on your child’s face. So embrace the mess, have fun, and make some happy memories. I’d love to hear how your projects turn out!