The Real Deal on Cleaning Up Your Soil (and When Not To Bother)
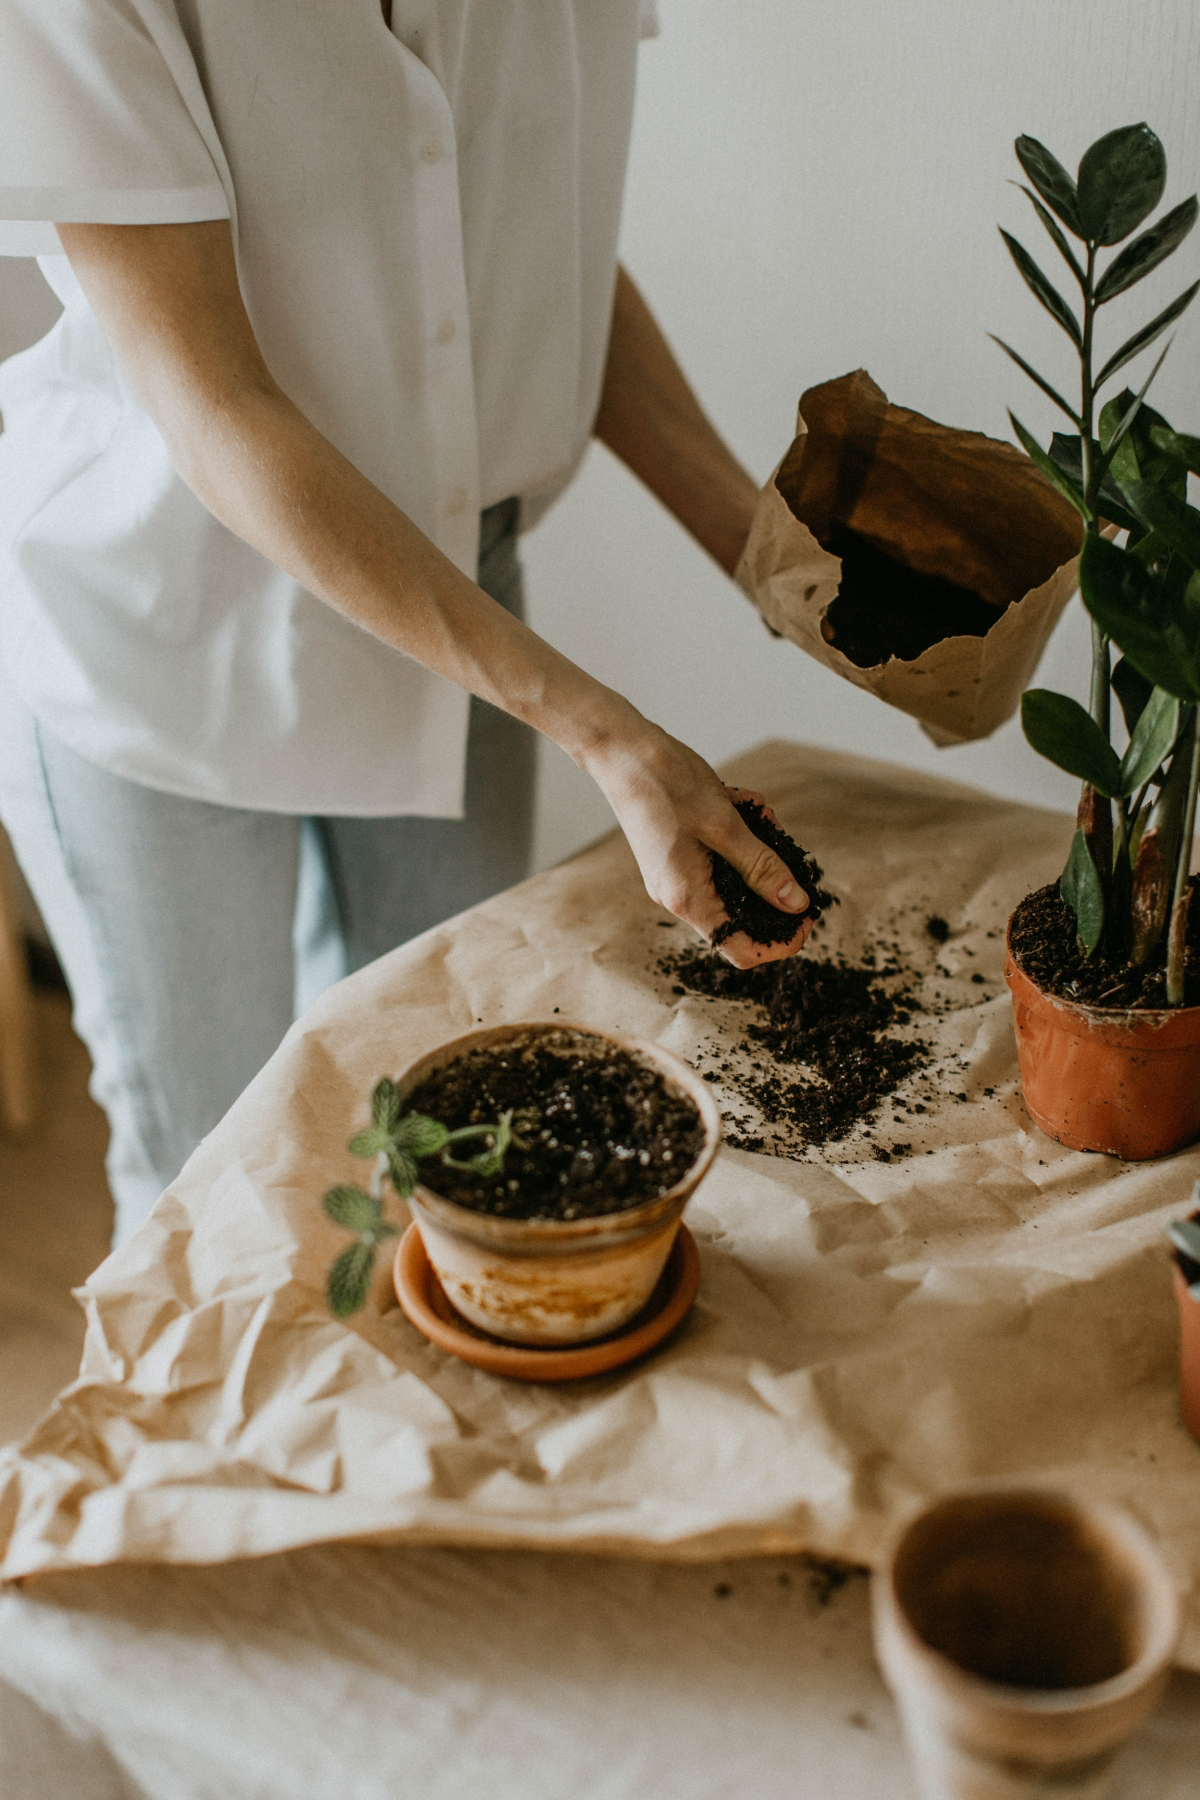
I’ll never forget the time I lost almost an entire crop of rare alpine seedlings. It was a tough lesson early in my career. We’d found this gorgeous, loamy soil from a local woodland, thinking its dark, rich look meant it was top-tier stuff. And it was… but it was also hiding a nasty fungus that causes damping-off disease. In less than a week, hundreds of my delicate little seedlings just keeled over, looking like they’d been pinched right at the soil line. That costly mistake taught me a core rule of growing: the soil you use for seeds and fragile plants needs to be clean. I don’t just mean free of sticks and rocks, but biologically clean.
In this article
- First Things First: Do You Even Need to Do This?
- The Goal: Pasteurize, Don’t Annihilate
- Choosing Your Method: Oven vs. Steamer
- Method 1: Oven Pasteurization (The Tried-and-True)
- Method 2: Steam Pasteurization (The Pro’s Choice)
- Internet Myths and Methods to Avoid
- The Final, Crucial Step: Bring Your Soil Back to Life
- Inspiration:
So, we’re going to talk about “sterilizing” soil. It sounds intense, but it’s really just about managing risk. When you bring in soil from outside or use compost that isn’t quite ready, you’re rolling the dice on introducing fungi, pests like fungus gnats, and a million weed seeds. For a big, tough plant in your garden, that’s just part of the ecosystem. For a tiny seedling in a sterile pot? It’s often a death sentence.
First Things First: Do You Even Need to Do This?
But hold on. You absolutely do not need to do this all the time. In fact, doing it when it’s not necessary can cause more problems than it solves. Let’s make this simple. Ask yourself:
- Am I starting seeds or rooting delicate cuttings? Then YES, this guide is for you. A clean slate is your best friend.
- Am I reusing potting soil from last year’s containers? Absolutely. You have no idea what diseases or pest eggs are hanging out in there.
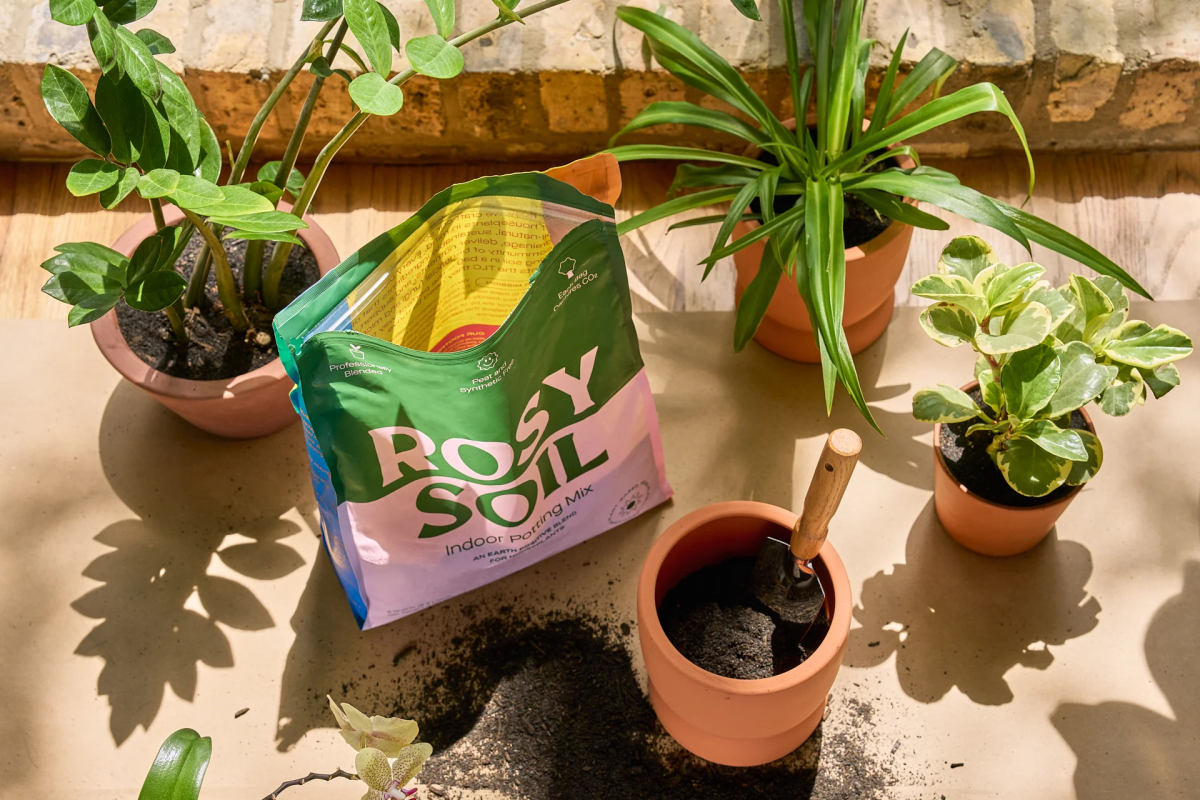
- Am I using a fresh, high-quality bag of potting mix? Then NO, you can probably skip this. Reputable brands have already handled this for you.
- Am I working with my outdoor garden beds? NEVER. Don’t even think about it. You’d be wiping out a complex, vital ecosystem that your plants need to thrive.
The Goal: Pasteurize, Don’t Annihilate
In the professional world, we almost never say “sterilize.” True sterilization means creating a dead medium, which is actually pretty hard to do and not what we want. What we’re really after is pasteurization. Think of it like pasteurizing milk—we’re just heating the soil enough to knock out the bad guys (pathogens, pests, weed seeds) while hopefully leaving some of the beneficial microbes behind.
It all comes down to temperature. This isn’t about blasting your soil into oblivion. It’s a bit more precise:
- 140°F (60°C): This is warm enough to kill off most of the water molds and fungi responsible for damping-off.
- 160°F (71°C): This is the sweet spot. It gets rid of the vast majority of plant-killing bacteria and fungi.
- 180°F (82°C): The upper limit. This temperature will kill nearly all weed seeds and even some stubborn viruses. You shouldn’t need to go any hotter than this.
- Above 200°F (93°C): You’ve entered the danger zone. Seriously. Go this high and you risk breaking down the soil’s structure, making it hard and water-repellent. Worse, you can trigger the release of toxins from compounds like manganese, which can literally poison your plants.
Choosing Your Method: Oven vs. Steamer
Okay, so how do we actually do this at home? The two most reliable methods both use heat. Before you dive in, here’s the quick rundown to help you choose.
The Oven Method is the gold standard for home gardeners. It’s incredibly effective and great for small-to-medium batches. The main downside? The smell. Let’s be real, it will make your kitchen smell like a hot, damp forest floor. To me, it’s the smell of success, but you might want to crack a window or warn your family!
The Steamer Method is technically superior because steam is gentler on the soil structure and transfers heat more efficiently. It’s what the pros use, just on a huge scale. The smell factor is lower, more of a damp earth scent, and it can be a bit faster. However, it requires a bit more setup with a stockpot and rack.
Method 1: Oven Pasteurization (The Tried-and-True)
This is my go-to for batches up to 20-30 pounds. It’s straightforward, but you have to follow the steps. No shortcuts!
What You’ll Need:
- Your garden soil, compost, or old potting mix
- A large baking pan or roasting pan. Quick tip: Grab a disposable aluminum one from the dollar store for a couple of bucks. Don’t use your fancy cookware.
- Aluminum foil
- A reliable meat or soil thermometer. A basic digital one from Walmart or Target runs about $15 and is a must-have for this. Don’t guess!
- An oven
The Process:
- Get it Damp: Heat moves through moisture, so your soil needs to be damp, not soggy. Think of a wrung-out sponge. If you squeeze a handful, it should clump but not drip.
- Fill the Pan: Spread the soil evenly in your pan, no more than 3-4 inches deep. A standard 13×9 inch pan will hold enough treated soil to fill about a dozen 4-inch pots. Any deeper and the center will never heat up properly.
- Insert the Thermometer: This is the most critical step. Stick the thermometer probe right into the very center of the soil mass. You’re measuring the soil temp, not the oven’s air temp.
- Cover and Bake: Cover the pan tightly with foil to trap steam. Pop it into a preheated oven set to 200°F (around 93°C). We set the oven a little higher than our target to make sure the core gets hot enough.
- Watch and Wait: Now, be patient. You’re waiting for the thermometer in the soil’s center to hit 180°F (82°C). Heads up, this can take a while! Depending on your oven and soil, expect it to take anywhere from 30 to 90 minutes just to reach temperature. Once it hits 180°F, set a timer for 30 minutes and let it cook. If the temp starts creeping past 190°F, turn the oven off for a bit.
- Cool Down Slowly: After 30 minutes at temperature, turn the oven off and just leave the pan inside with the door closed until it’s completely cool. This slow cooling prevents airborne contaminants from getting sucked back into your nice, clean soil.
A cautionary tale: I once had an apprentice try to rush this by cranking the oven to 400°F. The result? A house full of awful smoke and soil that was completely hydrophobic—it repelled water like it was coated in wax. He’d released toxins that killed every single seed we planted in it. Low and slow is the only way.

Method 2: Steam Pasteurization (The Pro’s Choice)
Steaming is faster and gentler. You can easily rig up a DIY version on your stovetop.
What You’ll Need:
- A large stockpot with a tight lid
- A small rack or a few clean bricks to keep a container off the bottom
- A heat-proof container that fits inside (like a smaller pot)
- Your trusty meat thermometer
The Process:
- Set Up: Put the rack in the bottom of the stockpot and add an inch or two of water, making sure it stays below the rack.
- Prep the Soil: Moisten your soil just like for the oven method and fill your smaller container, again, not too deep.
- Assemble and Heat: Place the soil container on the rack, stick the thermometer in the center of the soil, put the lid on the pot, and bring the water to a gentle boil.
- Monitor: As steam fills the pot, the soil will heat up. Once the core hits that 160-180°F sweet spot, lower the heat to maintain a simmer and start your 30-minute timer.
- Cool Down: Turn off the heat and leave everything covered until it’s completely cool.
Internet Myths and Methods to Avoid
The web is full of bad advice. As someone who’s seen the fallout, let me be frank about a few common but flawed methods.
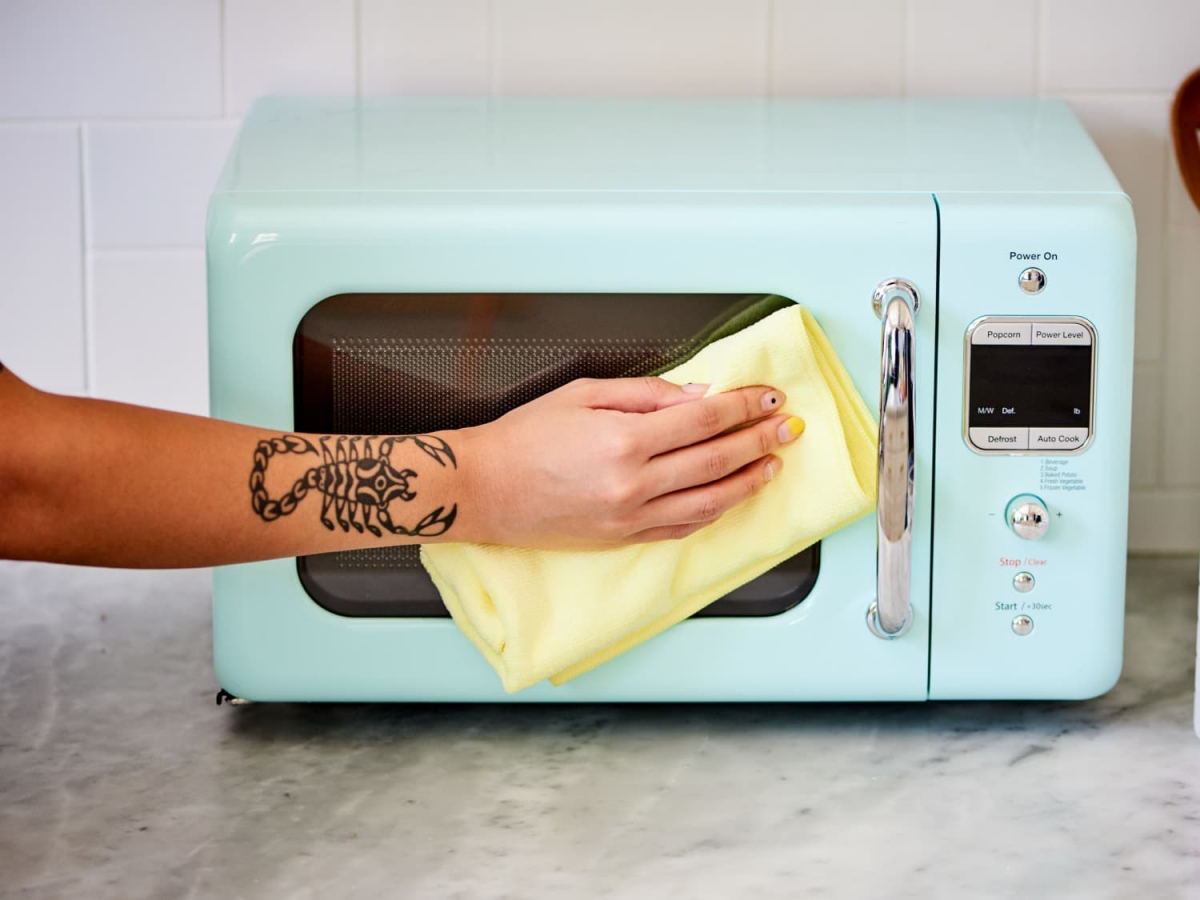
- The Microwave: I’m not a fan. It’s incredibly uneven for anything more than a cup of soil. Dry pockets won’t heat up, leaving pathogens alive. Plus, you risk melting containers or creating a steam explosion. The smell is also… potent. Just don’t.
- Freezing: This is a common myth. Leaving soil out to freeze will NOT sterilize it. Most fungal spores, bacteria, and pest eggs are built to survive cold winters. I once had a client who insisted on using soil she’d kept in a chest freezer for a month. We ended up with a massive fungus gnat infestation that could’ve been easily avoided with proper heat treatment.
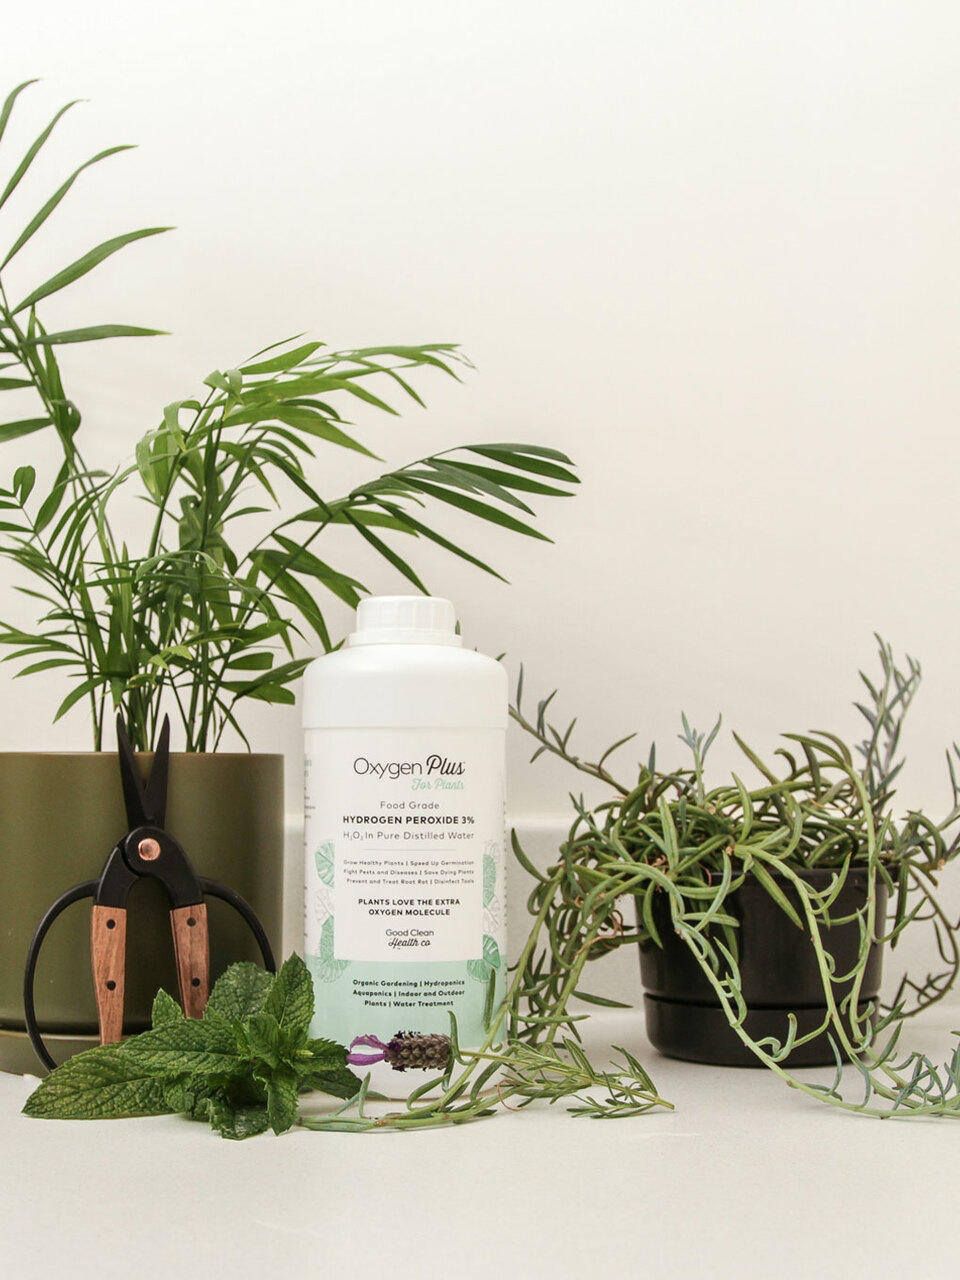
- Chemicals (Hydrogen Peroxide, etc.): Older books mention things like potassium permanganate, but these are hard to dose correctly and can be hazardous. Hydrogen peroxide is useful as a soil drench for existing problems (like fungus gnat larvae), but it’s not a true sterilant. It won’t penetrate a whole batch of soil. Stick to heat.
The Final, Crucial Step: Bring Your Soil Back to Life
This is the part everyone forgets, and it’s the most important. You’ve just created a biological vacuum. The bad guys are gone, but so are the good ones. This clean soil is now prime real estate for any random mold spore to move in and take over without competition.
You have to re-inoculate your soil with good microbes. Here’s how:
- Rest First: After the soil has cooled, keep it in a covered container for a few days.
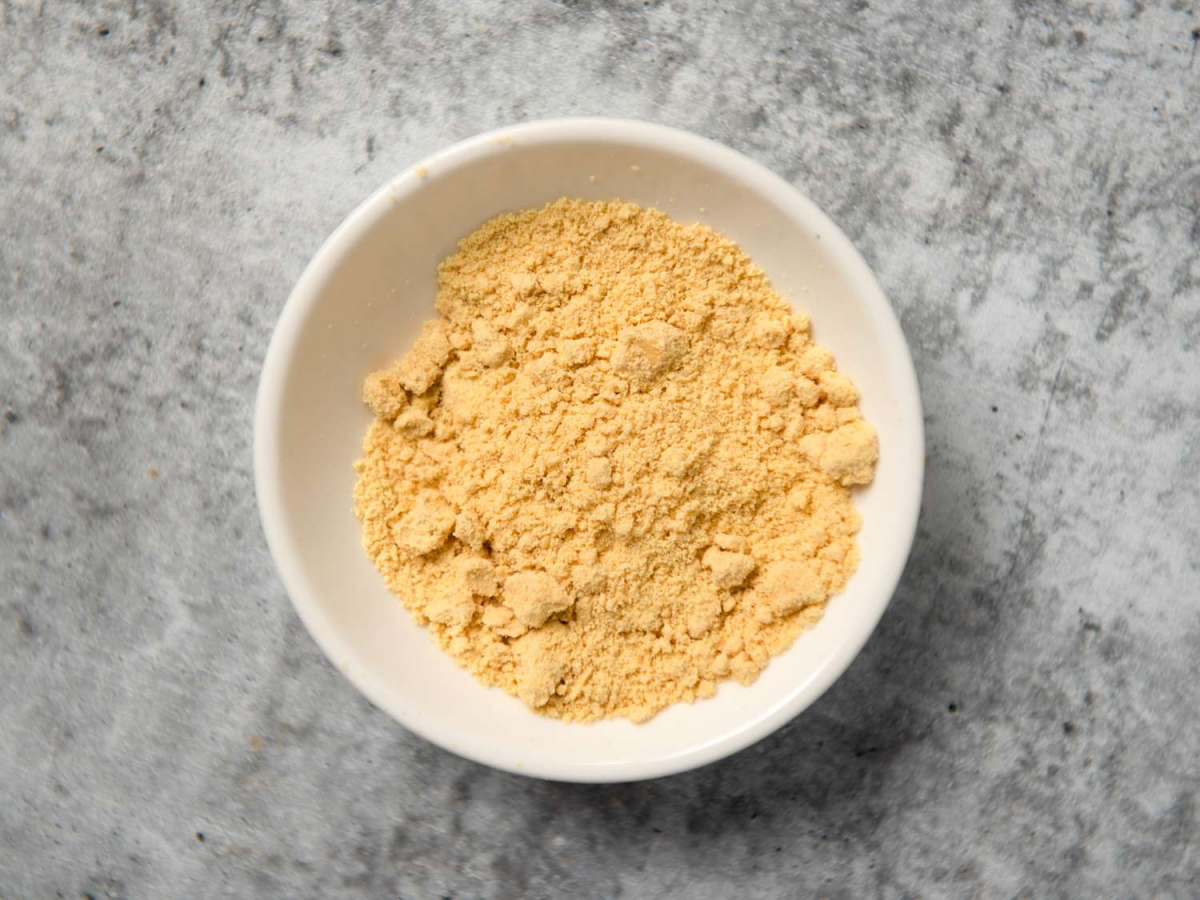
- Add Goodies: The best way to bring it back to life is to mix in a source of healthy microbes. My favorite trick is adding a small amount of high-quality, fully finished compost or worm castings—about 1 part good stuff to 10 parts pasteurized soil. Good to know: Finished compost should look and smell like rich, dark soil, with no recognizable food scraps left.
- Consider a Booster: If you don’t have a trusted compost source, you can buy commercial microbial inoculants. Look for products containing beneficial fungi (like Mycorrhizae) and bacteria (like Bacillus). You can find these powders at most hydroponics stores or online, and they are a fantastic way to ensure you’re only adding the good stuff.
- Mix and Wait: Thoroughly mix your chosen inoculant into the soil, moisten it slightly, cover it, and let it sit somewhere warm for a week or two. This gives the beneficial organisms time to multiply and set up shop.
Doing this transforms your sterile medium back into a living soil that will actively protect your plants. It’s the difference between a sterile hospital room and a body with a healthy, functioning immune system.
Inspiration:
Can you actually “burn” soil when sterilizing it?
Absolutely. Overheating soil, especially in a microwave or oven, is a common mistake. Pushing the temperature past 180°F (82°C) doesn’t make it “more sterile”—it can actually cause organic matter to break down and release phytotoxic compounds that will harm or kill your delicate seedlings. The goal is pasteurization, not incineration. Always use a thermometer and aim for a sustained temperature, not a quick, high-heat blast.
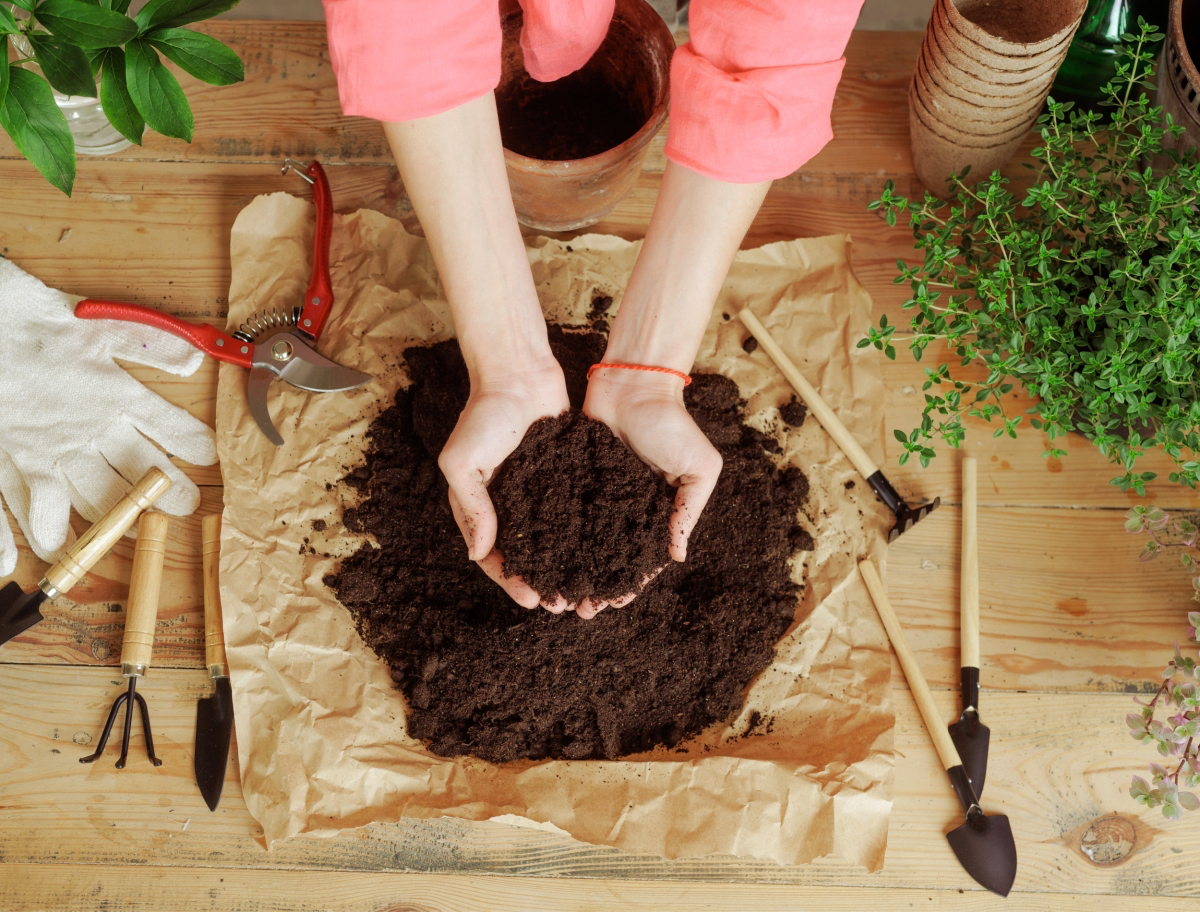
A single teaspoon of healthy soil can contain up to a billion bacteria, several yards of fungal filaments, and thousands of protozoa.
When you pasteurize soil, you’re hitting the reset button on this microscopic world. To bring some of the “good guys” back, consider re-inoculating your cooled, clean soil before planting. A small sprinkle of a high-quality finished compost or a pinch of a commercial mycorrhizal inoculant, like Mykos from Xtreme Gardening, can reintroduce the beneficial fungi and microbes that help plant roots absorb nutrients.
For Seed Starting: Look for a mix specifically labeled for germination, like Pro-Mix Seed Starting Mix or Espoma Organic Seed Starter. These are fine-textured, low in fertilizer (which can burn new roots), and generally considered sterile out of the bag.
For Repotting Mature Plants: A general-purpose potting soil, such as FoxFarm Ocean Forest, is richer and has a coarser texture suitable for established root systems. It’s not designed to be sterile, as mature plants can handle the normal microbial life.
For a slower, more natural approach on a larger scale, consider solarization. This method uses the sun’s power to pasteurize soil or compost. Simply moisten the soil, spread it in a thin layer (2-4 inches deep) on a black plastic tarp, and then cover it with a clear plastic sheet, sealing the edges. Left in a full-sun location for 4-6 weeks during the hottest part of summer, the trapped heat will effectively kill most pathogens and weed seeds without an oven.


