How to Grow a Pineapple at Home (Yes, From a Grocery Store Top!)
I’ve spent years working with tropical plants, and one of the coolest, most satisfying projects you can do right in your own kitchen is growing a pineapple from a store-bought fruit. There’s something genuinely amazing about taking that spiky top, which was destined for the compost, and turning it into a thriving houseplant. It’s a slow journey, for sure, but totally worth it.
In this article
This isn’t some magic trick; it’s about understanding what the plant needs. A pineapple is a type of bromeliad, which just means it has its own set of rules for light, water, and soil. I’m going to walk you through the exact method I use, from picking the right fruit to caring for your new green buddy.
First, Pick the Perfect Pineapple
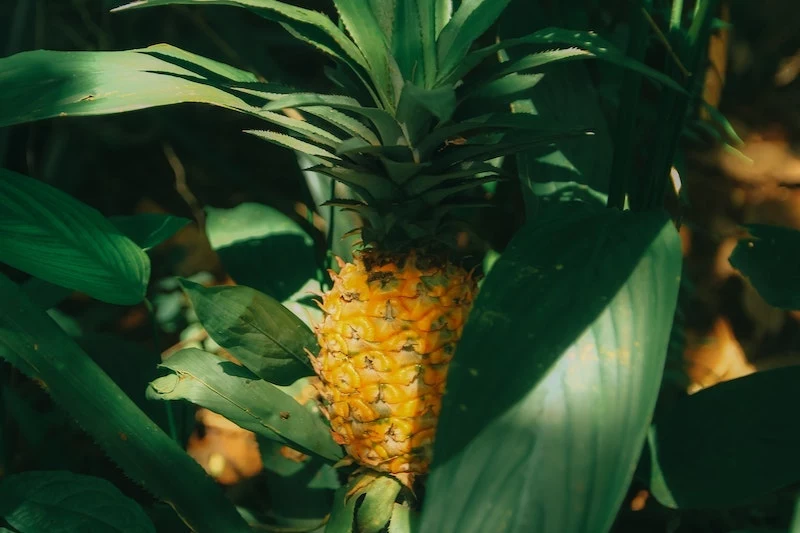
Your success story really begins at the grocery store. Seriously, picking the right pineapple is half the battle. So many people grab any old fruit and then wonder why it fails. You need to inspect the crown of leaves, not just the fruit itself.
Here’s what to look for:
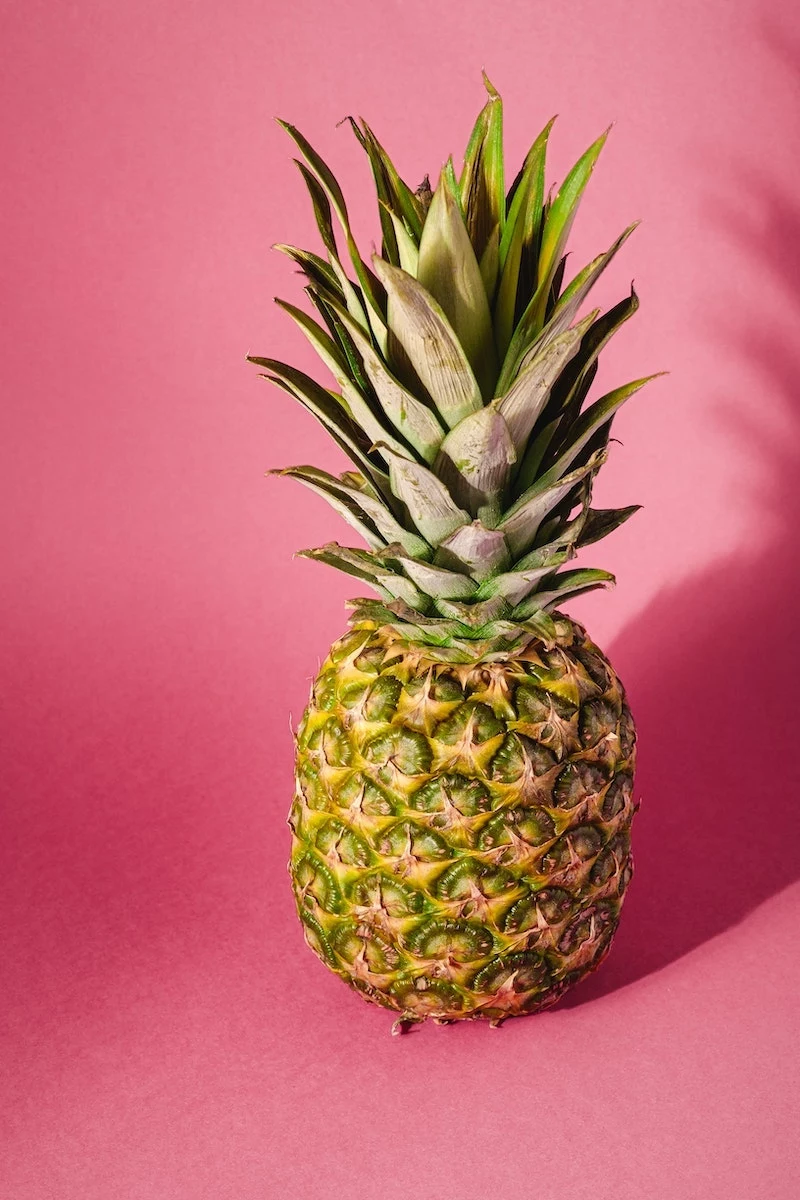
- Healthy Green Leaves: Look for a crown with vibrant, deep green leaves. If the leaves are mostly yellow, brown, and dried out, just walk away. A few crispy tips on the very outer leaves are okay, but the center should look fresh and alive.
- A Firm Feel: Gently squeeze the base of the leaves where they meet the fruit. It should feel solid. If it’s soft or mushy, it’s likely already rotting from the inside out. No good.
- Pest Check: Get in close and look at the base of the leaves for little white fuzzy spots (mealybugs) or tiny brown bumps that look like little shields (scale). From personal experience, it’s a nightmare to bring these pests into your home. I once spent weeks treating an infested crown and the houseplants nearby with neem oil. It’s so much easier to just start with a clean plant.
- Good Ripeness: For eating, you want that golden, sweet-smelling pineapple. But for growing, one that’s a little under-ripe (mostly green with just a hint of yellow at the base) is often better. The crown is usually in better shape. You can still eat the fruit, of course! Just avoid overripe ones that are soft or smell fermented.
Quick tip: If you’re really committed, buy two pineapples. They only cost about $3 to $5 each. Sometimes, a top just fails for no clear reason. Having a backup doubles your odds and lets you relax a bit.
The Pro Prep Technique for a Healthy Start
How you remove and prep the crown is probably the most important step. This is where you prevent rot, the #1 killer of pineapple projects.
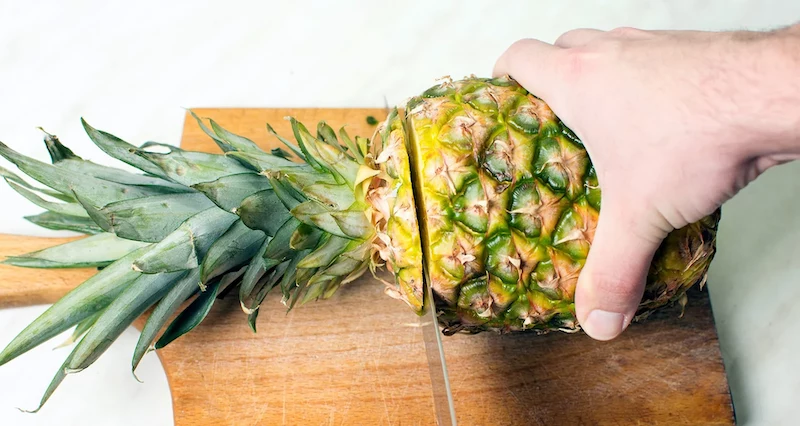
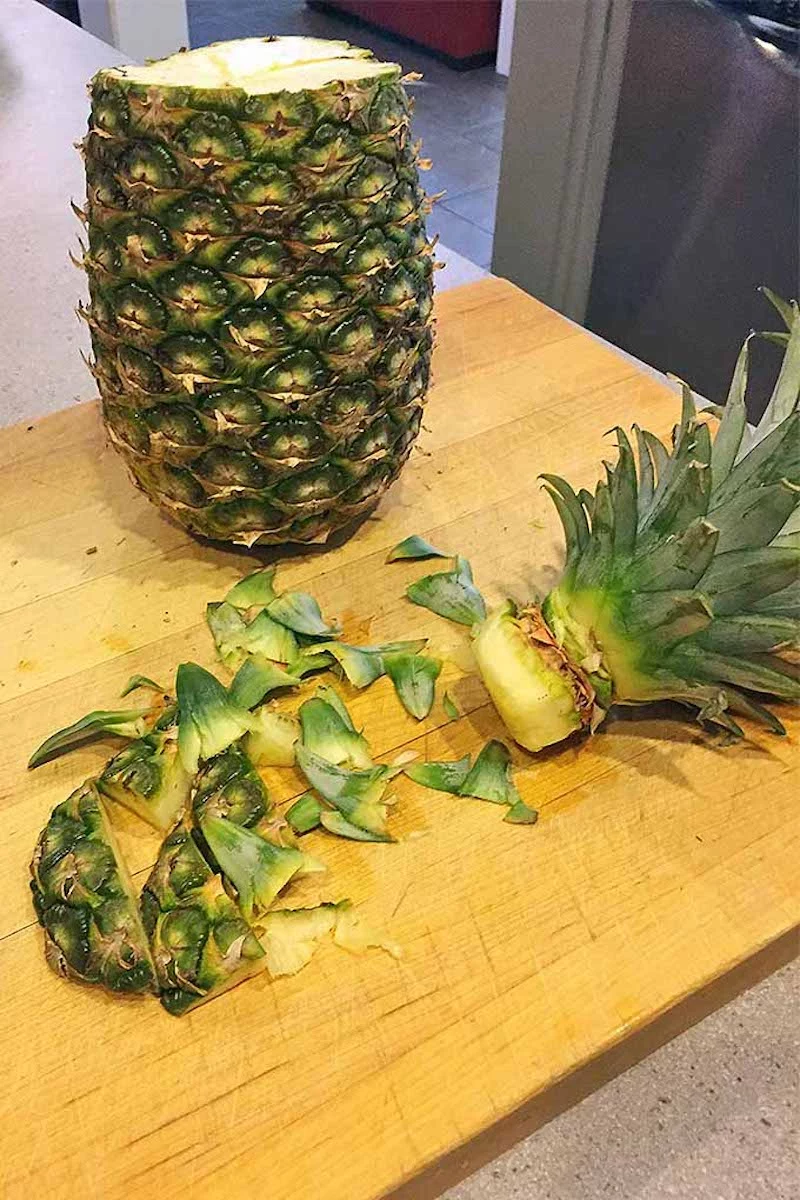
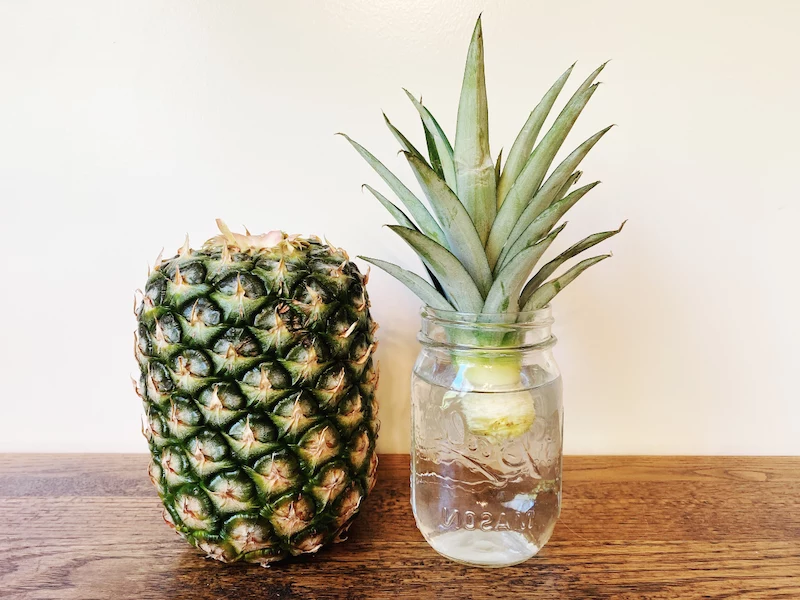
First, get the top off. My favorite way is the twist method. Hold the pineapple body in one hand and grab the leafy crown firmly at its base with the other. Twist hard, like you’re wringing a towel. It should pop right off with a little bit of the core stalk attached.
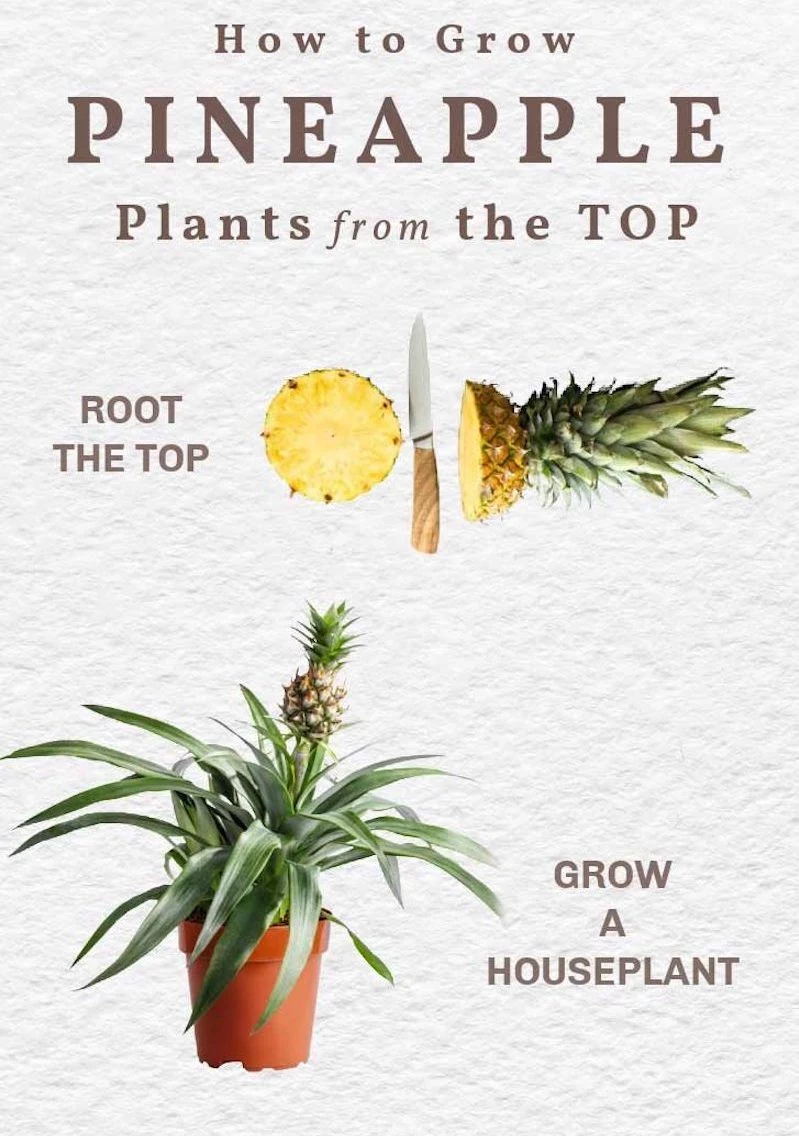
If it won’t budge, you can just slice it off. Use a big, clean knife to cut the top off about a half-inch below the leaves.
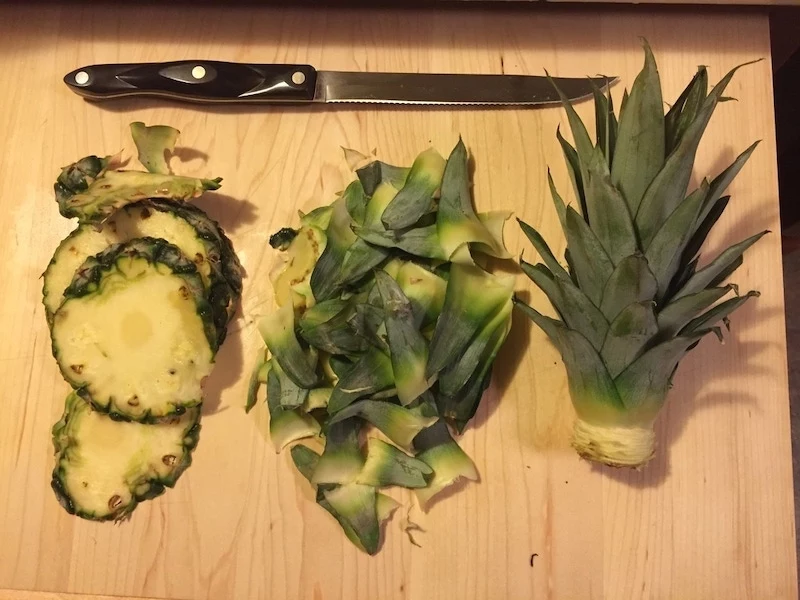
Now, you have to clean it up. Trim away any leftover yellow fruit flesh from the base. Be thorough! Any sugar left behind is an open invitation for mold and rot. You want to see just the hard, fibrous core.
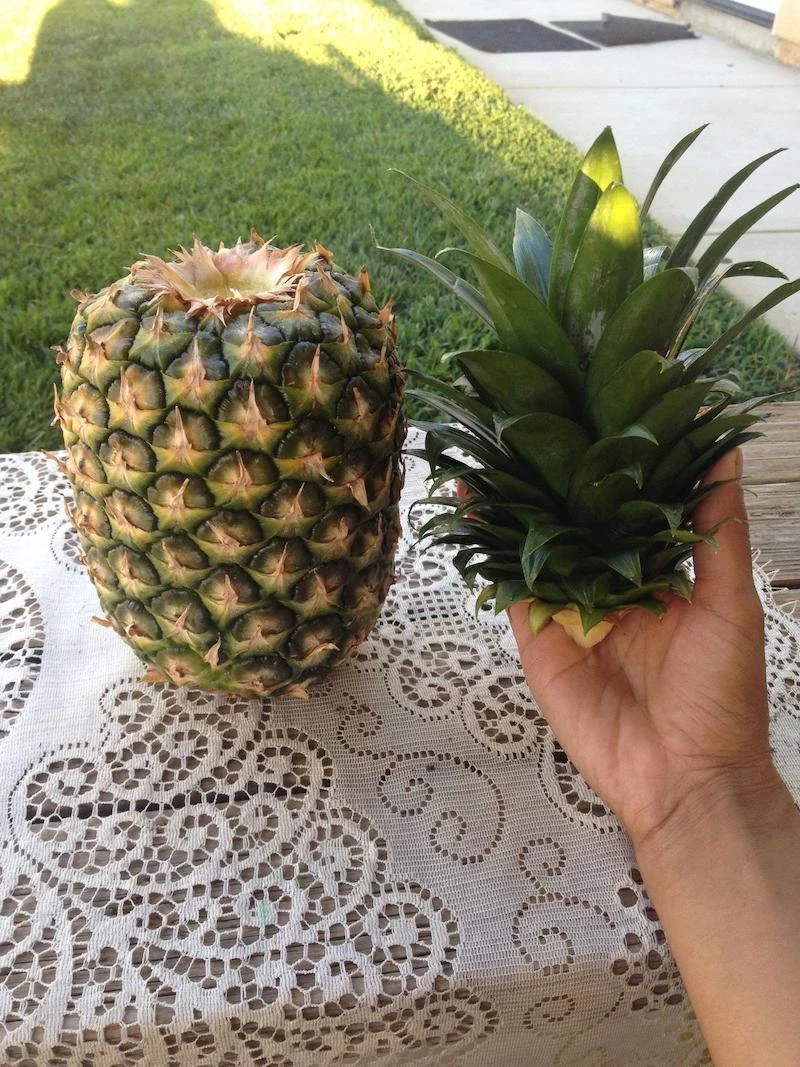
Here’s a step a lot of people miss: carefully peel off the bottom layers of small leaves, one by one. You want to expose about an inch of the pale stalk. As you do, you’ll see little brown dots or bumps—those are the future roots just waiting to grow!
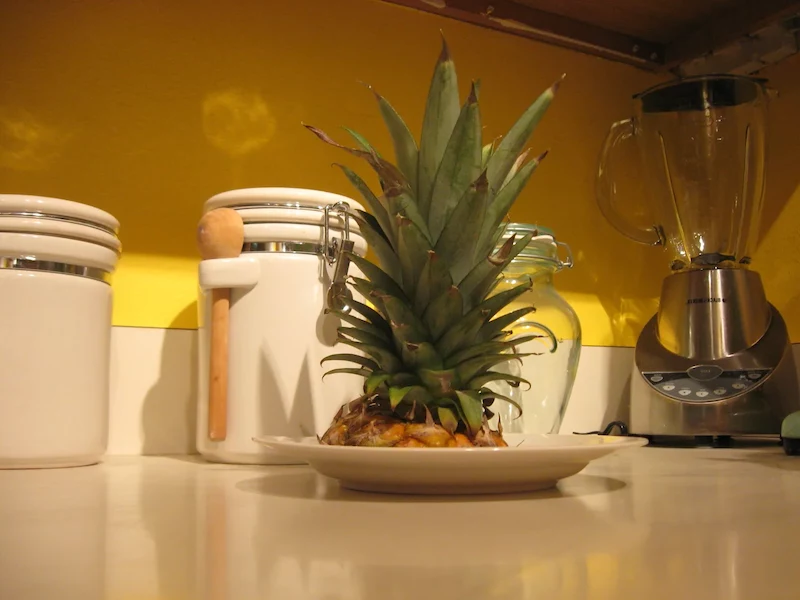
And now for the most important secret… patience! Do NOT put it in water or soil yet. Let it cure. Just place the crown upside down on your counter, out of direct sun, for about three to seven days. This lets the cut surface dry out and form a callus, which is like a protective scab that wards off rot. The leaves might look a little tired, but that’s totally fine.
Time to Root: Two Paths to Success
Okay, your pineapple top is cured and ready. You’ve got two main options here. Both work, but I definitely have a favorite.
Before you choose, here’s the breakdown:
- Rooting in Water: This is the popular choice because it’s fun to watch the roots grow. It’s great for beginners and kids. The downside? You have to be diligent about changing the water, and the plant can experience a bit of shock when it finally moves to soil.
- Rooting in Soil: This is my go-to method. It’s more reliable, in my opinion, because it skips the water-to-soil transition shock and lowers the risk of rot from stagnant water. It takes a bit more faith since you can’t see the roots forming.
Option 1: The Water Method
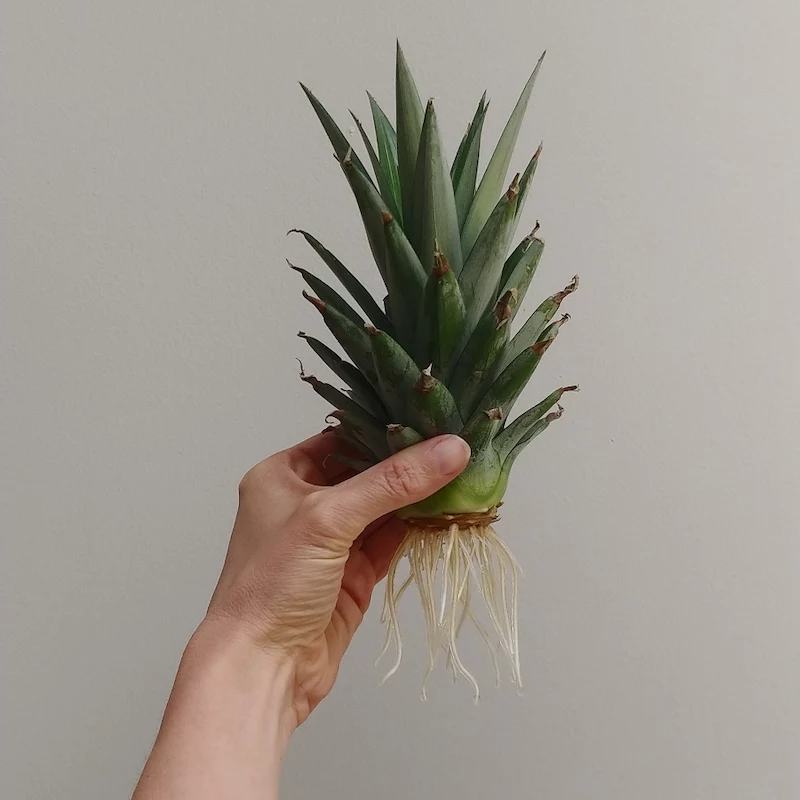
Grab a clear glass or jar and fill it with room-temperature water. (Good to know: If you’re using tap water, let it sit out for a day to let the chlorine evaporate). You only want the bottom, leafless part of the stalk submerged. If it sinks, stick a few toothpicks in the sides to suspend it on the rim. Place it in a bright spot, but not in harsh, direct sun. And here’s the non-negotiable part: you HAVE to change the water every 2-3 days. If it gets cloudy, change it immediately. In a few weeks, you should see white roots emerge. Wait until they’re 2-3 inches long before planting.
Option 2: The Soil Method (My Recommendation)
This is the set-it-and-forget-it approach. You’ll need a small pot (4-6 inches is perfect) with drainage holes and a bag of cactus or succulent soil mix. That stuff is designed for excellent drainage, which is exactly what you need. You can find a bag at Home Depot or any garden center for about $5-$8.
Fill the pot with the soil, get it slightly damp, and then plant your cured crown about an inch deep—just enough so it stands up on its own. To really speed things up, you can tent a clear plastic bag over the pot to create a mini-greenhouse effect, which keeps humidity high. Just take the bag off for an hour a day for fresh air. Water lightly about once a week. After about 6-8 weeks, give the crown a very gentle tug. If you feel resistance, congratulations, you have roots!
Long-Term Care and… Will It Actually Fruit?
Once your plant is rooted and you see new little leaves sprouting from the very center, you can start treating it like any other houseplant. The original leaves will slowly brown and wither over time; this is perfectly normal.
It’ll need at least six hours of bright, indirect light a day. A south-facing window is great, but be careful of intense afternoon sun, which can scorch the leaves. For watering, drench the soil until water runs out the bottom, then let the top couple of inches of soil dry out completely before watering again.
Once it’s actively growing in the spring and summer, you can give it a little boost. A standard liquid houseplant fertilizer, diluted to half-strength, once a month is perfect.
And now for the million-dollar question: will you get an actual pineapple? The answer is… maybe! It’s a long shot for indoor plants, but not impossible. It typically takes a healthy, mature plant about 2-3 years to even think about fruiting. For perspective, it takes about 18-24 months on a commercial farm. So this is a marathon, not a sprint.
By the way, there’s a fun trick to encourage a mature plant to flower. If your plant is at least two years old and large and healthy, you can try to force it. Place the whole pot in a large, clear plastic bag with a ripe apple for about a week. The ethylene gas released by the apple can trigger the pineapple to produce a flower, which then becomes the fruit!
What If… A Quick Troubleshooting Guide
Sometimes things don’t go as planned. Here are some common hiccups:
- The base turned black and mushy. That’s rot, my friend. Unfortunately, it’s a goner. Toss it and start over, but this time, be extra sure to cure the base properly before rooting.
- The leaves are turning brown. If it’s the old, outer leaves, that’s normal. They’re supposed to die off. If the new, central leaves are browning, you’re likely overwatering or it’s getting scorched by the sun.
- It’s been weeks and nothing is happening. Patience is key! Pineapple tops can take their sweet time. If you used the soil method, do the gentle tug test. As long as the base isn’t mushy and the leaves look okay, just give it more time.
So, here’s your mission: next time you’re at the store, spend the $4 on a pineapple. You get a tasty snack and a super cheap, fun project that could turn into a fantastic houseplant. The whole setup with a pot and soil will likely cost you less than $15. It’s one of the most rewarding things you can grow.
Inspirational Gallery
My pineapple top has rooted, what kind of soil should I use?
Forget standard potting soil, which can be too dense and retain too much water. Pineapple plants, being bromeliads, despise soggy roots. Your best bet is to create a custom, fast-draining mix. A perfect, easy-to-make recipe is one part quality indoor potting mix (like Espoma Organic), one part perlite for aeration, and one part orchid bark for chunkiness. This combination mimics their natural environment, keeping the roots happy and preventing rot.
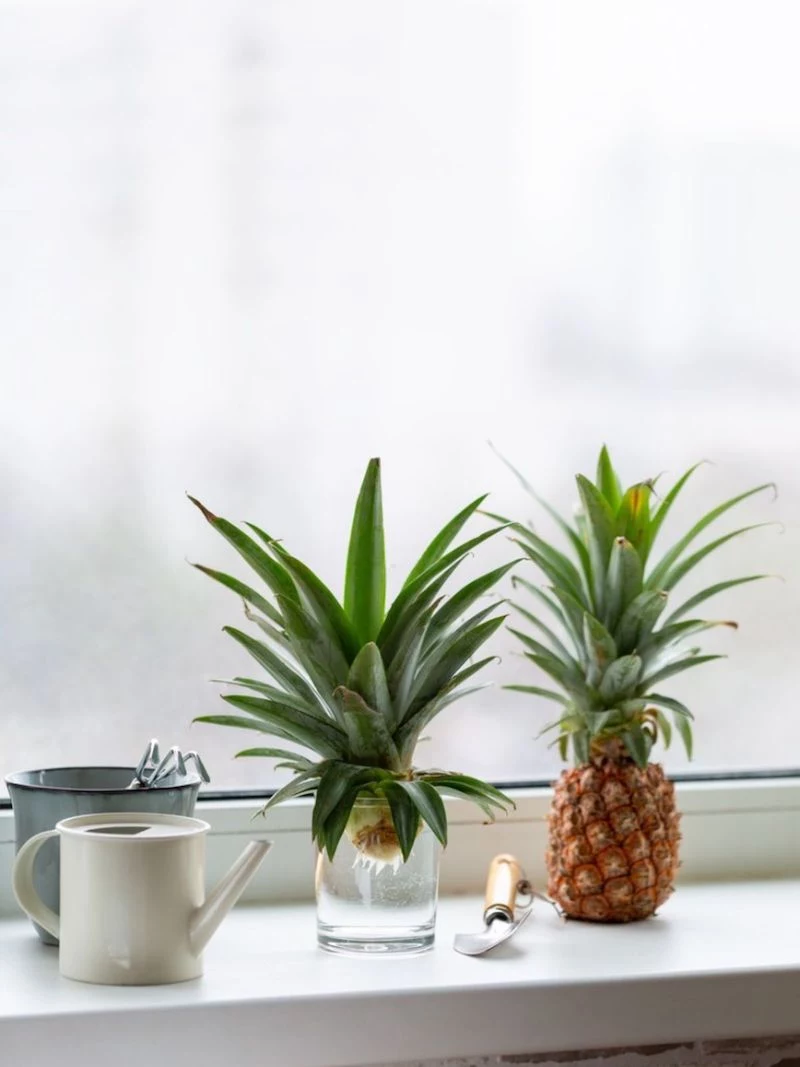
Did you know? It can take 24 to 36 months for a homegrown pineapple plant to produce a single fruit, and it will only ever produce one.
Don’t let the long wait discourage you! The real joy of this project is in the journey. Think of your pineapple not just as a future fruit, but as a striking, architectural houseplant. Its spiky, sculptural leaves bring a unique tropical vibe to any room, offering years of beauty long before a flower stalk ever appears.
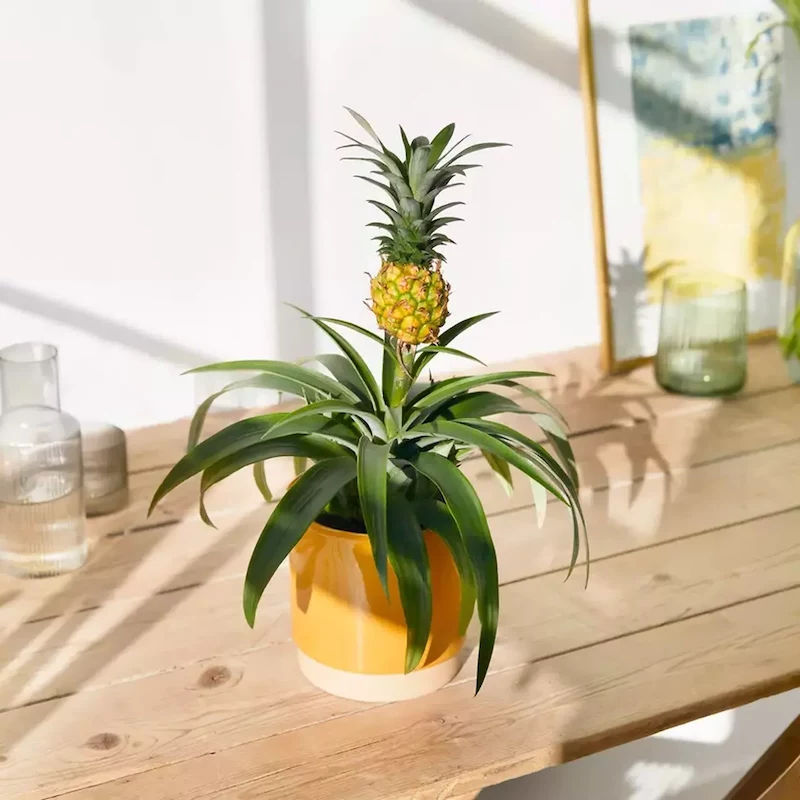
Terracotta Pot: Its porous clay allows soil to dry out faster, which is excellent for preventing root rot, a common issue with pineapples. It provides good stability for a top-heavy plant.
Plastic or Glazed Pot: These are less breathable and hold moisture longer. While lighter and often cheaper, you must be extremely careful not to overwater. If you choose plastic, ensure it has ample drainage holes.
For beginners, terracotta is the safer choice to avoid waterlogged soil.
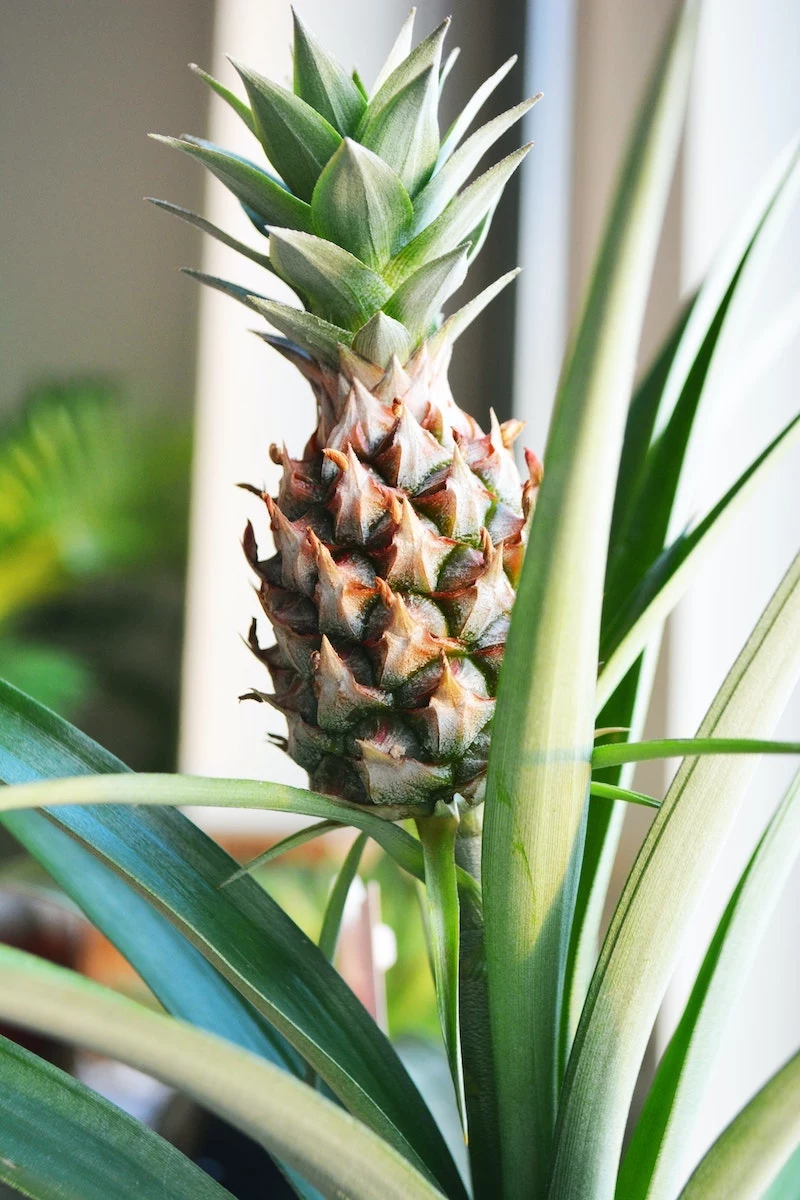
The sharp, dramatic silhouette of a pineapple plant makes it a powerful decorative element. It’s not a soft, leafy fern; it’s a statement. Use it as a focal point on a minimalist side table or a low plant stand, like the Grove stand from The Sill, to elevate it. The spiky texture contrasts beautifully with soft furnishings like velvet pillows or chunky knit throws, creating a dynamic, professionally styled look in a living room or home office.
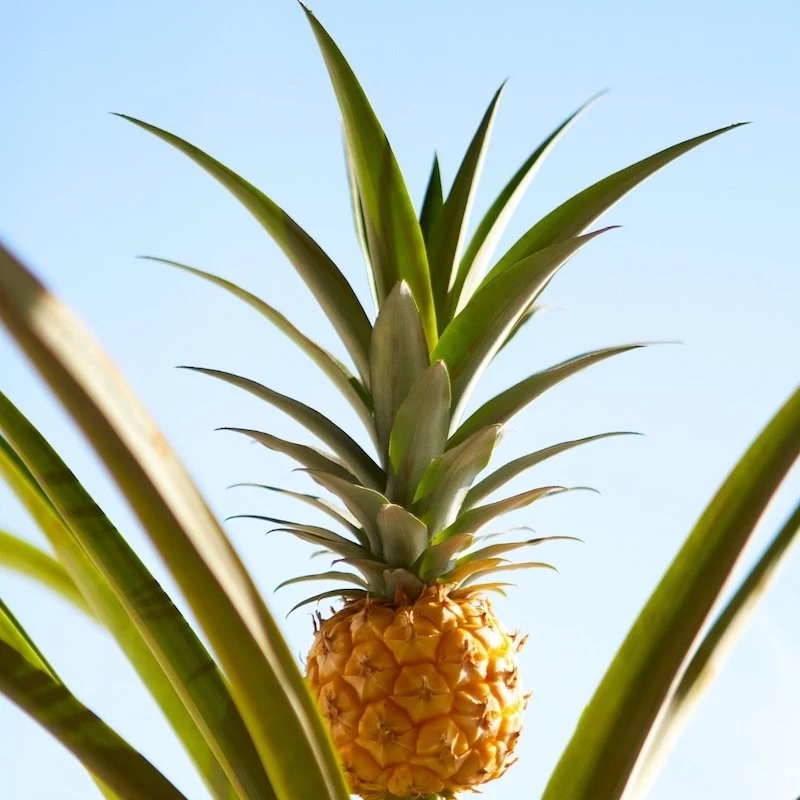
- A constant supply of bright, indirect light.
- A warm spot, consistently above 65°F (18°C).
- Water that drains away freely and never pools at the base.
The secret? These three elements are the non-negotiable foundation for success. Master them, and you’re well on your way to growing a healthy, thriving pineapple plant from your kitchen scraps.
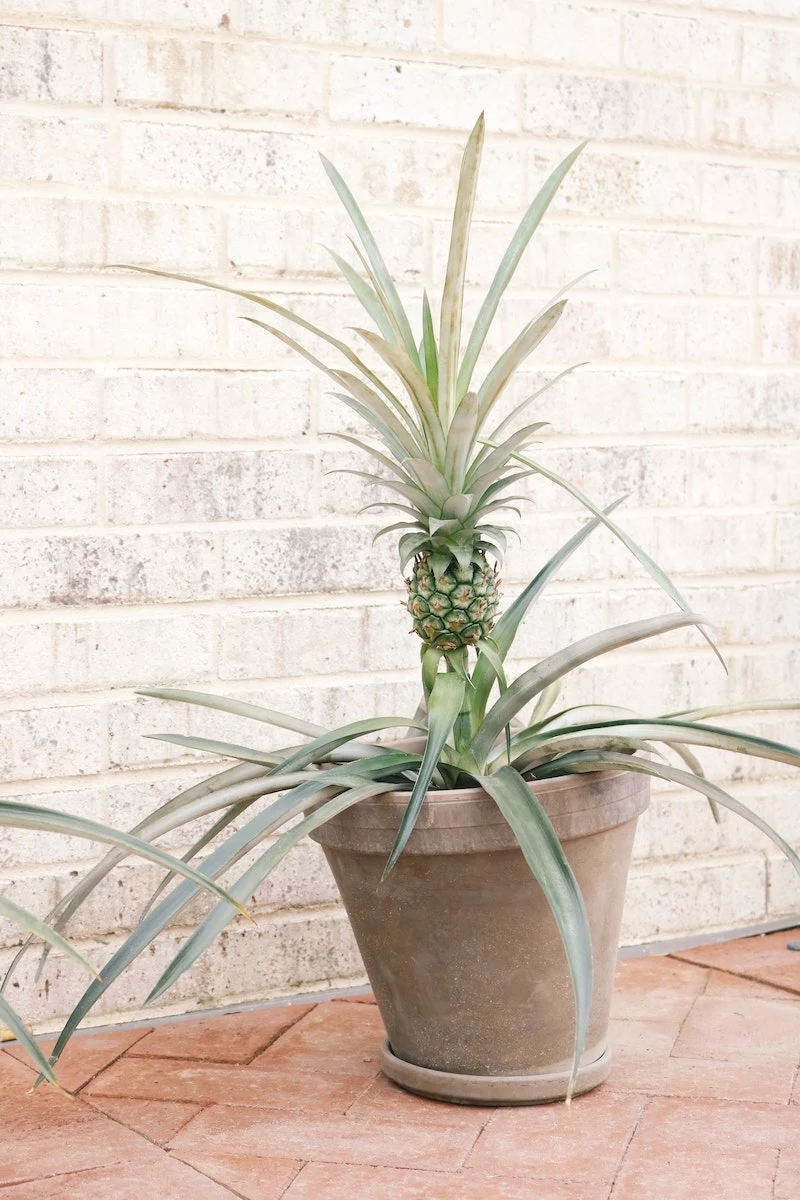
The single biggest mistake: Overwatering. Remember, pineapples are native to dry, tropical climates, not rainforests. Always let the top inch or two of soil dry out completely before watering again. In winter, when growth slows, you’ll need to water even less. If you’re in doubt, wait another day. It’s far easier for a pineapple to recover from being too dry than from root rot.
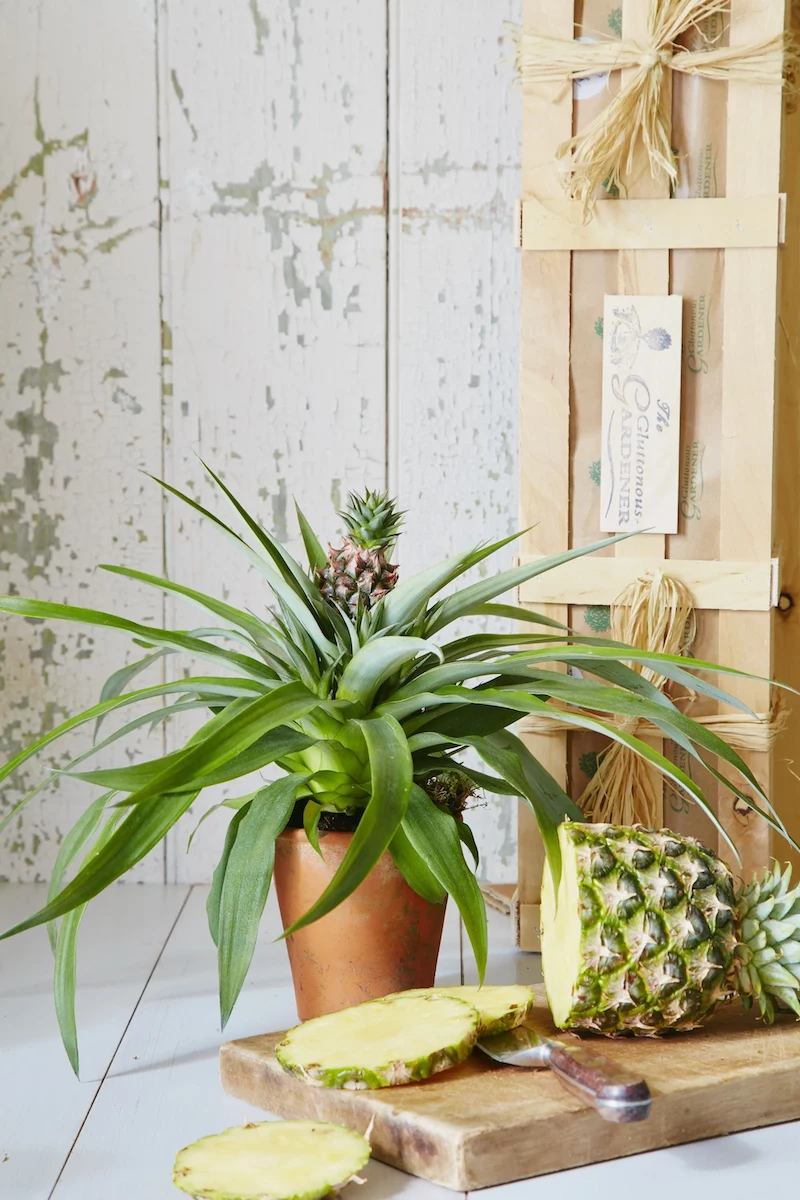
In the 18th century, American colonists would rent a pineapple for an evening to display at a party. It was the ultimate symbol of wealth and hospitality, far too valuable to eat.
Once your plant is established (about 3-4 months after potting), it’s time to start feeding. But go easy!
- Use a balanced liquid fertilizer formulated for bromeliads or orchids, like Schultz Orchid Food, diluted to half-strength.
- Fertilize only once every month or two during the spring and summer growing season.
- Avoid fertilizing in the fall and winter when the plant is dormant.


