Your First Fruit Tree: A No-Nonsense Guide to Actually Getting Fruit
I’ve been in the dirt helping folks plant fruit trees for a long, long time. And I can tell you, there are two kinds of outcomes. There’s the pure, beaming joy of someone picking a perfect, sun-warmed apple from a tree they planted themselves. Then there’s the quiet frustration of a tree that just… sits there, year after year, refusing to thrive. The difference almost always boils down to the handful of choices you make before your shovel even hits the ground.
In this article
Honestly, a little bit of planning upfront saves you years of future headaches.
The first mistake I see? Someone walks into a nursery and grabs a tree that grows their favorite grocery store fruit. But a classic green apple that loves the commercial orchards of the Pacific Northwest might throw a fit in a humid Georgia backyard. Real success starts with getting to know your own patch of land. This isn’t rocket science, but it’s the most important step you’ll take. We’re not just planting for a season; we’re making a long-term investment in deliciousness.
The Groundwork: What to Figure Out Before You Shop
Before you even dream of browsing an online nursery, you need to become the world’s leading expert on your own yard. Seriously. Just spend one afternoon watching and taking notes. It’ll tell you everything you need to know.
1. The Unfiltered Truth About Your Sunlight
Fruit trees are basically solar-powered sugar factories. Without enough direct, full-blast sun, you won’t get good fruit, plain and simple. Most of the popular choices—think apples, pears, and plums—need a solid six to eight hours of direct sun every single day during the growing season. And more is always better.
Don’t just guess. Actually watch the spot you’ve picked out for a whole day. When does the sun first hit it? When does it leave? Are there sneaky shadows from your house or that big maple tree next door? Oh yeah, and remember the sun’s path is lower in the sky in spring and fall. A spot that seems perfect in July might be shaded in April, right when the tree needs energy to make flowers. A lack of sun is the one problem you absolutely can’t fix later.
2. Getting to Know Your Soil
Soil is so much more than dirt. It’s the pantry, the plumbing, and the air supply for your tree’s roots. The dream soil for a fruit tree is “loamy and well-drained,” which is just a fancy way of saying it holds moisture but doesn’t stay a swamp. Super sandy soil dries out too fast, and heavy clay soil holds on to too much water, which can literally drown the roots.
Here’s a quick-and-dirty drainage test I teach everyone. Dig a hole about a foot deep and a foot wide. Fill it with water and let it drain completely. Then, fill it up again and start a timer. If it’s empty in a few hours, you’re in great shape. If there’s still a puddle there 10 hours later, you’ve got heavy clay. That’s a sign you absolutely need to plant your tree on a raised mound about a foot high. By the way, if the water vanishes in less than an hour, your soil is probably very sandy, and you’ll just need to plan on watering more often.
Quick tip: For about $15 to $30, you can get a professional soil test from a local university extension office. I tell everyone to do this. It’s the best money you’ll spend. It gives you the dirt on your soil’s pH (most fruit trees like it between 6.0 and 7.0) and tells you if you’re missing any key nutrients. It takes all the guesswork out of the equation.
3. The Secret of ‘Chill Hours’
This is the one that trips up so many beginners. To break dormancy and produce flowers in the spring, fruit trees need a certain number of hours in the winter when the temperature is cool—specifically between 32°F and 45°F. This is its “chill requirement.”
If you plant a tree that needs 800 chill hours in a southern climate that only gets 400, it may never fruit properly. On the flip side, a low-chill tree in a cold climate might wake up too early and get its delicate blossoms zapped by a late frost. You can easily find the average chill hours for your zip code by searching for a “chill hour map” from a state university. Matching your tree to your climate is non-negotiable.
Picking Your First Tree: My Go-To Recommendations
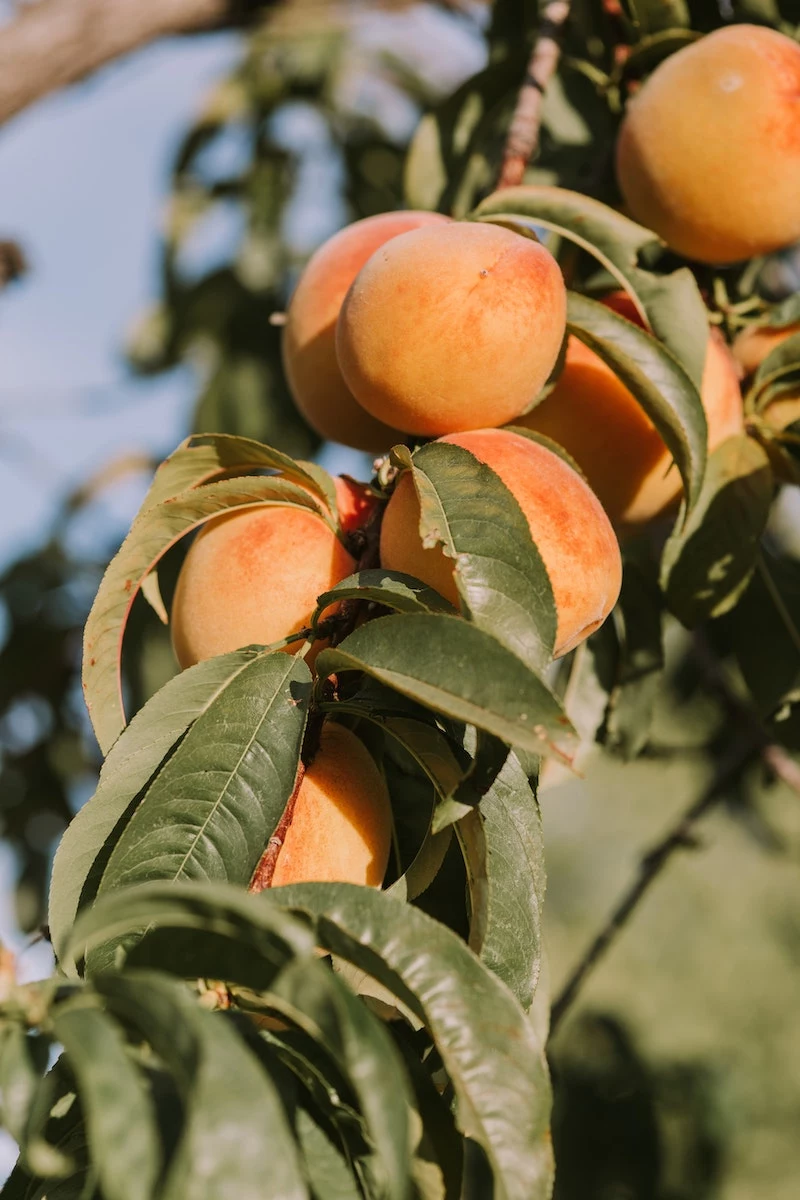
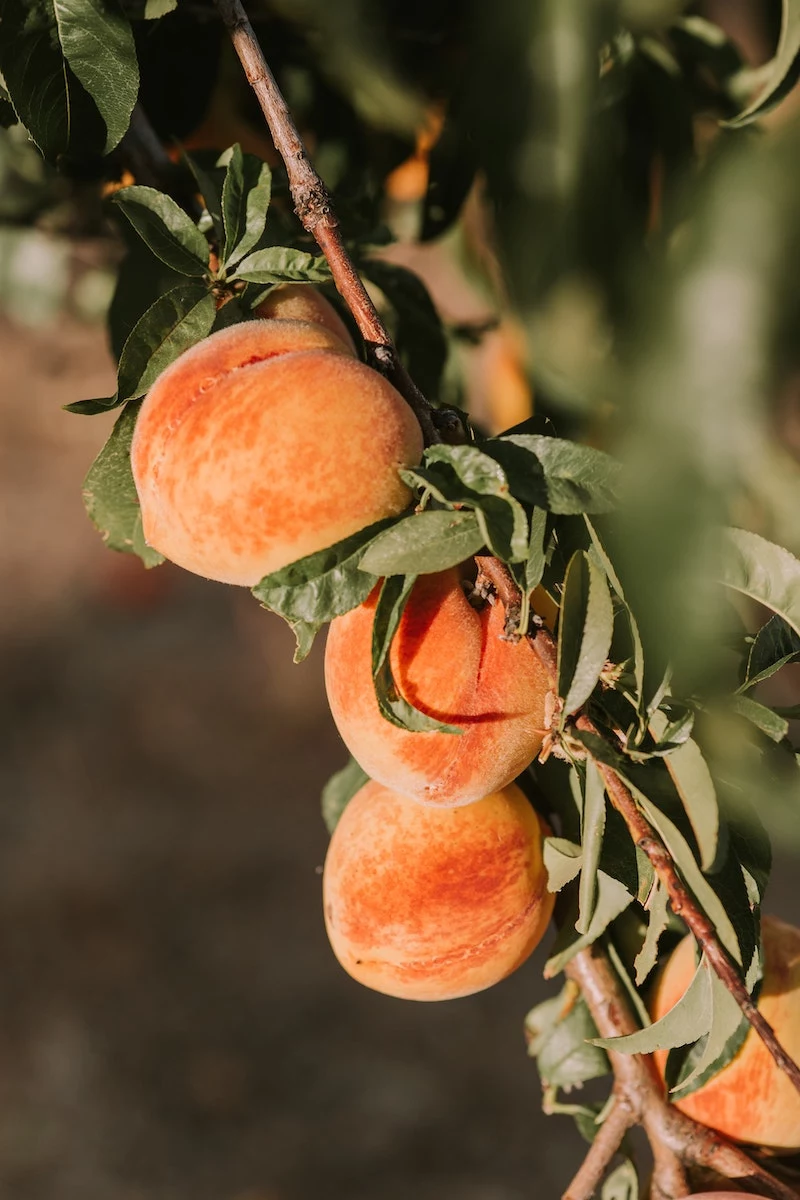
After years of planting and troubleshooting, I have a short list of trees that are forgiving, productive, and less likely to break a beginner’s heart. You’ll notice I don’t mention peaches or sweet cherries. While they’re amazing, they are absolute magnets for pests and diseases. Save those for when you have a bit more experience under your belt.
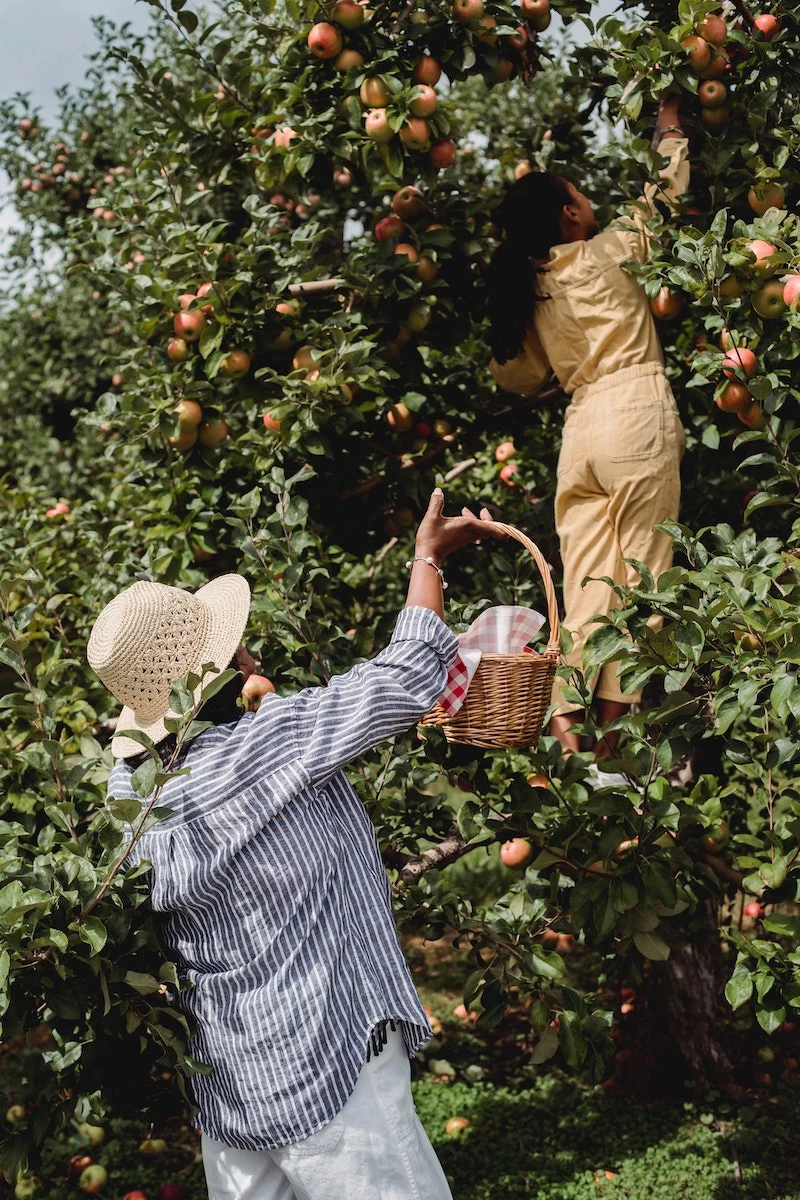
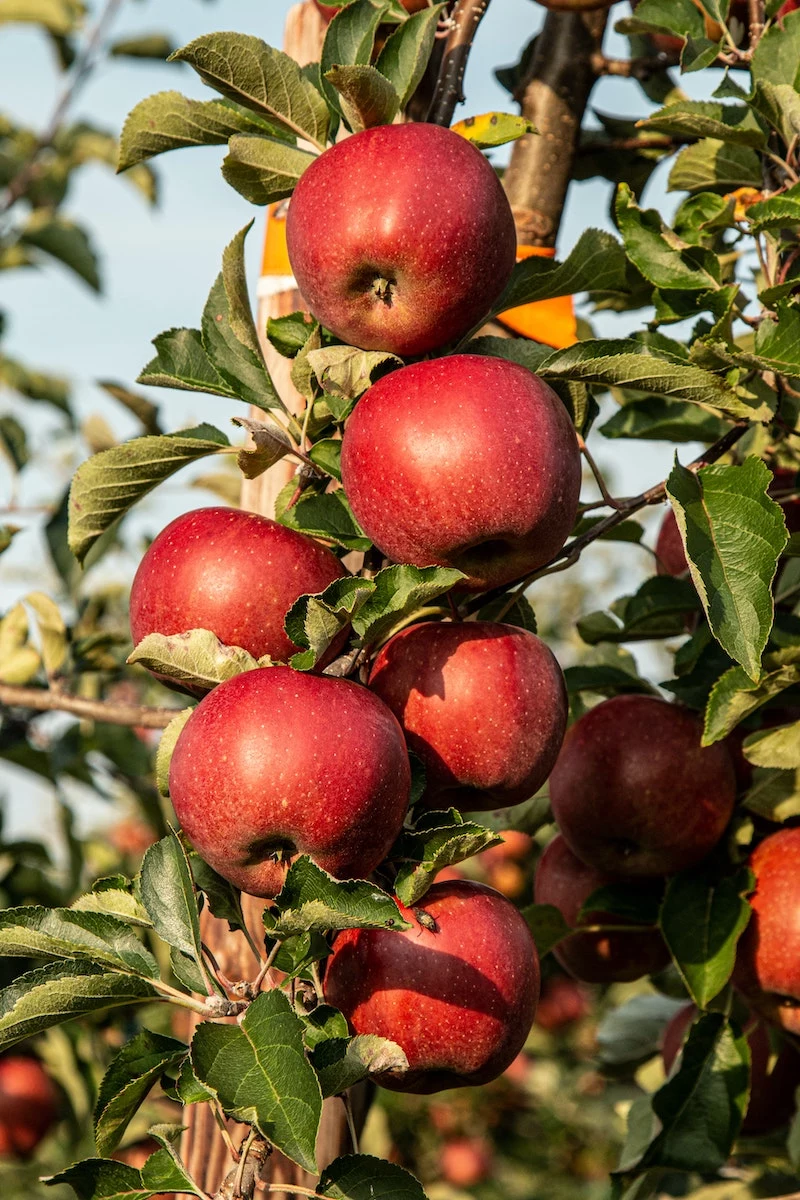
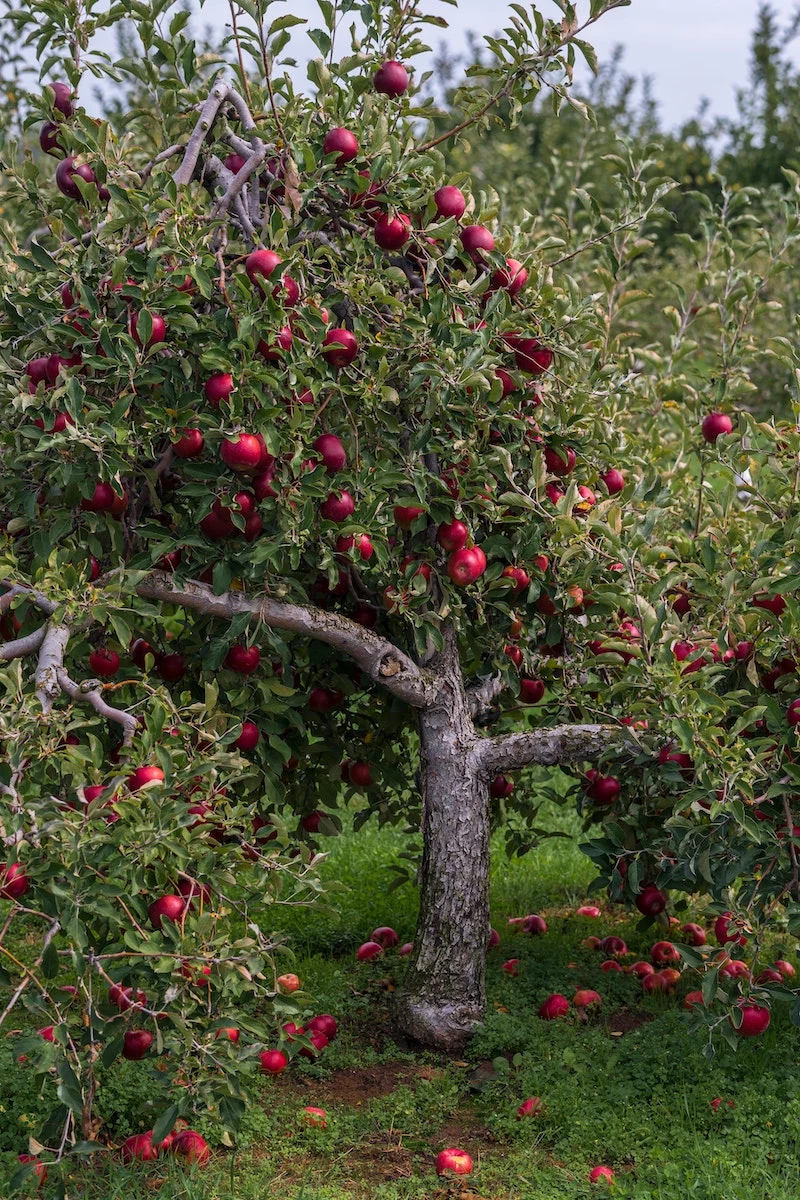
The Trusty Apple
An apple tree is a classic for a reason. It’s tough, adaptable, and there’s a variety out there for almost any climate.
- Why I love it for beginners: There is a TON of information out there on growing apples. Plus, modern nurseries offer incredible disease-resistant varieties, which is a game-changer if you don’t want to be spraying chemicals all the time.
- What you need to know: Most apples need a friend. They aren’t self-fertile, so you’ll need a different apple or crabapple variety nearby that flowers at the same time for pollination. If you only have space for one tree, look for a specifically “self-fertile” variety or a cool multi-grafted tree that has several different branches on one trunk.
- The Rootstock Secret: This is so important. The tree you buy is two parts: the top part that makes the fruit you want, and the rootstock it’s grafted onto. The rootstock controls the tree’s final size! A standard tree can soar to 25 feet or more, which is way too big for most yards. What you likely want is a semi-dwarf or dwarf tree.
- A dwarf tree will stay around 8 to 10 feet tall and wide. It’s perfect for a small yard, needs a 10-foot circle of space, and starts fruiting in just 2-3 years. Heads up: they often have weaker roots and may need a permanent stake for support.
- A semi-dwarf tree is a great middle ground, growing to about 12 to 15 feet tall and wide. Give it a 15-foot circle of space. It’ll fruit in 3-5 years and is usually sturdy enough to not need a stake.
- Great beginner-friendly types: Look for descriptions that boast “excellent disease resistance.” A few reliable choices include a tangy, crisp variety known for shrugging off common apple diseases; another is a tough type that produces large, red apples that store for months; and there’s a wonderful early-season yellow apple that’s also famously disease-resistant.
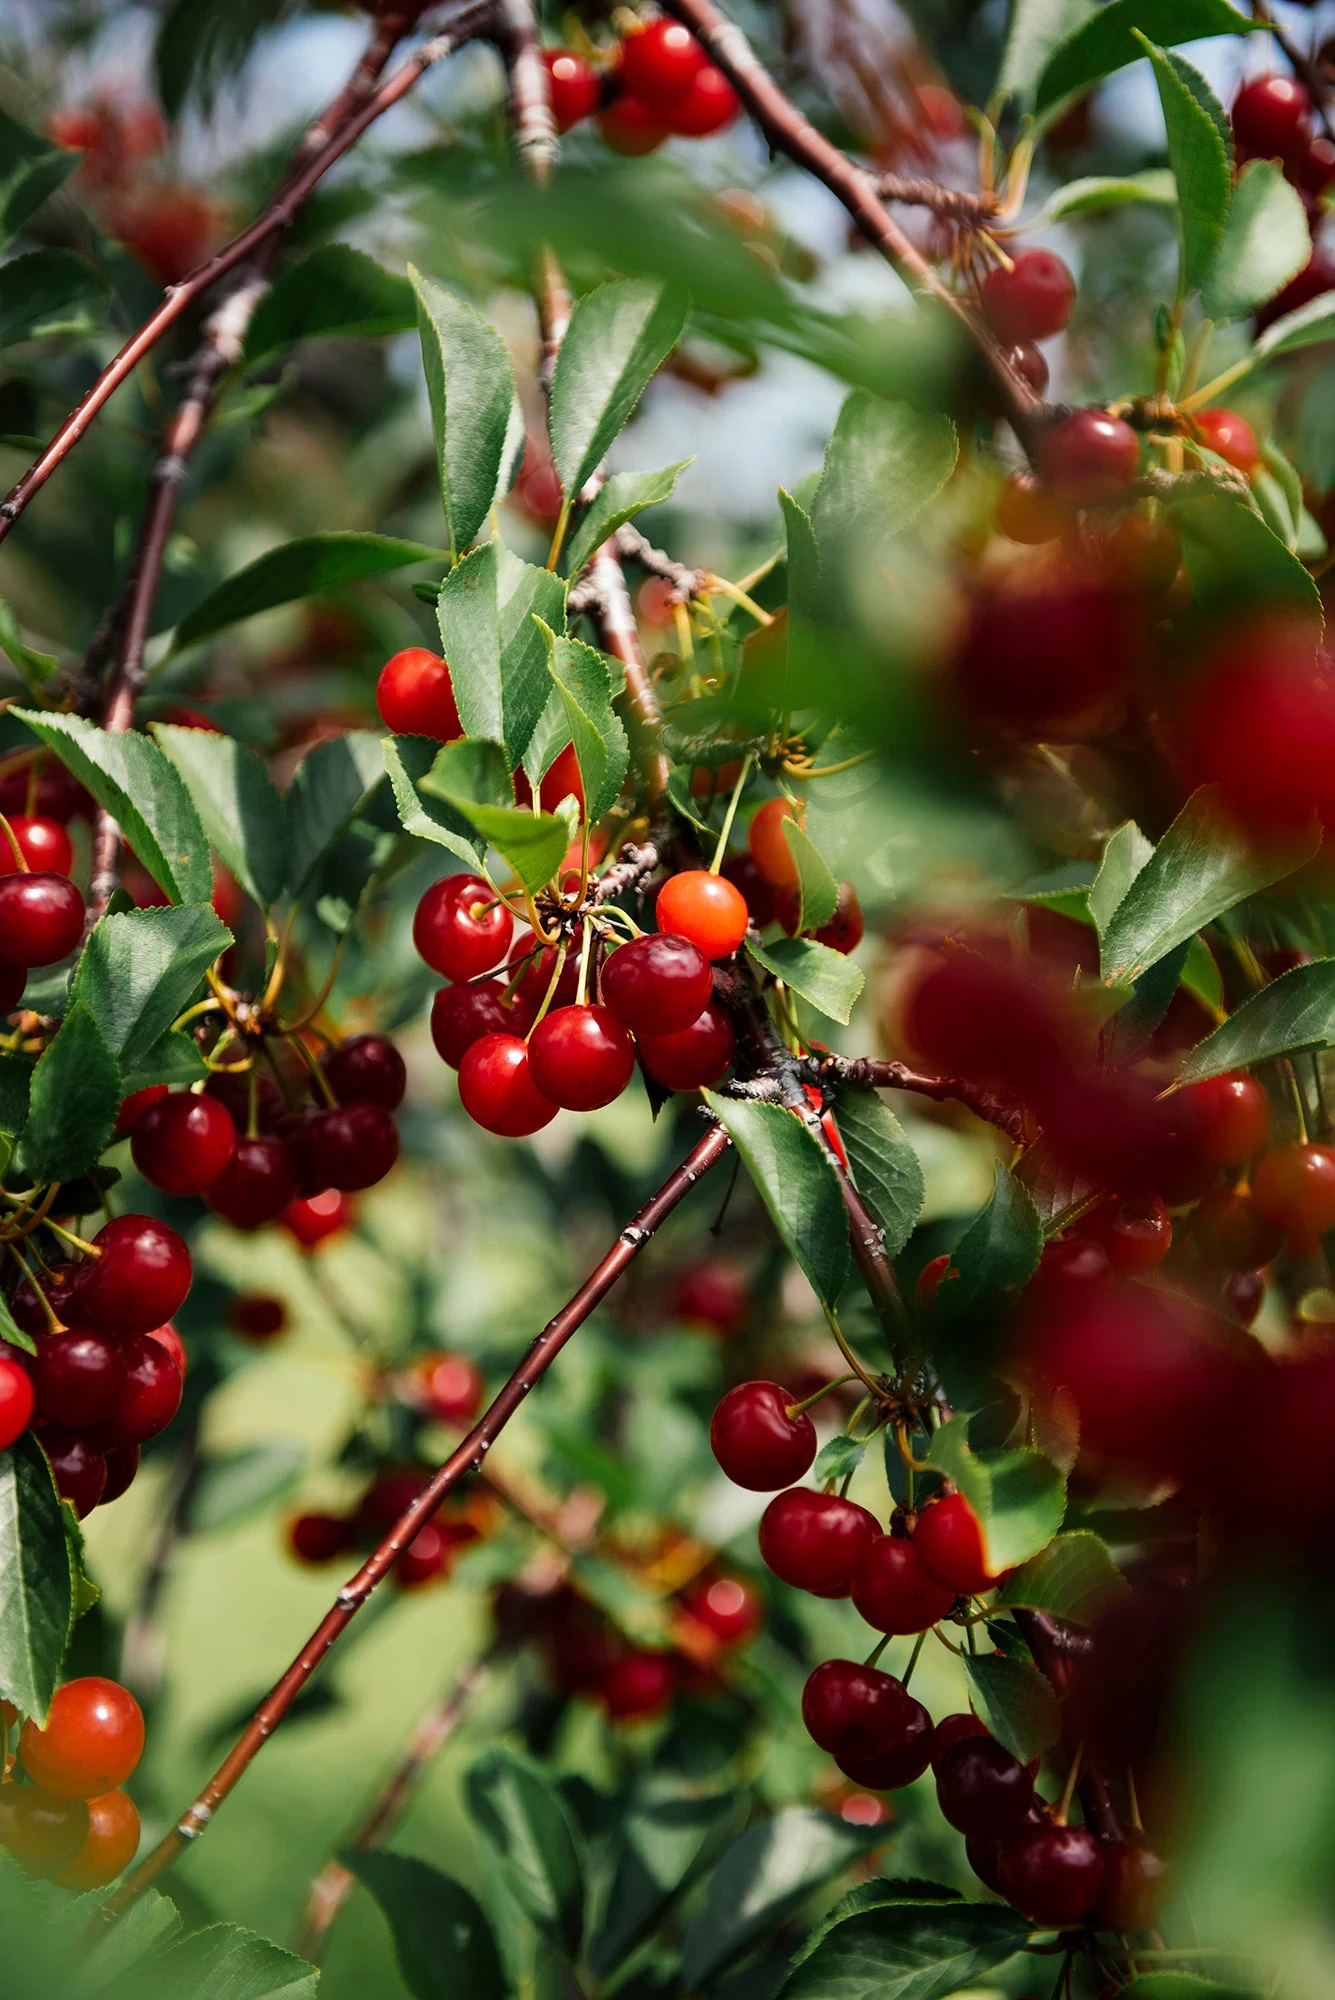
- Why I love it for beginners: Unlike their fussy cousins, nearly all sour cherries are self-fertile, so you only need one tree! They’re also tougher against pests, diseases, and rain-cracking. They handle cold better and stay a more manageable size.
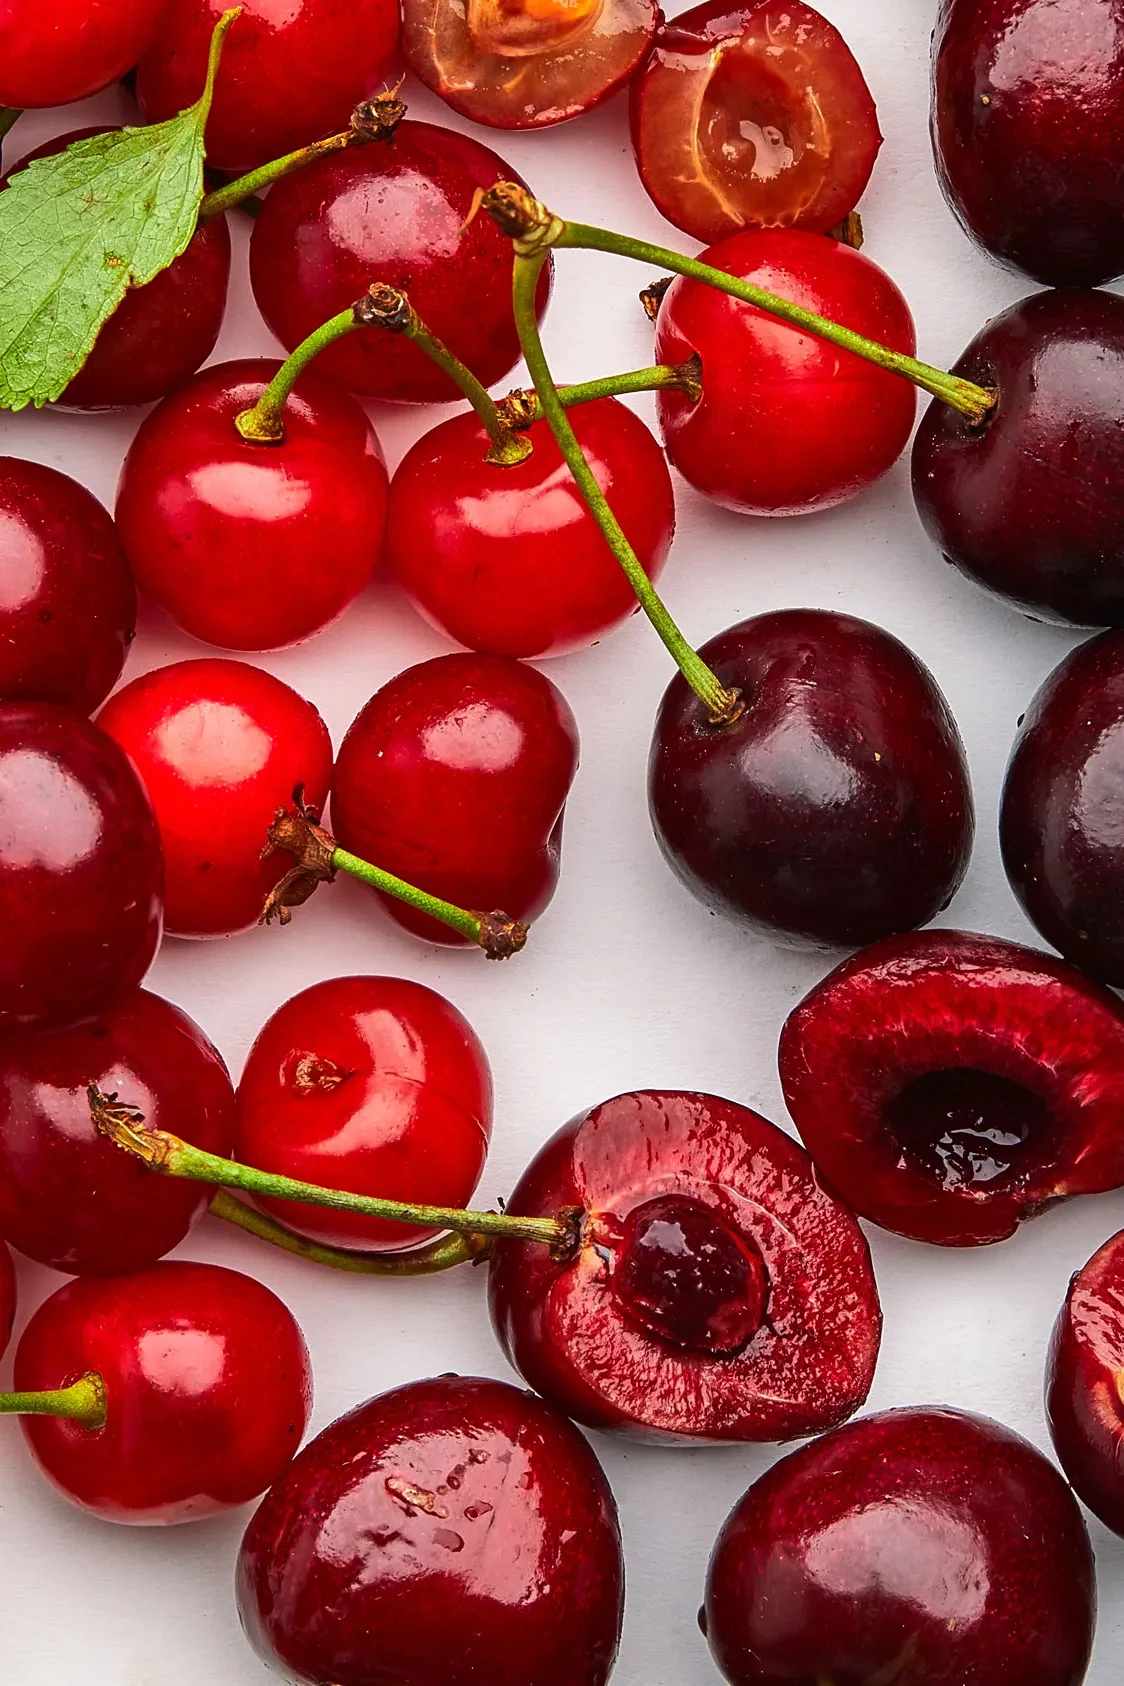
- Be honest with yourself: These are not for fresh eating. They are tart, acidic, and born for one glorious purpose: to be baked into the world’s best pies and cooked into incredible jams. If that sounds good to you, you will be thrilled.
- One crucial tip: Birds. They love all cherries. You WILL need to cover your tree with bird netting just before the fruit ripens, or you will lose every single one. It’s a simple, non-negotiable step.
- The go-to variety: The classic American pie cherry is the one you see used commercially for a reason. It’s incredibly reliable and has that perfect tart-and-tangy flavor. For smaller spaces, look for a naturally dwarf variety that only gets about 8-10 feet tall.
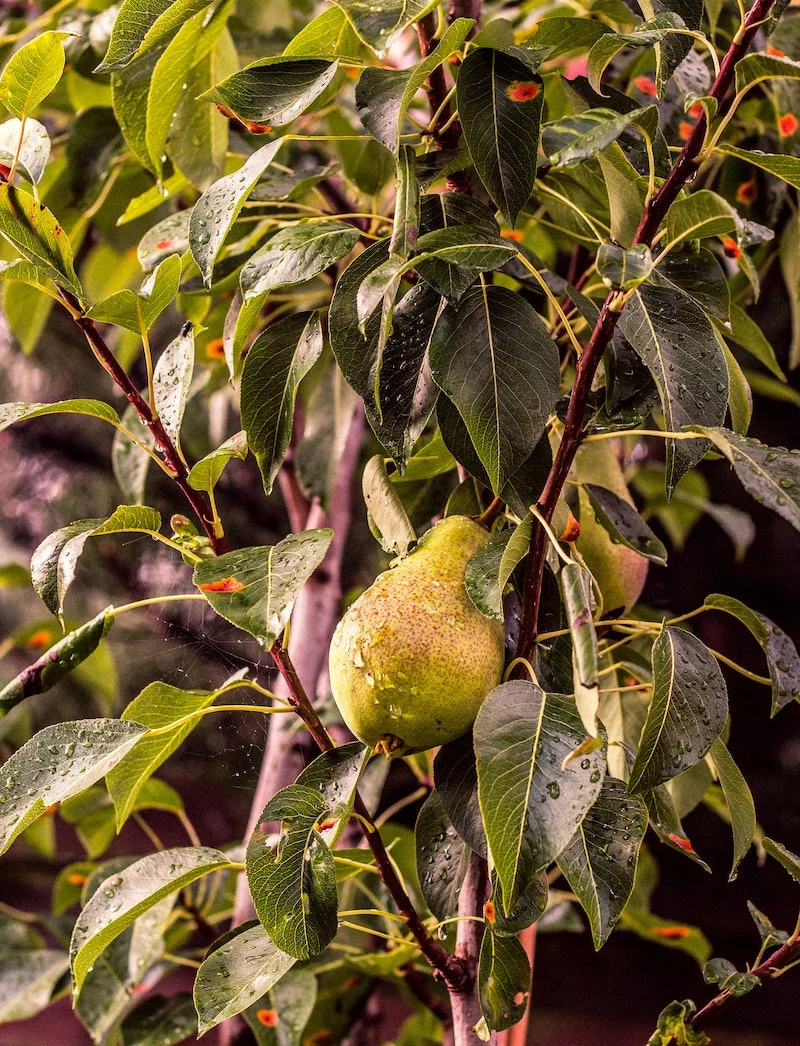
- Why I love it for beginners: Many are self-fertile, and they bloom later than Japanese plums, which means they are less likely to get hit by a late spring frost. They’re workhorses that handle a wider range of soil conditions.
- What to watch for: Plums need regular pruning to stay productive. Be vigilant for black knot, a fungal disease that looks like ugly black lumps on the branches. The best defense is to prune it out as soon as you see it, cutting several inches below the nasty-looking part.
- A good problem to have: Some plums set a massive amount of fruit. This sounds great, but it leads to tiny, disappointing plums and can even break branches. Once the baby plums are about the size of a dime, you’ll need to gently twist off the extras, leaving just one plum every 4 to 6 inches. It feels wrong, but you’ll get much better fruit.
- Reliable choices: The most popular plum in North America is a great bet; it’s self-fertile, super productive, and great for eating, canning, or drying. Another fantastic self-fertile choice is a classic “prune” plum, which is divine for drying but also delicious fresh off the tree.
- A sturdy shovel or spade
- A bucket for soaking
- 3-4 cubic feet of organic mulch (wood chips are my favorite)
- A good pair of gloves
- The 30-Second Safety Check: Before you dig, call 811. It’s the free, national “call before you dig” number. They’ll send someone to mark any underground utility lines so you don’t accidentally take out your neighborhood’s internet service.
- Prep the Tree: For a bare-root tree, soak its roots in a bucket of water for a few hours before planting (but not more than six). For a container tree, gently slide it out of the pot. If the roots are a tangled, circling mess, use your hands or a small knife to gently rough them up and pull them outward. This is critical to prevent the tree from strangling itself later.
- Dig the Hole (The Right Way): My number one rule: dig the hole twice as wide as the roots, but NO deeper. I have seen more trees killed by being planted too deep than by anything else. A wide hole tells the roots to spread out. A deep hole causes the tree to settle and sink over time.
- Find the Graft Union: Look closely at the lower part of the trunk. You’re looking for a knobby, bumpy, slightly swollen spot. It kind of looks like a little knee. That’s the graft union, where the fruiting top was attached to the rootstock. This union MUST stay at least two to four inches above the final soil level. If you bury it, the top part can grow its own roots, and your carefully chosen dwarf tree will try to become a full-sized giant.
- Backfill with Native Soil Only: Do not add compost, fancy soil, or fertilizer into the planting hole! This is the most common mistake. It creates a “pot effect” where the roots get lazy and never venture into your tougher native soil, leading to a weak tree. Use only the dirt you dug out of the hole. (A better way to improve soil is to add a one-inch layer of compost on top of the ground under the mulch each spring. The worms will mix it in for you over time.)
- Water, Water, Water: After you’ve filled the hole, slowly pour 5-10 gallons of water around the base of the tree. This does more than just give it a drink; it settles the soil and collapses any air pockets around the roots.
- To Stake or Not to Stake: Most dwarf and semi-dwarf trees do not need staking. In fact, a little movement in the wind helps the trunk grow stronger. The only time to stake is if you’re in a ridiculously windy area or if the tag specifically says the rootstock requires it. If you must, use two stakes and a flexible tie, and ALWAYS remove it after the first year. A forgotten stake tie will girdle and kill a growing tree.
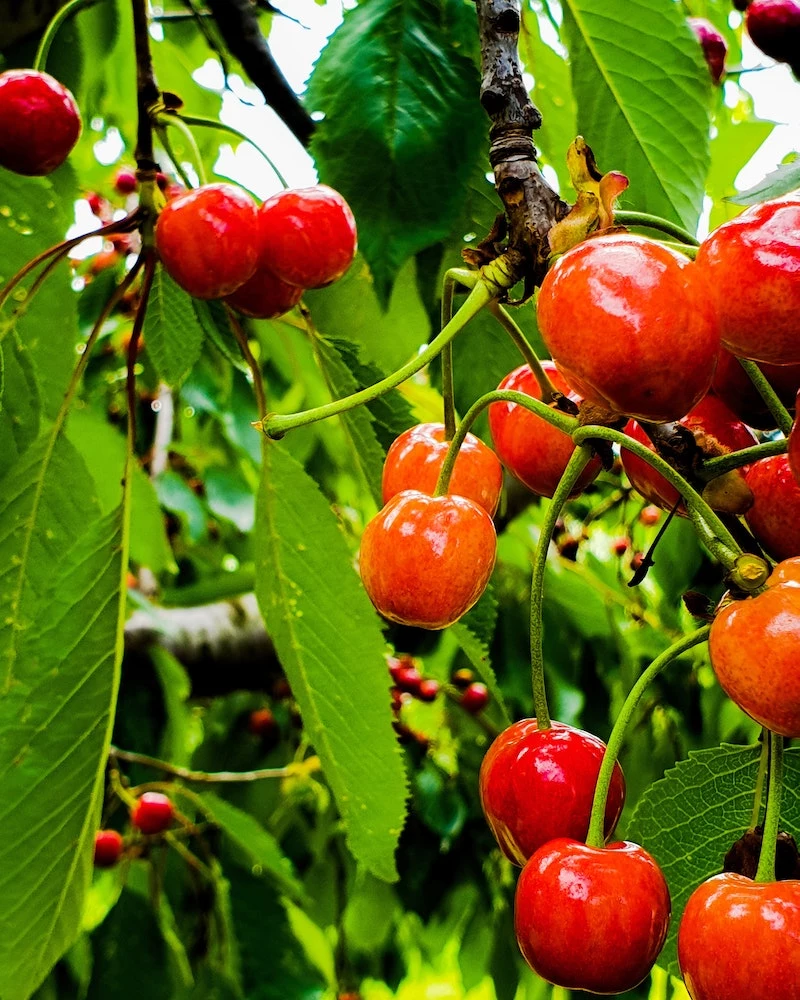
The Forgiving Sour Cherry
When people say “cherry tree,” they’re usually dreaming of sweet ones. But for a first-timer, I always point them toward a sour cherry. The experience is just so much more reliable.

The Dependable European Plum
Plums are often overlooked, but a European-type plum is one of the most reliable fruits you can grow. They tend to be much easier for beginners than the Japanese types.
Planting Day: How to Do It Like a Pro
How you put the tree in the ground is just as important as which tree you bought. I’ve seen so many “problem trees” that were simply planted wrong. Get this part right, and you’re 90% of the way there.
First, a quick Planting Day Shopping List to save you a trip to the store mid-project:
You’ll see trees sold two ways: bare-root (dormant, with no soil on the roots) or in a container. I prefer bare-root trees. They’re usually cheaper—expect to pay $30-$50 from an online nursery—and their roots establish faster. Container trees from a garden center are fine too (often $50-$80), but you have to be careful to check their roots.
Here’s the step-by-step process:
The First Three Years: Your Most Important Job
Don’t just plant it and walk away! The care you provide in the first few years sets the stage for the rest of the tree’s life.
A young tree needs about 10 gallons of water per week during its first growing season, from rain or your hose. The best way to check is to stick your finger two inches into the soil; if it’s dry, it’s time to water. After that, spread a 3-4 inch layer of organic mulch (like wood chips) in a three-foot circle around the tree, but—and this is critical—pull the mulch back a few inches from the trunk itself. Piling mulch against the trunk is called “volcano mulching,” and it invites rot and disease.
And hold off on the fertilizer for the first year. The tree should be focused on growing roots, not leaves. In year two or three, if growth seems slow (less than a foot a year), you can give it a little balanced 10-10-10 fertilizer in the spring.
Finally, the first pruning cut. This can feel scary, I know. But it’s essential for building a strong tree. Right after you plant a young, unbranched tree (called a whip), you need to make one cut. Snip the top of the whip off so it stands about 30-36 inches from the ground. This “heading cut” removes the top bud and forces the buds below it to sprout, creating the first layer of strong branches. It’s the foundation of a great tree.
A Quick Word on Safety
This is supposed to be fun, so let’s keep it safe. Always wear safety glasses and gloves when pruning. Use sharp, clean tools—they make cleaner cuts and are far safer than dull ones.
Please be careful with ladders. More homeowners get hurt falling off ladders while pruning than anything else in the garden. My rule is simple: if you can’t reach a branch from the ground or with a long-handled pole pruner, it’s time to call a pro. An ISA Certified Arborist has the training and insurance to work on big trees safely. It’s also time to call one if you see a big split in the trunk or a scary-looking disease you can’t identify.
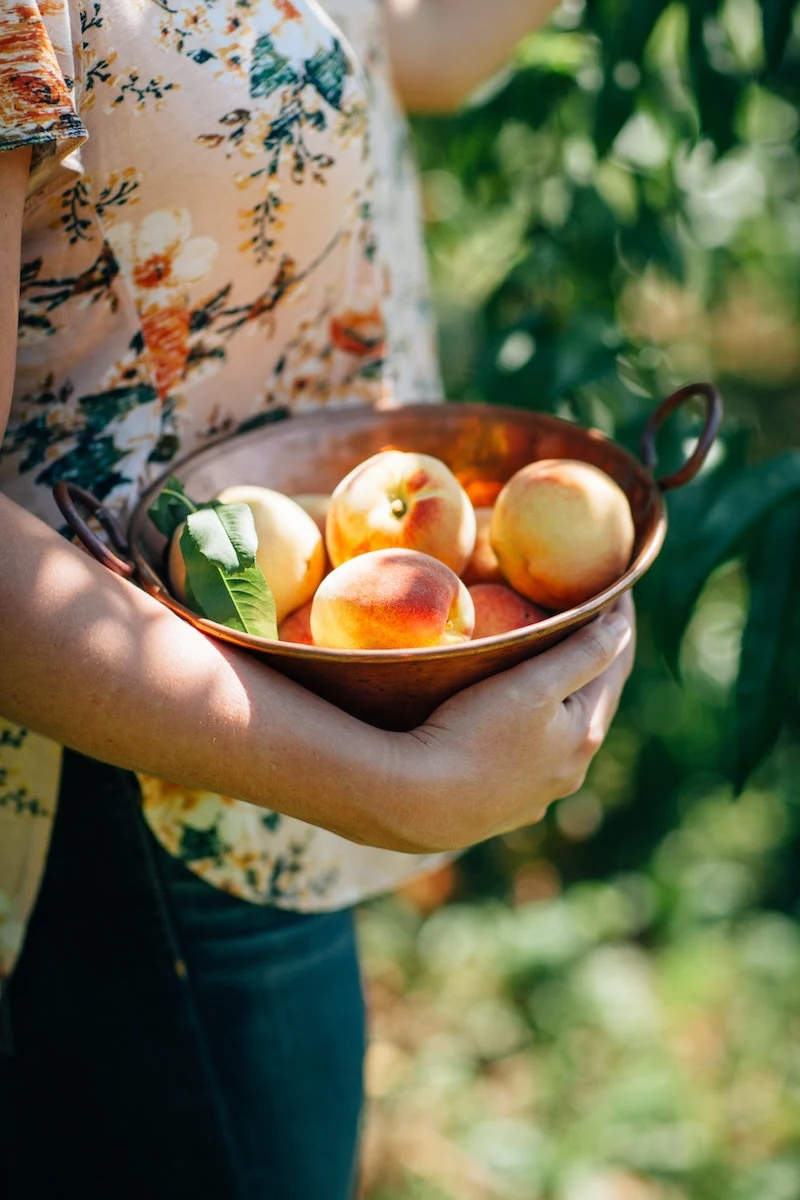
Planting a fruit tree is an incredible act of optimism. You’re investing in a future full of shade, beauty, and food that tastes better than anything you can buy. By starting with a little knowledge and the right tree for your space, you’re setting yourself up for decades of happy harvests. The real work is in the planning, but the reward truly lasts a lifetime.
Inspirational Gallery
The tag says ‘Honeycrisp Apple,’ but what does ‘on M9 Rootstock’ mean?
Think of the rootstock as the hidden hero of your fruit tree. It’s the root system that another variety (the ‘scion,’ like your Honeycrisp) is grafted onto. This isn’t just a minor detail; it’s the single biggest factor determining your tree’s final size and vigor. A ‘Malling 9’ (M9) rootstock, for example, will keep an apple tree a manageable 8-10 feet tall, perfect for a backyard. A ‘Gisela 5’ does the same for a cherry tree, making it suitable for smaller spaces. Choosing the right rootstock ensures you get a tree that fits your garden for life, not just for a season.


