Your Air Plant Terrarium Guide: The Stuff No One Else Tells You
I’ve spent more time than I can count in warm, humid greenhouses, surrounded by every kind of tropical plant you can imagine. And honestly, one of the most misunderstood plants out there has to be the air plant.
In this article
People see them in those cute glass globes at a market and think, “Perfect! A plant that lives on air!” But that’s a myth, and it’s a one-way ticket to a sad, crispy plant. A beautiful air plant terrarium can be a living work of art in your home, but the key word here is living. It’s not just a decoration.
My goal here is to give you the real-deal knowledge, the kind of stuff I’ve learned from years of actually keeping these things alive (and, yes, accidentally killing a few along the way). We’re going to build a terrarium where your plants don’t just survive, they actually thrive.
First Off, What Are These Little Alien Plants?
To keep a plant happy, you have to get how it works. Air plants are related to pineapples, and most of them are what we call epiphytes. That’s just a fancy word meaning they grow on other things, like tree branches, using their roots as tiny anchors. They don’t actually pull any food or water through their roots.
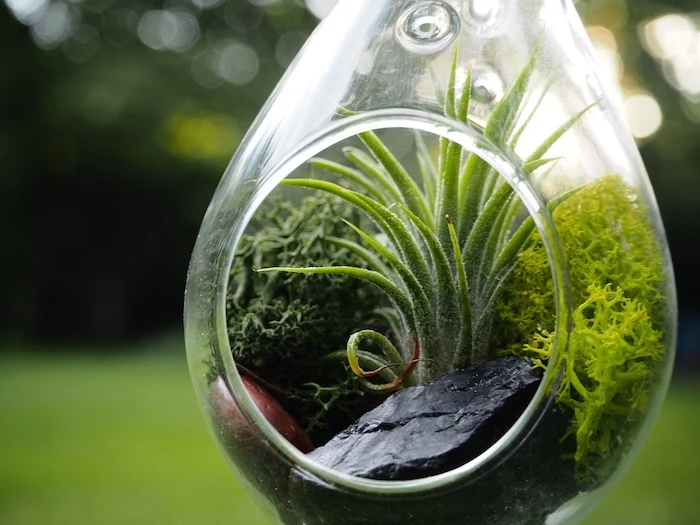
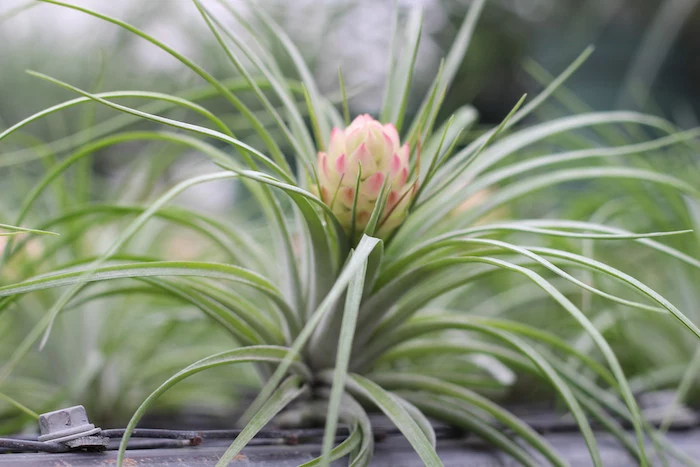
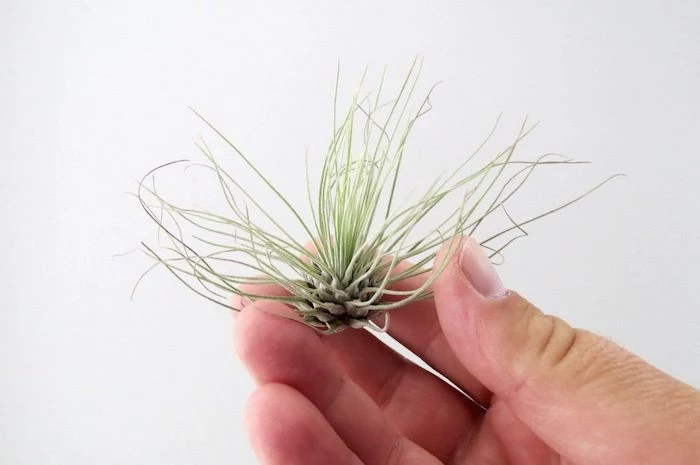
So, how do they eat and drink? Look really closely at an air plant, especially a silvery one. See that fine, fuzzy white coating? Those are special little scales that act like microscopic sponges, pulling moisture and nutrients right out of the air. When the plant is dry, they look white and fuzzy. When it’s wet, they become more transparent, which is why your plant looks greener after a good drink.
Understanding this is everything. You aren’t watering roots; you’re watering the leaves.
The Two Main Flavors of Air Plant
Okay, let’s simplify things. Air plants generally fall into two camps, and knowing which one you have is the secret to good care.
The Silvery Desert Dwellers (Xeric): These are the ones from drier, sunnier climates. They usually have a very noticeable, thick, silvery-white coating of those fuzzy scales to save water and reflect the sun. Think of the big, dramatic, curly ones. These guys are more forgiving if you forget to water them, but they will rot in a heartbeat if they stay wet for too long.
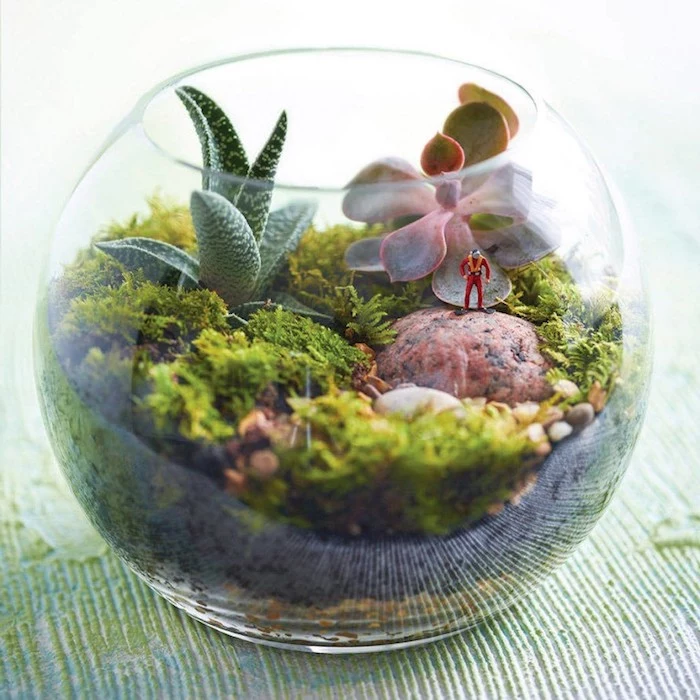
The Greener Forest Types (Mesic): These come from shadier, more humid rainforests. They look smoother and greener, often with softer, more waxy leaves. They need more frequent watering than their silvery cousins but still demand amazing air circulation to dry out afterward.
When you buy a plant, ask the seller which type it is. A good shop or online seller on a site like Etsy should absolutely know the answer. This simple piece of info is your roadmap for care.
The Right Way to Water (Hint: Misting Isn’t It)
This is where things usually go wrong. I’ve seen countless plants brought to me either crispy brown or a mushy mess. And almost every time, it’s about the watering.
Misting is, to be frank, a pretty terrible long-term strategy. It just doesn’t give the plant the deep, thorough drink it needs to fully rehydrate. For most air plants, the professional standard is a full-on bath.
Here’s the method that works:
- Give It a Soak: Pop your plants in a bowl of room-temperature water for about 20-40 minutes. The greener types can go a bit longer, while the very silvery ones might only need 20 minutes.
- The Water Itself Matters: Rainwater is the gold standard. If you can’t get that, filtered water from a Brita is great. Regular tap water is usually okay, but let it sit out on the counter for a few hours first so the chlorine can evaporate. Heads up! Never use softened water; the salts in it will slowly kill your plant.
- THE CRITICAL STEP: Drying: This is the part you cannot skip. After the soak, gently shake the excess water off the plant. Then—and this is key—place it upside down on a towel in a spot with good airflow. It needs to be completely dry within 4 hours. If water gets trapped in its base, it will rot from the inside out. I learned this the hard way after losing an entire tray of plants early in my career.
A good starting point is to soak once a week. If your home is super dry (like in the winter when the heat is on), you might need to do it every 5 days. Just watch your plant—if the leaves start to curl in on themselves, it’s thirsty.
Feeding Your Plant
In a clean home, your air plant is missing out on the dust and debris it would get in nature. To keep it happy, you’ll want to fertilize it. Get a special fertilizer for bromeliads or air plants (they’re low in copper, which is toxic to them). If you can’t find that, a regular balanced houseplant fertilizer used at 1/4 strength will do. For example, if the bottle says to use 1 teaspoon per gallon, you only use 1/4 teaspoon. Add this to your soaking water about once a month in the spring and summer.
Let’s Build a Terrarium (That Won’t Kill Your Plant)
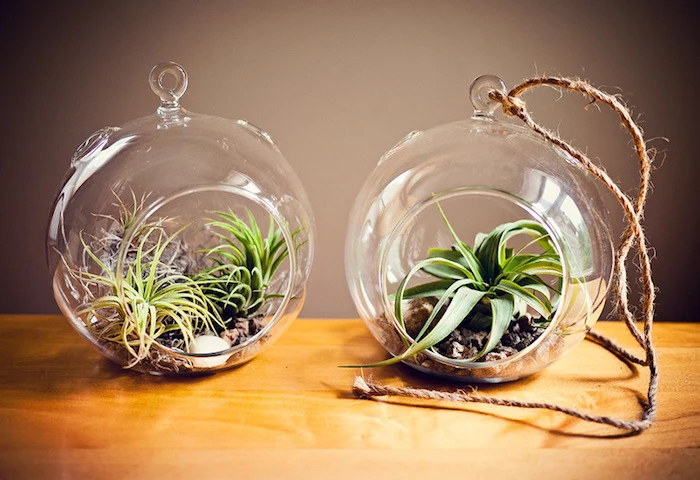
An air plant terrarium is all about display and airflow, not trapping humidity like a traditional one.
Your Newbie Shopping List
Feeling overwhelmed? Don’t be. Here’s a realistic look at what this will cost:
- An Air Plant: You can find nice ones for between $5 and $15 at a local nursery or on Etsy. Big box stores sometimes have them, but inspect them carefully for any dark, mushy spots at the base.
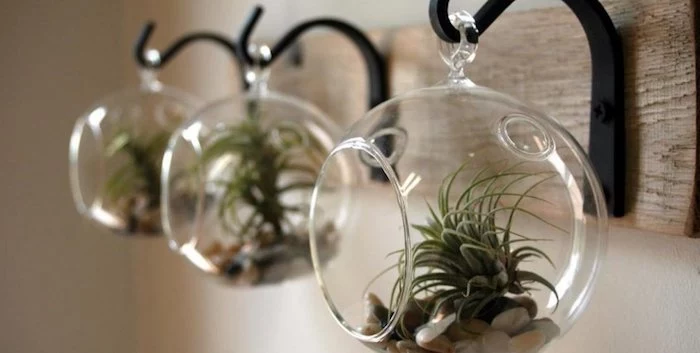
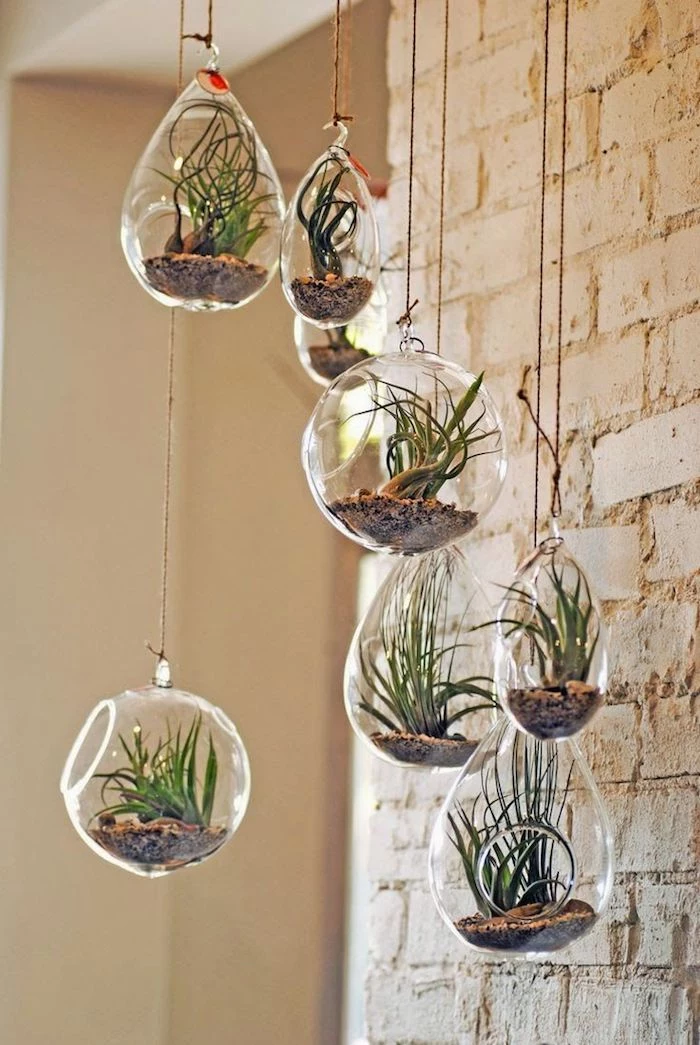
- A Container: This is your biggest expense, probably $15 to $40. Look for glass globes with big holes, open-front geometric containers, or wide-mouthed bowls. TJ Maxx or HomeGoods can be great sources for these.
- A Base/Substrate: This is purely for looks. Think coarse sand, pretty pebbles, or glass beads. A bag will run you $5 to $10 at a craft store or home improvement store.
So, for around $30-$60, you can have a really beautiful, complete setup. Not bad for a living piece of art!
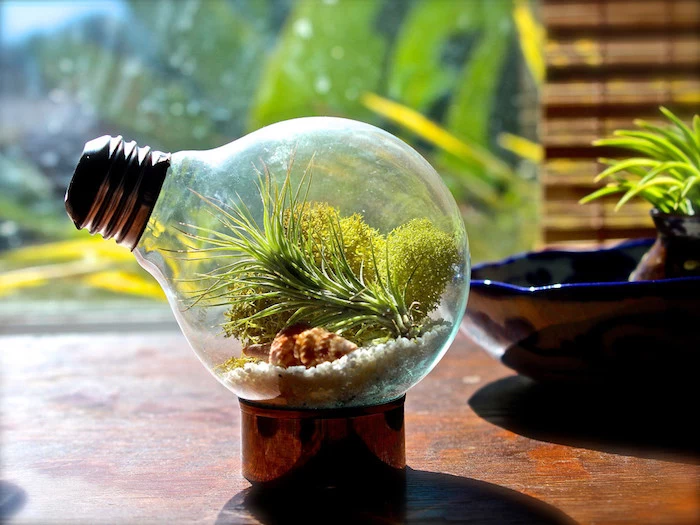
Assembly Time!
Alright, let’s put it all together. It’s easier than you think.
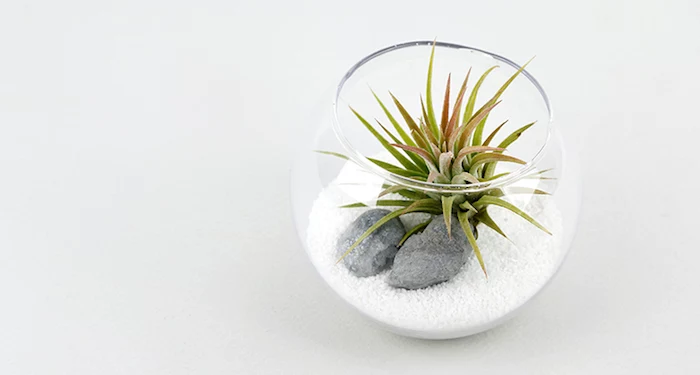
First, make sure your container is clean and dry. Then, add a one or two-inch layer of your chosen base—sand, pebbles, whatever you like.
Next, just place the air plant right on top. Don’t bury its bottom! The base needs to be exposed to the air to prevent rot. If you want to mount it to a cool piece of driftwood or a rock, you can use a plant-safe glue. A common choice among the pros is E6000—yes, it’s totally safe! It’s a flexible, waterproof adhesive you can find at any craft or hardware store. Just use a tiny dab on the very bottom of the plant.
Finally, add a few decorative touches if you want, like a crystal or a cool stone. Less is more. Then, find it a home. Air plants love bright, but indirect, light. What does that actually mean? Think of the light on a coffee table five feet away from a sunny south-facing window, or right on an east-facing windowsill that only gets gentle morning sun. Direct, hot afternoon sun will give it a sunburn.
Blooms, Babies, and What to Do When Things Go Wrong
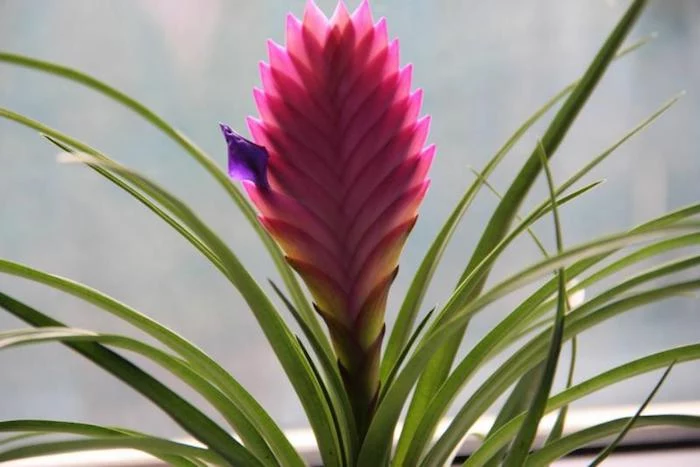
A happy air plant will eventually flower, and the blooms can be spectacular. After it blooms, the mother plant will start putting its energy into growing baby plants, or “pups,” from its base. You can leave them attached to form a cool-looking clump, or you can gently twist them off once they’re about one-third the size of the mother.
And when you run into trouble? Here’s a quick guide:
- Brown, crispy leaf tips? It’s thirsty. Give it a longer soak, maybe an hour or two, and adjust your watering schedule.
- Dark, mushy base and leaves falling out? I’m sorry to say, that’s rot. It’s almost always fatal and a hard lesson in the importance of proper drying.
- White, bleached-out spots on the leaves? Sunburn. Move it to a shadier spot immediately. The spots won’t heal, but the plant will survive.
Quick tip from my experience: After I soak my plants, I lay them all out on a towel and point a small, cheap desk fan at them on low for about an hour. It’s my secret weapon against rot and ensures they dry out perfectly every time.
And that’s really it. The key is to watch your plant. It will tell you what it needs. An air plant terrarium is a fantastic, rewarding little project. By understanding how the plant actually works, you’re already 90% of the way to creating a beautiful display that will last for years.
Inspirational Gallery
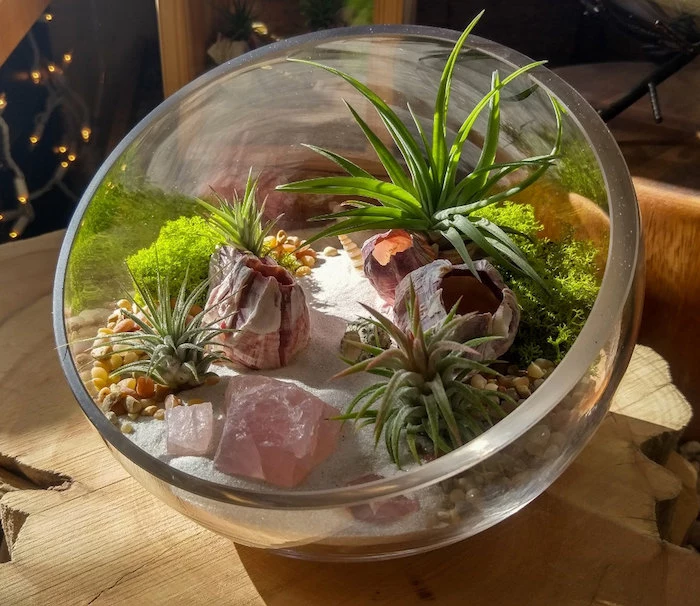
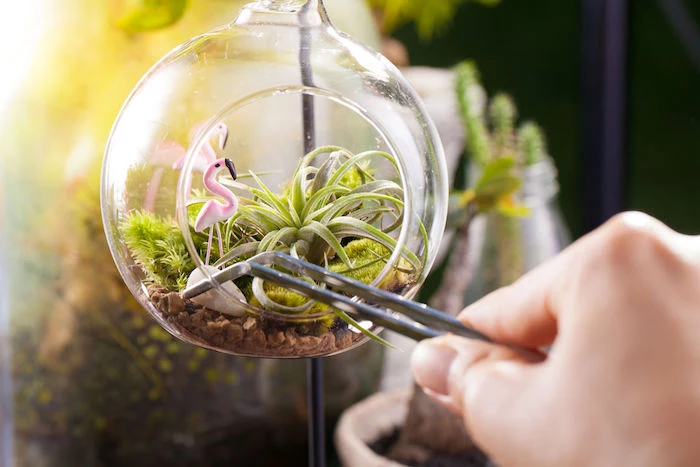
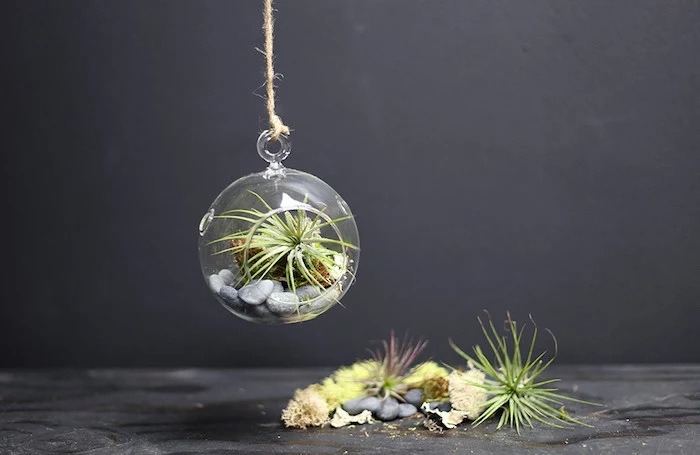
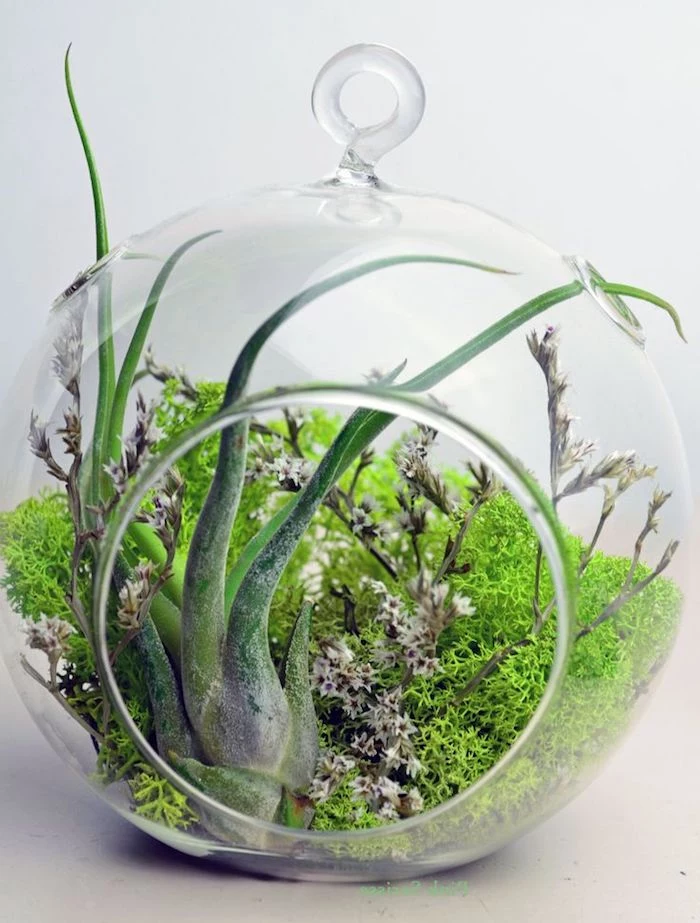
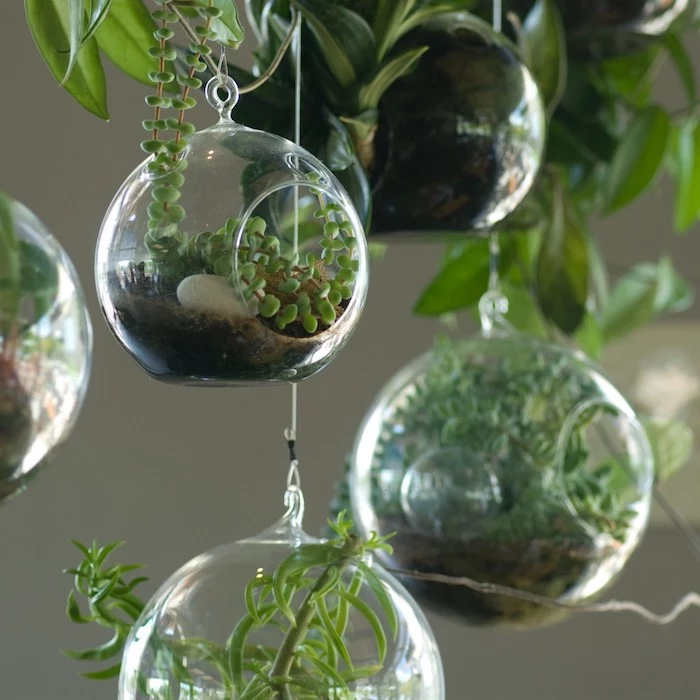
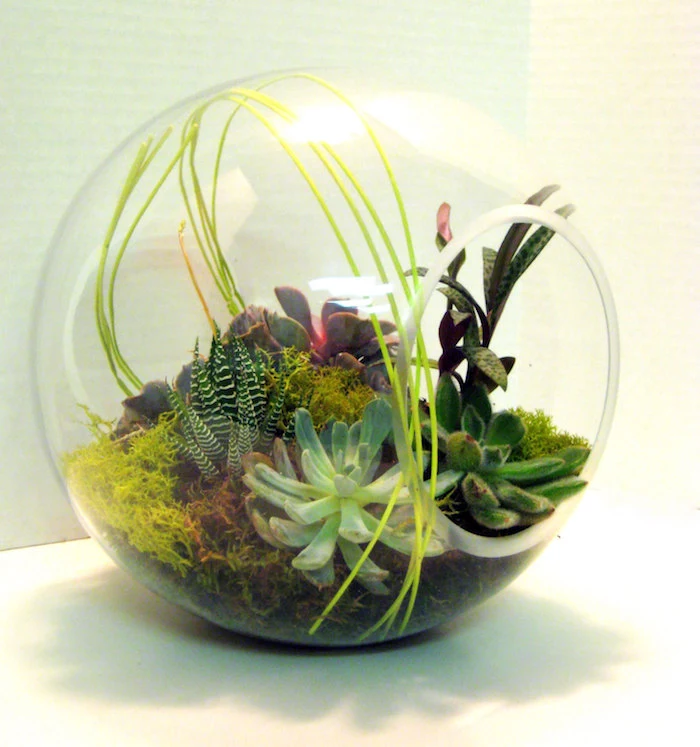
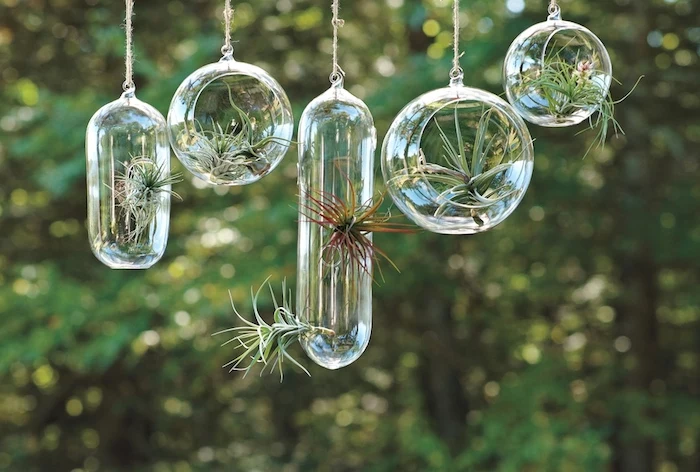
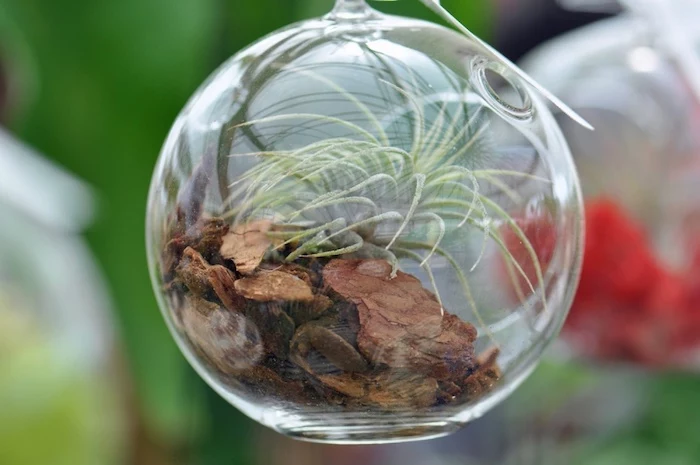
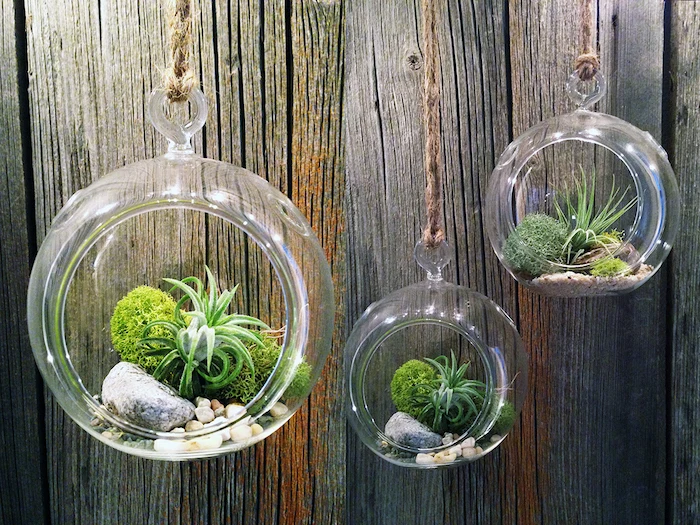
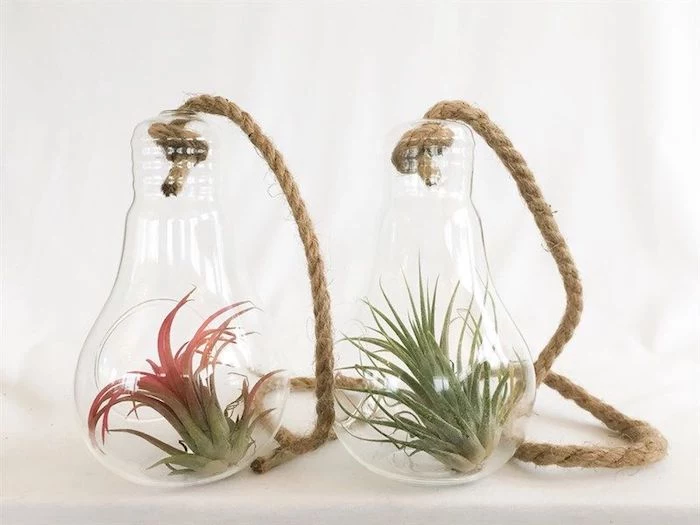
The secret to a thriving terrarium is air circulation. It’s ironic, but the biggest danger for an “air plant” is stagnant, humid air. Those trendy, almost-closed glass orbs are a recipe for rot. Always choose a container with a wide opening to allow your Tillandsia to dry completely between waterings.
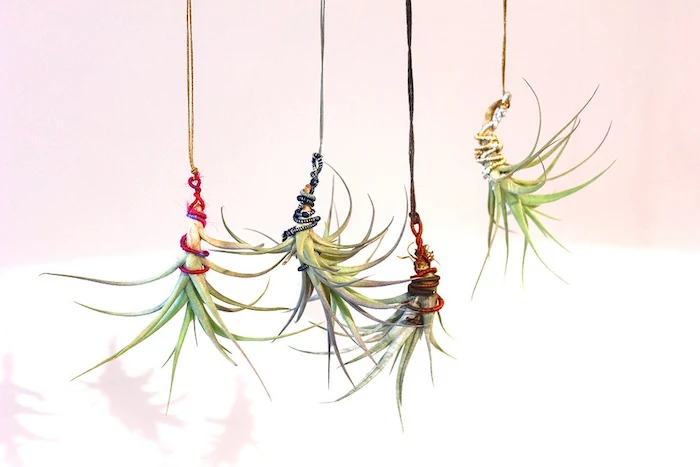
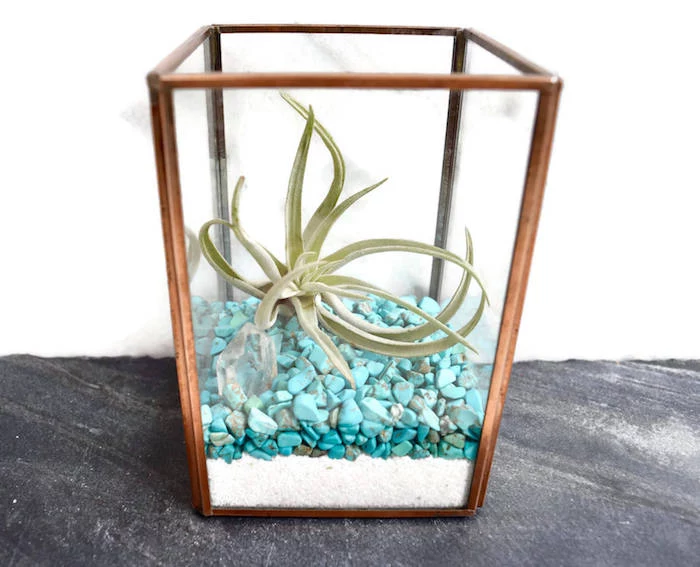
- Vibrant, jewel-toned amethyst clusters.
- Smooth, calming rose quartz.
- Textured, earthy chunks of raw quartz.
The secret? Using crystals as a base. More than just a New Age trend, incorporating crystals adds color, texture, and a unique energy to your terrarium design, turning it into a truly personal zen garden.
How do I know if my plant is thirsty?
Look closely at the leaves. A well-hydrated mesic variety (like Tillandsia abdita) will have vibrant, open leaves. When thirsty, the leaves will start to curl inward, forming tighter channels. For xeric types (like Tillandsia xerographica), the silvery trichomes are more pronounced and the natural curl of the leaves becomes much tighter when it needs a drink.
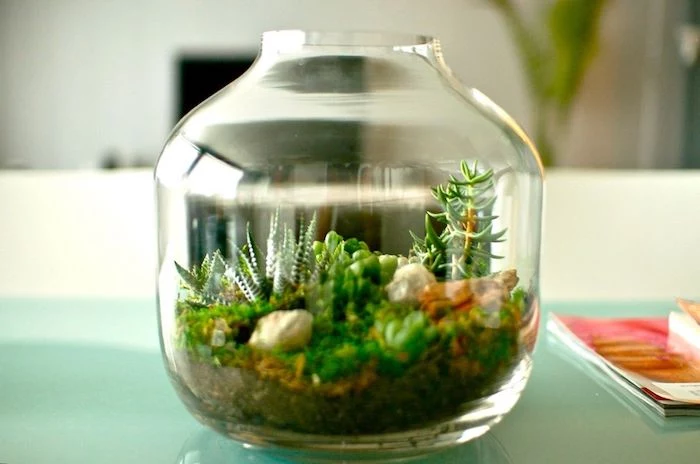
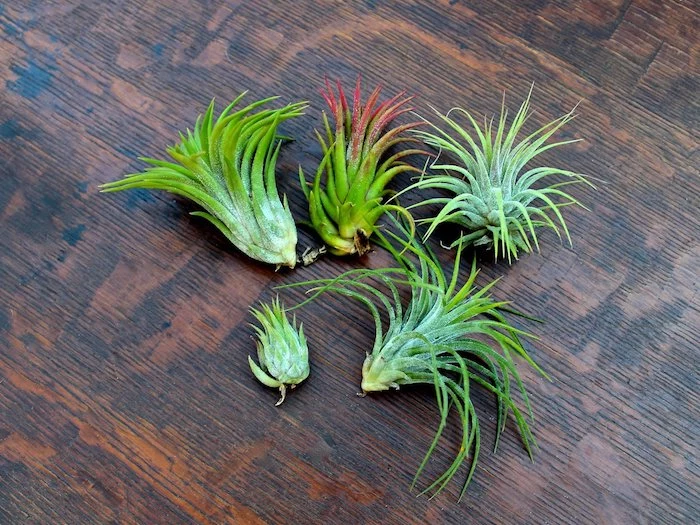
Fact: The fine, silvery-white fuzz on many air plants, known as trichomes, are not dust. They are highly efficient scales that absorb water and nutrients directly from the air and also help reflect harsh sunlight.
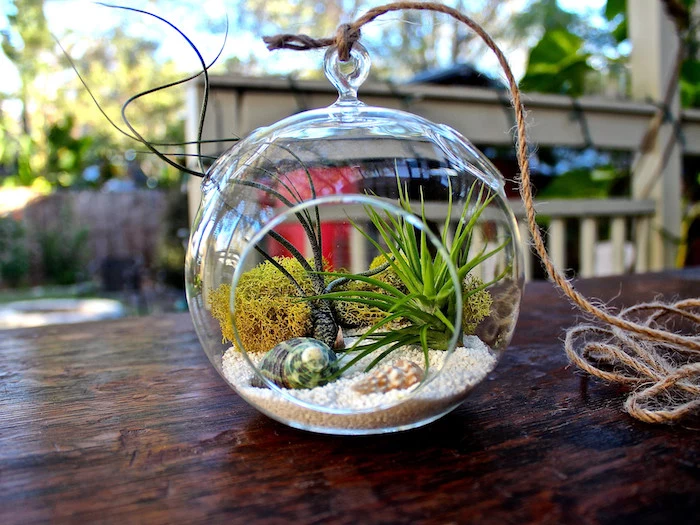
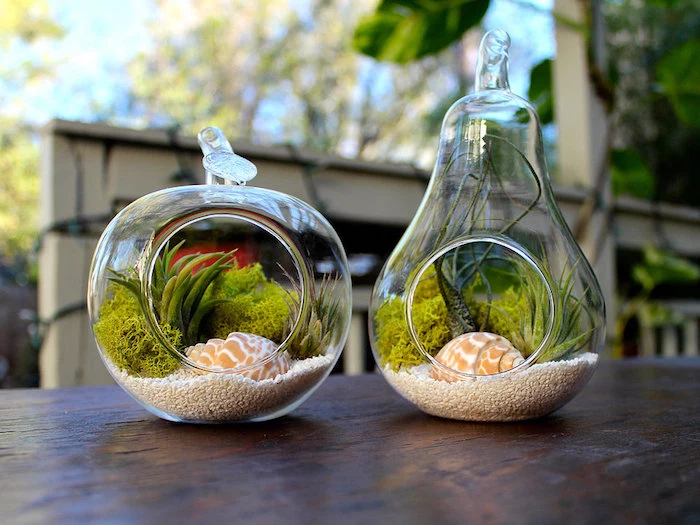
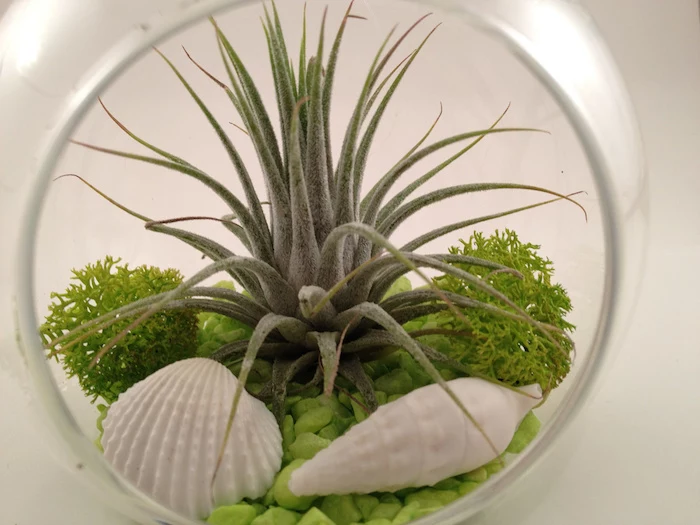
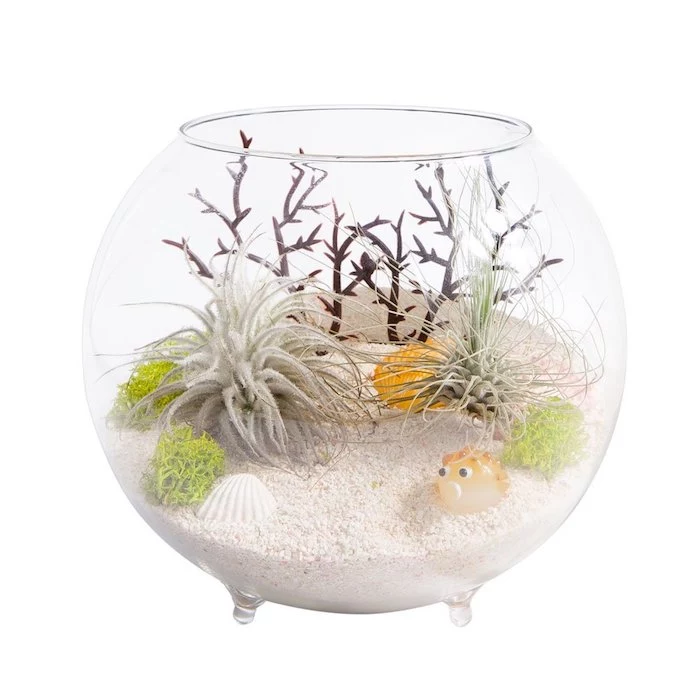
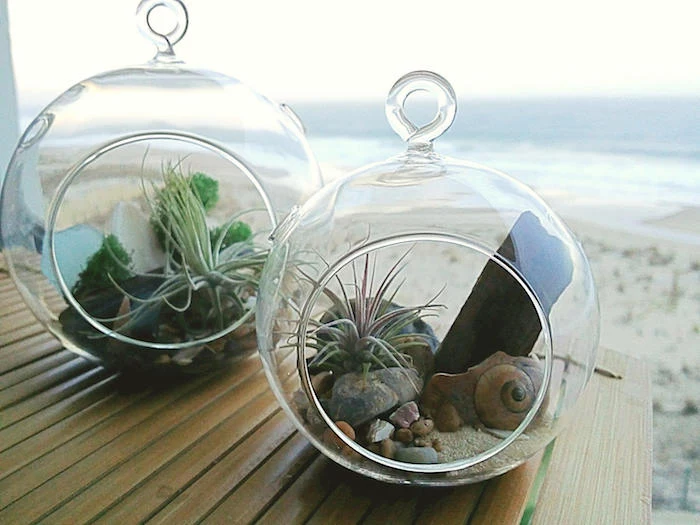
Create a miniature beach scene for a constant touch of summer. It’s an easy and evocative theme to execute.
- Start with a base of light-colored sand, like CaribSea’s Super Naturals sand.
- Add a few small, interesting seashells and perhaps a tiny piece of sea glass.
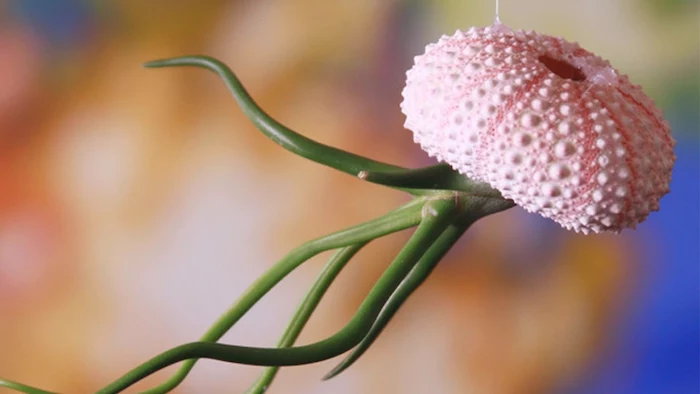
- Choose a wispy, sea-urchin-like plant, such as Tillandsia argentea, to complete the coastal vibe.
Soaking: A 20-30 minute bath in a bowl of room-temperature water. Ideal for most common air plants and ensures thorough hydration.
Misting: A light spray with a fine mister. Good for a quick humidity boost, especially for Mesic types in dry homes, but it’s not a substitute for a proper soak.
For most beginners, a weekly soak is the most reliable method.
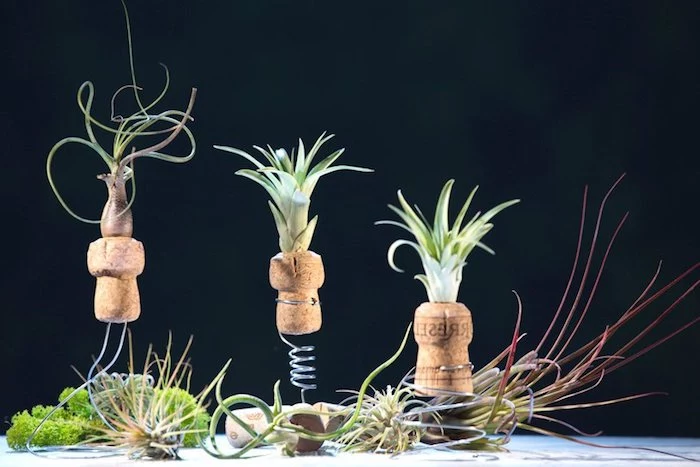
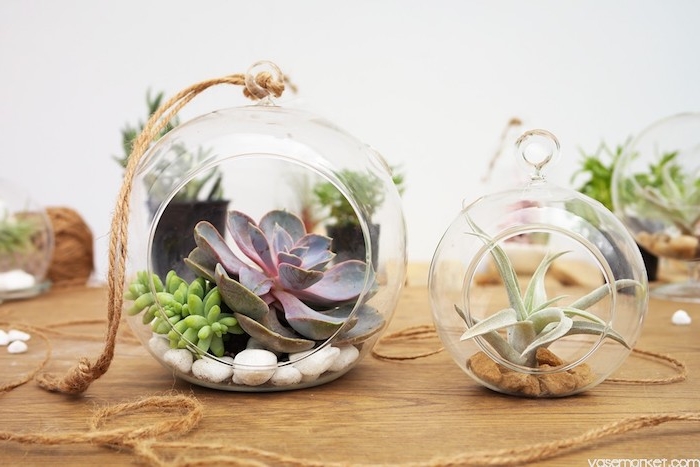
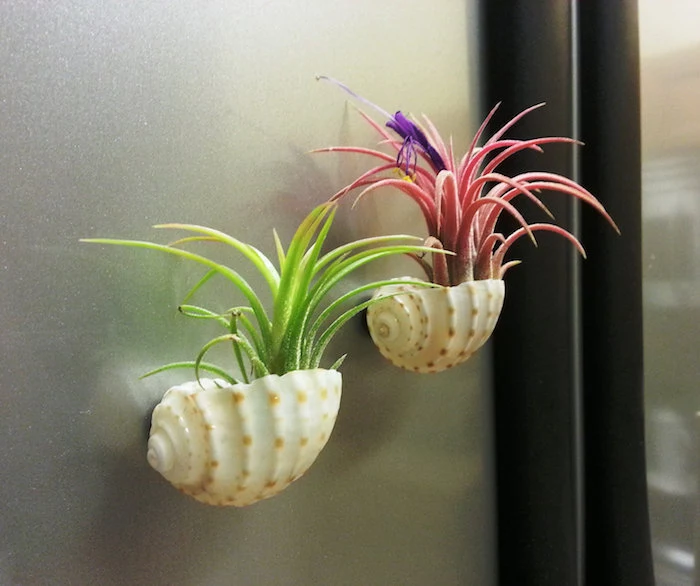
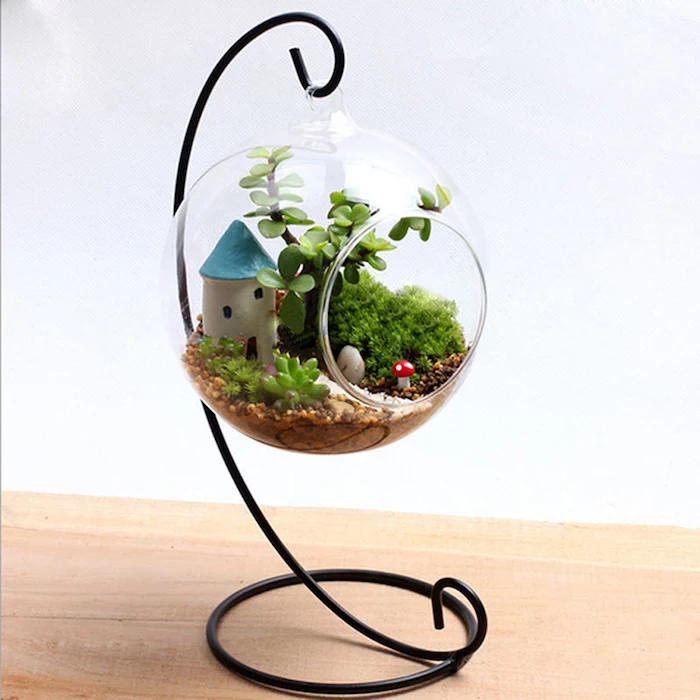
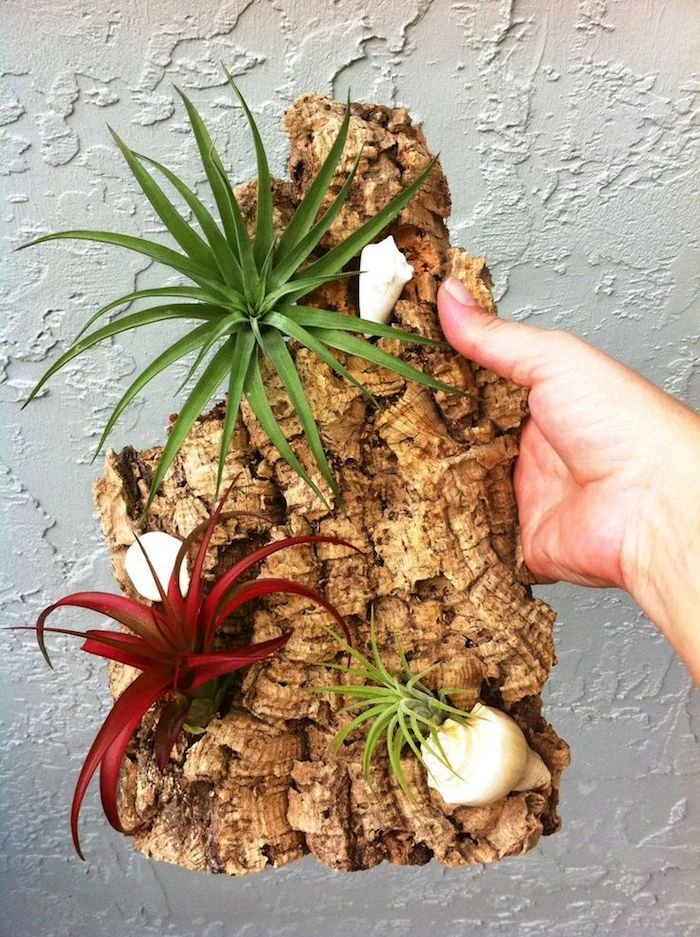
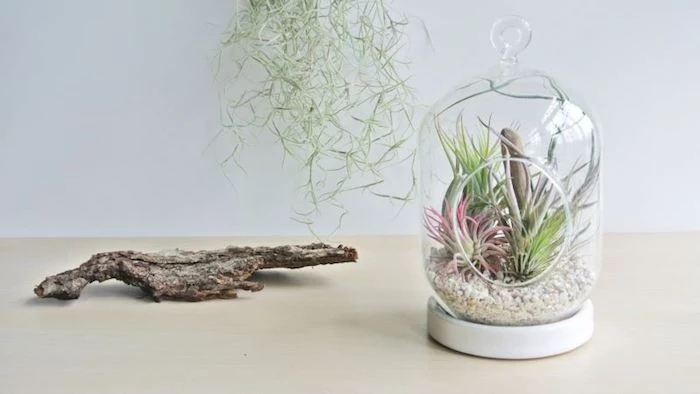
Don’t be afraid to think beyond glass. A shallow ceramic bowl, an old teacup, or even a piece of cork bark can make a stunning and unexpected home for an air plant. The key is that the container shouldn’t hold water at its base. These alternatives often provide better air circulation than traditional glass terrariums.
After flowering, an air plant puts its energy into producing offsets, or ‘pups’. These miniature clones grow from the base of the mother plant.
This is the plant’s natural form of propagation. You can let them grow into a large, impressive clump, or you can gently separate the pups once they reach about one-third the size of the parent plant. Each pup will grow into a new, independent plant!
Crucial step: After soaking your air plant, gently shake off excess water and place it upside down on a towel in a well-ventilated spot for at least an hour. Water trapped in the base of the leaves is the number one cause of rot, and this simple drying technique prevents it entirely.
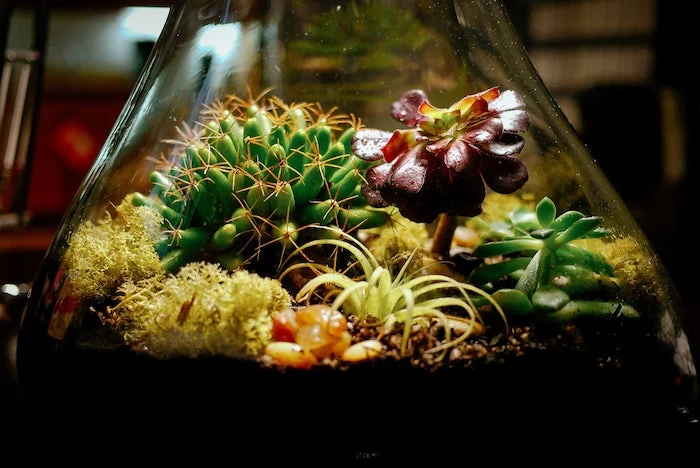
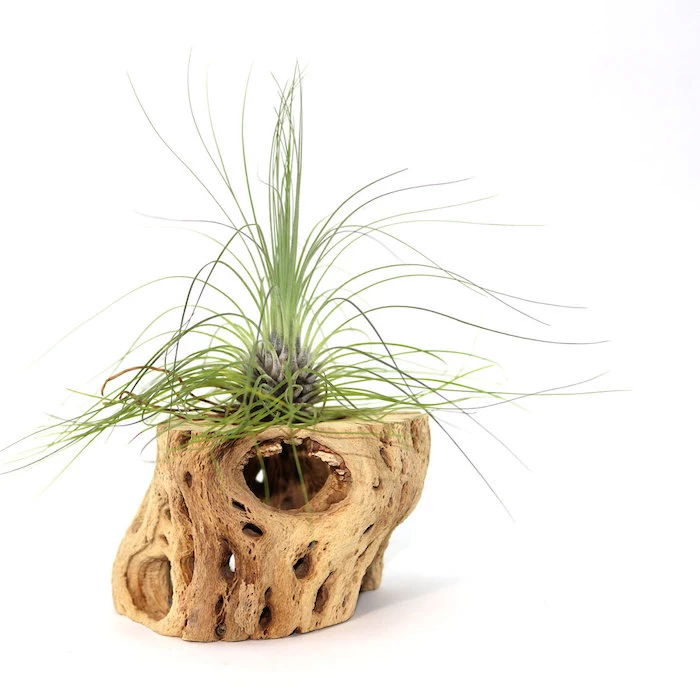
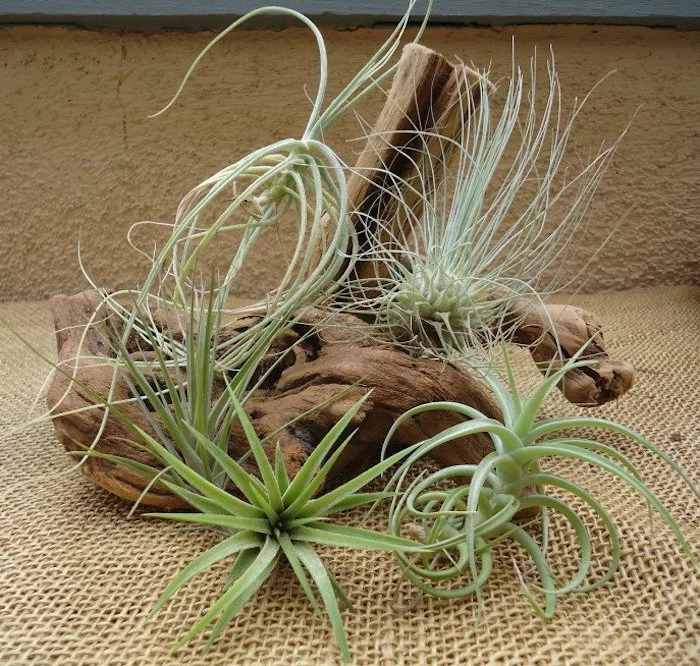
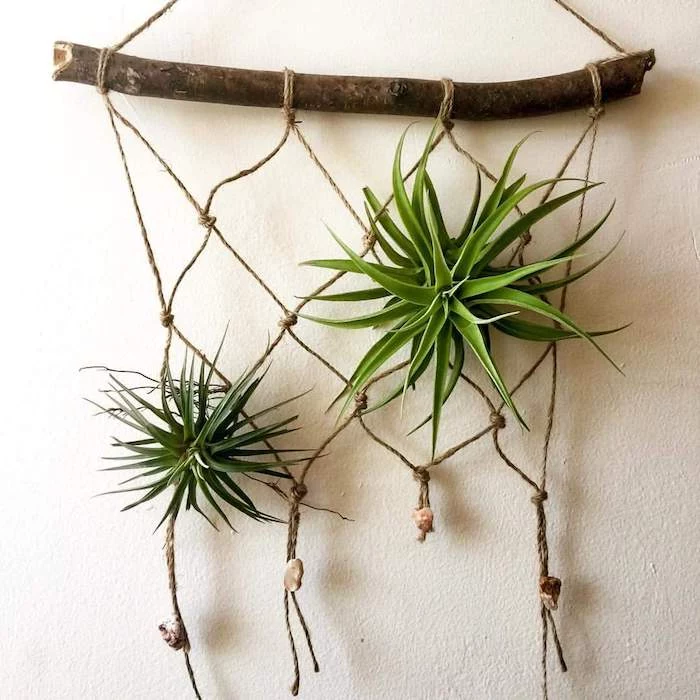
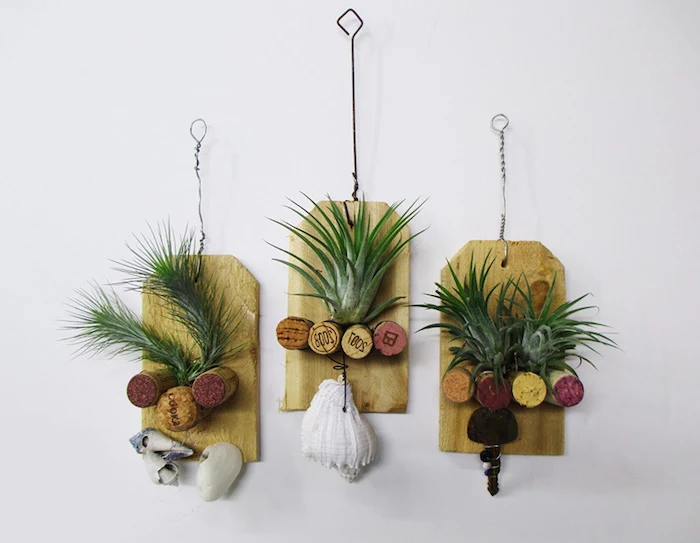
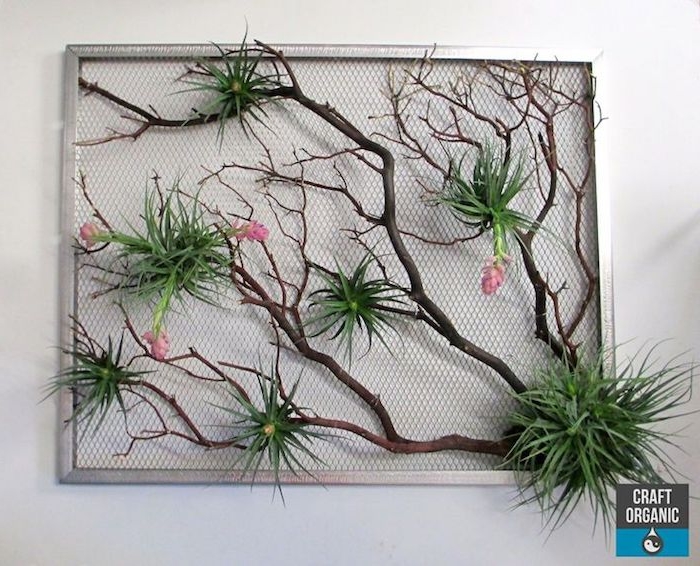
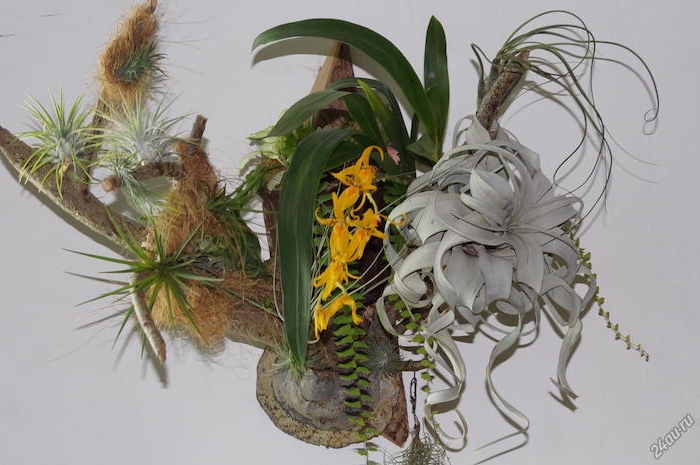
For a more naturalistic display, mount your air plants on driftwood. Use a plant-safe waterproof adhesive like E6000 or Tilly Tacker to secure the base of the plant to the wood. Avoid hot glue, as it can burn the plant, and never use copper wire, which is toxic to Tillandsias.
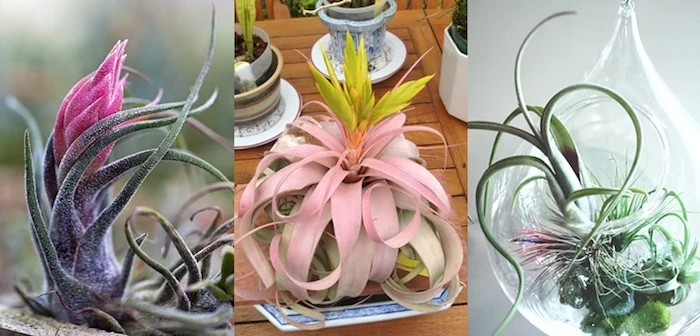
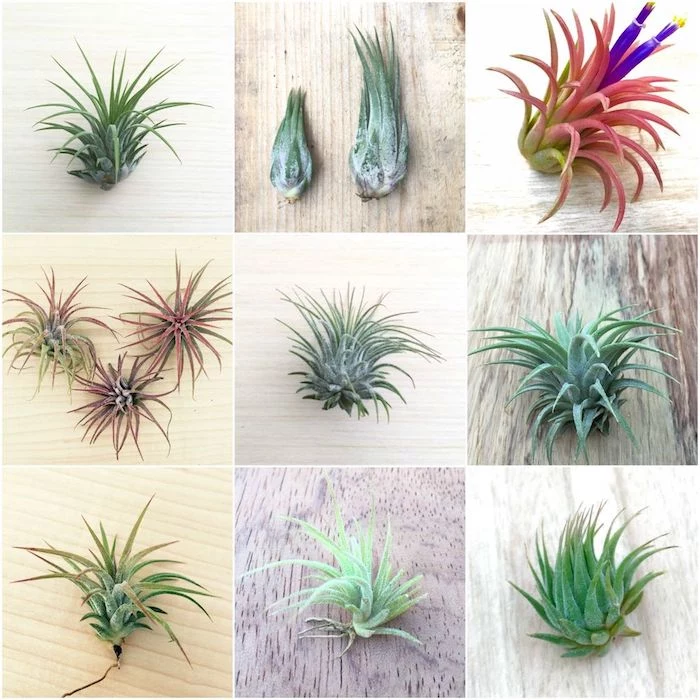
- Xeric Plants: Originating from dry, desert-like climates. They are typically silver or grey with very visible trichomes. They tolerate more sun and less frequent waterings. Think Tillandsia xerographica.
- Mesic Plants: From humid rainforests. They are generally greener, smoother, and prefer lower light and more frequent moisture. A perfect example is Tillandsia bulbosa.
What does it mean when my air plant ‘blushes’?
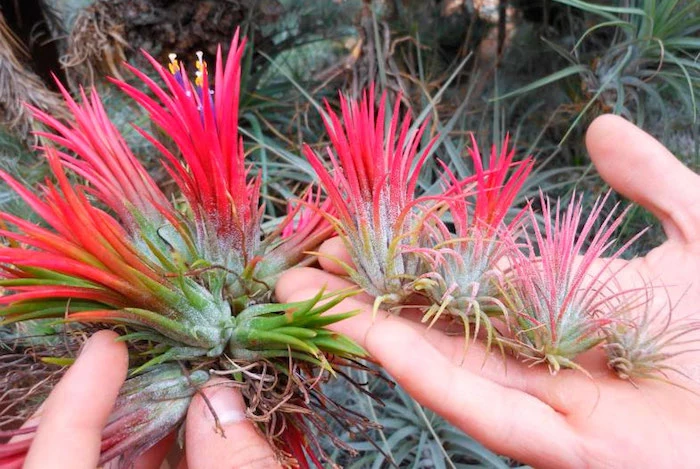
This is a sign of happiness! When a mature Tillandsia is about to bloom, the upper leaves of many species, like the popular Tillandsia ionantha, will turn a stunning red, pink, or orange. This ‘blushing’ is the plant’s way of attracting pollinators in its natural habitat. It’s a temporary but beautiful phase before the flower emerges.
Never use distilled water. It’s too pure and can actually leach nutrients from your plants through osmosis.
Your best options are rainwater or clean pond water. If you must use tap water, let it sit out for 24 hours to allow chlorine to dissipate before giving your plants a drink. Filtered water is also a great choice.
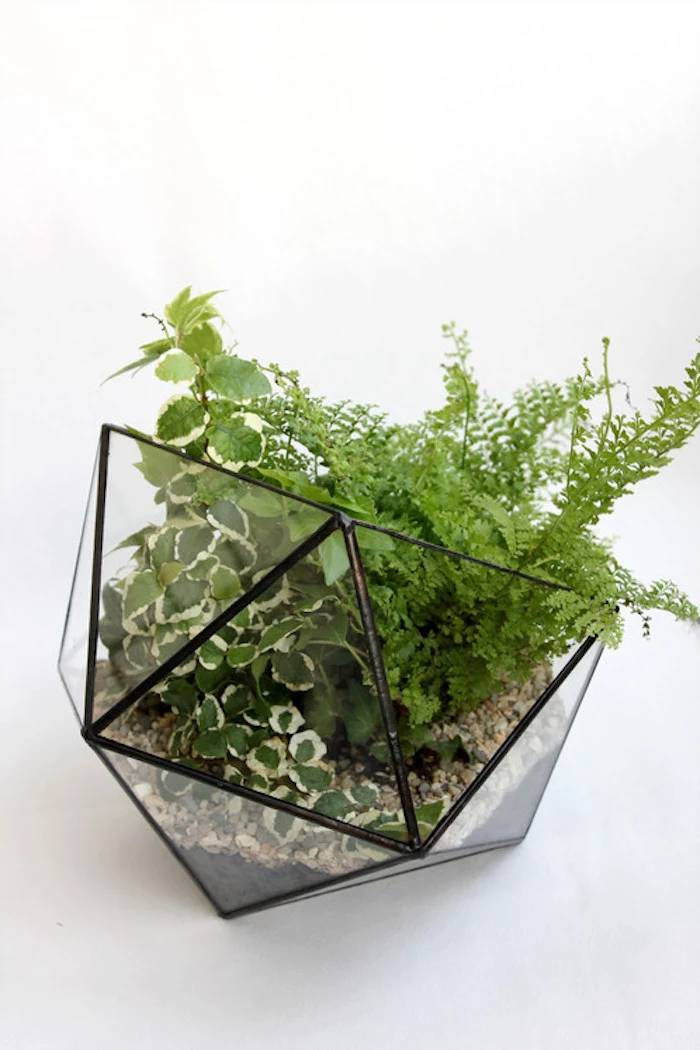
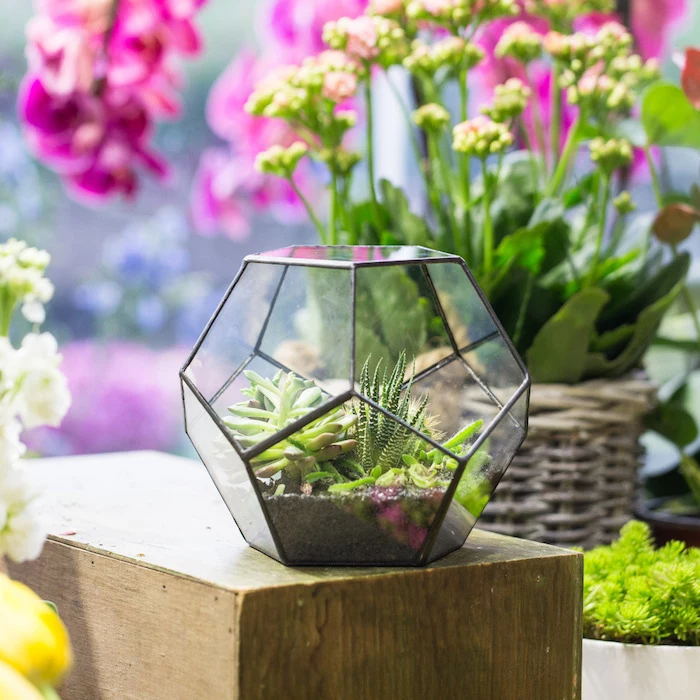
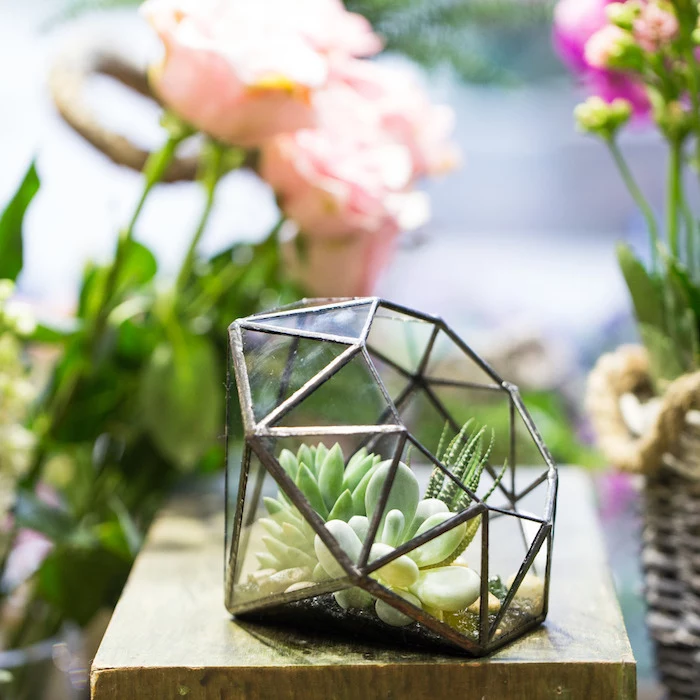
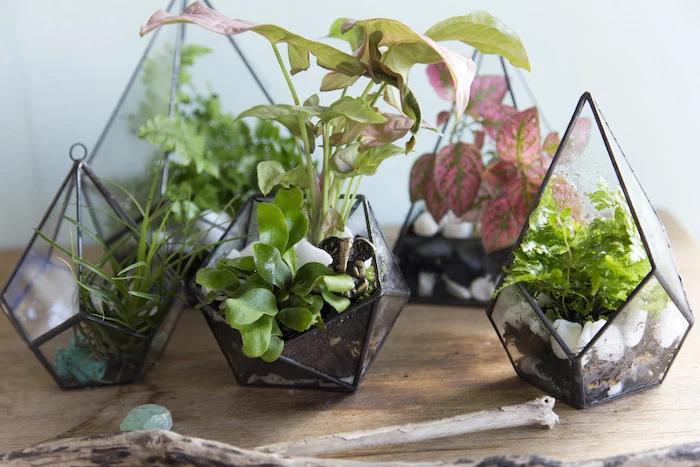
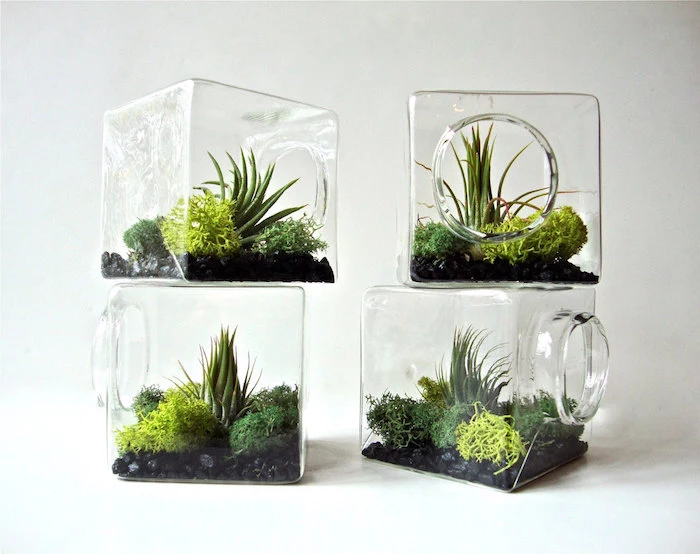
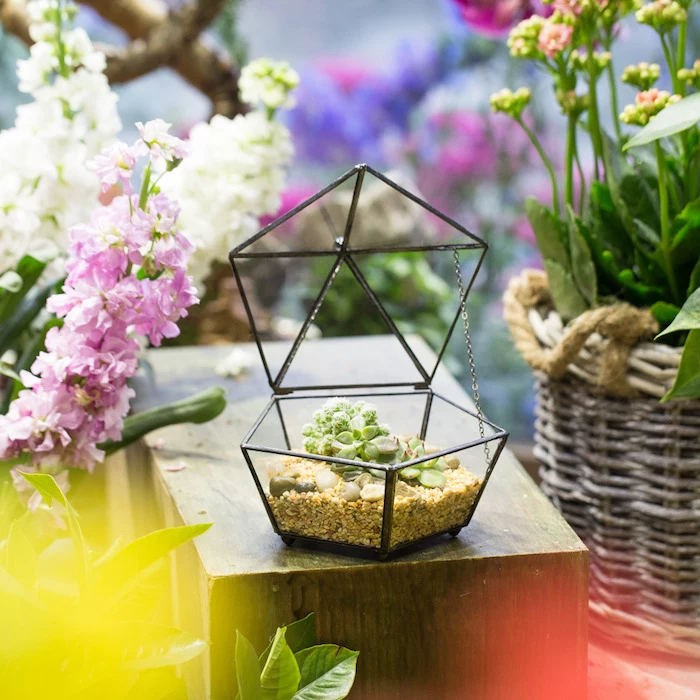
Go for a minimalist, modern aesthetic with a geometric terrarium. The sharp lines of a black or brass-trimmed glass container, like those from makers like NCYPGarden, create a beautiful contrast with the soft, organic shapes of air plants. A single, dramatic Tillandsia caput-medusae inside a diamond-shaped holder is a living sculpture.
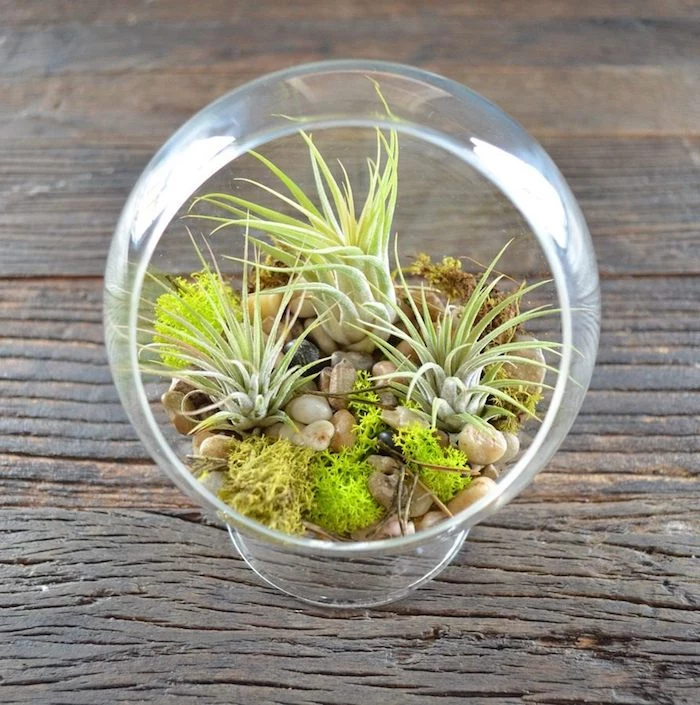
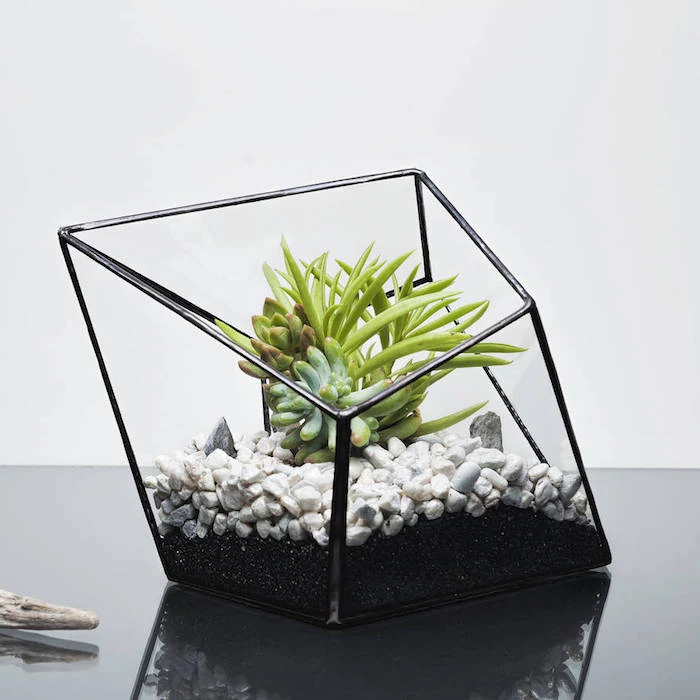
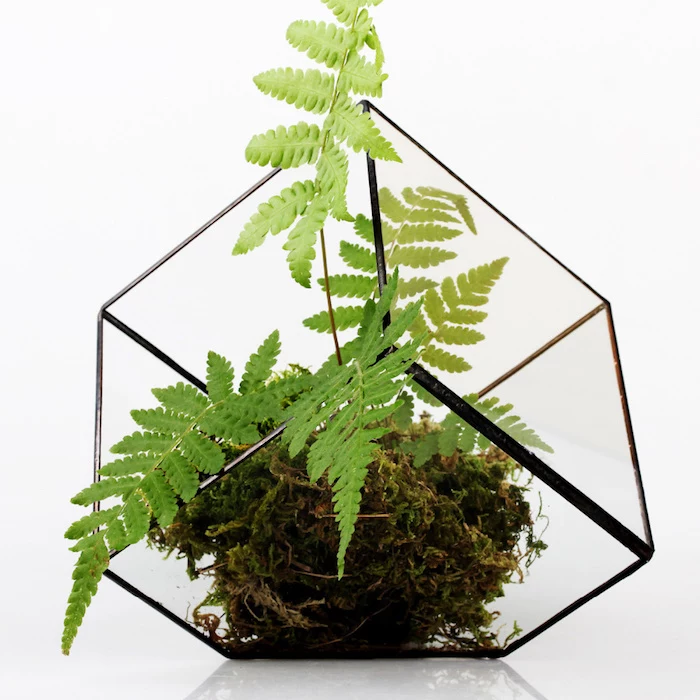
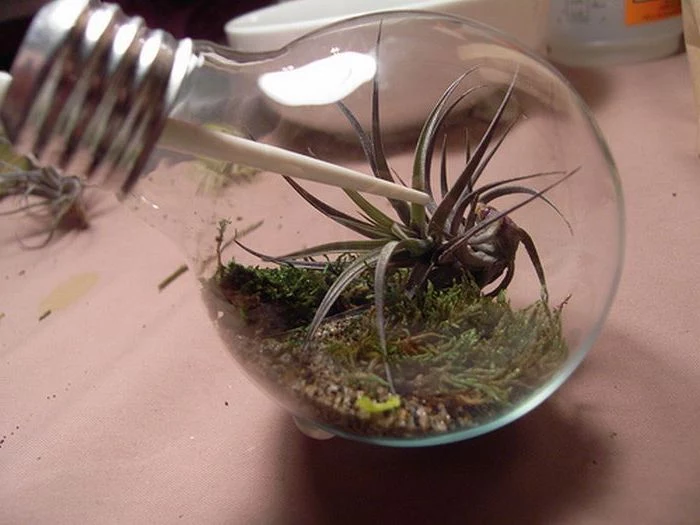
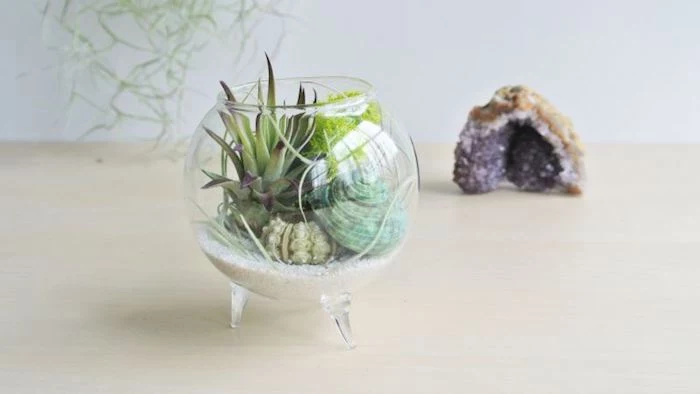
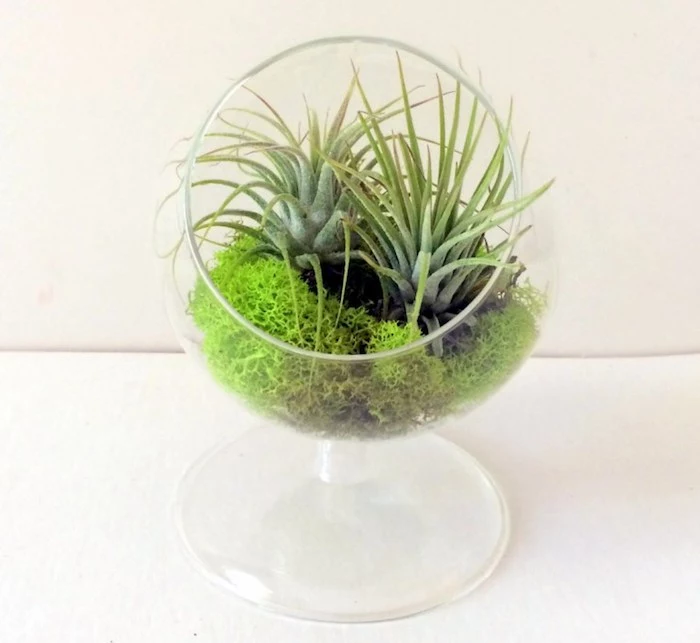
Common Mistake: Using decorative or preserved moss. While it looks lovely, the craft-store variety is often treated with dyes and chemicals that can be harmful to a living air plant. If you want to use moss, opt for natural, untreated sphagnum or Spanish moss, and make sure it dries out completely between waterings.
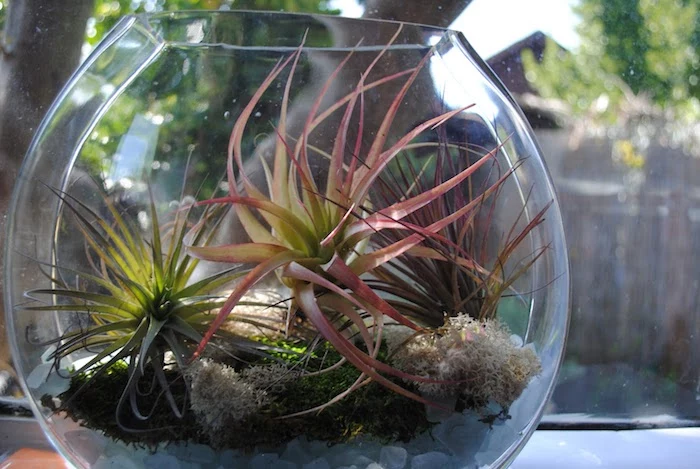
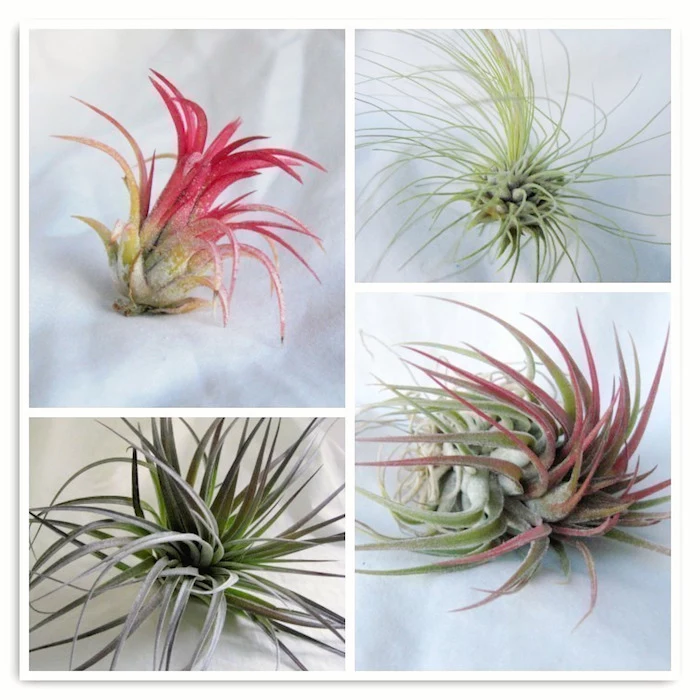
- They look greener and more vibrant.
- The leaves feel supple and plump.
- They absorb water and nutrients more efficiently.
The secret? A weekly deep soak. While misting is fine for a quick boost, a 20-minute soak allows the trichomes to fully open and absorb the water they need to not just survive, but truly thrive.
A little food goes a long way. During the growing season (spring and summer), fertilize your air plants once a month. Use a specialized bromeliad or air plant fertilizer (like Cute Farms’ Tillandsia food) diluted to 1/4 strength in your soaking water. Skip fertilizing in the fall and winter.
Notice a crispy, brown tip on a leaf? Don’t panic! This is usually a sign of under-watering or very dry air. You can simply snip the brown tip off at an angle with clean scissors to mimic the natural shape of the leaf. Be sure not to cut into the healthy, green part.
The genus Tillandsia is incredibly diverse, with over 650 species. They are native to the forests, mountains, and deserts of Central and South America, the southern United States, and the West Indies.
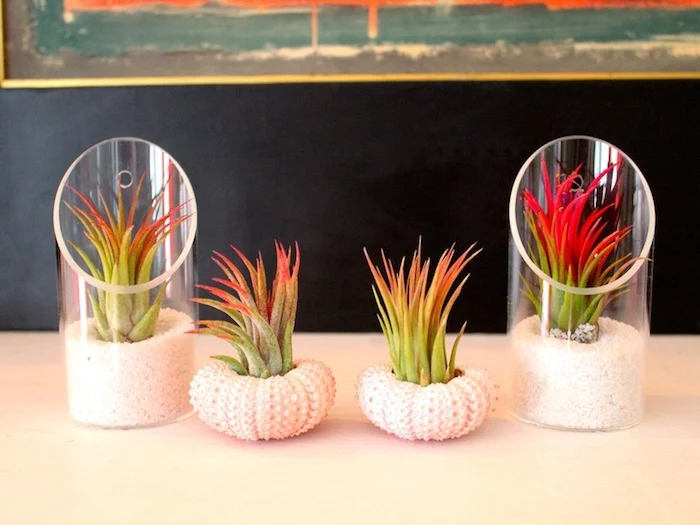
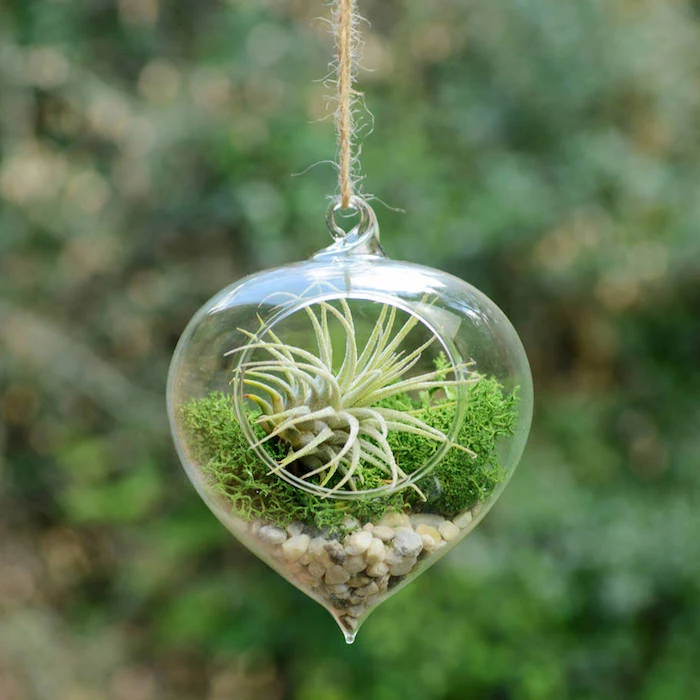
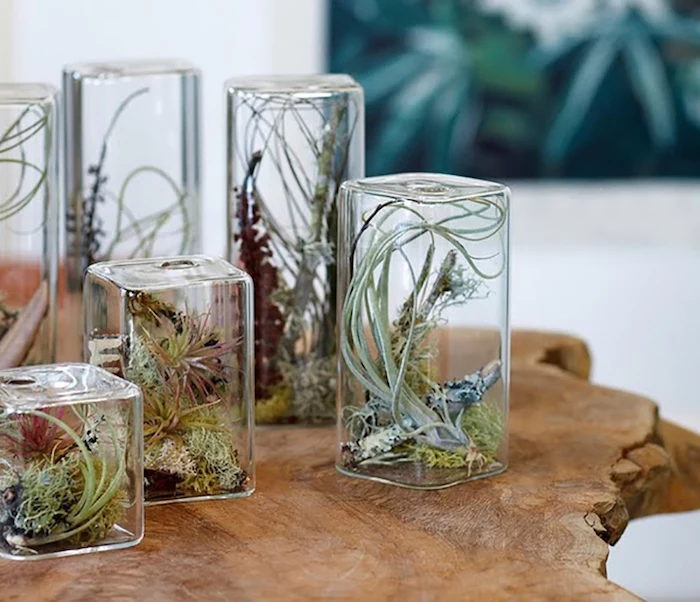
Groupings of air plants often look more impactful than a single specimen. Try creating a small ‘colony’ in a wide, shallow bowl. Combine different textures and shapes for visual interest: the fuzzy, spherical Tillandsia tectorum next to the spiky, architectural Tillandsia funckiana creates a stunning, dynamic display.
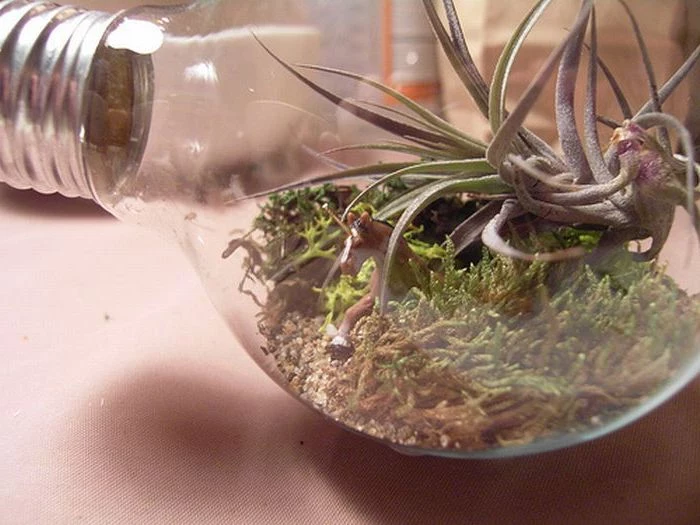
Are those white fuzzy spots a problem?
If the ‘fuzz’ is uniform and silvery, it’s just the plant’s natural trichomes. But if you see distinct, cottony white dots, especially in the crevices of the leaves, you may have mealybugs. Isolate the plant and gently wipe them off with a cotton swab dipped in rubbing alcohol. Repeat the treatment weekly until they’re gone.
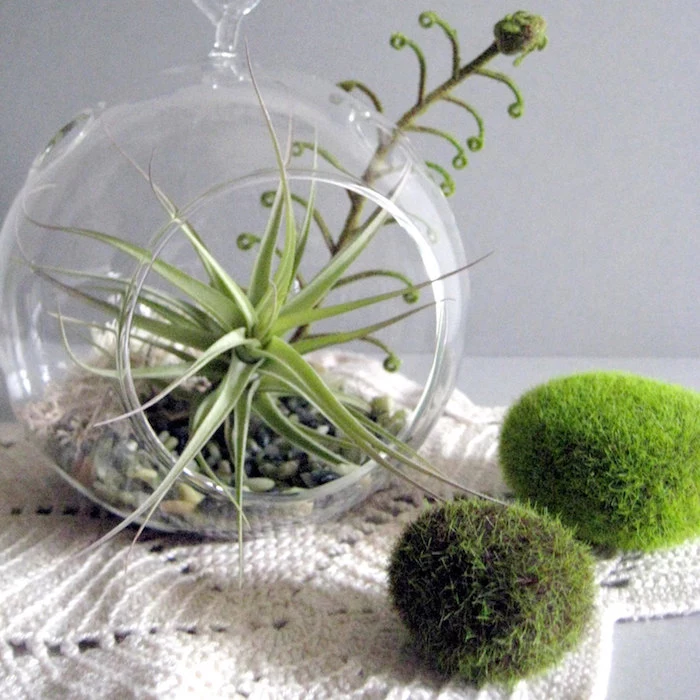
The right light: Bright, indirect light is the sweet spot. A spot a few feet from an east or west-facing window is perfect. Direct, intense southern sun can scorch your plants, while a dark corner will cause them to slowly fade and lose their color.
- Reduce watering frequency from weekly to every 2-3 weeks.
- Ensure they are in a spot with good airflow to combat damp winter air.
- Pause fertilizing completely until spring arrives.
As daylight hours shorten and growth slows, your air plant’s needs change. Adjusting your care routine for the winter months is key to keeping them healthy year-round.
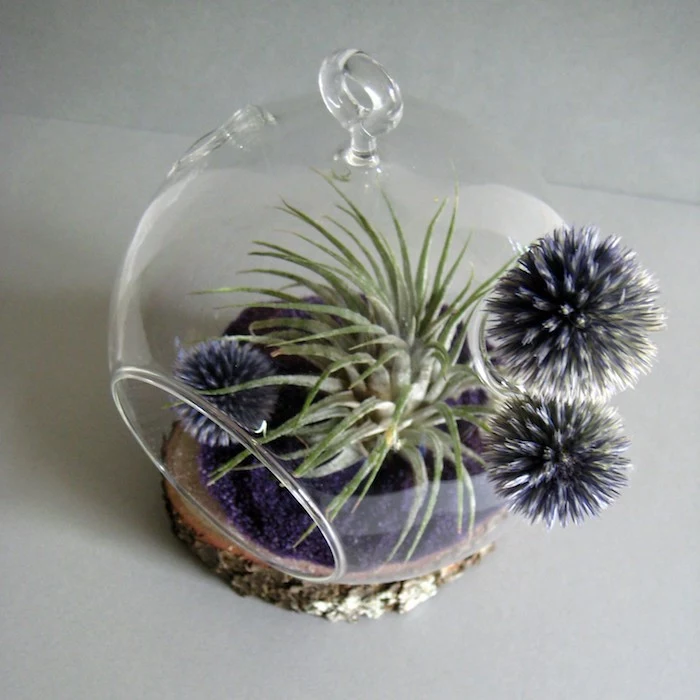
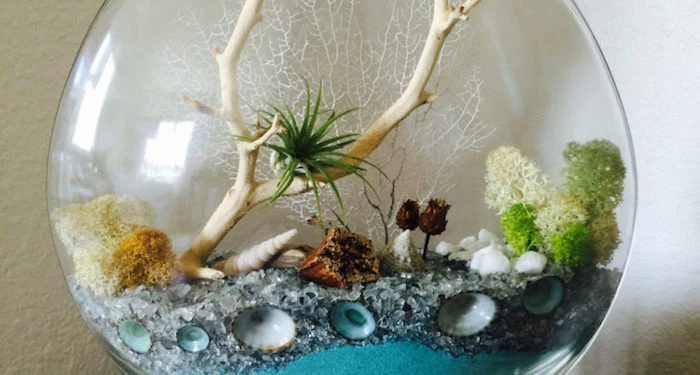
Colored Sand: Fun for adding a pop of color, especially in themed terrariums. Ensure it’s non-toxic aquarium sand.
Reindeer Lichen: A soft, spongy material that adds a natural feel. Be aware that it holds moisture, so only use it in very open containers.
For beginners, simple polished river stones or glass beads are the safest bet as they don’t retain water and provide excellent stability.
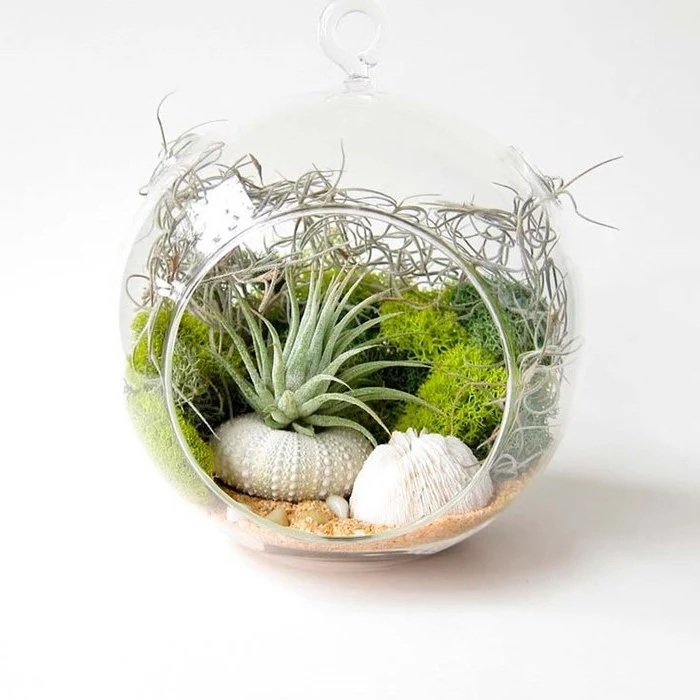
Think of your terrarium base as the ‘stage’ for your plant. Dark charcoal or black gravel can make the green or silver of a Tillandsia pop dramatically. Conversely, a base of white pebbles or sand creates a light, airy, and serene foundation. The choice of substrate is as much a design decision as a practical one.


