The Real Deal on Navel Piercings: Your Complete Guide to Getting It Right
So, you’re thinking about getting a navel piercing. Awesome! It’s one of those piercings that’s been popular forever, and for good reason—it looks fantastic. But here’s the thing: it’s also one of the most misunderstood piercings out there. For every beautifully healed navel piercing, there are a handful that have struggled with bumps, rejection, and nasty scars.
In this article
I’ve been in the professional piercing world for a long, long time, and I’ve seen it all. My goal here is to give you the honest, no-fluff conversation we’d have in my studio before a needle even comes out of its sterile packaging. Because a great piercing isn’t just about the piercer; it’s a partnership between a pro who knows their stuff and a client who knows what they’re getting into.
First Things First: Is Your Body Right for It?
This is, without a doubt, the most important question, and the answer is… maybe not. And that’s okay! A truly professional piercer will always prioritize your health over making a quick buck, and that means being honest about your anatomy.
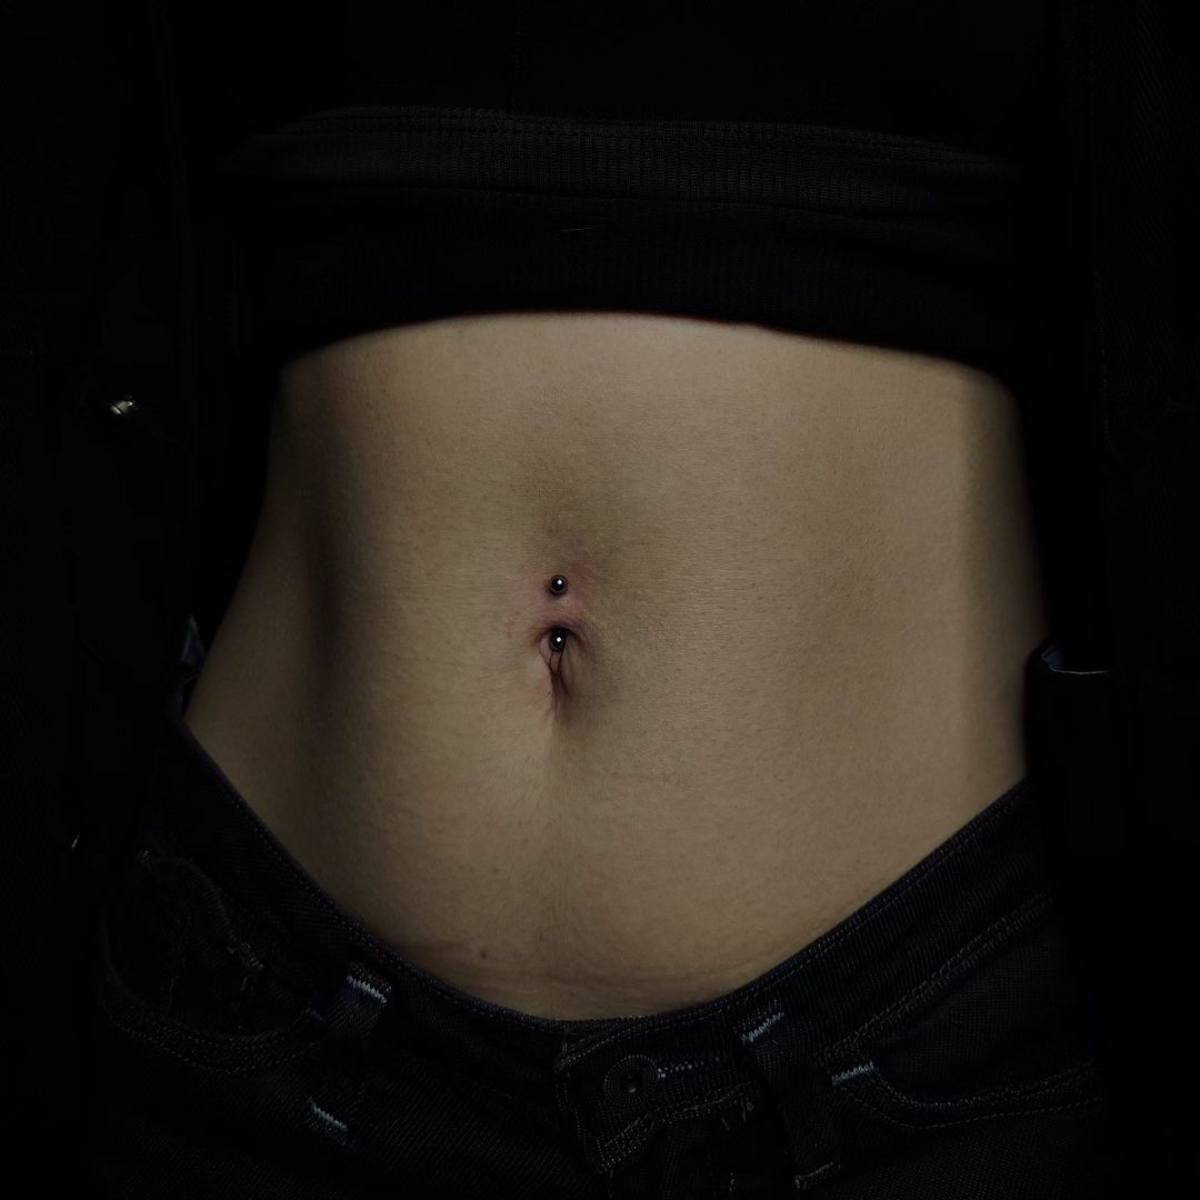
A classic navel piercing doesn’t actually go in your belly button. It sits in the little flap of skin, or “lip,” just above it. For this to work, you need to have a defined “shelf” of tissue there. But here’s the real test: it’s not about how it looks when you’re standing up straight. The crucial part is what happens when you sit down and slouch.
If your belly button collapses on itself, with the top and bottom pressing together, a traditional piercing is set up to fail. Think about it—your own body would be constantly squeezing the jewelry. This pressure leads to major irritation and can cause the piercing to migrate (literally get pushed out by your body), leaving a scar behind. So, any good piercer will ask you to sit and move around to see how your anatomy functions in real life.
What if You Don’t Have the ‘Right’ Anatomy?
Don’t despair! This doesn’t necessarily mean a navel piercing is off the table. You just need a different approach. For navels that collapse, we often use a “floating” navel piercing. It’s a brilliant technique where the bottom of the curved barbell is a small, flat disc that tucks discreetly inside the navel itself. The pretty, decorative end is still on top. This completely removes the pressure point from a big gem on the bottom, allowing many different body types to heal one successfully. It’s a more specialized technique, so you’ll want a piercer with specific experience in it.

How to Find a Piercer You Can Actually Trust
Your choice of piercer is everything. A great one makes the process safe and smooth; a bad one can cause lasting damage. And please, don’t let price be your guide. A super-cheap piercing, like something under $50 including the jewelry, is a massive red flag. It almost always means they’re cutting corners on safety, jewelry quality, or skill.
I can’t tell you how many clients I’ve helped who got a cheap piercing at the mall, only to have the low-quality “surgical steel” turn their skin green and cause a massive irritation bump. We had to take it out, let it heal, and basically start the entire process over again with proper, implant-grade titanium.
Here’s your non-negotiable checklist for finding a pro:
- The Vibe Check: The studio should be impeccably clean. Not just tidy, but medically clean.
- Ask About the Autoclave: They MUST have an autoclave (a sterilization machine that uses steam and pressure) and be able to show you recent spore test results that prove it’s working. If they hesitate, walk out.
- Look at Healed Work: A portfolio full of fresh, shiny piercings is nice, but it doesn’t tell the whole story. Ask to see photos of healed piercings. That’s the true sign of skill.
- The Best Pro-Tip: Honestly, the single best tool for finding a reputable piercer is to check the member locator on the Association of Professional Piercers website. Just search for safepiercing.org. These piercers are committed to the highest industry standards for safety and education. It’s the perfect starting point for your search.

The Real Cost of a Good Piercing
You should expect to pay for two things separately: the service fee and the jewelry. The service fee, typically $40 to $60, covers the piercer’s expertise, all the single-use sterile supplies (needles, gloves, etc.), and sterilization. The jewelry cost varies widely. A basic, implant-grade titanium barbell might start around $40, while solid gold pieces with genuine gems can go into the hundreds. All in, a safe, quality navel piercing will likely set you back between $80 and $120. Remember, you’re investing in your health.
Your Appointment: What to Expect
Once you’ve found your piercer and picked out some gorgeous, body-safe jewelry, it’s go-time. The whole process is very calm and precise.
A Quick Checklist for the Day Of:
- Eat a solid meal within a few hours of your appointment to keep your blood sugar stable.
- Skip the alcohol or excessive caffeine beforehand.
- Wear comfy, loose-fitting clothes that won’t press on your stomach. Think low-rise sweats, not high-waisted skinny jeans.
First, we’ll clean the area and mark the placement with a sterile marker while you’re standing. Then, we’ll have you sit and slouch to double-check that the placement is perfect for your body’s movement. You get the final say before anything happens.

You’ll lie back, take a deep breath in, and on a long exhale, a sharp, single-use hollow needle goes through. It’s incredibly fast. We never use piercing guns—they use blunt force trauma and can’t be properly sterilized. The jewelry is then guided into the new channel, and it’s done! Most people say it’s a quick, sharp pinch, maybe a 3 or 4 on a pain scale of 10, that fades to a dull ache almost immediately.
Jewelry 101: What Goes in Your Body Matters
Your initial jewelry isn’t just a style choice; it’s a medical implant. Your body will be in contact with this metal 24/7 for up to a year, so using the right material is non-negotiable. Bad metal is the #1 cause of healing problems.
The Good Stuff (The Only Stuff to Use):
- Implant-Grade Titanium (ASTM F-136): This is the gold standard. It’s nickel-free, lightweight, and incredibly biocompatible, meaning your body is very unlikely to react to it.
- 14k or 18k Solid Gold: Must be solid, not plated, and from a reputable manufacturer that specializes in body-safe alloys (no nickel!).
- Niobium: A great, safe element similar to titanium.
The Bad Stuff (Avoid Like the Plague):

- “Surgical Steel”: This term is mostly meaningless marketing. Most of it contains high levels of nickel that cause irritation. Don’t risk it.
- Sterling Silver: It tarnishes when it touches body fluids and can permanently stain your skin black. Never use it in a healing piercing.
- Plated Jewelry & Plastics: The plating flakes off, exposing cheap mystery metal, and plastics are porous and can harbor bacteria. No, thank you.
Aftercare: The Healing Journey (Be Patient!)
Once you leave the studio, the piercing is your responsibility. The healing timeline is long—expect a full 6 to 12 months. Yes, a whole year! Being realistic about this is key.
Your job is simple: keep it clean, keep it dry, and leave it alone.
- Clean Twice Daily: Get a sterile saline wound wash spray. A great one is NeilMed, which you can find at most drugstores or your piercing studio for about $10-$15. The only ingredients should be water and 0.9% sodium chloride. Lightly spray the top and bottom holes.
- Rinse in the Shower: Let warm water run over it for a minute to wash away any crusties. Don’t use harsh soaps.
- DRY IT: This is so important! After spraying or showering, gently pat the area completely dry with a clean paper towel or non-woven gauze. A damp piercing is a happy place for bacteria.
What NOT to Do:
- Don’t twist or turn it! This is old, terrible advice that just tears up the delicate healing tissue.
- No harsh chemicals. Stay away from alcohol, hydrogen peroxide, and antibacterial soaps. They’re way too aggressive.
- No swimming. Avoid pools, hot tubs, lakes, and oceans for at least the first 2-3 months.
- Avoid irritation! This is the big one. Steer clear of high-waisted pants, belts, and tight shapewear. Stick to low-rise pants, dresses, and loose joggers for a while. A quick tip: for sleeping or sports, you can tape a hard, vented eye patch over the piercing to create a protective shield against snags.
Let’s Talk Exercise
You don’t have to become a couch potato, but you do need to be smart. Gentle activities like walking or using upper-body weights are totally fine. However, you should avoid any exercises that involve intense core work, like crunches, sit-ups, or aggressive twisting yoga, for at least the first couple of months. And as mentioned, swimming is a definite no-go until you’re much further along in the healing process.
Troubleshooting Common Issues
It’s normal to have some minor issues, but it’s important to know what you’re dealing with.
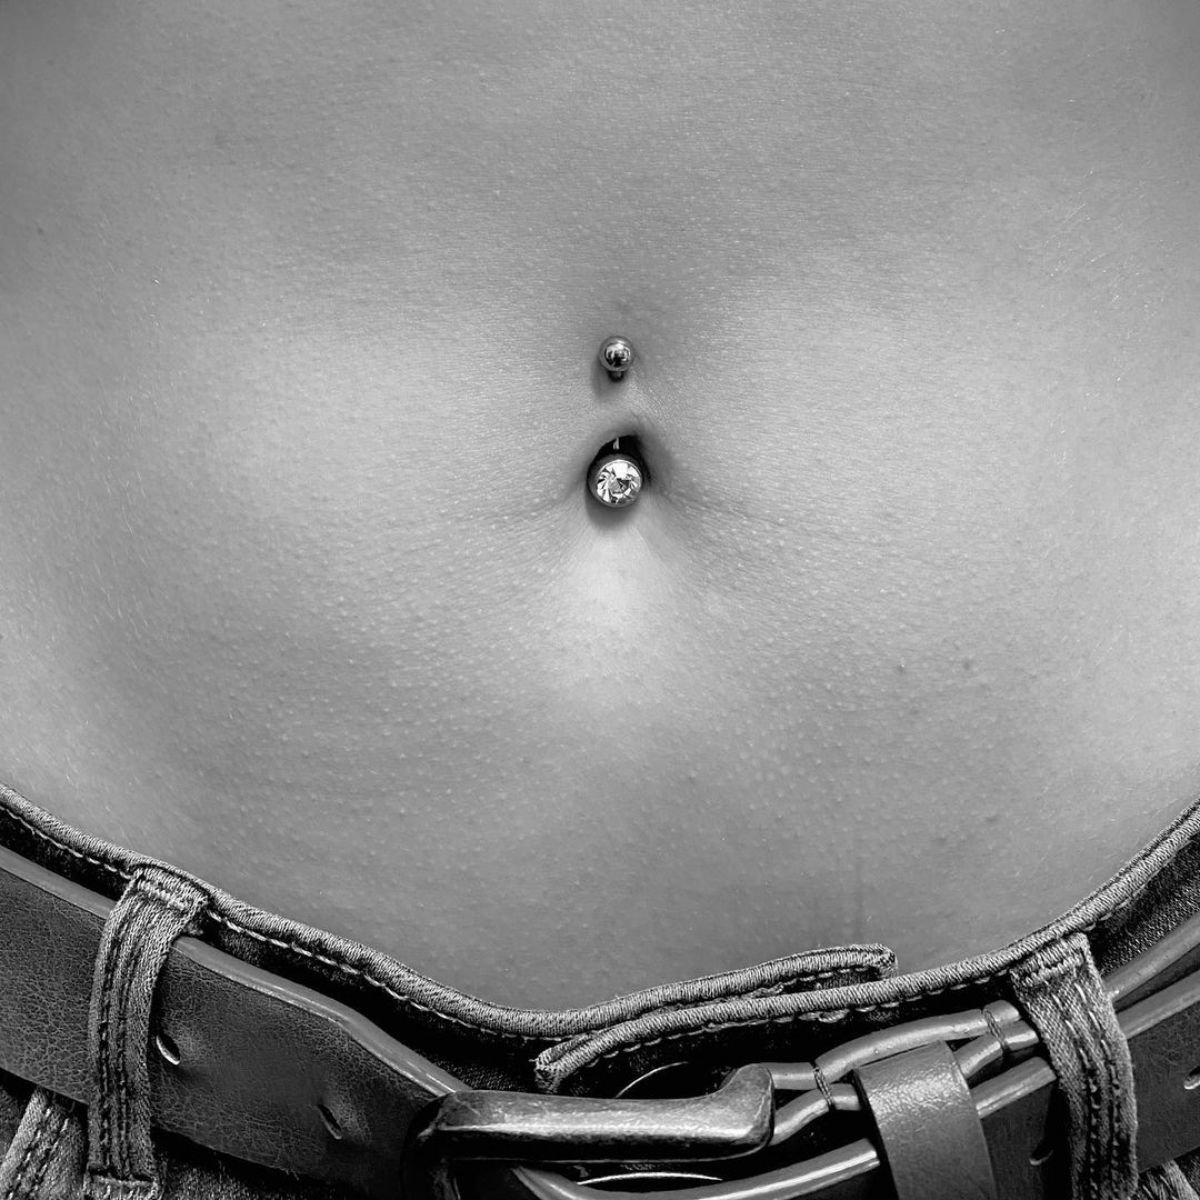
Is It Irritated or Actually Infected?
Nine times out of ten, what people think is an infection is just an angry irritation. An irritated piercing might be a little red, maybe a bit swollen, and have some clear or whitish fluid that dries into “crusties.” This is just lymph fluid, a normal part of healing. The cause is usually physical: you snagged it, your pants were too tight, or you slept on it weirdly. The solution is to identify and remove the source of irritation.
A true infection is a whole different beast and requires a doctor. The signs are much more dramatic: look for thick, yellow, or green pus; redness that spreads far away from the piercing site; the area feeling hot to the touch; and significant pain and swelling. You might even feel sick, like you have the flu. If you see these signs, see a doctor right away, but DO NOT take the jewelry out, as this can trap the infection inside.
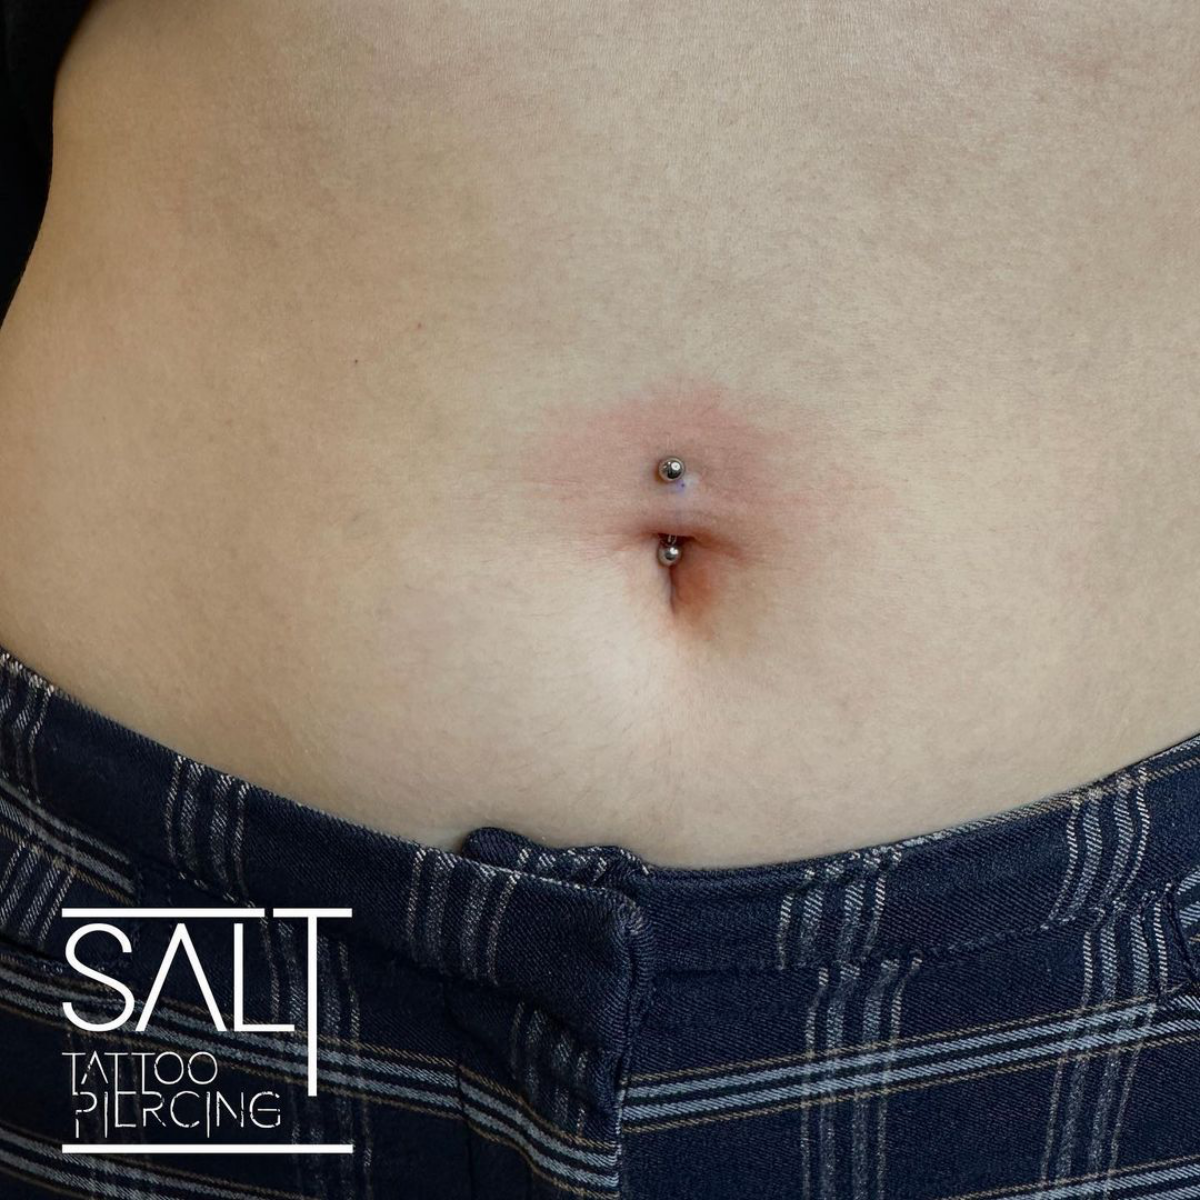
Help! I Have a Bump!
This is the most common panic call. That little red bump next to your piercing is almost certainly an irritation bump, not a keloid. It’s your body’s way of saying, “Hey, something is bothering me!” Double-check your aftercare, make sure your clothing isn’t putting pressure on it, and for the love of all that is holy, stop touching it. Be patient, stick to your saline spray, and the bump will usually go away once the source of irritation is gone.
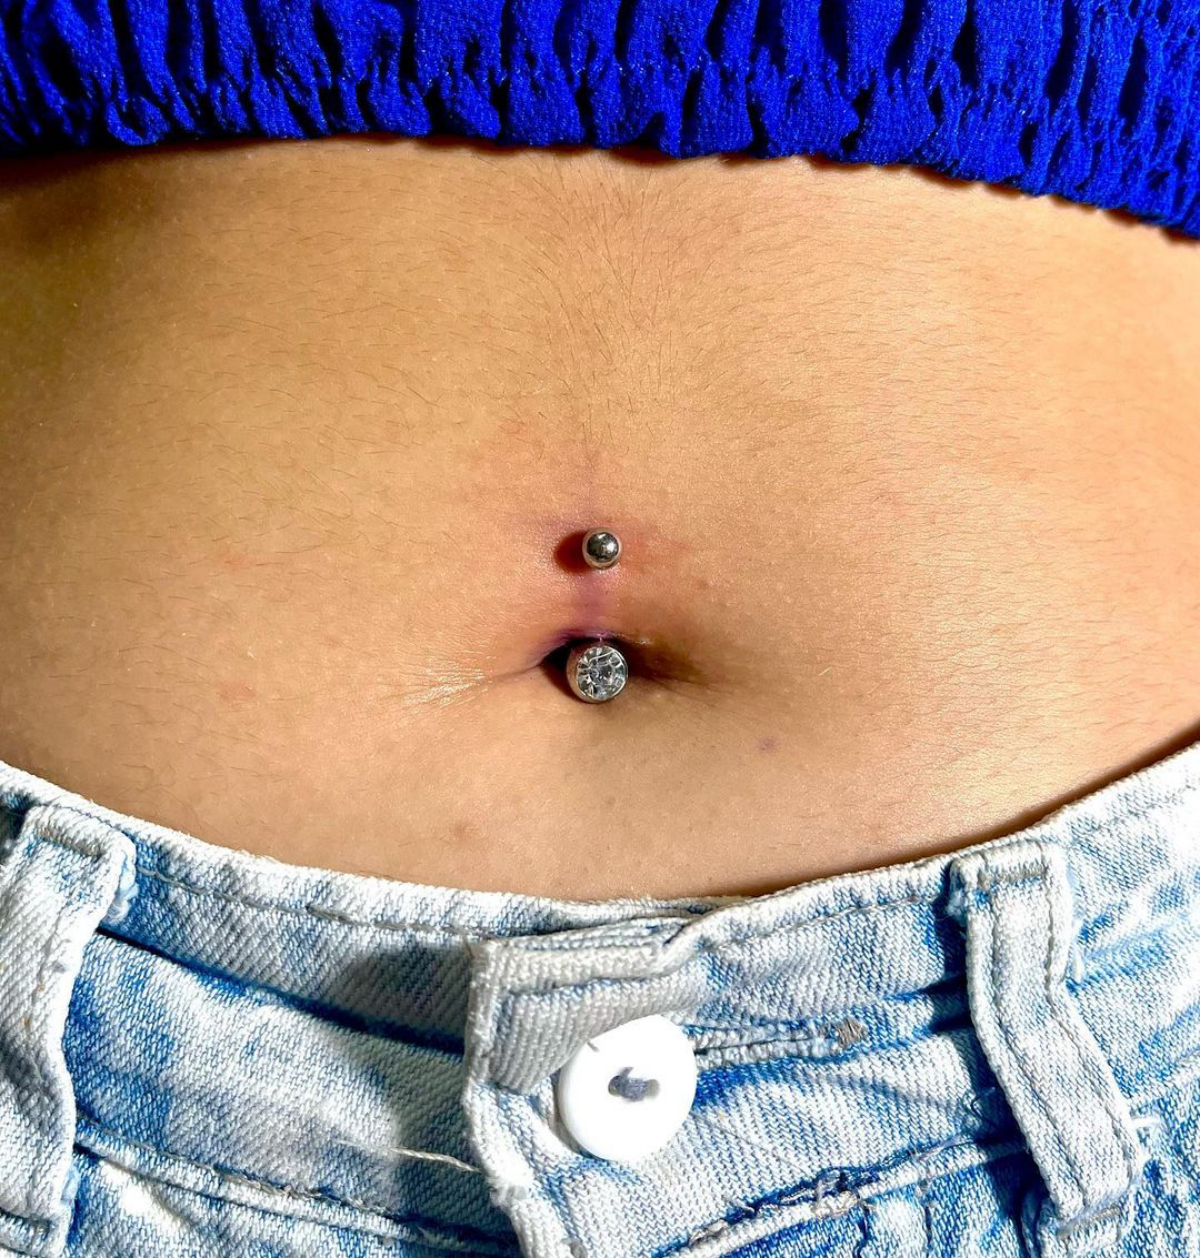
The Importance of a Downsize
Heads up! Your initial barbell will be a bit long to allow for swelling. After about 4-8 weeks, that swelling will be gone, and you’ll need to go back to your piercer for a shorter post. This is called downsizing, and it’s essential. An overly long bar will snag on everything and can cause the piercing to heal crooked. Don’t skip this step!

Galerie d’inspiration
Implant-Grade Titanium: This is the gold standard for initial piercing jewelry. It’s hypoallergenic, lightweight, and nickel-free, which drastically reduces the risk of irritation. Brands like Anatometal, Neometal, and Industrial Strength specialize in this mirror-polished, body-safe material.
‘Surgical’ Steel: This term is often a red flag. It’s a vague classification with no regulated standard for body jewelry, meaning it can contain varying amounts of nickel and other alloys that can cause reactions in sensitive individuals. For a happy healing journey, always insist on verified implant-grade titanium (ASTM F-136).
A navel piercing can take anywhere from 6 to 12 months to fully heal on the inside, even if it looks fine on the outside after a few weeks.
This long healing phase is why patience is your best friend. It means no swimming in pools, lakes, or oceans for at least the first few months to avoid bacteria. It also means protecting the area from friction from high-waisted jeans or belts and continuing your saline spray routine long after the initial tenderness has disappeared. Rushing to change jewelry or abandoning aftercare too soon is the number one cause of bumps and complications.
That flash of sparkle peeking out from a crop top isn’t just a modern trend—it’s a full-blown Y2K revival. The navel piercing became an iconic symbol of 2000s pop culture, sported by superstars like Britney Spears and Christina Aguilera. Today, its comeback is less about rebellion and more about personal adornment and body confidence, fitting perfectly with the resurgence of low-rise jeans, butterfly motifs, and a playful, nostalgic fashion sense.
- Avoid snagging on towels after a shower. Gently pat the area dry with a clean, disposable paper towel instead of a cloth one that can harbor bacteria and catch on the jewelry.
- Resist the urge to twist or turn the barbell. This was old advice that’s now known to cause irritation by breaking the delicate healing tissue.
- Steer clear of harsh chemicals. No alcohol, peroxide, or antibacterial ointments. A simple sterile saline wound wash is all you need.
Is it just irritated or actually infected?
It’s the question every new piercing owner asks. Irritation is common and presents as redness, slight swelling, and clear or whitish fluid that forms “crusties” – this is just lymph fluid, a normal part of healing. An infection, however, is a medical issue. Look for signs like thick, yellow or green pus, a foul odor, skin that’s hot to the touch, and red streaks spreading from the piercing site. If you suspect an infection, see a doctor; for simple irritation, a check-up with your piercer is the best first step.
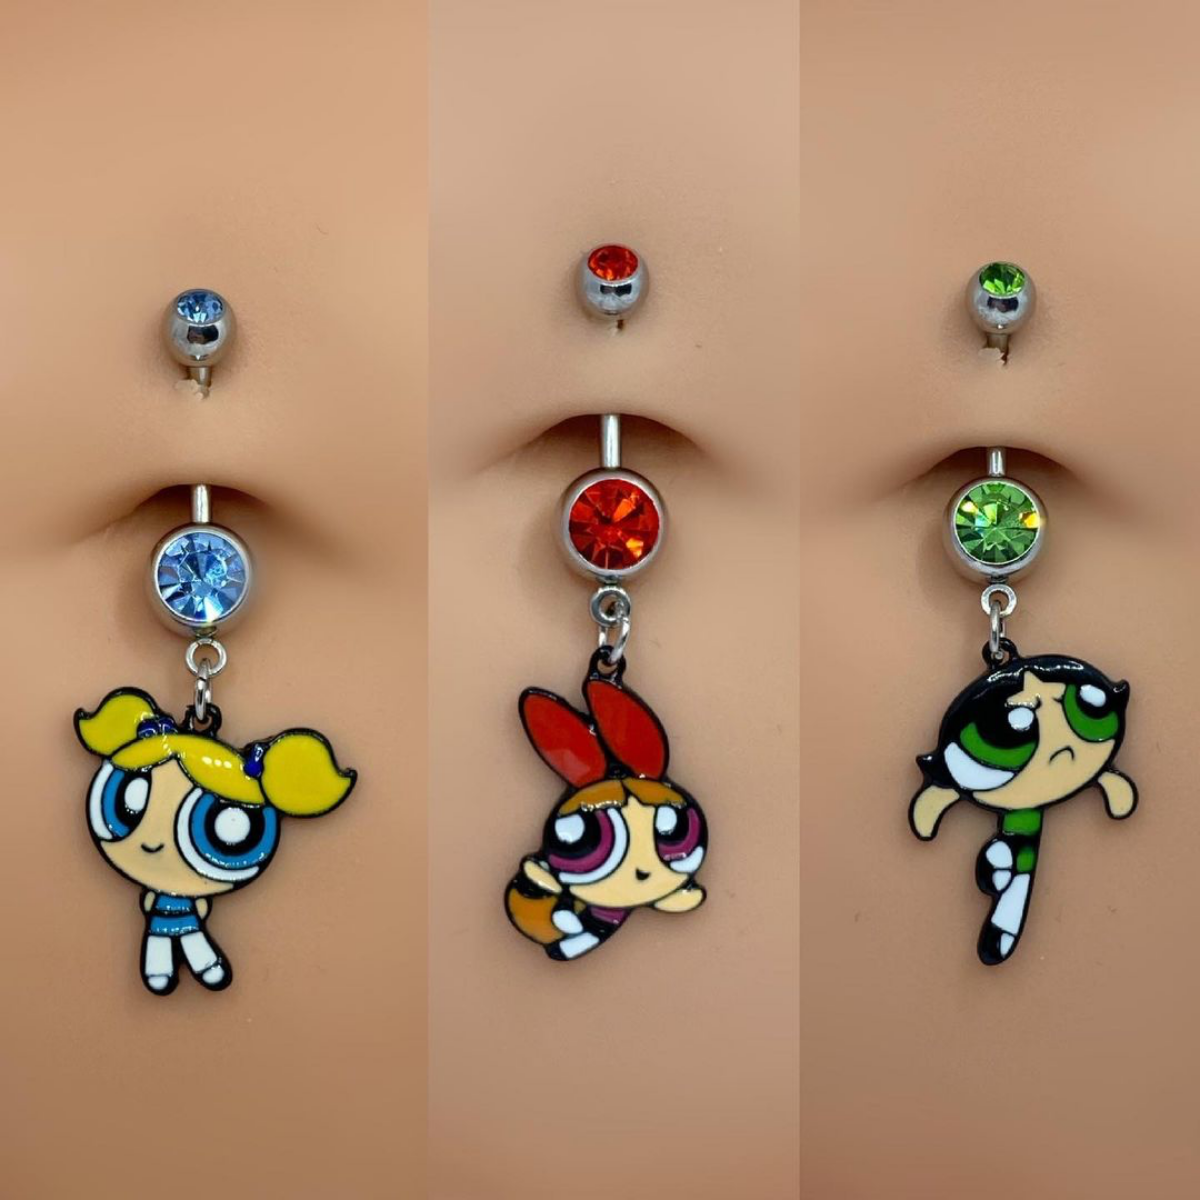
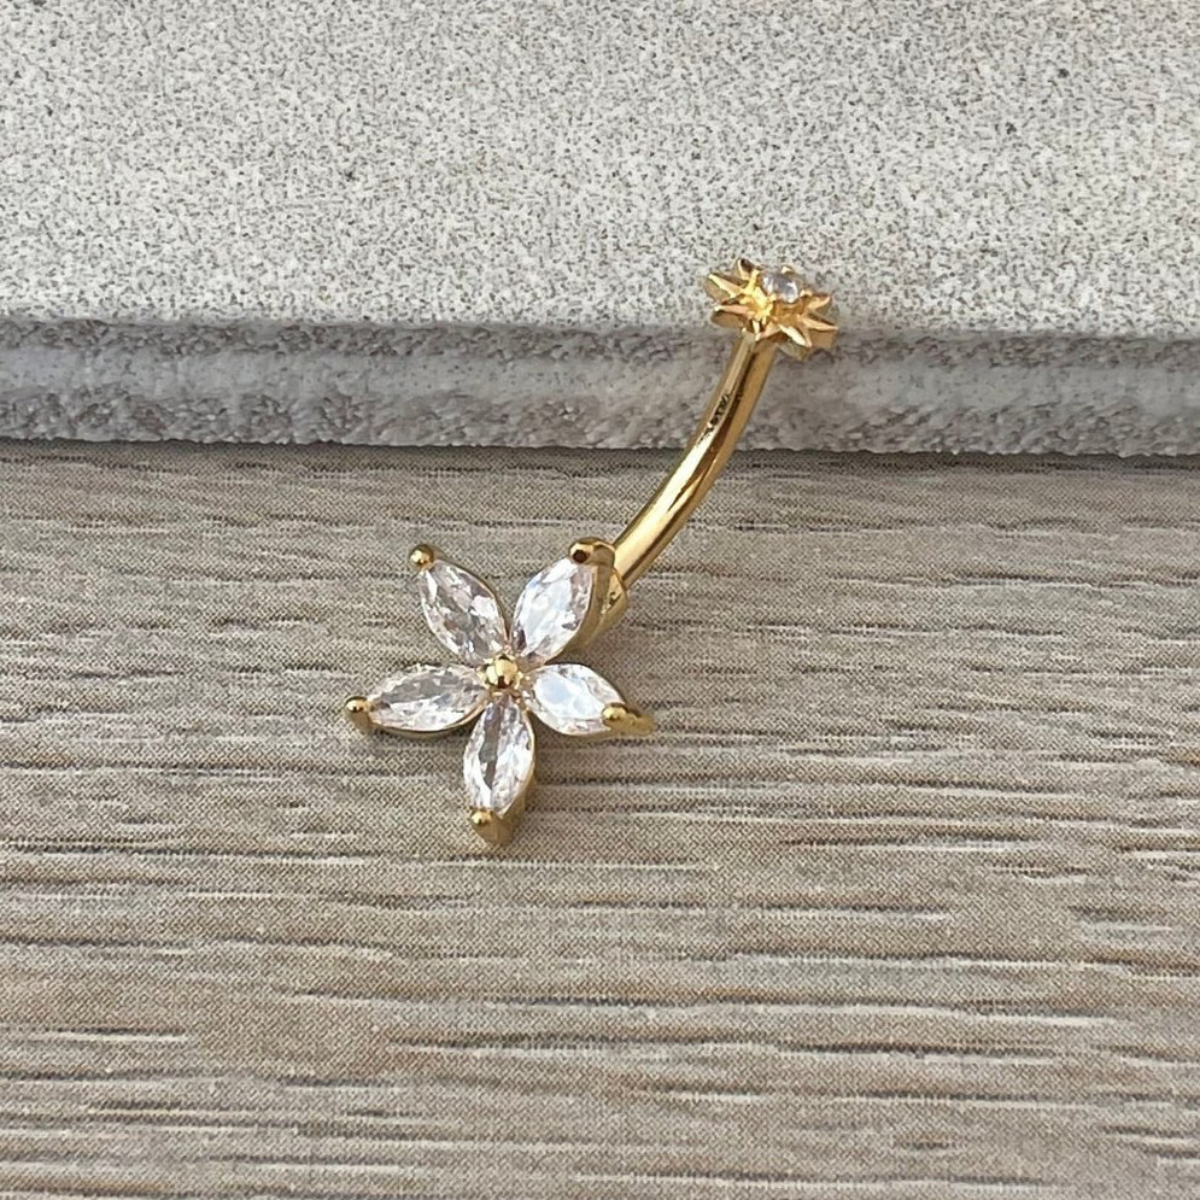
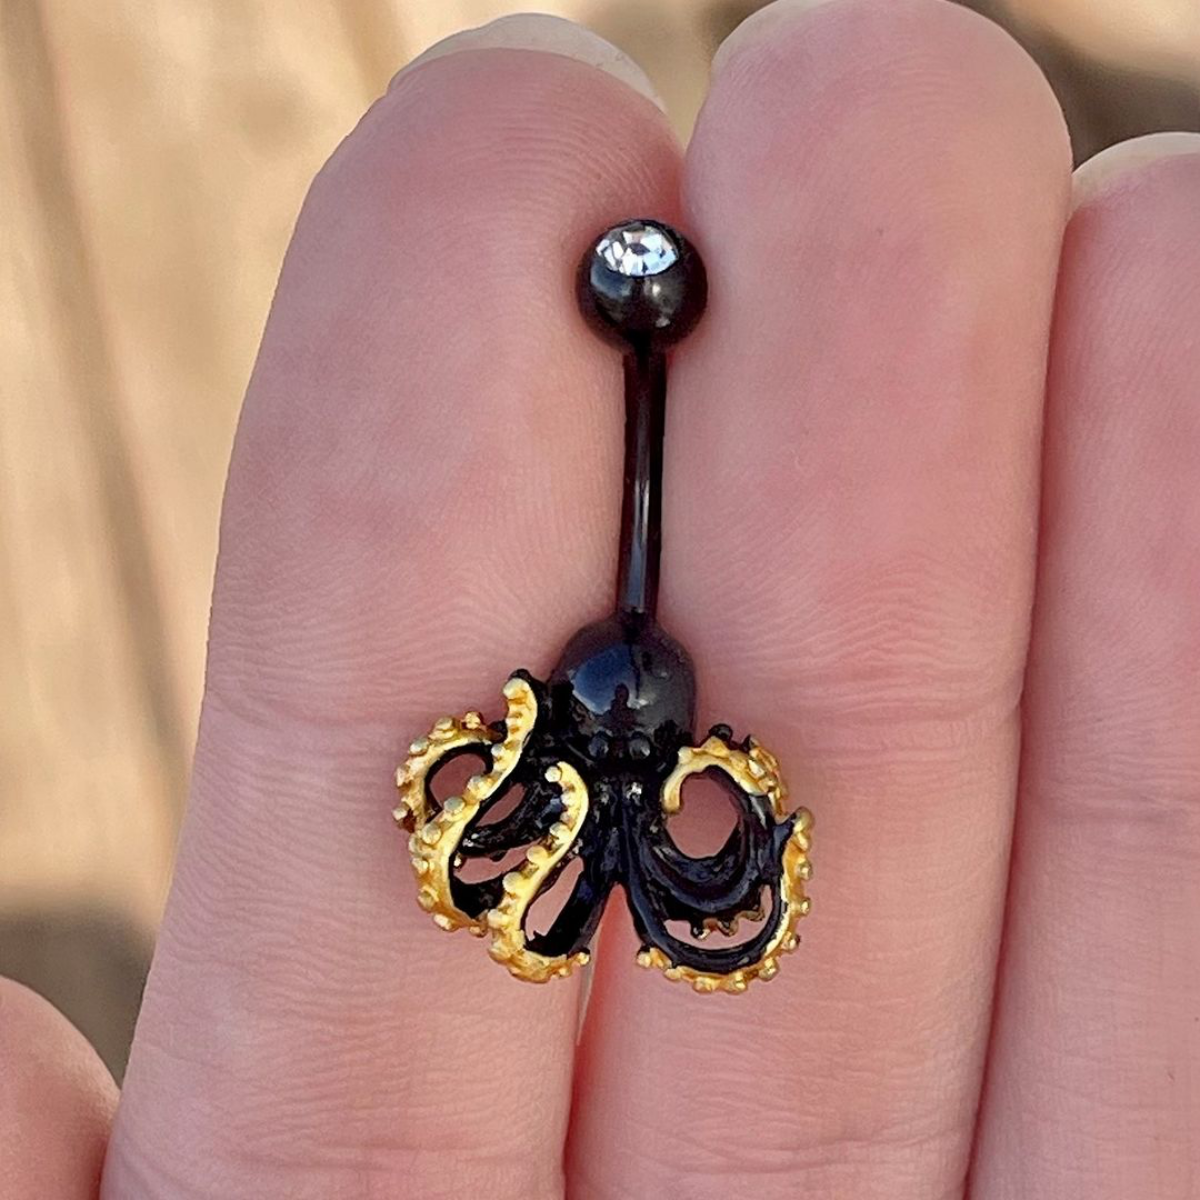
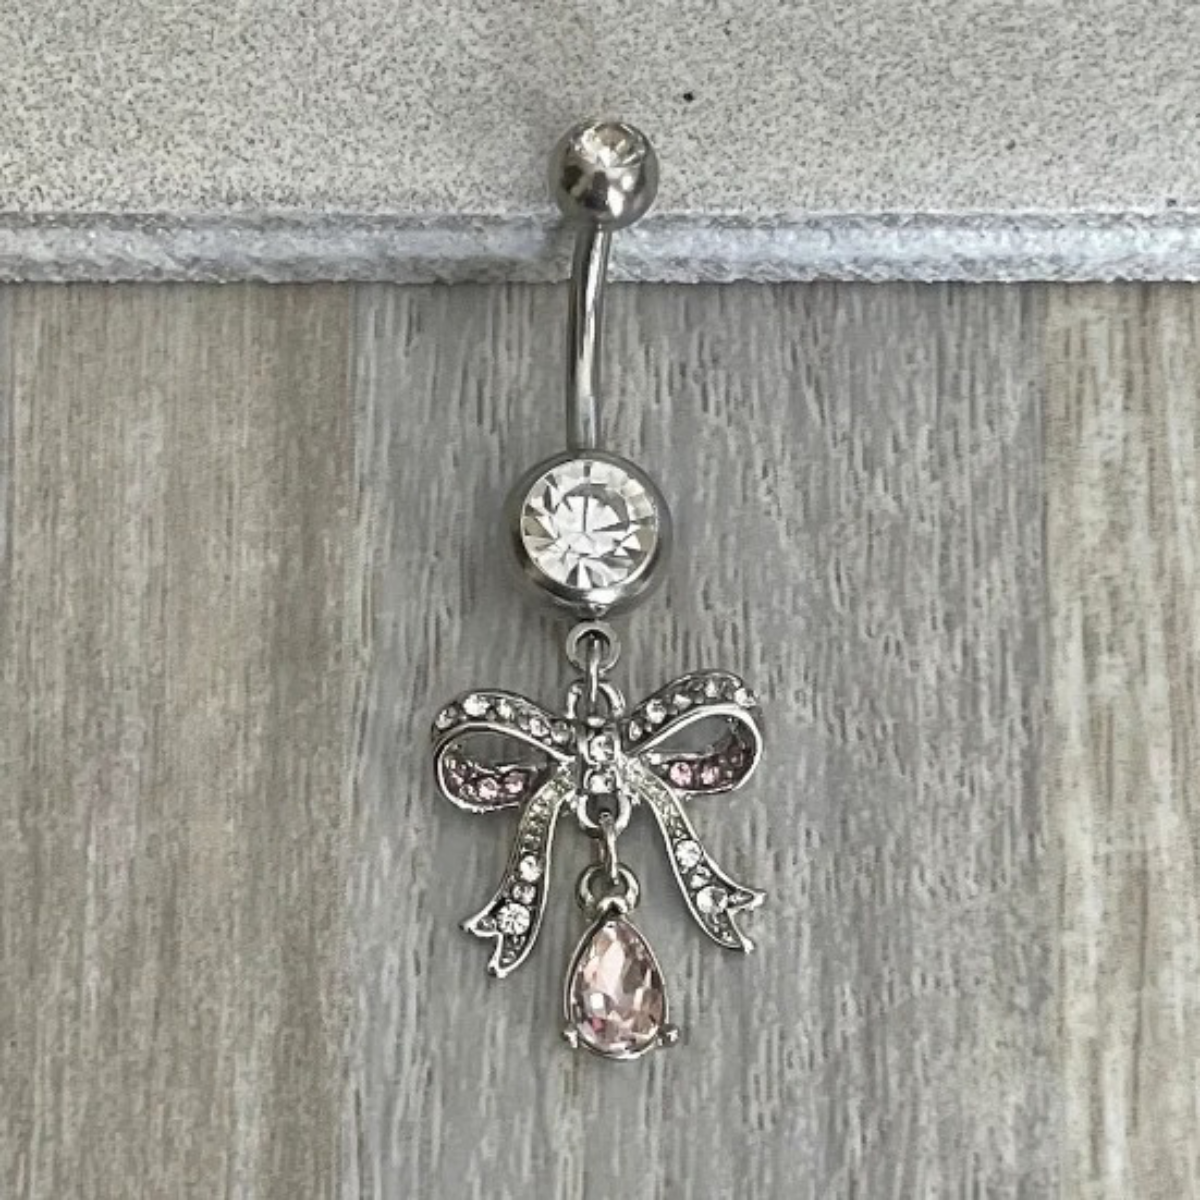
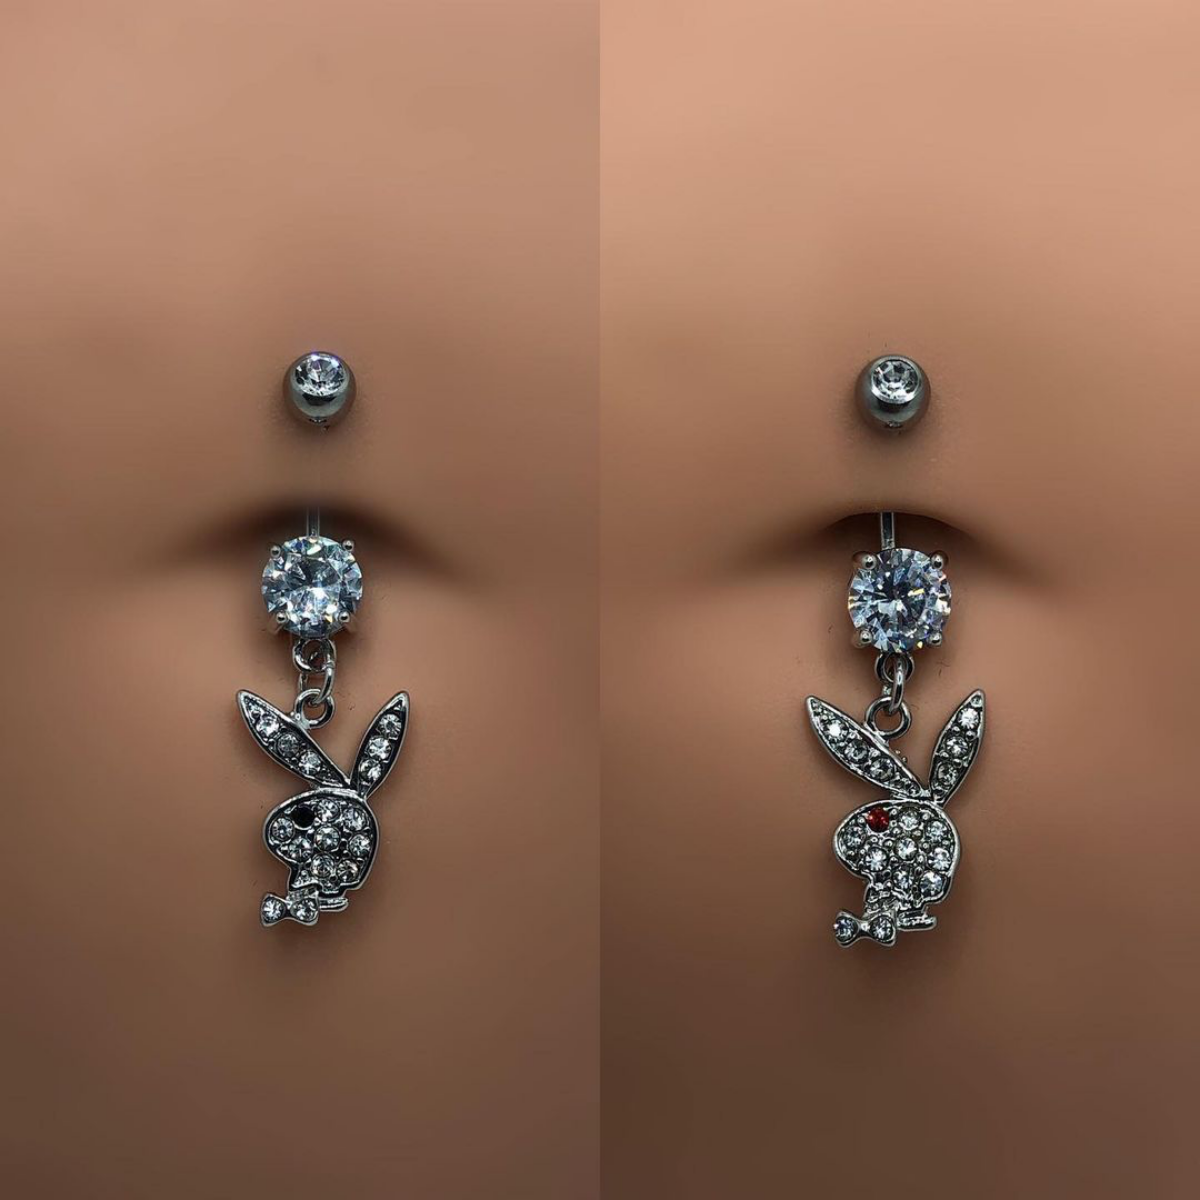
Your style, your statement. Once your piercing is fully healed, the fun of customization begins. Beyond the initial simple barbell, you can explore a world of styles to match your aesthetic:
- Minimalist Chic: Opt for a simple, bezel-set gemstone or a small, polished disc for an understated look that’s perfect for everyday wear.
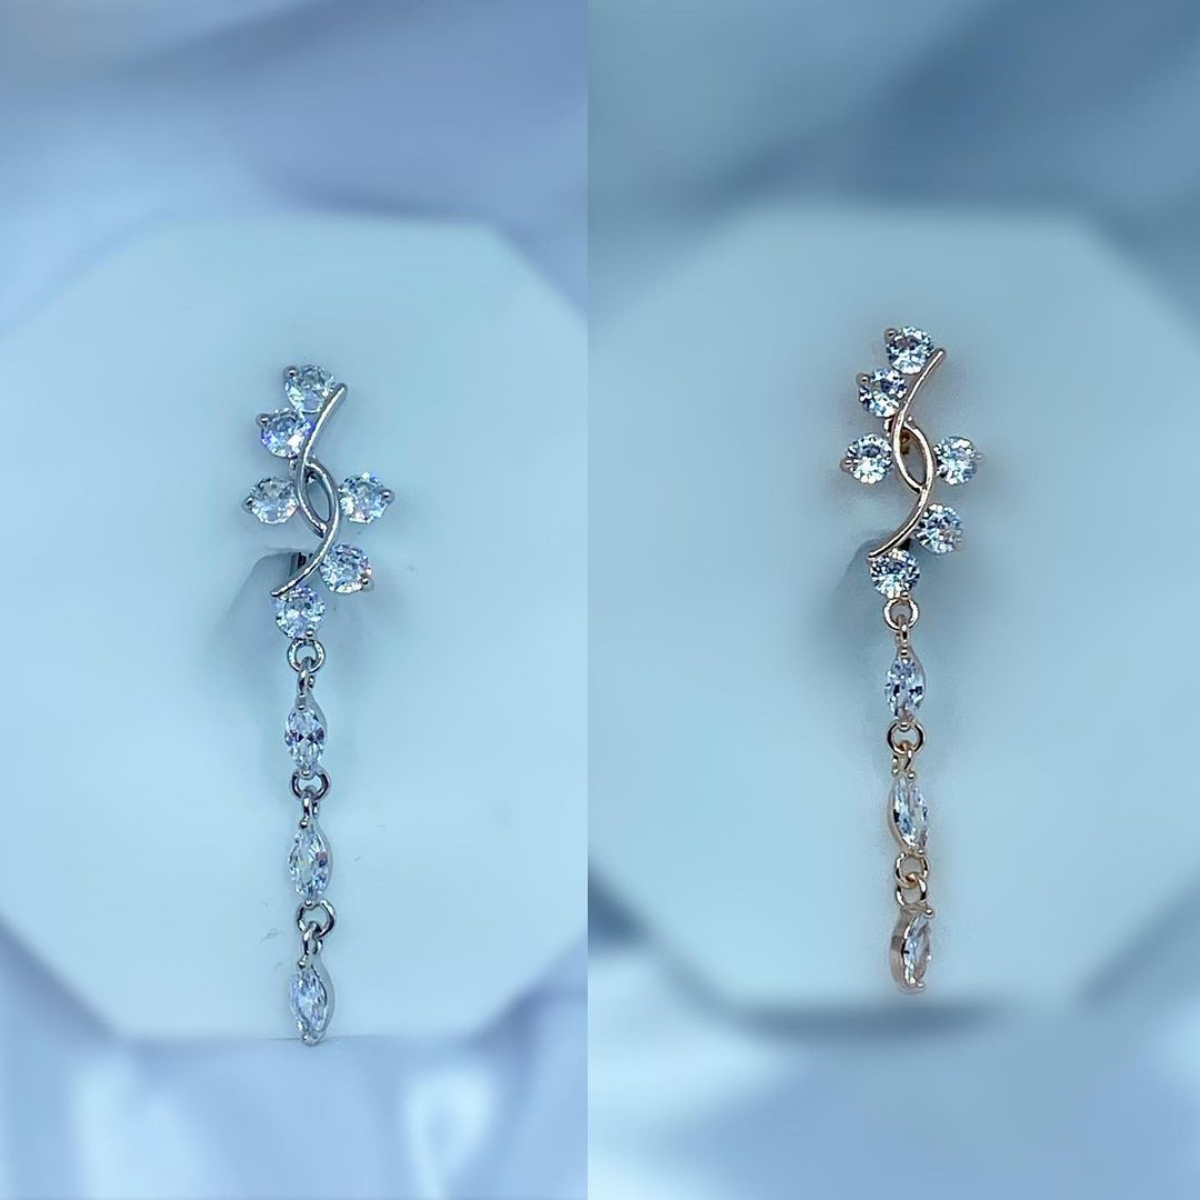
- Elegant Dangles: For a touch of glamour, a dangling charm with chains or crystals adds movement and draws the eye. Just be sure it’s a high-quality piece to avoid snagging.
- The Floating Navel: Even if you have traditional anatomy, a floating navel top with a flat disc base can provide a unique, gem-forward look without the bulk of a bottom ball.


