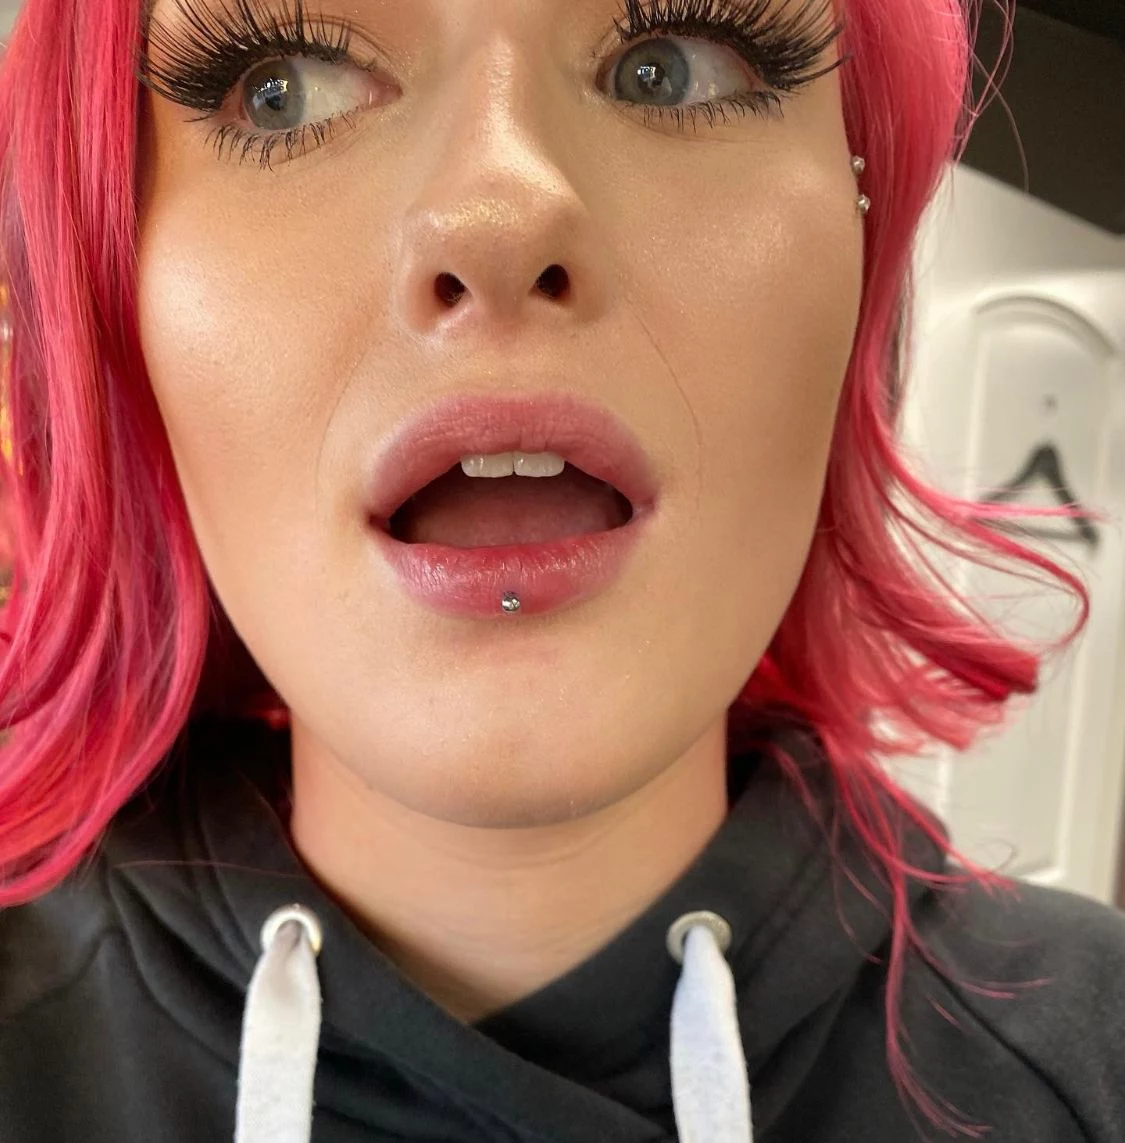
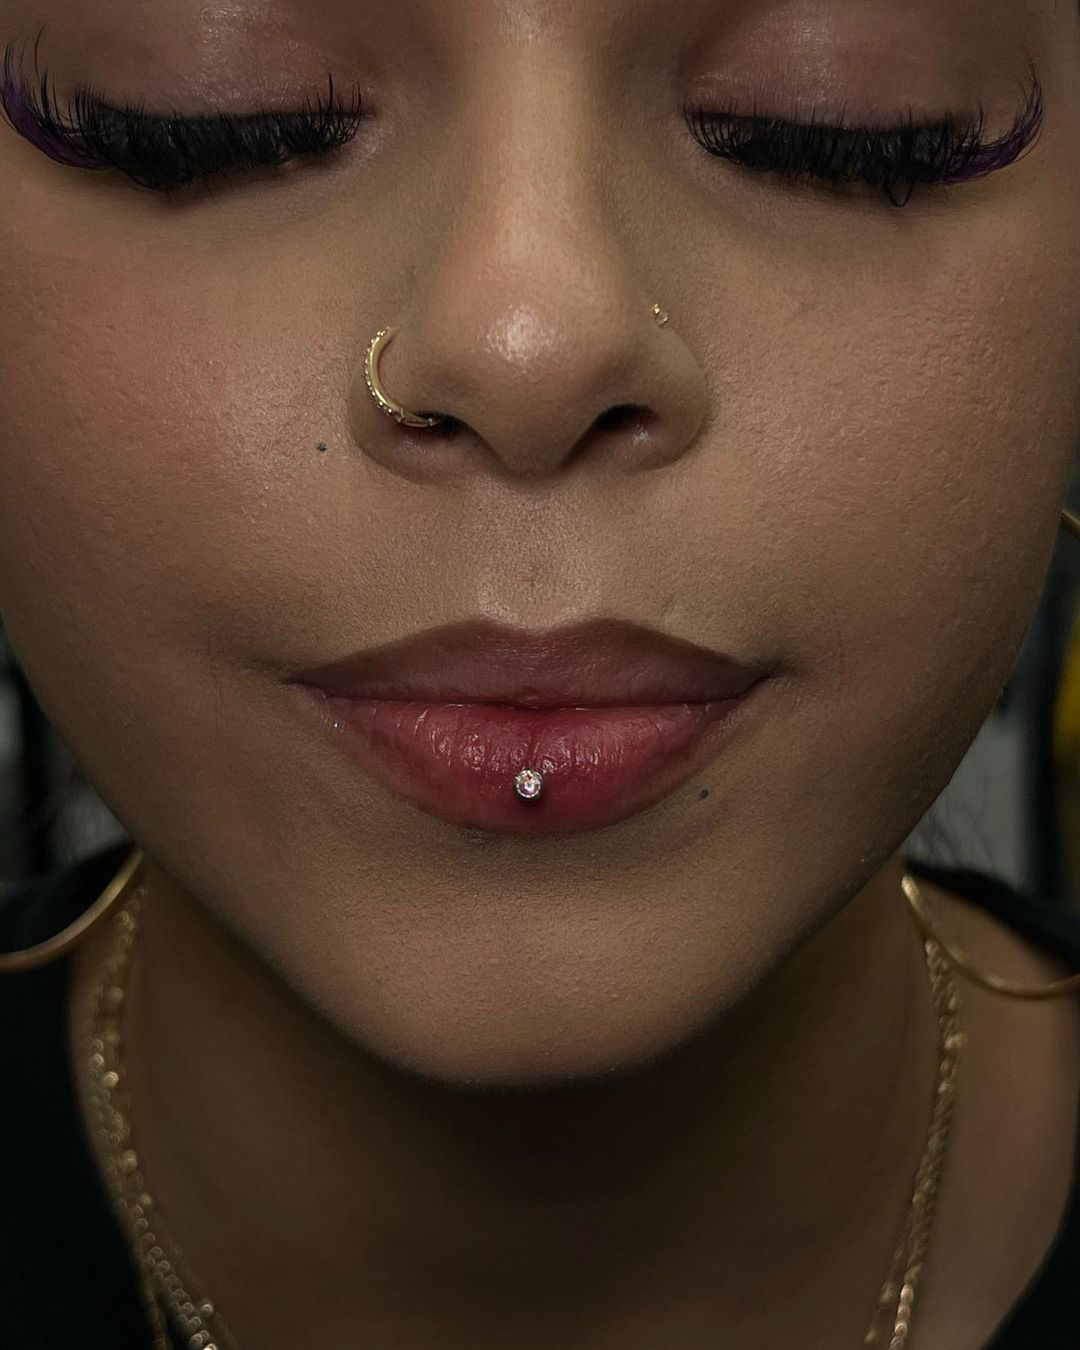
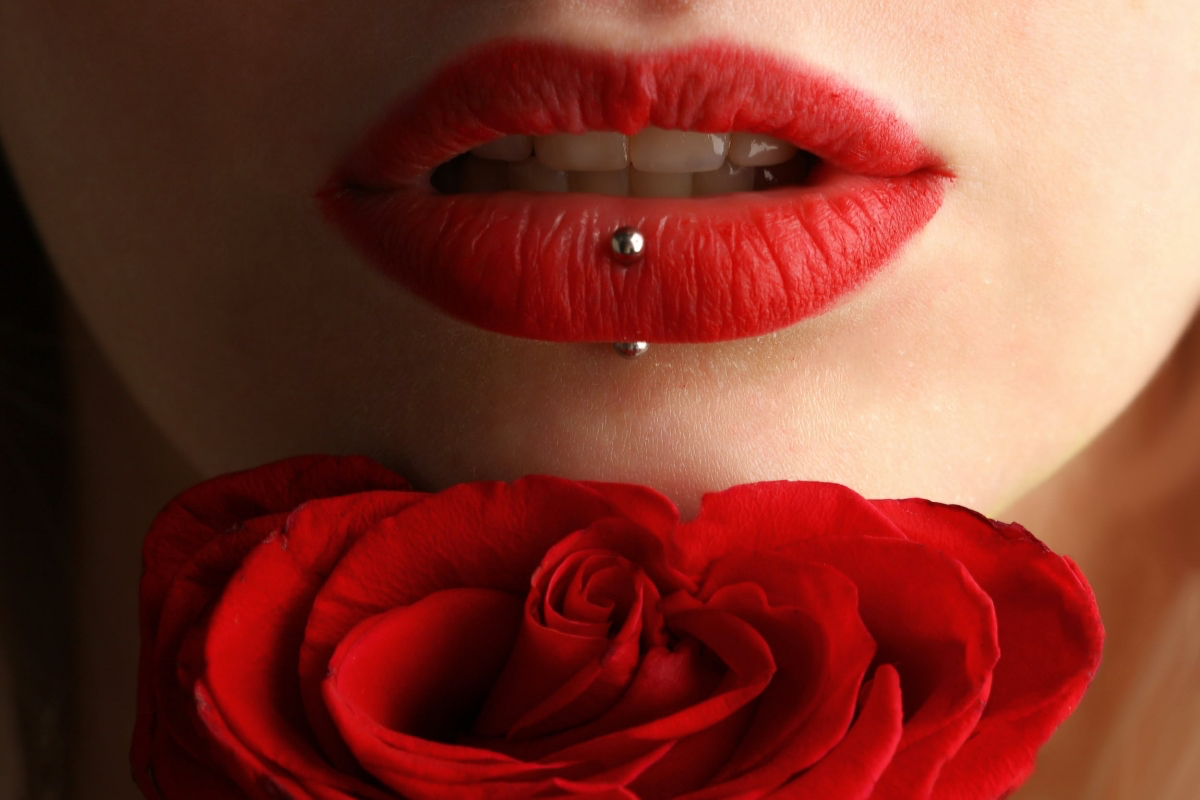
Thinking About an Ashley Piercing? Read This First.
I’ve been a professional body piercer for a long, long time, and I’ve seen piercing trends come and go. But some just have a special kind of staying power, and the Ashley piercing is definitely one of them. It’s that single, elegant gem right in the center of the lower lip. It’s got a minimalist vibe because, unlike other lip piercings, there’s no visible ring or bar—just that one little sparkle on the outside and a flat disc hidden on the inside.
In this article
- So, How Does This Piercing Actually Work?
- The Piercing Process: What to Expect in the Chair
- Is the Ashley Piercing Right for You? Let’s Be Honest.
- Not a Good Fit? Here Are Some Awesome Alternatives
- The Healing Timeline: A 3-6 Month Marathon
- Your Piercing Starter Kit & Aftercare Plan
- Let’s Talk Money & Jewelry
- The Final Word: A Piercing for the Committed
- Galerie d’inspiration
So many people walk into my studio completely captivated by that simple, striking look. And I get it! But my job is more than just making the hole; it’s making sure you know exactly what you’re signing up for. The Ashley is a serious piercing. It passes right through a very active muscle and lives full-time against your teeth and gums. Honestly, it demands a ton of respect, a skilled hand to perform it, and a real commitment from you for aftercare. This isn’t one to get on a whim.
This guide is basically the conversation I have with every single client considering an Ashley. We’re going to get into the nitty-gritty of why the anatomy makes it tricky, what a pro should be doing to keep you safe, and—most importantly—we’ll be brutally honest about the risks, especially to your dental health.
So, How Does This Piercing Actually Work?
Understanding a little bit about your lip anatomy is super helpful, not just for piercers, but for you, too. Your lips are incredibly complex structures. They’re made of muscle, tissue, and are jam-packed with blood vessels and nerves. That’s why placement isn’t just about what looks good; it’s about safety.
The piercing goes through the colored part of your lip (the vermilion) and straight through the underlying muscle that lets you smile, pucker, and talk. A good piercer has to navigate this tissue carefully to avoid causing too much bleeding or hitting a nerve. This is one of those piercings where experience really, really matters.
When I’m marking a spot for an Ashley, I’m doing a full assessment. Am I just looking for the center? Nope. Here’s what’s actually going through my head:
- Lip Fullness: Is there enough plump, healthy tissue to support the jewelry? On very thin lips, the piercing can look strained and has a higher chance of migrating or rejecting over time.
- Your Bite and Teeth: I’ll have you bite down naturally. I need to see exactly where the flat back of the jewelry will rest. The goal is to nestle it in a spot where it sits flush against your gum tissue, ideally between the roots of your two lower front teeth. If it sits right on a tooth, it’s guaranteed to wear away your enamel. If it presses on your gum line, it will cause gum recession. There’s no way around that.
- Your Frenulum: We also have to check that little web of tissue that connects your lip to your gum. The piercing has to be placed so it doesn’t interfere with it.
Getting this right is what minimizes the long-term dental risk and ensures the piercing looks balanced whether you’re smiling or just relaxing your face.
The Piercing Process: What to Expect in the Chair
A professional piercing should always feel calm, clean, and controlled. First things first, we’ll have a chat. I’ll ask about your health and any metal sensitivities, and I’ll do that anatomy check we just talked about. This is the moment where we decide if this is a genuinely safe option for you. If not, a responsible piercer will suggest some cool alternatives.
Once we’re good to go, you’ll do some paperwork, then head to the piercing room. You’ll rinse with an alcohol-free antiseptic mouthwash while I get my sterile setup ready. I’ll clean your lip, put on sterile gloves, and make a tiny dot with a single-use marker. You get the final say! We’ll hold up a mirror and you can check it from every angle until you’re 100% happy.
The piercing itself is super fast. I’ll have you take a deep breath in and exhale slowly. On the exhale, I’ll pass a brand-new, sterile, single-use needle through your lip. It literally takes a second. Immediately after, the jewelry is threaded in, and it’s done. On a pain scale? Most clients put it around a 6/10—it’s a sharp, intense pinch that’s over much faster than a cartilage piercing but a bit more intense than a nostril piercing. The anticipation is usually the worst part.
Is the Ashley Piercing Right for You? Let’s Be Honest.
This is a high-maintenance piercing with real, long-term risks. It’s way better to decide against it now than to deal with a chipped tooth or receding gums later.
You might be a great candidate if…
- You have full lips with enough tissue to cushion the jewelry.
- Your teeth and gums are in excellent health (a pre-piercing dental check-up is a fantastic idea).
- You are genuinely committed to a strict aftercare routine for several months. No slacking!
- You promise to come back for your downsize appointment. It’s not optional.
Heads up! You should probably skip this one if…
- You have thin lips. The risk of rejection and oral damage is just too high.
- You wear braces or other orthodontics. It’s a recipe for snagging and injury.
- You already have gum disease, recession, or weak enamel. I’ve seen this piercing accelerate dental damage, and it’s not worth the risk.
- You play contact sports. The chance of it getting ripped out is huge.
- You’re a fiddler. If you know you’ll click the jewelry against your teeth, you will destroy your enamel. You have to be able to leave it completely alone.

Not a Good Fit? Here Are Some Awesome Alternatives
If the Ashley isn’t in the cards for you, don’t worry! There are other piercings that give a similar vibe with fewer dental risks.
A great option is the Vertical Labret. This piercing goes vertically through the lip itself, so one ball sits where an Ashley gem would, and the other sits just underneath the lip. The best part? Nothing is inside your mouth, so it has ZERO risk of tooth or gum damage. The healing can be a little fussier since it’s a surface piercing, but it’s a fantastic, safe alternative.
Another choice is a Standard Labret. This is placed in the skin just below the lower lip line. While the flat back is still inside your mouth, its position is much lower, reducing (but not eliminating) the risk of tooth damage. It’s mainly a risk for gum recession on the lower gums, so it still requires careful placement and downsizing.

The Healing Timeline: A 3-6 Month Marathon
Weeks 1-2: The Swelling is Real. This is the toughest part. Your lip will swell up, possibly a lot. Talking and eating will feel weird. To survive, stick to soft, non-irritating foods. Think smoothies, yogurt, oatmeal, lukewarm soups, and mashed potatoes. Gently applying a cold compress can be a lifesaver.
Weeks 2-8: The Healing Begins. Swelling will slowly subside. You’ll notice some crusties forming on the outside—this is just dried lymph fluid and totally normal. Just soften it with saline spray and gently wipe it away. Don’t pick!
The Crucial Downsize (Around 4-6 Weeks): This is the most important appointment you’ll have. Once the initial swelling is gone, you MUST go back to your piercer to have them swap the initial long bar for a shorter one. A quick, painless jewelry change is all it is—not a re-piercing! This step is critical to protect your teeth and gums from the constant rubbing of a bar that’s too long.

By the way, a personal story: I once had a client who skipped their downsize. They said their lip felt fine. Six months later, their dentist showed them the irreversible gum recession happening behind their lower incisor. It’s a silent risk that you won’t feel until the damage is done.
Months 3-6+: Maturation. It might look healed, but the fistula (the tube of tissue inside) is still getting strong. Keep up with your aftercare and don’t change the jewelry for fun until you’re past the 4-month mark, at least.
Your Piercing Starter Kit & Aftercare Plan
Proper aftercare is simple. Here’s what you’ll need:
- Sterile Saline Wound Wash: You can find this at any pharmacy for about $8-$15. Make sure the only ingredients are 0.9% sodium chloride and water.
- Alcohol-Free Mouthwash: A bottle will run you about $5-$10. The alcohol-free part is non-negotiable.
The Routine:
– Outside: Spray the saline directly on the piercing twice a day. Let it soak for a minute, then pat dry with a clean paper towel (no cotton balls—their fibers get snagged). Avoid harsh stuff like alcohol or peroxide; they just irritate the healing tissue.
– Inside: Rinse with your alcohol-free mouthwash for 30-60 seconds after every meal and before bed. Also, a quick rinse with plain water after a snack or sugary drink is a great habit.
And for a few weeks… sorry, but no kissing! Your partner’s bacteria is foreign to your open wound, so it’s best to wait. Also avoid swimming in pools or lakes, and definitely no smoking, as it can seriously delay healing.
Let’s Talk Money & Jewelry
First, let’s break down the total investment. You’re looking at a few separate costs. The piercing service fee itself will likely be between $40 and $80, depending on the piercer’s experience and location. Then, you have to buy the initial jewelry. A basic, implant-grade titanium labret stud usually costs between $30 and $50. Finally, don’t forget the downsize post you’ll need a few weeks later, which is typically another $15 to $25. All in, you should budget around $85 to $155+ for a safe, complete experience.
For your initial piercing, the material is everything. We only use implant-grade materials like ASTM F-136 Titanium or Niobium. Solid 14k or 18k gold (never plated!) from reputable, professional-only brands is also a safe bet. Stay away from vague terms like “surgical steel,” which often contains nickel and can cause nasty reactions.
Good to know: Those beautiful, high-end decorative ends you see online? You purchase those through your piercer’s studio to ensure they are from a safe manufacturer and will fit your post correctly.
The Final Word: A Piercing for the Committed
The Ashley is a stunning piercing, but it’s a true commitment to a challenging heal and the lifelong duty of monitoring your oral health. When it’s done right and cared for properly, it’s absolutely beautiful. But be honest with yourself. If you’re not ready for the dental risks or the strict aftercare, it’s smarter to choose something else.
Your first step? Find a truly reputable professional. A great place to start is the website for the main professional piercers’ association—they have a member locator tool that can help you find a qualified piercer in your area. Your health is always the top priority. A beautiful piercing starts with a healthy one.
Galerie d’inspiration
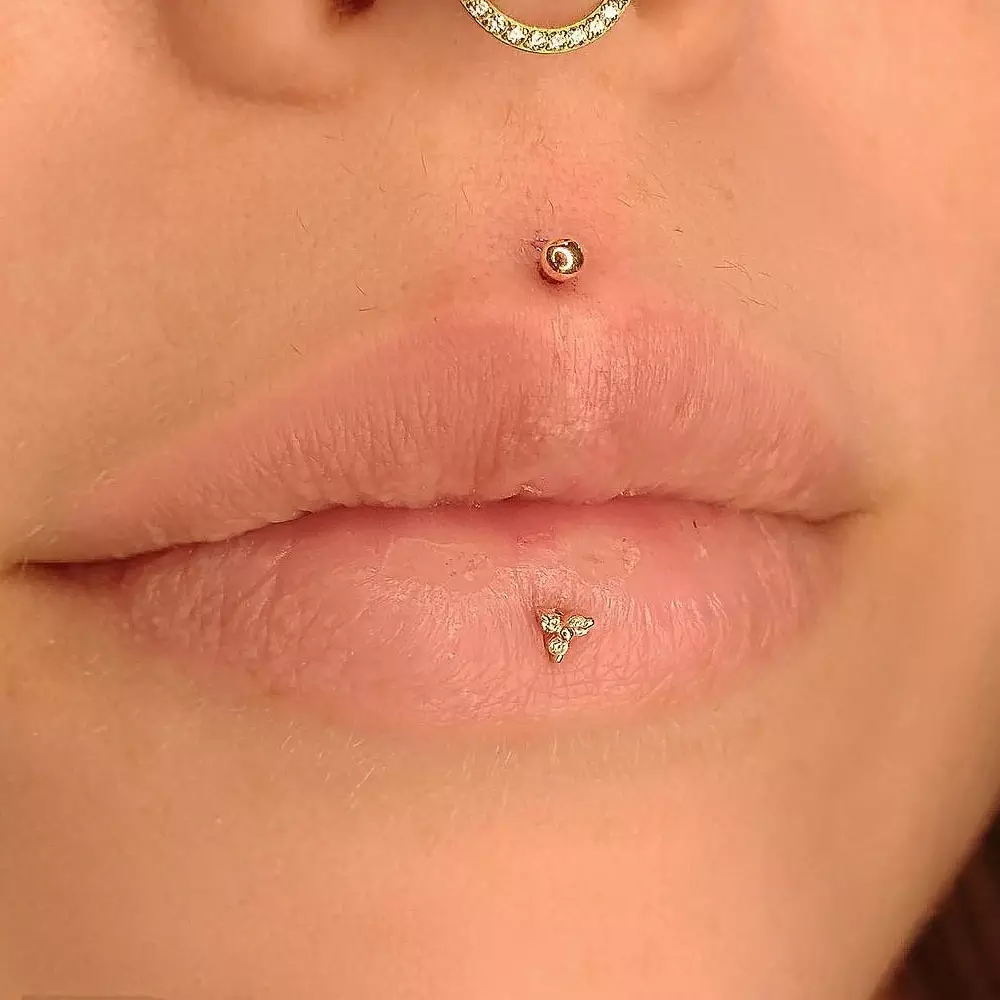

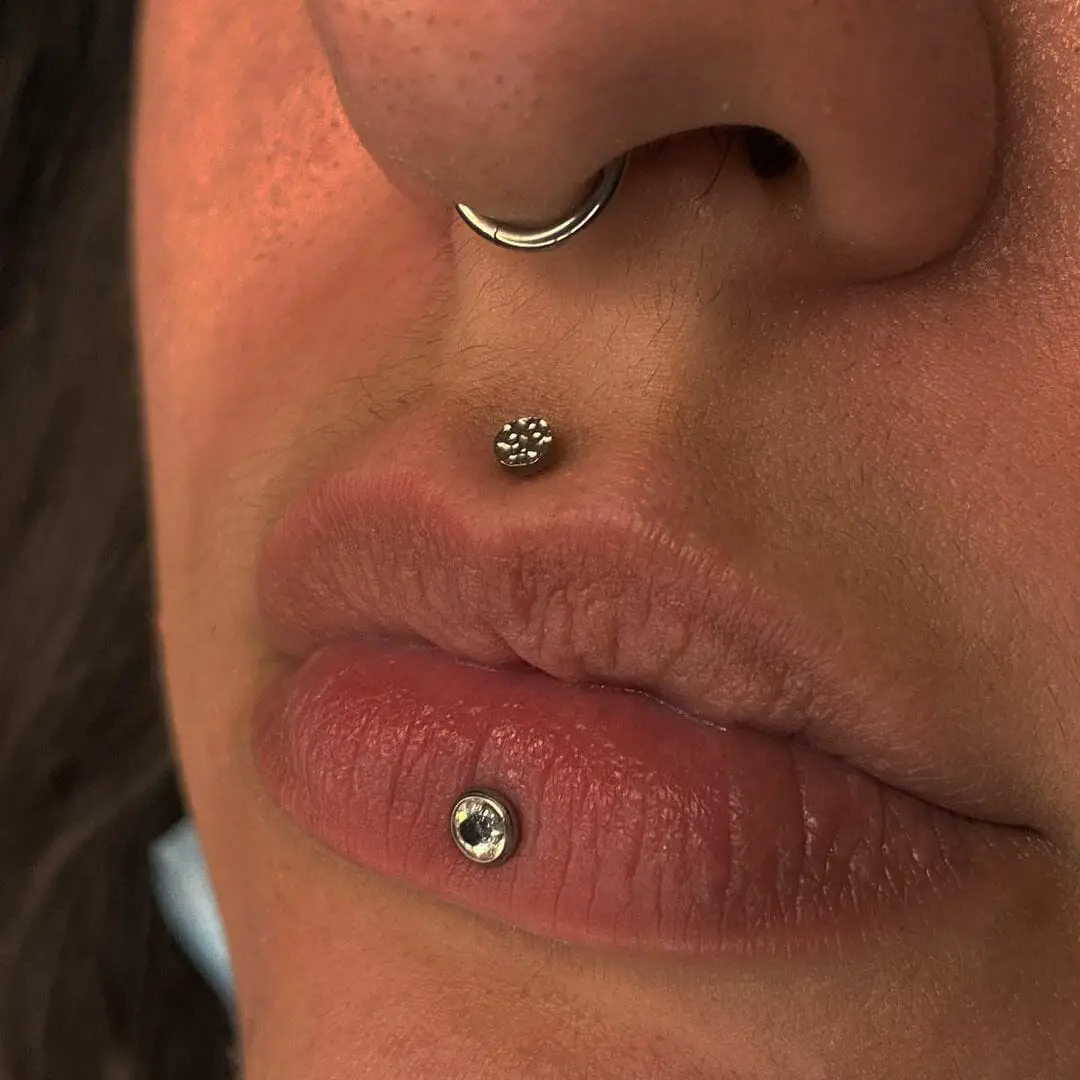
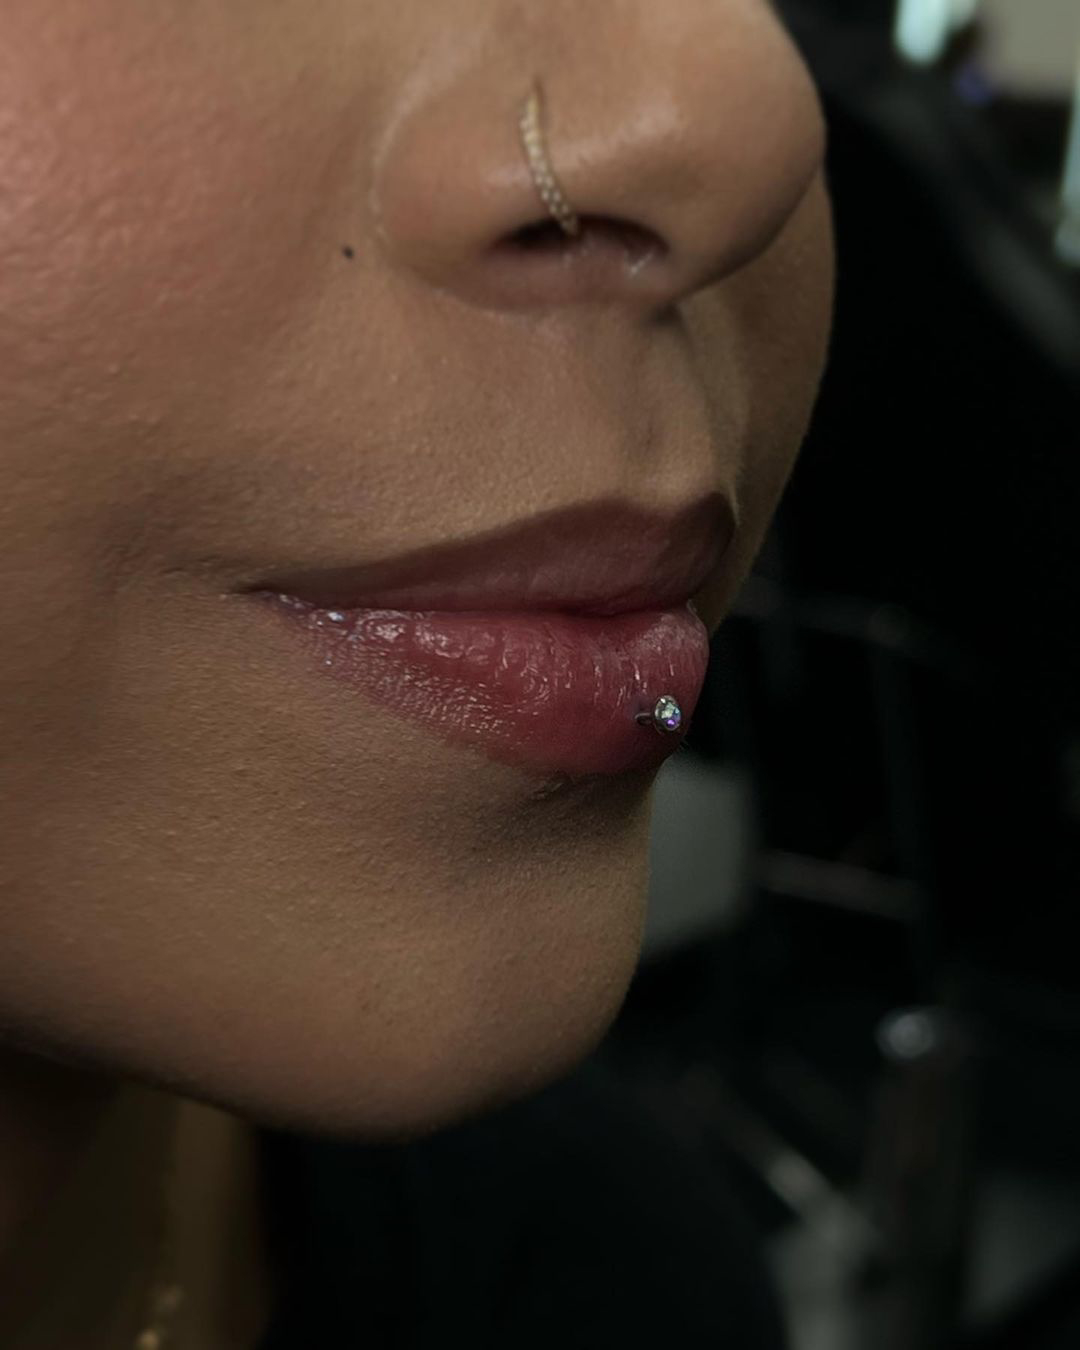
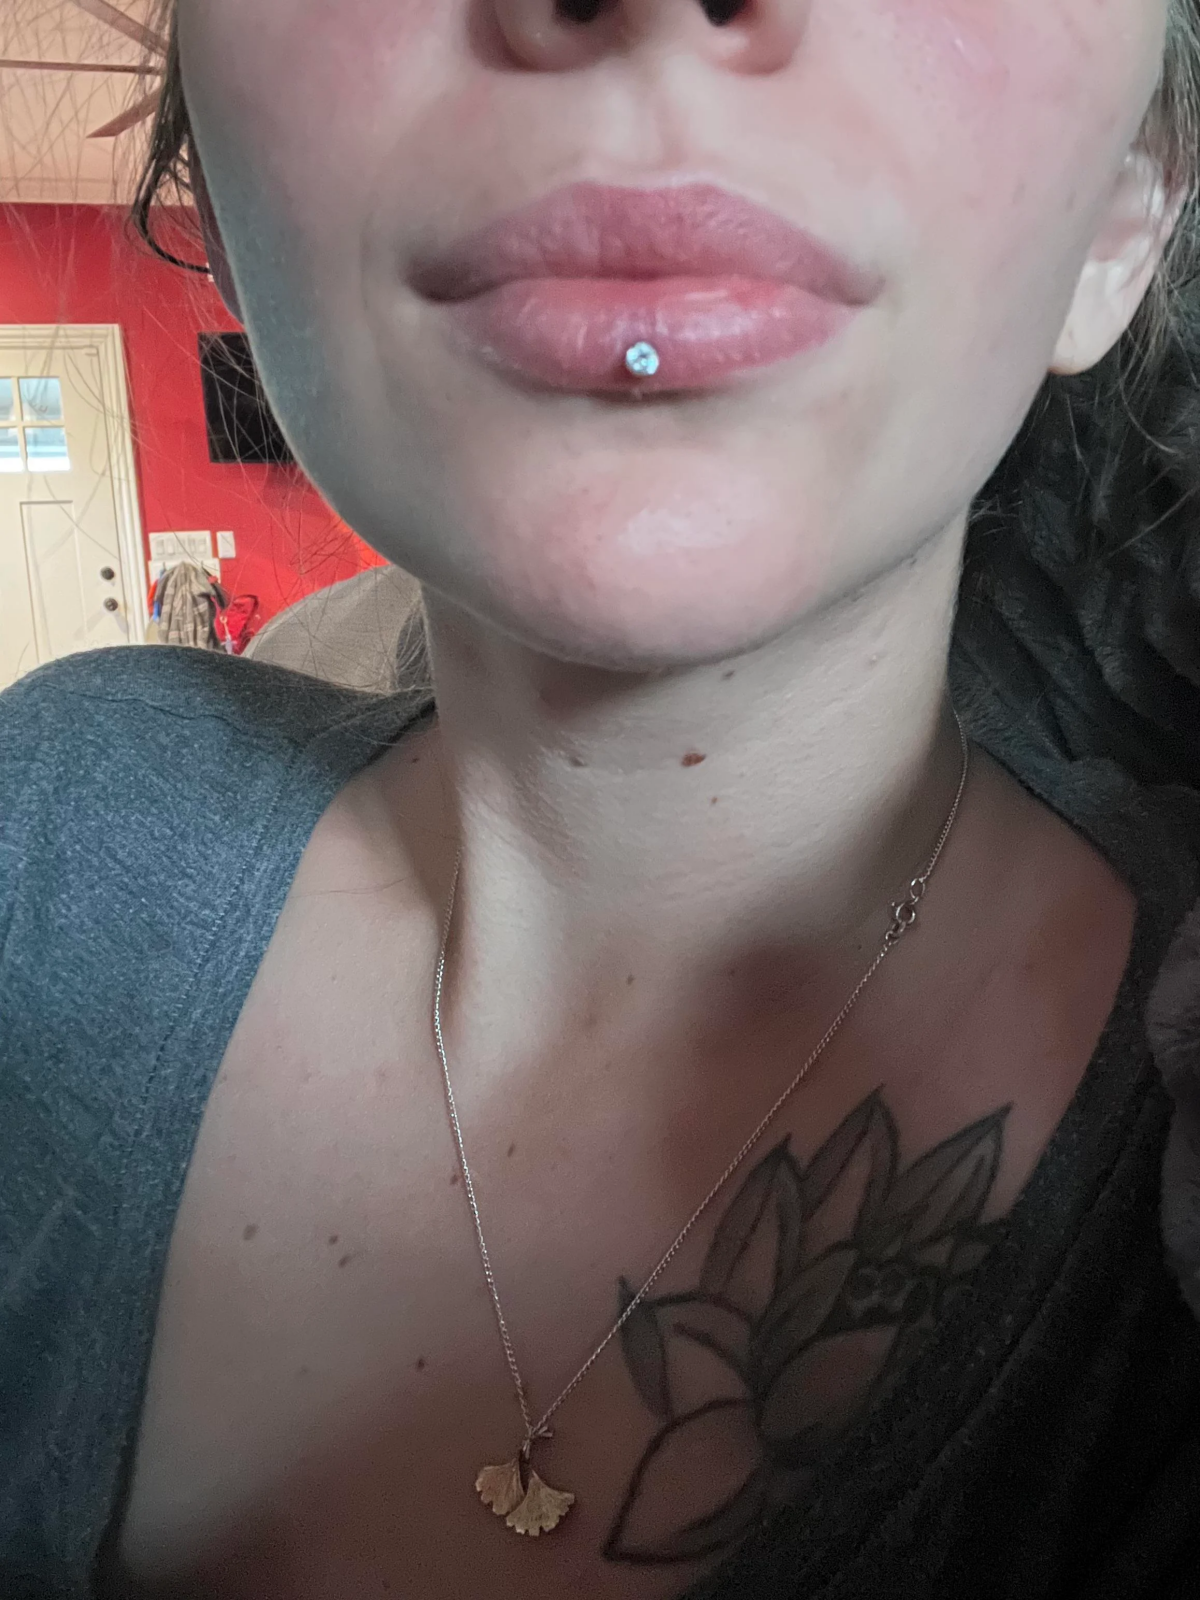
The Ashley Piercing: A true lip piercing, the flat-back labret stud sits directly against your teeth and gums, creating that iconic single gem look. This proximity is the primary source of risk for long-term tooth enamel and gum erosion.
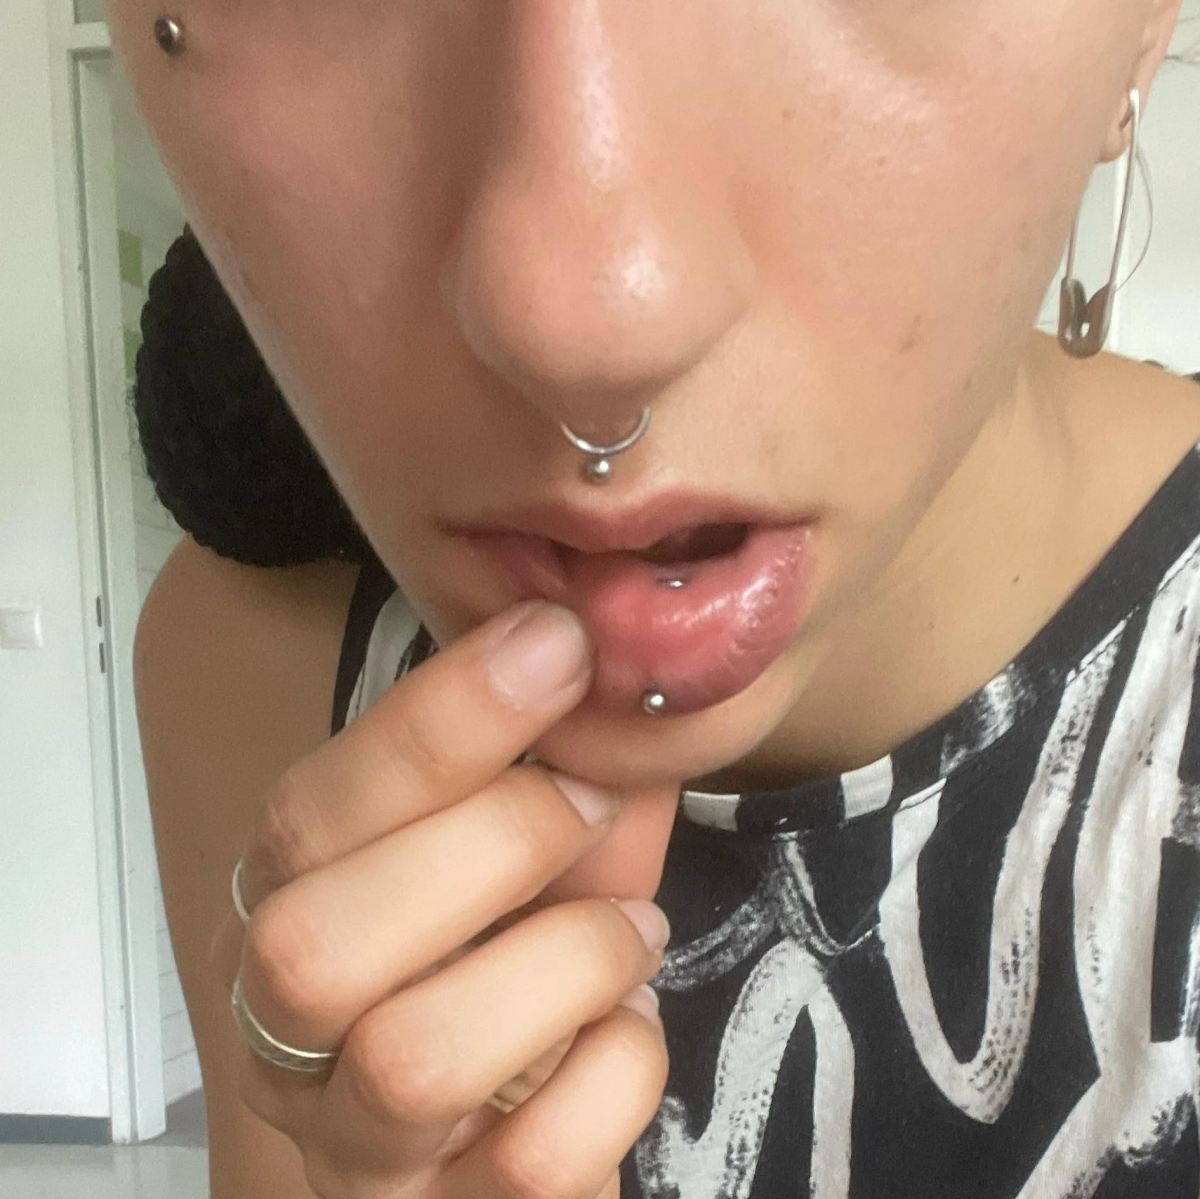
The Vertical Labret: Often mistaken for an Ashley, this piercing goes vertically through the lip, never entering the mouth. It uses a curved barbell, with one bead sitting where an Ashley gem would be and the other emerging below the lip line. It gives a similar aesthetic without the dental risk.
If a piercer expresses concern about your anatomy for an Ashley, the vertical labret is often the recommended, safer alternative.
So, what’s the healing process *actually* like, day to day?
Be prepared for significant swelling for the first 3 to 5 days. Your lip will feel tight, tender, and talking might feel a bit strange. This is why a good piercer uses a longer initial bar—to accommodate this swelling. Eating will be a learning curve; start with soft, non-spicy foods and take small bites. You’ll be rinsing with water after everything you eat or drink besides water. The most crucial step is the

Your initial jewelry should be nothing less than implant-grade titanium (ASTM F-136).
Don’t be tempted by cheaper
Ready for your aftercare kit? Keep it simple and sterile. Here’s exactly what you need:
- A sterile saline wound wash spray, like NeilMed Piercing Aftercare. Avoid DIY salt soaks, which are often too harsh.
- A new, soft-bristled toothbrush to prevent introducing old bacteria into your mouth.
- An alcohol-free, gentle mouthwash for rinsing after meals.
- Paper towels for patting the exterior dry; cloth towels can harbor bacteria and snag the jewelry.


