Thinking About a Permanent Bracelet? A Jeweler’s Honest Advice
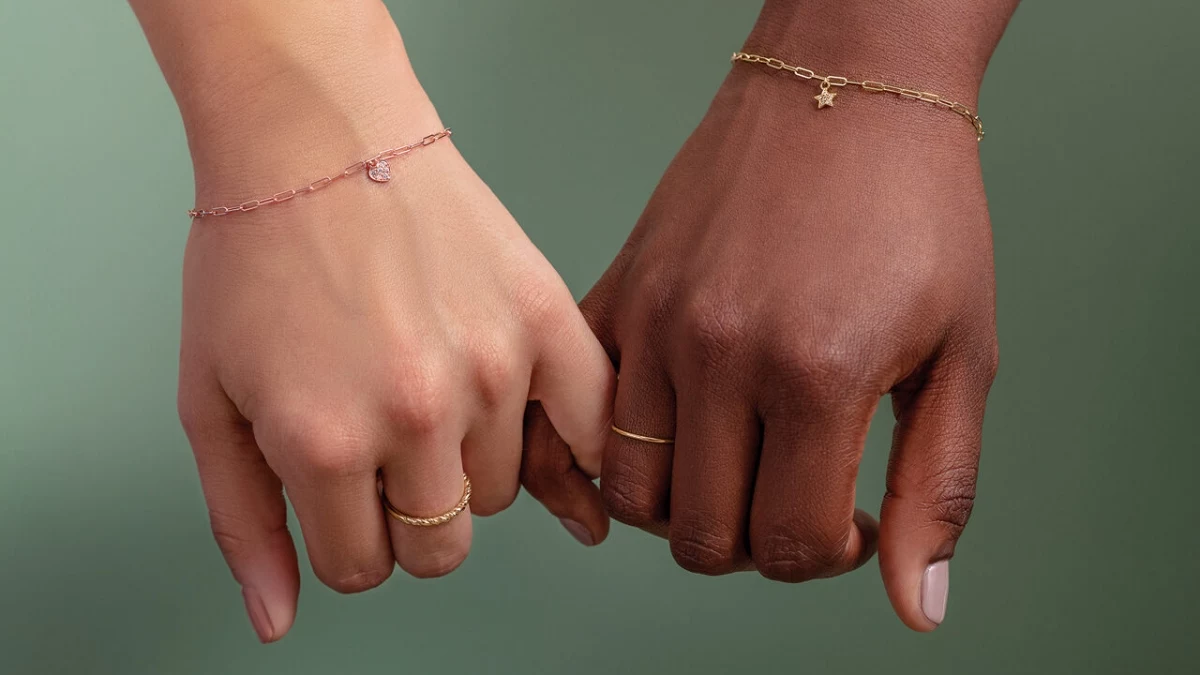
As someone who’s worked behind the jeweler’s bench for years, I’ve seen trends come and go. But the whole permanent jewelry thing? It’s different. It feels less like a fleeting style and more like a personal statement, a modern-day friendship bracelet that’s a whole lot more elegant. People come in looking for a seamless, beautiful piece of metal that becomes part of their story, welded right onto their wrist.
In this article
First things first, let’s clear the air on what this actually is. The word “permanent” can sound a bit intimidating, but the process is completely painless and doesn’t break the skin at all. A trained pro uses a very precise micro-welder to create a tiny spark that zaps a single link of a chain shut. It’s over in a flash. My goal here is to give you the real inside scoop—the kind of advice I give my own clients—so you know exactly what you’re getting into.
How Does the Welding Actually Work?
The magic comes from a high-tech tool called a pulse-arc welder. This isn’t your grandpa’s soldering iron. It creates a focused electrical arc that generates an incredibly hot, incredibly brief burst of heat. This tiny point of heat instantly melts the two ends of an open chain link, fusing them together into a solid, seamless piece. The whole process is so fast the heat literally has no time to travel to your skin.
Here’s a pro tip that separates the good studios from the great ones: they’ll use an inert gas, usually argon. As the welder zaps the link, it also releases a tiny puff of argon gas. Why? Oxygen in the air is the enemy of a clean weld; it can cause weakness and discoloration. The argon gas acts like a tiny, invisible shield, pushing the oxygen away so the metal can fuse perfectly. A good weld should look like a smooth, tiny, round bead that’s just as strong as any other link in the chain. No pits, no sharp edges.
Your Appointment: From ‘Hello’ to ‘Zapped’ in Under 30 Minutes
So, what can you expect when you actually go in for an appointment? The entire experience, from choosing your chain to the final polish, is usually pretty quick—plan for about 15 to 30 minutes. It’s a careful, relaxed process.
1. Chatting & Choosing a Chain
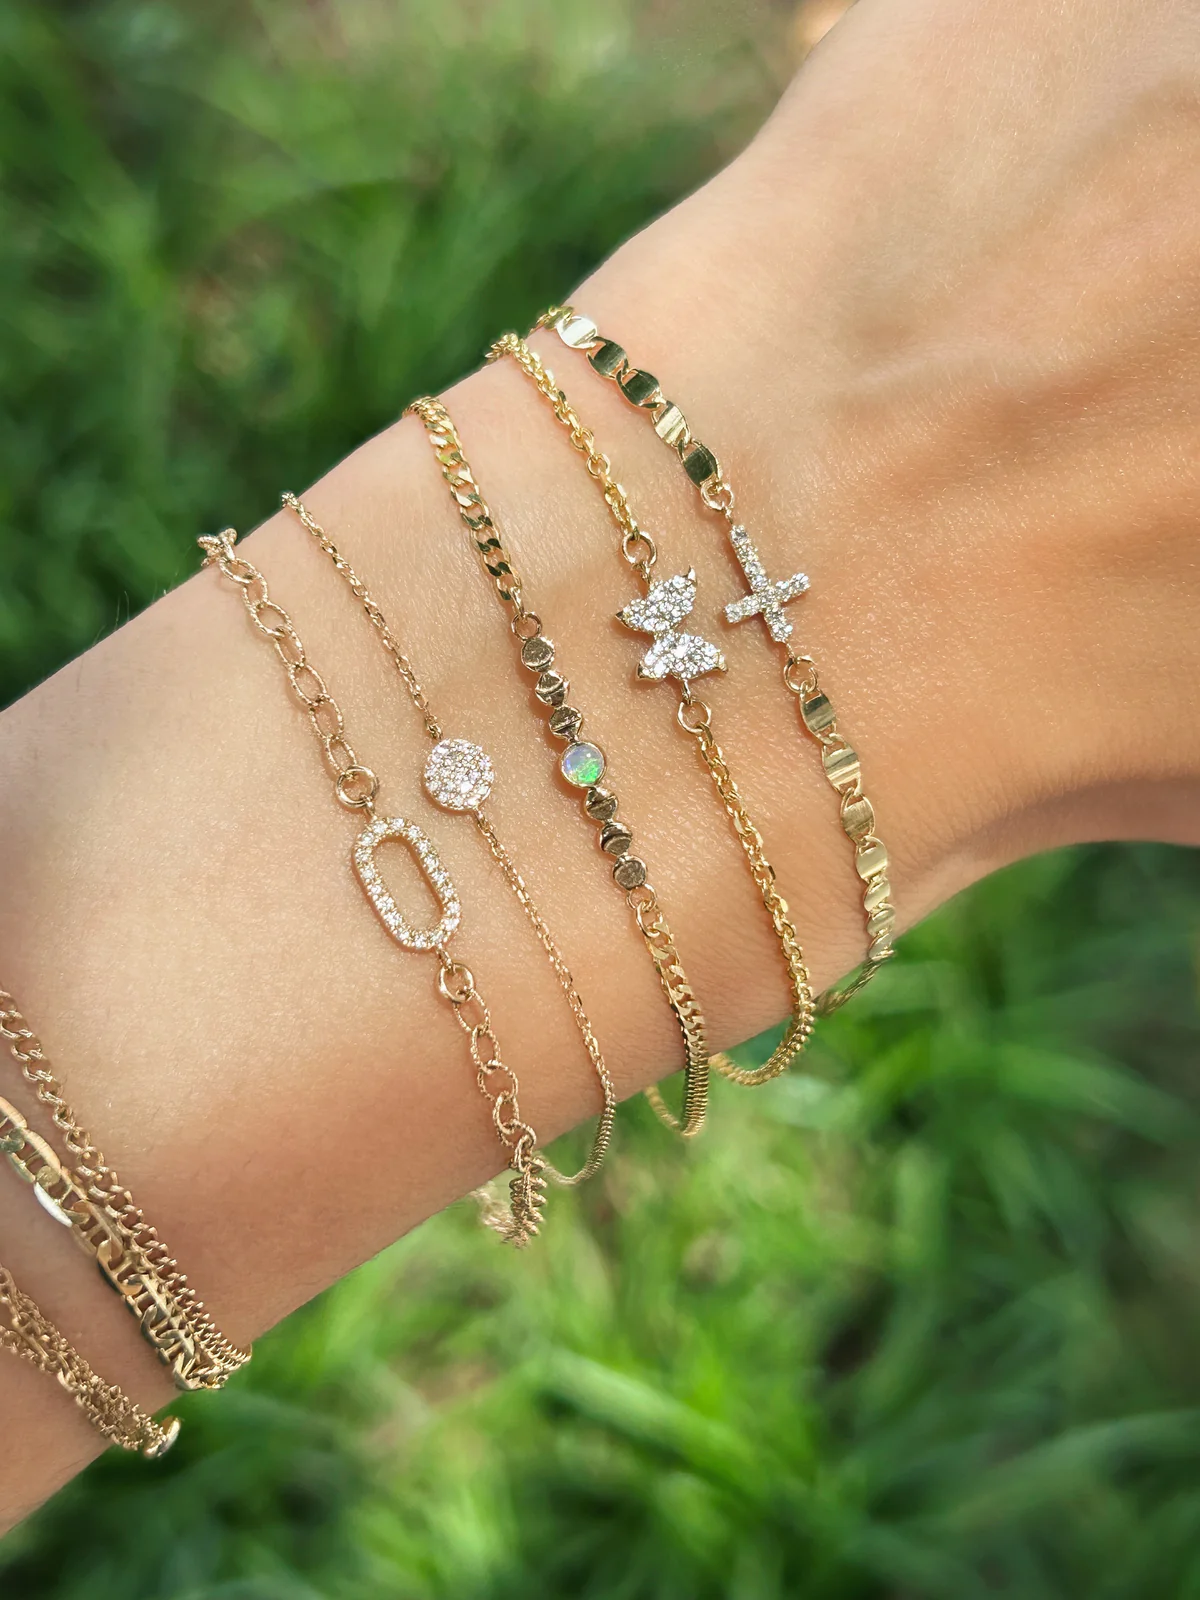
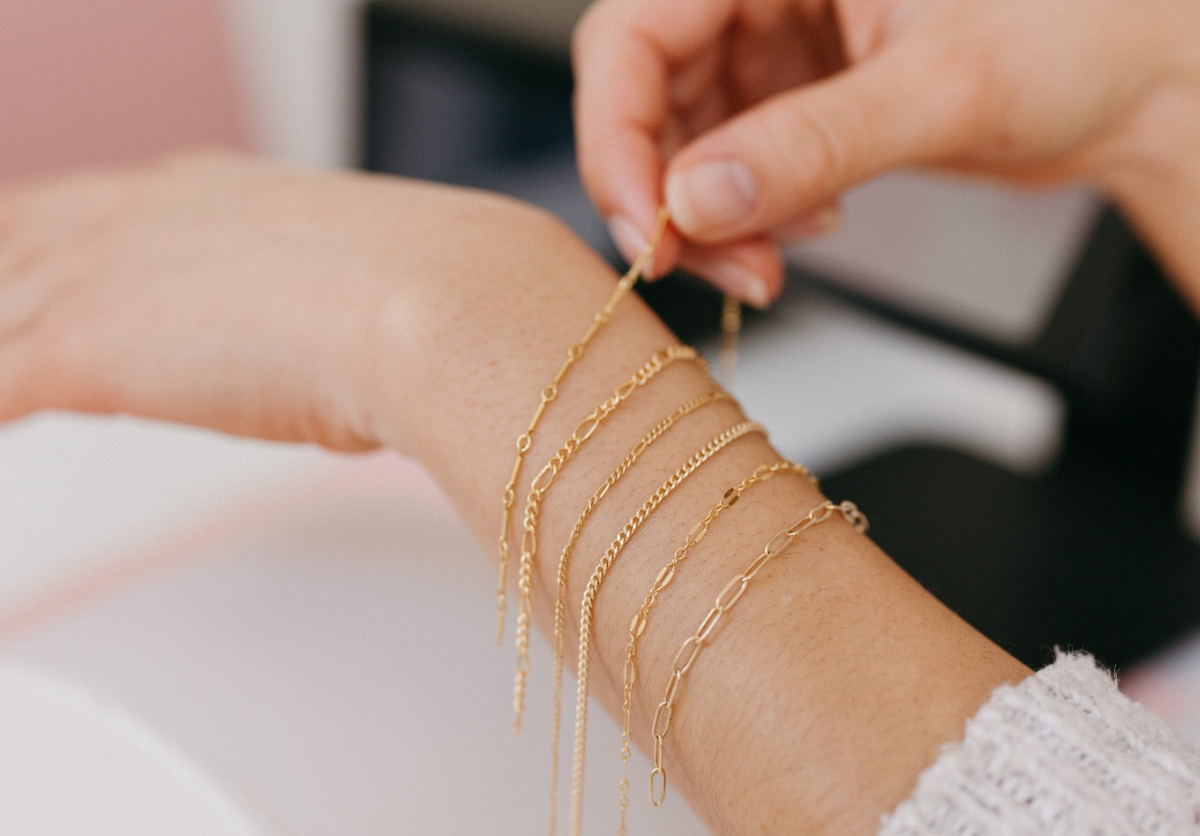
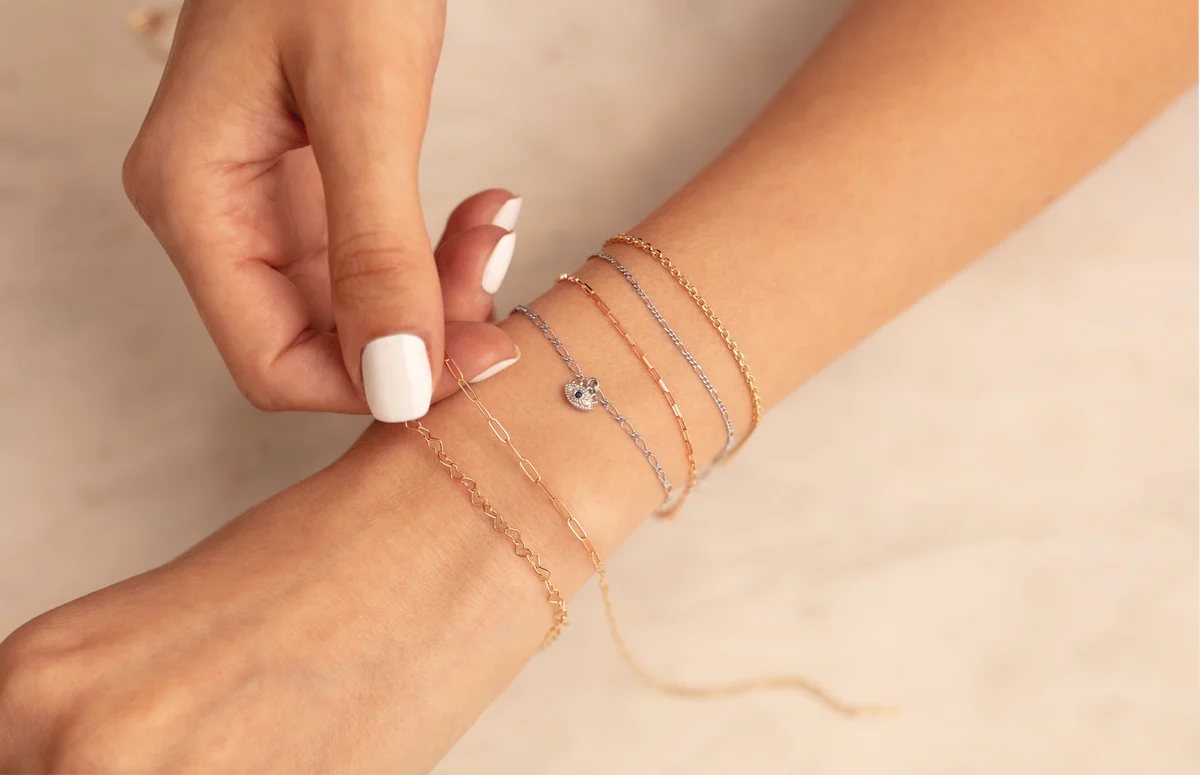
First, we’ll talk about your lifestyle. Are you super active? Do you wear a watch on the same wrist? This helps us pick the right chain. A super delicate cable chain is gorgeous, but a sturdier paperclip or curb chain might be a better fit if you’re tough on your jewelry. This is also when we talk metal choices (more on that in a sec!).
Good to know: Before you even go, it’s helpful to think about which wrist you want it on, your general budget, and a few popular styles you might like. Common options include the classic Cable Chain (simple, timeless), the Curb Chain (a bit flatter and more durable), and the trendy Paperclip Chain (modern and stylish).
2. Getting the Perfect Fit
Fit is everything. If it’s too tight, it’s annoying. Too loose, and it’ll snag on everything. I usually have you make a relaxed fist, then I drape the chain and find the sweet spot—typically leaving just enough room to slip one pinky finger between the chain and your skin. This gives you enough slack for hot days when your wrist might swell a bit. Then, I’ll snip the chain to the perfect length.
3. Safety First (Always!)
This part is non-negotiable. I’ll place a small, thick patch of leather between the chain and your skin, right under the spot I’m about to weld. It’s a simple barrier that guarantees your skin is 100% protected. You’ll be asked to look away during the tiny flash, just as an extra precaution, and the technician will wear protective eyewear.
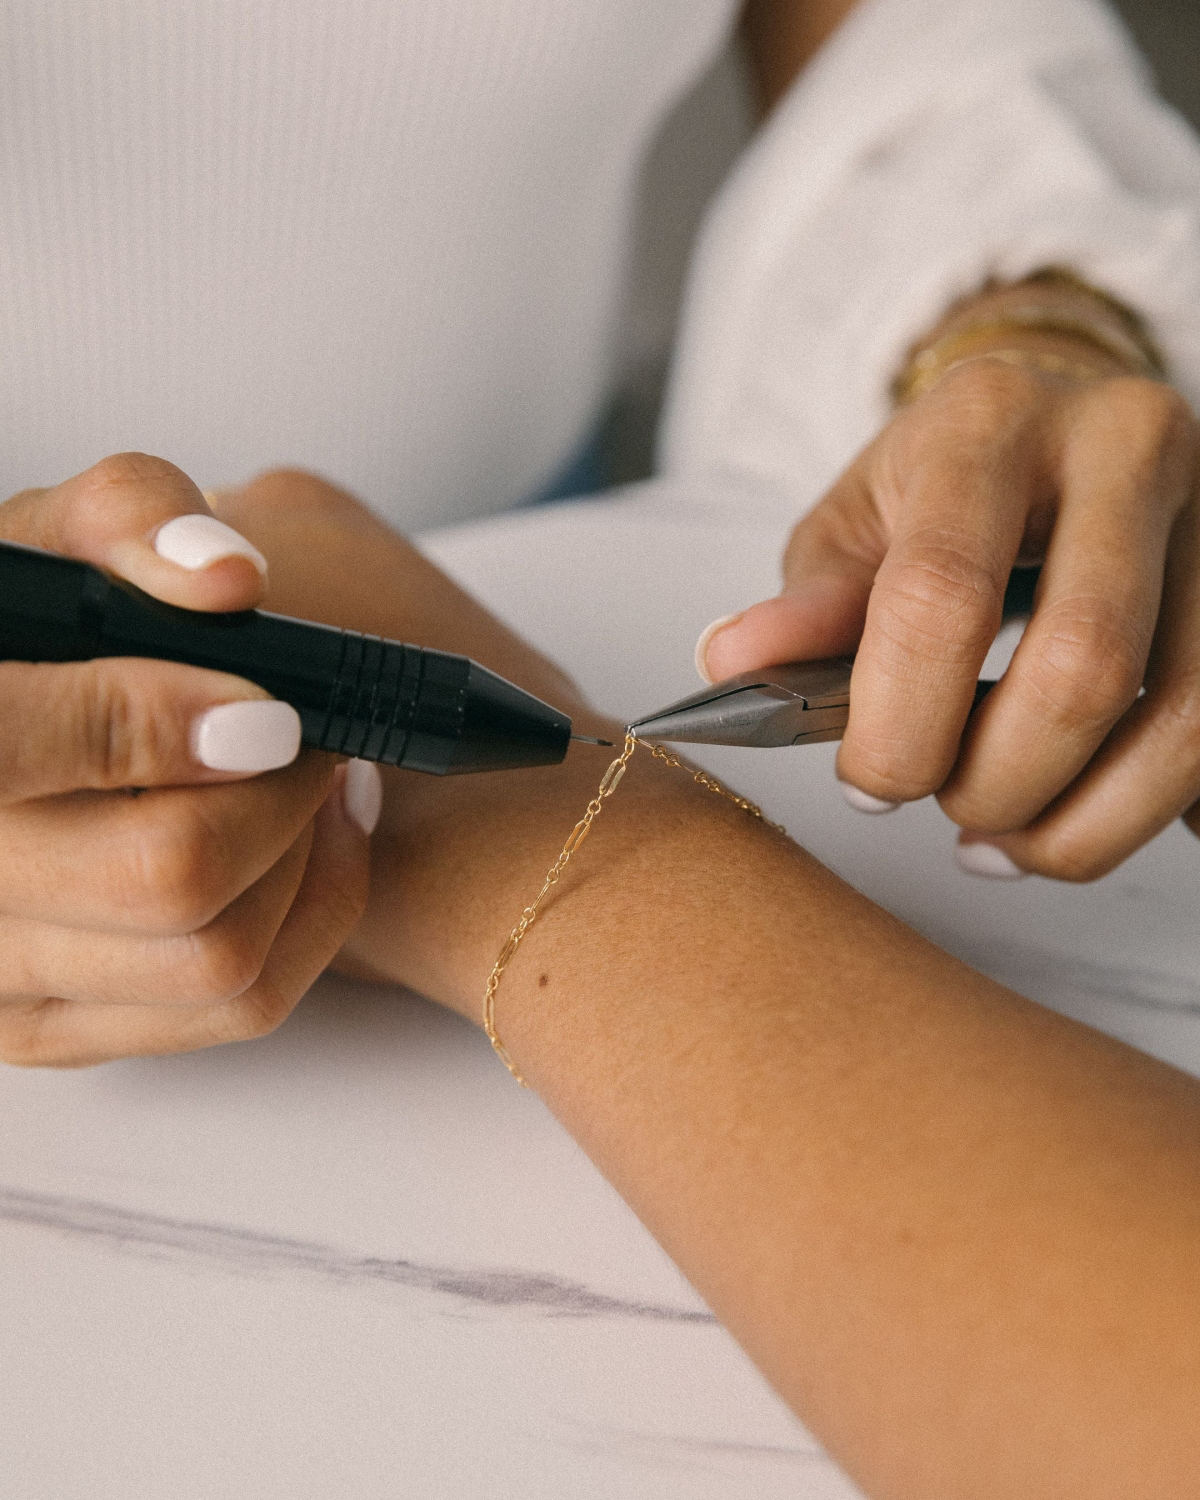
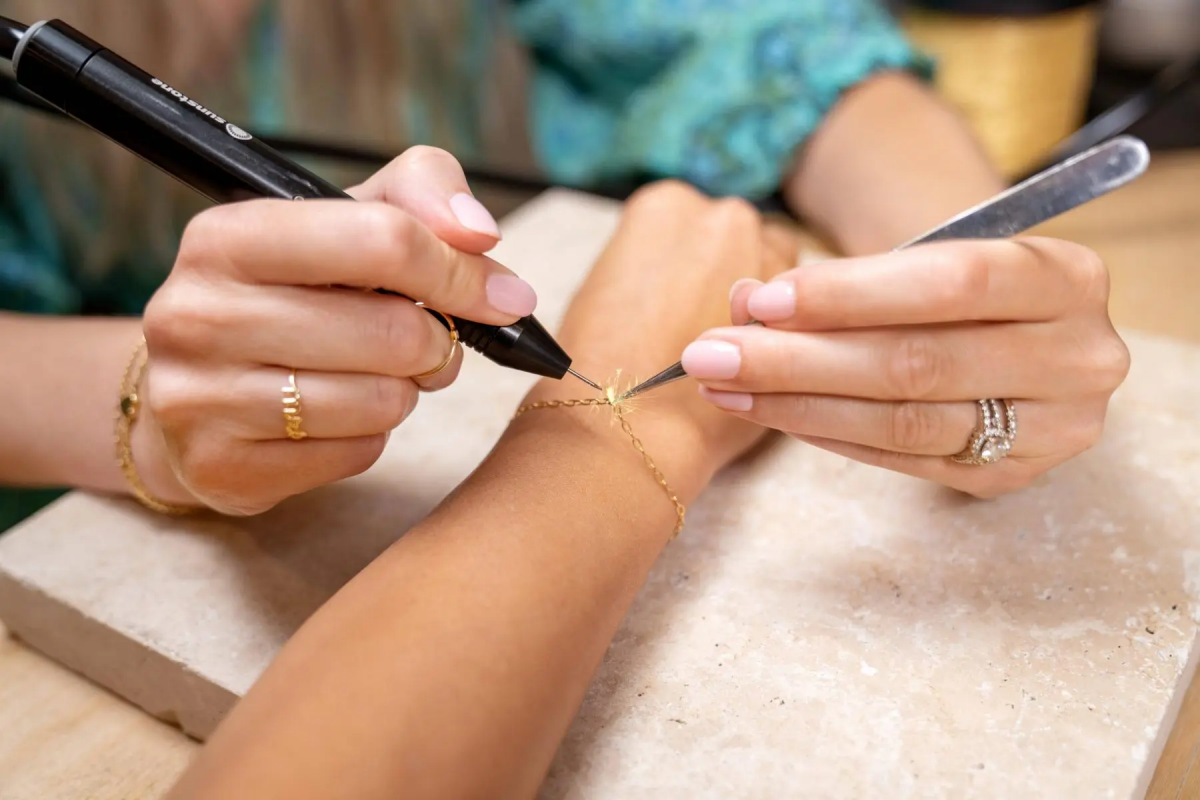
4. The “Zap”
With everything in place, I bring the welder’s electrode up to the open link, hold it steady with special pliers, and engage the machine. You’ll hear a soft, satisfying “zap” and see a quick flash of light. That’s it! The weld is done, and you won’t feel a thing.
5. Final Polish & Inspection
I’ll remove the leather patch, run my finger over the weld to make sure it’s perfectly smooth, and give the chain a gentle tug to test its strength. A final wipe with a polishing cloth, and you’re all set.
Let’s Talk Metals: The Most Important Choice You’ll Make
Honestly, the metal you choose is the biggest factor in how your bracelet will look and last over time. Here’s the breakdown I give everyone.
- 14k Solid Gold (Yellow, White, or Rose): This is the gold standard for a reason. It’s a perfect mix of pure gold and other alloys that make it strong enough for daily wear without ever tarnishing or discoloring. It’s a premium choice, and the price reflects that, but it’s truly zero-maintenance. A heads up for those with allergies: ask if their white gold is alloyed with palladium instead of nickel, as palladium is hypoallergenic.
- Gold-Filled: This is a fantastic, budget-friendly alternative. It’s a thick layer of 14k gold that’s heat-bonded to a brass core. It’s way more durable than gold-plating and won’t rub off with normal wear. It gives you the look and feel of solid gold for a much lower price. After many, many years of very rough wear, the core metal could potentially become exposed, but for most people, it’s a solid choice.
- Sterling Silver: Silver is a beautiful, bright metal, but its major downside is tarnish. It reacts with sulfur in the air and even chemicals in our skin and lotions, which causes that dark layer to form. Some people’s body chemistry makes silver tarnish very quickly. It’s not permanent damage and can be cleaned, but it does require more upkeep than gold.
A word of warning: I would strongly advise against getting a gold-plated chain for permanent jewelry. The plating is microscopically thin and will wear off, sometimes in just a few weeks, exposing the cheap base metal underneath. This can lead to green skin and allergic reactions. If a studio is pushing gold-plated options, it’s a big red flag.
Living With Your Bracelet: The Practical Stuff
The Cost Breakdown
Pricing should be transparent. You’re typically paying for two things: the chain itself and a one-time welding fee. The chain is usually priced per inch, and the cost depends entirely on the metal and the thickness. To give you a ballpark, a simple, delicate 14k gold cable chain for an average wrist might run you between $80 and $120. A trendier, heavier 14k paperclip chain could be closer to $180 to $250+. Gold-filled options will be significantly less. The welding service is a flat fee for the technician’s time and skill, usually between $25 and $50.
Daily Wear, Tear, and Repairs
Most of the time, you’ll forget it’s there. But be mindful of things that can snag, like knit sweaters, loofahs in the shower, or even a playful puppy. So, what happens if it breaks? Don’t panic! It happens. Most studios are happy to fix it. Just save the chain and bring it back. They can usually re-weld it for you for just the cost of the welding fee.
Cleaning It
To keep it sparkling, just give it a gentle scrub with a soft toothbrush, warm water, and a little bit of mild dish soap once a week. Pat it dry, and you’re good to go. A professional jewelry polishing cloth works wonders for an extra shine-up.
Important Stuff: Safety, Medical, and Removal
This is the serious chat. It’s called permanent, but your health and safety always come first.
Medical Procedures (MRIs, Surgery)
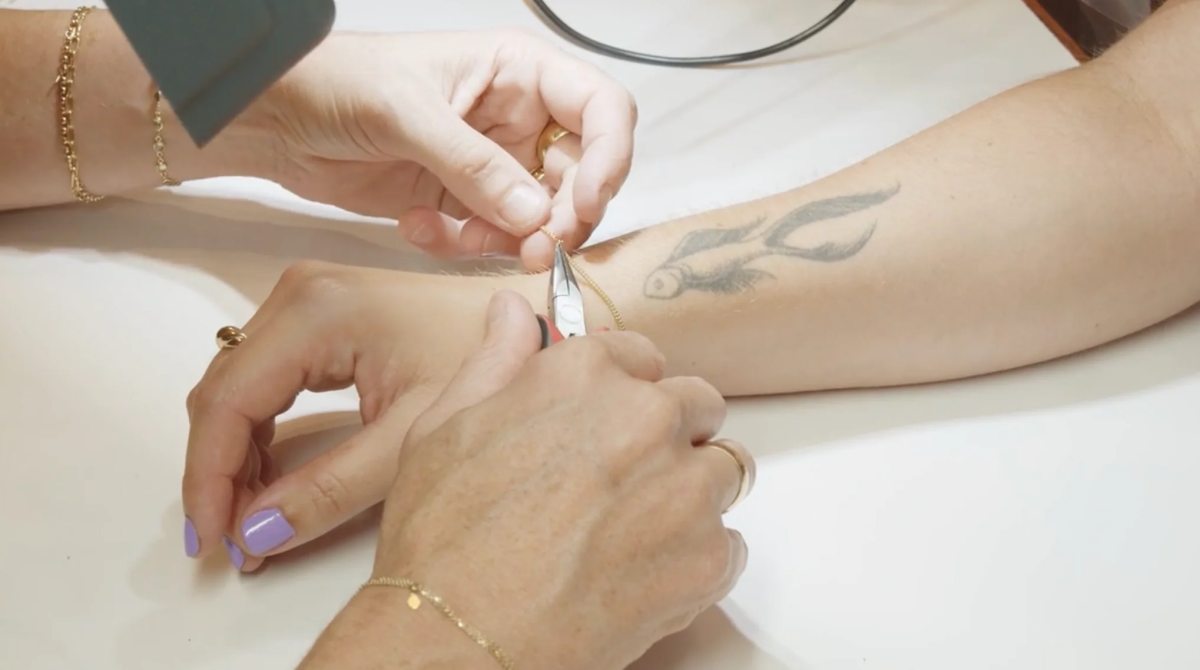
Heads up! You will most likely need to remove your bracelet for an MRI. The powerful magnets can interact with the metal, potentially causing heat or interfering with the scan’s image. In any medical emergency, a doctor will not hesitate to cut it off. It’s designed for this. You can easily snip it off yourself at home with a sturdy pair of nail clippers or scissors. Just cut the small, circular ring that we originally welded together—that’s called the jump ring.
My advice is always the same: if a doctor says it has to come off, it comes off. Your jewelry is not more important than your health. I’ve had many clients bring their snipped chain back in a little bag, and I’m always happy to weld it back on for them.
Airport Security
Don’t even worry about it. These chains are so fine and delicate they won’t trigger the metal detectors at the airport. I’ve never had a client report a single issue.
A Few Last-Minute Questions…
I get these all the time, so let’s just cover them here!
Can I add charms later?
Yes, absolutely! You can add a charm during your first visit or come back anytime to add one. It’s the same simple process—we just weld the charm’s own little ring onto your bracelet. Expect a small welding fee for the service.
What about anklets or necklaces?
You can, but you have to be realistic about the risks. Anklets are way more likely to snag on socks, shoes, and blankets. Necklaces can get pulled by accident. They’re beautiful, but they aren’t as
Galerie d’inspiration
But what about real life? Airport security, MRIs, and all that?
It’s the number one question jewelers get! For airport security, you can relax. These delicate chains are made of fine metals like gold or sterling silver and are too fine to set off the detectors. For medical procedures like an MRI or X-ray, however, you will likely need to remove it. Most studios will offer to snip the bracelet at the weld point and re-weld it for you later, often for a small fee. Just be sure to snip it carefully on the welded link and save your chain!
14k Gold-Filled: A great budget-conscious choice. It involves a thick layer of 14k gold pressure-bonded to a jeweler’s brass core. It’s tarnish-resistant and durable for everyday wear, usually lasting several years without issue.
14k Solid Gold: The premium, heirloom-quality option. It’s hypoallergenic, will never tarnish or change color, and is designed to last a lifetime. While the upfront cost is higher, its longevity makes it a true investment piece.
The global permanent jewelry market is projected to grow by over 7% annually, reaching nearly $4.5 billion by 2030.
This shows it’s more than a fleeting TikTok trend; it’s a fundamental shift in how we view personal adornment. People are investing in meaningful, lasting pieces that tell a story, moving away from fast-fashion accessories towards something more significant.
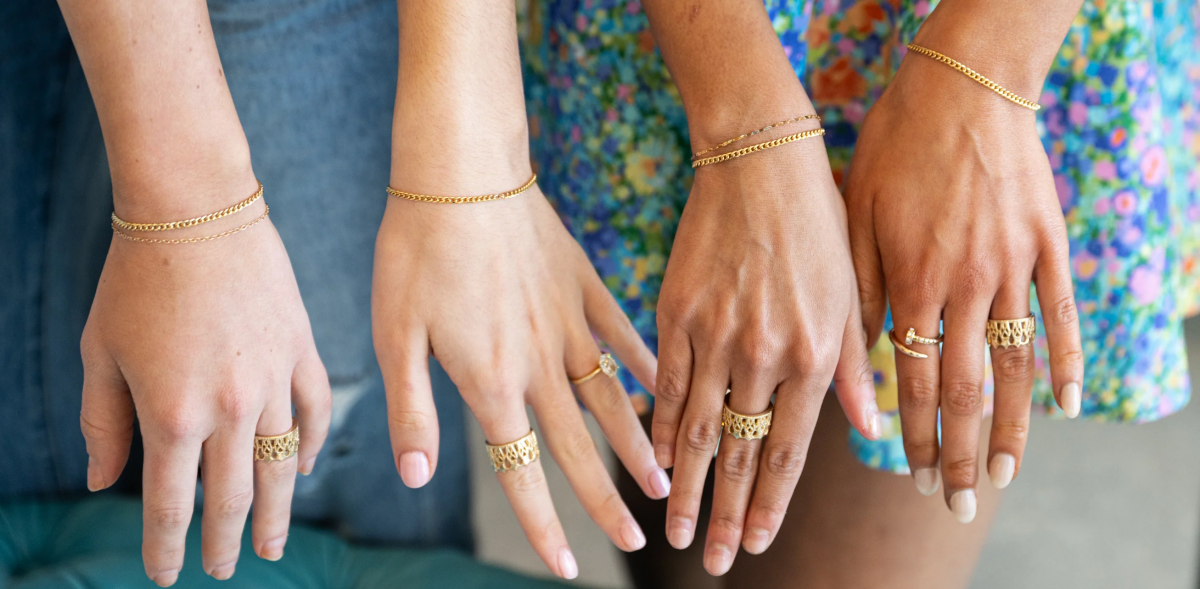
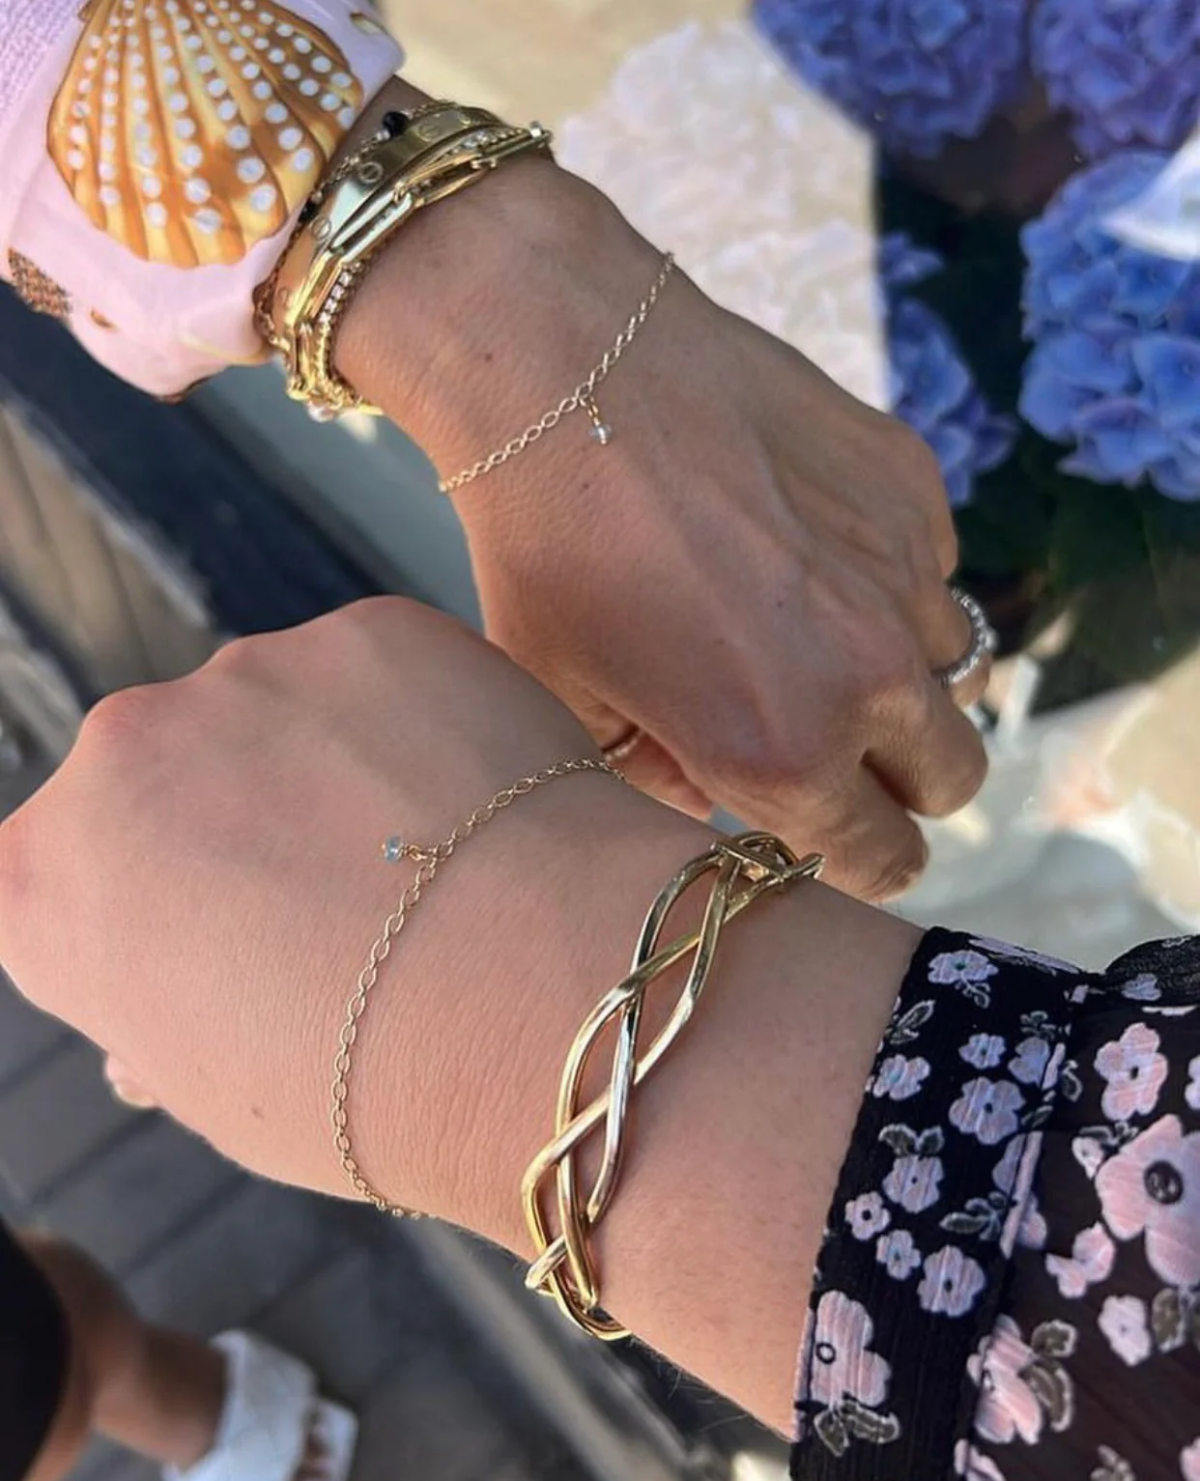
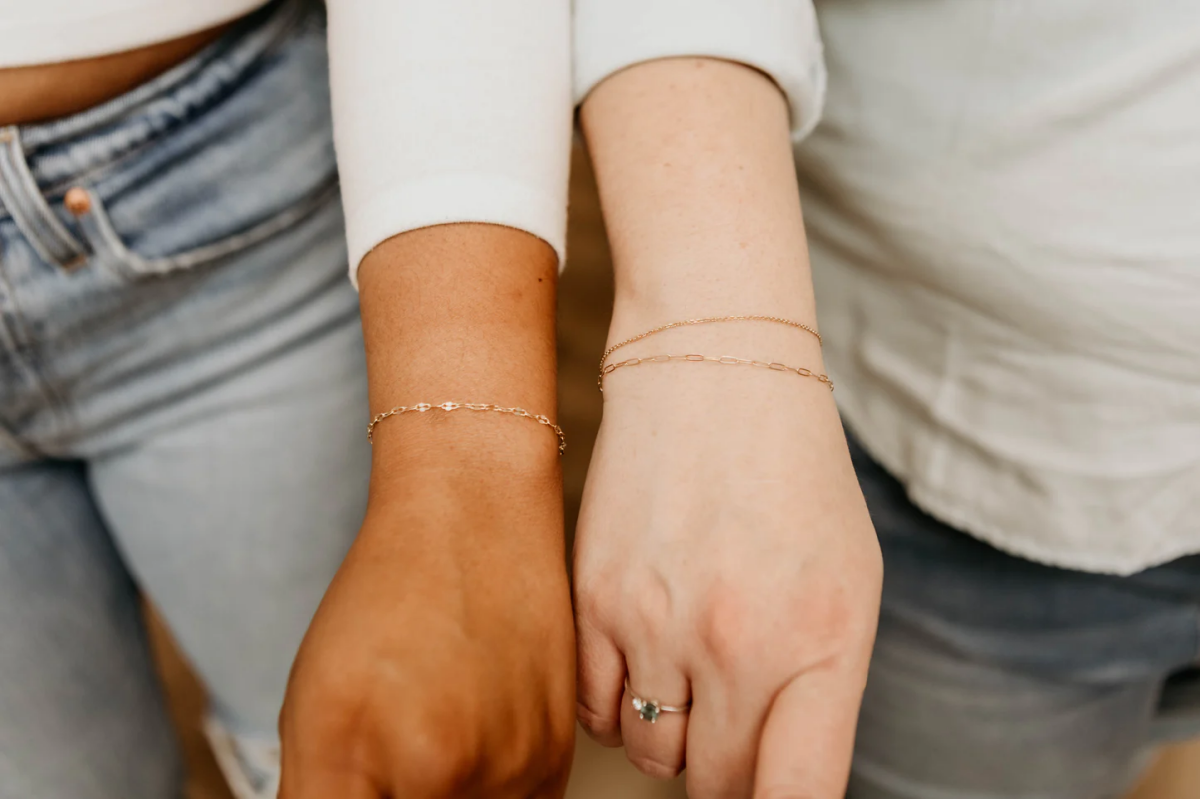
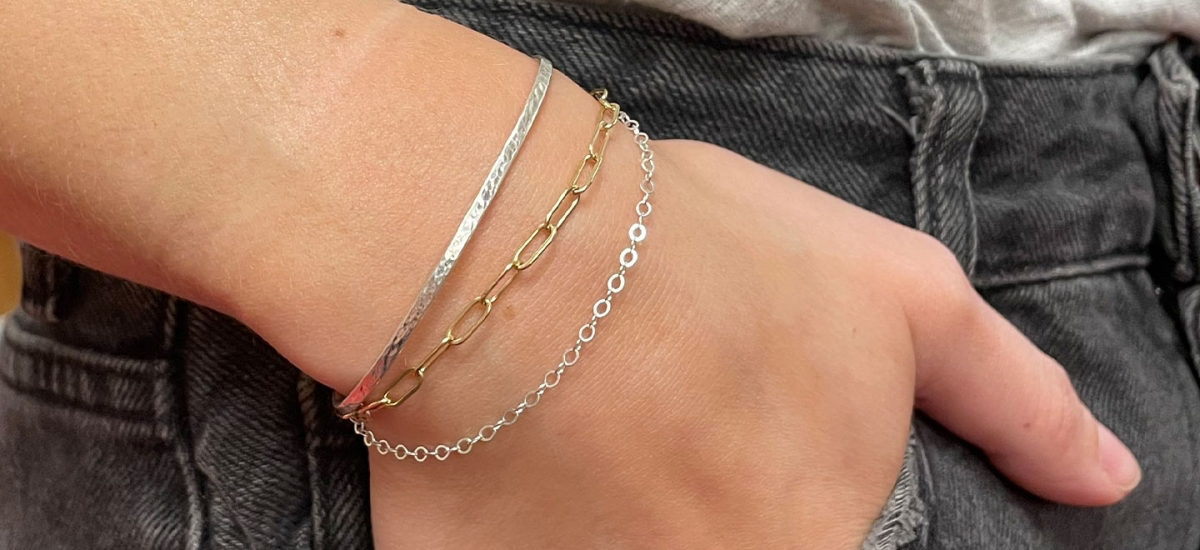
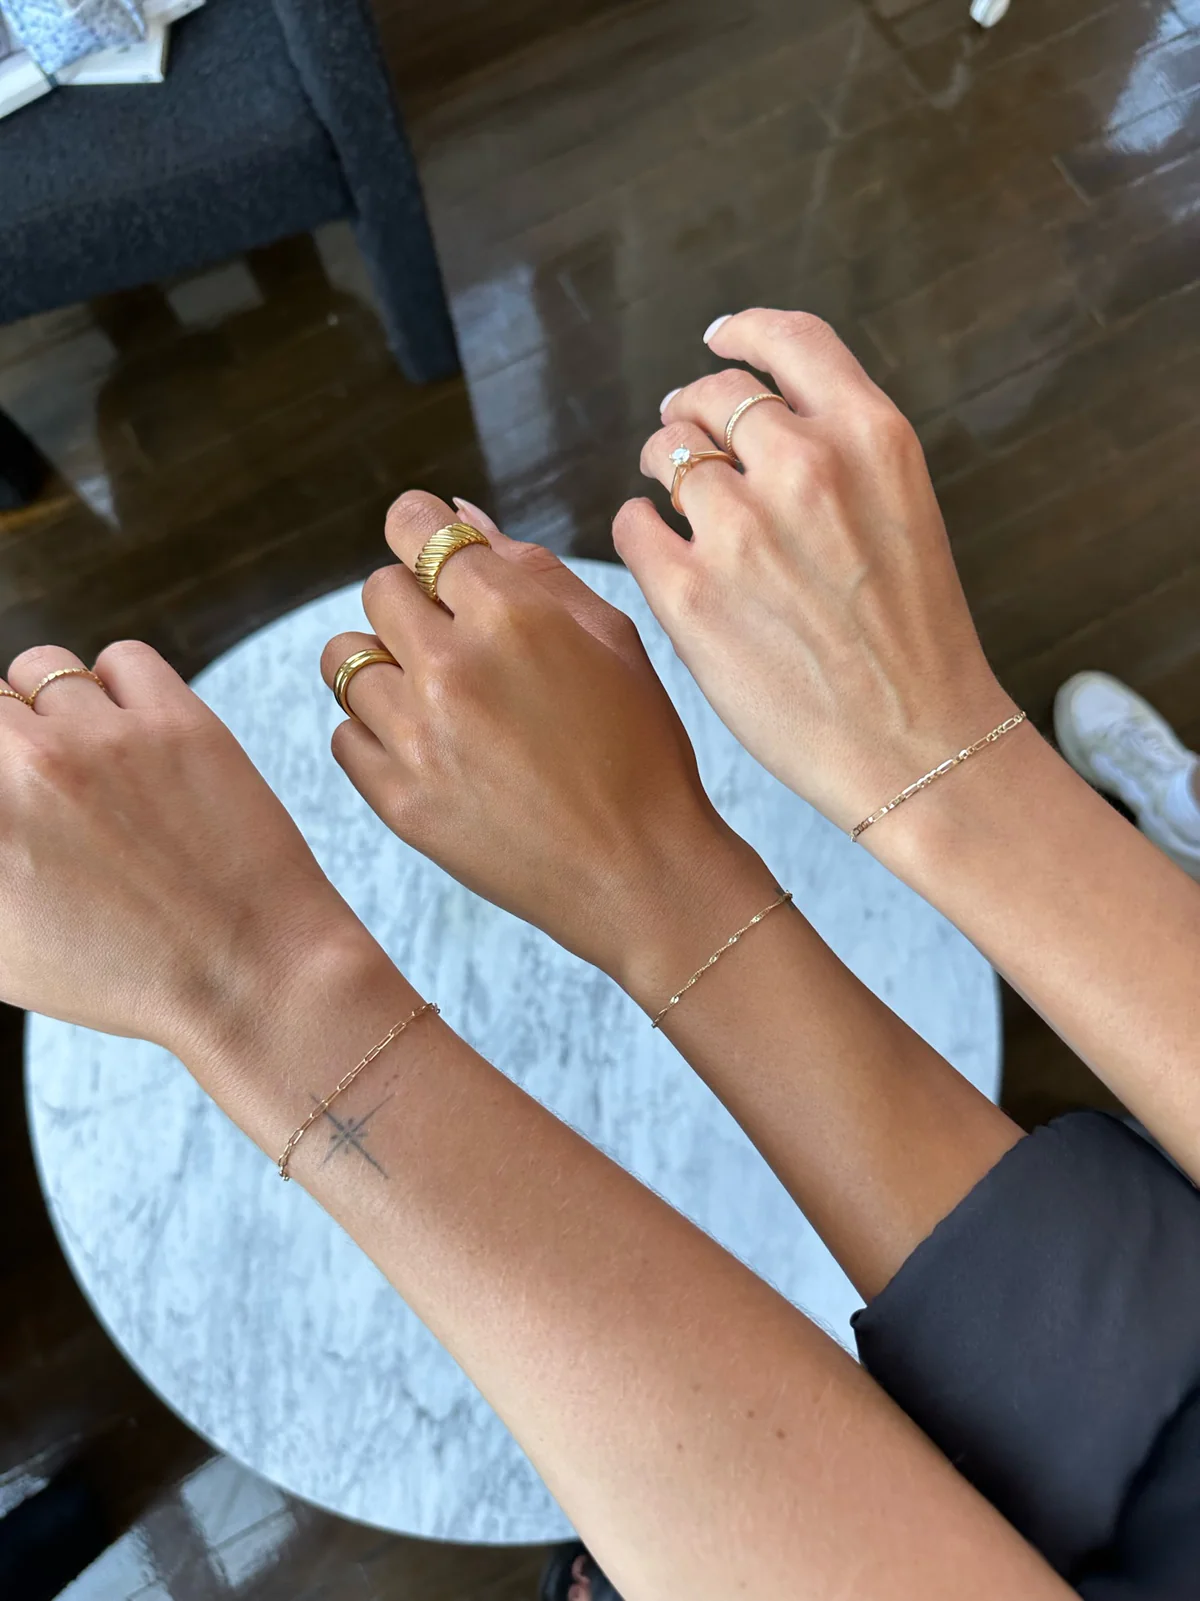
Your permanent bracelet doesn’t have to live alone! It plays beautifully with others. Here’s how to create the perfect
- A brilliant, lasting shine.
- No tarnish or discoloration from lotions or perfume.
- A piece that looks brand new for years.
The secret? A simple, gentle cleaning. Just use a soft toothbrush and a bit of mild soap and water to gently scrub away any buildup from daily life. Rinse and pat dry—it’s that easy to maintain its sparkle.
The biggest mistake to avoid: Getting the fit wrong. Too tight, and it could irritate your skin or break under pressure with natural swelling. Too loose, and it will constantly snag on clothes and doorknobs. A good jeweler will ensure there’s just enough room for one finger to slip underneath comfortably—the perfect balance for safety and style.
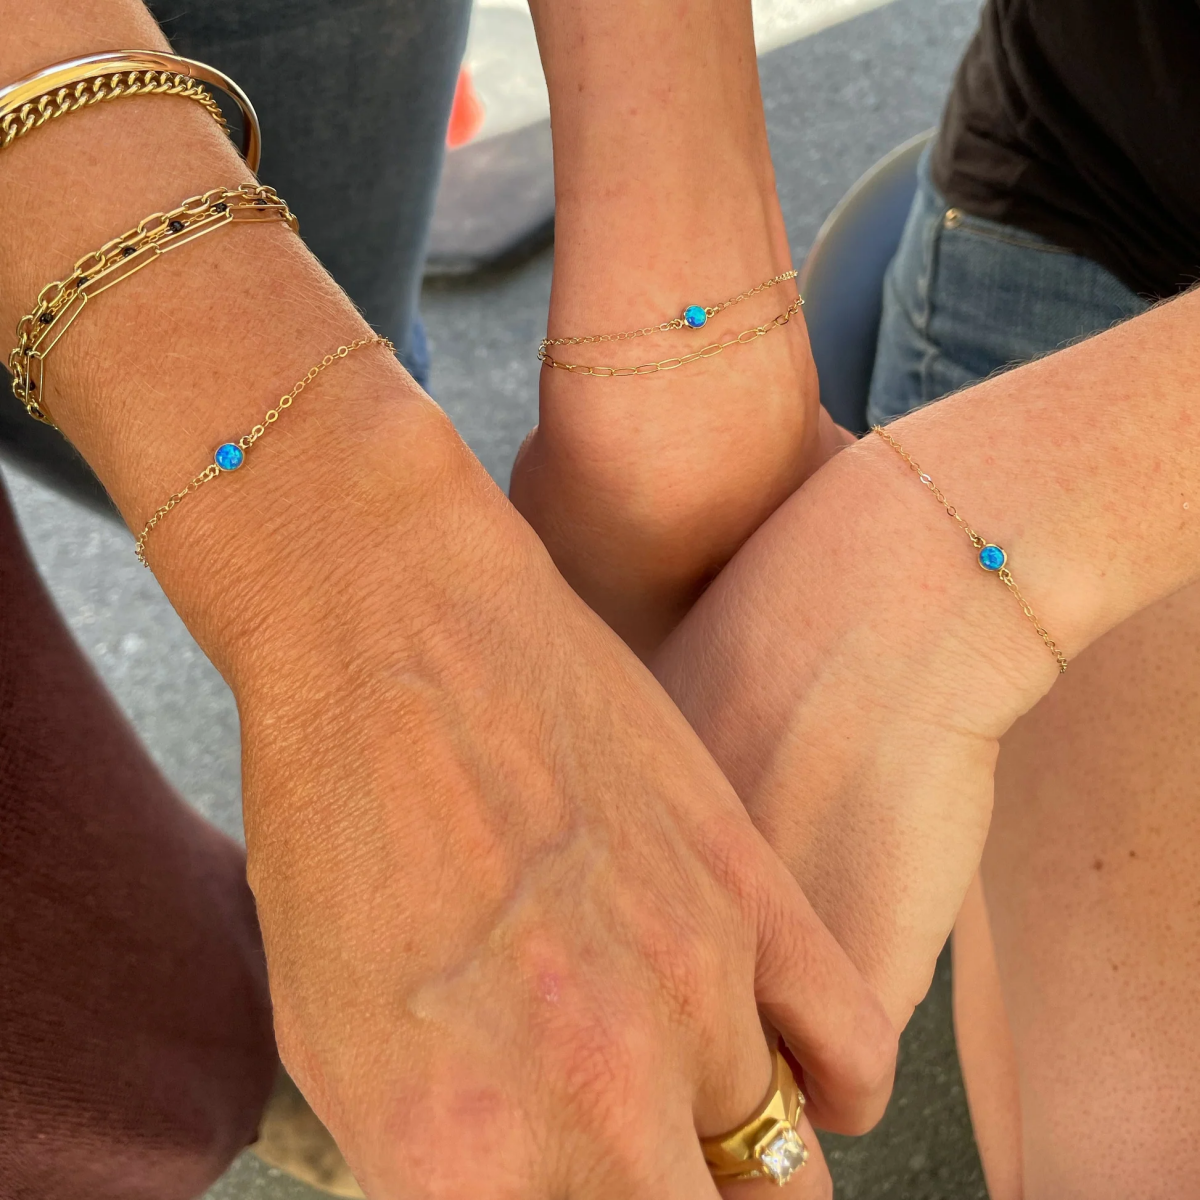
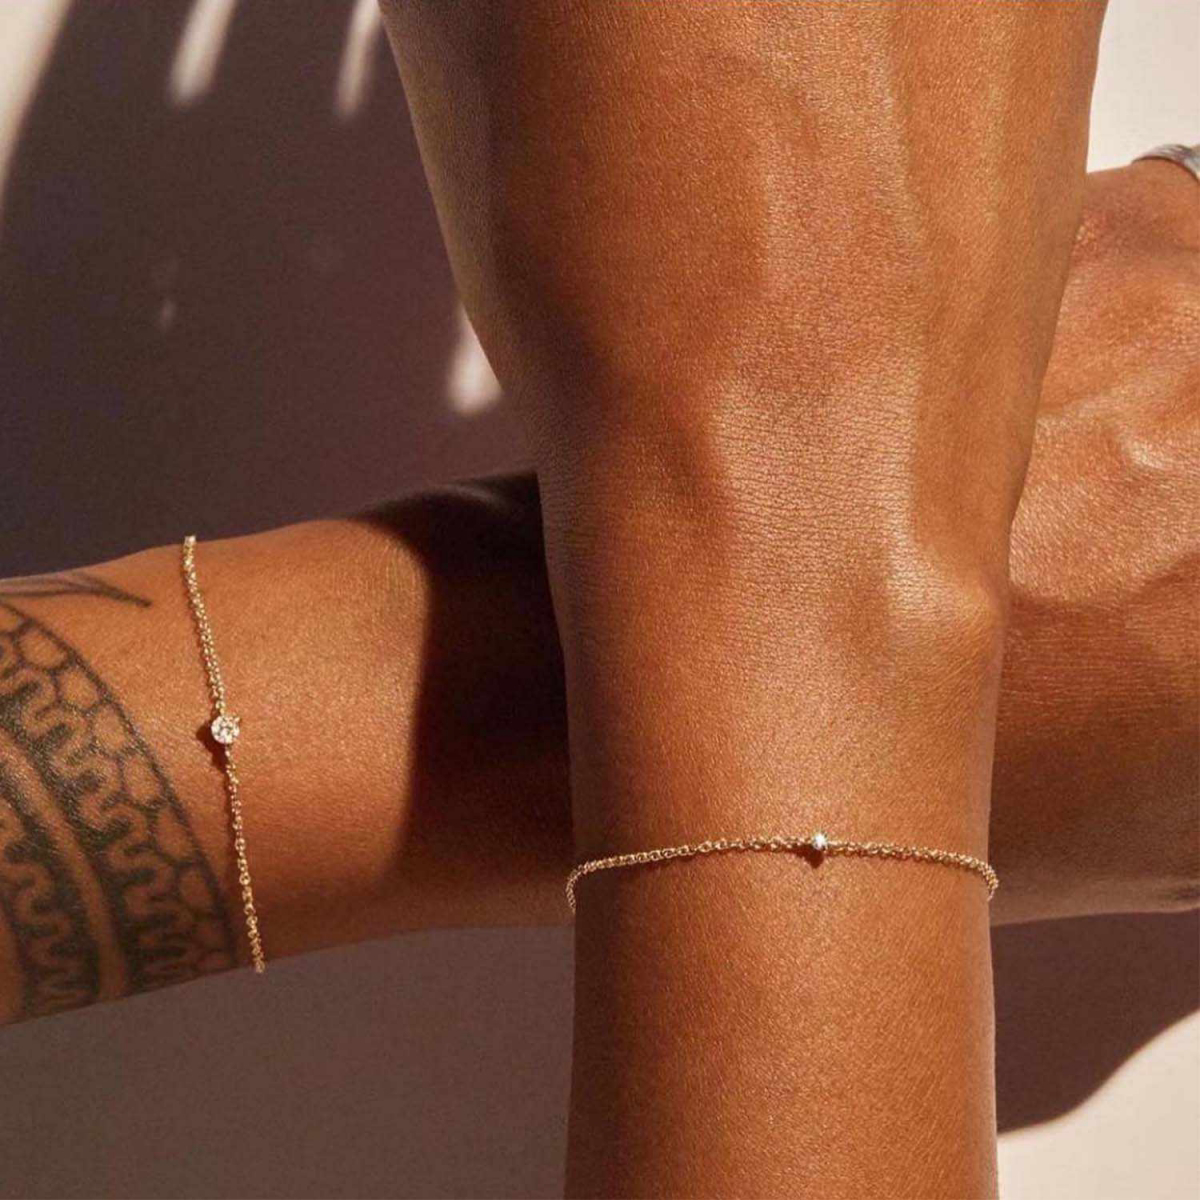
The simple chain was just the beginning. The real fun is in the personalization. Studios like the trendsetting Catbird in NYC are leading the way with an array of tiny, weldable charms. Think beyond the basic chain: add a tiny diamond, the initial of a loved one, or a symbolic charm that tells your personal story. It transforms the permanent bracelet from a minimalist statement into a deeply personal, evolving keepsake.


