The Brutally Honest Guide to Snug Piercings (And What to Get Instead)
Alright, let’s talk about one of the most respected—and feared—cartilage piercings out there: the snug. I’ve been in the piercing world for a long time, and I’ve seen trends come and go. But the snug… well, it’s a classic that demands respect. It’s not one I get to do every day, and honestly, that’s a good thing. It’s a piercing that can look absolutely incredible, but it’s a serious commitment from both the person getting it and the professional doing the work.
In this article
Early in my career, I learned a crucial lesson: a good piercer knows when to say no. I watched a mentor gently turn away more people for snugs than he actually pierced. That stuck with me. A snug isn’t just about picking a spot; it’s about whether your ear is literally built for it. So, this is my no-fluff guide to the journey, from the anatomy check to the long, long healing road.
First Things First: Is Your Ear Even Built for a Snug?
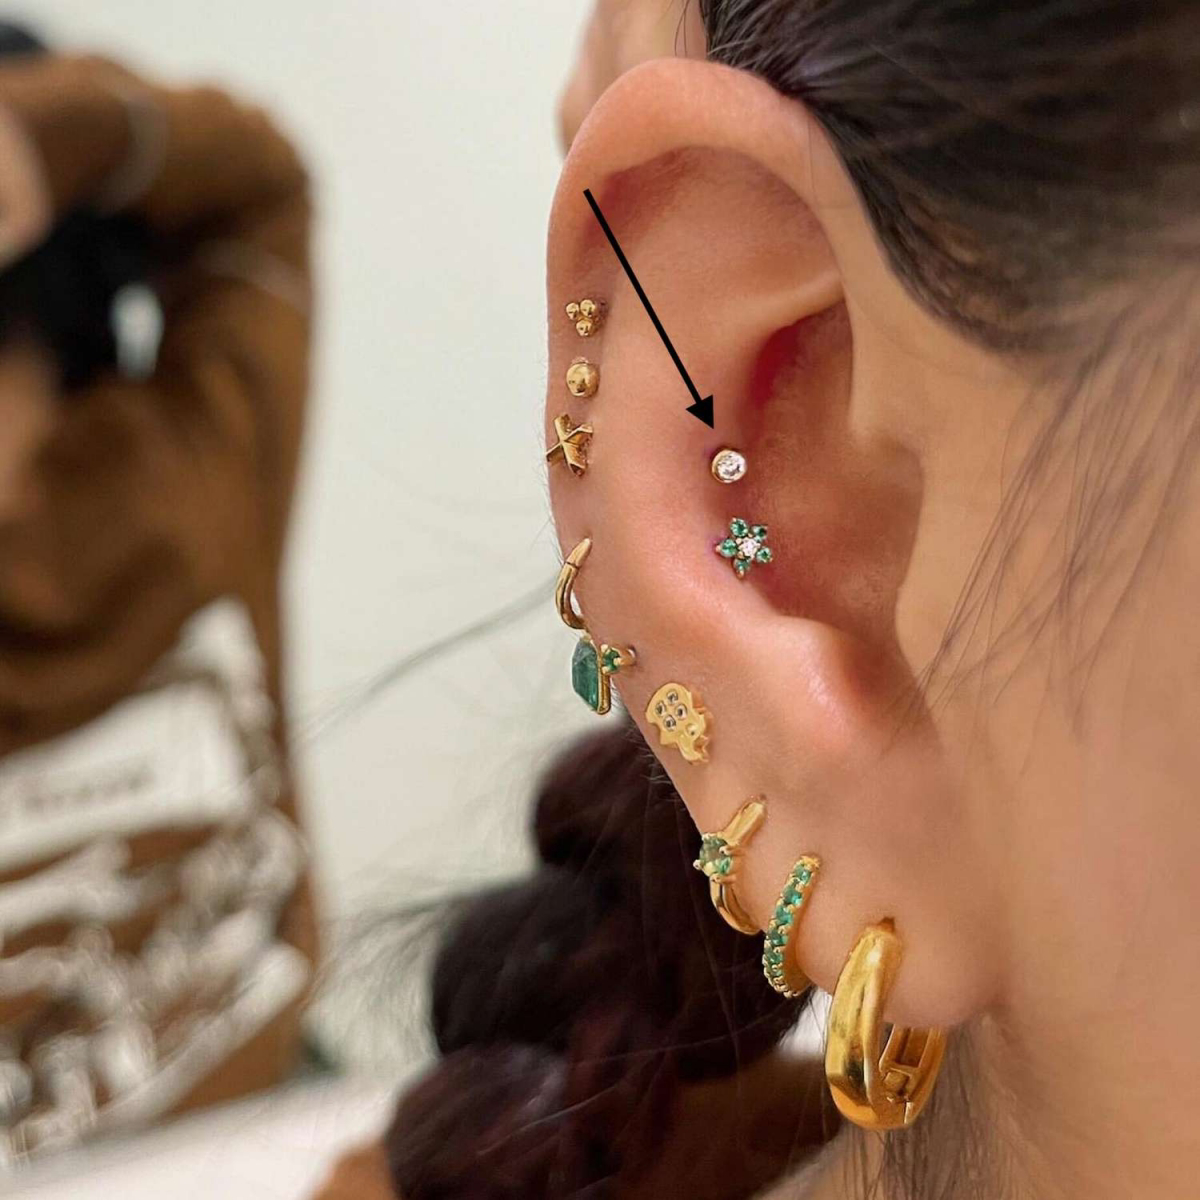
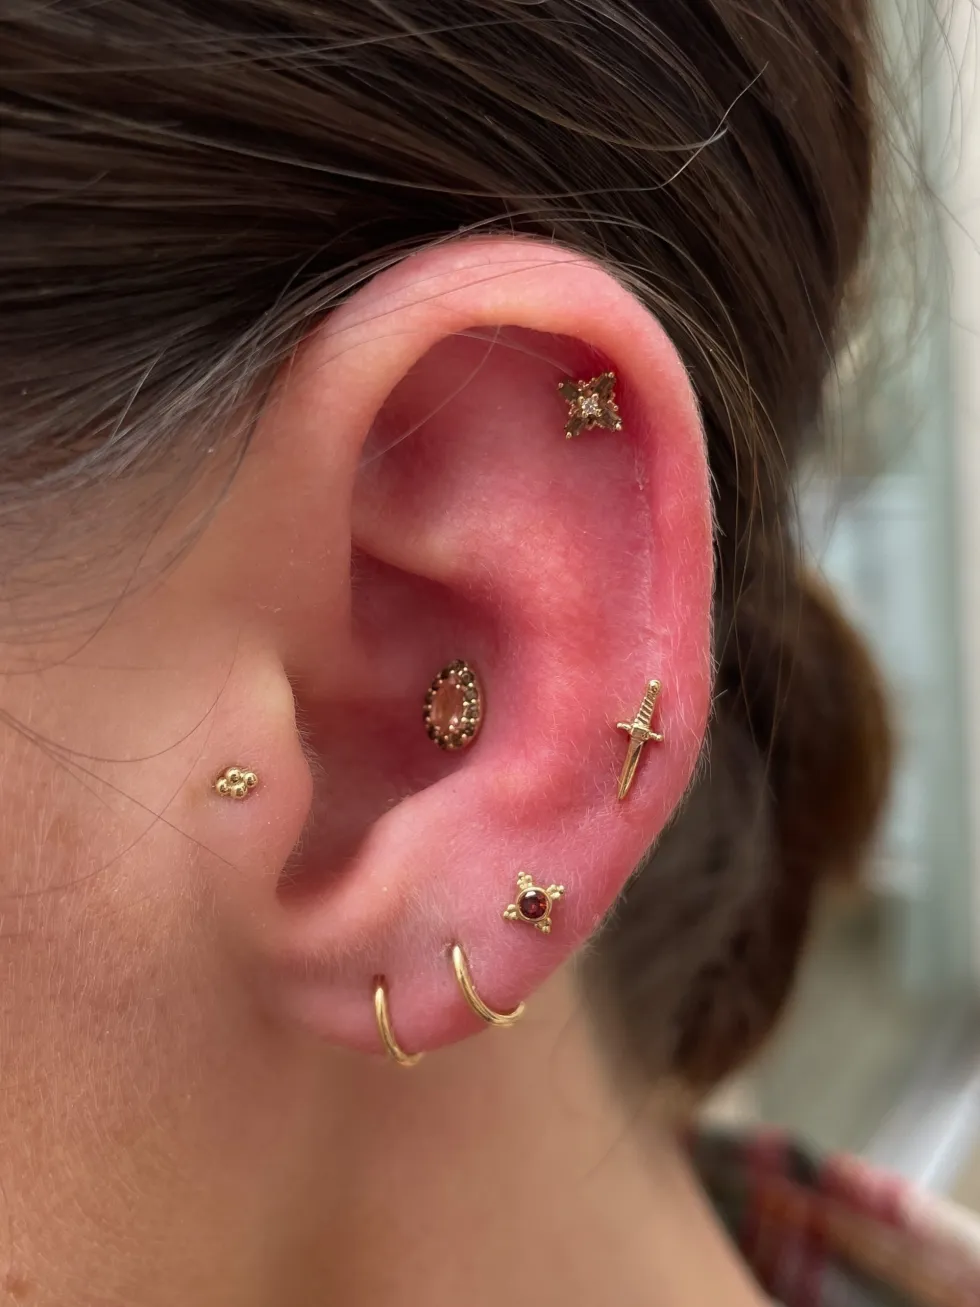
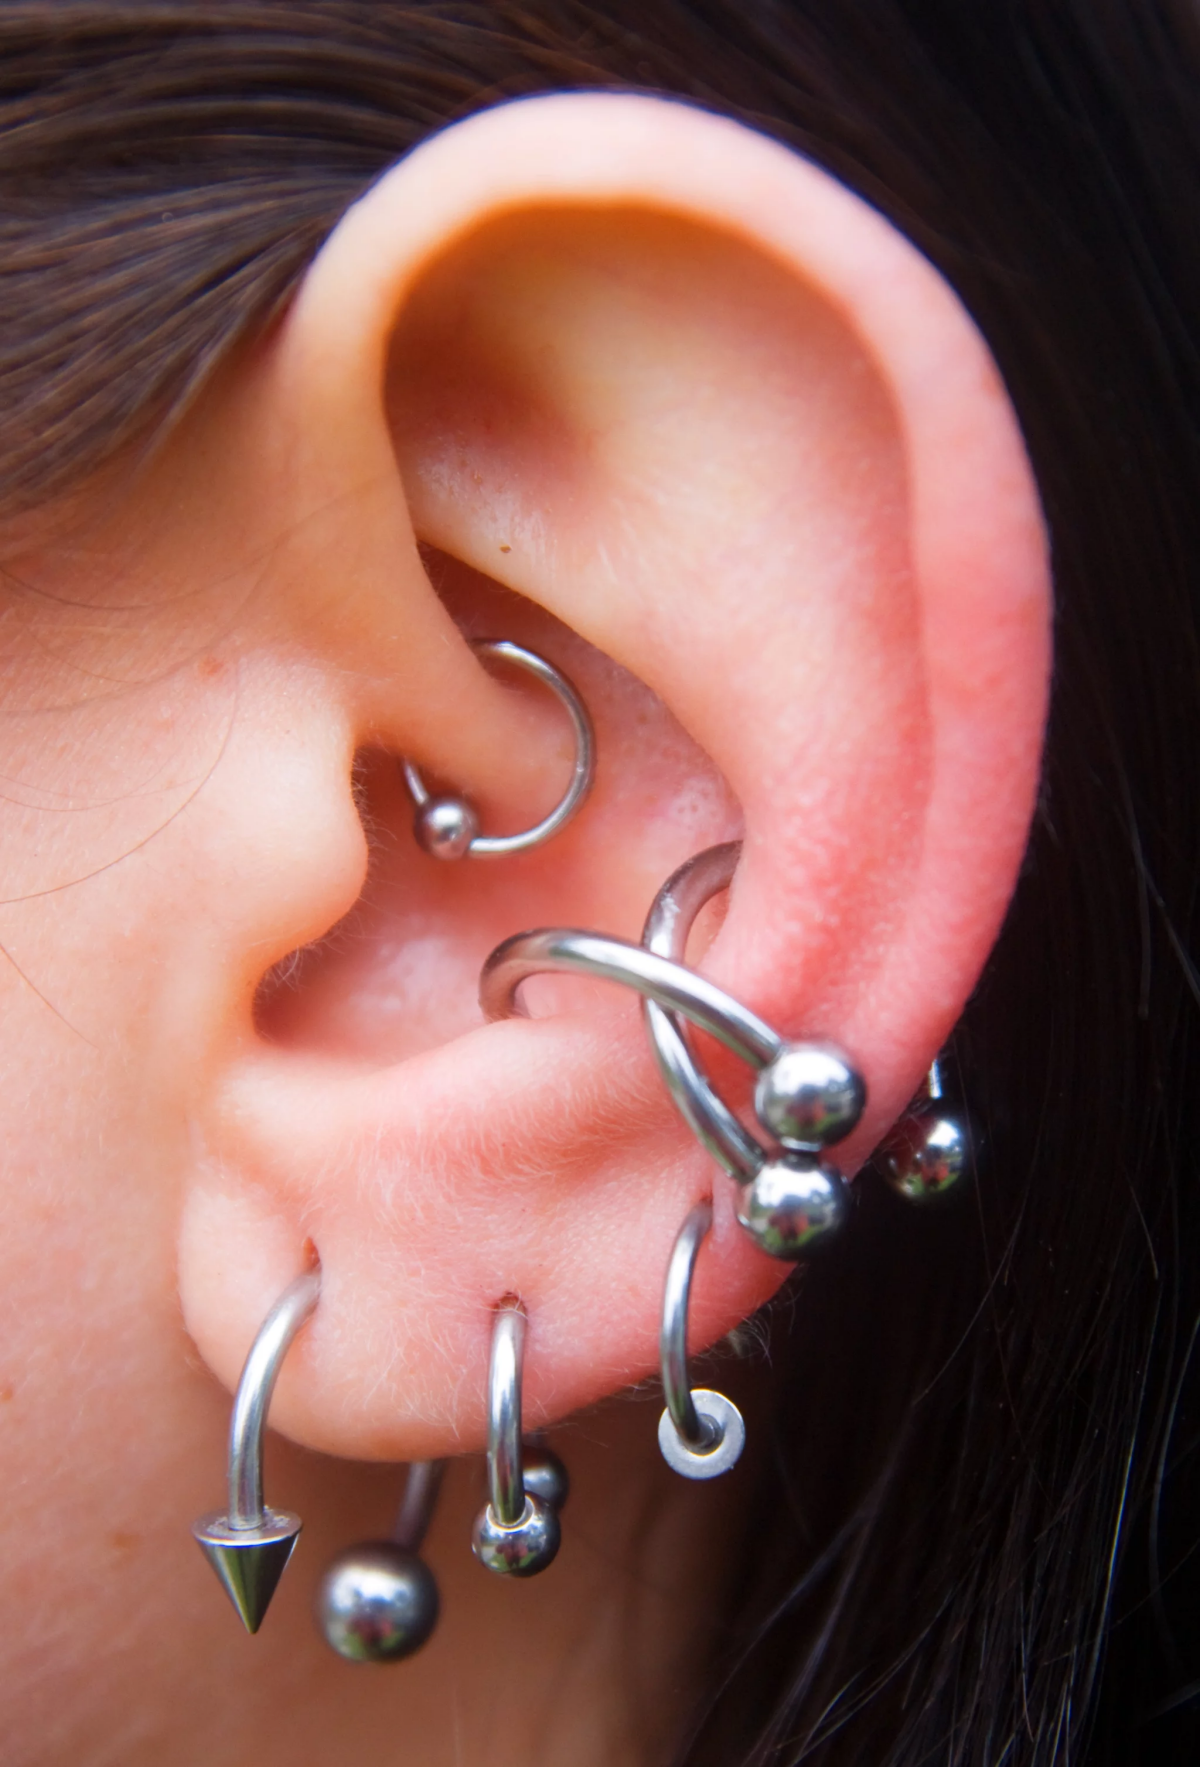
Before we even think about needles or jewelry, we have to talk about your ear’s unique shape. The snug piercing goes horizontally through the antihelix—that inner ridge of cartilage that looks like a little speed bump between the outer rim of your ear and the deep, cup-shaped part.
And here’s the make-or-break factor: that antihelix ridge needs to be really prominent and well-defined. Think of it like a tiny shelf. If you have a firm, distinct ridge that stands out a bit, you’re likely a good candidate. But if that part of your ear is flat, soft, or just a gentle, rolling hill of cartilage, a snug piercing simply won’t work. Trying to force it results in a surface piercing, which your body will almost certainly reject, pushing the jewelry out and leaving you with a nasty scar. It’s just not worth it.
The first thing I do during a consultation is a physical check. I’ll gently feel the ridge to gauge its structure. If it’s not there, it’s not there. And I’ll be straight with you about it.
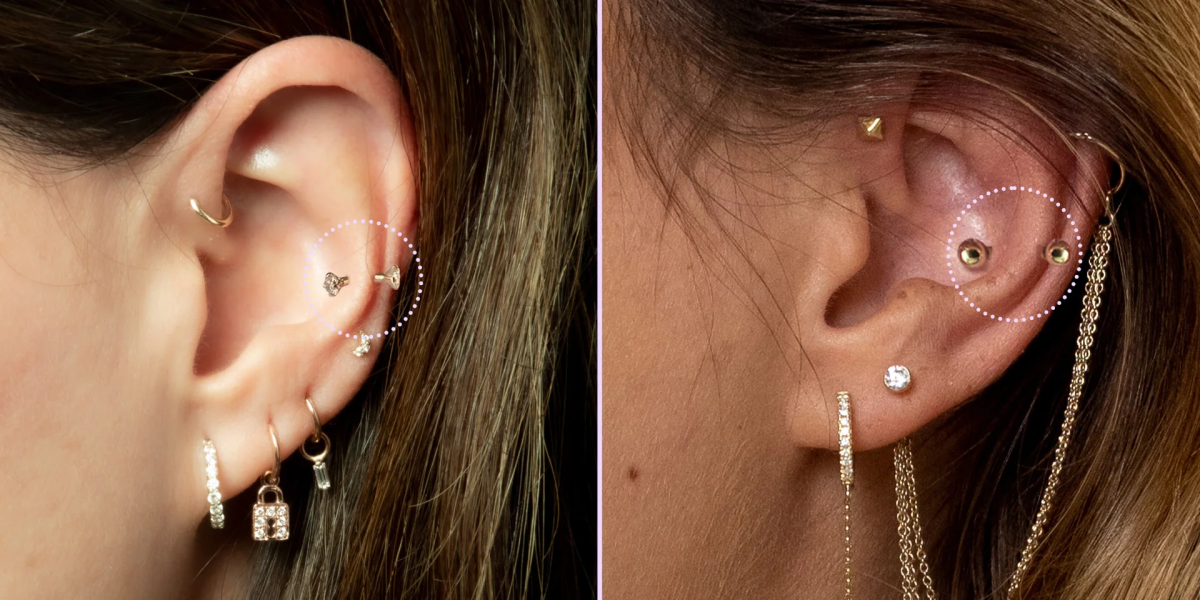
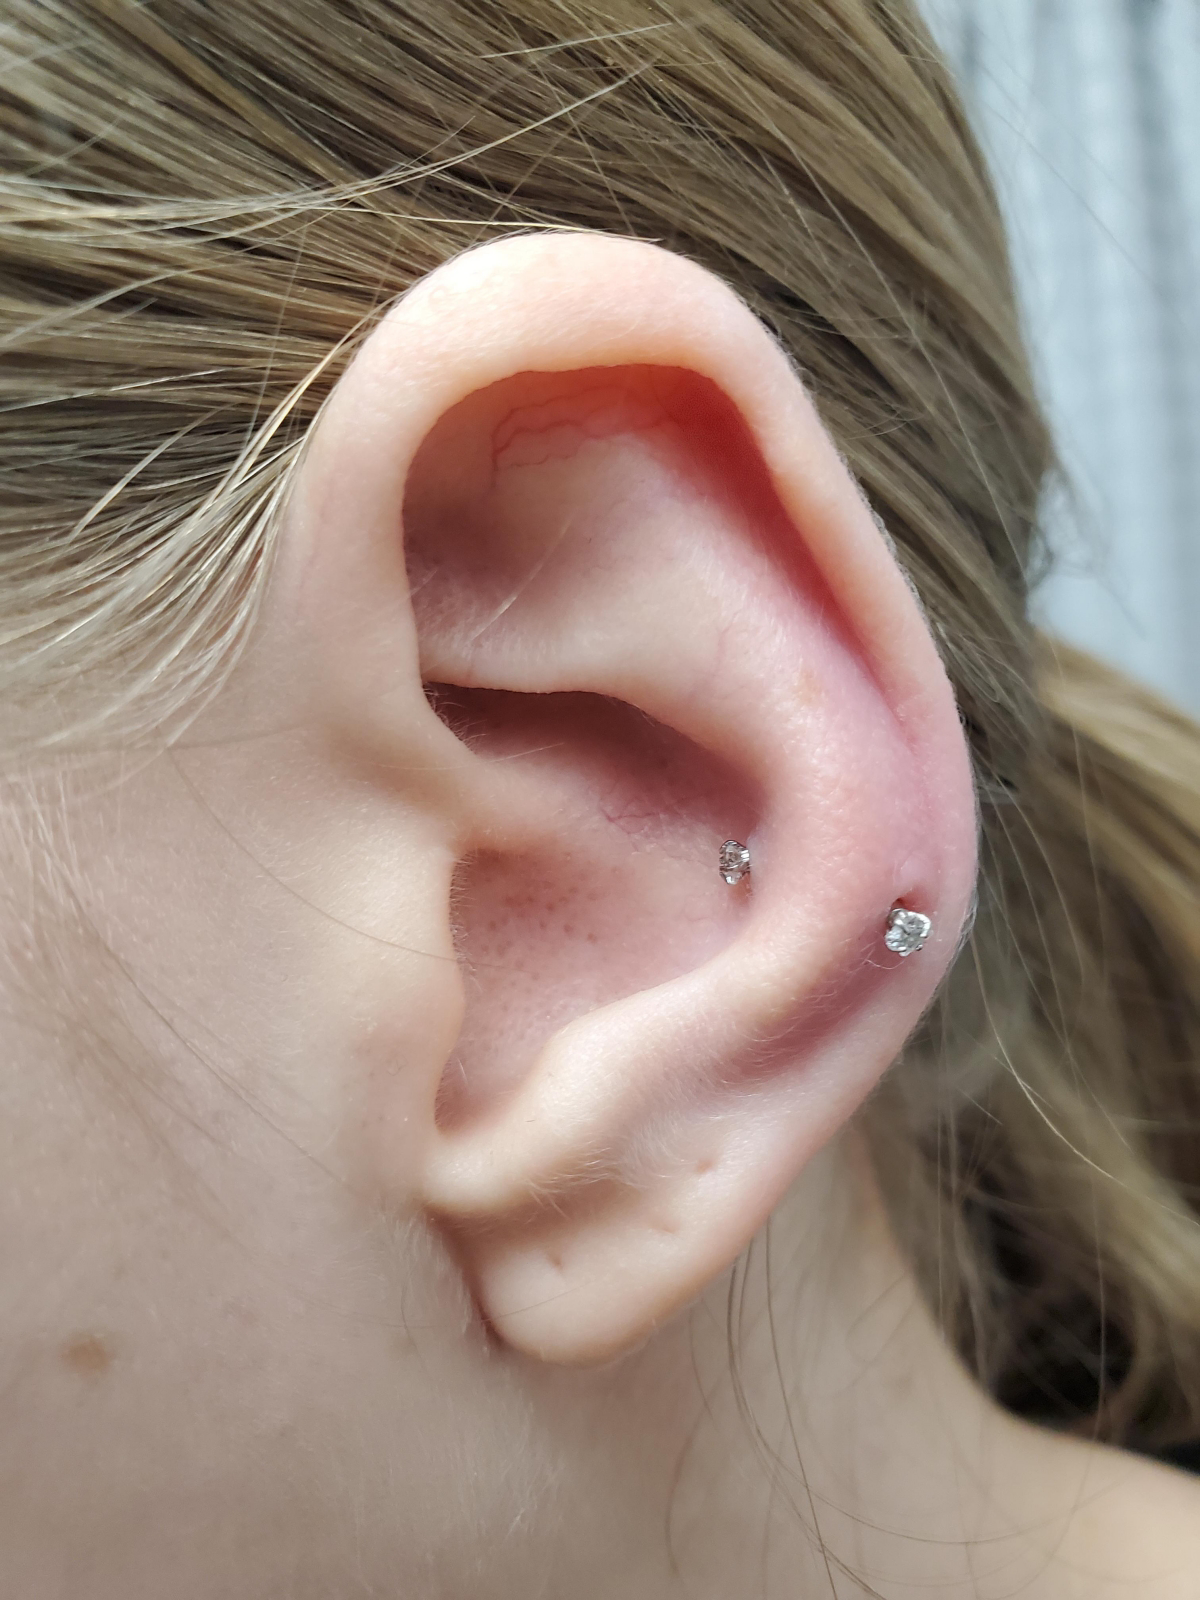
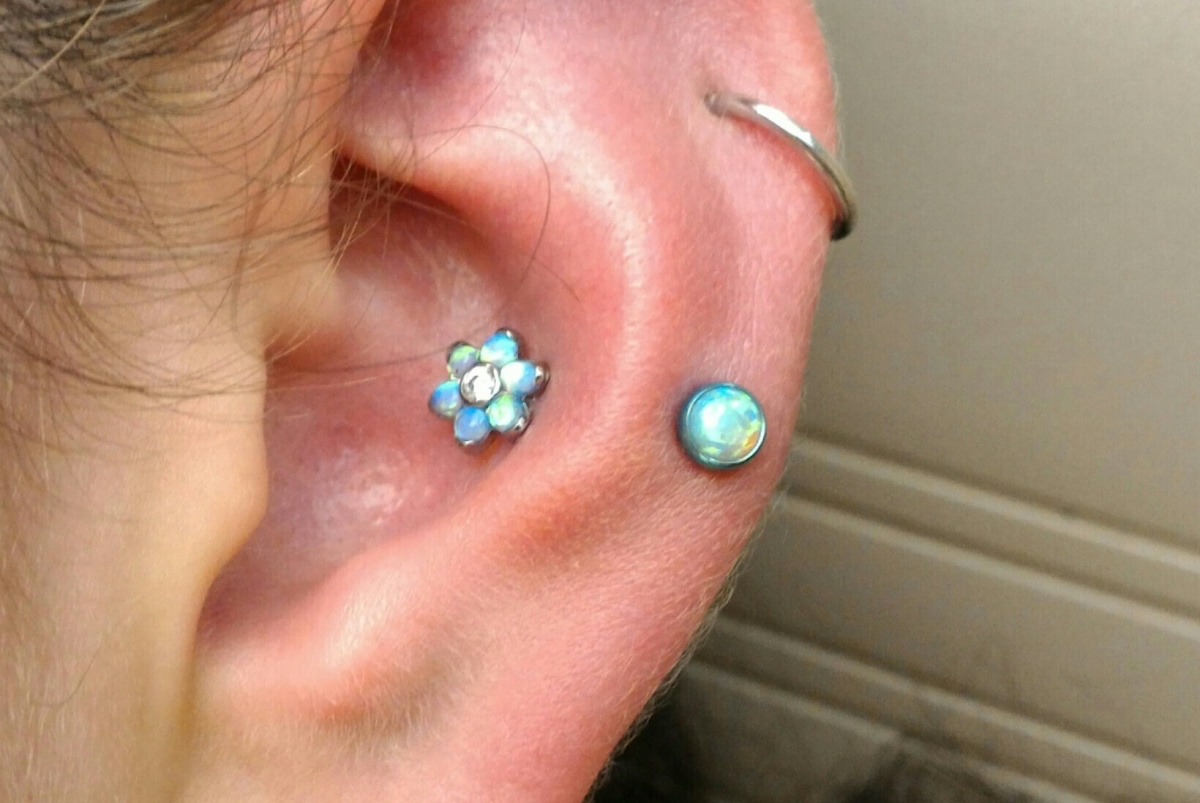
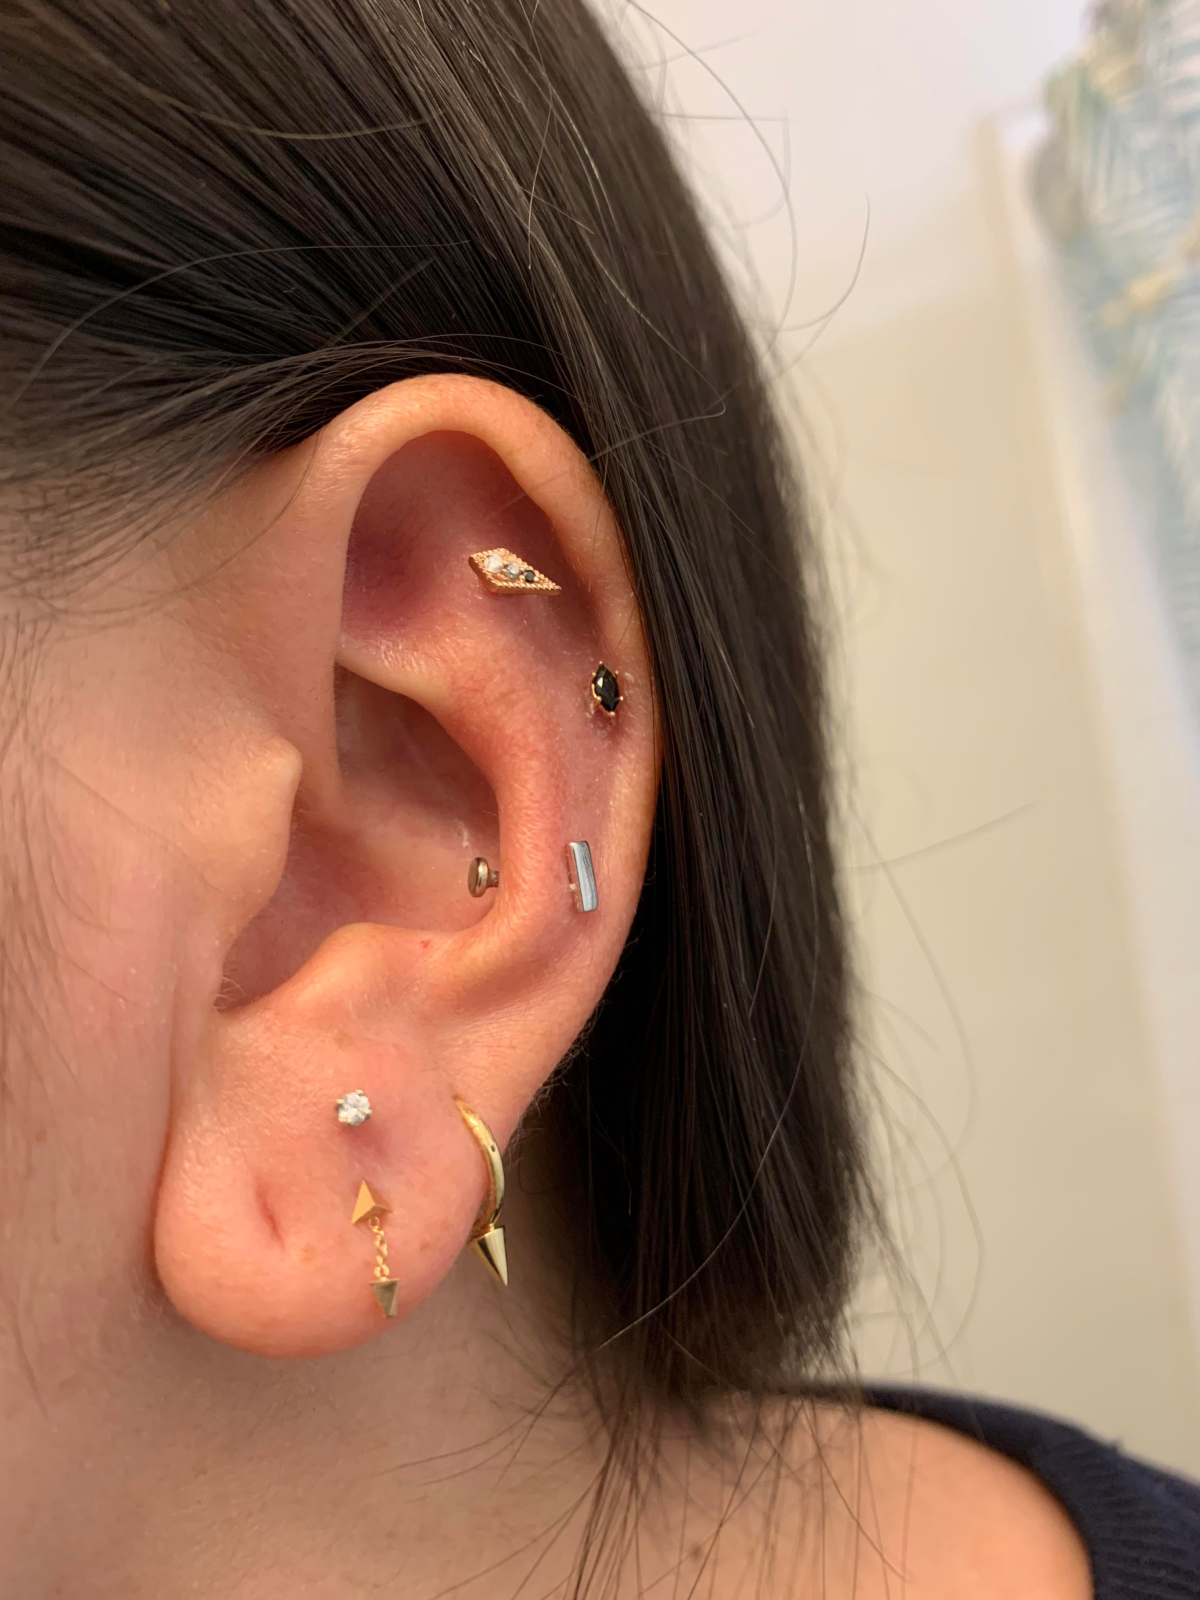
The Better Alternative: The Faux Snug
But wait! If you don’t have the right anatomy, you’re not out of luck. This is where the “faux snug” comes in, and honestly, it’s often a better choice for most people. Instead of one difficult piercing through that thick ridge, a faux snug uses two separate, much easier piercings to create the same look:
- One piercing in the outer conch (the inner cup of the ear).
- A second piercing in the lower part of the helix (the outer rim).
We then use a tiny stud in each hole, making it look like a single barbell is passing through the ridge. The best part? These are two relatively straightforward piercings that heal much more easily and predictably than a true snug. You get the aesthetic without the anatomical gamble and the notoriously difficult healing.
A Look Behind the Needle: The Piercing Process
If you are a good candidate for a true snug, finding an experienced pro is non-negotiable. The angle has to be absolutely perfect to prevent pressure and rejection. Here’s what the appointment should look like.
First, we’ll have a chat. Do you wear glasses? Use earbuds daily? Sleep on that side? The arms of glasses or the bulk of an earbud can put constant, healing-killing pressure on a new snug. We need to be realistic about your lifestyle from the get-go.
I’ll then mark the entry and exit points and have you check it in a mirror. Once you approve, it’s time for the main event. I use a brand-new, sterile, hollow needle (usually a 16g, which is 1.2mm thick). Piercing guns should NEVER be used on cartilage—they shatter it with blunt force and cause irreparable damage. I typically pierce freehand, as clamping the cartilage can cause extra trauma. I’ll have you take a deep breath out, and in one quick, smooth motion, the needle is through. You’ll feel intense pressure and probably hear a distinct “pop” as it clears the cartilage. It’s sharp, but it’s over in seconds.
A quick tip on jewelry: we will only use implant-grade materials like ASTM F-136 titanium or solid 14k/18k gold. And here’s the deal with quality—make sure the jewelry is internally threaded. This means the screw threads are hidden inside the barbell. The alternative, externally threaded jewelry, has the threads on the outside of the bar, which can shred the delicate, healing tissue every time it’s inserted or removed. It’s a cheap shortcut that good piercers never take.
The Real Deal: Pain, Cost, and That Infamous Healing Time
Let’s be real. On a pain scale of 1 to 10, most people put the snug at a solid 6 or 7. It’s more intense than your average cartilage piercing due to the tissue’s thickness. You can expect a deep, throbbing ache for a few hours afterward and general tenderness for weeks. An over-the-counter anti-inflammatory can be your friend here (but check with a doc first!).
As for cost, you’re paying for two things: the service and the jewelry. Don’t fall for a single, cheap, all-in price.
- The Service Fee: Expect to pay between $40 and $80 for the piercer’s expertise, time, and sterile setup.
- The Jewelry: A basic, implant-grade titanium curved barbell will run you another $30 to $50. You’re investing in a safe outcome, not looking for a bargain.
And now for the healing. Buckle up. I tell every client to expect a minimum of 9 to 12 months, and honestly, it’s often longer. This piercing will have good weeks and bad weeks. You’ll think it’s finally happy, and then you’ll accidentally sleep on it and it will get angry all over again. Patience isn’t just a virtue here; it’s a requirement.
Your Healing Game Plan: Aftercare That Actually Works
Once you leave the studio, it’s all on you. Here’s a simple plan for success.
Your Starter Healing Kit:
- Sterile Saline Spray: Get a can from the pharmacy (a popular brand is NeilMed). It should only contain 0.9% sodium chloride and water. This will cost you about $8-$15.
- Non-Woven Gauze: Perfect for drying. A pack is about $5. Don’t use cotton balls or swabs—their fibers can get tangled.
- A Travel Pillow: This is a game-changer for sleeping. You can get one online or at a department store for $15-$25. Lay it flat and put your ear in the hole so you can sleep on your side without putting any pressure on the piercing.
The Golden Rules:
- Clean Twice a Day: Just spray the front and back with your saline, let it sit for a minute, and then gently pat it dry with the gauze. That’s it.
- LEAVE IT ALONE (LITHA): Do not twist, turn, or play with the jewelry. Every movement tears the healing tissue inside.
- Avoid Moisture and Chemicals: No alcohol, peroxide, tea tree oil, or mystery ointments. They are way too harsh. And dry your piercing thoroughly after a shower.
- No Swimming: Stay out of pools, hot tubs, lakes, and oceans for the entire healing period. They are full of bacteria.
Heads up! A lesser-known pro-tip for side-sleepers is the ‘hair claw trick.’ Clip a large plastic hair claw to the hair above your pierced ear before bed. If you roll over in your sleep, the discomfort from the clip will wake you up before you crush your new piercing.
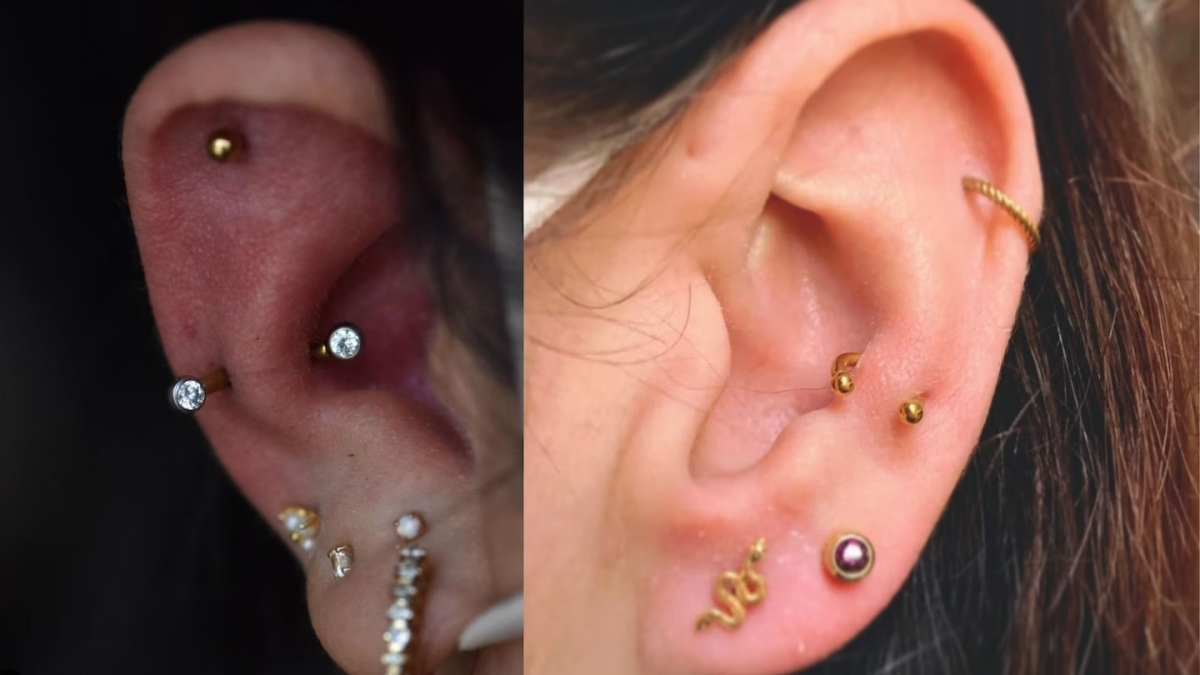
Troubleshooting: Is It Angry or Infected?
Even with perfect care, snugs get cranky. The most common problem is a small irritation bump. These are almost always caused by pressure, moisture, or movement. They are your piercing’s way of saying, “Hey, something is bothering me!” Figure out the cause (are you sleeping on it?), fix the problem, and the bump will go away with continued good aftercare. These are NOT keloids, which are a rare genetic condition.
But you need to know the difference between simple irritation and a genuine infection.
- Irritation looks like: Some redness, tenderness, and clear or whitish fluid that forms “crusties.” It’s annoying, but manageable.
- Infection looks like: Thick, yellow or green pus; the area feels hot to the touch; you see red streaks spreading from the site, or you develop a fever.
If you suspect an infection, see a doctor immediately. Do NOT take the jewelry out, as this can trap the infection and lead to an abscess. We piercers are experts in our craft, but we are not doctors and cannot treat infections.
The All-Important Downsize
This step is so important it gets its own section. We pierce you with a slightly longer bar to allow for swelling. After 6-10 weeks, that swelling will have gone down, and you MUST return to your piercer to have a shorter bar put in. This is called downsizing.
Why is it so critical? A bar that’s too long will get caught and snagged constantly, leading to irritation bumps and even causing the piercing to heal at a crooked angle. The downsize appointment is quick, usually just a small pinch. Expect to pay for the new, shorter jewelry (around $20-$40 for a basic titanium piece), though many studios won’t charge an extra service fee for the quick swap. It’s a mandatory part of the process for a healthy piercing.
Final Thoughts on the Snug
Don’t even think about changing the jewelry yourself for at least a year. Even then, the channel can be tricky to navigate, so a visit to your piercer is your best bet for the first few swaps. When it’s fully healed, a snug is a thing of beauty. But getting there is a true test of patience. Approach it with respect, listen to your body, and trust your piercer. It’s a partnership, and when it works, the result is one of the most unique and rewarding piercings you can get.
Galerie d’inspiration
A snug piercing is a commitment, and so is its aftercare. The biggest mistake is impatience.
The healing tissue, or fistula, is incredibly fragile. Twisting jewelry, sleeping on the piercing, or using harsh chemicals like alcohol can cause irritation bumps (hypertrophic scarring) that are notoriously difficult to get rid of. The best approach is LITHA:

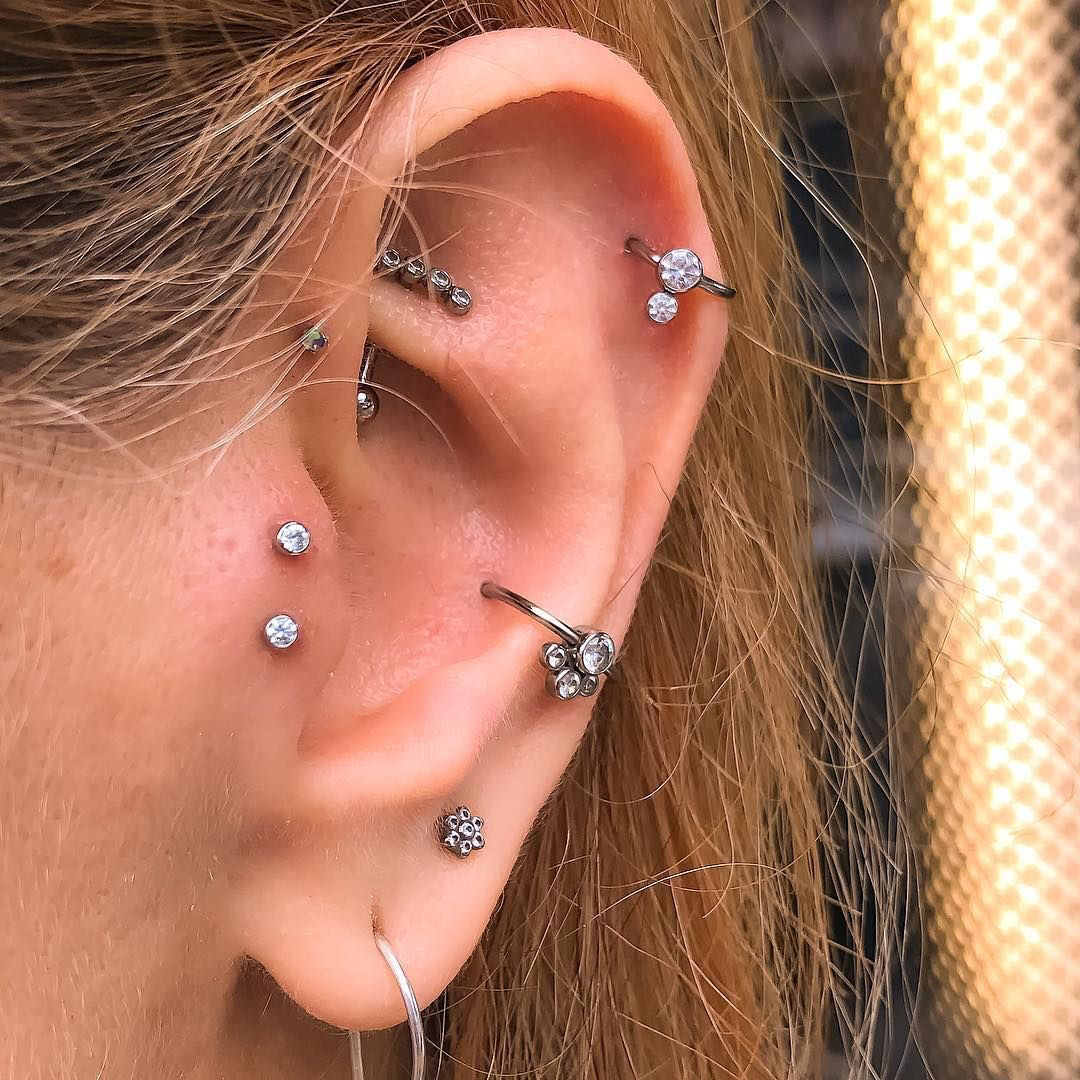
Wondering how to style a snug once it’s finally healed?
Think about creating a cohesive look for a ‘curated ear.’ Because the snug sits horizontally in the middle of the ear, it pairs beautifully with piercings that create vertical contrast. A delicate chain connecting a helix and a lobe piercing, or a simple stud in the tragus, can balance the snug’s boldness. High-end brands like BVLA (Body Vision Los Angeles) offer tiny, intricate gold ends that can make a healed snug a true centerpiece.
Implant-Grade Titanium (ASTM F-136): This is the professional’s choice for initial jewelry. It’s completely nickel-free, non-porous, and lightweight, minimizing the risk of allergic reactions and irritation during the long healing phase.
14k or 18k Solid Gold: A great aesthetic upgrade for a fully healed piercing. Ensure it’s a quality, nickel-free alloy. Avoid gold-plated or gold-filled jewelry, as the coating can chip and expose underlying mystery metals that irritate the sensitive channel.
- Less swelling and irritation.
- A significantly shorter healing time.
- More jewelry options from day one.
The secret? The


