The Real Deal on Tongue Piercings: An Honest Guide from a Pro
I’ve been in the body piercing world for a long time, and I can tell you that the tongue piercing is one of those classics that never really goes out of style. It’s also, without a doubt, one of the most misunderstood. People often see it as this simple, edgy statement, but they don’t always grasp what’s really involved. And honestly? It’s a big deal.
In this article
- First Things First: Finding a Great Piercer & What to Do Before You Go
- The Money Talk: Budgeting for Your New Piercing
- Understanding the Anatomy: It’s Not Just a Piece of Muscle
- The Piercing Procedure: A Calm, Controlled Process
- Piercing Variations (Including One to AVOID)
- The Healing Process: What to Really Expect
- Practical Aftercare: Keep It Simple
- Let’s Talk Jewelry: Materials Matter
- Common Worries & FAQs
- Risks and When to See a Pro
- Galerie d’inspiration
Think about it: we’re creating a wound in one of the most mobile, bacteria-filled places in your body. It’s basically a medical-grade procedure done in a studio. When it’s handled by a skilled, knowledgeable professional, it’s an incredibly safe and expressive piece of body art. But when it’s done poorly… well, that’s when things can go wrong.
My goal here isn’t to talk you into getting one. It’s to give you the straight-up, no-fluff information I share with every client who sits in my chair. We’ll get into the anatomy, what the procedure actually feels like, the all-important healing stages, and how to care for it long-term without wrecking your teeth. This is the kind of stuff you learn from seeing thousands of these piercings heal, both the right way and the wrong way.

First Things First: Finding a Great Piercer & What to Do Before You Go
Before we even talk about needles, let’s get this out of the way: finding a reputable piercer is the MOST important step. Don’t just walk into the first place you see. A beginner often doesn’t know what to look for, so here’s the inside scoop.
Look for a piercer who is a member of the Association of Professional Piercers (APP). You can usually find their member locator online with a quick search. This isn’t a guarantee of a great piercing, but it shows a commitment to safety and education. Beyond that, check their online portfolio. Is their work clean? Is the jewelry high quality? Does the studio look spotless in photos? A great piercer will happily show you their sterilized equipment and walk you through their process. If you get a weird vibe or the place seems chaotic, trust your gut and leave.
Oh yeah, and a few quick wins before your appointment:
- Eat a solid meal a couple of hours beforehand. This helps stabilize your blood sugar and makes you less likely to feel faint.
- Hydrate well for 24 hours leading up to your appointment.
- Buy a new, soft-bristled toothbrush ahead of time so you’re ready for aftercare from day one.
- Avoid alcohol or excessive caffeine on the day of your piercing.
The Money Talk: Budgeting for Your New Piercing
Let’s be real, you need to know what this is going to cost. Prices vary by location and a piercer’s experience, but here’s a general breakdown so you can budget accordingly.
- The Piercing Fee: Expect to pay anywhere from $40 to $80 for the service itself. This covers the piercer’s time, the sterile setup, and their expertise.
- The Initial Jewelry: This is a separate cost. For high-quality, implant-grade titanium (which is what you want), a basic barbell will likely run you $30 to $50.
- The Mandatory Downsize: Remember this! After a couple of weeks, you’ll need a shorter barbell. Some studios include the downsize service for free, but you’ll almost always need to purchase the new, shorter barbell, which could be another $20 to $40.
- Aftercare Supplies: You’ll need a can of sterile saline spray. A good one, like NeilMed Piercing Aftercare, costs about $12-$15 and is worth every penny. You might also want an alcohol-free mouthwash like Biotene, which is another $8-$10.
All in, you should probably budget between $100 and $200 for the entire initial process. Don’t cheap out—this is your health we’re talking about!
Understanding the Anatomy: It’s Not Just a Piece of Muscle
Before a needle ever comes out, a responsible piercer will take a good look at your tongue. It’s not a uniform slab of meat; it’s a complex map of muscles, blood vessels, and nerves, and our job is to navigate it safely.
The classic spot for a tongue piercing is right in the center, along the midline. This isn’t just for looks—it’s for safety. The middle of the tongue has a natural separation between the two main muscle groups. Piercing here is less disruptive. More importantly, the big-deal blood vessels, the lingual arteries, run along the sides and underside. A centered placement gives them a wide berth. Puncturing one of those can cause some serious, hard-to-control bleeding.
We also have to check out your lingual frenulum—that’s the little web of tissue connecting your tongue to the floor of your mouth. If it’s too short or attached too far forward, a standard piercing might not be possible. I’ve had to turn people away because their anatomy just wasn’t a good fit. A piercer who prioritizes your safety over making a quick buck is a piercer you can trust.
The Piercing Procedure: A Calm, Controlled Process
Forget what you’ve seen in movies. A professional piercing is a quiet, controlled, and sterile event. Here’s how it should go down.
First, we talk. I’ll go over your health history and any allergies. Then, you’ll stick your tongue out so I can check your anatomy. I’ll explain everything—the risks, the healing, the aftercare—before you commit.
Next up is the setup. This part is non-negotiable. All tools, the needle, and the jewelry must be sterilized in a machine called an autoclave. I should open the sealed, sterile pouches right in front of you. The needle is always brand new and single-use. I’ll wash my hands and put on fresh medical gloves.
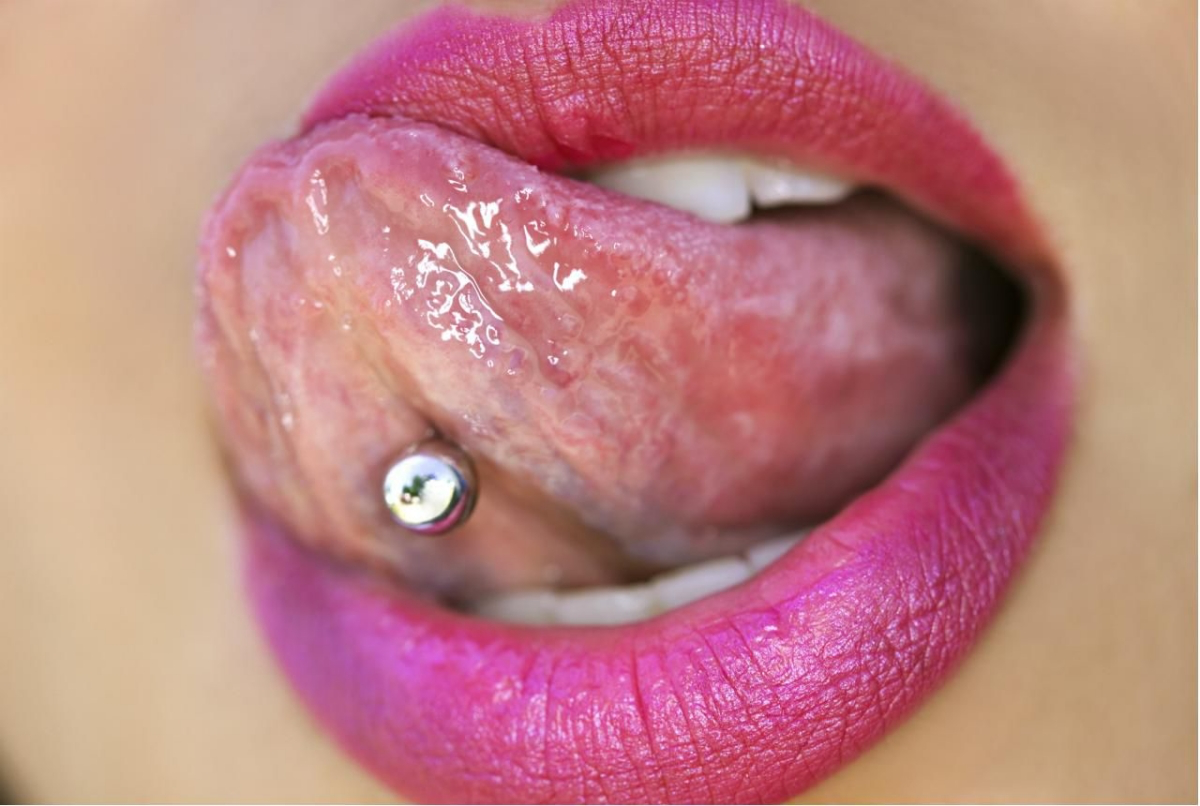
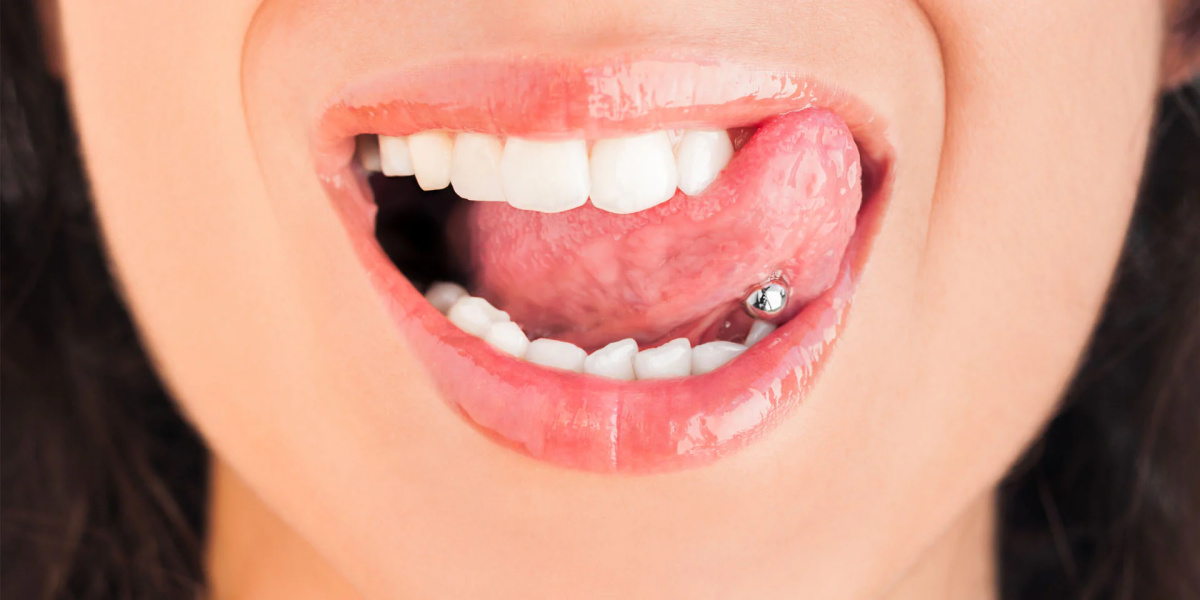
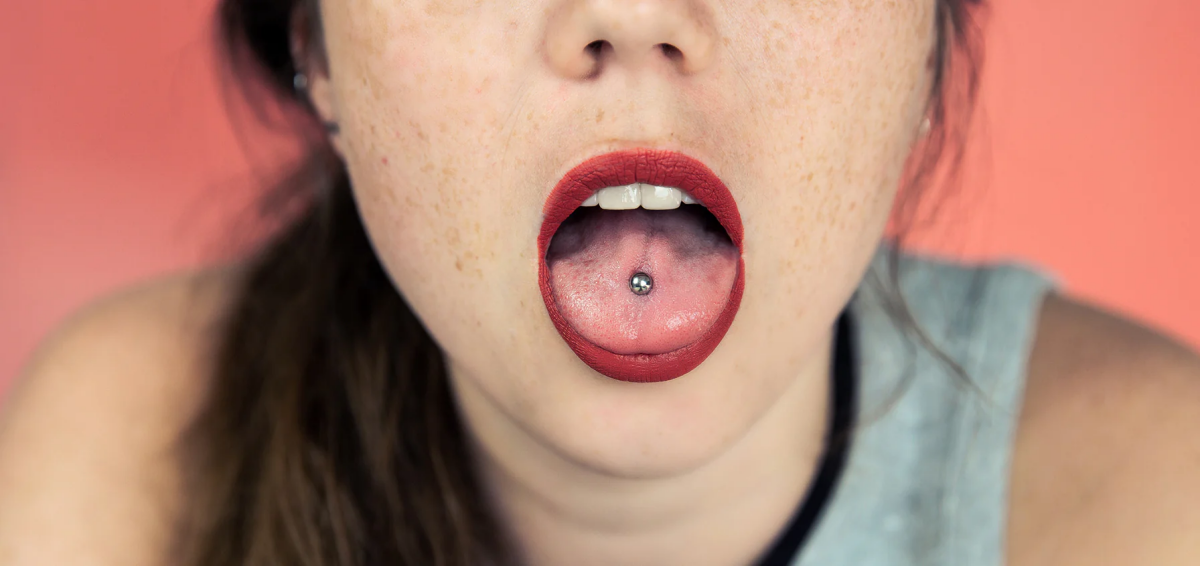
Using a sterile, single-use marker, I’ll place a dot on top and bottom. Placement is everything. We aim for that center line, typically about 1.5 to 2 centimeters from the tip, which helps protect your teeth and gums down the road. I’ll hand you a mirror so you can approve the spot. We don’t move forward until you’re 100% happy with it.

For the main event, I’ll have you take a deep breath in and exhale slowly. As you breathe out, the piercing happens. I might use sterile forceps to hold the tongue steady. The needle itself is hollow and incredibly sharp, passing through from top to bottom in one quick, smooth motion. Most people describe it as an intense pressure or a sharp pinch that’s over in a second. Seriously, the anticipation is usually worse than the actual event. On a scale of 1 to 10, most clients put it around a 4 or 5.
The jewelry goes in immediately after the needle. Good piercers only use internally threaded or threadless jewelry. This means the barbell is smooth, and the ball screws into the bar. This is a huge deal because it prevents the rough threads of cheaper, externally threaded jewelry from getting dragged through your brand-new piercing, which can tear tissue and introduce bacteria. The first barbell will be extra long to allow for swelling. It looks a little goofy, but it’s essential.
Piercing Variations (Including One to AVOID)
While the standard piercing is the safest, a few other placements have popped up. It’s vital to know the risks.
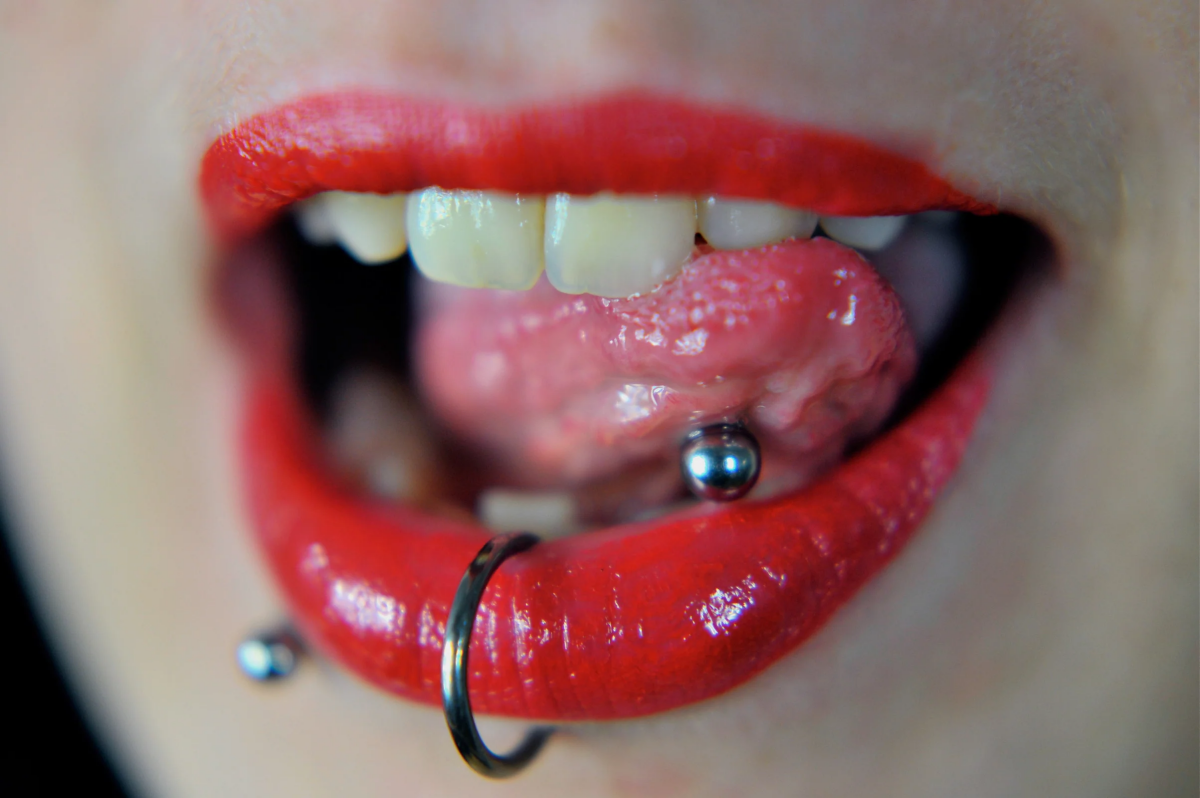
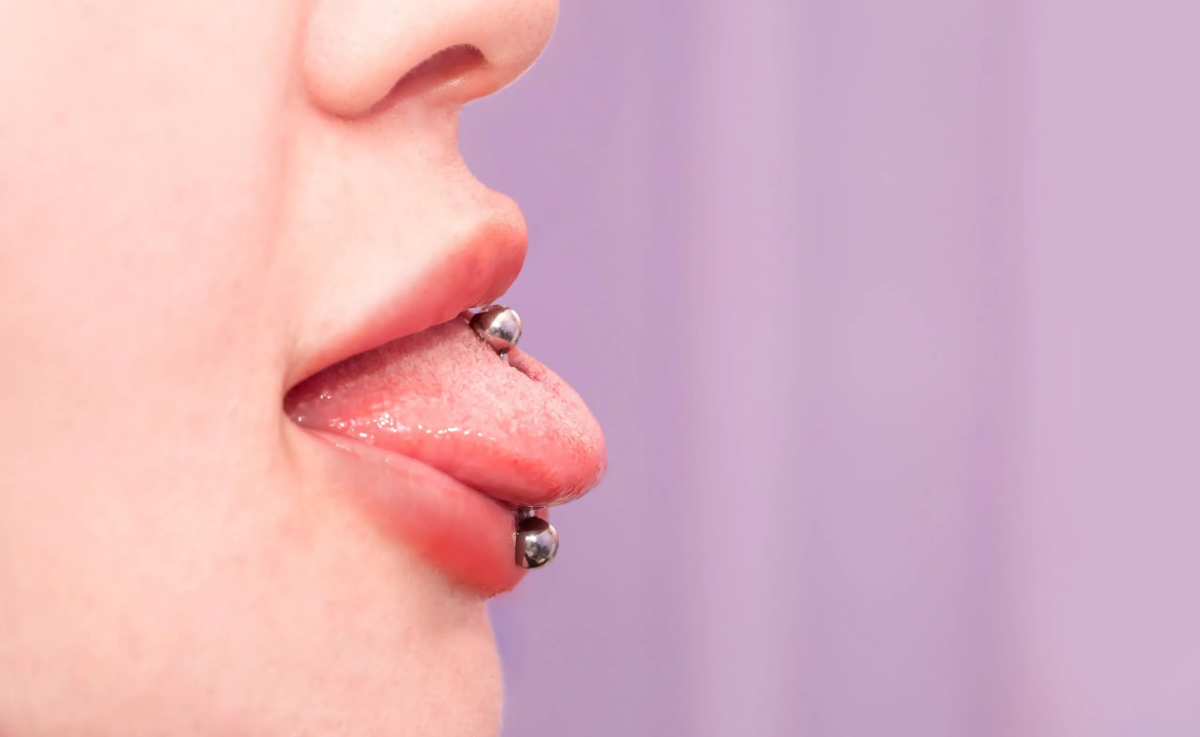
- Paired Piercings (aka ‘Venoms’): This is two piercings placed symmetrically on either side of the tongue. Heads up: these are much riskier. They go directly through the muscle bodies and are closer to major nerves and vessels. Healing is tougher with two wounds swelling at once. These should only ever be done by a highly experienced piercer.
- Frenulum (Web) Piercing: This one goes through the thin membrane under your tongue. The piercing itself is super fast and pretty low on the pain scale. Healing is also quick. The downside? The tissue is delicate, so there’s a higher chance of the jewelry rejecting or tearing.
- A Big Warning on ‘Snake Eyes’: I will not perform this piercing, and I strongly urge you to avoid it. This is a horizontal bar through the very tip of your tongue, and it’s fundamentally unsafe. It binds the two independent muscles together, which can cause speech impediments. Worse, I’ve seen clients come to me from other shops with this piercing, and the damage is real. One person already had visible hairline cracks on their two front teeth from the balls constantly pressing against them. It’s just not worth the risk to your long-term dental health.

The Healing Process: What to Really Expect
Healing is a journey, and your job is to create the best possible environment for your body to do its thing.
Week 1: The Swelling Phase
This is the toughest part, no sugar-coating it. Your tongue will swell up, peaking around day 3 to 5. It can feel alarmingly big, and you’ll probably have a lisp. To manage it, you can take an over-the-counter anti-inflammatory like Ibuprofen (but check with your doctor if you have any health conditions!). Sleeping with your head slightly elevated on an extra pillow can also make a big difference overnight.
Eating will be an adventure. Stick to cold, soft foods: smoothies (no straws!), yogurt, ice cream, and lukewarm soups. A great trick is to cut solid food into tiny pieces and use a fork to place it directly on your back molars to chew. It feels weird, but it works! Sucking on ice chips will be your best friend.

Weeks 2-4: The CRITICAL Downsize
By the second week, the swelling will have gone down a lot. That extra-long barbell is now a liability. It’s going to clank against your teeth and be super annoying. This is when you MUST go back to your piercer for a downsize. We’ll swap the long bar for a shorter one that fits snugly. Skipping this is the #1 mistake people make and the primary cause of tooth and gum damage.
Months 2-6: The Maturation Phase
The piercing might feel totally fine after a month, but it’s not fully healed. The inside channel of tissue is still forming and getting strong. Full healing can take 4 to 6 months. Be gentle with it and don’t change the jewelry for fun during this time.
Practical Aftercare: Keep It Simple
Good aftercare is all about keeping things clean without going overboard.
- Rinse, Rinse, Rinse: For 30 seconds after you eat or drink anything that isn’t water, rinse your mouth with a sterile saline solution (NeilMed is perfect) or an alcohol-free mouthwash (like Biotene or Crest Pro-Health). Do this 3-5 times a day, max. Over-cleaning can cause irritation.
- Gentle Brushing: Brush your teeth twice a day with that new soft-bristled toothbrush. You can gently brush your tongue, too, but try to avoid the jewelry for the first couple of weeks.
- Avoid: For at least the first two weeks, avoid alcohol and smoking, as they seriously slow down healing. Definitely no harsh chemicals like hydrogen peroxide or regular Listerine—they’re way too aggressive. And this is a big one: avoid any oral contact (yes, that includes kissing) for the entire initial healing period (at least 6-8 weeks) to prevent infection.

Let’s Talk Jewelry: Materials Matter
Jewelry quality is just as important as the piercer’s skill. Here’s a quick rundown:
- For a new piercing, implant-grade is the only way to go. ASTM F-136 titanium is the best choice. It’s what they use for surgical implants, it’s nickel-free, and your body is very unlikely to have a reaction to it.
- Once it’s fully healed (6+ months), you can explore other body-safe materials like solid 14k or 18k gold (never gold-plated, as it can flake off) or niobium.
- What about plastic? Acrylic or Bioplast jewelry can be gentler on teeth, which is a plus. However, the material is porous and can harbor more bacteria, so it’s not ideal for everyone for long-term wear. It’s best used after you’re completely healed and you know your body tolerates it well.
Common Worries & FAQs
Let’s tackle a few questions I get all the time:
- Will I have a permanent lisp? Unlikely. You’ll definitely have a lisp during the initial swelling, but once you downsize to a properly fitted bar, most people’s speech returns to normal.
- Can I get it pierced if I have braces? It’s generally not recommended. There are just too many extra things in your mouth for the jewelry to get caught on, which can damage your piercing and your dental work. Wait until the braces are off.
- What if I get a cold while it’s healing? It’s not ideal, but it happens. Just be extra diligent with your aftercare and stay hydrated. A sore throat plus a healing piercing isn’t fun, but it’s manageable.

Risks and When to See a Pro
Even with perfect care, you need to know the signs of trouble.
Dental Damage: This is the most common long-term risk, usually from a bar that’s too long or a habit of clicking the jewelry against your teeth. Getting your jewelry downsized and being mindful are your best defenses.
Infection: Normal healing involves some swelling and a whitish/clear fluid (that’s lymph). An infection is different. Look for thick, green, or dark yellow pus, a foul taste/smell, spreading redness, and throbbing pain that gets worse instead of better. If you suspect an infection, DO NOT take the jewelry out—this can trap the infection inside. See your piercer or a doctor right away.
A tongue piercing can be an amazing modification you enjoy for years, but it’s a partnership. Your piercer provides the sterile procedure and guidance, but you provide the diligent aftercare. When we both do our part, the result is a happy, healthy piercing.
Galerie d’inspiration

Implant-Grade Titanium (ASTM F136): This is the top choice for initial tongue piercings. It’s completely nickel-free, lightweight, and biocompatible, meaning your body is less likely to react to it. Brands like Anatometal or NeoMetal specialize in this mirror-polished material, which promotes faster, cleaner healing.
Surgical Steel: While common,
According to the American Dental Association (ADA), oral piercings carry a high risk of tooth chipping or cracking and gum recession over time.
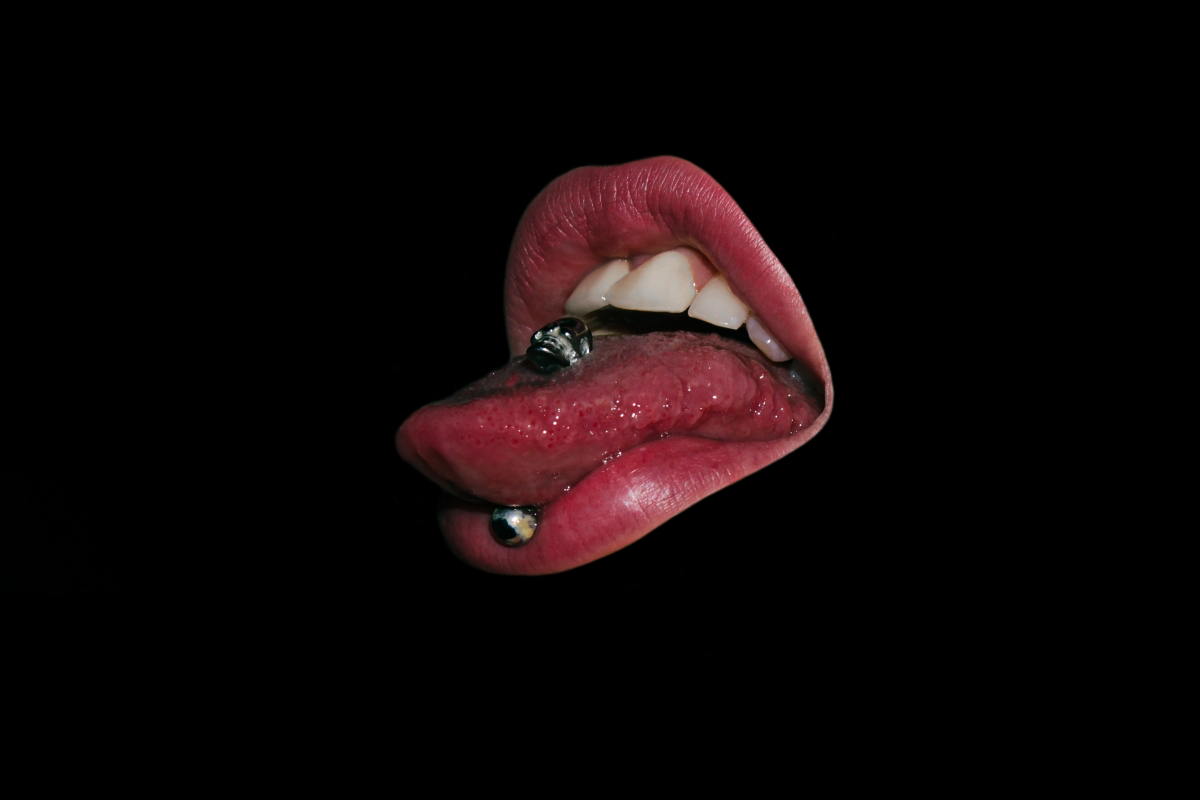
This sounds scary, but it’s manageable with care. Once your initial swelling is gone, have your piercer downsize your barbell to a snug fit. This minimizes contact with teeth and gums. Many people also opt for a metal ball on top for aesthetics and a softer acrylic or bioplast ball on the bottom to cushion against the lower teeth and reduce the risk of dental damage long-term.
A great piercing is only half the battle; proper aftercare is what makes it last. Even with the best intentions, it’s easy to slip up. Avoid these common healing-process hurdles:
- Using harsh, alcohol-based mouthwashes. They irritate the fresh wound. Stick to a sterile saline solution.
- Constantly playing with the jewelry. Clicking it against your teeth or rotating it excessively can cause gum erosion, tooth damage, and delayed healing.
- Changing the long initial bar for a shorter one too soon. Wait for your piercer’s green light after the swelling has fully subsided (usually a few weeks).


