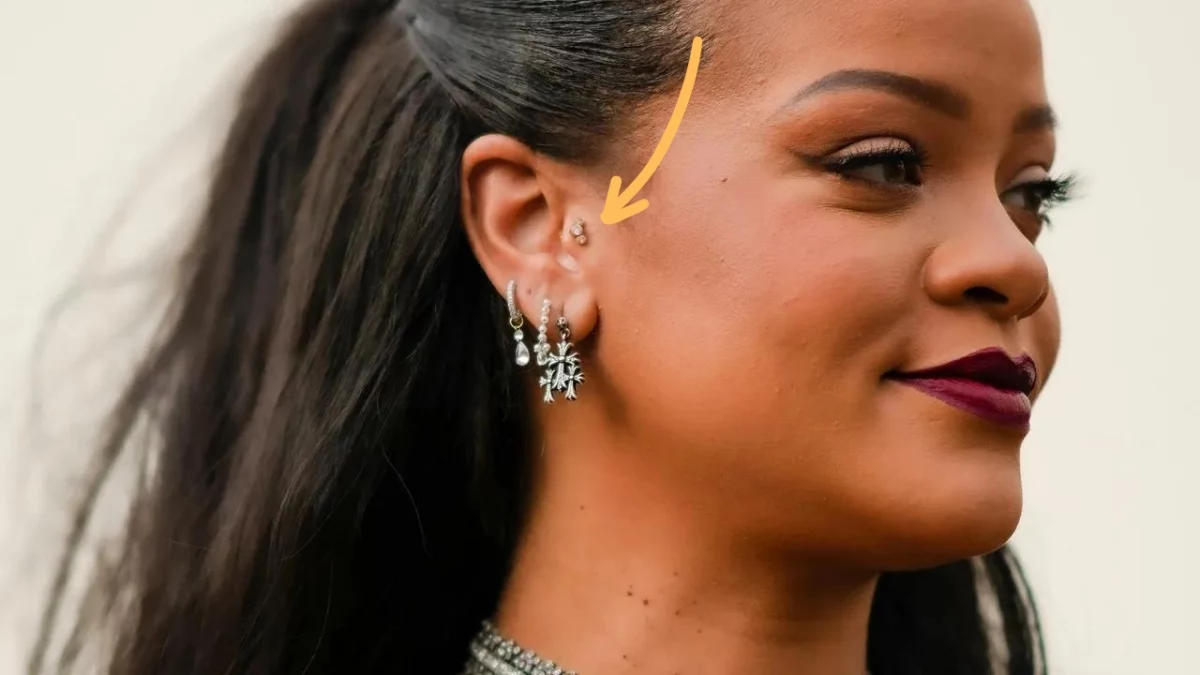
The Real Deal on Tragus Piercings: What to Know Before You Go
I’ve seen so many piercing trends come and go, but the tragus piercing? It’s a classic for a reason. It’s that perfect little accent on the flap of cartilage right in front of your ear canal—subtle, chic, and always in style. But don’t let its simple look fool you. Getting it right is about more than just picking a pretty stud.
In this article
A great tragus piercing comes down to understanding your own ear, finding a pro who knows their stuff, and being patient during the healing process. So many people walk in with a picture from social media, but they have no idea what actually goes into it. Let’s pull back the curtain. I want to walk you through this from an insider’s perspective so you know what to look for, what to ask, and how to end up with a piercing you’ll love for years.
Is Your Tragus Ready for a Piercing?
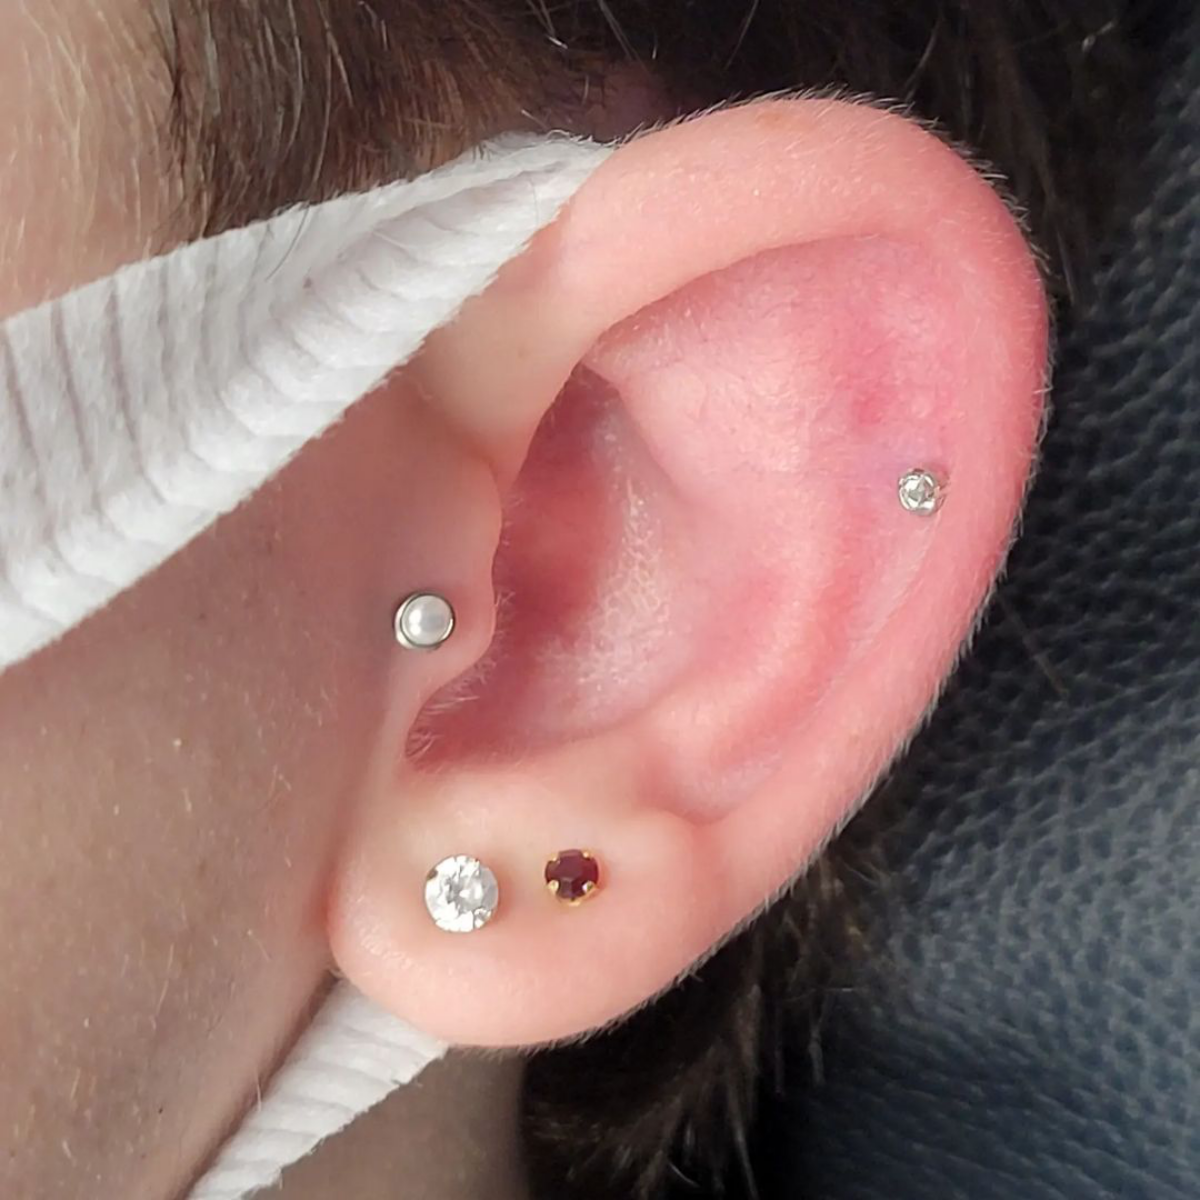
First things first, let’s talk about the tragus itself. It’s a little piece of cartilage that helps our brain figure out where sounds are coming from. But for our purposes, it’s all about its shape and size. Tragus anatomy varies a ton from person to person—some are thick and prominent, while others are tiny and thin. There’s no “good” or “bad” here, but it does mean that a tragus piercing isn’t a one-size-fits-all deal.
When you go in for a consultation, the first thing any good piercer will do is take a close look at your ear. They’re checking to see if there’s enough real estate to support the jewelry. A tragus that’s too thin might struggle to hold the piercing securely, and one that’s too small might not have room for the stud and its backing without causing pressure. It’s why that quick chat with a pro is so important.
And if they say your tragus isn’t a great candidate? Don’t be discouraged! A responsible piercer will be honest with you. Oh yeah, and they should offer you some amazing alternatives. A well-placed conch, a delicate flat, or a forward helix piercing can give you a similar vibe. The goal is a piercing that will heal well and look great on you.
Why Healing Cartilage Is a Whole Different Ballgame
It’s crucial to remember that the tragus is cartilage, not a soft earlobe. What’s the difference? Blood flow. Cartilage has way less blood supply, and blood is what brings all the healing magic (oxygen and nutrients) to the party. Less blood means a much, much longer healing time. An earlobe might be happy in 6-8 weeks, but a tragus is a long-term commitment. You’re looking at a full 6 to 12 months for it to be truly, fully healed on the inside. Knowing this from the start helps you set realistic expectations.

What to Expect in the Piercer’s Chair
Walking into a piercing studio should feel professional and clean, not scary. Here’s a step-by-step breakdown of how the process should go, so you can spot a pro from a mile away.
1. The Chat and the Game Plan
We’ll start with that anatomy check, but we also need to talk about your life. Do you live with earbuds in? Sleep on that side? Talk on the phone a lot? These things matter! For instance, if you’re an earbud fanatic, we need a plan. You’ll have to switch to over-ear headphones for at least the first 3-4 months or commit to only using an earbud in the non-pierced ear. There’s no getting around this one, honestly.
2. Let’s Talk Money
You’re probably wondering what this is all going to cost. Let’s be real about it. For the piercing service itself, you can expect to pay somewhere between $35 and $60 at a quality studio. That fee is just for the piercer’s time and skill. On top of that, you have the jewelry. A basic, implant-grade titanium stud might start around $30, while solid gold or pieces with genuine gems can go up into the hundreds. It’s a good idea to budget for this ahead of time.
Heads up! Don’t forget about the downsize. We’ll get to that later, but you’ll need to come back for a shorter post, which might cost another $15 to $25. It’s a necessary part of the process.
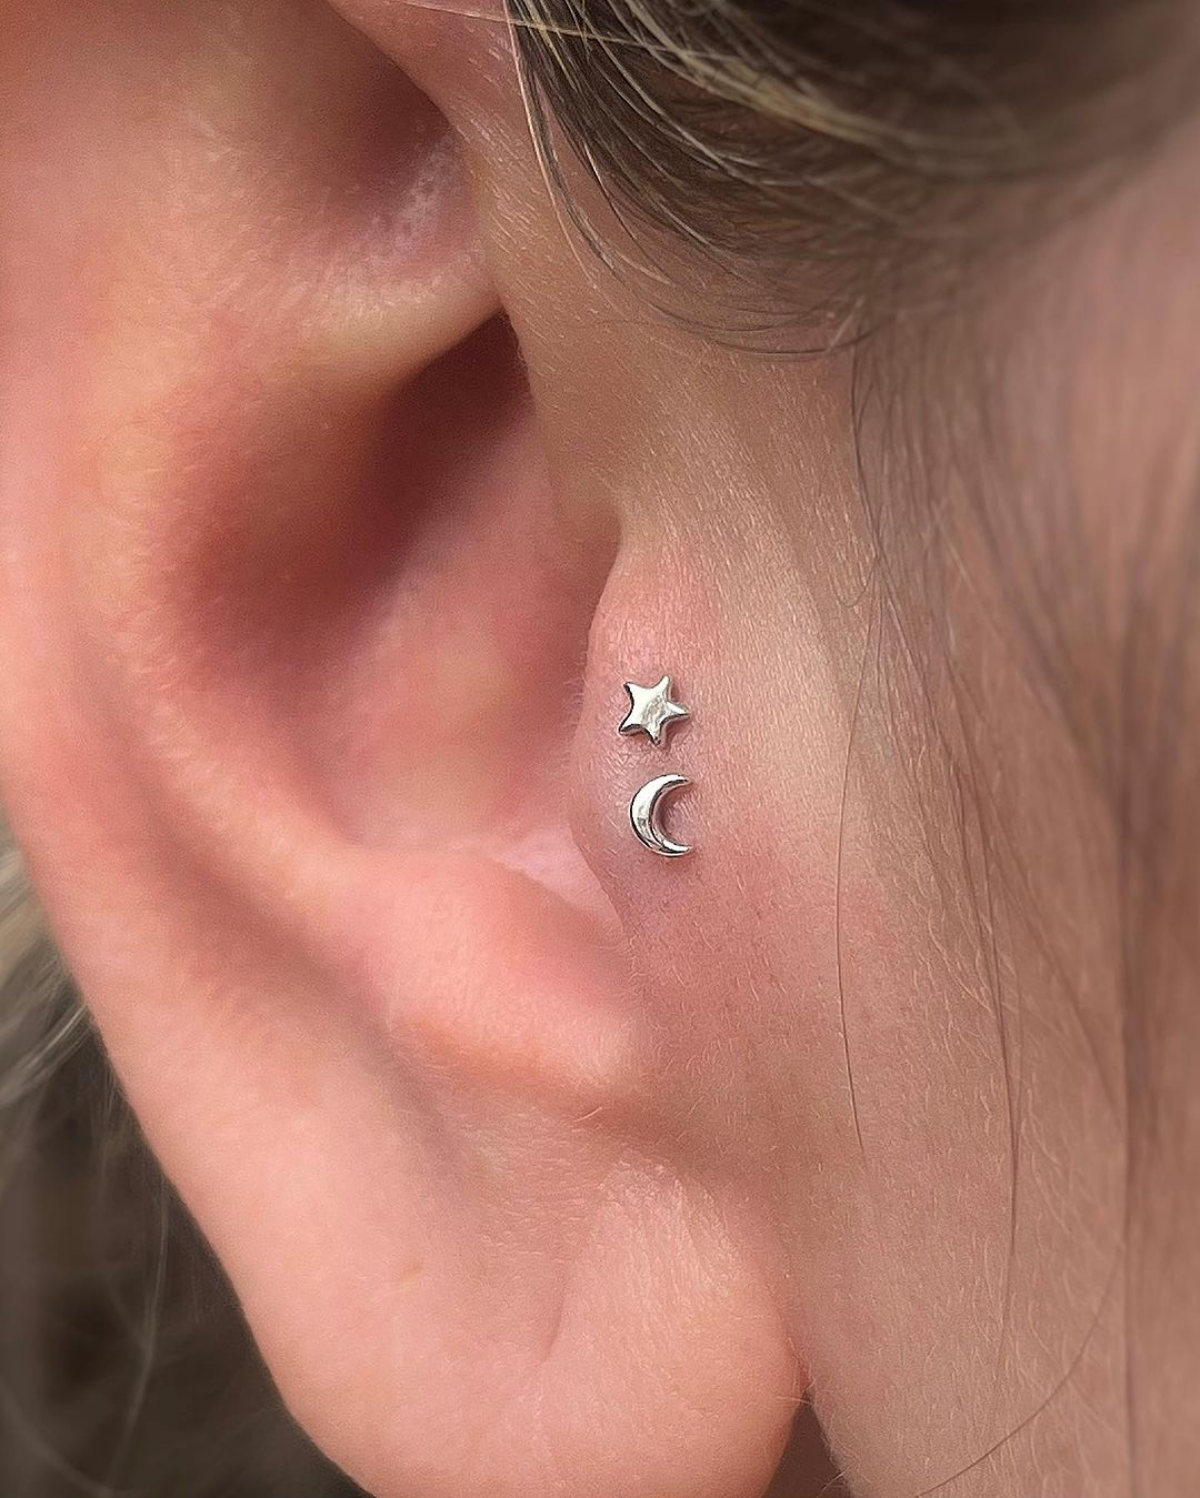
3. Marking the Spot
Once we’re on the same page, it’s time to mark the placement. This is a team effort! Your piercer will use a sterile, single-use skin marker to place a dot on your tragus, aiming for a balanced look in the center of the tissue. Then, they’ll hand you a mirror. This is your chance to give the final thumbs-up. Don’t be shy—you’re the one who will be wearing it!
4. The Clean Sweep
This part is non-negotiable. Everything should be clean, sterile, and opened right in front of you. Your piercer will wash their hands, put on gloves, and open sealed, autoclaved packages containing the needle, jewelry, and any tools. Your ear will be thoroughly cleaned with an antiseptic wipe. If you don’t see this level of hygiene, walk out. Seriously. Your health is not worth the risk.
By the way, not sure how to find a good studio? A great resource is to check the website for a leading professional piercing organization. They usually have a member locator that lists vetted piercers and studios in your area.
5. The Piercing Itself
Okay, the main event. A pro will always use a brand-new, sterile, single-use hollow needle. It’s incredibly sharp and designed to create a clean channel, which is way less traumatic for your cartilage. You might hear a little “pop” as it goes through, which is totally normal.
I have to say this in all caps: NEVER, EVER LET ANYONE USE A PIERCING GUN ON YOUR CARTILAGE. A gun uses blunt force to smash a dull stud through your ear, which can shatter cartilage, cause massive scarring, and lead to a world of healing problems. It’s just not safe.
Your piercer will tell you to take a deep breath in and exhale slowly. As you breathe out, they’ll pass the needle through in one quick, smooth motion. It’s over in a second. Most people say the anticipation is far worse than the pinch itself.
6. Jewelry In, and You’re Done!
Right after the needle, the jewelry goes in. Pros use techniques that allow for a seamless transfer, so there’s no extra trauma. Once the jewelry is secured, they’ll clean you up one last time, and that’s it! The whole thing, from marking to finish, usually takes just a few minutes.
Pain, Healing, and Aftercare 101
On a pain scale of 1 to 10, most people put the tragus at a 4-6. It’s a quick, sharp pinch that fades into a dull throb for a little while. An experienced piercer’s speed and confidence make a huge difference in minimizing discomfort.
Jewelry: Your First Stud Matters
The jewelry you get pierced with is basically a medical implant, so the material and style are chosen for healing, not just looks.
- Material: Your best bet is implant-grade titanium. It’s nickel-free, lightweight, and what surgeons use. Niobium and solid 14k or 18k gold (not plated!) are also excellent, safe choices. Steer clear of vague terms like “surgical steel,” which can be a mystery metal full of nickel, a common allergen.
- Style: A flat-back labret stud is the gold standard for a reason. The flat disc on the back sits flush and doesn’t snag easily. We use a longer post initially to allow for swelling. And these days, you can choose between internally threaded (the top screws in) or threadless (push-pin) styles. Threadless is super popular because the tops are easy to change once you’re healed.
Please, don’t get pierced with a hoop. They look amazing in healed piercings, but they move around way too much during the fragile healing phase, which is a one-way ticket to irritation bumps.
Aftercare: The “Leave It Alone” Method
Modern aftercare is beautifully simple. The best thing you can do for your new piercing is LITHA: Leave It The Heck Alone. Don’t twist it, don’t touch it, don’t play with it. Your body is an amazing healer; your job is just to keep the area clean.
Your only task is to clean it twice a day with a sterile saline wound wash. You can buy this at any pharmacy—a popular brand is NeilMed. Just make sure the only ingredients are 0.9% sodium chloride and water. Spray it on, let it sit for a minute, and then gently pat the area dry with a clean paper towel or non-woven gauze. Never use a bath towel, which can snag the jewelry and introduce bacteria.
And here’s what to absolutely avoid: no rubbing alcohol, no hydrogen peroxide, no antibacterial soaps, and definitely no ointments like Neosporin. These are all way too harsh and will only irritate your piercing and delay healing.
Troubleshooting: Bumps, Lumps, and When to Worry
Even if you do everything right, you might hit a snag. Most of the time, it’s just irritation, not a full-blown infection.
The Dreaded Irritation Bump
That little bump that sometimes forms next to a cartilage piercing? It’s almost always caused by irritation. The solution is to figure out the cause and eliminate it. The most common culprits are sleeping on it, snagging it, or wearing low-quality jewelry. A travel pillow (the kind with a hole in the middle) is a lifesaver for side sleepers!
Another major cause is not downsizing your jewelry. After 4-8 weeks, the initial swelling will have gone down, and that long starter post will now be too long. It can snag and move around, causing—you guessed it—an irritation bump. You MUST go back to your piercer to get a shorter post fitted. This is probably the most crucial follow-up step for a happy piercing.
Irritation vs. Infection: How to Tell the Difference
It’s easy to panic, but true infections are rare with proper care. It’s important to know what to look for.
Normal irritation might feel sore when bumped and have some clear or whitish fluid that dries into “crusties.” It’s annoying but manageable. The key is to get back to basics: baby the piercing, check for the source of irritation (sleeping habits, etc.), and make sure you’ve downsized your jewelry post.
A potential infection, on the other hand, is a different beast. The signs are much more aggressive: think thick, smelly pus that’s yellow or green, redness spreading far from the piercing, the area feeling hot to the touch, and pain that’s constant and throbbing. If you feel feverish or generally unwell, that’s another major red flag. If you suspect an infection, see a doctor. Do not take the jewelry out—it keeps the channel open so the infection can drain. Taking it out could trap the infection inside, leading to an abscess.
Finally Healed: Time to Accessorize!
Once you’ve made it through the 6-12 month healing journey without any pain or crusties for a few weeks, you’re officially healed! Now the fun part begins: changing your jewelry. For the first few swaps, it’s a great idea to visit your piercer. The tragus can be a tricky spot to change yourself, and they can do it in seconds.
You can finally try that tiny, fitted hoop you’ve been dreaming of. But a quick word of advice: listen to your body. Some ears, even when fully healed, just don’t like the movement of a hoop and might get irritated again. If a bump appears, it’s just your ear telling you it prefers the stability of a stud. At the end of the day, a happy piercing is one you can forget is even there. And that’s a goal worth being patient for.
Galerie d’inspiration
Jewelry Material Matters: While the sparkle is tempting, the metal is what your body cares about. For a fresh tragus piercing, nothing beats implant-grade titanium (specifically ASTM F-136). It’s nickel-free, lightweight, and the same material used in surgical implants, meaning biocompatibility is its superpower. Brands like NeoMetal or Industrial Strength specialize in this. Solid 14k or 18k gold (never plated!) is a stunning option, but it’s best saved for after you’re fully healed.
The Association of Professional Piercers (APP) notes that most piercing complications are not infections but physical irritations caused by improper aftercare, low-quality jewelry, or trauma.
This means that bump you might see isn’t necessarily a crisis. It’s often your body’s response to being knocked, slept on, or exposed to irritating products. The key is gentle care: a simple sterile saline spray (like NeilMed Piercing Aftercare), no twisting the jewelry, and patience. Always consult your piercer before panicking!
The big question: Can I still wear my AirPods?
For the initial healing period (a solid 6-9 months), it’s a firm no. Earbuds put pressure directly on the piercing site, trap moisture, and introduce bacteria, creating a perfect storm for irritation and healing delays. It’s the ideal time to invest in a good pair of over-ear headphones. Once fully healed, you can usually reintroduce earbuds, but you might find a flat-back labret stud is far more comfortable than jewelry with a bulky ball backing.
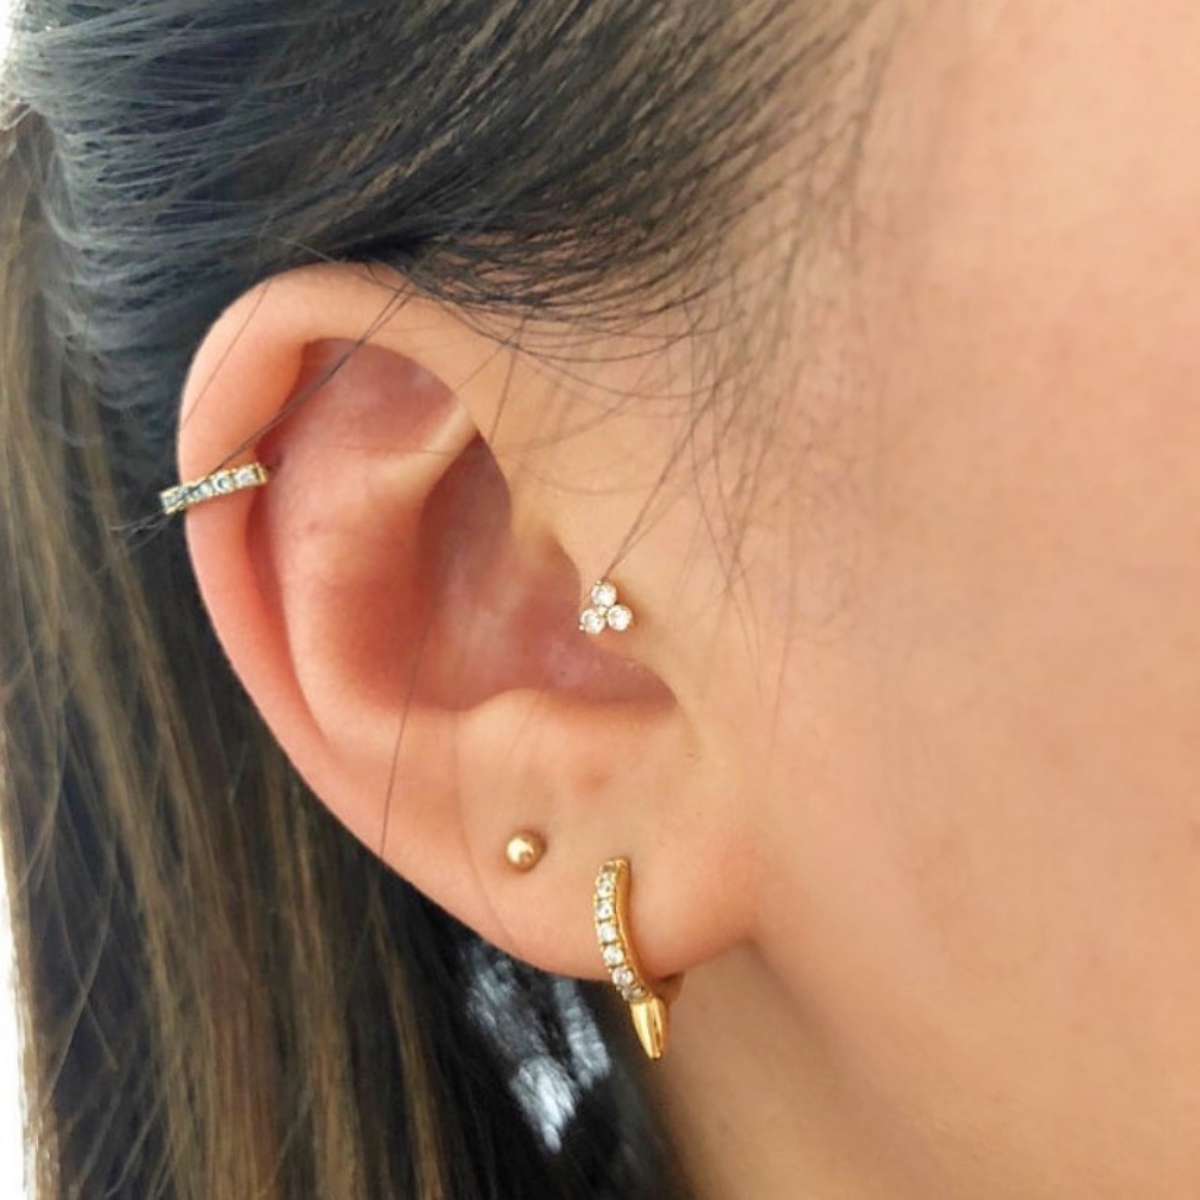
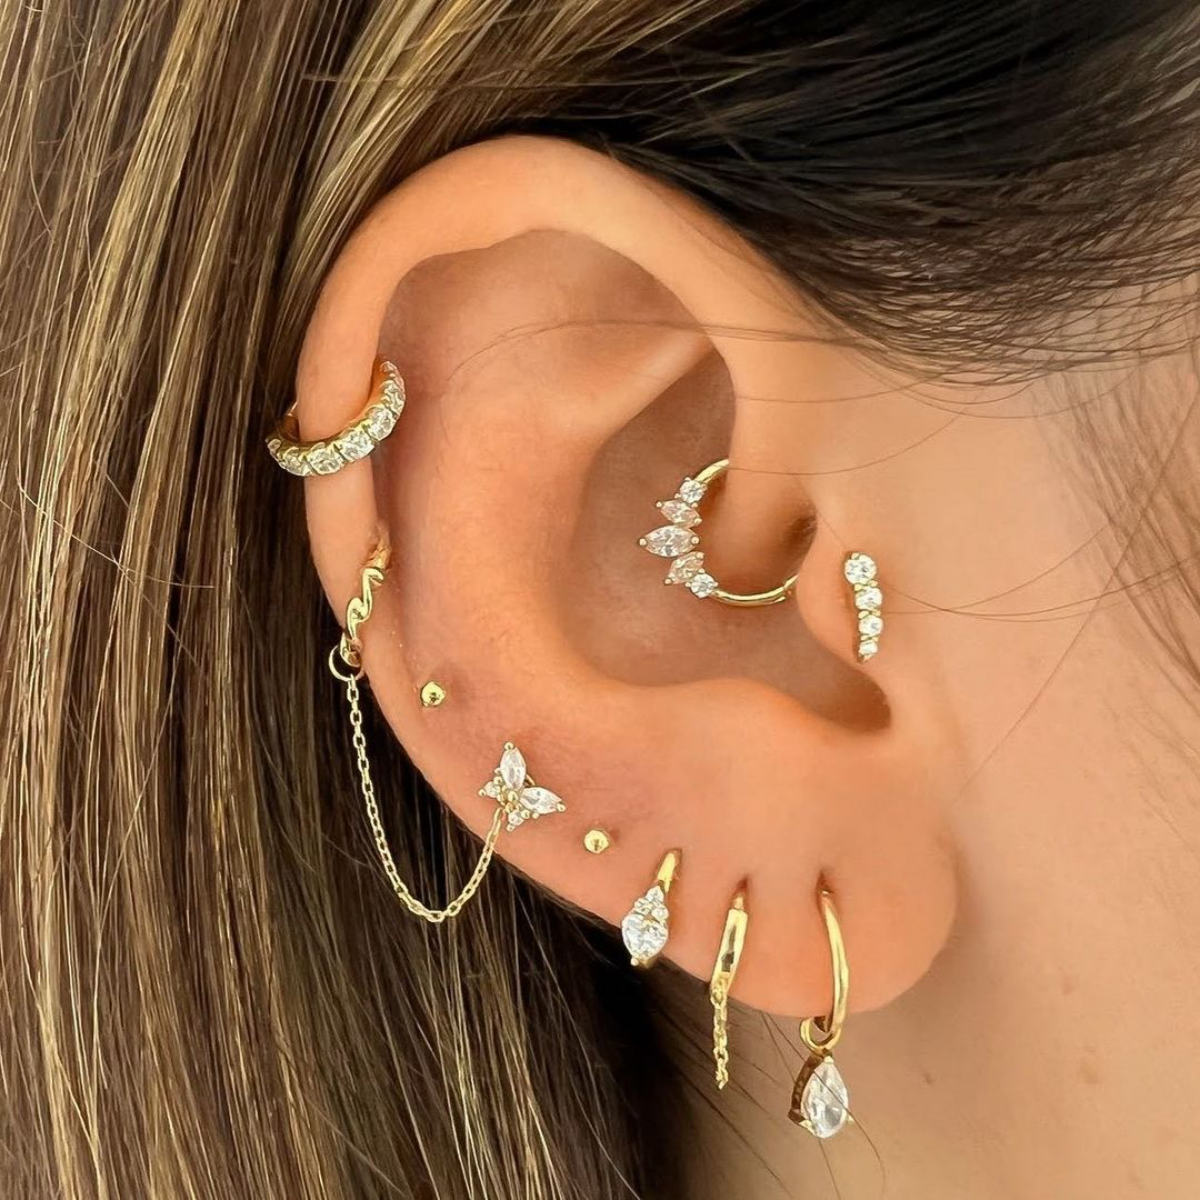
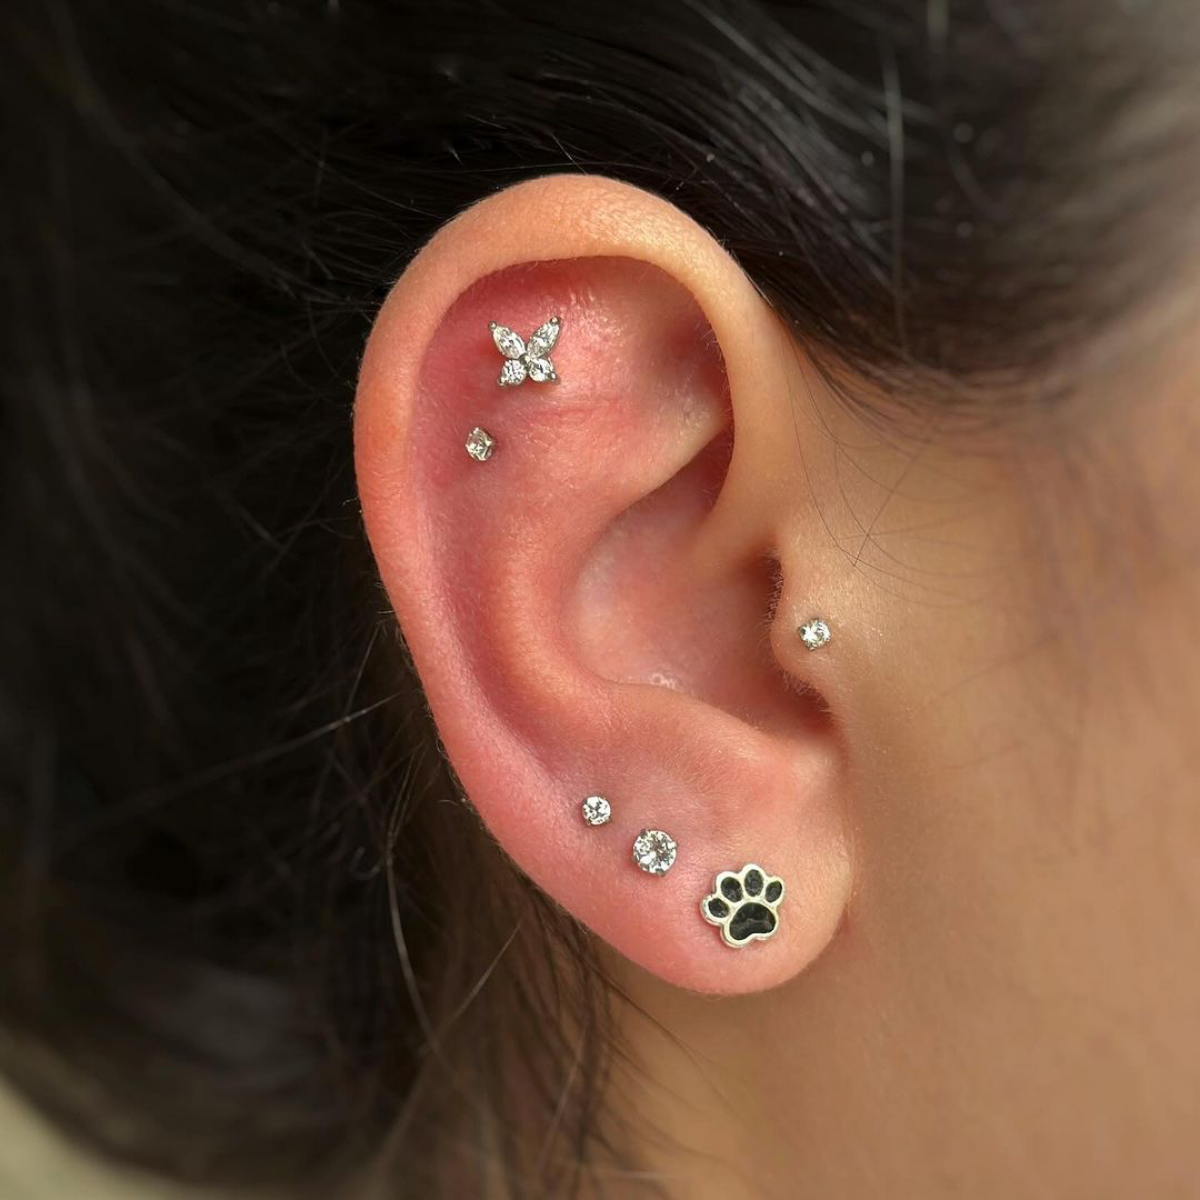
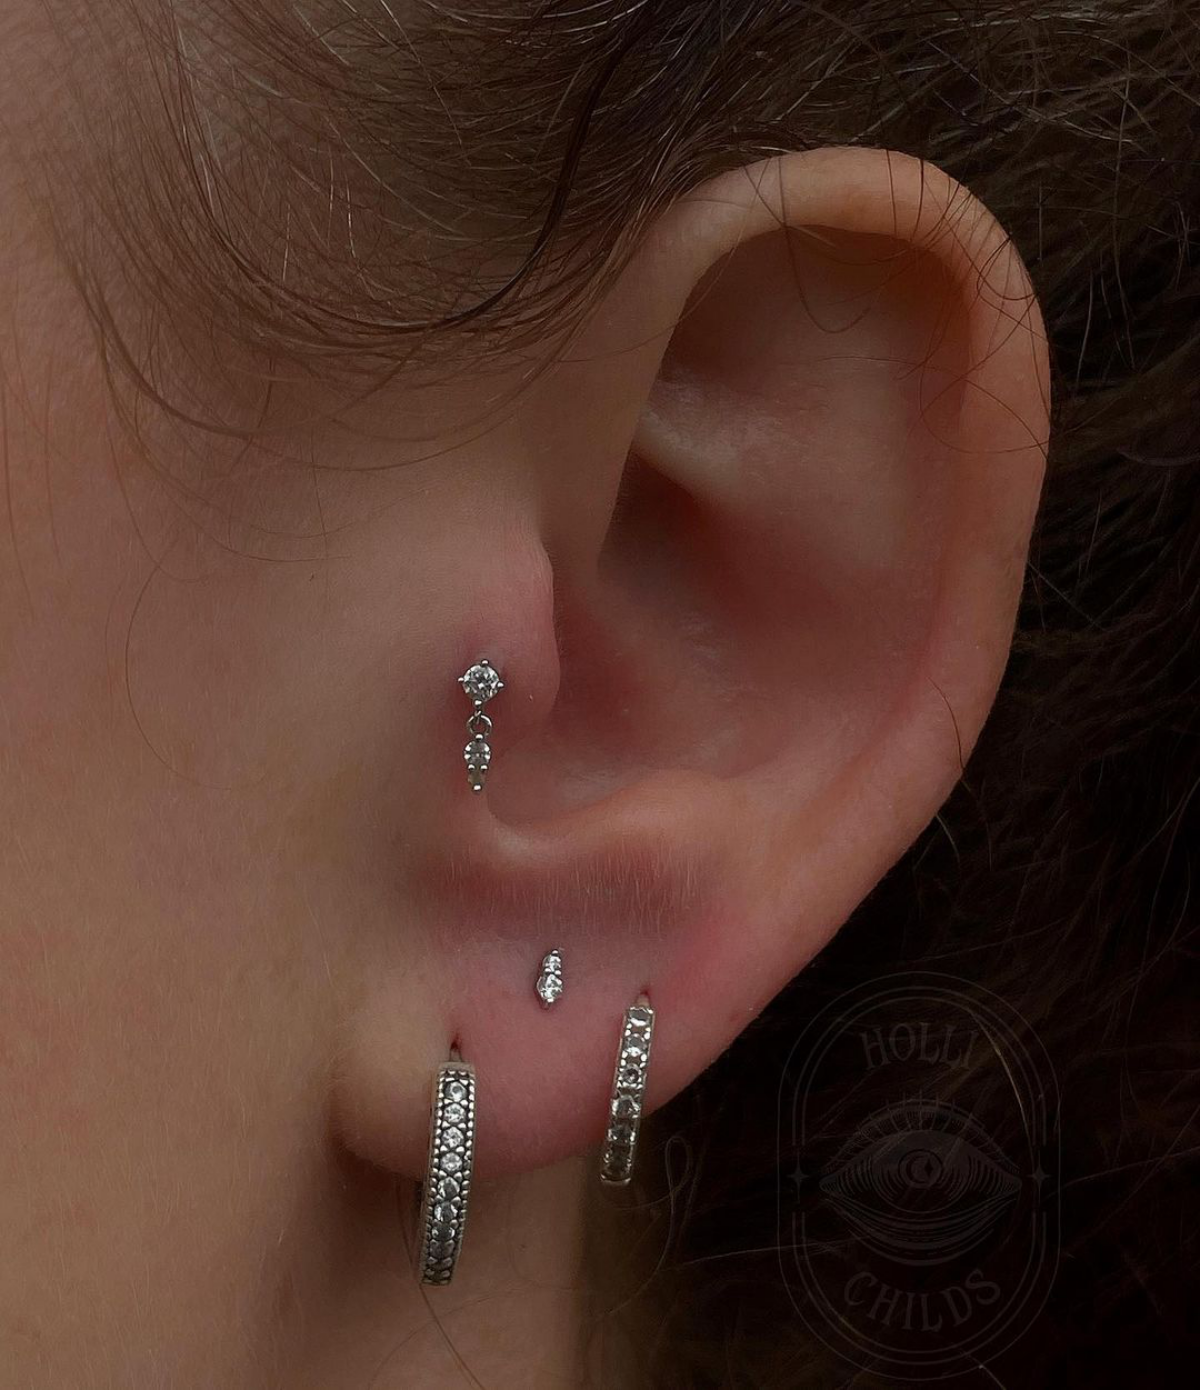
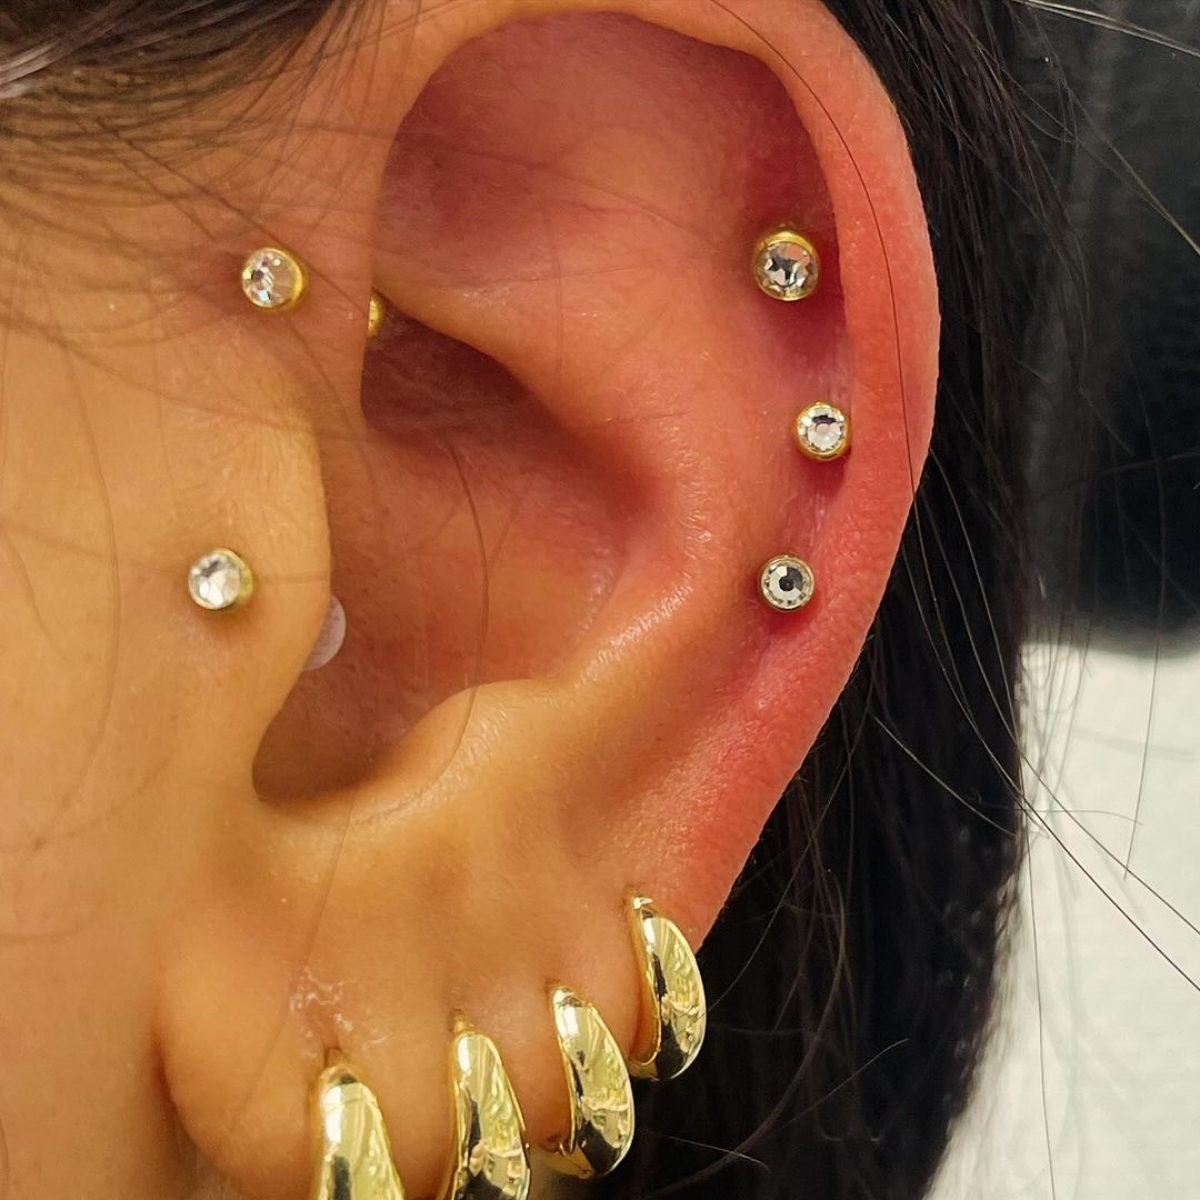
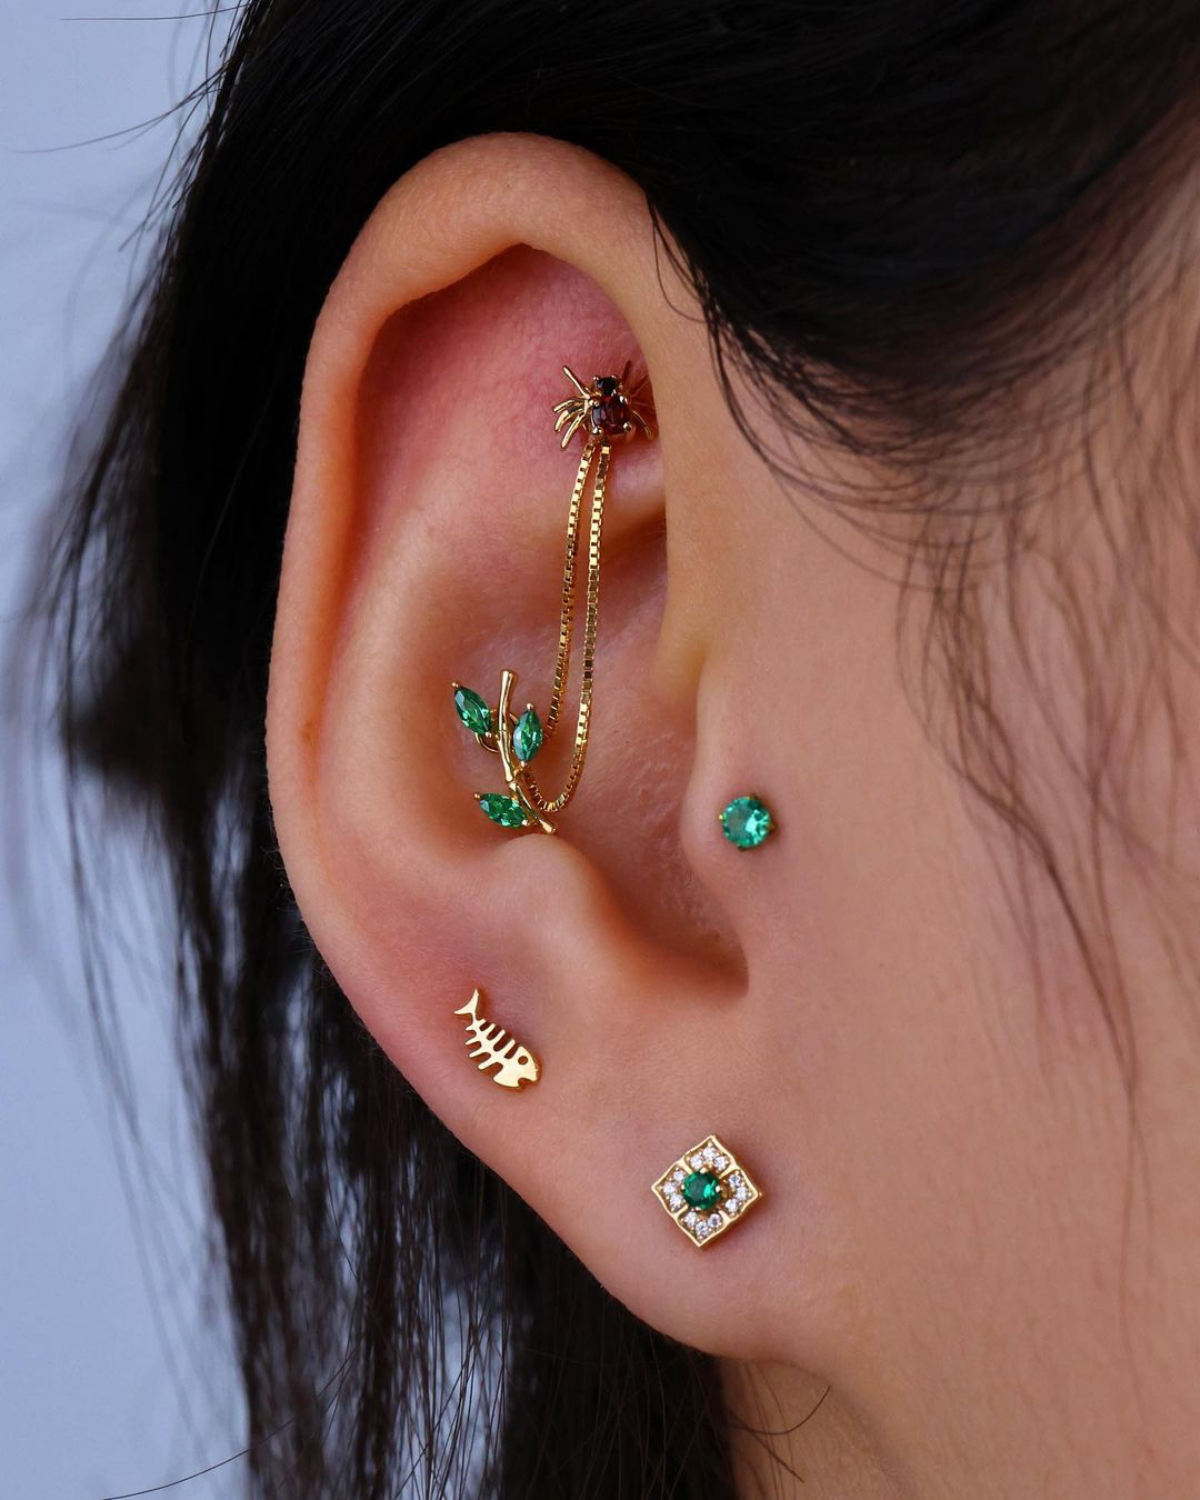
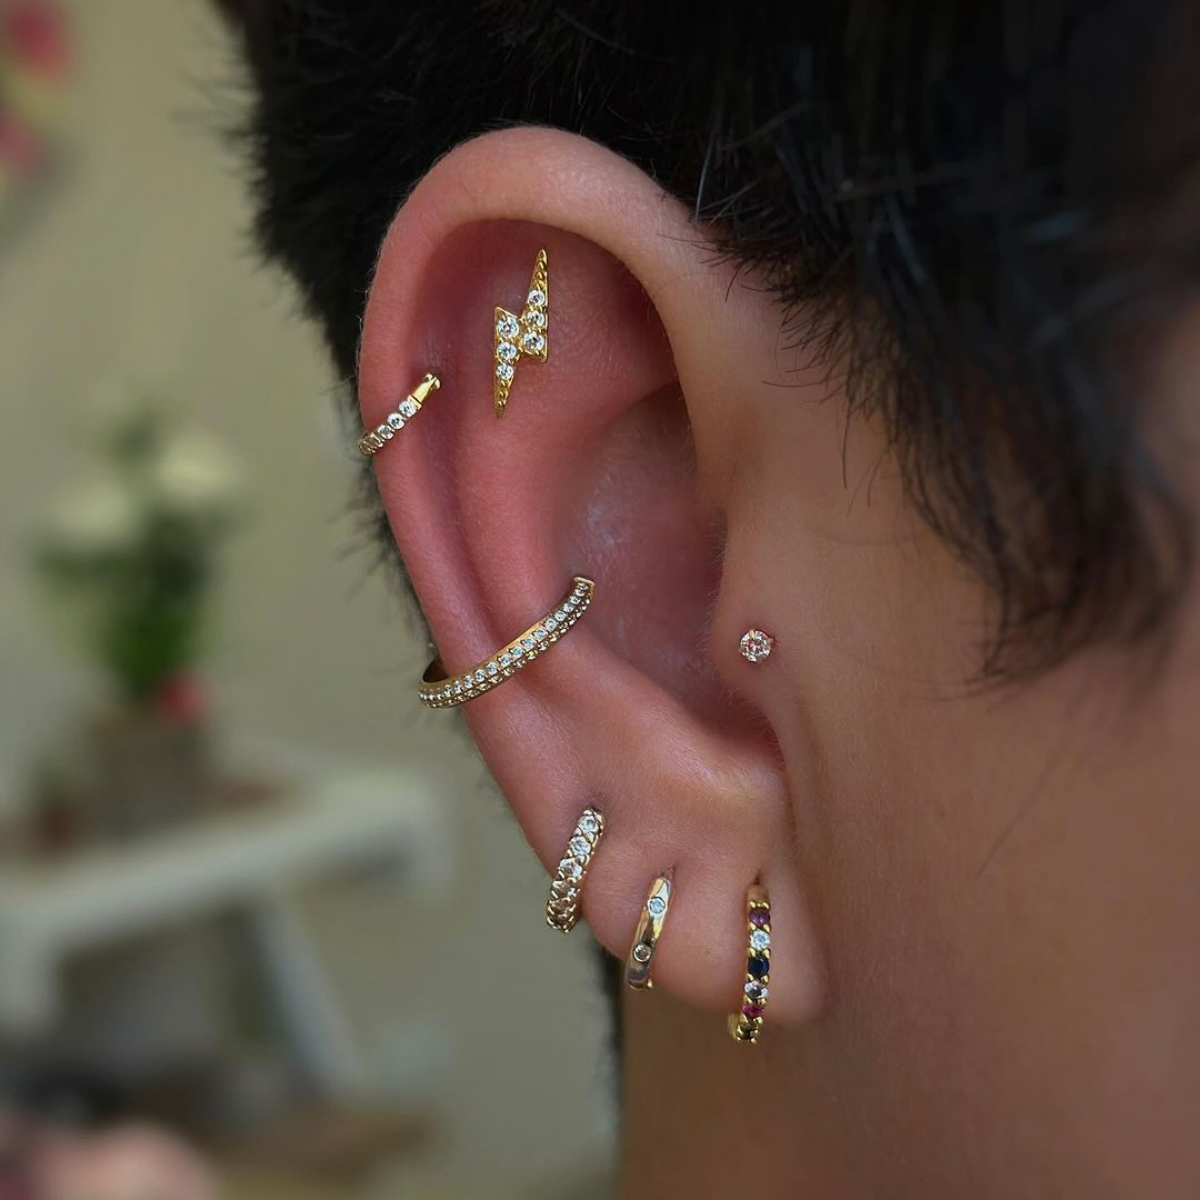
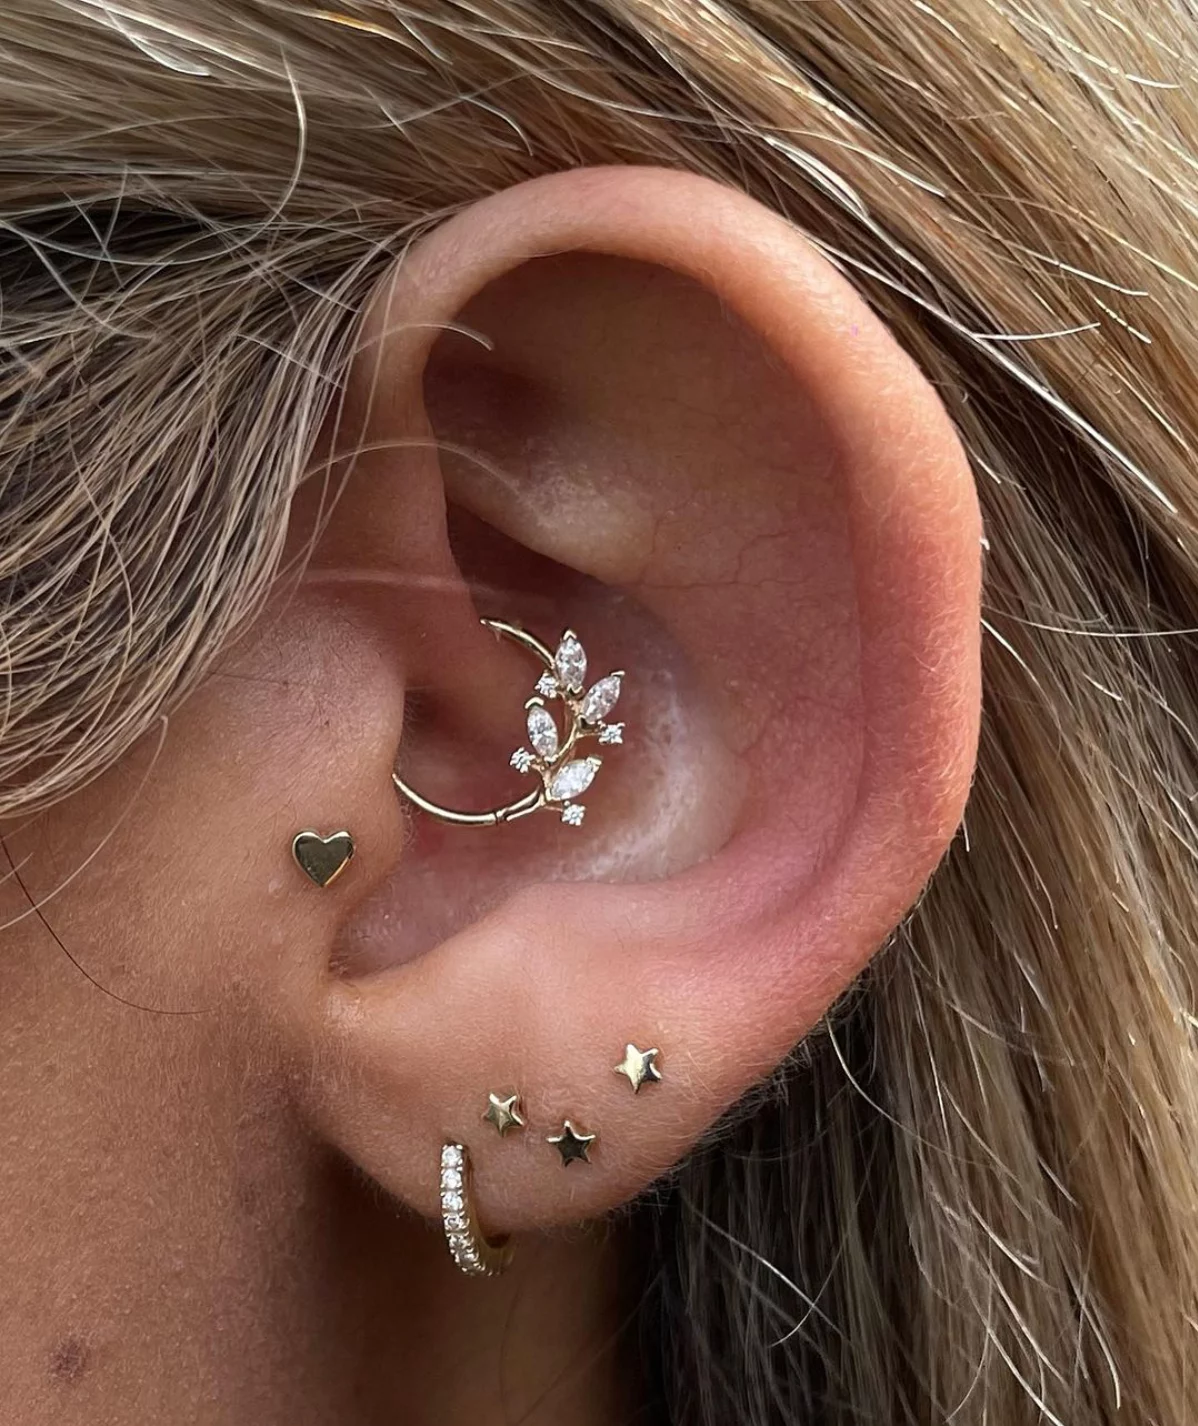
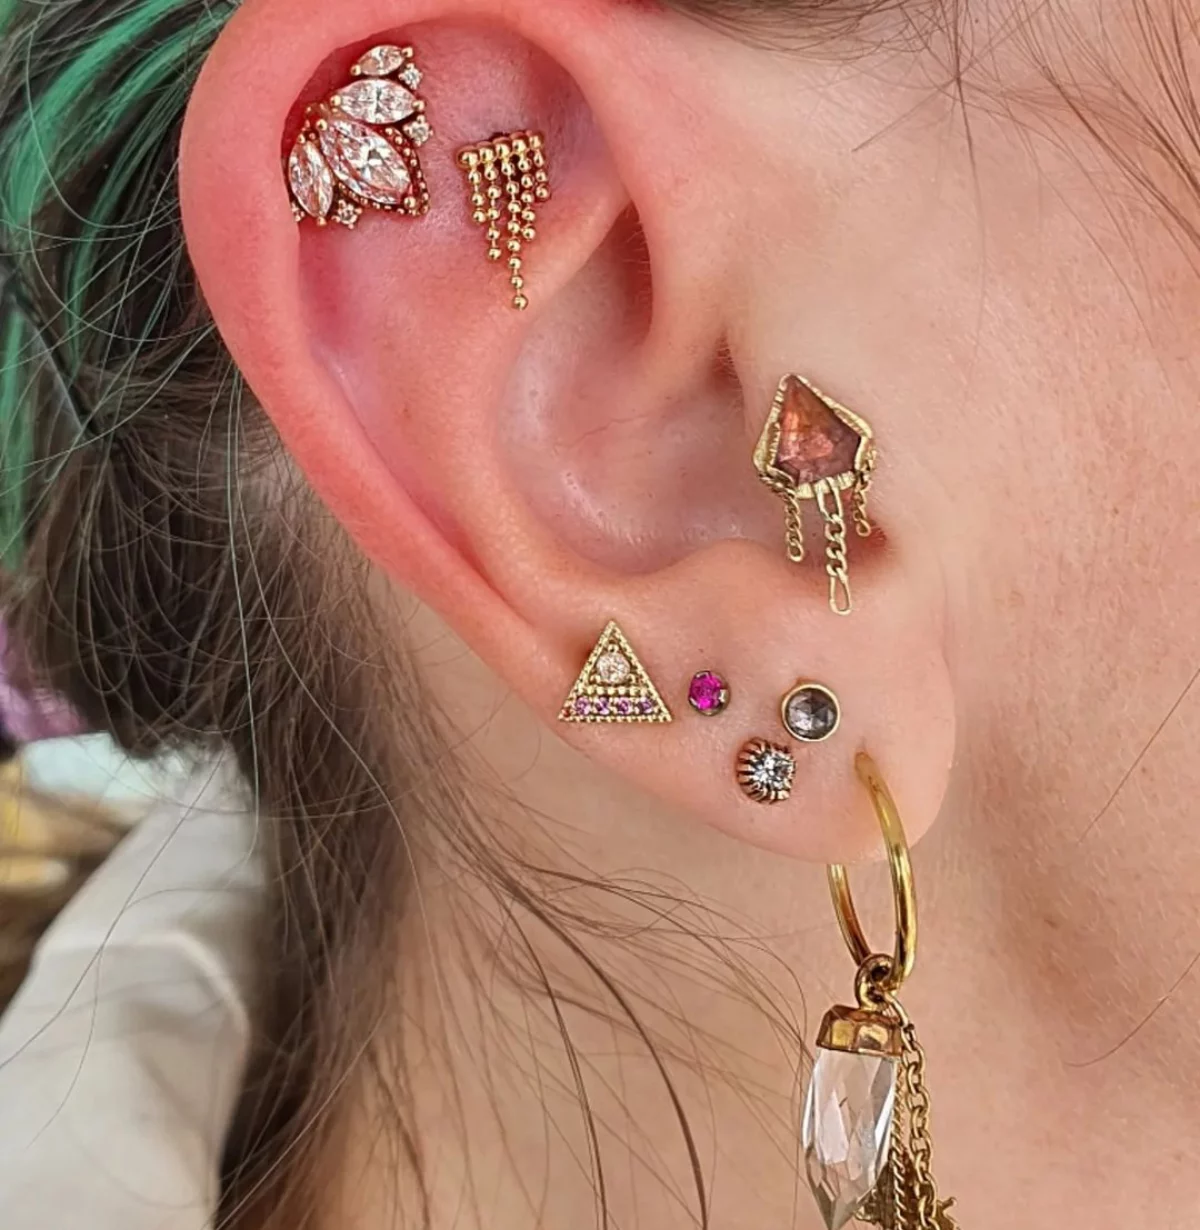
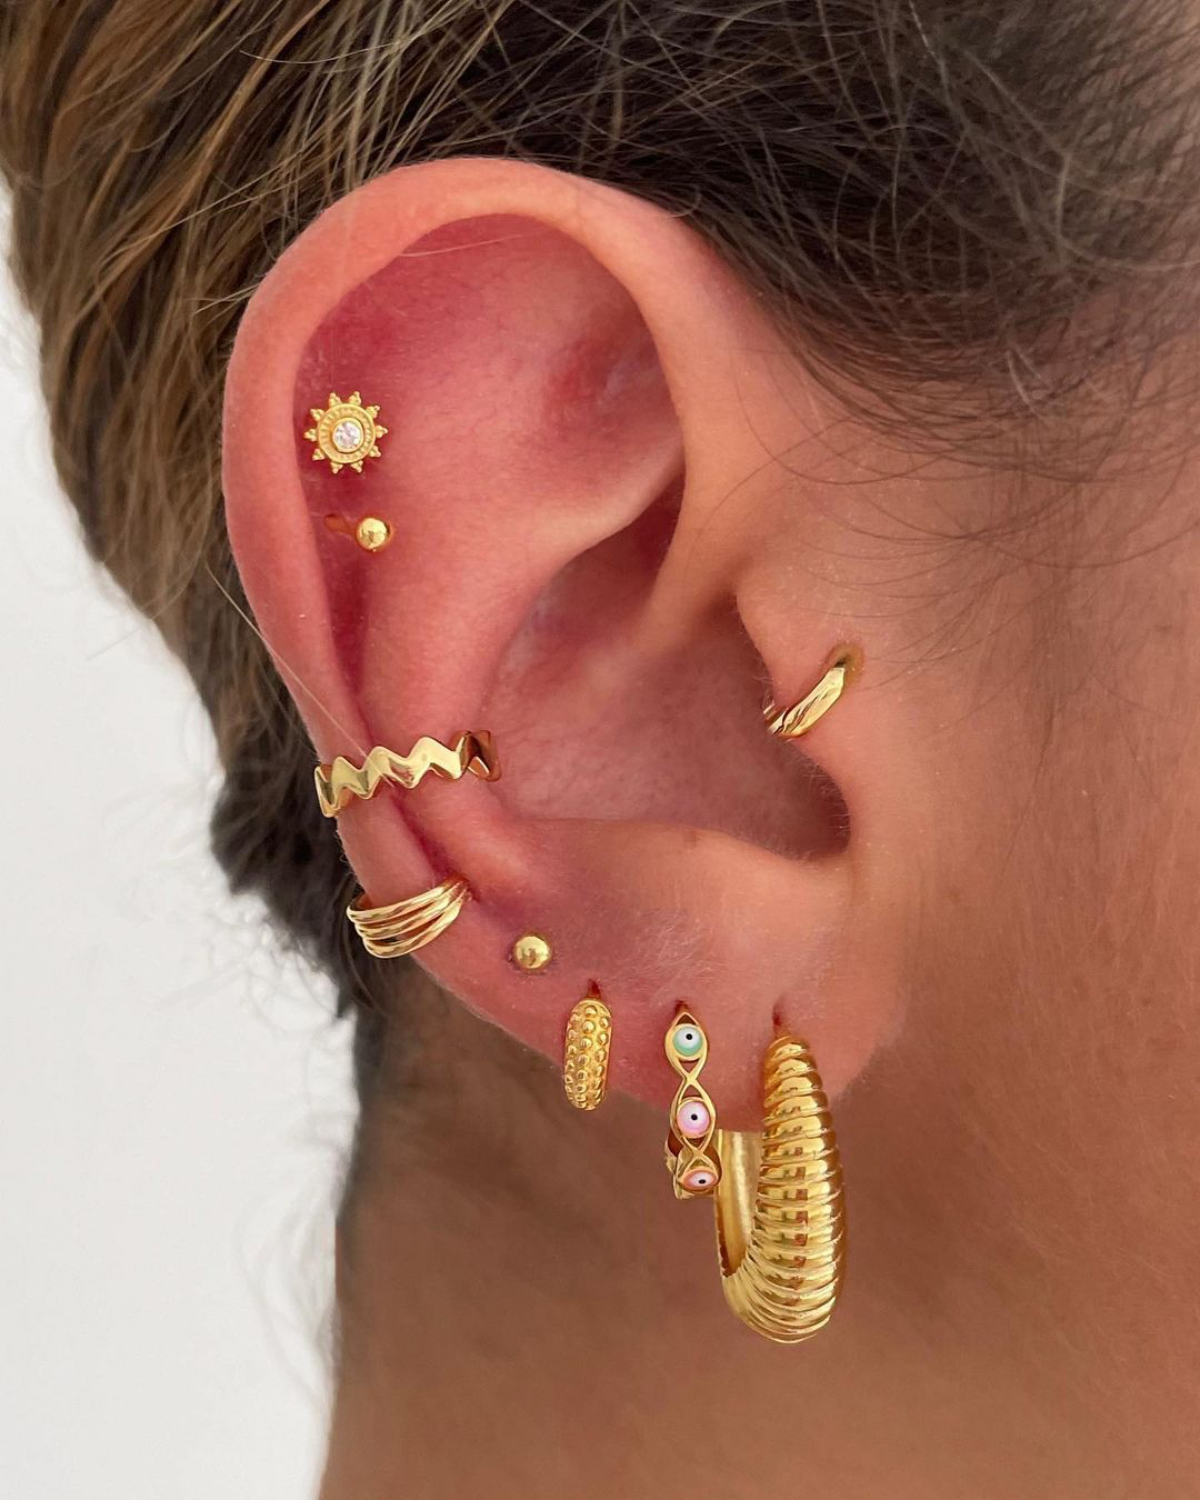
The tragus is a star player in the “curated ear” trend. It acts as a central anchor, beautifully balancing piercings along the outer helix and inner conch. Think of it as the sophisticated centerpiece. To create a cohesive look, consider matching metals or themes. A gold bee from a high-end brand like Maria Tash in your tragus could echo a simple gold hoop in your lobe and a sparkling stud in your flat helix, telling a complete story right on your ear.
Initial Jewelry: Flat-Back Labret Stud: This is the piercer’s choice for a reason. The flat disc sits flush against the inside of your ear, minimizing snags on hair and clothing and reducing pressure inside the ear canal.
Alternative: Barbell: A small, straight barbell can also be used, but the inner ball can sometimes feel bulky or interfere with headphone use later on. It’s a viable, safe option if fitted correctly by a pro.
For initial healing, the comfort and low-profile nature of the flat-back labret almost always wins.
- Avoids the dreaded

A 2021 study in the journal *Clinical, Cosmetic and Investigational Dermatology* highlighted that cartilage’s poor blood supply is the primary reason for extended healing times and increased risk of complications compared to lobe piercings.
Protecting your new piercing during sleep is non-negotiable. Here’s how to avoid setbacks while you rest:
- Use a travel or donut pillow, placing your ear in the hole to eliminate any direct pressure.
- If you’re a side-sleeper, consciously try to sleep on the opposite side of your new piercing.
- Ensure your pillowcases are clean and changed frequently to minimize bacterial exposure. A simple habit that makes a huge difference.