Foundation vs. Tinted Moisturizer: Which One Should You Actually Be Using?
I’ve spent well over a decade working with faces, and if there’s one thing I know for sure, it’s this: the most important product in your makeup bag isn’t that killer lipstick or a super-sharp eyeliner. It’s your base. When your skin looks good, everything else just clicks into place. I’ve seen it happen time and again, from nervous brides to models under the glare of photoshoot lights. A great base is pure confidence. The wrong one? It can make you want to crawl back into bed.
In this article
So many people come to me feeling completely lost, holding up a foundation and a tinted moisturizer like they’re choosing a starter Pokémon. “Which one is for me?” they ask. The internet has a million conflicting answers, but mine is always the same: it really depends on what you need it to do. Think of them as different tools for different jobs, not rivals.
Honestly, the choice has less to do with your ‘skin type’ and more about what’s actually inside the bottle and the look you’re going for. So let’s cut through the marketing fluff and get into the real differences.
So, What’s the Real Difference?
Before we dive deep, let’s just get the basics straight. If you’re standing in Sephora right now, here’s the quick and dirty rundown:
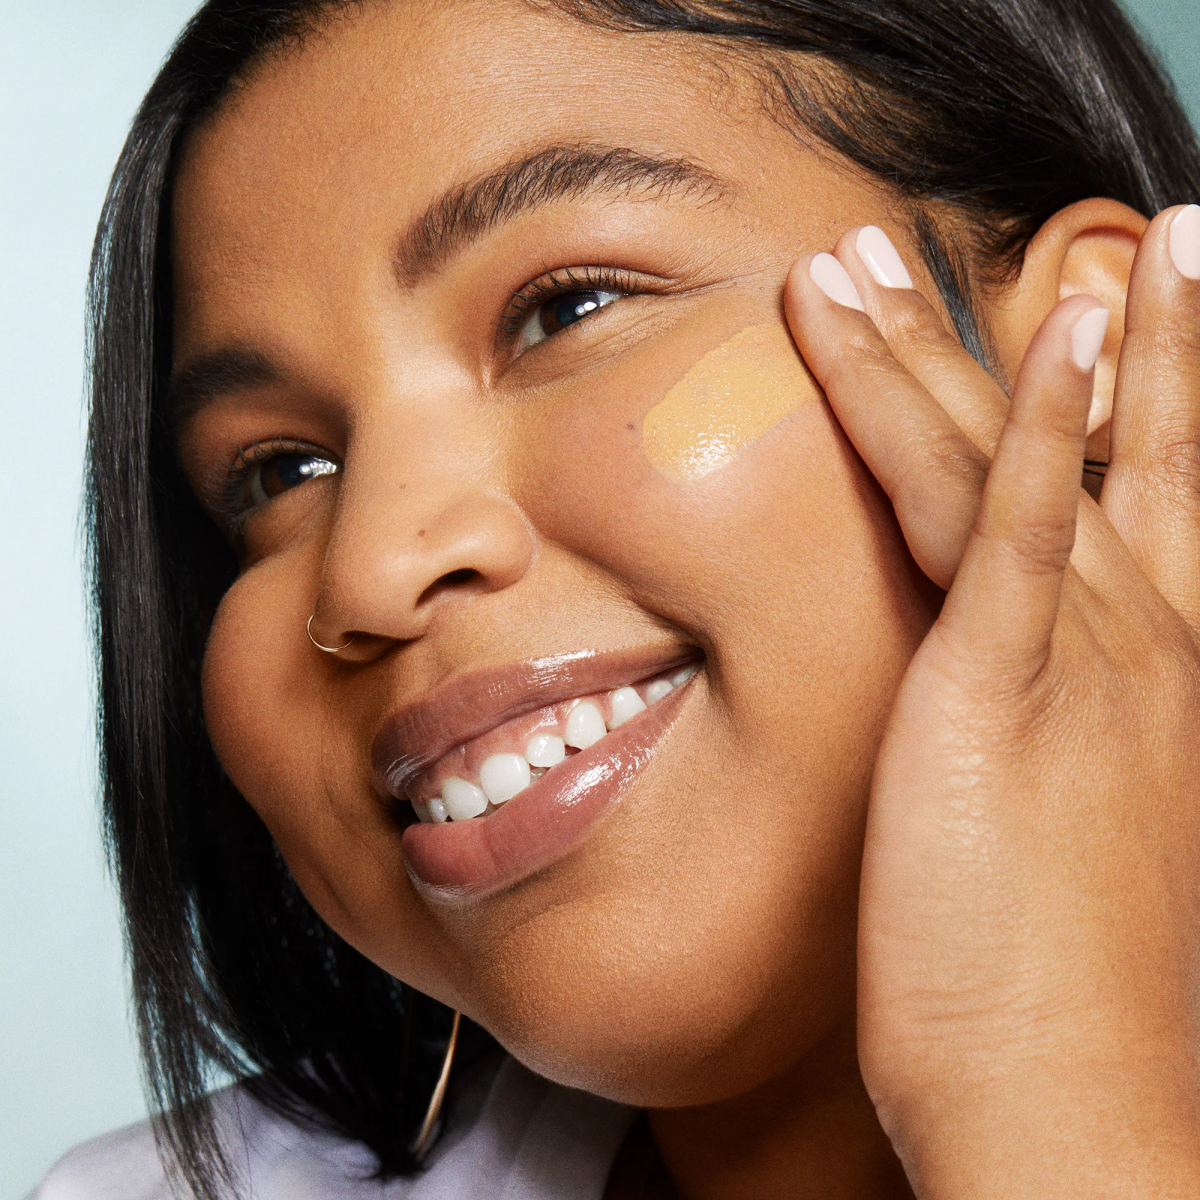
- Tinted Moisturizer: Think of this as skincare that happens to have a bit of color. It feels light, like a lotion, and offers sheer coverage. It’s for evening out your skin tone, not hiding it. Perfect for that ‘your skin but better’ vibe.
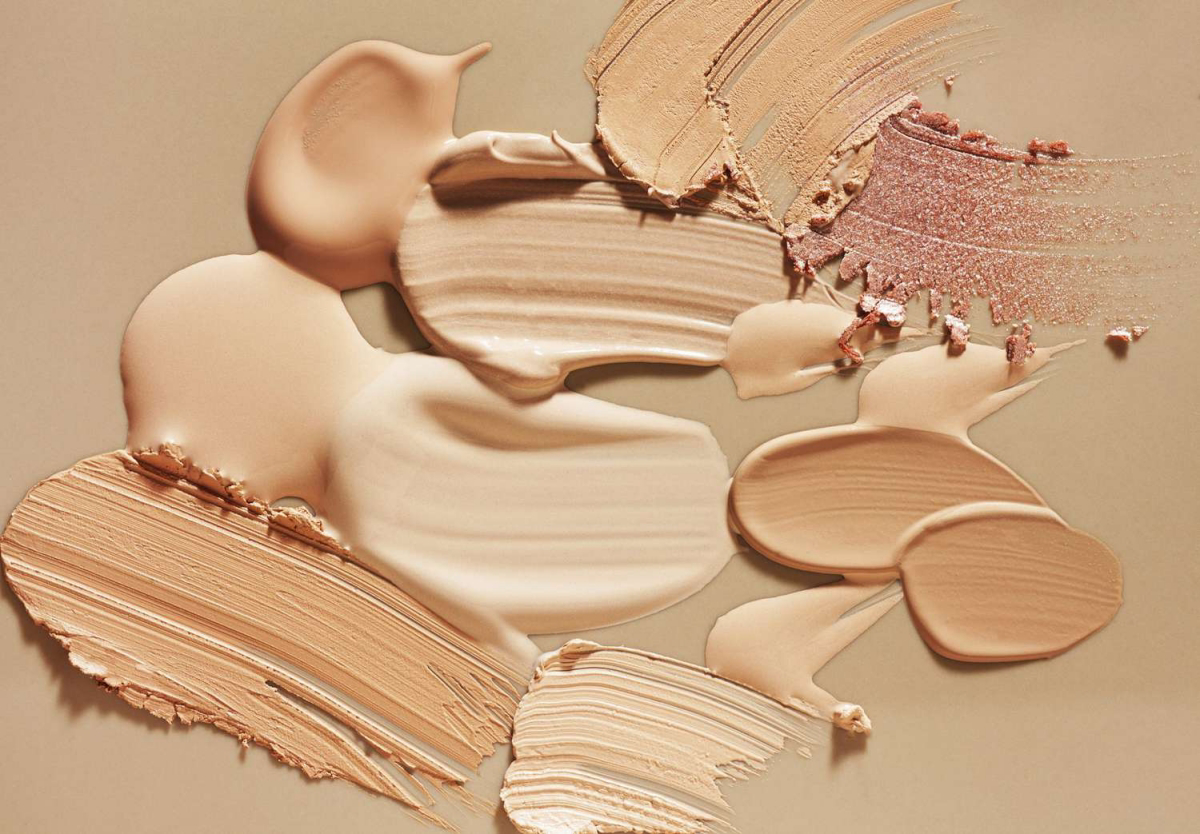
- Foundation: This is a pigment-first product built for performance. It’s designed to cover, perfect, and create a consistent canvas. The coverage can range from light to full, and the finish can be anything from dewy to matte. This is your go-to for a more polished look or for covering things like redness and blemishes.
The Science Inside the Bottle
To really get this, you need to understand how these products are made. It’s not magic, just some clever cosmetic science that determines the feel, coverage, and how long it’ll last on your face.
Decoding Tinted Moisturizer: A Skincare-First Vibe
At its heart, a tinted moisturizer is exactly what it sounds like: a moisturizer with a dash of pigment. Hydration is its main job, and the color is just a nice bonus. It’s typically an oil-in-water emulsion, which is why it feels so lightweight and fresh. It’s packed with humectants like glycerin and hyaluronic acid to pull moisture into the skin, and emollients like shea butter or squalane to smooth the surface.
The key here is the pigment load, which is super low—usually only 1% to 5%. This is why the coverage is so sheer; it’s just enough to subtly even out your tone. A great drugstore option is the L’Oréal True Match Nude Hyaluronic Tinted Serum, which runs about $15-$20. If you’re looking to invest, a pro-favorite for years has been the NARS Pure Radiant Tinted Moisturizer, which will set you back around $47.
Oh yeah, a quick word on SPF in these products. I see it as a nice little extra, but NEVER a replacement for real sunscreen. To get the protection promised on the bottle, you’d have to slather it on like frosting. It’s a common and risky mistake. Always, always apply a dedicated sunscreen (SPF 30 or higher) first. Let it sink in for five minutes, then go in with your makeup. You’ll be shocked at how much better your base sits on your skin!
Decoding Foundation: A Pigment-Powered Performer
Foundation, on the other hand, is built for a specific cosmetic job: creating an even, flawless canvas. The pigment is the star of the show here, with concentrations ranging from 10% for lighter coverage to over 35% for full-on camouflage makeup.
The base it’s suspended in is also critical. And this, my friends, is where so many people go wrong. Ever had your makeup get all weird and patchy, separating on your skin? You probably mixed your bases.
Heads up! Here’s a quick cheat sheet:
- Water-Based: Lightweight and great for many skin types. If you look at the ingredients list and the first word is “Water” (or Aqua) and you don’t see any of the words below high up on the list, it’s likely water-based.
- Silicone-Based: The secret behind that smooth, “airbrushed” look. These are fantastic for longevity. How to spot one: Look for ingredients ending in -cone, -conol, or -siloxane in the first 5-7 ingredients (like dimethicone or cyclopentasiloxane).
- Oil-Based: Less common now, but great for very dry skin. The first ingredient will be an oil.
A classic rule of thumb: Like attracts like. Try to match your primer base to your foundation base. Putting a water-based primer under a silicone-based foundation is like mixing oil and water—it’s a recipe for pilling and separation. Go check your products right now. I’ll wait. It’s a total game-changer, I promise.
Pro Application Techniques Actually Make a Difference
You can buy the most expensive product on the shelf, but if you just smear it on, it’s going to look… well, smeared on. The how is just as important as the what.
Applying Tinted Moisturizer: The Effortless Look
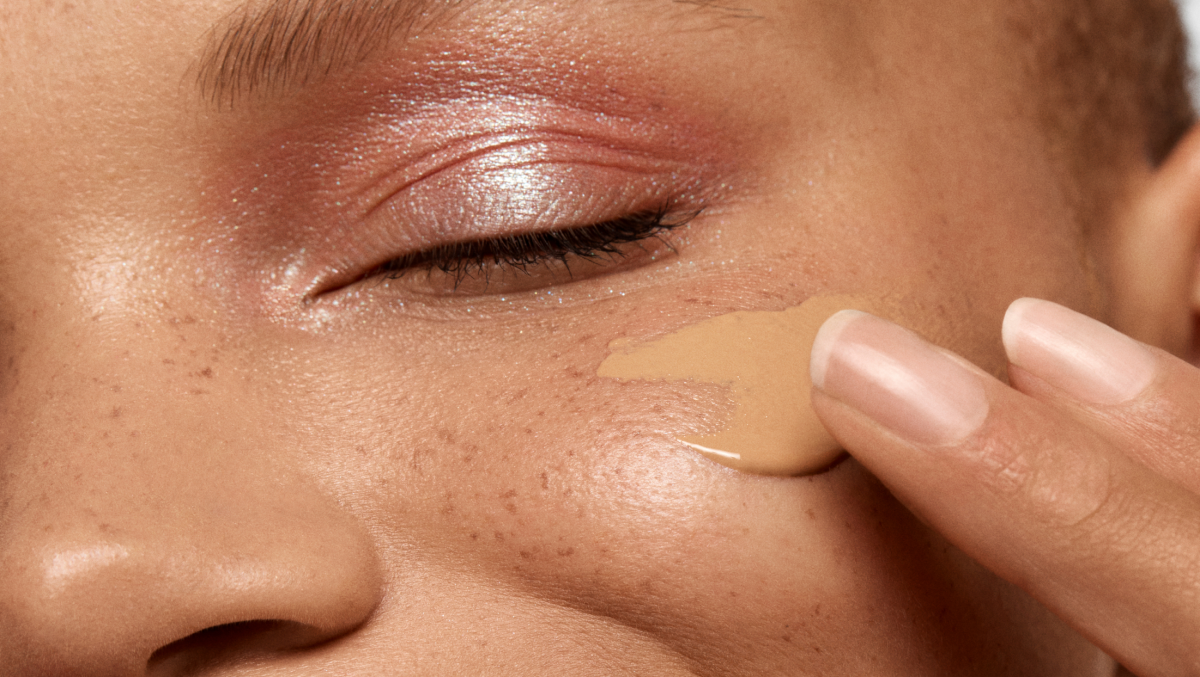
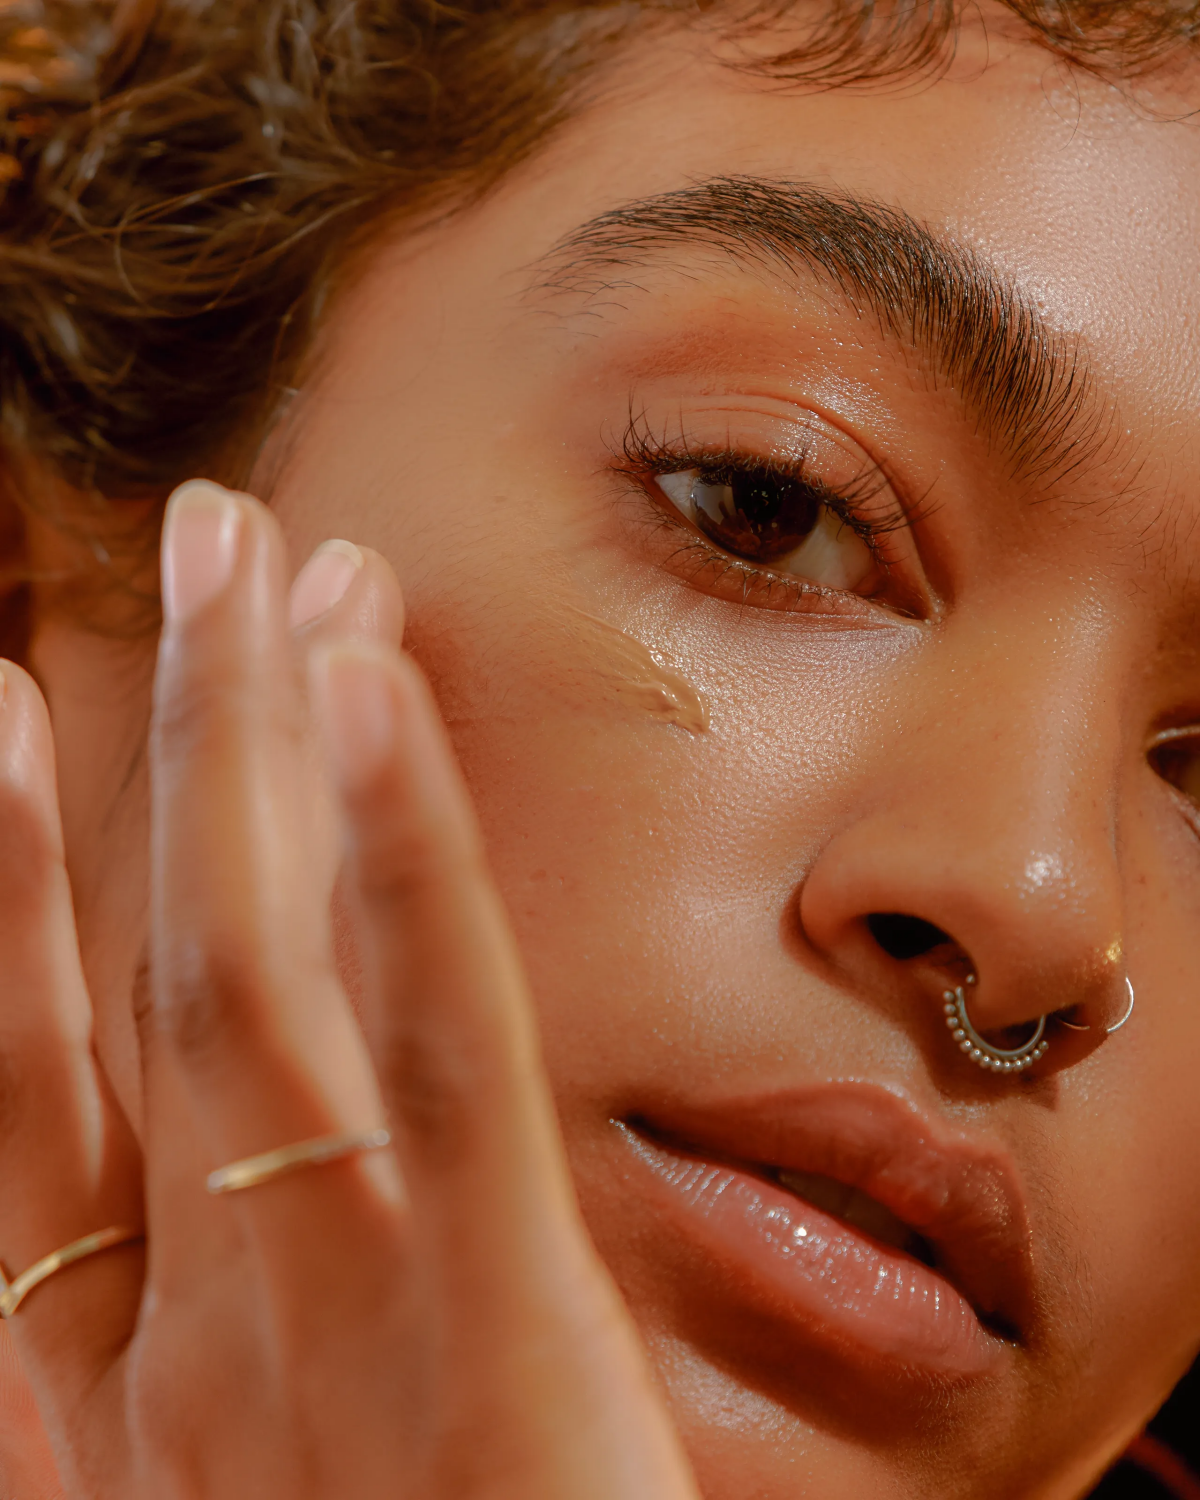
The goal here is for it to look like amazing skin, not makeup. My go-to method is using my fingers. The warmth from your hands helps melt the product, making it blend seamlessly. I just dot a pea-sized amount on the center of my face and then press and pat it outwards. No rubbing!
If you prefer a tool, a duo-fiber stippling brush works wonders for an even sheerer, airbrushed effect.
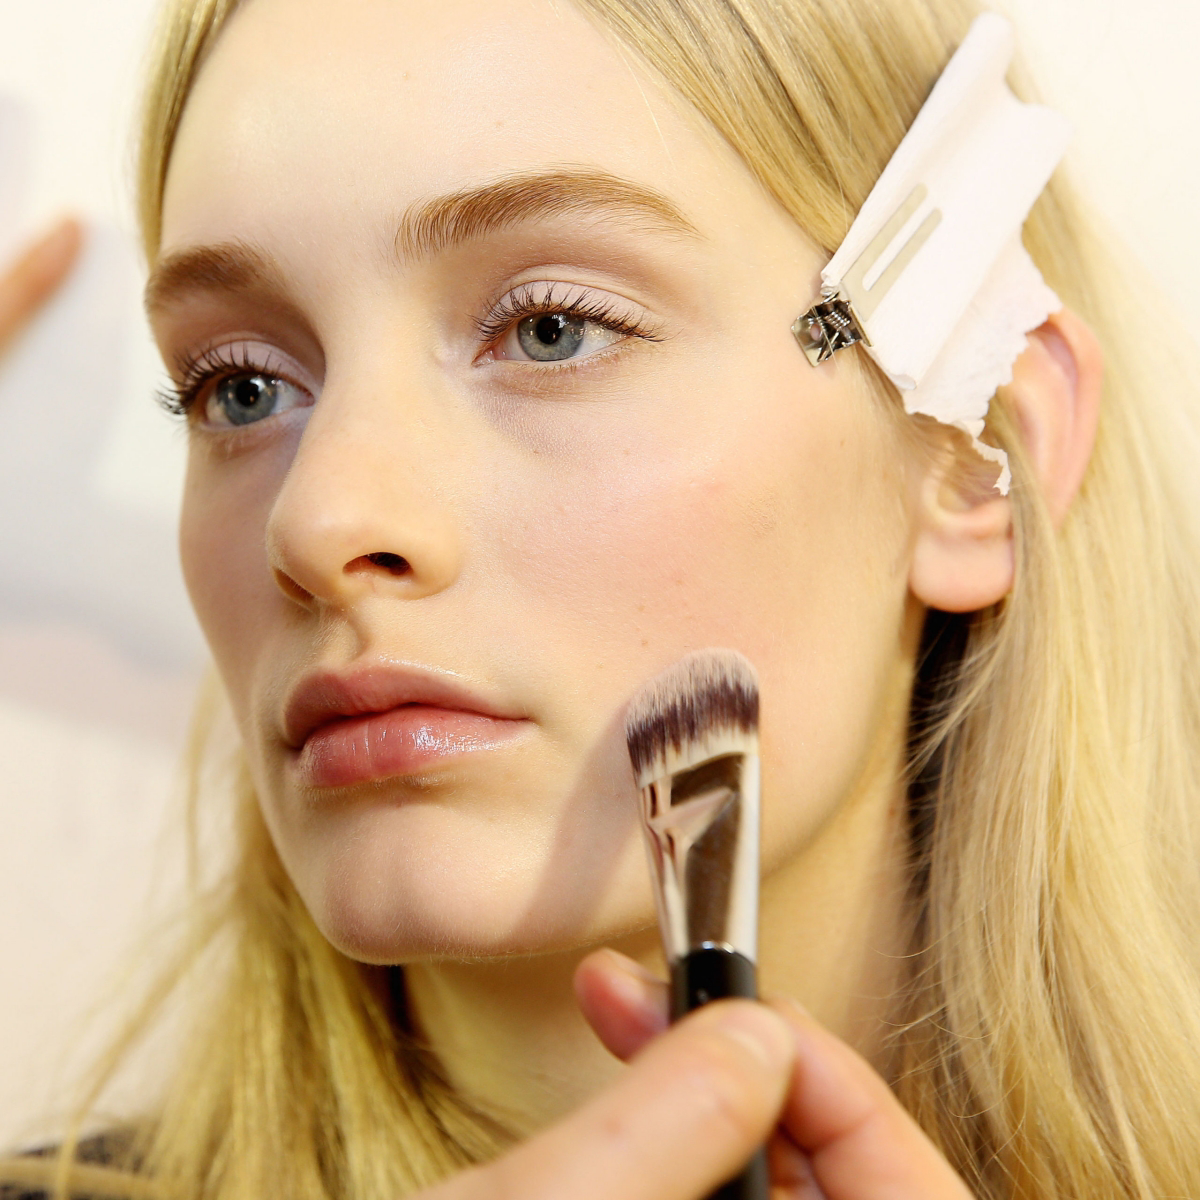
Applying Foundation: The Flawless Canvas
This is where technique really shines. A common mistake is applying a thick layer all over your face, which leads to that dreaded ‘mask’ look. Don’t do that. Instead, build coverage strategically.
- For a buffed, airbrushed finish: Use a dense brush like a kabuki. A fantastic and affordable option is the Real Techniques Expert Face Brush, which is usually under $10. Start with a little product on the back of your hand, dip your brush, and buff it onto the center of your face in small circles, blending outwards.
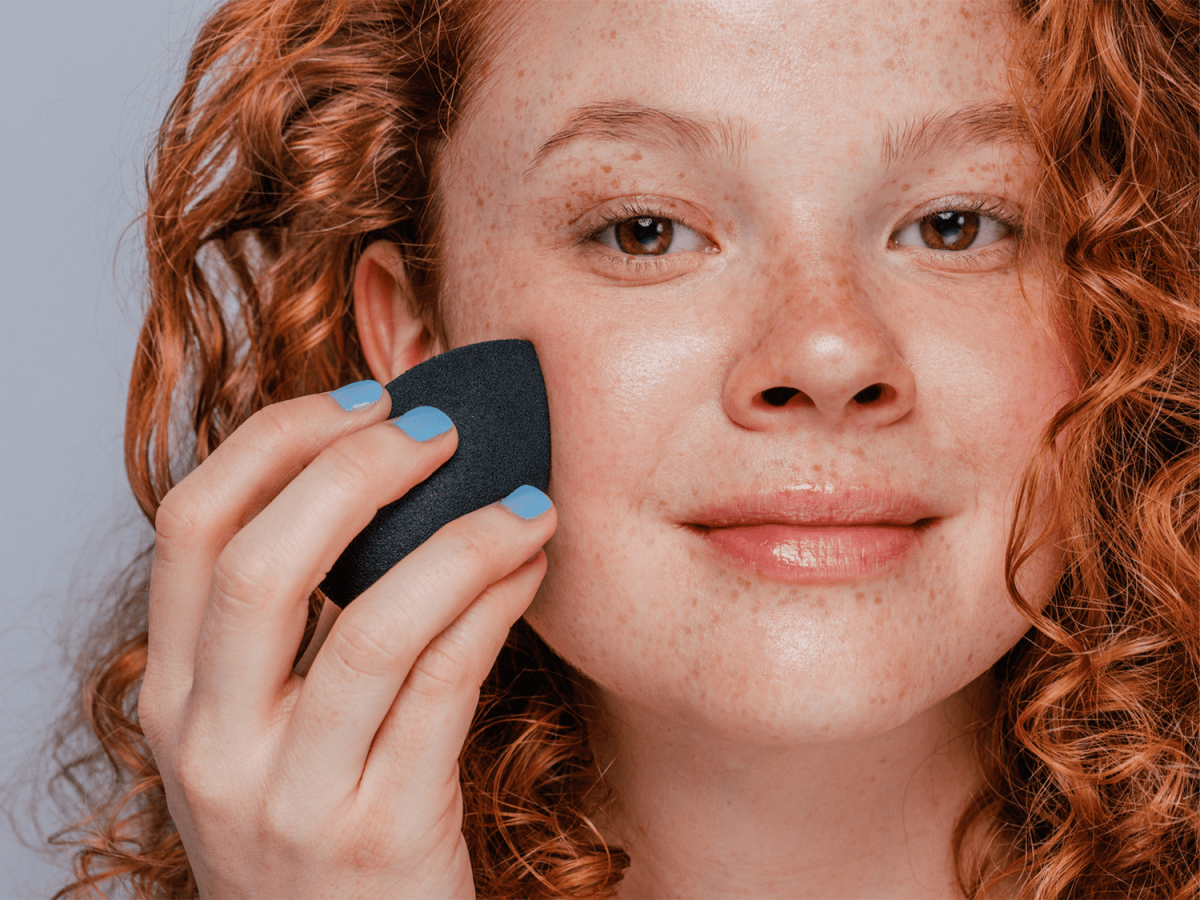
- For a seamless, skin-like finish: A damp makeup sponge is your best friend. And no, a dry sponge won’t work—it’ll just drink all your expensive foundation. Get it wet, then squeeze it out until it’s just damp. You can’t go wrong with the original Beautyblender (around $20), but honestly, the e.l.f. Total Face Sponge is an amazing alternative for just $6. Use a bouncing or stippling motion to press the foundation into the skin.
- Lesser-known trick (Underpainting): This is what we do for photoshoots. You apply your concealer and color corrector before your foundation. Then, you go over the top with a very thin layer of foundation using the damp sponge method. The result is perfect coverage that looks incredibly real because all the heavy lifting is hidden underneath.
Let’s Talk About Climate and Shade Matching
Where you live can completely change how your makeup performs. I learned this the hard way during a destination wedding in the Caribbean. The bride’s foundation, which was perfect for her life in a cooler city, was literally melting off in the tropical humidity. It was a stressful lesson!
In hot, humid places, silicone-based, long-wear liquids or even powder foundations are a lifesaver. They resist sweat and oil. On the flip side, in cold, dry climates, hydrating tinted moisturizers or luminous serum foundations are a must to combat moisture loss and prevent makeup from clinging to dry patches.
And about finding your shade… this is the hardest part. My best advice? Always test on your jawline, not your hand. Your hand is a totally different color! Pick 2-3 shades that look close, apply them in stripes on your jaw, and then—this is the important part—walk outside into natural daylight to see which one disappears. Store lighting is a lie! Also, wait about 20 minutes. Some formulas oxidize, meaning they get darker as they mix with the air and your skin’s oils.

So, Which One Is Right For You?
Okay, let’s bring it all together. Here’s a simple guide to help you decide.
You should probably choose a Tinted Moisturizer if:
- You’re a minimalist who wants a quick, 5-minute routine.
- Your skin is generally clear and you just want to even things out a bit.
- You have very dry skin and need that extra hit of hydration to keep things from looking cakey.
You should probably choose Foundation if:
- You want to cover redness, acne, or dark spots for a more polished look.
- You’re going to an event and need your makeup to look perfect and last for hours.
- You have oily skin, as matte and satin foundations often have ingredients to help control shine.
A Pro’s Budget Tip: You don’t always need both! My favorite hack is to buy one high-quality, medium-coverage foundation that perfectly matches your skin. Then, you can mix a tiny drop of it with your favorite daily moisturizer to create your own custom tinted moisturizer. Boom. Maximum versatility from one bottle.
Quick Troubleshooting: Help, My Makeup Looks Cakey!
This is the #1 complaint I hear. Nine times out of ten, it’s not the product—it’s the application. You’re probably using too much. Start with half a pump, not a full one. You can always add more where you need it. And always, always apply with a damp sponge. It sheers the product out beautifully and melts it into your skin for a finish that never looks heavy.
Ultimately, choosing your base is about knowing your tools. I have both in my personal and professional kits. One is for my quick coffee run, the other is for a long day on set. Now you have the knowledge to move past the confusion and start making choices that make you feel amazing. And that’s what it’s all about.
Galerie d’inspiration
The global tinted moisturizer market is fueled by the ‘skinimalism’ trend, prioritizing skin health and a natural finish over heavy coverage.
This shift isn’t just a fad; it’s a philosophy. Consumers are increasingly looking for hybrid products that offer skincare benefits—like the hyaluronic acid in Laura Mercier’s popular Tinted Moisturizer—alongside a sheer, breathable tint. It’s less about hiding and more about enhancing what’s already there.
The Primer Question: Don’t assume you can skip this step, even with a light tinted moisturizer. A pore-filling primer, like Benefit’s The POREfessional, creates a smooth canvas for foundation to glide over, preventing it from settling into fine lines. For tinted moisturizers, a hydrating or illuminating primer can amplify that dewy, healthy-skin glow from underneath.
How do I find my perfect shade without trying it in-store?
It’s the ultimate online shopping challenge. First, determine your undertone: look at the veins on your wrist. Blue or purple veins suggest a cool undertone (pinks, reds), while green veins point to a warm undertone (yellows, golds). A mix means you’re neutral. Use this to navigate brand websites, and don’t underestimate tools like Findation.com, which cross-references shades you already use from other brands to suggest a match.
For a truly airbrushed, high-definition finish with your foundation, the tool matters as much as the product. A damp beauty sponge (the original pink Beautyblender is iconic for a reason) will press the product into the skin for a seamless look, while a dense kabuki brush, like IT Cosmetics’ Heavenly Luxe #7, is perfect for buffing and achieving higher coverage without streaks.

- A luminous, even-toned complexion.
- Hydrated skin that feels comfortable all day.
- A finish that looks like your skin, but better.
The secret? A new category of base makeup. Look for ‘serum foundations’ like the Ilia Super Serum Skin Tint or the Kosas Revealer Foundation. They bridge the gap perfectly, offering the skincare benefits and light feel of a tinted moisturizer with the buildable pigment of a light-to-medium coverage foundation.
For Acne-Prone Skin: It’s tempting to reach for the highest coverage foundation, but that can sometimes exacerbate the issue by clogging pores. A better approach might be a non-comedogenic tinted moisturizer or skin tint, like the Fenty Beauty Eaze Drop, to even out the overall tone. Then, use a high-pigment, long-wearing concealer (NARS Soft Matte is a cult favorite) to spot-conceal blemishes directly. This gives you coverage only where you need it, letting the rest of your skin breathe.

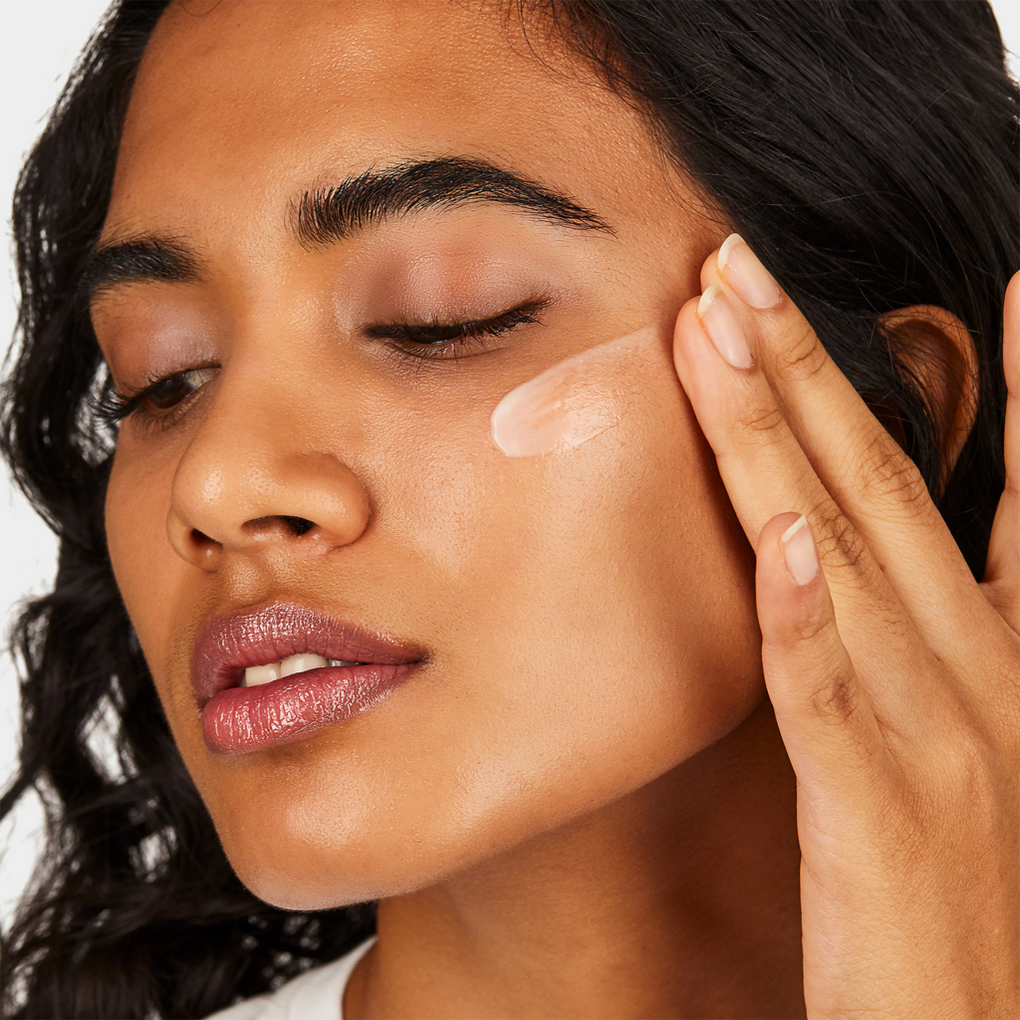
For Dry Skin: Your foundation is only as good as the skin underneath. The legendary Armani Luminous Silk foundation might look flawless, but it can cling to dry patches if your skin isn’t prepped. Before application, use a gentle exfoliant and follow with a rich, hydrating moisturizer. Let it sink in for at least five minutes to create a plump, smooth canvas.
Don’t discard a foundation that’s too heavy! Mix a pea-sized amount with an illuminating fluid, like Charlotte Tilbury’s Hollywood Flawless Filter, to create a radiant, custom-coverage skin tint. It’s the ultimate makeup hack for versatility and saving money.
What about the SPF in my base?
While it’s a nice bonus, the SPF in your foundation or tinted moisturizer is almost never enough. To achieve the protection level stated on the bottle (e.g., SPF 30), you’d need to apply a very thick layer—about a quarter-sized amount for your face alone. Most people use far less. Always apply a dedicated, broad-spectrum sunscreen as the last step of your skincare routine before makeup.
Let’s talk setting power.
- Tinted Moisturizer: Often designed to be ‘worn in’, it melds with the skin for a natural finish. A light dusting of translucent powder (like the one from Laura Mercier) in the T-zone is usually all that’s needed to control shine.
- Foundation: Built for longevity, it benefits from being properly set. For a long-lasting matte look, use a powder puff to press setting powder into the skin. For a skin-like finish, a light spritz of a setting spray like Urban Decay’s All Nighter will lock everything in place without looking heavy.


