Thinking About a Rook Piercing? Here’s the Honest Truth
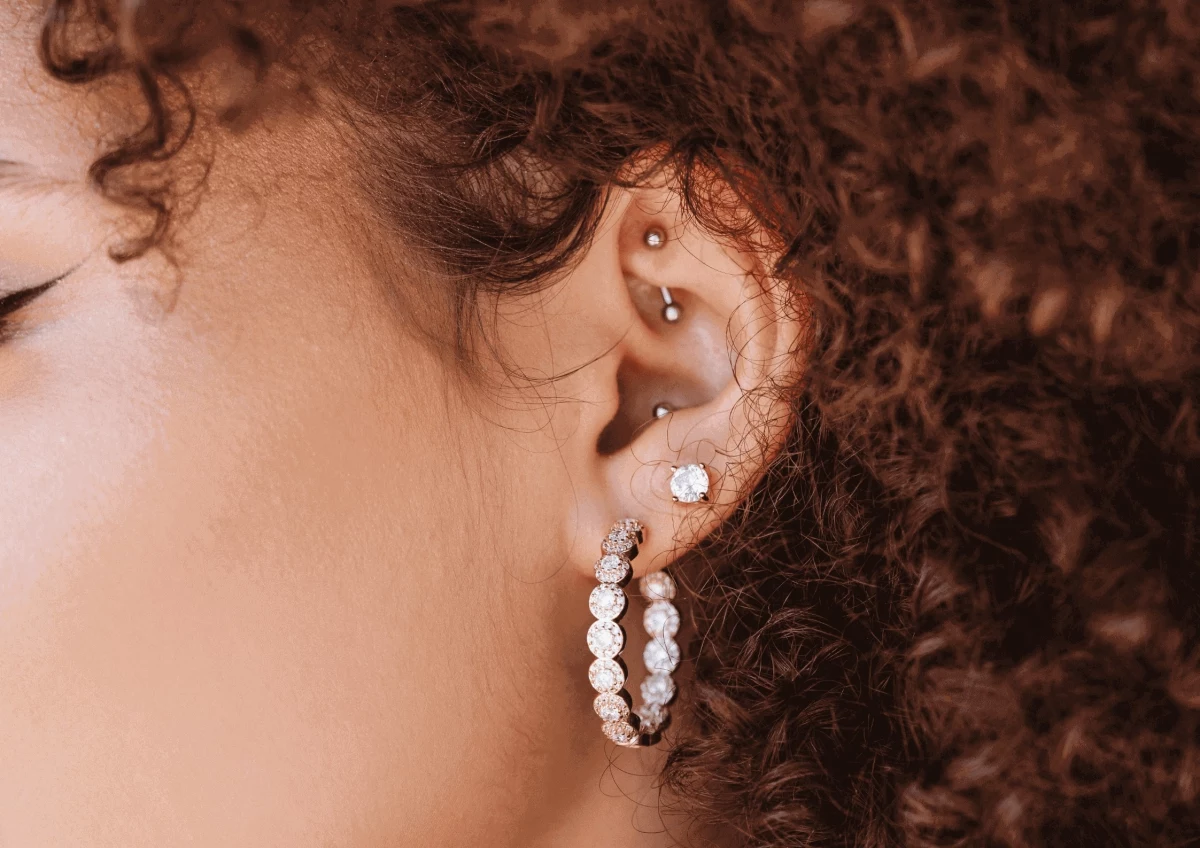
I’ve been in the piercing world for a long time, and I’ve seen countless trends come and go. But some piercings, like the rook, just have a classic vibe that never fades. It’s that cool, understated piercing tucked into the upper fold of your ear’s inner cartilage. When it works, it’s absolutely stunning.
In this article
- First Things First: Anatomy is Everything
- How to Spot a Great Piercing Studio
- In the Chair: What to Actually Expect
- The Healing Journey: A Marathon, Not a Sprint
- Your Rook Piercing Shopping List
- Simple and Safe Aftercare
- Navigating Daily Life with a New Piercing
- Let’s Talk Jewelry (and Downsizing!)
- The Bottom Line: Cost and Final Thoughts
- Quick Q&A: Your Last-Minute Questions
- Galerie d’inspiration
But here’s the thing… it’s also one of the piercings I talk people out of the most.
Why? Because its success hinges almost entirely on one thing: your unique ear shape. This isn’t a piercing you should get on a whim. It demands patience and a real understanding of what you’re signing up for. My goal here is to give you the insider scoop, sharing what I’ve learned from years in the studio so you can make a decision that’s right for you—not just for today, but for the long haul.
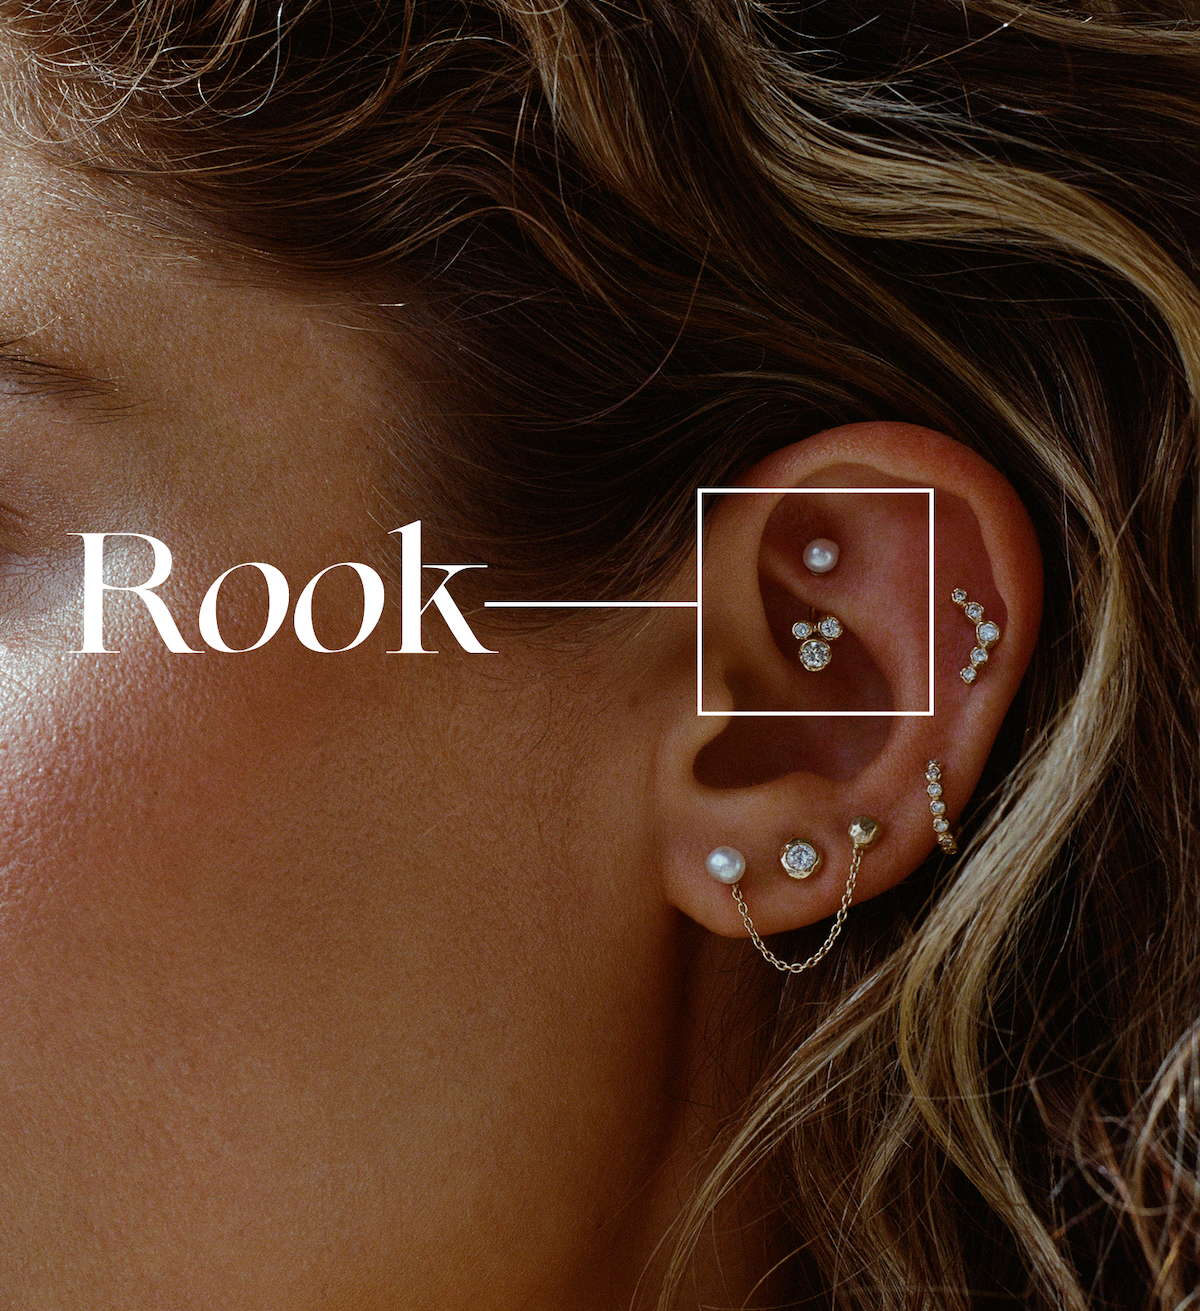
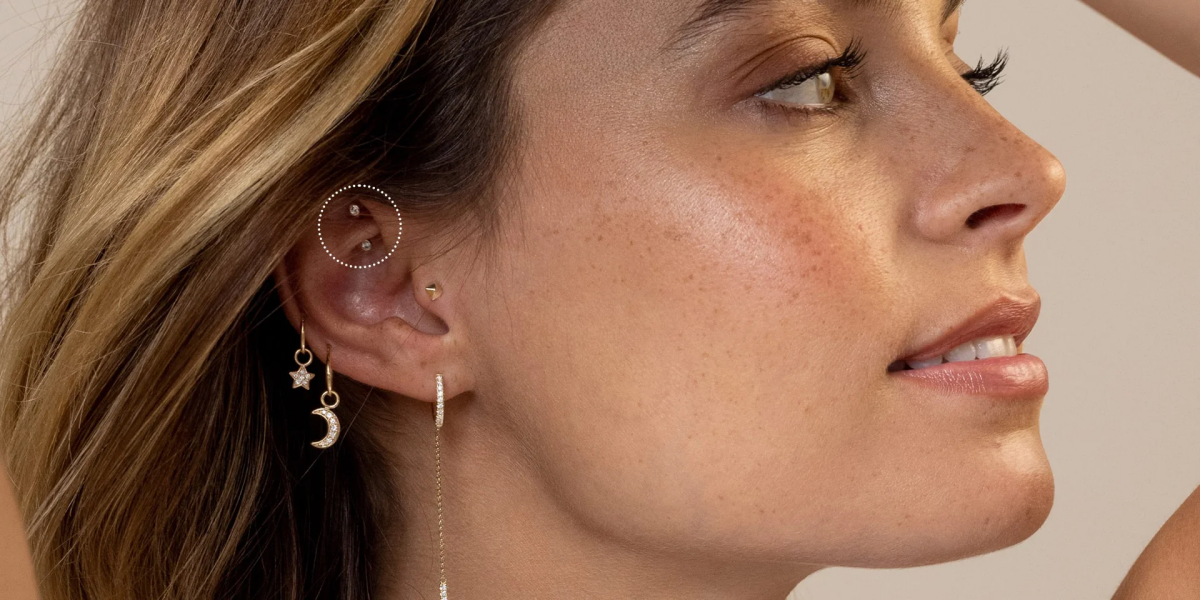
First Things First: Anatomy is Everything
Before we even think about needles or cool jewelry, we have to talk about your ear. The rook piercing goes through a specific bit of cartilage called the antihelix. Think of it as a little shelf of cartilage just inside the outer rim of your ear. Whether or not you can get a rook piercing depends 100% on if that shelf is defined enough to support it.
When you go for a consultation, the first thing a good piercer will do is take a close look at your ear. We’re searching for a solid, well-defined ridge. If that fold is too thin, too shallow, or just not pronounced enough, a rook piercing is, frankly, a bad idea. Trying to force it can lead to some serious headaches. The jewelry might tilt, causing constant pressure that can make the piercing migrate (push itself out, leaving a scar) or just never, ever heal properly.
I’ve had to deliver the bad news to plenty of hopeful clients. It’s always a tough conversation, but a reputable piercer will always choose your long-term health over making a quick buck. The good news? We almost always have a fantastic alternative: the “faux rook.” This is a flat piercing placed on the surface right below where a traditional rook would sit. It gives you a very similar look without needing that specific cartilage fold. It’s a perfect example of working with your anatomy, not against it.
How to Spot a Great Piercing Studio
Okay, so you think your anatomy is good to go. Now what? Finding the right piercer is probably the most important step. Don’t just walk into the first place you see. Here’s my insider guide on what to look for:
- Check their portfolio. Hop on their Instagram or website. But don’t just look for photos of fresh, shiny piercings. The real pros proudly show off pictures of healed work. A healed rook piercing, sitting perfectly straight with no irritation bumps, is the sign of a skilled piercer.
- Look for professional standards. Reputable studios often align with industry-leading safety organizations. They’ll talk openly about using sterile, single-use needles and implant-grade jewelry.
- Trust your gut. The studio should feel clean and professional. It should smell sterile, like a doctor’s office, not like incense and regret. The staff should be happy to answer all your questions without making you feel silly. If you get a weird vibe, walk out.
In the Chair: What to Actually Expect
Getting your rook pierced should feel calm and professional. Here’s a play-by-play of how it should go down.
First, you’ll have a quick chat to confirm your anatomy is a good fit and select your starter jewelry. For a rook, this is almost always a 16-gauge (1.2mm) curved barbell made from implant-grade titanium. The piercer will then get everything ready, opening sterilized packages containing the needle and jewelry right in front of you.
Next, they’ll mark the spot with a sterile, single-use skin marker. The goal is a perfectly vertical placement so the jewelry doesn’t put weird pressure on the cartilage. You’ll get to check it in a mirror to make sure you love it.
Then comes the main event. You’ll take a deep breath in and, as you exhale, the piercer will pass a hollow needle through in one quick, smooth motion. So, how much does it hurt? Let’s be real, it’s not pleasant. On a pain scale, if a standard lobe piercing is a 2/10, I’d rate the rook a solid 6 or 7/10. It’s a sharp, intense pressure—more of a deep pinch than a helix piercing—but the intense part is over in about a second. And please, whatever you do, NEVER let anyone near your cartilage with a piercing gun. Guns shatter cartilage with blunt force and are a one-way ticket to healing nightmares.
Right after the needle is through, the piercer will seamlessly insert the jewelry. The whole piercing part takes less than 10 seconds. After a quick cleanup, they’ll go over aftercare, and you’ll be on your way.
The Healing Journey: A Marathon, Not a Sprint
I’m going to be very direct here: a rook piercing takes a long time to heal. Some websites might tell you 6-9 months, but in my experience, that’s optimistic. I tell all my clients to prepare for a full 12 to 18 months before it’s 100% healed. It might feel fine much sooner, but the tissue deep inside is still maturing.
The reason is blood flow. Cartilage doesn’t have its own direct blood supply, so the healing process is naturally slow and steady. Rushing it just invites problems. For the first few weeks, expect it to be red, swollen, and a bit throbby. You’ll see some clear or yellowish fluid that dries into “crusties.” This is totally normal—it’s just your body healing.

Oh, and let’s talk about the dreaded irritation bump. It’s super common to get a small bump near the piercing hole at some point. This is rarely an infection or a keloid. It’s usually just a sign that something is annoying your piercing—like sleeping on it, snagging it, or using the wrong aftercare. Find the cause, fix it, and the bump will almost always go away on its own.
Your Rook Piercing Shopping List
Before we get into aftercare, let’s talk about what you’ll actually need to buy. It’s a pretty short list, thankfully!
- Sterile Saline Wound Wash: This is your new best friend. You can grab a can at any pharmacy for about $8-$12. Make sure the only ingredients are 0.9% sodium chloride and water.
- A Donut or Travel Pillow: An absolute game-changer for sleeping. You can find one on Amazon or at Target for around $15-$20.
- Non-Woven Gauze: For gently drying the area. A box costs about $5. Avoid Q-tips and bath towels!
Simple and Safe Aftercare
Good aftercare is simple. Don’t overthink it.
Twice a day, just spray the front and back of the piercing with your sterile saline spray. That’s it. Don’t touch it, don’t twist it, don’t pick at it. In the shower, let warm water run over it for a minute to help loosen any crusties, then let them fall off naturally.
To dry it, gently pat the area with a clean piece of non-woven gauze or use a hairdryer on the cool setting. Easy.
Things to Avoid at All Costs:
- Touching it! Seriously, just leave it alone. Twisting it only damages the healing tissue.
- Harsh chemicals. No alcohol, hydrogen peroxide, or antibacterial soaps. They are way too aggressive.
- Sleeping on it. This is the #1 cause of problems. Use that travel pillow and sleep with your ear in the hole.
- Swimming. Pools, lakes, and oceans are full of bacteria. Avoid them for the entire healing period if you can.
A few practical tips can make a huge difference.
- Headphones: For the first few months, earbuds are a no-go. They can put pressure on the piercing and introduce bacteria. Over-ear headphones that don’t touch the rook area are a much safer bet once the initial soreness fades.
- Glasses: Most glasses won’t interfere with a rook piercing, but be mindful when taking them on and off so you don’t snag the jewelry.
- Hair Products & Dye: Be super careful with hairspray, and try to keep shampoo and conditioner away from the fresh piercing. If you’re getting your hair colored, let your stylist know about the piercing and ask them to cover it or be extremely cautious around it.
Let’s Talk Jewelry (and Downsizing!)
The jewelry you start with is a medical implant, not just decoration. For a fresh piercing, you want implant-grade materials. Think implant-grade titanium (which is nickel-free and my top choice) or high-quality solid 14k or 18k gold (yellow or rose gold are usually safest, as white gold can contain nickel).
The initial curved barbell you get will be a little long to allow for swelling. This brings us to a super important step: downsizing. After about 6-10 weeks, when the swelling has gone down, you need to go back to your piercer to have a shorter bar put in. Leaving the long bar in can cause it to snag and move around, leading to those nasty irritation bumps.
Heads up! You should expect to pay for the new, shorter bar. A basic implant-grade titanium one will probably run you between $15 and $30. Some piercers might include the swap in their service, while others may charge a small fee of around $10-$15 for their time.
The Bottom Line: Cost and Final Thoughts
A good piercing isn’t cheap, and a cheap piercing isn’t good. The total cost reflects the piercer’s skill, sterile supplies, and high-quality jewelry. You should expect to pay a piercing fee (usually $40-$80) plus the cost of the initial jewelry (which can be $40 for basic titanium or $100+ for solid gold). All in, a safe, professional rook piercing will likely cost you somewhere between $80 and $150+. If a place is offering it for $30, you should be asking some serious questions about their safety and jewelry quality.
Quick Q&A: Your Last-Minute Questions
Let’s wrap up with a few common questions I get all the time.
When can I FINALLY switch to a hoop?
Patience! You absolutely must wait until it is 100% fully healed. That means waiting at least 12 months, and maybe even longer. Switching too soon is a recipe for irritation.
Is it infected or just… crusty?
It’s easy to confuse normal healing with a problem. “Crusties” are typically clear or pale yellow, don’t have a smell, and don’t hurt. Signs of an actual infection include thick, green, or gray pus, a foul odor, and increasing pain, redness, and heat around the site. If you suspect an infection, do NOT remove the jewelry—see a doctor right away.
Who shouldn’t get a rook piercing?
Aside from people with the wrong anatomy, you should probably avoid it if you have a known history of keloid scarring. If you have an autoimmune disorder or are on medications like blood thinners, it’s always best to chat with your doctor first.
Ultimately, a rook piercing can be an amazing addition to your look, but it’s a commitment. By choosing a great piercer and respecting the healing process, you’ll set yourself up for success.
Galerie d’inspiration
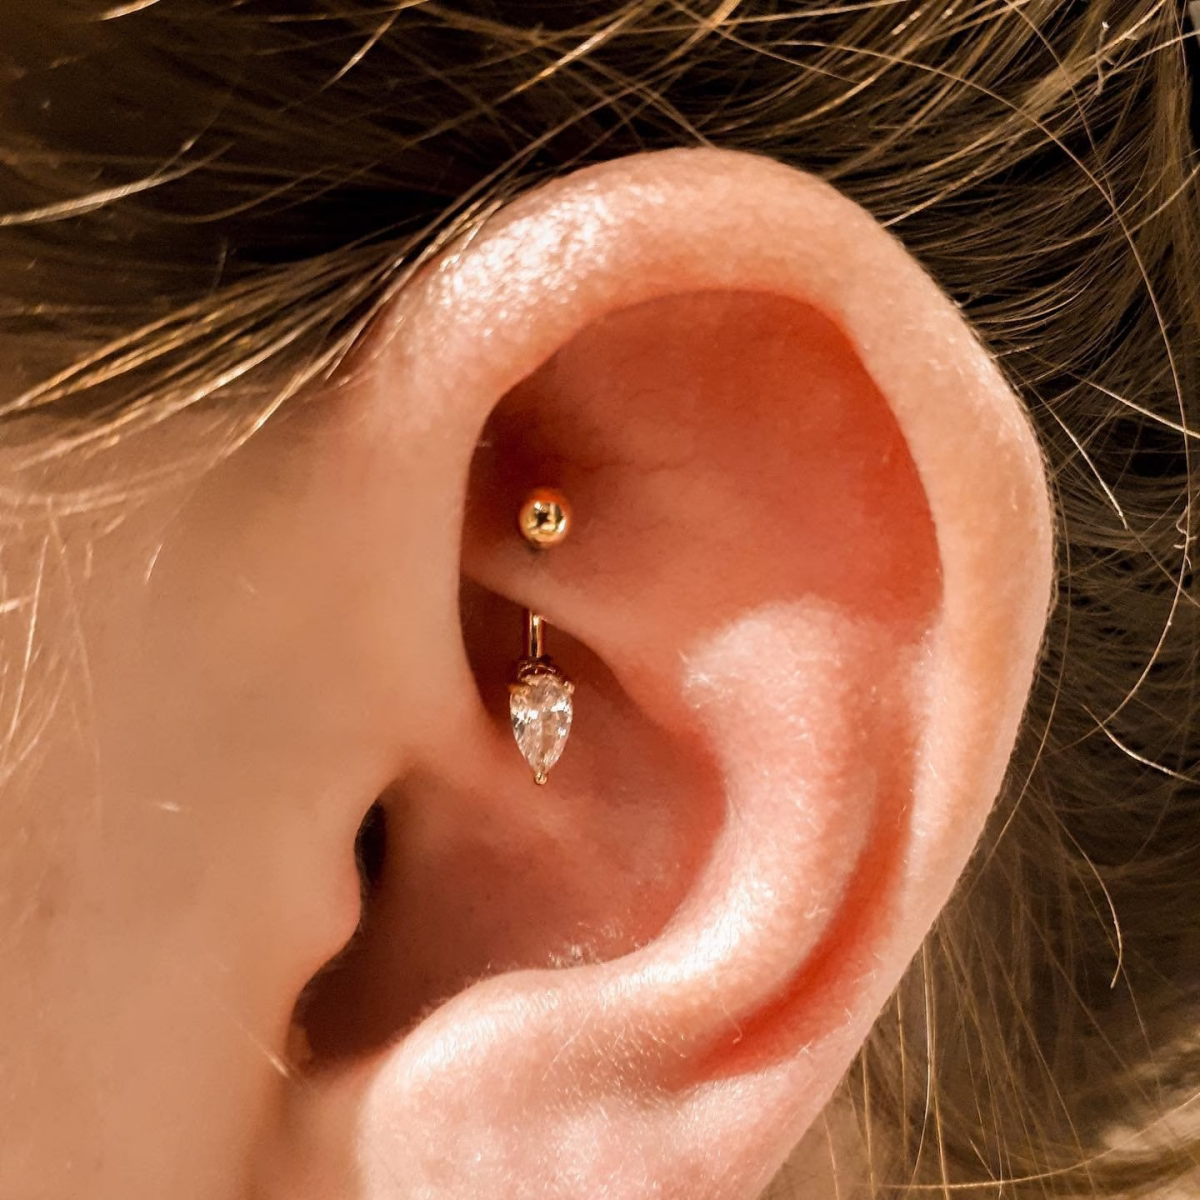
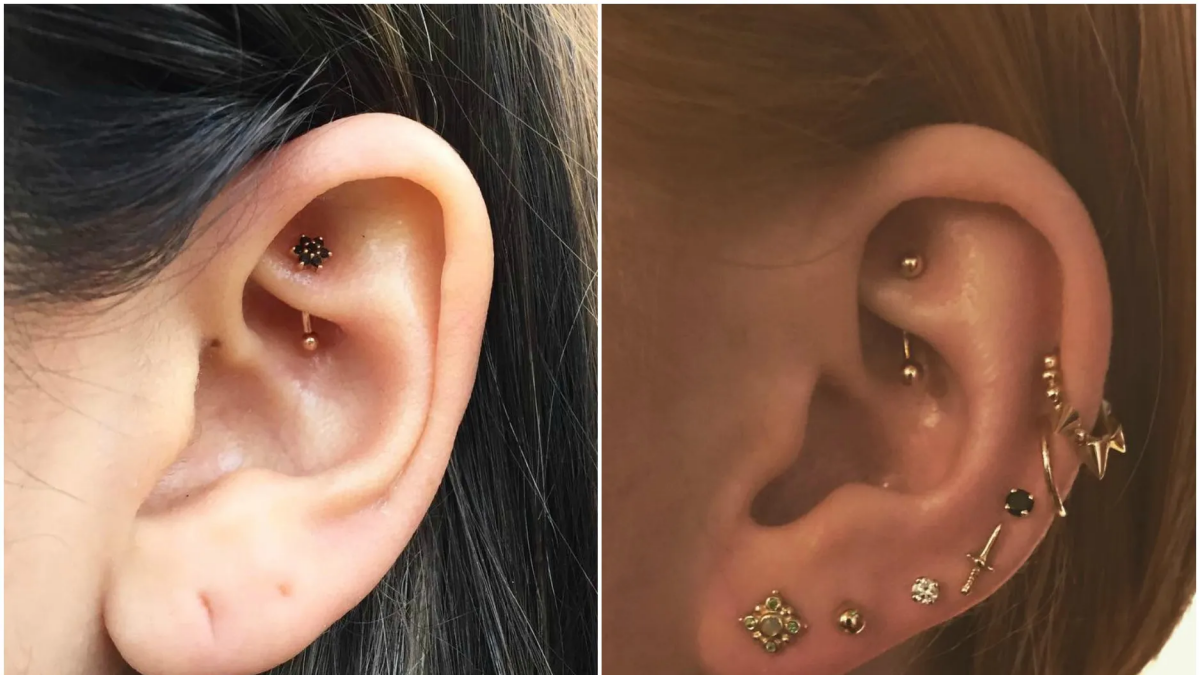
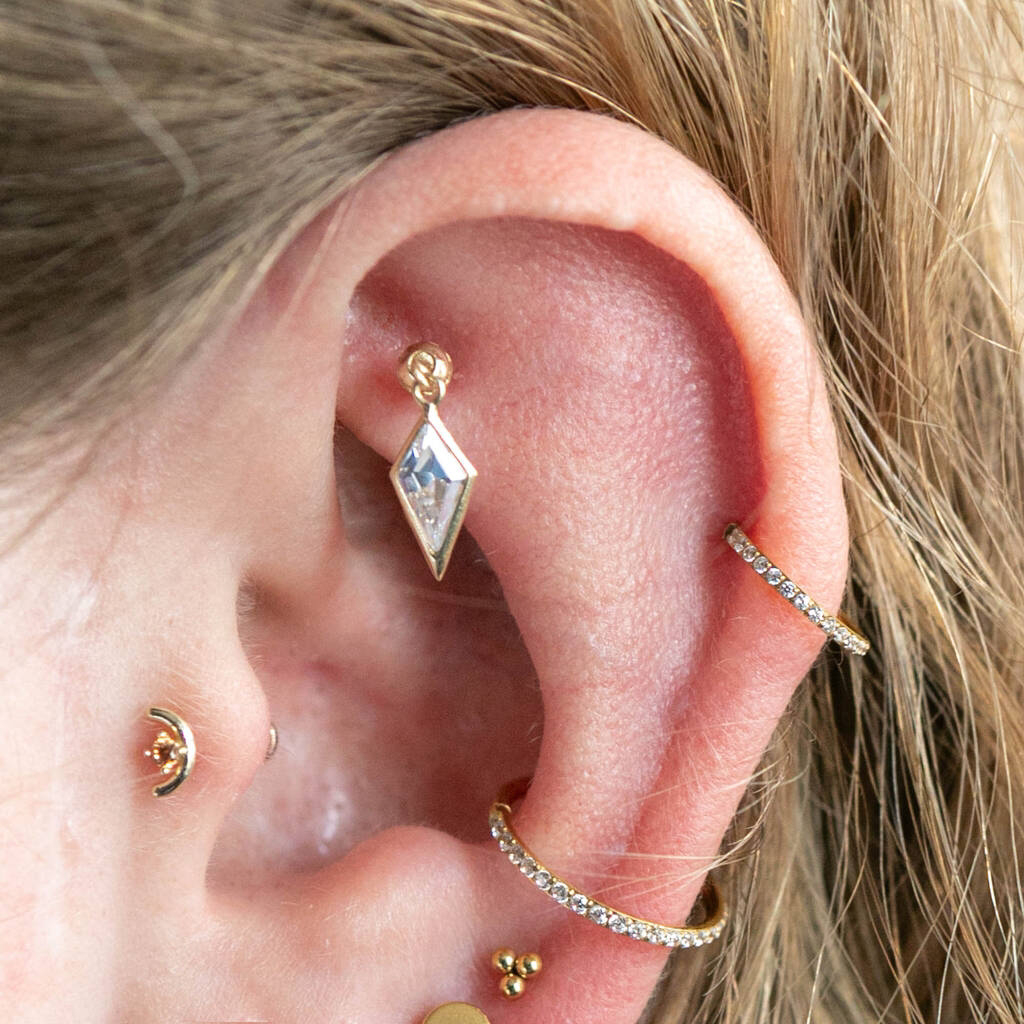
The Curved Barbell: This is your best friend for initial healing. Its shape follows the natural curve of your cartilage, minimizing pressure and movement. It’s discreet and less prone to snagging on hair or clothing.
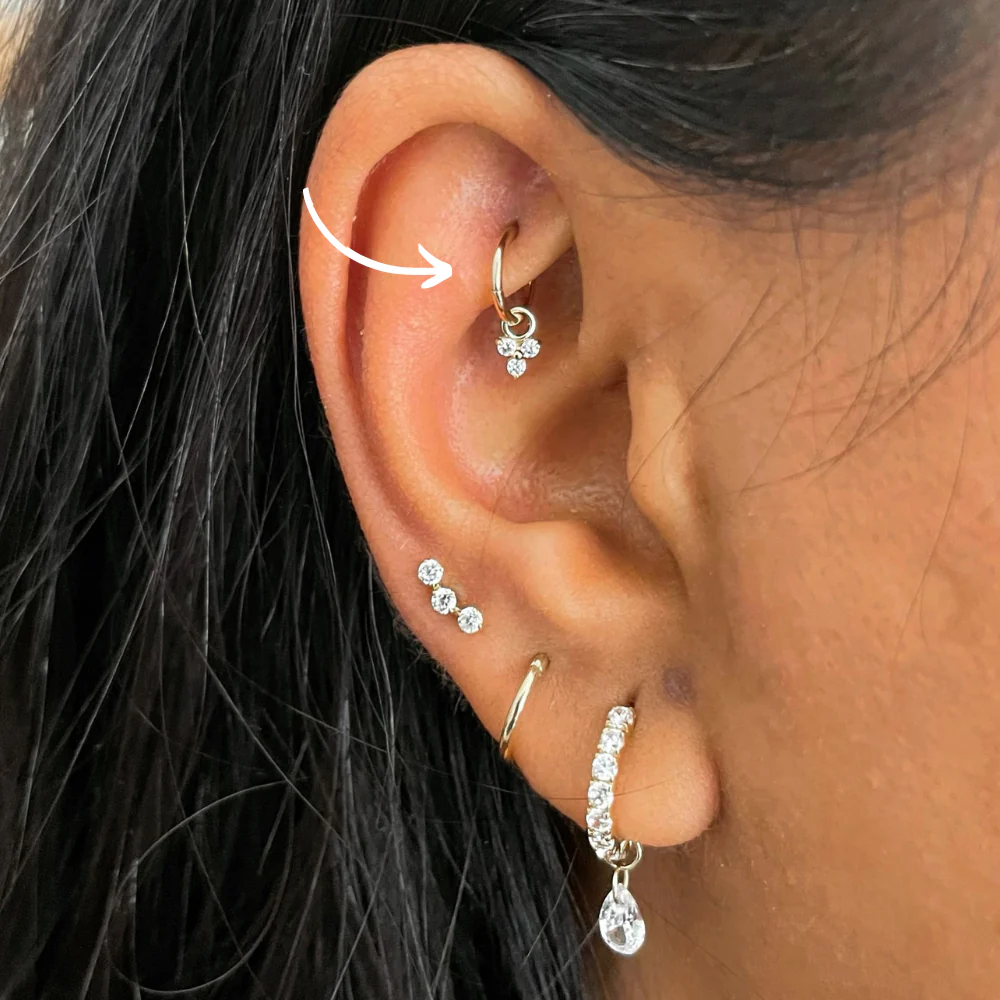
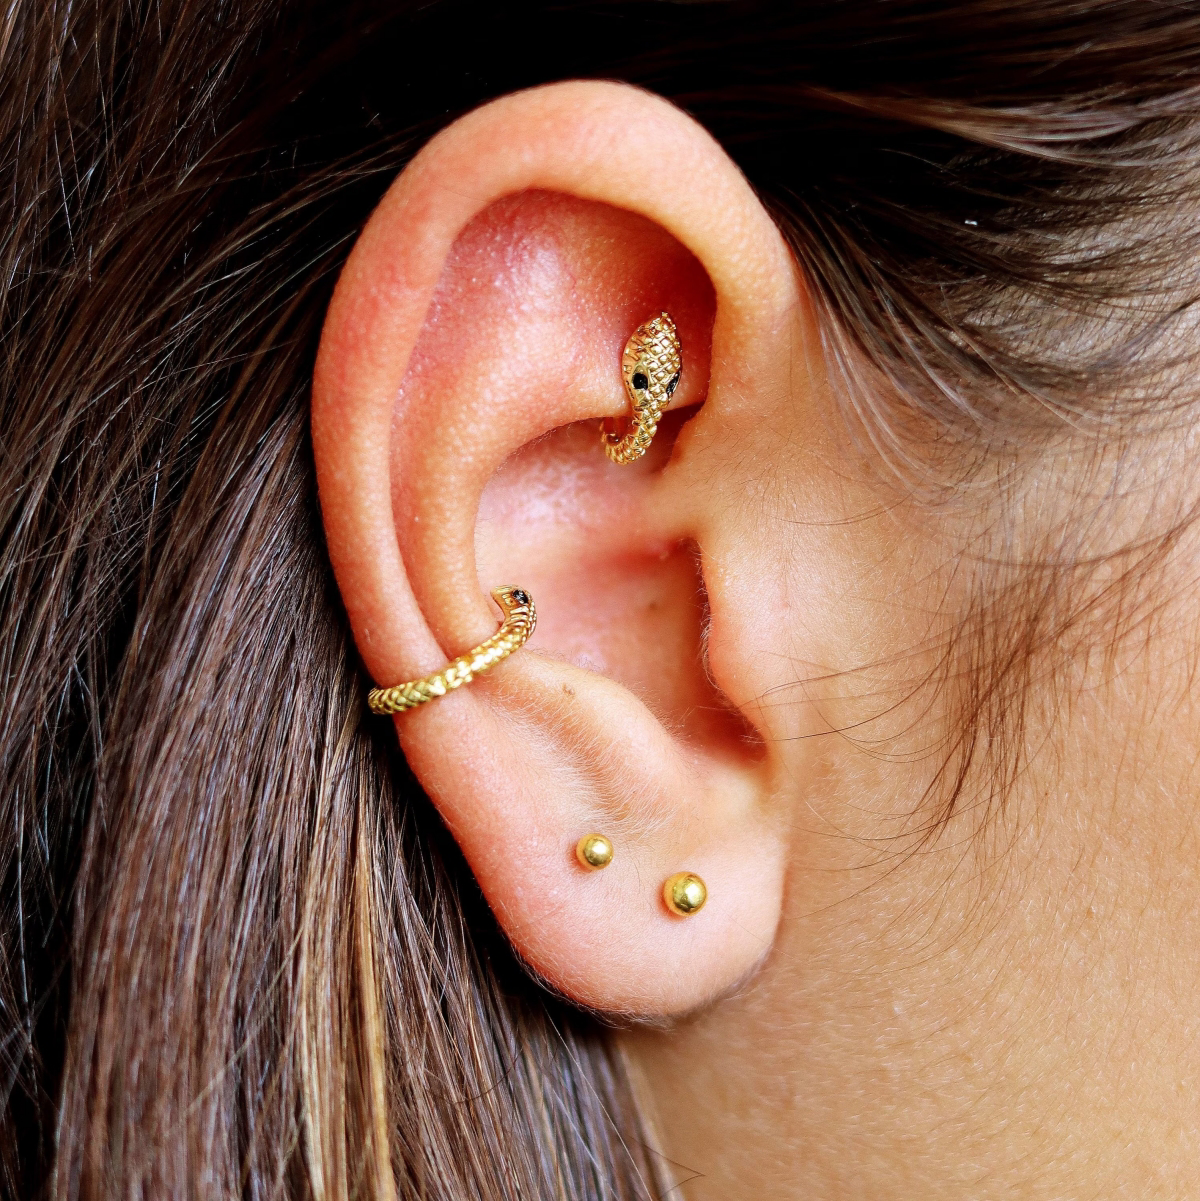
The Hoop or Ring: This is the goal for many, offering a bold look. However, it should only be worn once the piercing is fully mature (9-12 months, or longer). The movement of a ring in an unhealed piercing is a primary cause of irritation bumps.
Your piercer will start you with a barbell; switching to a hoop is the reward for a well-healed piercing.
More than 90% of piercing complications come from improper aftercare or low-quality jewelry, not the initial procedure itself.
This highlights why choosing the right material is non-negotiable. For a new rook, insist on implant-grade titanium (ASTM F-136) or solid 14k/18k nickel-free gold. Brands like Anatometal or Neometal specialize in these biocompatible materials, which your body is less likely to react to, ensuring a smoother healing journey.
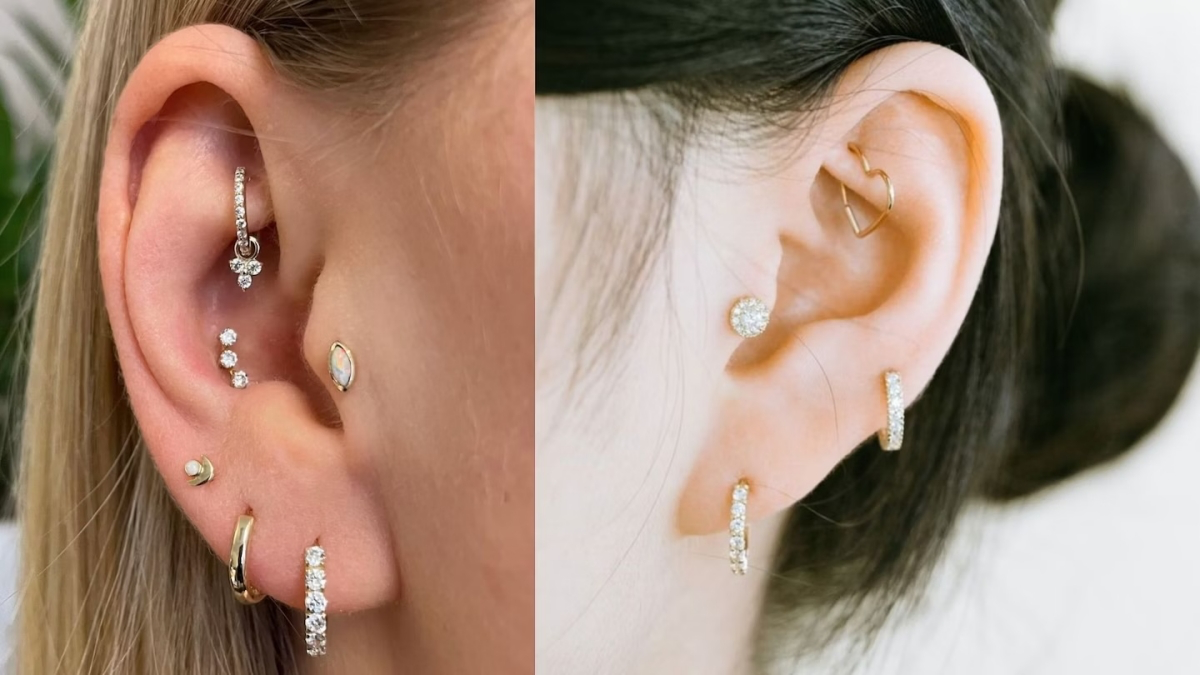
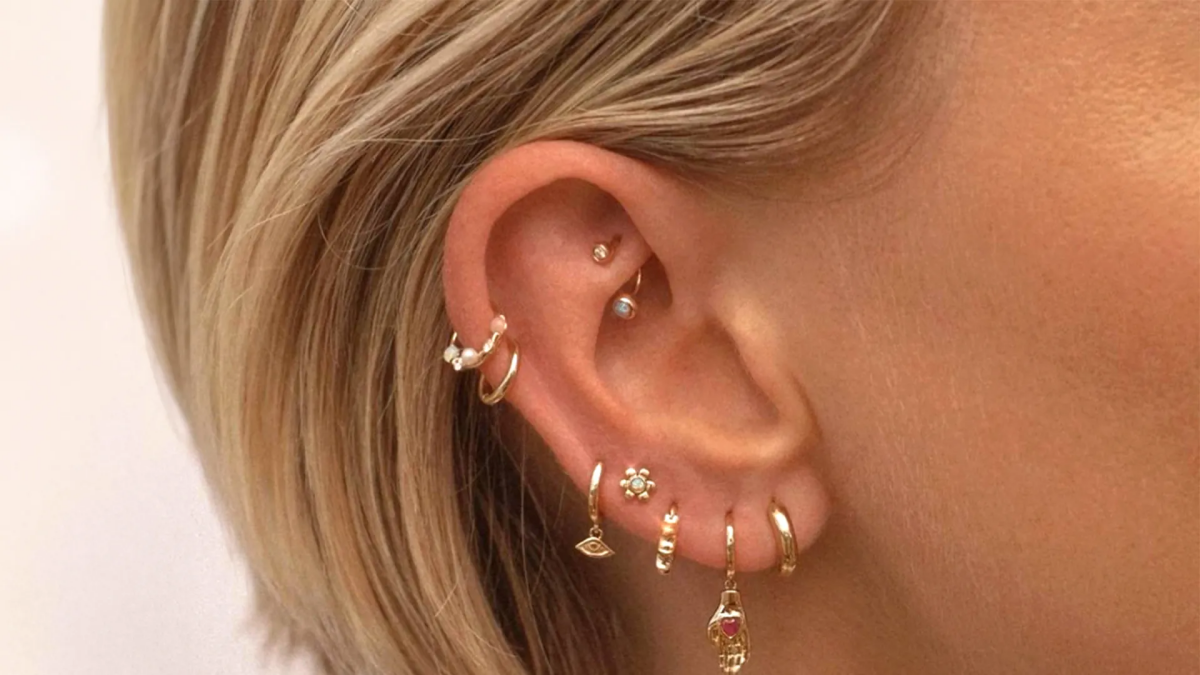
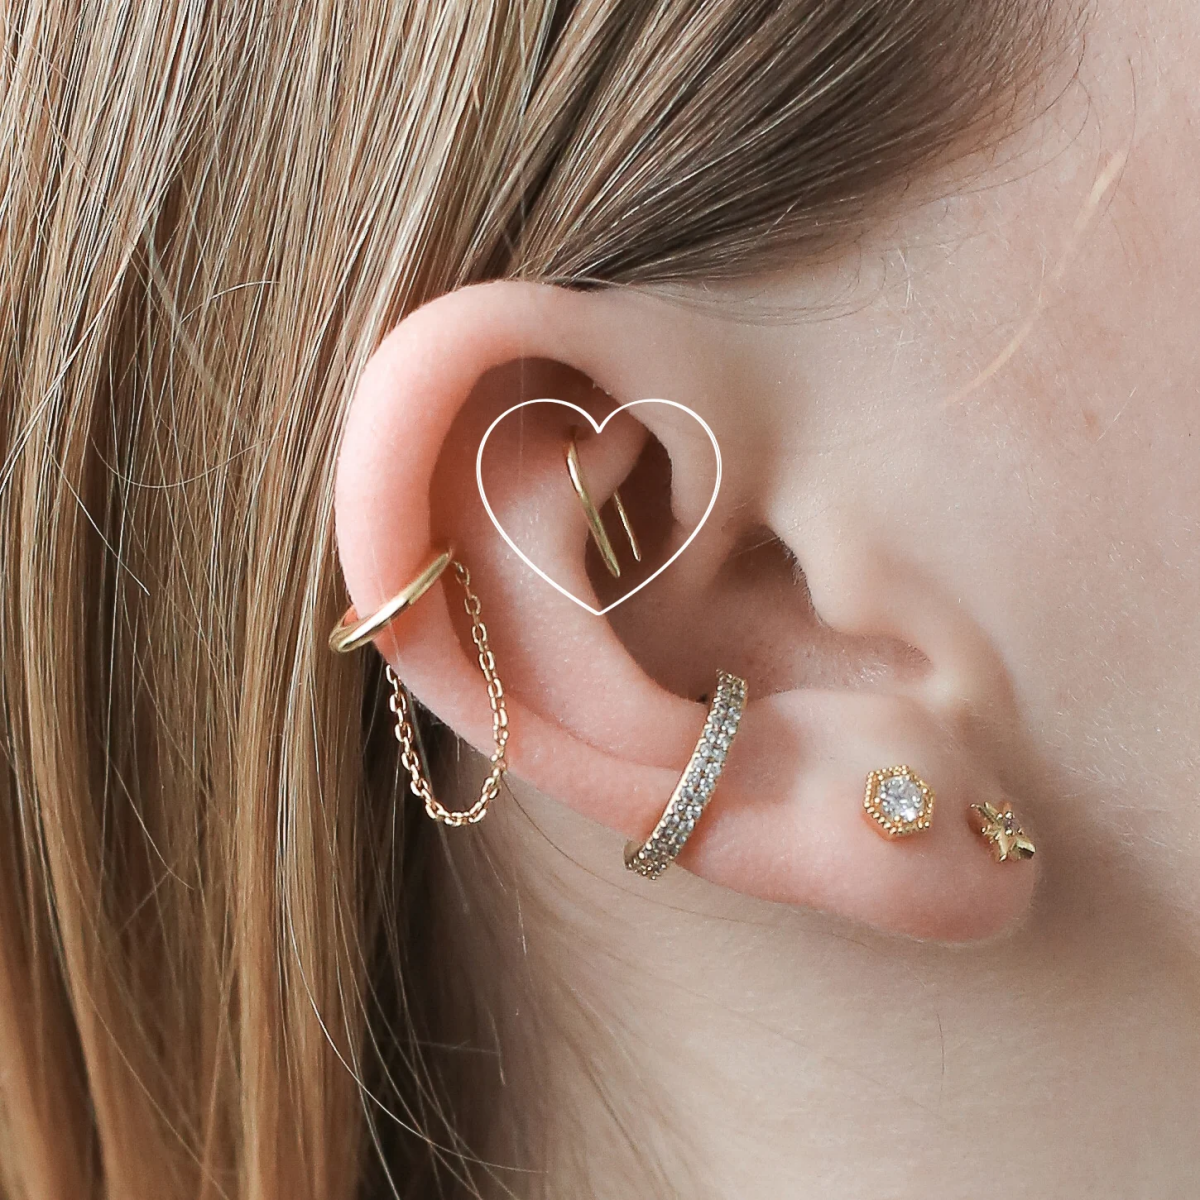
The ‘curated ear’ is all about balance, and the rook adds a perfect touch of vertical interest. It sits high in the inner ear, drawing the eye upward and complementing lower piercings like the tragus or conch. It acts as a sophisticated centerpiece that can tie a whole collection of studs and hoops together, transforming your ear from simply pierced to intentionally styled.

- Reduces painful pressure during sleep.
- Prevents your jewelry from snagging on fabric.
- Minimizes nighttime swelling and irritation bumps.
The secret? A travel pillow. Sleeping with your ear nestled in the ‘donut hole’ is a game-changer for healing any cartilage piercing.
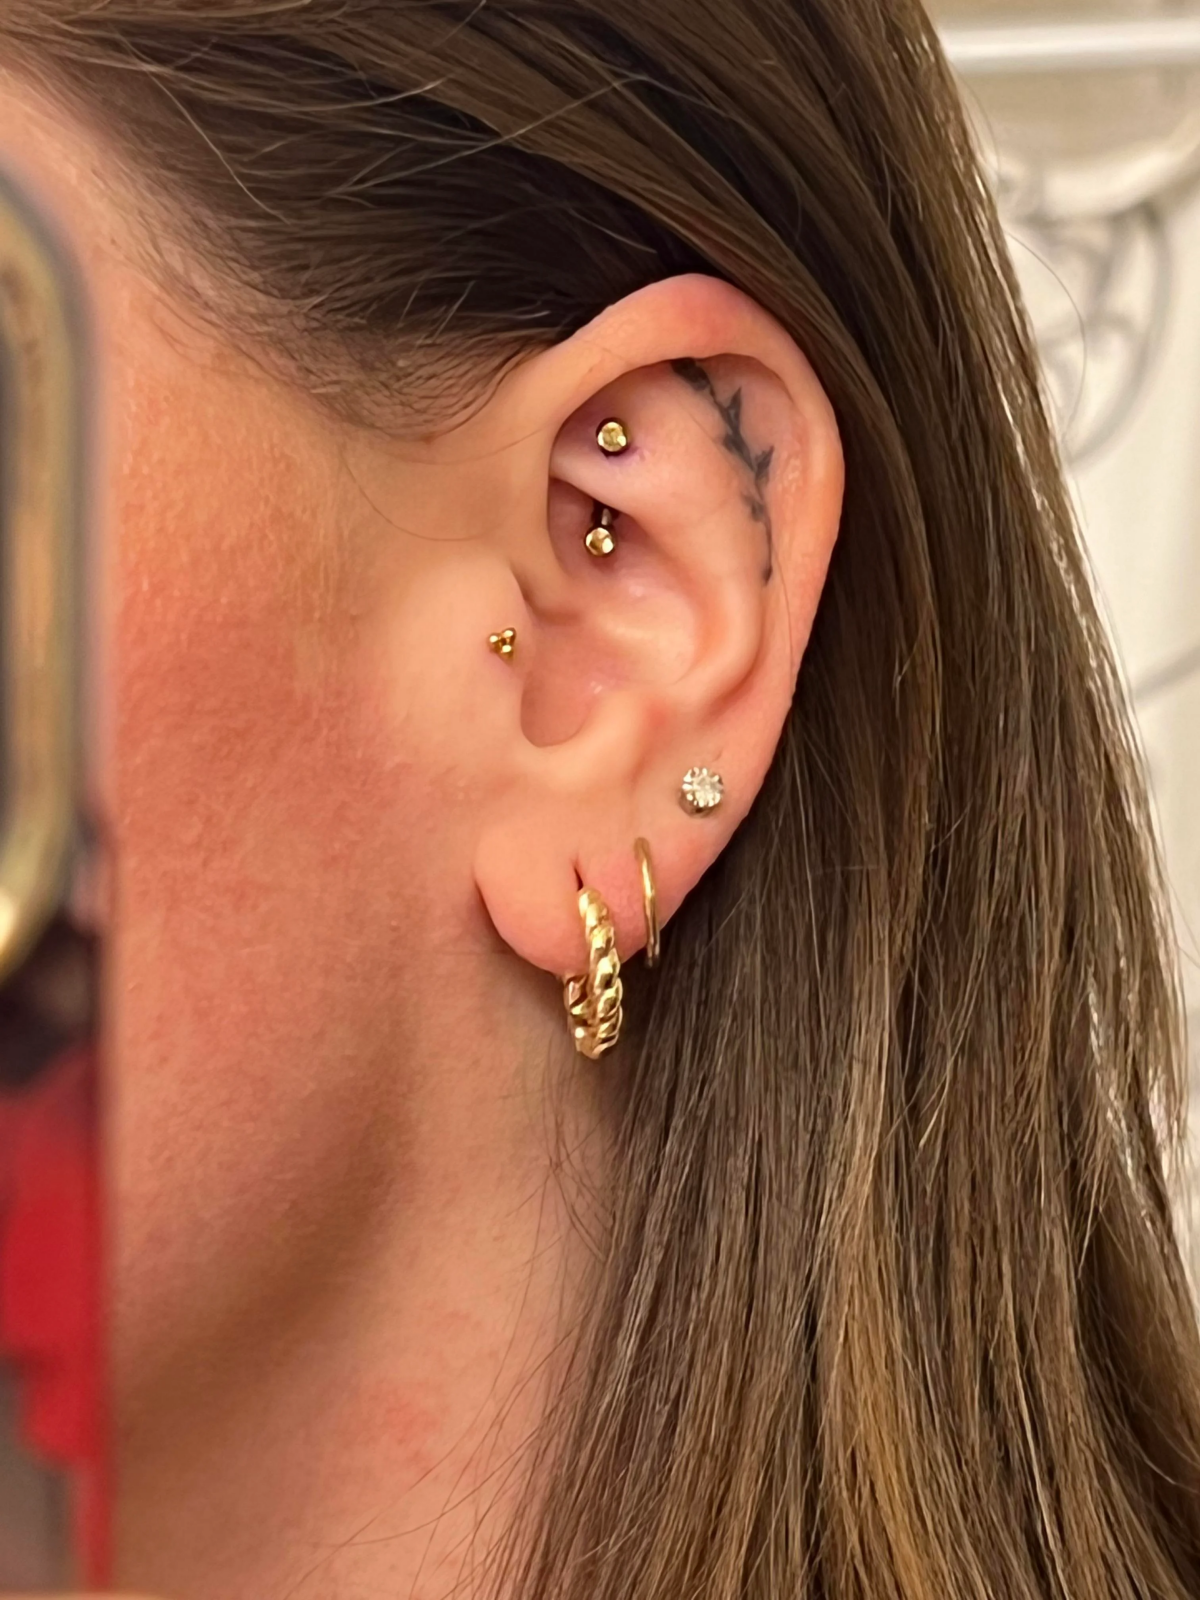
Help! A bump has formed on my rook piercing. Is it infected?
Most likely, it’s a common irritation bump, not an infection. These are pockets of fluid caused by pressure, moisture, or snagging. Do not pop it! The best course of action is patience and diligence. Stick to your cleaning routine with a sterile saline spray (like NeilMed Piercing Aftercare), ensure you aren’t sleeping on it, and try not to touch it. The bump should slowly subside as the source of irritation is removed.

A rook piercing is one of the few that is almost completely hidden from your own view.
Your aftercare routine should be minimalist. Over-cleaning can be as damaging as under-cleaning.
- Do: Gently spray the front and back with a sterile saline solution twice a day and let it air dry or pat gently with non-woven gauze.
- Don’t: Use alcohol, hydrogen peroxide, or antibacterial soaps. These are far too harsh and will delay healing.
- Don’t: Twist or turn the jewelry. This just re-injures the delicate tissue trying to form.


