The Real Deal on Lip Piercings: A Pro’s Guide to Getting It Right
Over my career, I’ve seen countless piercing trends come and go, but the lip piercing? It’s a total classic. There’s just something about it—it can be incredibly subtle or make a bold statement, and it’s right there framing your smile. I’ve done thousands, from a simple labret on a nervous first-timer to complex, symmetrical projects on serious piercing enthusiasts. And I’ve learned that a great lip piercing has nothing to do with what’s trendy and everything to do with anatomy, precision, and respecting the healing process.
In this article
- First Things First: Your Anatomy Rules Everything
- What to Expect When You’re Healing
- Choosing Your Placement: A Quick & Honest Look
- Inside the Studio: What to Expect on Piercing Day
- Your 90% of the Work: Aftercare is Non-Negotiable
- Your First 48 Hours: A Survival Guide
- Troubleshooting: Don’t Panic!
- The Best and Worst Jewelry For Your Lip
- Galerie d’inspiration
So many people walk into a studio focused only on how cool it will look at the end. My job is to think about the entire journey. Let’s be real: a lip piercing is a commitment. It’s a puncture wound in one of the most mobile, bacteria-heavy areas of your body. When it’s done right by a pro, it’s a beautiful and safe modification. But when it’s done poorly… well, it can lead to some serious problems. This guide is basically the full consultation I wish every single person could have before getting pierced.

First Things First: Your Anatomy Rules Everything
Before we even dream about jewelry or placement, we have to talk about what’s going on with your mouth. Your lips aren’t just simple flaps of skin; they’re complex, and a good piercer is basically a student of facial anatomy. Honestly, this is what separates a piercing that lasts a lifetime from one that causes damage.
The main thing we look at is the orbicularis oris muscle. It’s the ring of muscle that lets you talk, smile, and pucker up. Every lip piercing goes through it, which is why the initial swelling can be pretty intense. We have to place the jewelry so it messes with that muscle’s function as little as possible.
Then there’s the blood supply. Your lips have a ton of blood vessels, and a skilled piercer can literally feel for the pulse of the major arteries to avoid them. Hitting one isn’t just about extra bleeding; it can cause a massive, painful bruise (called a hematoma) that makes healing a nightmare. This is a huge reason why you should NEVER let anyone with a piercing gun near your lips. A gun uses brute force and shatters tissue, while a sterile needle cleanly parts it with precision.
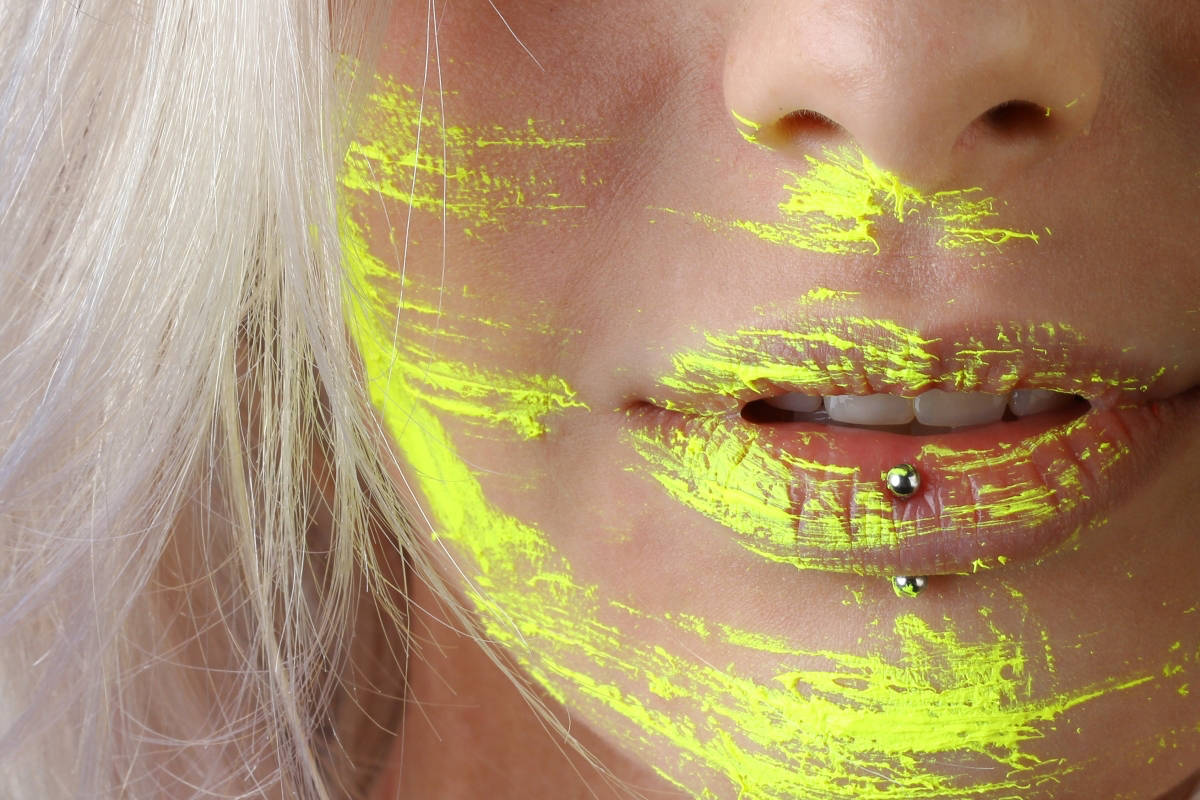
Finally, we look inside your mouth. We check out your gum line, the health of your teeth, and where your frenulum (those little web-like tissues) sits. A stud that’s placed just a little too high or low can slowly wear away your gums or chip your tooth enamel over time. My number one goal is always your long-term health, and that means putting the jewelry where it won’t cause permanent dental damage.
What to Expect When You’re Healing
A piercing is a wound, plain and simple. Knowing the stages of healing helps you understand what’s normal and when you should actually start to worry.
- The First Couple of Weeks (The “Oh Wow, It’s Swollen” Stage): Expect swelling, redness, and tenderness. Your body is sending all its healing resources to the site. You’ll probably see some clear or yellowish fluid, too—that’s lymph, and it’s totally normal. The first piece of jewelry we use is always extra long to make room for this swelling.
- The Next Month or Two (The “Crusty but Coming Along” Stage): This is when your body starts building the actual tunnel of skin (called a fistula) through the piercing. You’ll notice crust forming around the jewelry. It’s just dried lymph, but it’s important to clean it away gently. The piercing will feel a lot better, but trust me, it’s nowhere near healed on the inside.
- Two to Six Months & Beyond (The Maturation Stage): The fistula gets stronger and smoother. From the outside, it might look totally healed, but the inside is still toughening up. This is why you need to wait at least 4-6 months, sometimes longer, before swapping jewelry just for fun. Changing it too soon can tear that delicate new skin and set you right back to square one.
Choosing Your Placement: A Quick & Honest Look
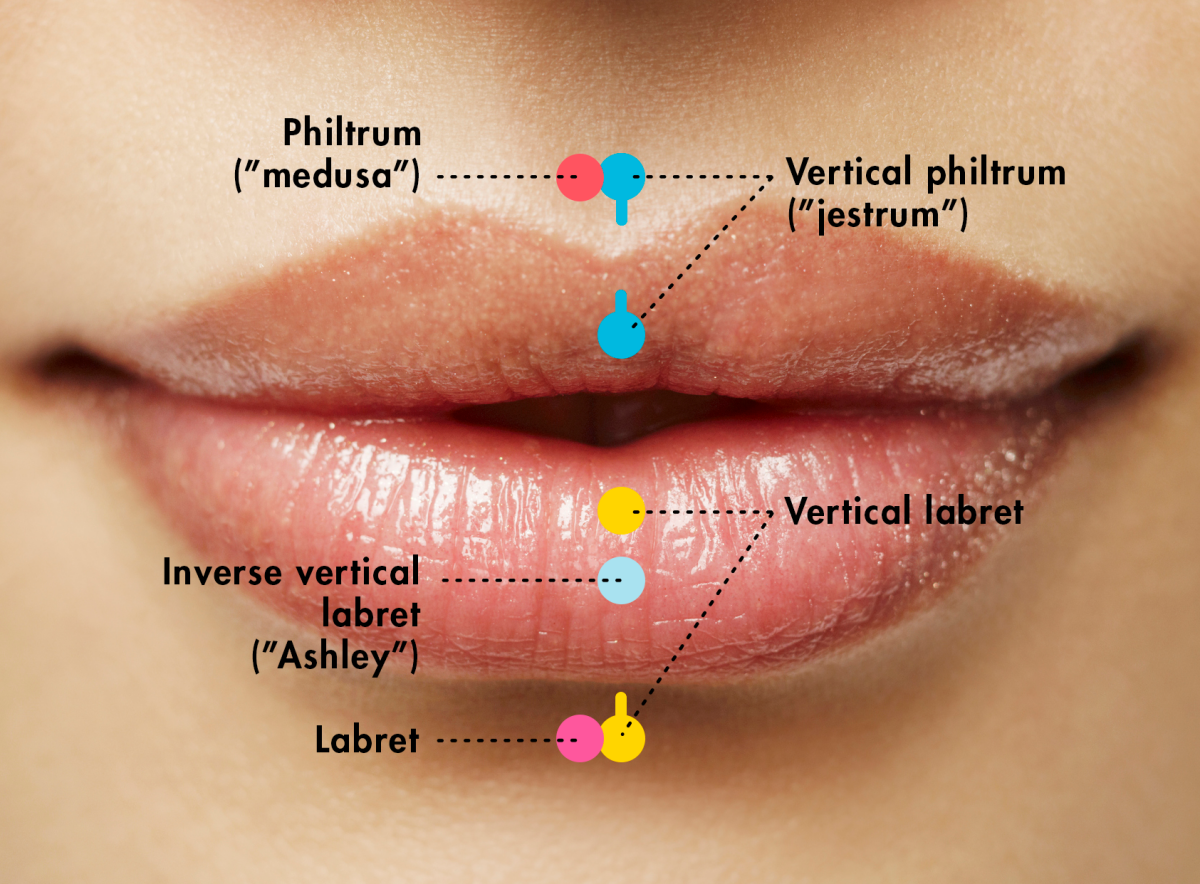
You’ve heard the cool names—Snake Bites, Angel Bites, Medusa. They’re fun, but in the professional world, we mostly talk about the actual anatomy. Let’s break down the most common ones.
Standard Labret Piercing
This is that classic, single piercing right below the center of your bottom lip. It usually sits in that little dip called the labiomental groove. We always start this with a flat-back stud. A ring can be worn once it’s fully, fully healed, but starting with one is a recipe for disaster. The movement and curve of a ring puts way too much pressure on a fresh piercing, often causing it to heal crooked.
The Bottom Line: Most people are great candidates for this. The main risk is long-term tooth or gum damage if the jewelry isn’t downsized properly. Healing usually takes about 2-4 months.
Philtrum Piercing (aka Medusa)
This one goes right in the philtrum, that vertical groove on your upper lip. Placement is EVERYTHING here. It has to be perfectly centered and straight, otherwise it’s incredibly obvious. I spend extra time with my tools making sure the mark is perfect before I even think about the needle.

The Bottom Line: This can be tricky on people with a very short philtrum or a prominent upper gum line. The risk to oral health is moderate, but minimized with proper placement and downsizing. Healing is similar to a labret, around 3-4 months.
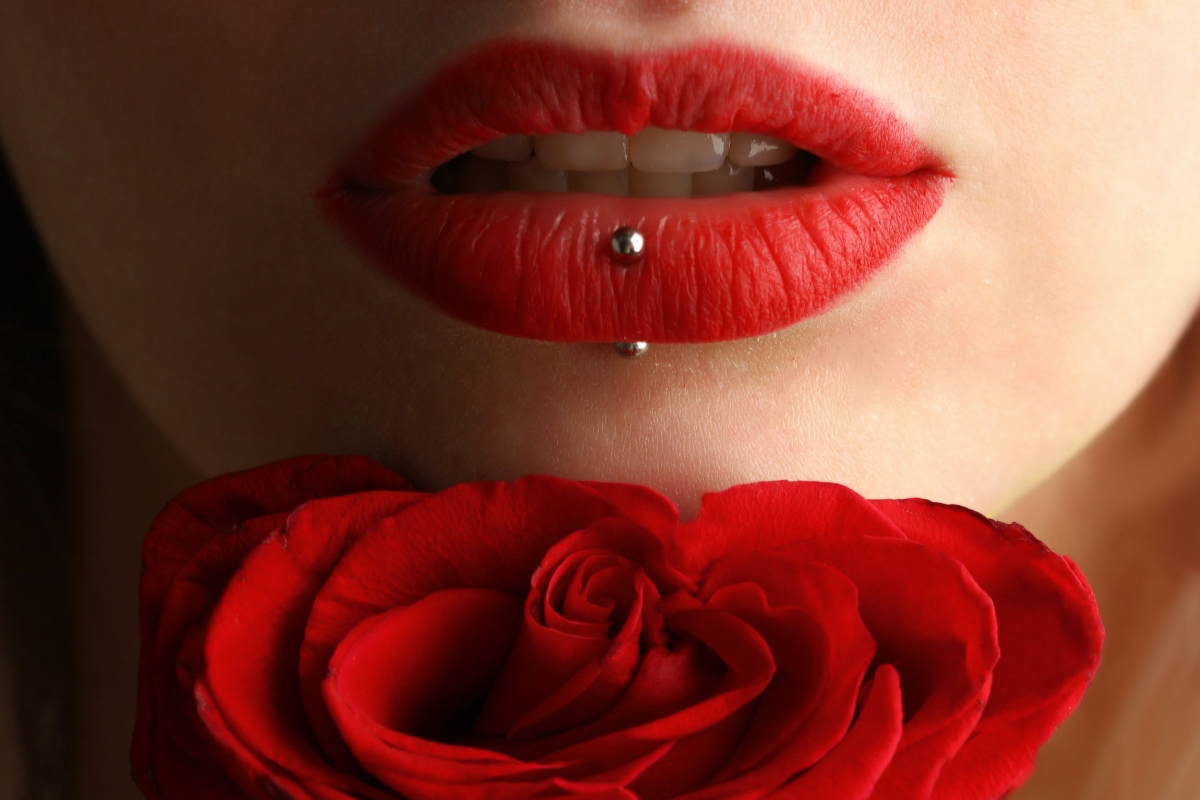
Vertical Labret Piercing
This is a really cool one because it doesn’t go inside your mouth at all. It runs vertically through the lip itself, with a small bead on top of the lip and another just below. It’s worn with a curved barbell. Because nothing touches your teeth or gums, it’s one of the safest choices for long-term oral health.
The Bottom Line: People with very thin lips might not have enough tissue to support this, which could lead to it migrating or rejecting. The oral health risk is super low. Healing can be a bit quicker, sometimes around 2-3 months since it’s not dealing with moisture from inside the mouth.
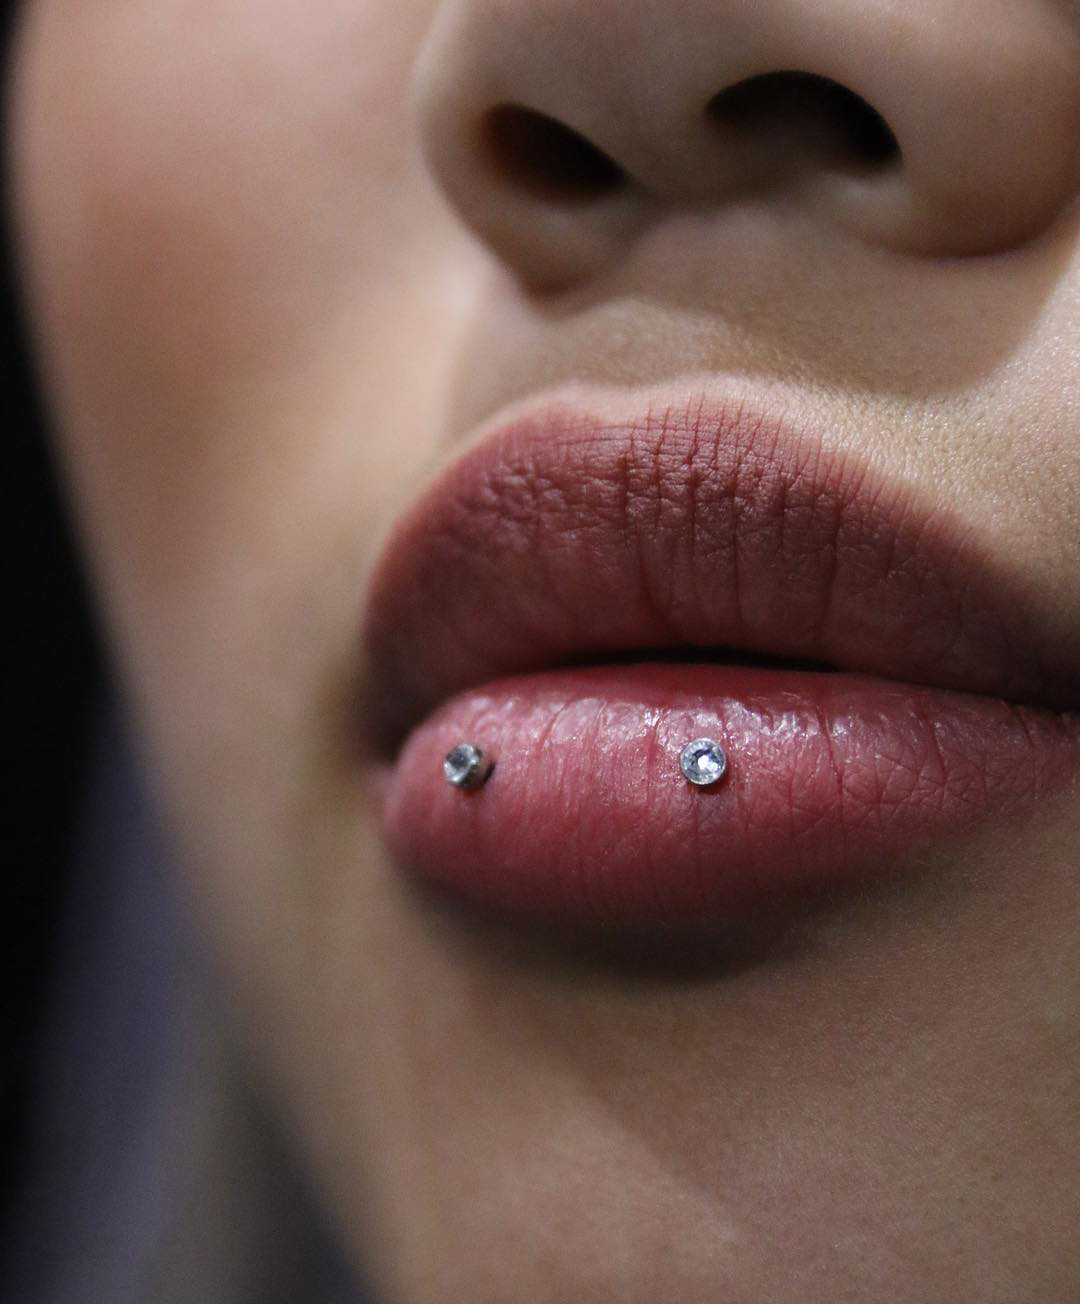
Paired Piercings (Snake Bites, Angel Bites, etc.)
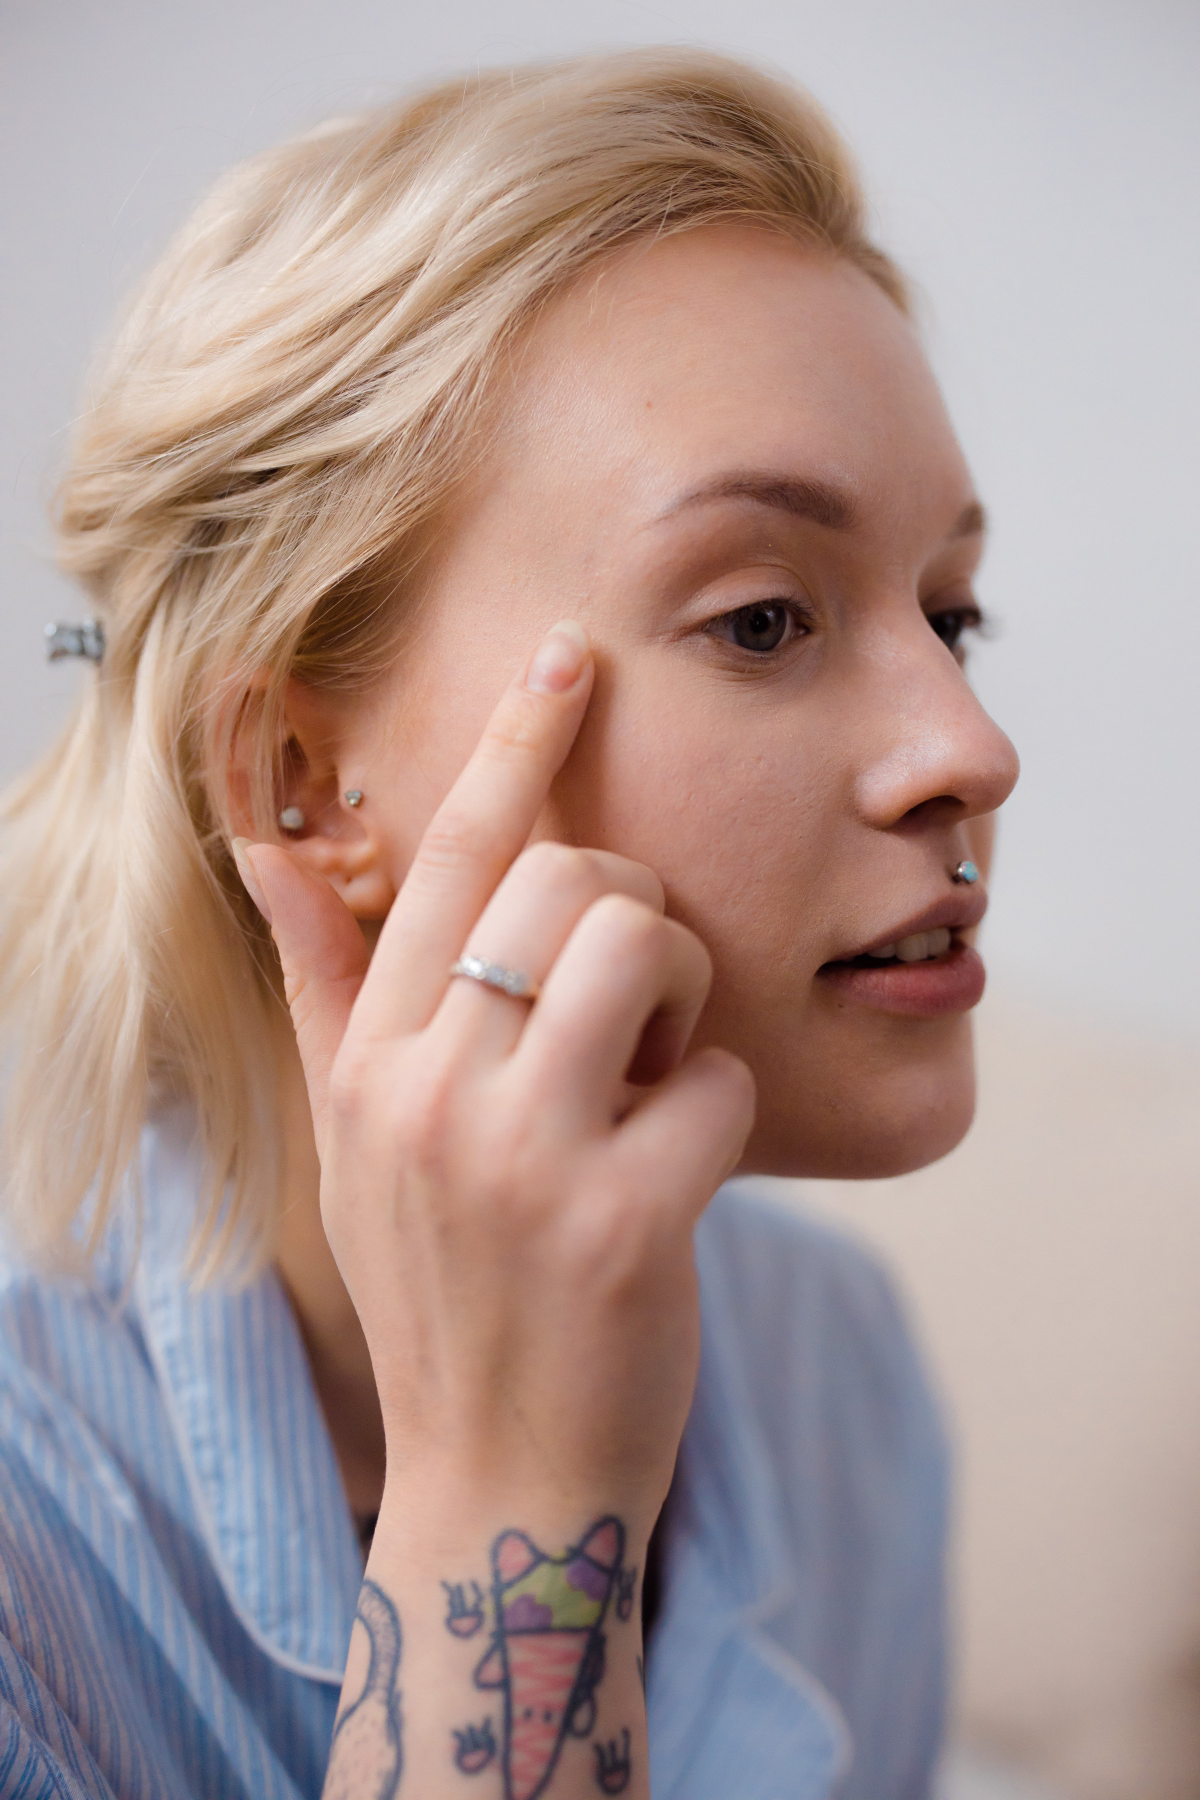
This just means any two piercings done symmetrically, like one on each side of the lower lip. The big challenge? Symmetry. The human face is almost never perfectly symmetrical, so my job is to create the illusion of perfect balance. It takes time and careful marking, both with your face relaxed and while you’re smiling.
A quick heads up: Healing two piercings at once is more work for your body. Expect more swelling and a slightly longer healing time. I often suggest getting one side done, letting it heal completely, and then coming back for the second.
Inside the Studio: What to Expect on Piercing Day
Knowing the process can really calm your nerves. Any legit, professional studio will follow a strict procedure for your safety.
- The Chat and the Paperwork: You’ll fill out a consent form with some health questions (be honest!). We’ll talk about exactly what you want, the jewelry, the aftercare, and the cost. This is your chance to ask anything. Oh, and let’s talk money for a second. Expect to pay a piercing fee, which typically runs from $30 to $60, plus the cost of the jewelry itself. A basic, implant-grade titanium stud usually starts around $30-$40.
- Marking the Spot: I’ll have you sit down, and I’ll clean the area with a surgical scrub. Then, using a sterile, single-use marker, I’ll find the perfect spot. You get the final say—we don’t move forward until you look in the mirror and are 100% happy with the dot.
- Sterilization Station: Everything that touches you is sterile. The needle, jewelry, and any tools are run through a device called an autoclave. Good studios test their autoclaves weekly to make sure they’re working perfectly. Your piercer should open all the sterile packages right in front of you.
- The Main Event: I’ll ask you to take a nice deep breath in and exhale slowly as the needle goes through. It’s a quick, sharp pinch that’s over in a second. I follow the needle immediately with the jewelry, so the transfer is super smooth.
- Review and Checkout: I’ll clean you up and double-check the jewelry. Then we’ll go over the aftercare instructions one more time, and you’ll get a printed copy to take home.

Your 90% of the Work: Aftercare is Non-Negotiable
The piercing itself is the easy part. The next few months of healing are all on you. Good aftercare is the single most important factor for a happy piercing.
Your Piercing First-Aid Kit
Before you even get pierced, it’s a good idea to have your supplies ready. Here’s your shopping list:
- Sterile Saline Wound Wash: Get it from a pharmacy. A pressurized can (like NeilMed) is best. This should cost about $12.
- Alcohol-Free Mouthwash: Brands like Biotene are perfect. Harsh, alcohol-based mouthwash will only cause irritation. A bottle is usually around $10.
- Clean Paper Towels: For drying the outside. Fabric towels can snag jewelry and harbor bacteria.
The To-Do List
- Clean the Outside 2x Daily: Spray the saline on, let it sit for about 30 seconds to soften any crusties, then gently pat it dry with a fresh piece of paper towel.
- Rinse the Inside After Everything: After you eat, drink anything besides water, or smoke, rinse your mouth for 30 seconds with that alcohol-free mouthwash.
- DOWNSIZE YOUR JEWELRY: I can’t stress this enough. After 4-6 weeks, the initial swelling will be gone. You MUST go back to your piercer to have a shorter stud put in. The long bar is a major hazard for your teeth and gums once the swelling subsides. Good to know: The check-up itself is usually free, but you’ll have to pay for the new, shorter jewelry. Think of it as the final part of the piercing cost.
The To-AVOID List
- Touching It! Seriously, just don’t. Your hands are germy. Don’t twist, turn, or play with it.
- Harsh Chemicals: No alcohol, hydrogen peroxide, or antibacterial soaps on the piercing. They do more harm than good.
- Oral Contact: Avoid wet kissing and oral sex for the entire initial healing period (at least 6-8 weeks). It’s a fast track to a nasty infection.
- Swimming: Stay out of pools, lakes, oceans, and hot tubs for at least two months. They’re just bacterial soup.
- Taking Advice from TikTok: Your friends mean well, and online forums can be tempting, but your professional piercer has seen thousands of healing piercings. They are your primary resource. If you have a problem, call them first.
Your First 48 Hours: A Survival Guide
The first couple of days can be a little intense. Here’s how to make it easier.
Swelling will be at its peak. You can take an over-the-counter anti-inflammatory like ibuprofen to help manage it. Try sleeping with your head propped up on an extra pillow to help reduce swelling overnight. And as for food? Your new best friends are smoothies, yogurt, ice cream, oatmeal, and lukewarm soups. For the first week, you might want to cut other foods into tiny, bite-sized pieces to avoid bumping the jewelry.

Talking might feel a little weird at first, but you’ll adjust quickly. Just be mindful of the new metal in your mouth!
Troubleshooting: Don’t Panic!
Even with perfect care, sometimes things get weird. A small reddish bump next to the piercing is almost always just an irritation bump, not a scary keloid. It’s your body’s way of saying something is bothering it—usually from bumping it, sleeping on it, or not downsizing the jewelry on time. Find the cause, fix it, and the bump will go away.
If you see thick, green or dark yellow pus, the area is hot to the touch, and redness is spreading, that could be an infection. Do not take the jewelry out. Trapping an infection can cause an abscess. See your piercer or a doctor right away.
The Best and Worst Jewelry For Your Lip
Let’s make this simple. For a new piercing, you want one of these:

- Implant-Grade Titanium: This is the top choice. It’s nickel-free, lightweight, and what they use for surgical implants.
- 14k or 18k Solid Gold: Must be SOLID gold (not plated) and a nickel-free alloy. It’s a great, classy option but is pricier and a bit softer than titanium.
And what should you avoid like the plague?
- ‘Surgical’ Steel: This is a garbage marketing term. It usually contains nickel, a common allergen that causes major issues. I never use it.
- Sterling Silver: It tarnishes and can permanently stain your skin black. Never, ever put this in a piercing.
- Acrylic/Plastic: It’s porous, can harbor bacteria, and isn’t meant for long-term wear in your body.
Getting a lip piercing is a fantastic way to express yourself. Armed with the right information, you can make a confident choice. Find a piercer you trust, ask them tons of questions, and take your aftercare seriously. If you do, you’ll have a beautiful piercing you can enjoy safely for years to come.
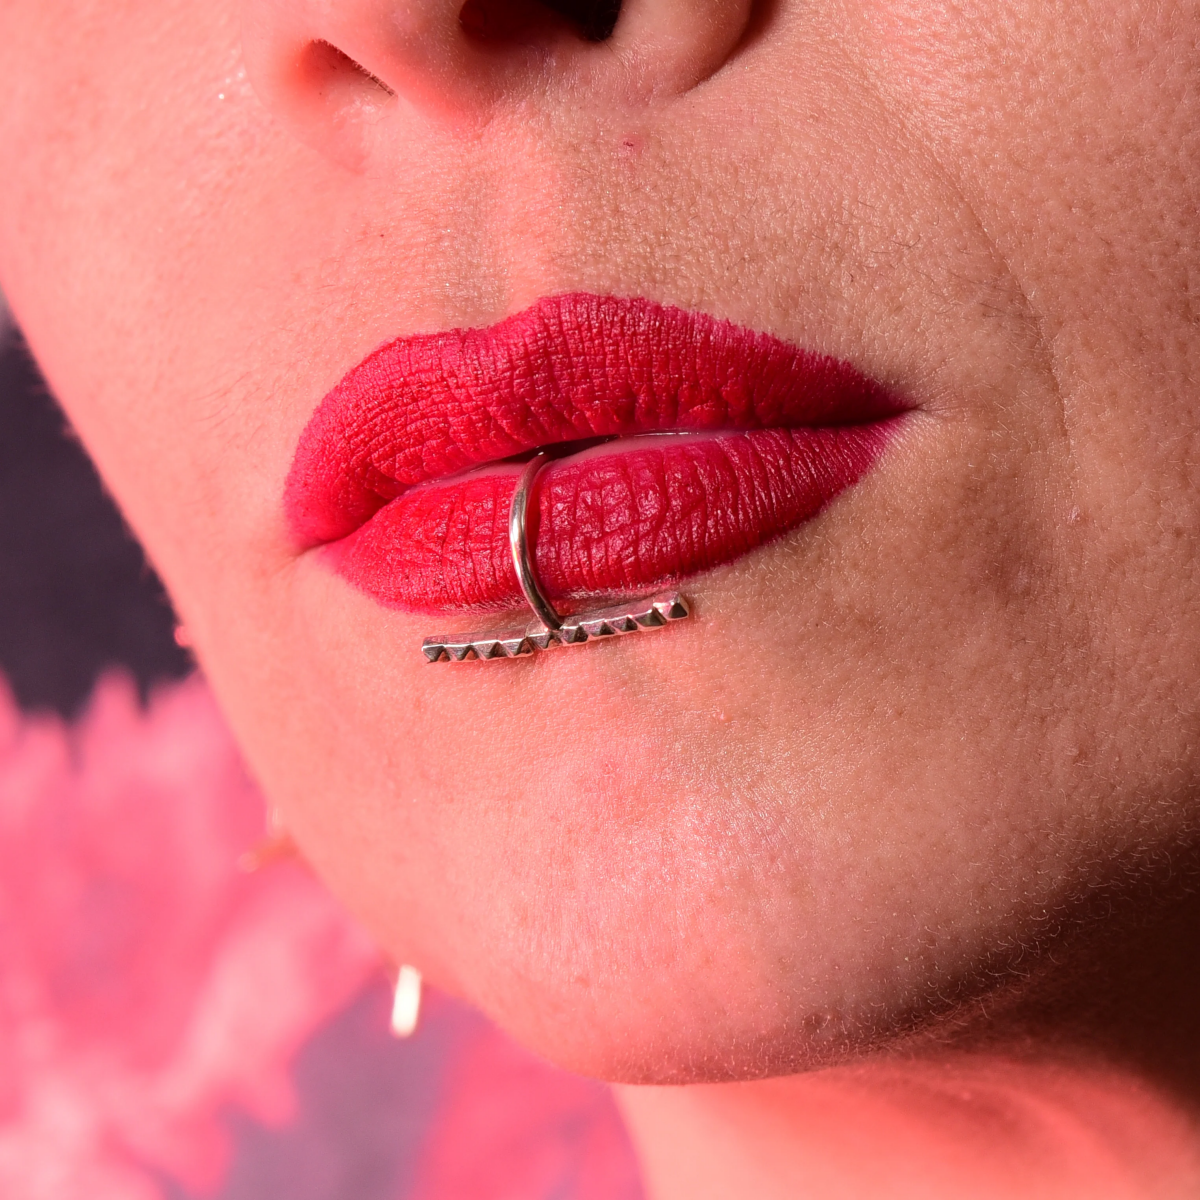
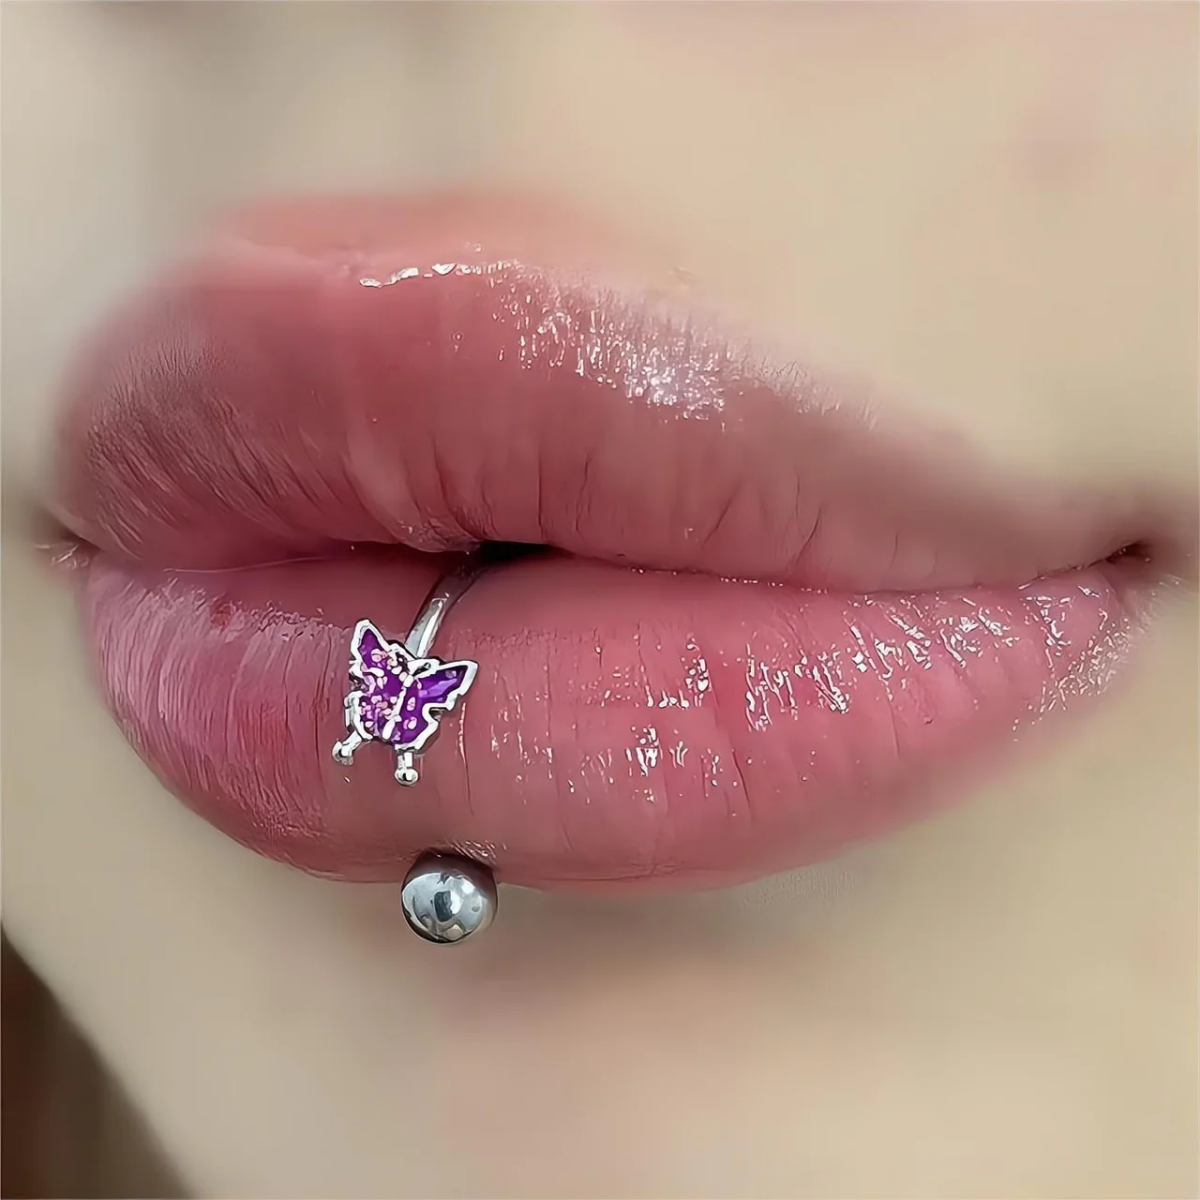
Galerie d’inspiration
Implant-Grade Titanium (ASTM F-136): This is the piercer’s choice for a reason. It’s completely nickel-free, non-magnetic, and incredibly lightweight, meaning less stress on a healing piercing. Top-tier brands like Anatometal or Neometal use it exclusively for initial piercings due to its superior biocompatibility.
Surgical Steel (316LVM): A common and budget-friendly option, but be cautious. While ‘implant-grade,’ it still contains small amounts of nickel, which can cause irritation or allergic reactions in sensitive individuals. It’s generally better for well-healed piercings, not fresh ones.
For your initial jewelry, investing in titanium is investing in a smoother, faster healing process.
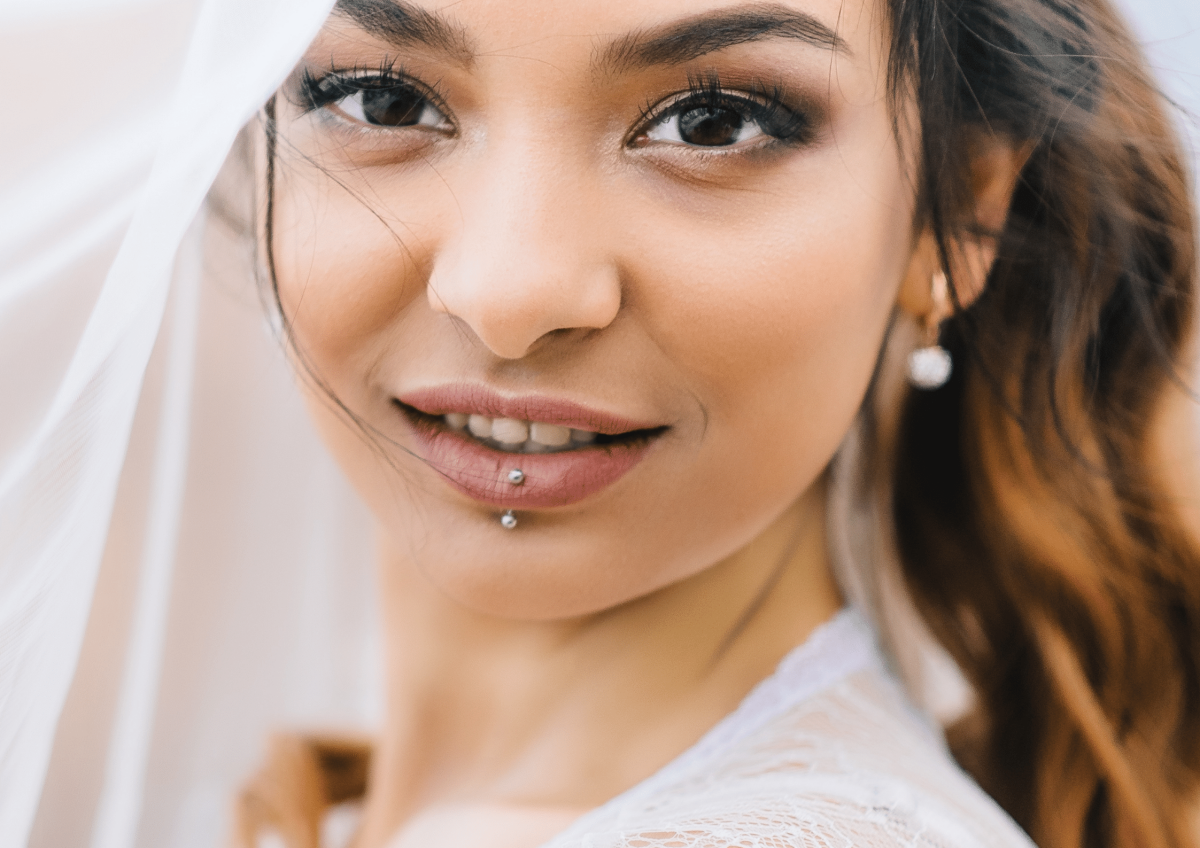
Did you know? The inside of your lip piercing can heal faster than the outside. The mucous membrane has a rich blood supply, promoting quicker tissue regeneration.
This is why it might feel fine internally while the outer skin is still tender, red, or producing ‘crusties’. Don’t stop your aftercare routine just because the inside feels good! The outer channel needs just as much time and attention to fully and safely mature. Continue gentle cleaning with a sterile saline solution until your piercer gives you the all-clear.
What about kissing and eating after getting pierced?
Patience is key. For the first few weeks, it’s best to avoid open-mouth kissing to prevent introducing foreign bacteria. When it comes to food, think soft and non-spicy. Yogurt, smoothies (with a spoon, not a straw!), oatmeal, and ice cream are your allies. Avoid crunchy foods like chips that can snag the jewelry, and steer clear of anything too spicy, salty, or acidic, as it will sting and irritate the fresh wound.


