Thinking About a Septum Piercing? Here’s What a Pro Wants You to Know
I’ve been in the piercing world for a long, long time. I’ve seen styles pop up, fade out, and come back again. But the septum piercing? It’s always been here. It’s one of those uniquely versatile piercings that can be a tiny, subtle secret or a bold statement piece. I’ve done more of them than I can count, and honestly, I’ve also fixed a lot that were done by people who… well, let’s just say they lacked experience.
In this article
- First Things First: Let’s Talk Anatomy (and the “Sweet Spot”)
- The Investment: What to Actually Budget
- The Piercing Process: What to Expect in the Chair
- The Healing Journey: Patience is Everything
- Aftercare: The Only Method That Actually Works
- Choosing Jewelry: Quality Over Everything
- Troubleshooting: Is it Irritated or Infected?
- Galerie d’inspiration
My whole goal here is to give you the same talk I give to every single person who sits in my chair. We’re not just talking about what looks cool; we’re talking about your body, the right way to do things, and how to take care of your investment so it heals beautifully.
First Things First: Let’s Talk Anatomy (and the “Sweet Spot”)
So, let’s clear up the biggest myth right away: a proper septum piercing does NOT go through the hard cartilage. If a piercer ever tells you it does, walk away. Seriously. A well-done septum piercing passes through a soft, thin bit of tissue at the front of your nose, known in the industry as the “sweet spot.” The technical name for it is the columella, but “sweet spot” just has a better ring to it, don’t you think?

You can actually find it yourself. Gently pinch the skin between your nostrils. If you feel a hard, rigid wall, that’s the main cartilage. Now, slide your fingers down toward the tip of your nose. You should find a much softer, more flexible area right before the tip. That’s the target! Piercing here is way less painful and heals a whole lot faster.
Heads up, though: everyone’s anatomy is different. Some people have a tiny sweet spot, while others might have a deviated septum (where the cartilage wall isn’t perfectly centered). This is where a piercer’s hands-on experience is non-negotiable. The first thing I do is feel the area to check the thickness and see if there’s enough room to work. Sometimes, I have to tell a client their anatomy isn’t right for a perfectly straight piercing. It’s a tough conversation, but it’s better than letting them leave with something that will be crooked and a constant source of trouble.

The Investment: What to Actually Budget
Alright, let’s talk money. A quality piercing is an investment in your body, and this isn’t the time to bargain hunt. A cheap piercing almost always leads to expensive problems down the line. Generally, you should expect to pay for two things: the piercing service itself and the jewelry.
The piercing fee at a reputable studio usually runs between $40 and $80. This covers the piercer’s time, expertise, and all the sterile, single-use equipment. Then there’s the jewelry. A basic, starter piece made from implant-grade titanium (which is what you want) will typically cost another $30 to $60. So, to be safe, you should walk into the studio with a budget of at least $70 to $140. Anything significantly cheaper is a major red flag.
The Piercing Process: What to Expect in the Chair
Getting pierced should feel professional, clean, and calm. Here’s a quick rundown of how it should go:

First, we’ll just talk. I’ll ask about metal allergies or any health conditions, and we’ll discuss jewelry. Then, I’ll set up my station, opening all the single-use, sterilized gear (needle, gloves, jewelry) right in front of you. Red Flag Alert: If a piercer doesn’t open a new, sealed needle package for you, get up and leave. Period.
After cleaning the area, I’ll mark the entry and exit points and let you check the placement in a mirror. We don’t move forward until you’re 100% happy with it. For the piercing itself, I’ll ask you to take a deep breath in and a long, slow breath out. As you exhale, the needle goes through in one smooth, quick motion.
So, does it hurt? On a scale of 1 to 10, where a flu shot is a 2 and stubbing your toe is a 7, most people put the septum piercing at a solid 4 or 5… but only for about three seconds. It’s more of a shocking “whoa!” feeling than a lingering pain. Your eyes will definitely water! It’s an involuntary nerve reaction, not a sign that you’re in agony, so don’t worry.

Immediately after, I’ll guide the jewelry into place, secure it, and you’re all set. You’ll get another look in the mirror to see your new, clean piercing.
The Healing Journey: Patience is Everything
A septum piercing takes about 6 to 8 weeks for the initial healing, but it can take a full 6 months or more to become truly robust and fully healed on the inside. This internal channel of skin (called a fistula) is what needs time to toughen up.
- Weeks 1-2: The Tender Phase. Your nose will feel a bit sore, like you bumped it. You’ll see some clear or yellowish fluid that dries into “crusties.” This is just lymph fluid, totally normal. Do NOT pick at them!
- Weeks 3-8: The Deceptive Phase. This is the danger zone! It will probably feel great, and the soreness will be gone. I can’t tell you how many people I’ve seen come back with a mess because they thought it was healed at 4 weeks and put in some cheap, heavy jewelry from the mall. It just tears up all that hard work your body did! Please, be patient.
- Month 2 to 6+: The Maturing Phase. Things look good on the outside, but the fistula is still strengthening. Keep up with gentle cleaning. I always recommend coming back to your piercer for that first jewelry change so we can make sure it’s actually ready.
Oh, and by the way… let’s talk about “septum funk.” As the piercing heals, dead skin cells can accumulate inside and create a distinct, kind of musky smell. It’s completely normal and not a sign of infection. Gentle, regular cleaning keeps it at bay.

Aftercare: The Only Method That Actually Works
Forget everything you’ve heard about using alcohol, hydrogen peroxide, tea tree oil, or harsh soaps. All of those things are way too aggressive and will just irritate your piercing, killing off the new cells your body is trying to grow.
The best method is the simplest. Here’s all you need to do, twice a day:
- Wash your hands thoroughly. Don’t touch your piercing without clean hands.
- Spray it with sterile saline. Get a can of sterile saline wound wash from the pharmacy (a great one is NeilMed). It should contain ONLY 0.9% sodium chloride and water. Give the piercing a quick spritz.
- Gently pat dry. Use a fresh piece of non-woven gauze or a paper towel to gently dry the area. Avoid cloth towels, which can snag the jewelry and hold bacteria.
- Leave it the heck alone. Seriously. Don’t twist it, turn it, or flip it up and down. Every movement tears the delicate healing tissue inside.
A quick tip on blowing your nose: This is a big one, especially during allergy season! The best way is to gently press one nostril closed and blow very gently out of the other. You can also use a Q-tip dipped in saline to carefully clean out any debris before you blow your nose to prevent pressure and pain. It’s a game-changer.

Choosing Jewelry: Quality Over Everything
Material matters more than anything, especially for a new piercing. For your initial jewelry, you should only use one of these materials:
- Implant-Grade Titanium (ASTM F136): This is the gold standard. It’s nickel-free, lightweight, and super safe for your body.
- 14k or 18k Solid Gold: Must be nickel-free and solid, not plated. Plating wears off and exposes you to mystery metals.
- Niobium: Another pure, highly biocompatible element that’s great for those with sensitive skin.
When you’re ready to buy jewelry, look for pieces from industry-leading brands like Anatometal, Neometal, BVLA, or Industrial Strength. A good piercer will stock these. And what about “surgical steel”? It’s a vague term, and most of it contains a fair bit of nickel, a common allergen. Why risk it when titanium is just a little more and a lot safer?
Troubleshooting: Is it Irritated or Infected?
Most problems are just simple irritation, not a full-blown infection. It’s crucial to know the difference so you don’t panic.

Signs of IRRITATION include:
Soreness or tenderness, some redness right around the piercing, and clear or whitish fluid (those crusties). This is usually caused by bumping it, over-cleaning, or bad jewelry. The fix? Go back to basics with your saline spray and leave it alone.
Signs of a true INFECTION are more severe:
Thick, smelly, green or dark yellow pus. Redness that spreads far away from the piercing site. The area feels hot to the touch, and you might have a fever or feel generally sick. If you suspect an infection, do not take the jewelry out! This can trap the infection inside and create an abscess. See a doctor right away for antibiotics, and give your piercer a call.
Finally, choosing your piercer is the single most important decision. A great one will have a clean studio, a portfolio full of healed and straight septum piercings, and will be happy to answer every single one of your questions. Trust your gut, invest in quality, and you’ll end up with a piercing you’ll love for years to come.

Galerie d’inspiration


Can I hide my septum piercing for work?
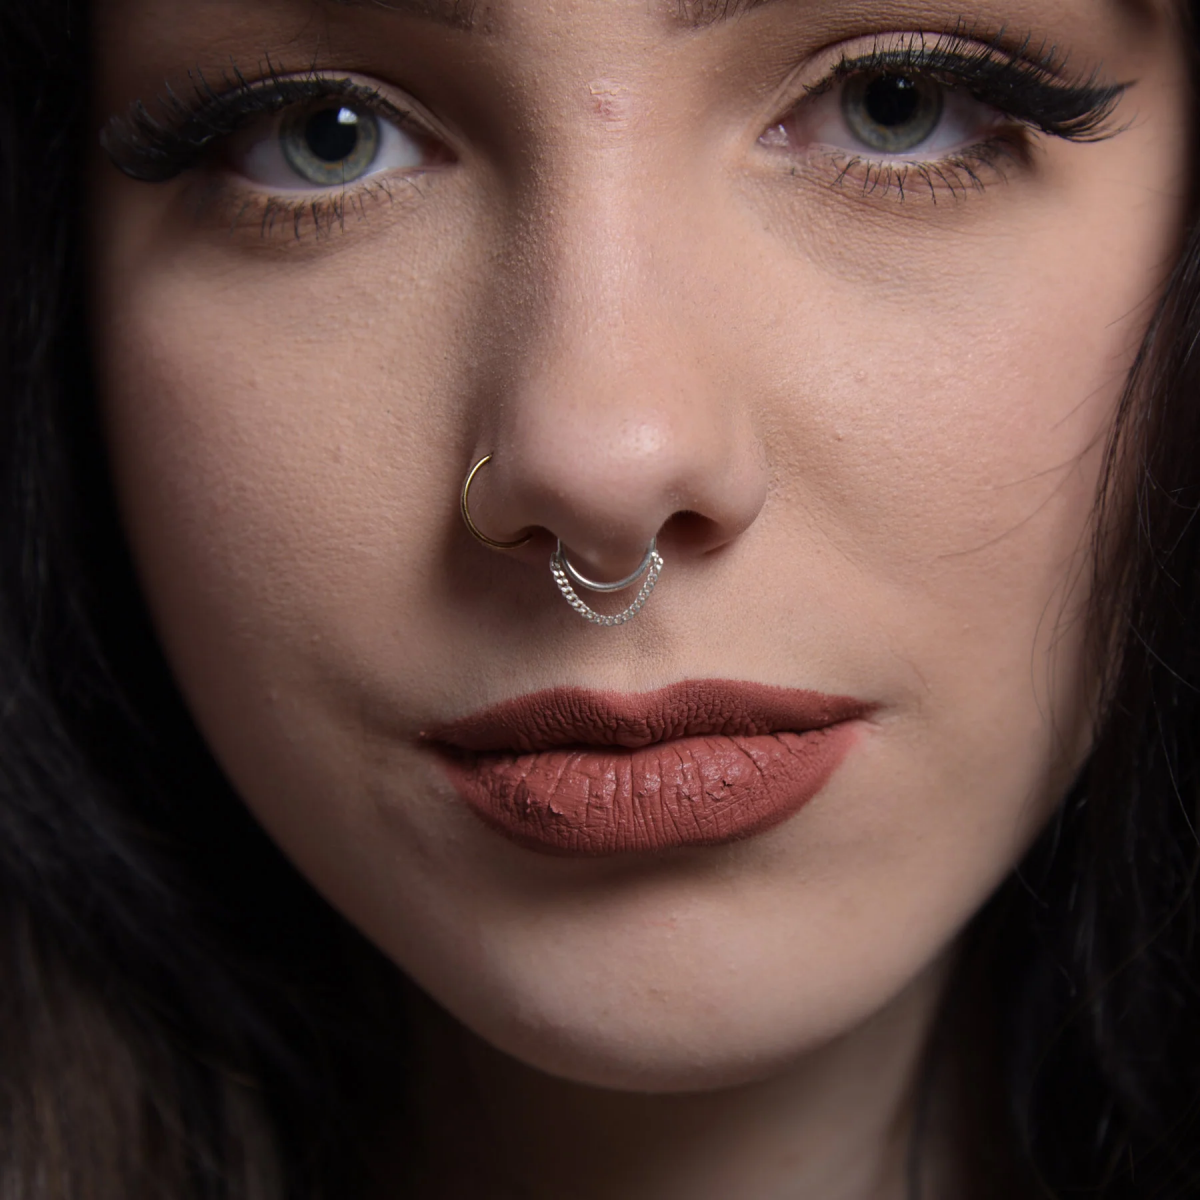
Absolutely, and that’s one of its biggest advantages. For your initial piercing, ask your piercer to use a horseshoe-style barbell. Once healed, this type of jewelry can be easily “flipped up” into your nostrils, making it completely invisible. Another great option is a septum retainer, a U-shaped piece specifically designed for concealment. This allows you to keep the piercing open without anyone knowing it’s there, giving you total control over when you want to show it off.

For many indigenous cultures, like the Asmat people of New Guinea, the septum piercing wasn’t just decoration; it was a rite of passage symbolizing a boy’s transition to manhood.
The jewelry, often made from boar tusk or bone and called an
When it comes to your first piece of jewelry, the material is non-negotiable for a safe healing process. Here’s the breakdown of the best options:
- Implant-Grade Titanium (ASTM F-136): The industry gold standard. It’s completely nickel-free, lightweight, and used for medical implants, so you know it’s safe for your body.
- Solid 14k or 18k Gold: A beautiful, classic choice. Ensure it’s nickel-free and from a reputable brand like BVLA (Body Vision Los Angeles) or Anatometal, as cheap gold plating can flake off and cause irritation.
- Niobium: Similar to titanium but can be anodized into a wider array of vibrant colors, offering more initial customization.

Important point: The size of your jewelry isn’t just about aesthetics; it’s about comfort. The
- It can be subtle and almost invisible.
- It can be a bold, face-framing statement piece.
- You can switch its appearance in seconds.
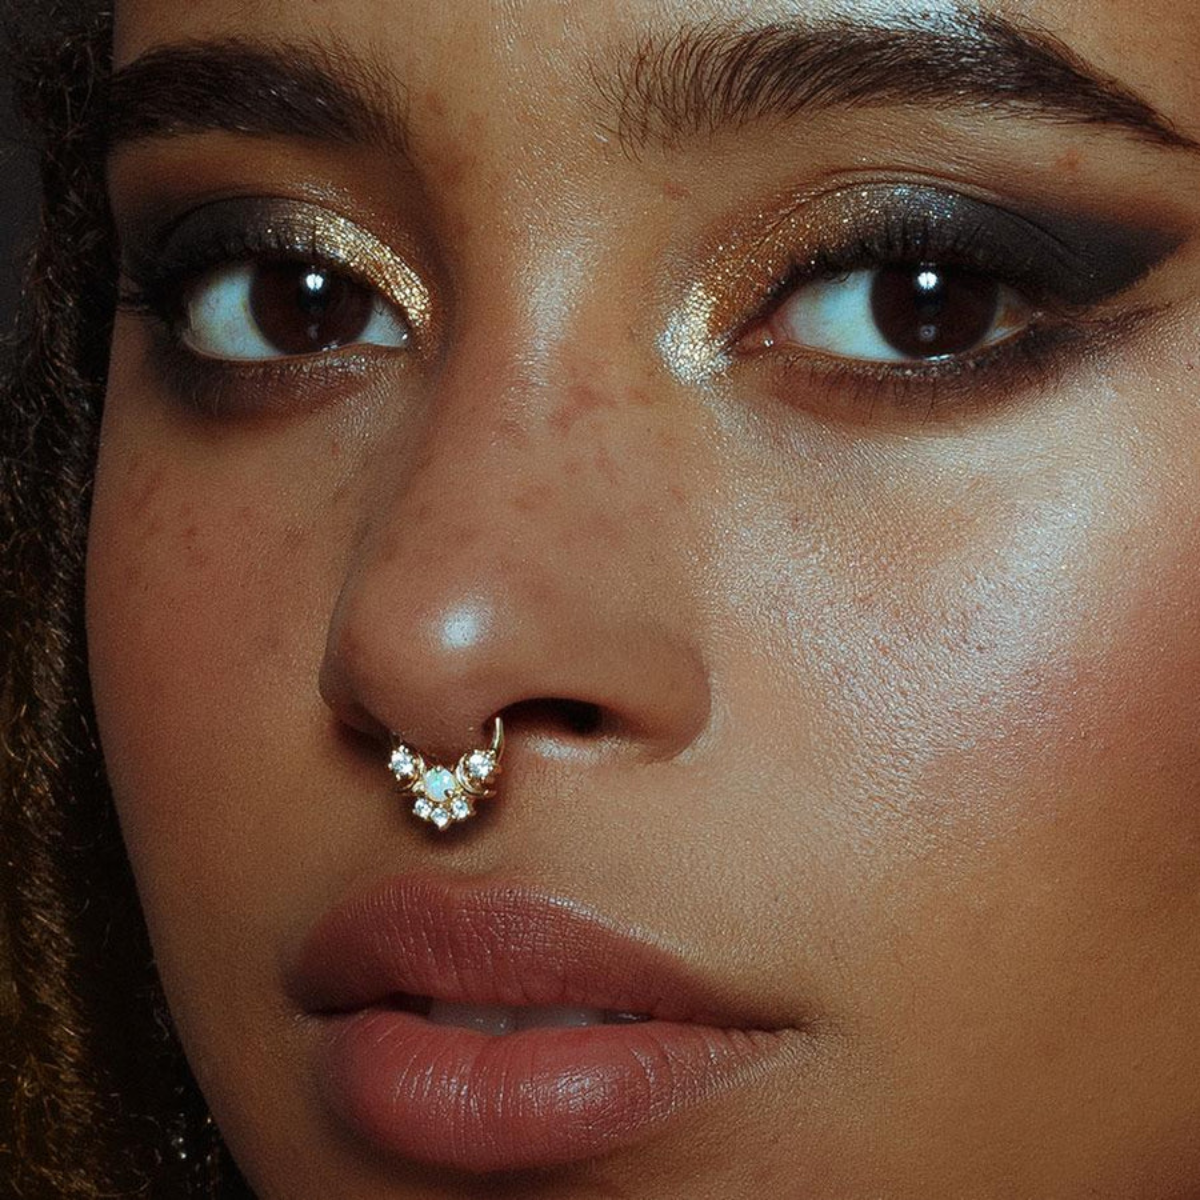
The secret? A simple clicker ring. Unlike captive bead rings that require tools, a clicker has a hinged segment that snaps securely shut. You can find minimalist seamless rings for a subtle look or ornate, gem-encrusted designs from brands like Maria Tash for a more dramatic effect. One piercing, endless possibilities.
Surgical Steel: Often marketed as a safe option, but it can be a gamble.


