The Real Pro’s Secrets to a Perfect Gel Manicure That Actually Lasts
I’ve been deep in the world of nails for a long, long time. I’ve seen countless trends pop up, fade away, and then—believe it or not—come back again. When the first gel systems hit the market, they were a total game-changer, but also a huge learning curve. We figured it out through a lot of trial and error. Today, the tech is way better, but the core principles of a safe, beautiful, and long-lasting manicure? Those haven’t changed one bit.
In this article
- First Things First: What Exactly Is Gel Polish?
- The Secret to a 3-Week Manicure: It’s All in the Prep
- Application 101: Floating the Color
- How to Choose the Right Color (Beyond the Trends)
- The Right Way to Take It Off (Please, Don’t Peel!)
- Troubleshooting and Quick Fixes
- Safety, Shopping, and When to Take a Break
- Galerie d’inspiration
So many people focus on the color, but honestly, that’s the easy part. The real magic is in the prep, the application, and the overall health of your nails. This guide is all about sharing the craft behind the color, so your nails can look amazing and stay healthy, whether you’re a DIY pro or you’re just trying to understand what your nail tech is doing.
First Things First: What Exactly Is Gel Polish?
Before you even think about picking a color, you gotta know what you’re working with. Gel polish isn’t just a thicker version of the regular stuff you grew up with; it’s a completely different beast from a chemical standpoint. Getting this is step one to achieving those pro results and dodging common frustrations.
Gel polishes are made up of a mix of small molecules and special ingredients called photoinitiators. When you expose these photoinitiators to the right kind of light (we’ll get to that in a sec), they kick off a chemical reaction. This reaction links all those little molecules together into super-strong chains, forming a hard, durable layer of plastic on your nail. That’s what we call ‘curing’.
This is why gel nails can look perfect for weeks. Regular nail polish just air-dries by evaporation, leaving a film of color behind. Cured gel, on the other hand, is a single, solid piece of resilient plastic bonded to your nail. It’s a whole different level of durability.
Let’s Talk Lamps: LED vs. UV
You’ll see two types of lamps for curing gel: LED and UV. They both get the job done, but they work a little differently.
Traditional UV lamps use fluorescent bulbs that cover a wide spectrum of light. They’ll cure almost any gel out there, which is why many old-school salons still have them. The big downside? The bulbs lose their power over time and you really should replace them every few months, even if they still light up. An LED lamp, on the other hand, uses diodes that emit a much more targeted wavelength of light. They cure way faster (think 30-60 seconds versus 2-3 minutes) and the lights don’t really lose their curing power over their lifespan. Honestly, for at-home use, an LED lamp is the no-brainer choice.

Here’s a critical point, though: you have to use the right lamp for your polish. The top brands design their polishes to cure perfectly under their own lamps because the light output is specifically matched to the ingredients in the polish. Using a generic lamp might seem to work, but you risk under-curing the gel. When gel is under-cured, unreacted chemicals can seep through and touch your skin, which is the number one cause of developing a nasty gel allergy over time. It’s just not worth the risk.
The Secret to a 3-Week Manicure: It’s All in the Prep
I’m going to be blunt: the secret to a gel manicure that doesn’t lift or chip is 90% prep work. I’ve fixed hundreds of manis in my career, and the problem almost always traces back to a rushed or sloppy prep job.
A pro can knock out prep for all 10 fingers in about 15 minutes, but if you’re new to this, give yourself a solid 30-45 minutes. Do not rush this part!

The Golden Rule: The Dry Manicure
For gel to stick, you have to work on completely dry nails. Soaking your fingers in water might feel nice, but it makes the nail plate absorb moisture and expand. If you apply gel to a slightly swollen nail, the nail will shrink back to its normal size as it dries out over the next day, breaking the gel’s seal and causing it to lift. So, always, always work on dry nails.
Here’s the step-by-step process:
- Shape the Nail: Gently file the free edge of your nail into your desired shape. For natural nails, a 240-grit file is perfect; anything coarser can cause the nail to fray.
- Tackle the Cuticles: Apply a bit of cuticle softener. Then, gently push back the living skin (the eponychium) at the base of your nail. The goal is to remove the cuticle, which is that non-living, transparent tissue stuck to the nail plate itself. Any of that invisible stuff left behind will cause lifting. I use a metal pusher very gently, but a disposable orangewood stick is a great, safe option for beginners.
- Lightly Buff the Surface: This is where a lot of people go wrong. You are NOT trying to thin your nail. You are just removing the natural shine. A 180 or 240-grit buffer block is all you need. A few light passes over the nail plate is enough to create a slightly rough surface for the gel to grab onto. Aggressive filing only leads to damage.
- Cleanse and Dehydrate: This step is non-negotiable. After buffing, brush away all the dust with a stiff brush. Then, take a lint-free wipe soaked in 99% isopropyl alcohol (you can get this at any drugstore) and scrub the nail plate, the sides, and under the tip. This gets rid of any dust and oils. From this point on, do not touch the nail with your fingers! The oils from your skin are the enemy of good adhesion.

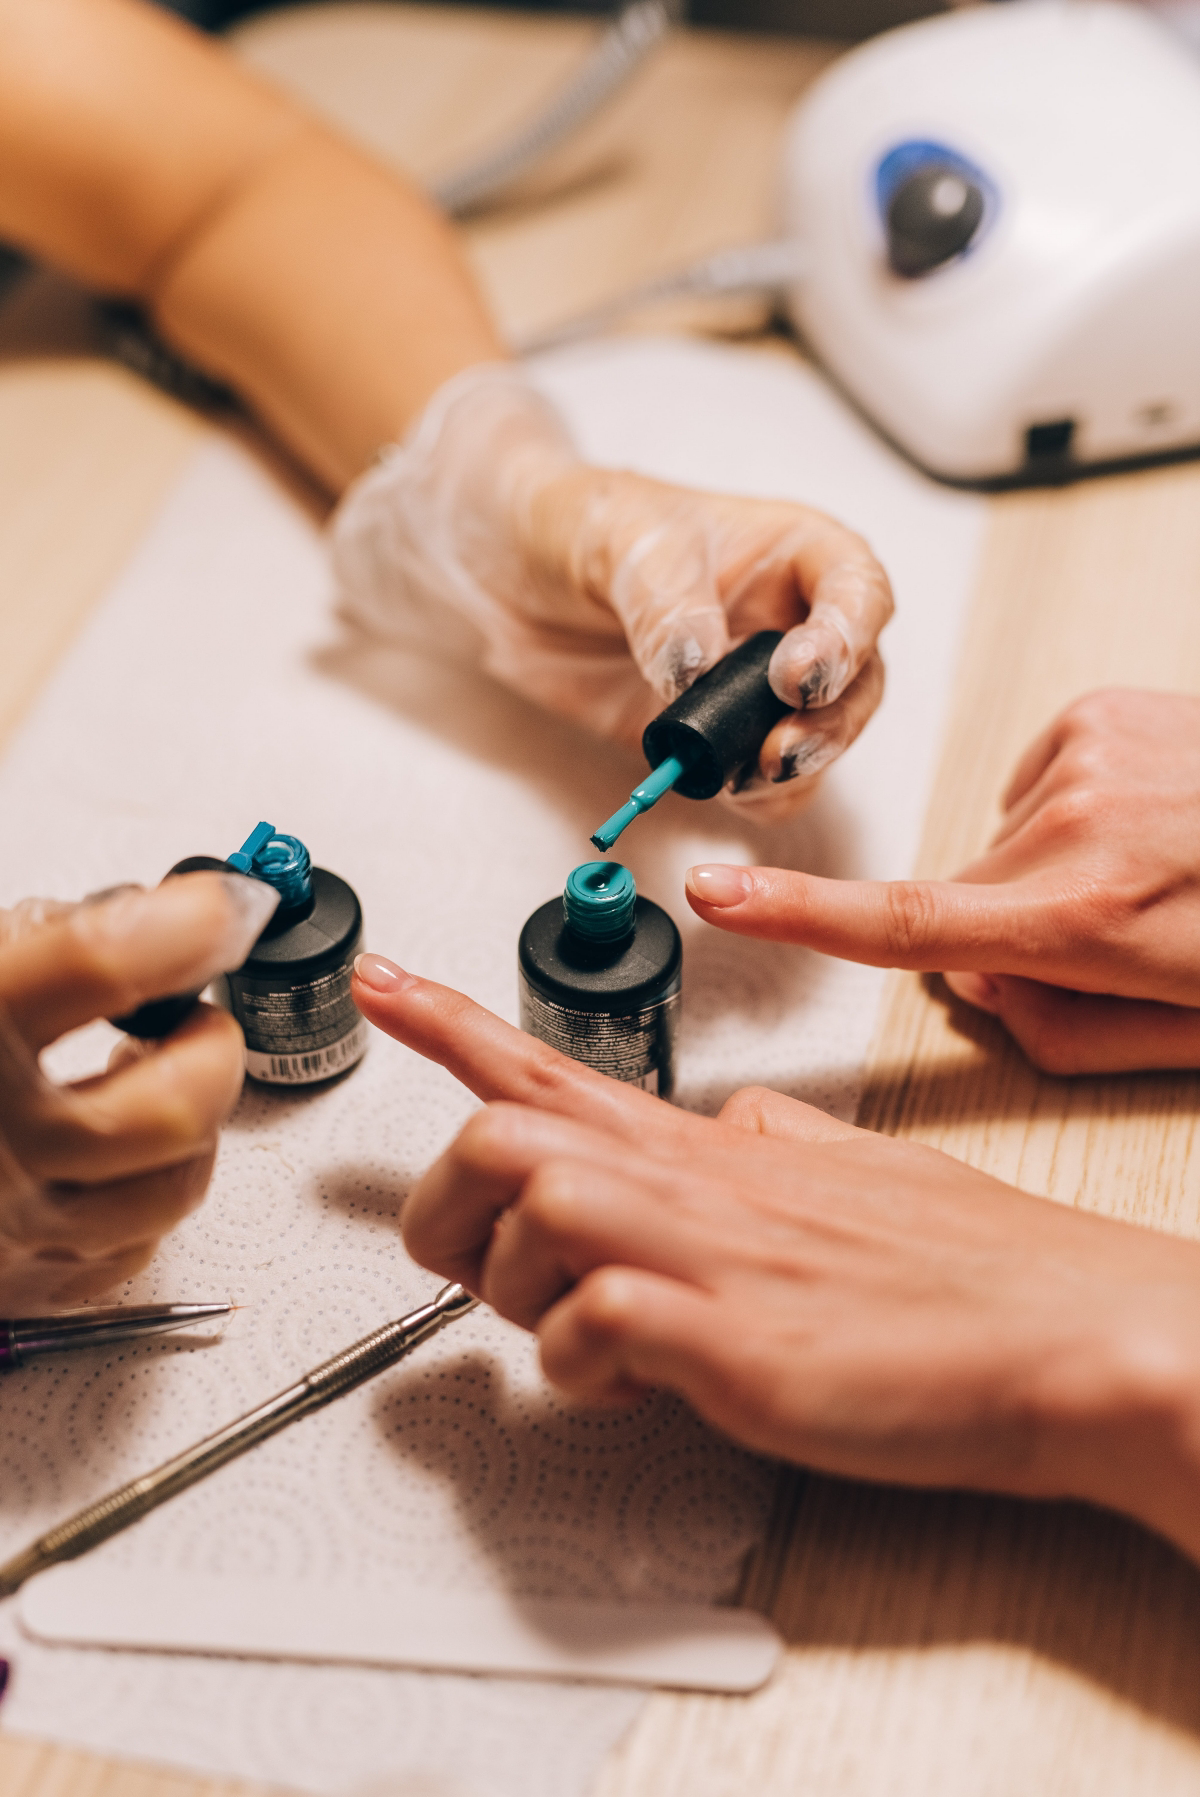
Application 101: Floating the Color
Applying gel isn’t like painting a wall. You don’t want to press down hard. The best technique is called ‘floating’ the color on, letting the brush do the work.
Quick Tip: Do one whole hand at a time. I mean the entire process—prep, base, color, top coat—on one hand before you even start the other. You’ll get into a rhythm and you won’t risk smudging wet nails while working on the other hand. It’s a simple change that makes a huge difference.
- Base Coat: Apply a very thin layer. Get close to the cuticle line, but do not touch the skin. If you mess up, just dip a small brush in alcohol and clean it up before you cure. The most important trick here is to ‘cap the free edge’—run the brush horizontally along the very tip of your nail. This creates a seal that prevents chipping. Cure for the time recommended by the brand (usually 30 seconds in an LED lamp).
- Color Coats: Your first coat of color should also be thin. Don’t stress if it looks a little streaky. Float the brush over the nail and cap that free edge again. Cure it. The second coat is where you get that rich, full coverage. Apply another thin layer, float it on, cap the edge, and cure again.
- Top Coat: Apply your top coat a little more generously. This is what gives you that glassy shine and protection. You want it to self-level and create a smooth surface. Float it over the whole nail, cap the free edge one last time, and cure. For really dark or pigmented colors, I like to cure the top coat for a full 60 seconds just to be sure it’s rock solid.
After the final cure, the nail will feel sticky. That’s totally normal! It’s called the inhibition layer. Just take another lint-free wipe with 99% alcohol and give it a firm wipe to reveal the hard, high-gloss finish underneath.

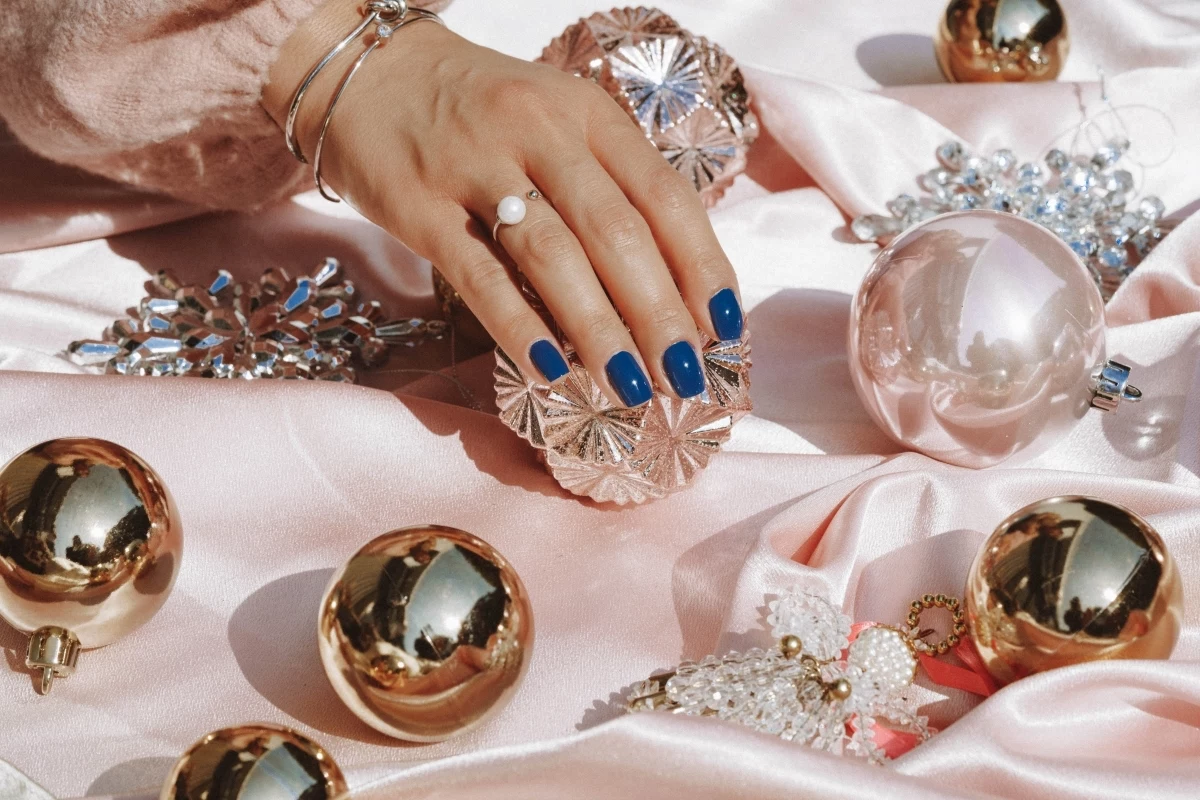
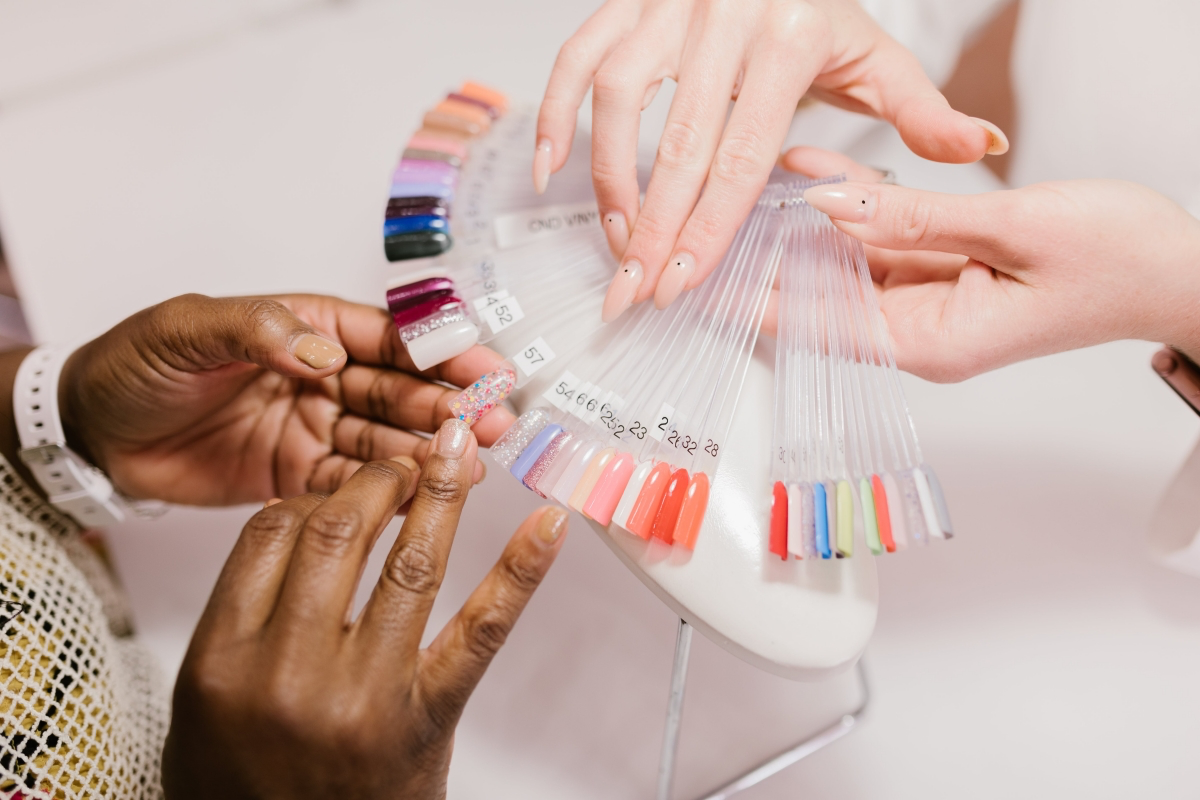
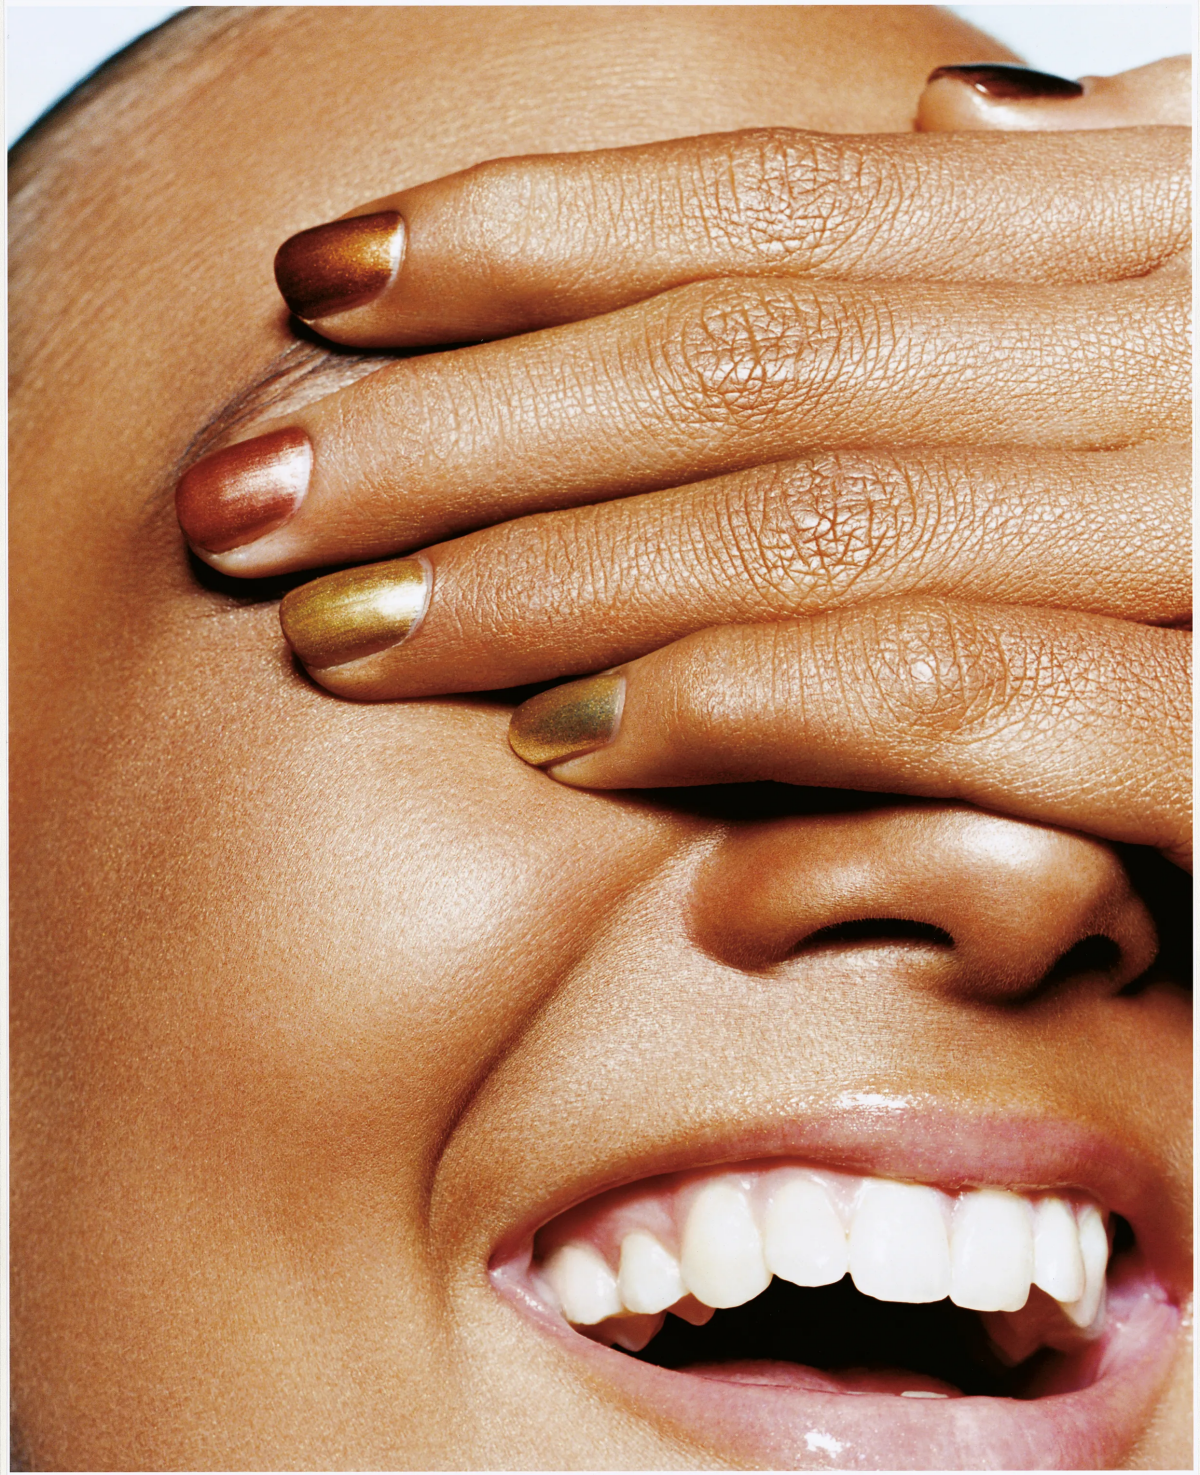
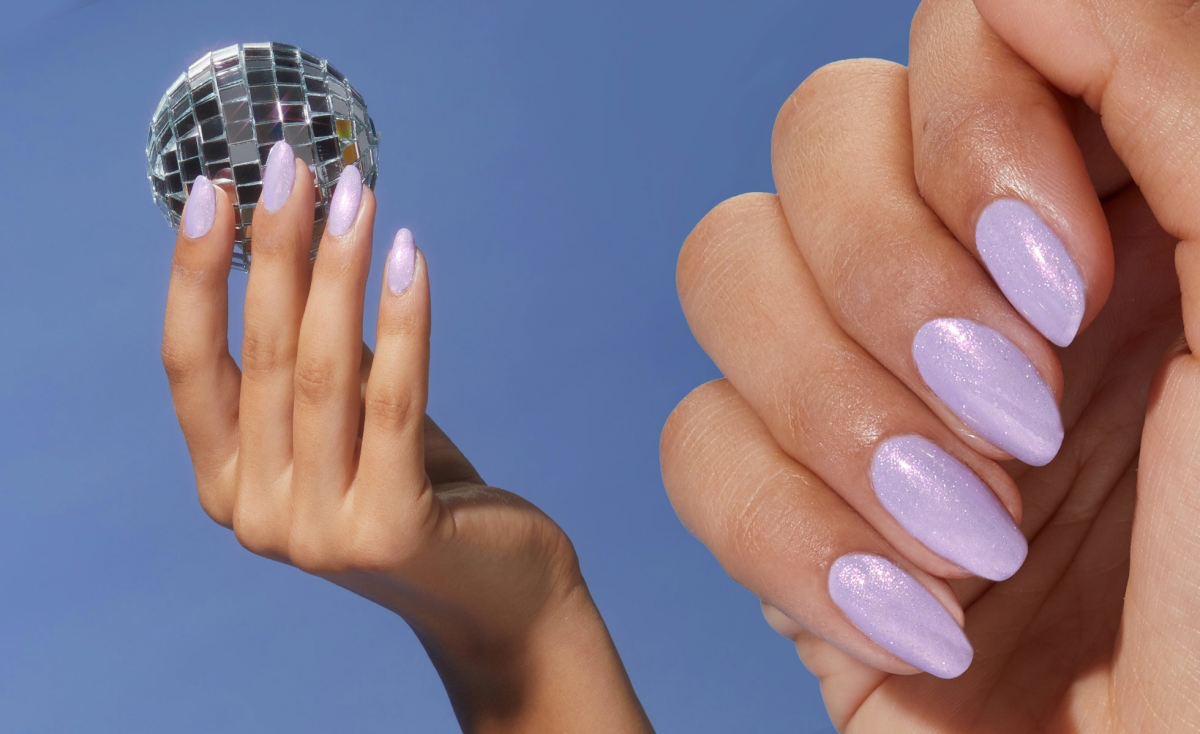
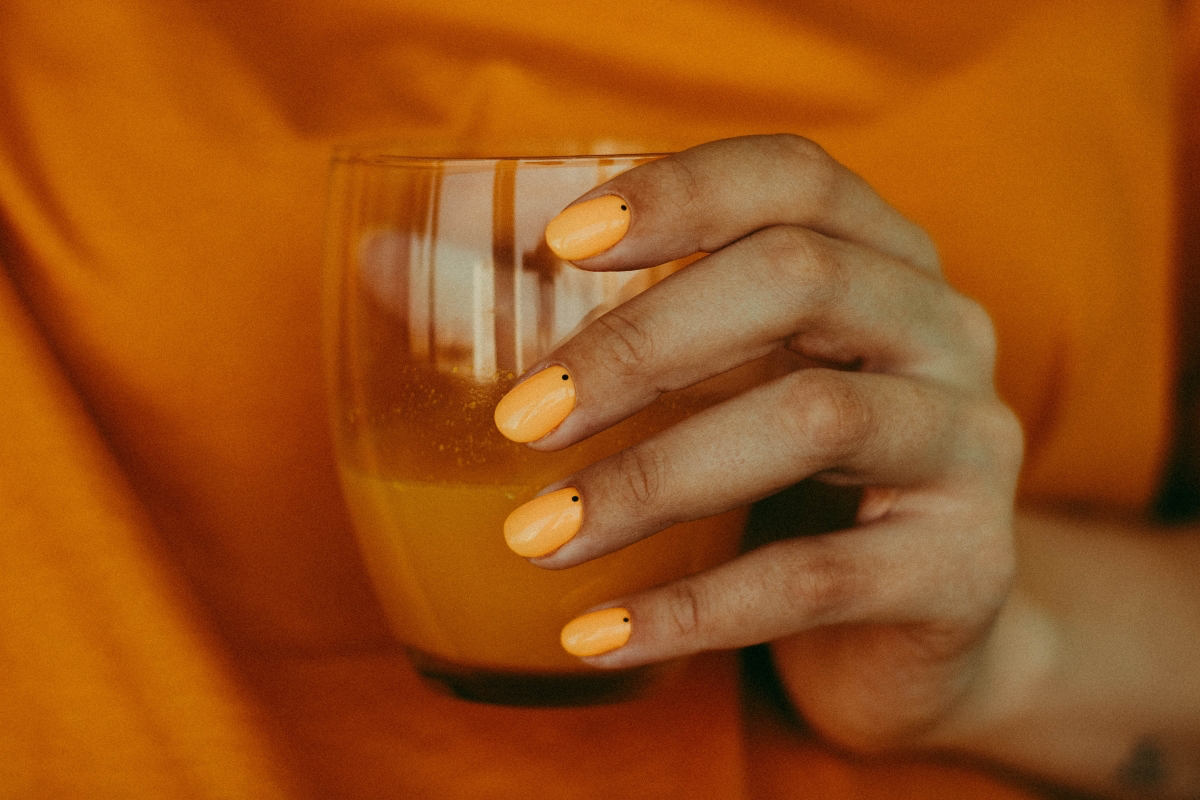
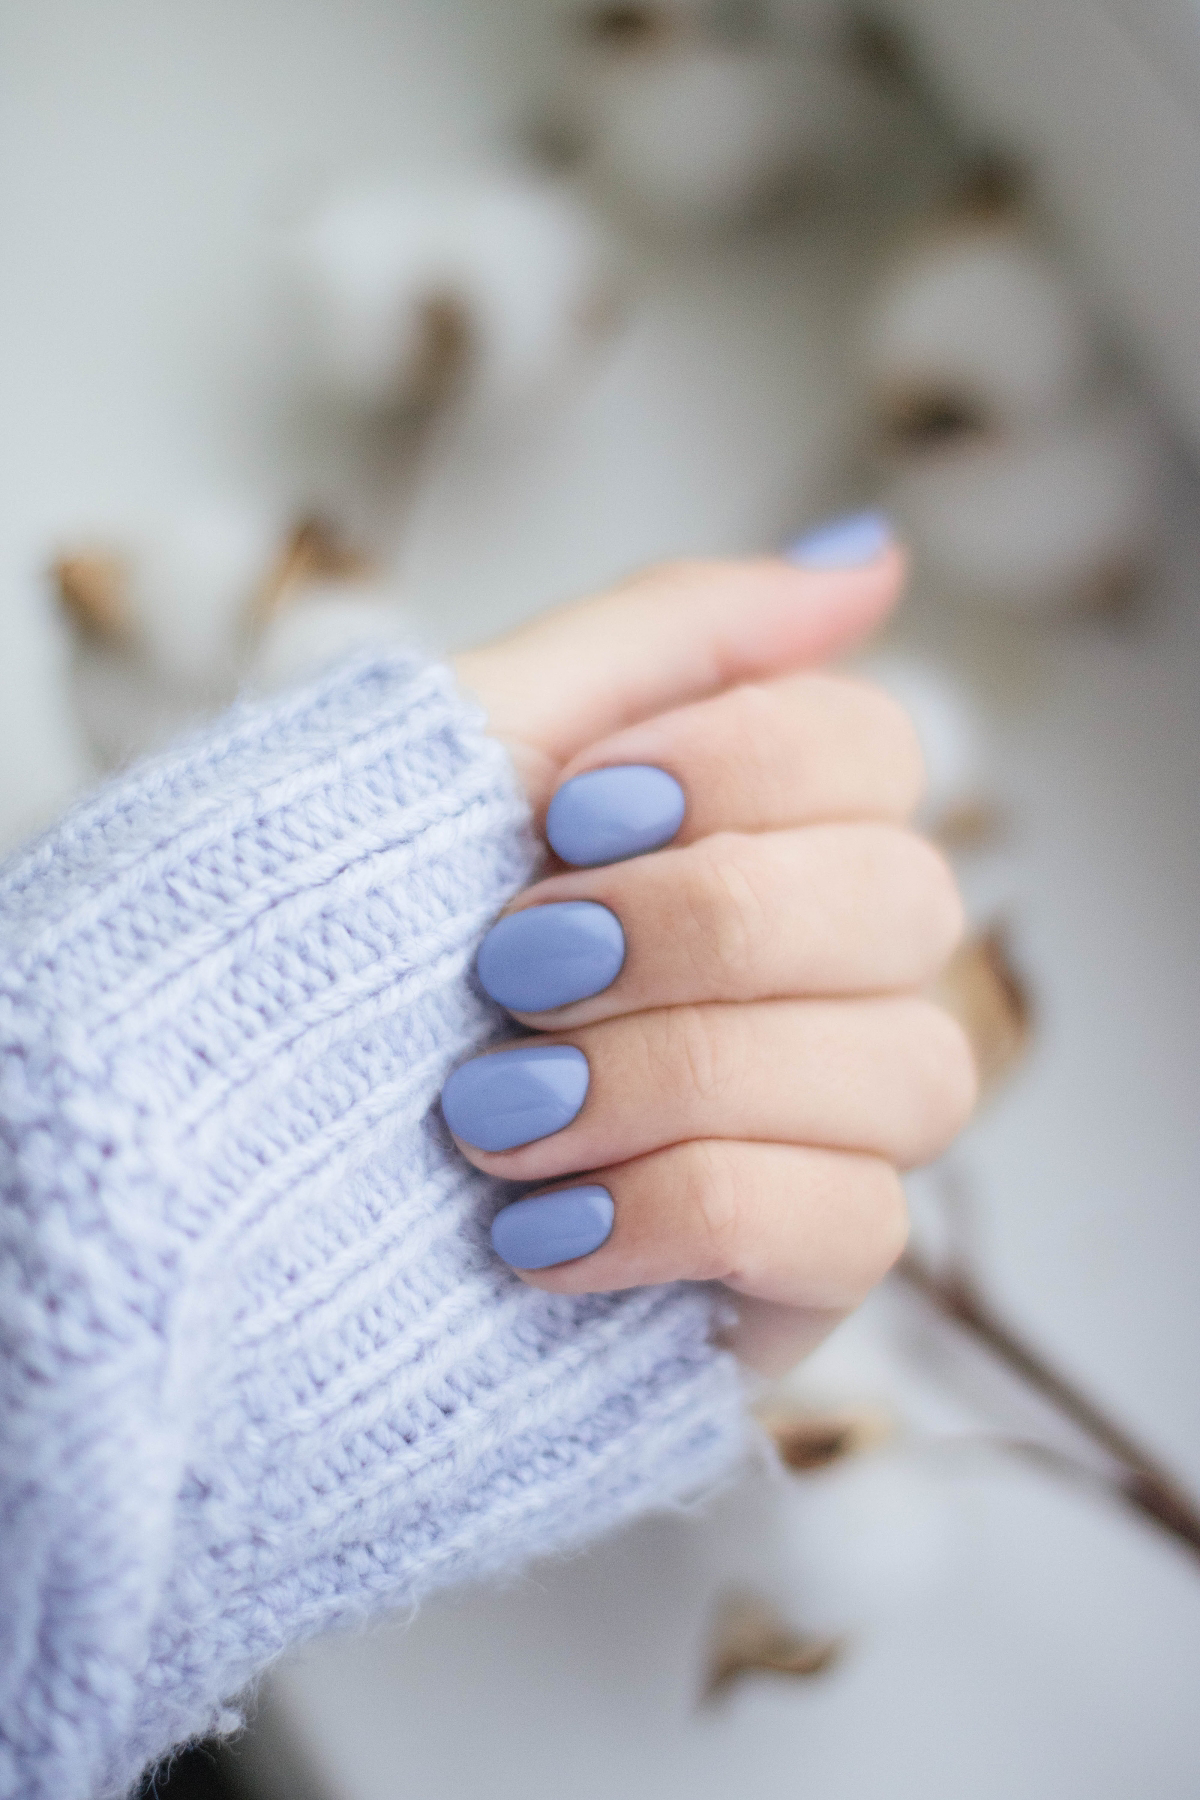
How to Choose the Right Color (Beyond the Trends)
Sure, it’s fun to chase the latest trendy shades, but a real pro thinks about color in a more practical way. Your skin tone, nail length, and even your lifestyle should play a role in what you choose.
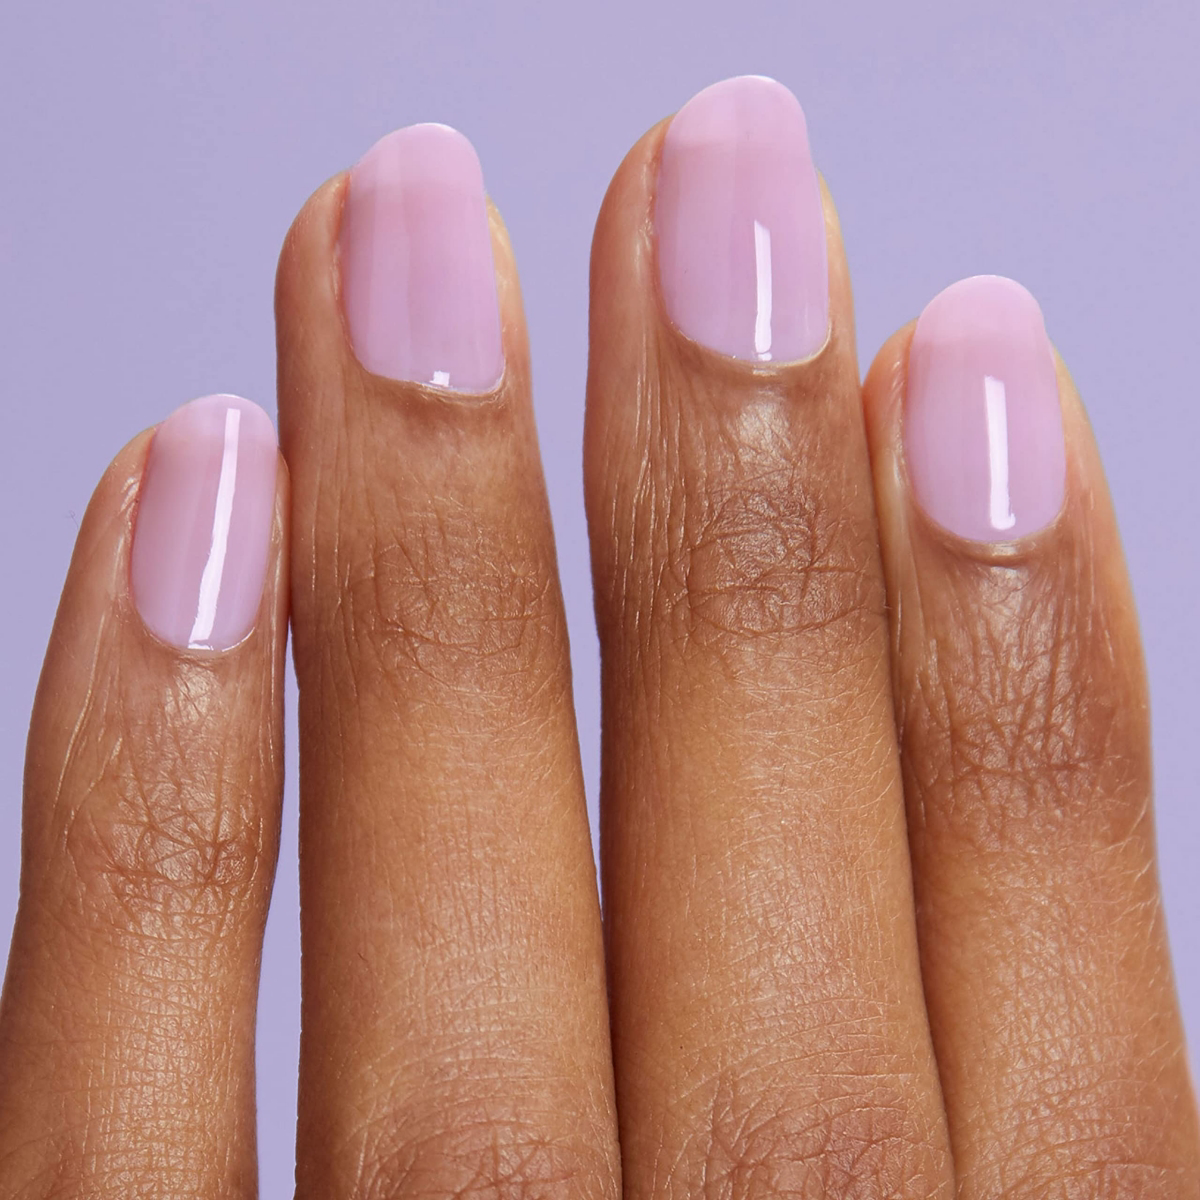
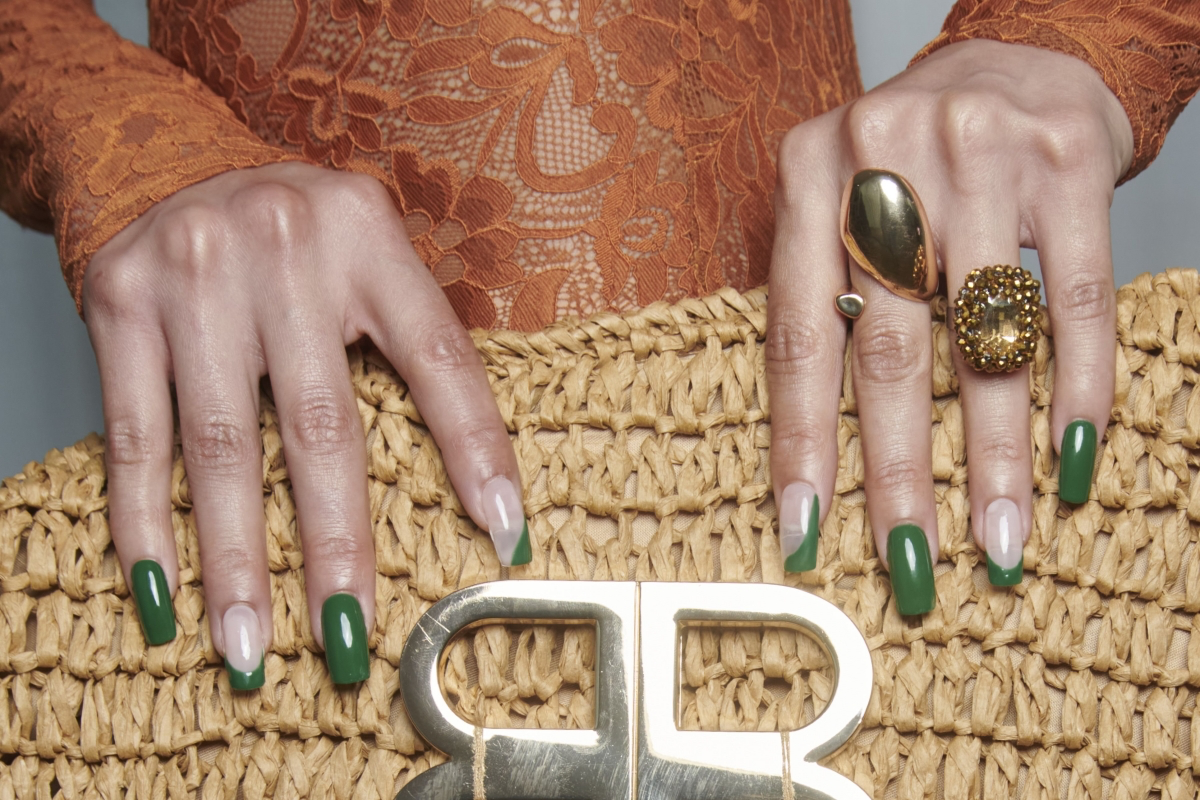
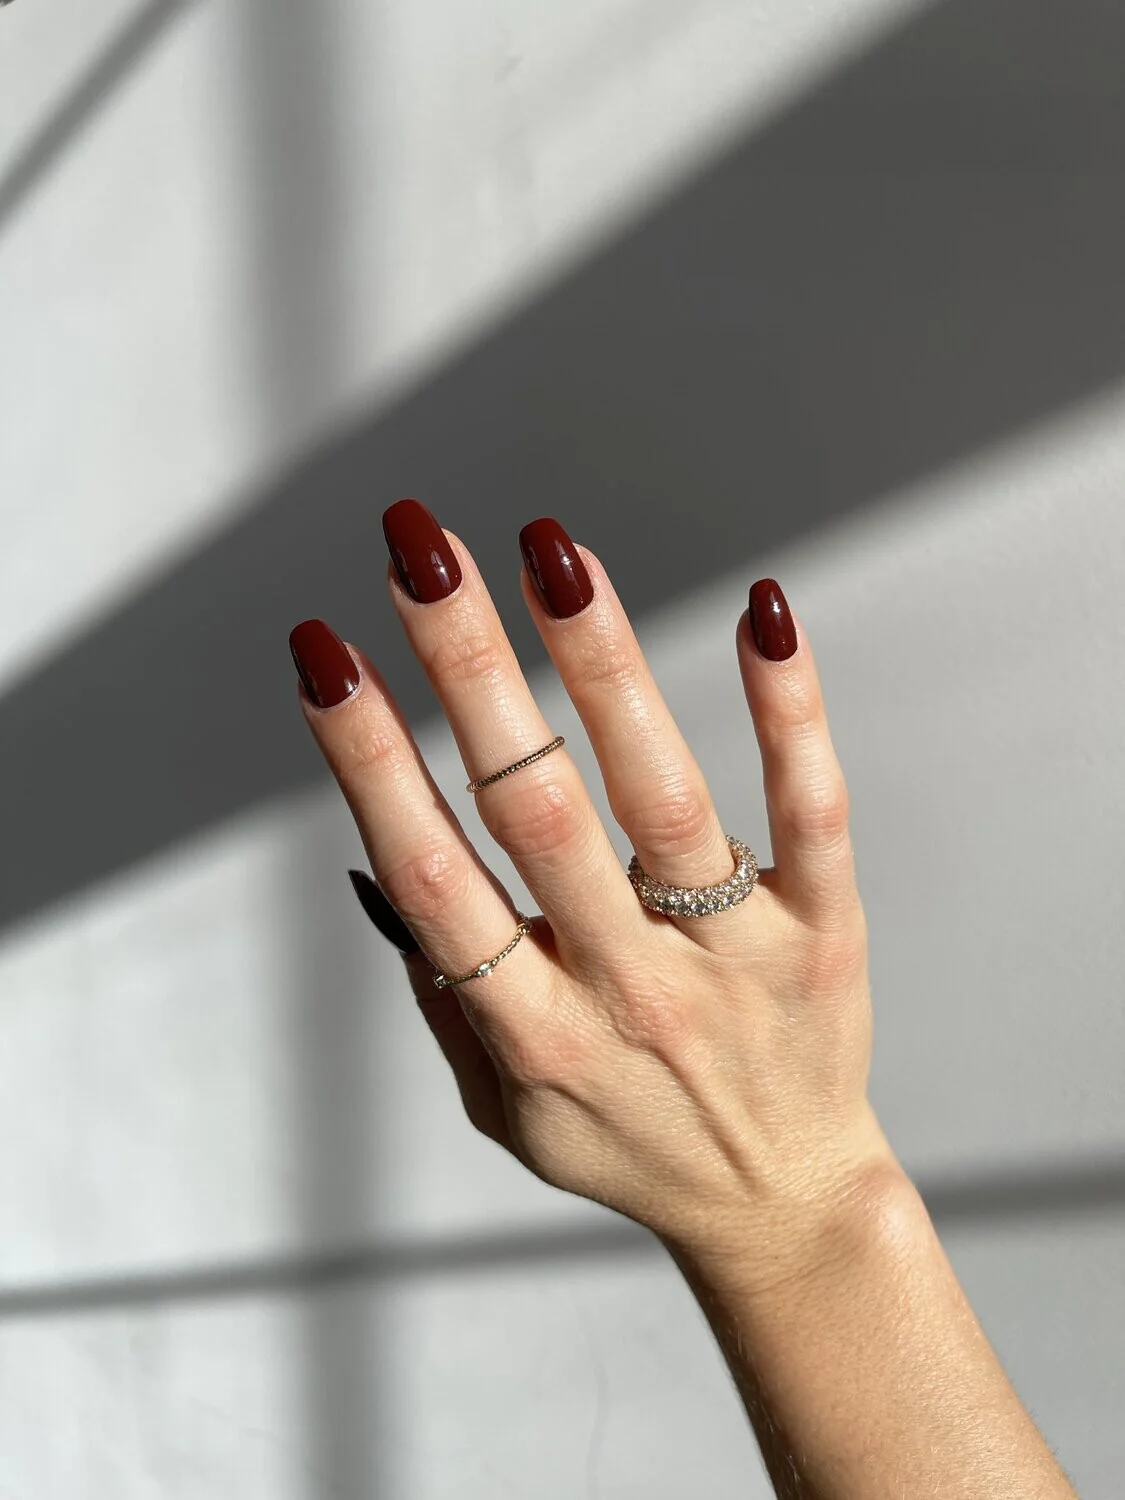
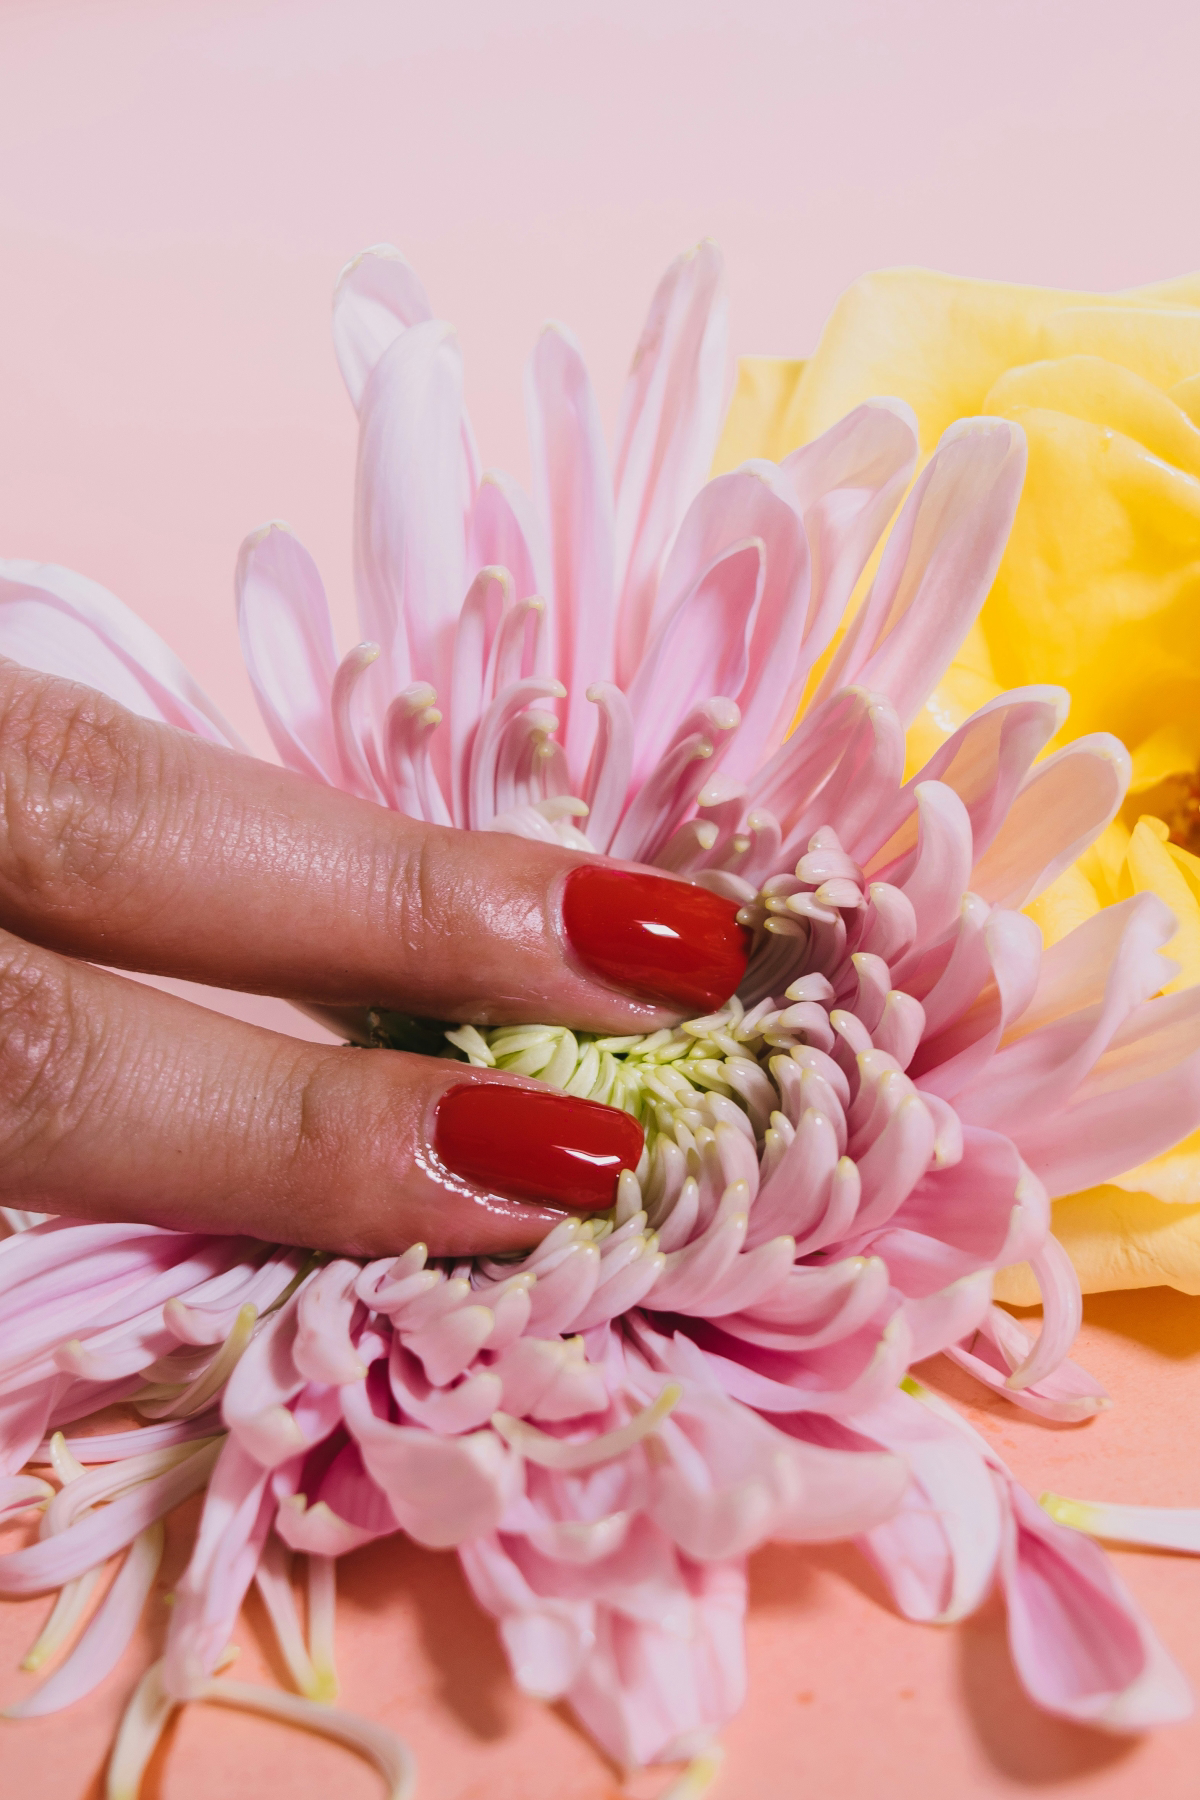
- For fair, cool-toned skin: Sheer, milky pinks and whites look incredibly chic. If you want drama, a deep, blue-based red is a timeless showstopper. I’d probably avoid mustard yellows or lime greens, as they can sometimes highlight any redness in the skin.
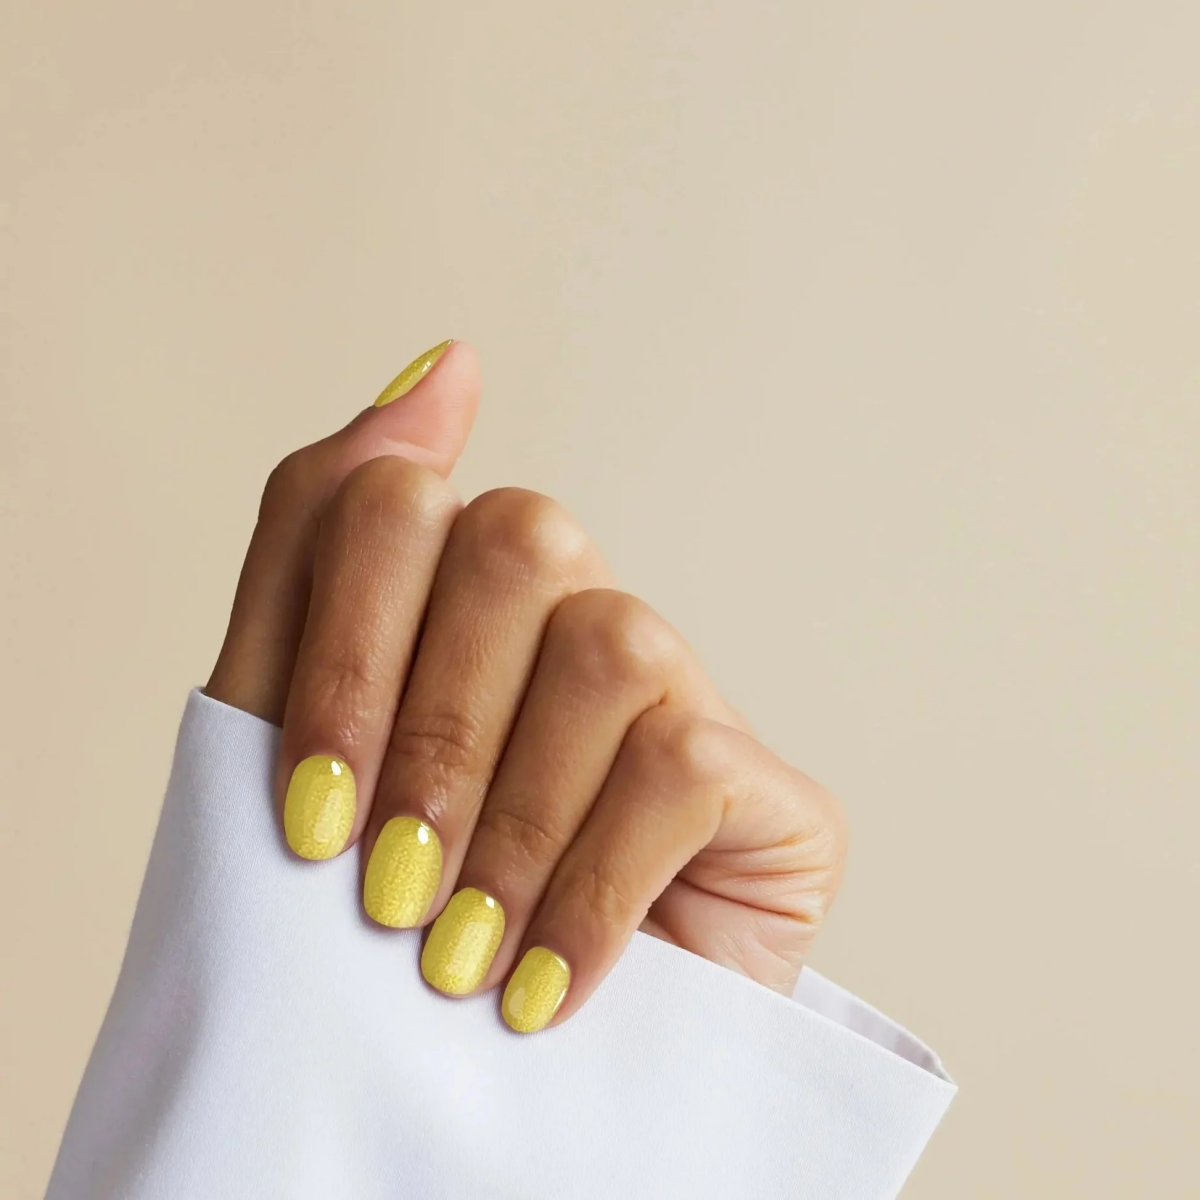
- For olive or medium skin with warm undertones: You’ve hit the jackpot! Terracotta, vibrant corals, and fiery orange-reds look absolutely stunning. Rich chocolate browns and creamy beige nudes are also a guaranteed win.
- For deep skin tones: Don’t ever shy away from bold color. Cobalt blue, fuchsia, and even a stark, opaque white create a beautiful, eye-catching contrast. Deep burgundies and emerald greens look impossibly sophisticated. (A quick heads-up: sheer nudes can sometimes look a bit ashy, so I’d opt for an opaque caramel or a rich espresso brown instead.)
The Right Way to Take It Off (Please, Don’t Peel!)
I cannot say this enough: do not peel, pick, or pry off your gel polish. It’s the single most damaging thing you can do to your nails. When you peel the gel, you’re ripping off the top layers of your natural nail with it. This is what gives gel a bad rap for causing thin, weak nails—it’s not the product, it’s the improper removal!
Here’s the only safe way to do it. It takes about 15-20 minutes of patience, but it preserves the health of your nail completely.
- Break the Seal: Your top coat is like a bodyguard—it’s non-porous. You need to file through it so the acetone can get to the color underneath. Use a 180-grit file to gently buff the entire surface of the polish until the shine is gone.
- Soak the Cotton: Grab a cotton ball, tear off a piece just big enough to cover your nail, and saturate it with 100% pure acetone. Regular nail polish remover is not strong enough for this job.
- Wrap it Up: Place the acetone-soaked cotton on your nail and wrap your fingertip tightly in a small square of aluminum foil. The foil traps your body heat, which helps the acetone work faster.
- Wait it Out: Set a timer for 15 minutes. Seriously, don’t peek. Let the acetone do its thing.
- Gently Scrape: After 15 minutes, remove one wrap. The gel should look like it’s flaking and lifting off. Use an orangewood stick or a plastic cuticle pusher to gently push the gel off. It should flake away with zero effort. If it doesn’t, re-wrap it for another 5 minutes. Never, ever use a metal tool for this part!
- Hydrate, Hydrate, Hydrate: Acetone is very drying. Once all the gel is off, immediately wash your hands and then go to town with a good cuticle oil. Massage it into your nails and the surrounding skin, then follow up with a thick hand cream.
Troubleshooting and Quick Fixes
Even when you do everything right, sometimes things go a little sideways. Here’s how to handle common issues.
How to Fix a Single Chipped Nail
Oh, the dreaded chip. The good news is you don’t have to do a full soak-off for one little mistake. Here’s the quick-patch method:
- Gently file the chipped area with a buffer to smooth the edges. You want to feather it out so the patch will blend.
- Wipe the entire nail with an alcohol wipe to remove any dust and oils.
- Apply a very thin layer of base coat just over the filed/chipped area. Cure for 30 seconds.
- Apply a thin layer of your matching color polish over the entire nail. Cap the free edge. Cure. If you need a second coat for coverage, do it now and cure again.
- Finish with a top coat over the entire nail, cap the edge, and cure.
- Wipe off the sticky layer with alcohol, and you’re good to go!
That Sudden Heat Spike During Curing
Ever feel an intense spike of heat when you put your hand in the lamp? It’s a rapid chemical reaction, usually caused by applying a layer of gel that’s too thick. If it happens, pull your hand out of the lamp for a few seconds until the feeling passes, then put it back in to finish curing. The best way to prevent it is to always stick to thin coats.
Safety, Shopping, and When to Take a Break
Your health is always the top priority. Let’s talk about how to get started safely and maintain healthy nails for the long haul.
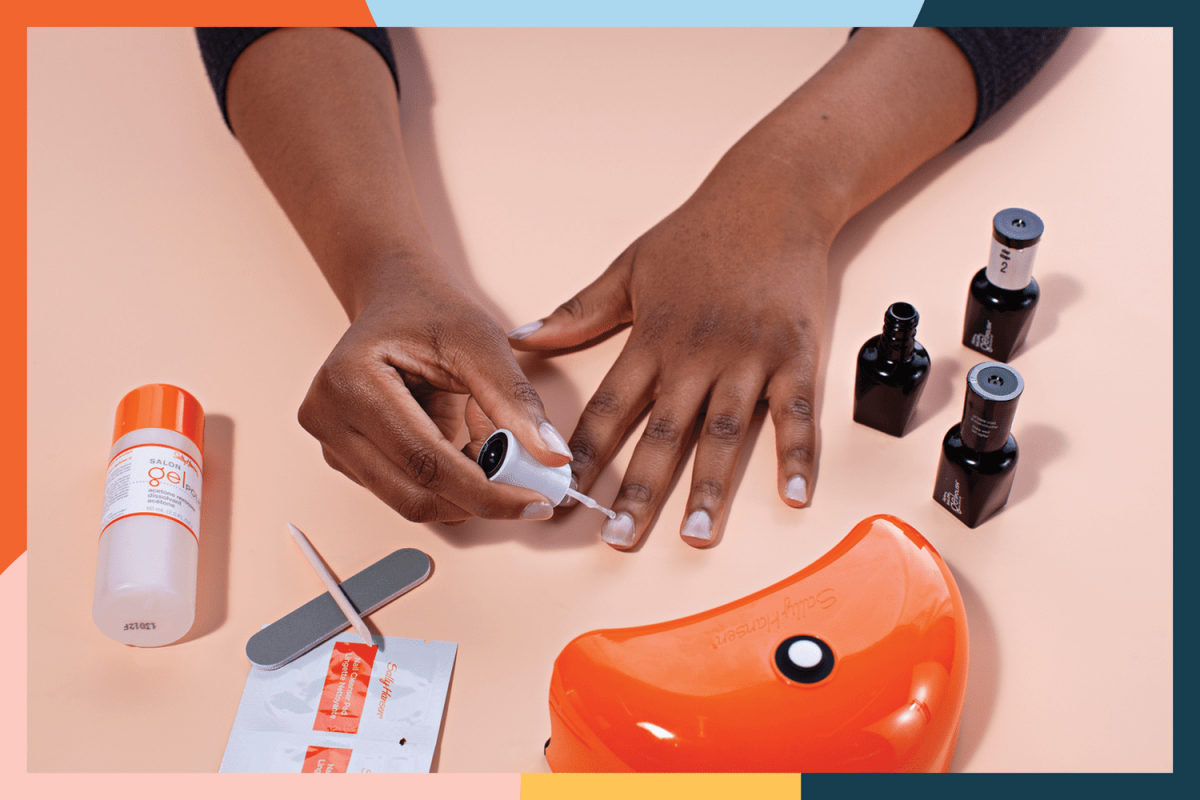
Buying Your First Kit (and What to Avoid)
Venturing into the world of DIY gel can feel overwhelming, especially with all the cheap kits on Amazon. Be careful! Many unbranded products from unregulated marketplaces can contain high concentrations of harsh chemicals and known allergens. This is where a lot of at-home allergies start.
You don’t need to spend a fortune, but you should invest in quality. Expect to pay around $100-$200 for a solid starter kit that won’t wreck your nails. A good 48-watt LED lamp will run you about $30-$40 online, and pro-quality polishes are typically $10-$15 each. When you compare that to a $50+ salon visit, the kit pays for itself in just a few uses.
For reliable, safer brands that are available to the public, look for names like Gelish, DND, or OPI GelColor. You can often find these at beauty supply stores like Sally Beauty or on reputable nail supply websites.
Should You Take Breaks From Gel?
Yes! Even with perfect application and removal, it’s a good idea to give your nails a little breather now and then. I usually recommend my clients take about a week off every 2-3 months. During that break, keep your nails short and bare. The most important thing you can do is apply cuticle oil daily—or even twice a day! It helps keep them flexible and hydrated, which is the key to strong, healthy nails.
Galerie d’inspiration
The Professional Beauty Association reports that the nail care industry is one of the fastest-growing segments in beauty.
What does this mean for you? An explosion of innovation. We’re seeing hybrid products that combine the strength of gel with the ease of lacquer, vitamin-infused base coats, and an incredible range of special effect top coats. It’s no longer just about color; it’s about texture, finish, and nail health all in one.
Can I get a perfect finish with just one thick coat of color?
It’s tempting, but this is a classic mistake. A single thick layer will cure unevenly, with the top hardening while the polish underneath remains soft. This leads to wrinkling, bubbling, and quick chipping. The pro secret is multiple, super-thin coats. Two to three sheer layers, each cured properly, build up to an opaque, incredibly durable finish that truly lasts.
- Lasts flawlessly through a vacation.
- Stays ultra-glossy for weeks on end.
- Resists chips even when doing chores.
The secret? It’s not just the polish, it’s the full system. A high-quality bonder or primer, a dedicated base coat, and the correct top coat from the same brand (like OPI’s GelColor line) are chemically formulated to work together, creating a powerful molecular bond from nail plate to shiny finish.
No-Wipe Top Coat: Cures to a high-gloss finish with no sticky residue. It’s the go-to for speed and for applying chrome or mirror powders, which need a smooth, non-tacky surface to adhere to.
Standard (Tacky) Top Coat: This one leaves a sticky inhibition layer after curing, which needs to be wiped off with a cleanser. This layer makes it excellent for embedding loose glitter or other nail art elements before the final wipe.
For most simple color applications, a no-wipe top coat is your fastest route to a perfect shine.

The one thing pros never, ever skip: Cuticle oil. A gel manicure dehydrates the nail plate and surrounding skin. Daily application of a quality cuticle oil, like CND SolarOil or a simple Jojoba oil, rehydrates the area. This prevents your natural nail from becoming brittle and keeps the skin around your manicure looking fresh, not frayed. Healthy cuticles are the frame for your nail art masterpiece.
Ever wonder why red is always in style? Color theorists suggest it evokes feelings of power, confidence, and passion, making it a timeless choice for a statement manicure.
Think of your base coat as the double-sided tape of your manicure. It’s not just a clear layer; it’s specifically designed to adhere to the natural nail on one side and grip the gel color on the other. Different formulas offer unique benefits.
- Standard Base: The all-rounder for healthy nails (e.g., Gelish Foundation).
- Ridge-Filling Base: A slightly thicker formula that smooths out imperfections on the nail surface.
- Strengthening/BIAB: ‘Builder in a Bottle’ bases add strength and a slight apex to flimsy nails, helping them grow without breaking.
Achieving that coveted ‘glazed donut’ look, made famous by Hailey Bieber, is easier than it looks. The key isn’t the color, but the finish. After applying a sheer neutral or pinky gel base (like OPI’s Bubble Bath), cure it, and then vigorously rub a fine, white chrome powder onto the nail using an eyeshadow applicator. Seal with a no-wipe top coat for a pearlescent, lit-from-within glow.

- Thoroughly dehydrate the nail plate with an alcohol wipe.
- Gently buff the surface to remove shine; you want a matte, not scratched, finish.
- Scrub under the free edge to remove any hidden oils or debris.
- Always, always wrap the tip of the nail with every layer: base, color, and top coat.
The biggest cause of lifting and peeling is a flooded cuticle. When gel polish touches the skin, it creates a weak point. As your nail grows, this spot will lift away from the nail, taking the rest of the polish with it. Always leave a tiny, hair’s-width gap between the polish and the skin. If you do touch the skin, clean it up with a small brush dipped in alcohol *before* you cure.
An at-home LED lamp and a starter kit might seem like a splurge, but consider the numbers. With a salon gel manicure costing anywhere from $40 to $75+, a quality home kit (around $100-$150) pays for itself in just 2-3 uses. The real savings come over the year, offering endless manicures for a fraction of the salon price tag.


